If you are looking for a particular lock, powder, or flint combination, this listing may help. Each red title lists the locks in the order they appear.
If you are looking for a particular lock, powder, or flint combination, this listing may help. Each red title lists the locks in the order they appear.
May 2009 Spring Practice
This video was produced in 2009 but was never uploaded. In doing site maintenance to www.blackpowdermag.com I found it in a different folder. Besides some shots of excellent locks, it shows some of the trials that one goes through to prepare for a video session.
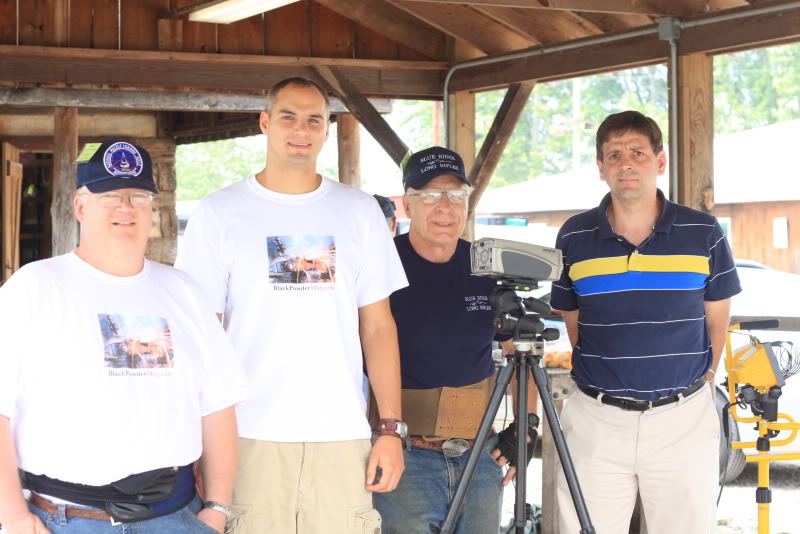
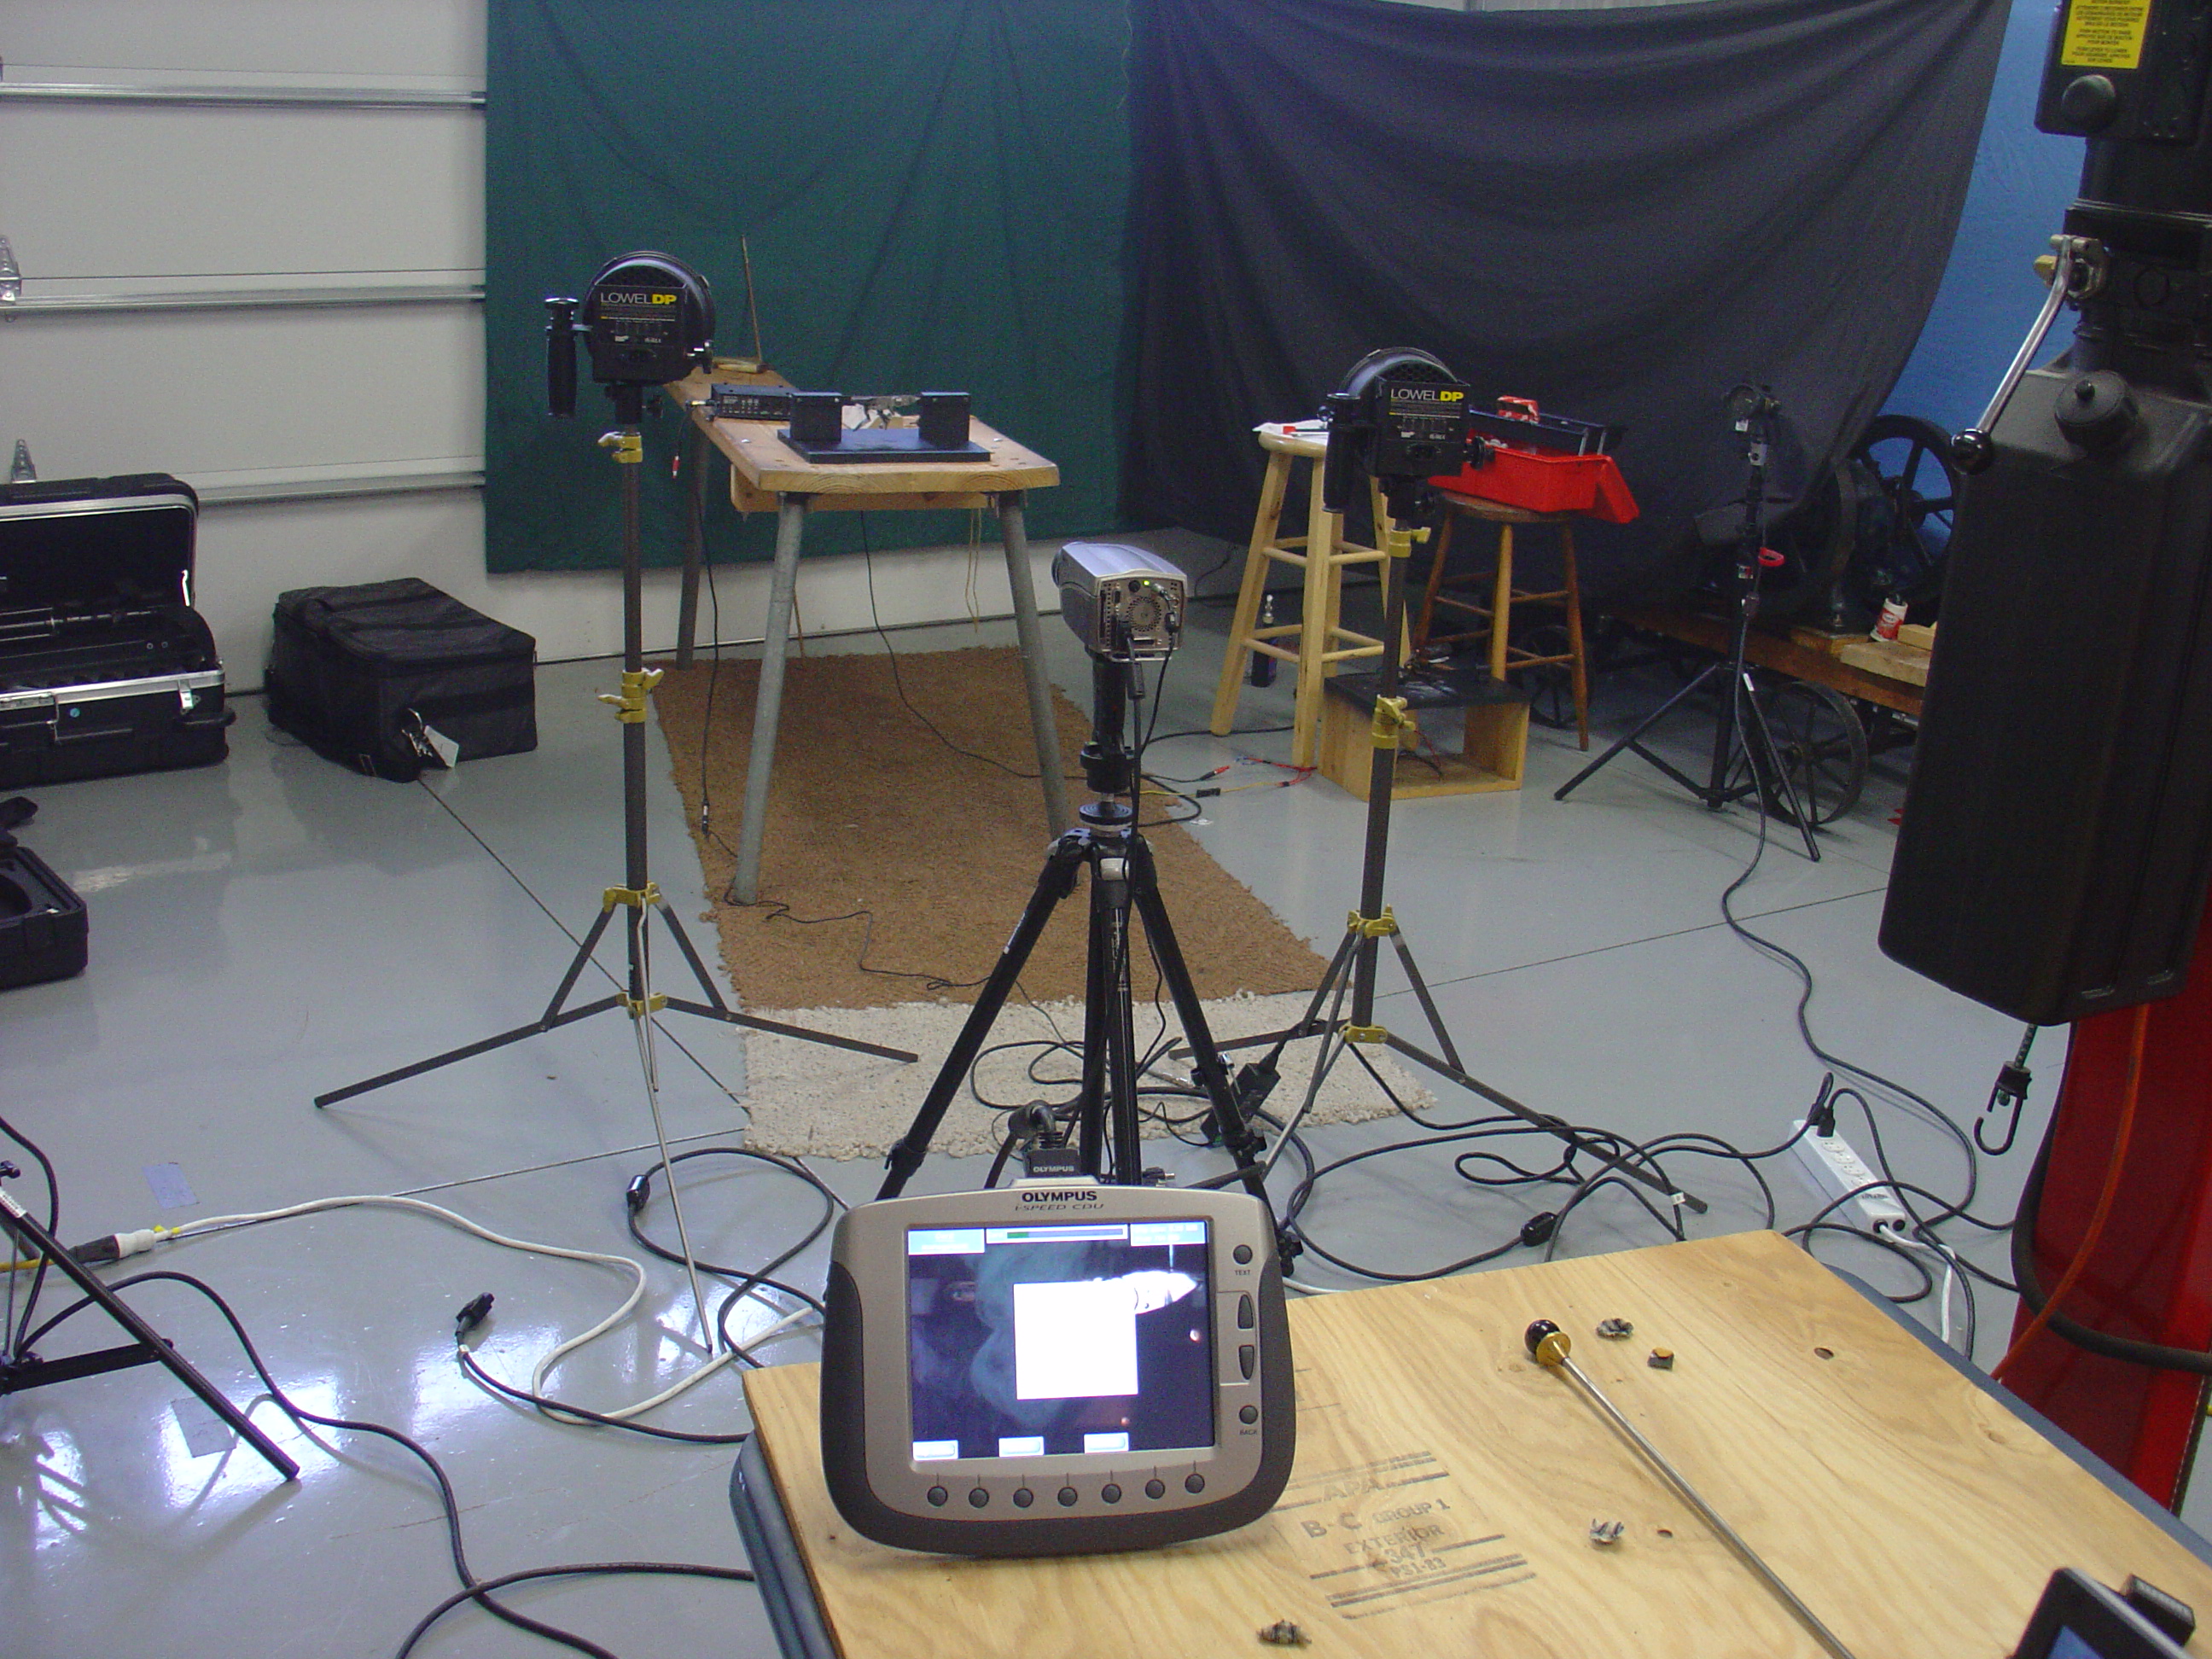
In preparation for the Spring Shoot with Olympus Industrial, Steve Chapman and I met Grant Ferguson on the NMLRA grounds. We set up equipment behind Gun Makers Hall and tried different exposure settings, camera angles, and experimented with lighting.
It was at this point that we made the decision to shoot B&W instead of color. We weighed the advantage of increased definition against the loss of color. Increased definition won.
When viewing the video you will see the different camera angles and exposure settings as we experimented. This gave us the information we needed to plan for the video we did a month later, during the Spring Shoot.
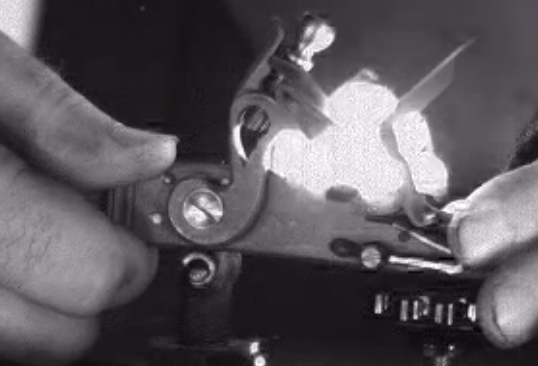
We used two large Siler locks for this practice session. The first one viewed is one built by Sam Everly. The lock’s tumbler is supported by tiny two ball bearings. It is an extremely smooth lock and deserves to be mounted on a gun. The video contains 4 tries, the first with Goex cannon grade powder just for fun. The remaining trials are with Swiss Null B.
The second Siler is a workhorse. It has been used for testing purposes since 1986. It has probably been fired 5000 times with all sorts of flints and powder. Practically all of my experiments and articles used this lock. Jim Chambers has given me incredible support with this lock.
Our video contains three firings with the workhorse Siler, two with Null B and a final one with Goex cannon.
Blackpowdermag.com and Olympus Industrial bring you more flintlock videos. The frame rate is 5000 fps.
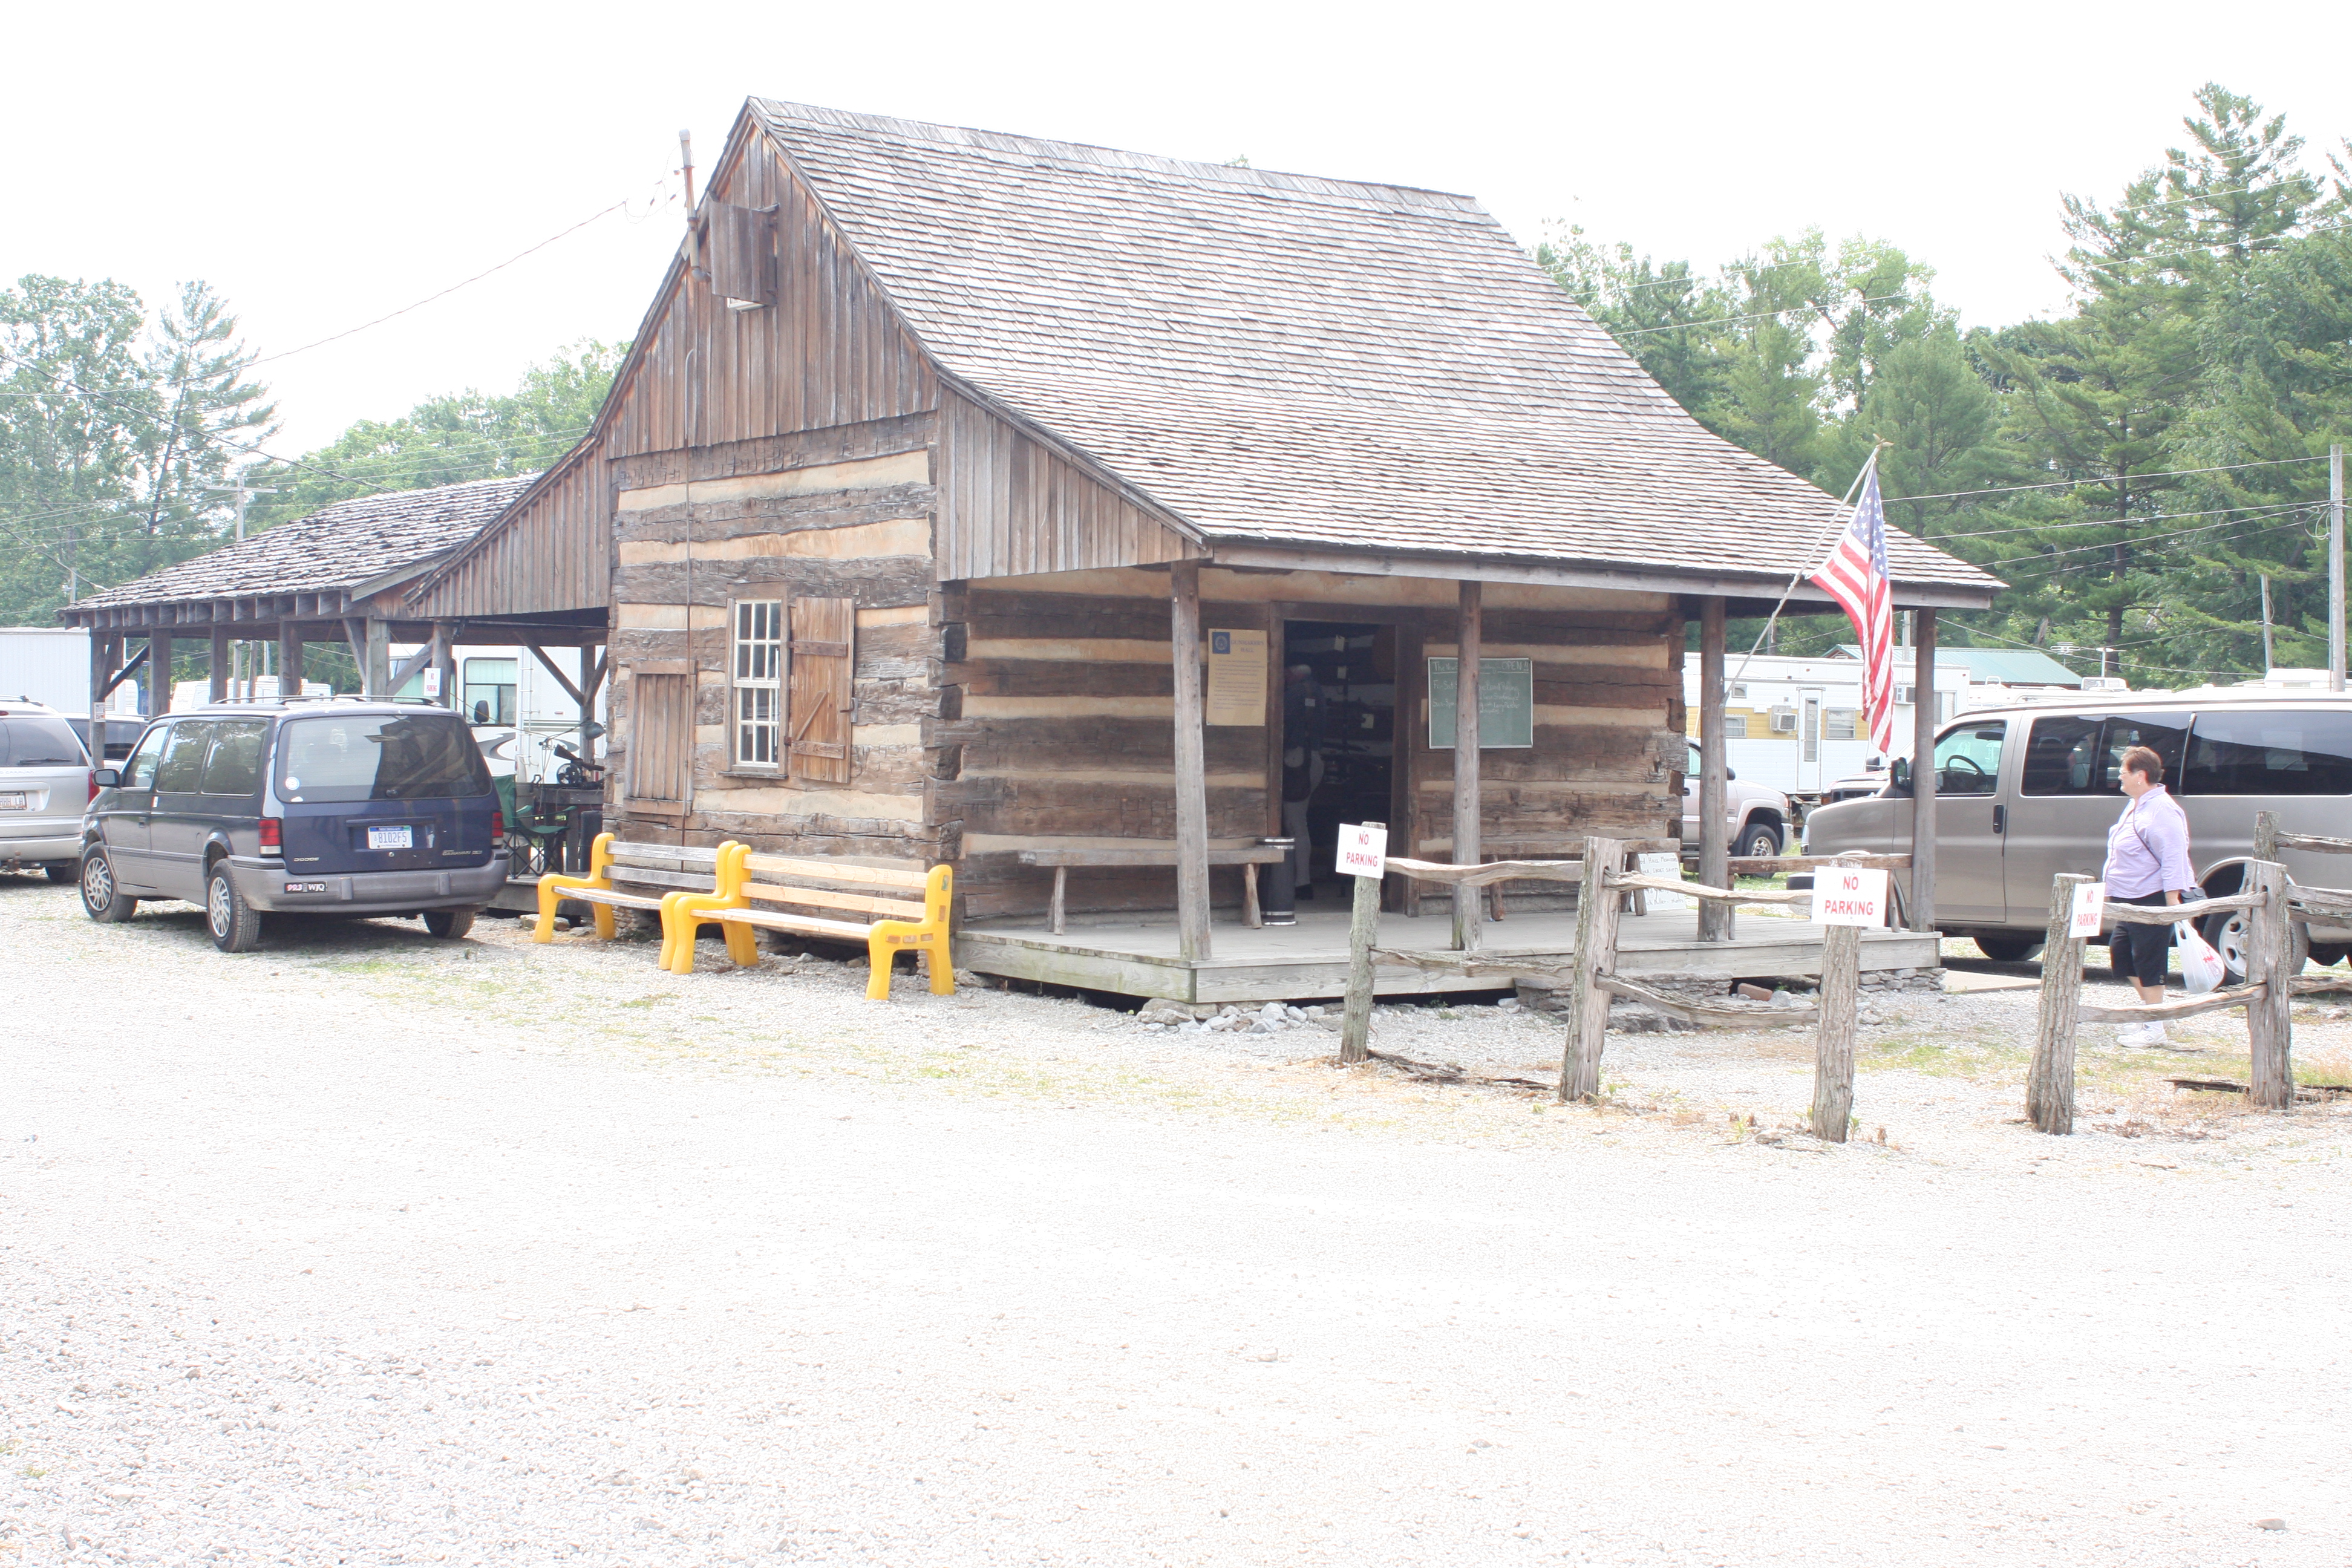
This page will be a work in progress but the videos should work. The taping was done at Gun Makers’ Hall during the Spring Nationals at Friendship. Monday June 15th was the big day. We taped 47 locks with the help of Norman Baumgartner from Olympus Industrial. Thanks Norm for all you do for us.
All the videos we taped will eventually be included here, but for the short term we will up load a sample. There will be chances to study this collection with new playback software, allowing more new knowledge.
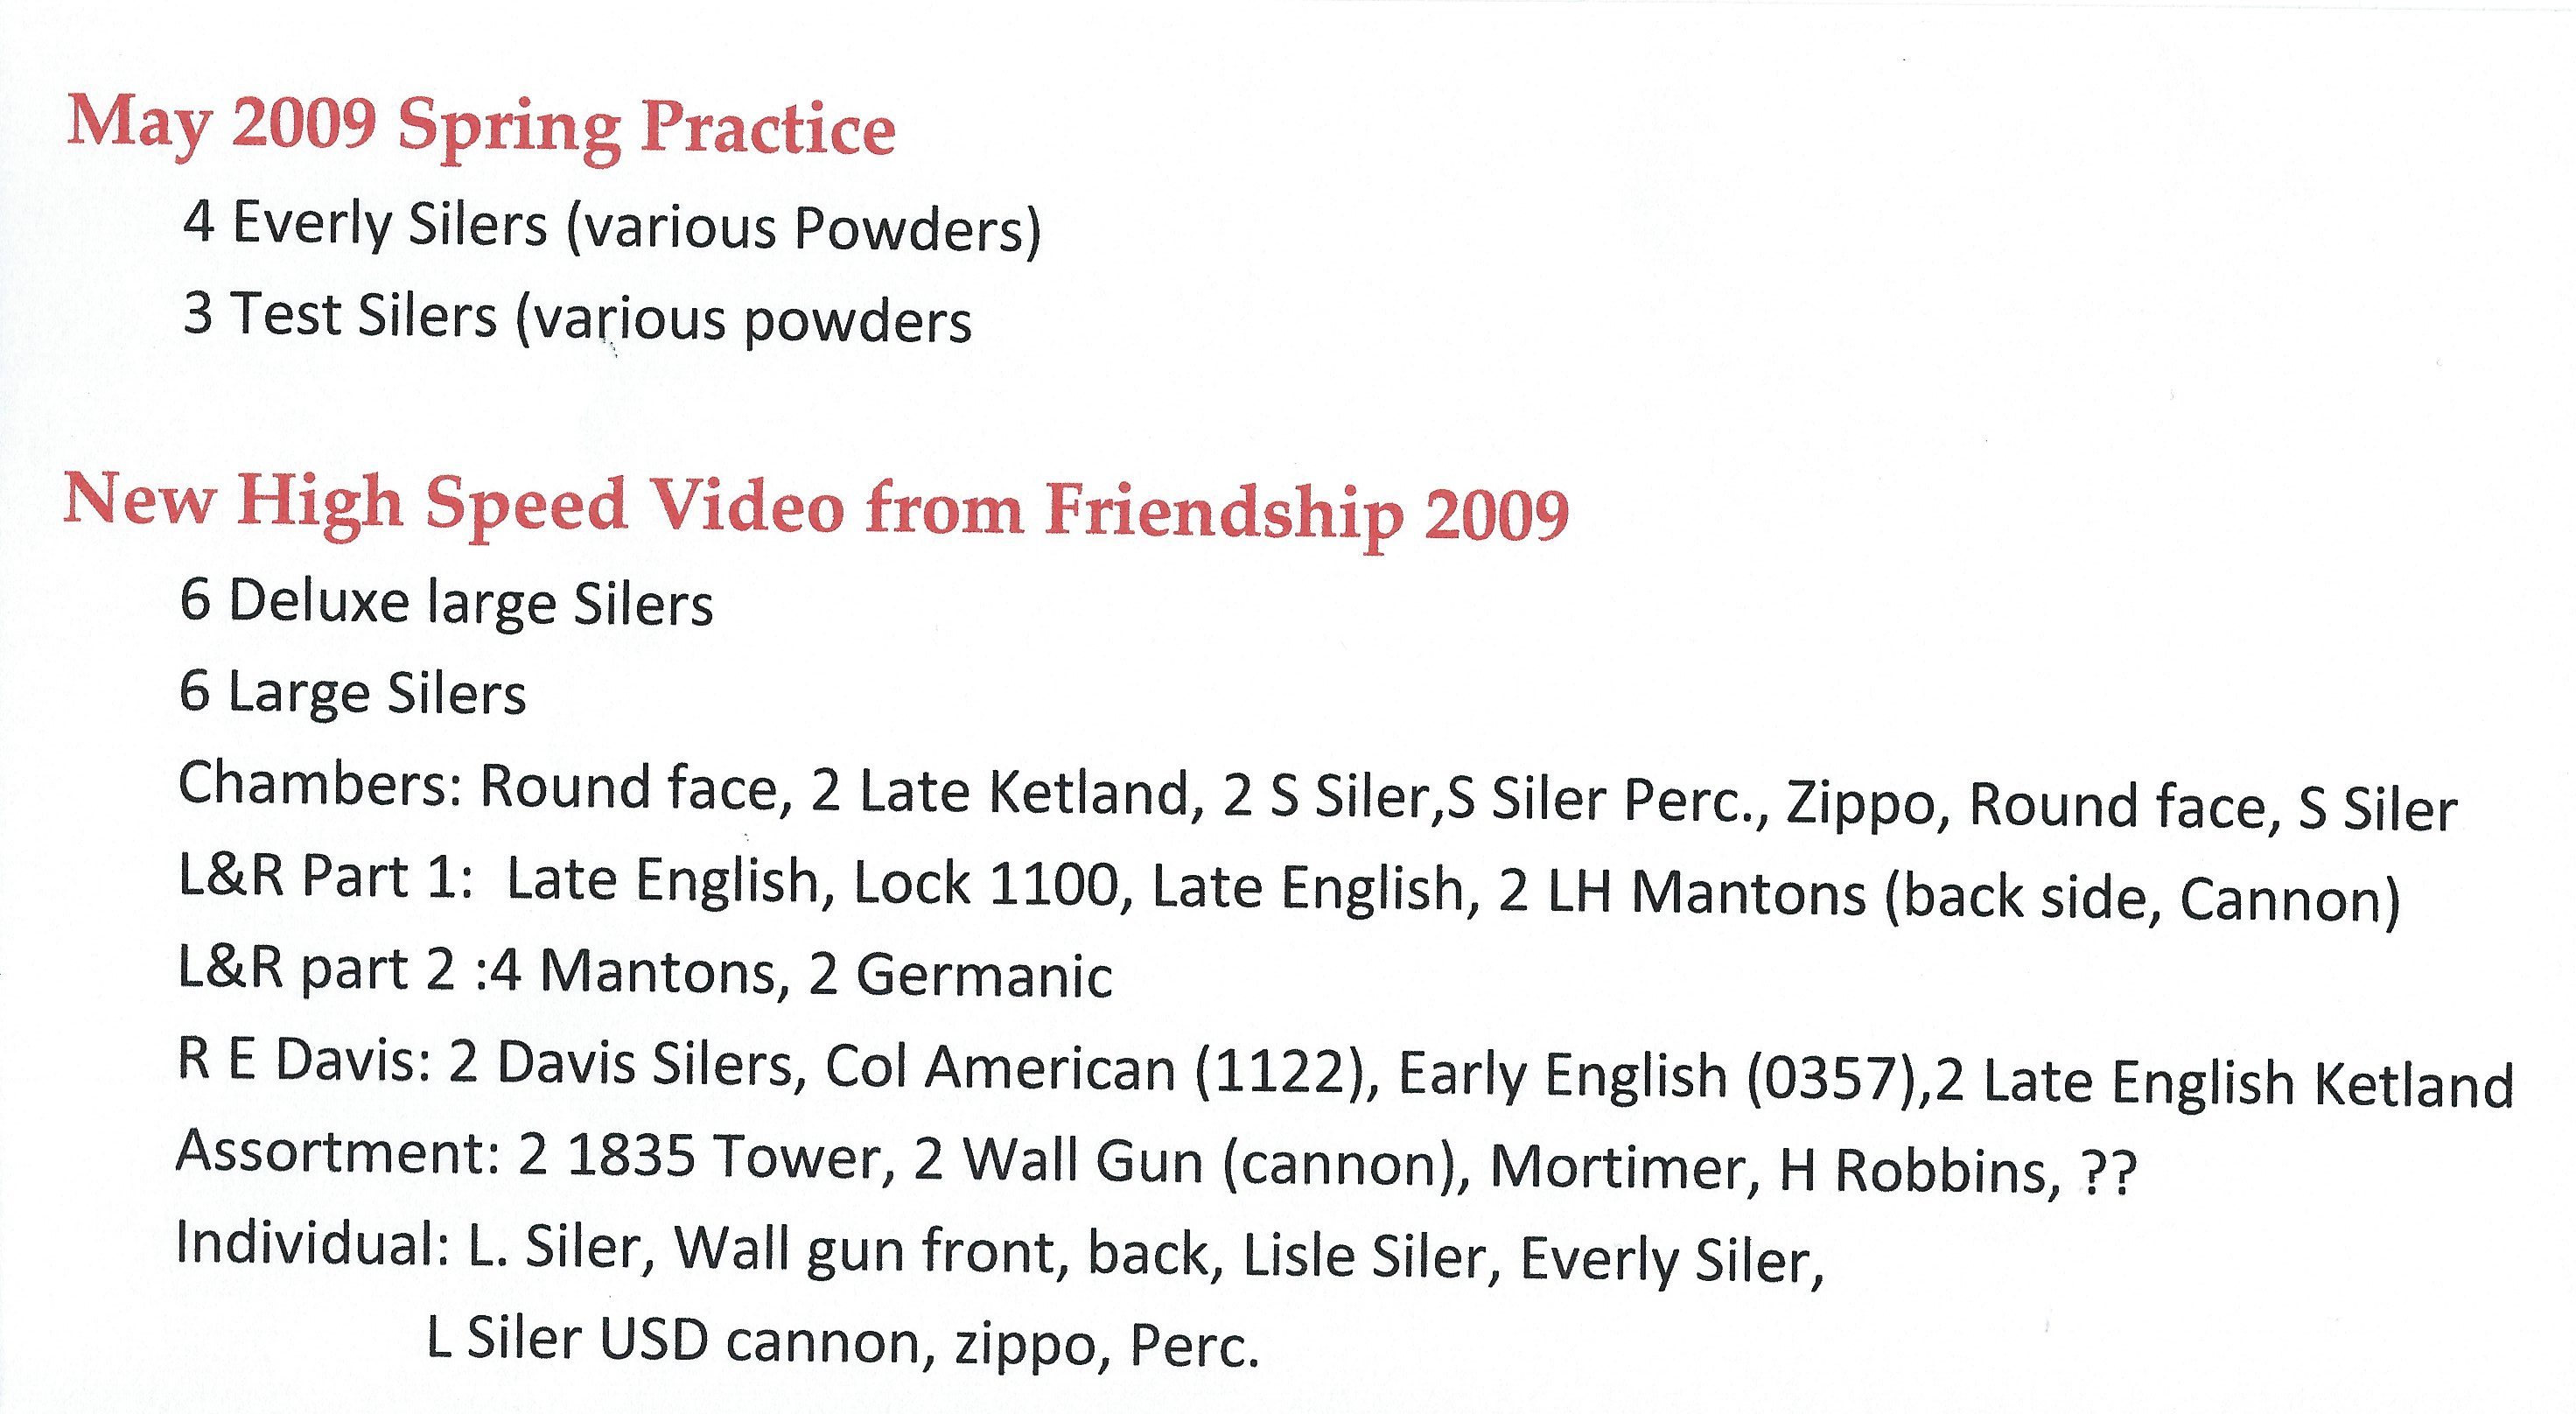
Here is the first installment of large Siler locks. Six are included here with another batch of six to follow:
Here is the second batch of six large Silers:
Here is another batch of Chambers locks:
Next is the first group of six L&R Locks:
Here is the second group of L&R Locks:
Here is a group of locks from RE Davis Lock Company:
This last group of locks includes a huge wall gun lock, as well as an original Tower:
The locks below are the original uploads. This a a good place to examine one lock at a time.
This is a Custom Large Siler by LC Rice.
Shingler Wall Gun – front side
Shingler Wall Gun – back side with Cannon Grade
Lisle small Siler with a bronze bushing
This is the Everly ball bearing Siler firing Swiss Null B. Watch the lock plate do a wheelie. Jim C and I think its the lack of friction that is the cause.
This is the workhorse Siler up-side-down firing Null B.
This is the workhorse Siler up-side-down firing Cannon grade priming powder.
The video is a small Siler with Zippo lighter parts installed.
Lowell Gard installed a nipple on a small Siler percussion.

This is the complete flintlock video library of the high speed film done at Friendship during the spring of 2007. Earlier articles contained highlights – like the original Manton supplied by Jim Chambers. Finally they are all together. Now we can watch black powder ignite!
The video links in thie article are more of the film we did at Friendship. As in earlier video, the frame rate is 5000 frames per second. This rate allows us to watch lock parts and see the very beginning of the ignition sequence. In earlier videos we looked at an original Manton and a wheel lock. Here we pursue more locks of different types and makers, as well as a study of flint wear done by Lowell Gard.
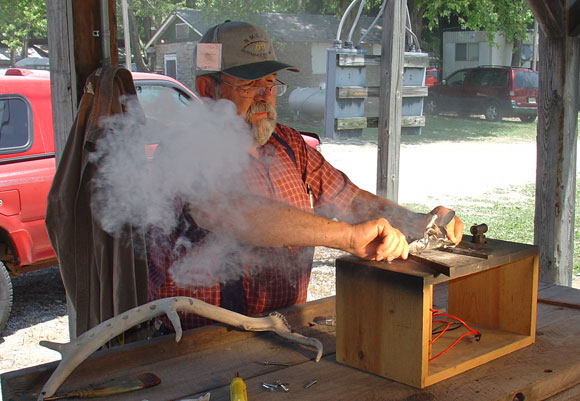
David Price has just fired a flintlock for the camera.
David Price does the honors again, firing the locks as Grant Ferguson does the camera work. Grant is the rep from Olympus. David was great help all day long. He felt, as did I, that the same person should prime all the locks.I appreciated having such experienced help.
Grant Ferguson, Olympus Industrial, is shown working with the camera interface.

From my experimenter’s point of view this was a great day. We gathered a wealth of material from which to draw data, and I think we proved that this media could be used to improve lock function. Another experimenter feels the same way. Lowell Gard of “Bevel Bros.” fame asked if we could video his lock with varying numbers of trials on the flint. He wanted to see if we could see the flint deteriorate as the trials increased. We started with a new flint and worked up to 50+ trials.
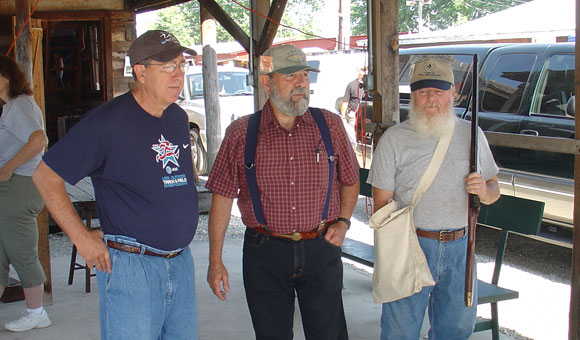
Lowell Gard (left) and David Price (center) discuss the project with another observer.
Below are five links to high speed videos in which a number of locks are grouped by type or maker. Start the links by clicking twice on the center arrow.
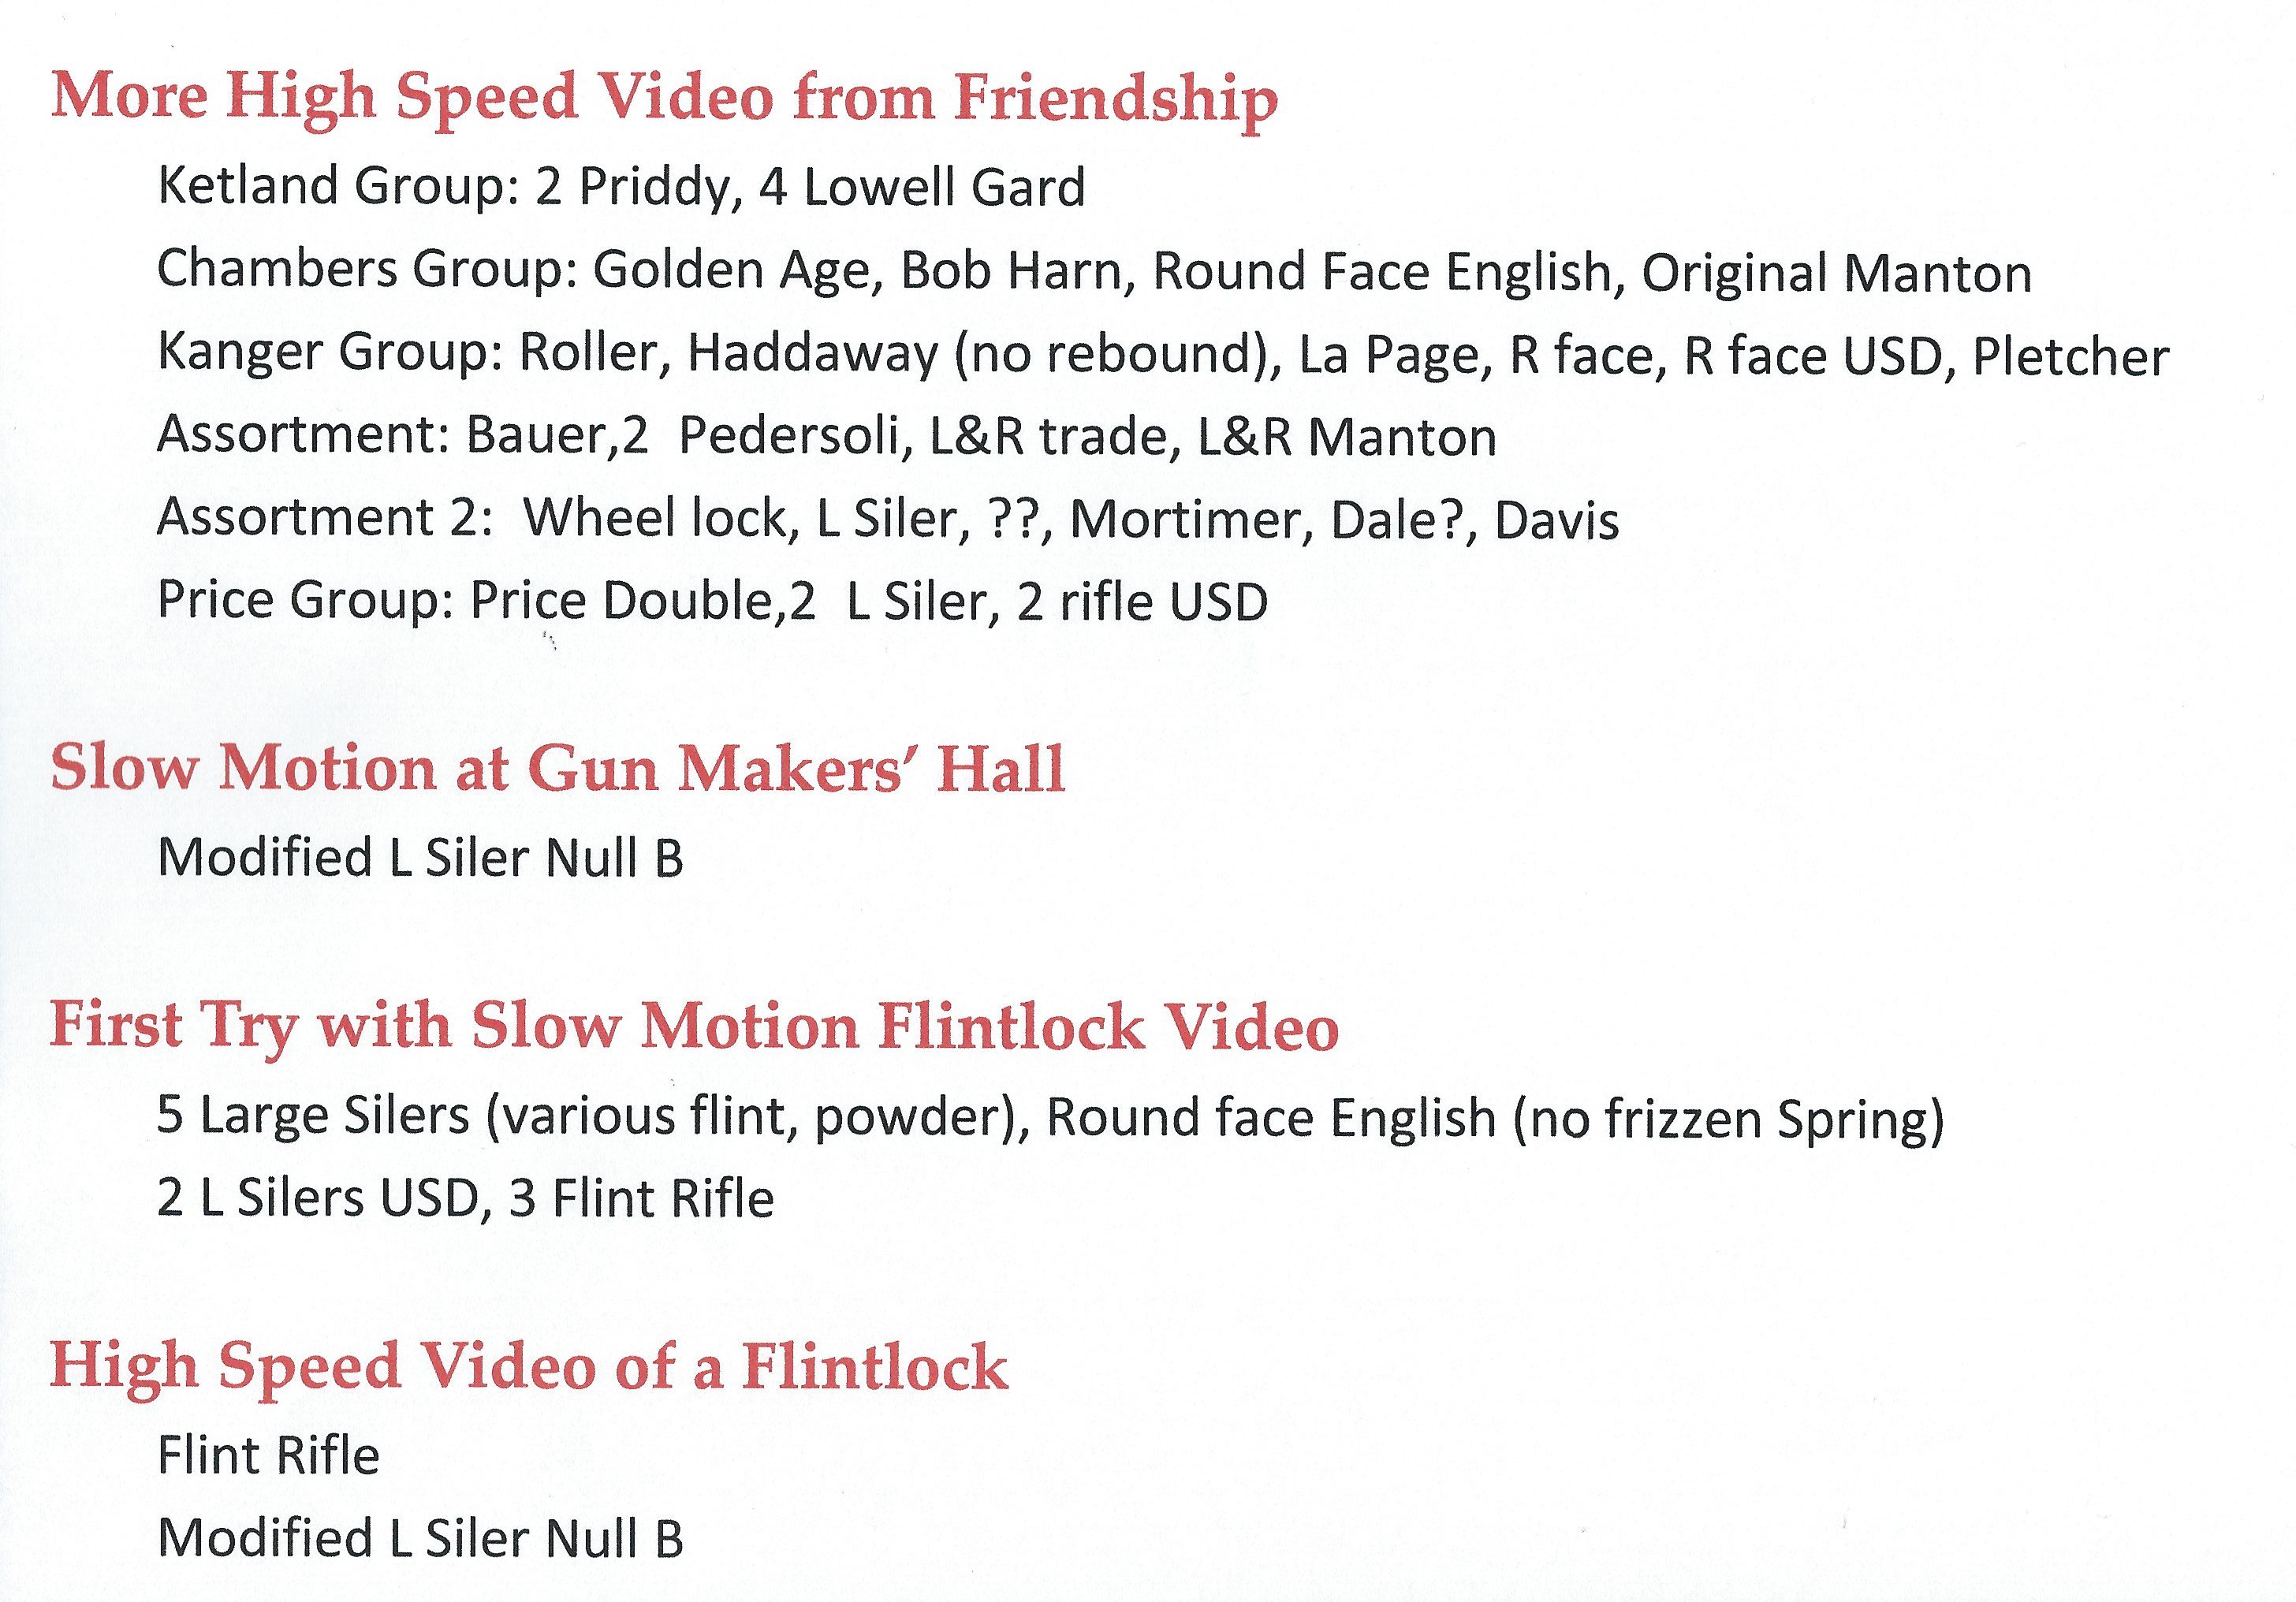
Ketland Group—- This group includes three locks. The first two are done by Dennis Preddy. His first is an unmodified late Ketland lock. The second was modified by Preddy. The remaining video is Lowell Gard’s experiment. We first did a video of his Late Ketland with a new flint. Lowell then snapped the lock 10 times and we did the next video. We continued this until we exceeded 60 snaps.
Priddy/Late Ketland (unmodified)
Priddy/Late Ketland (modified)
Gard/Late Ketland (new flint)
Gard/Late Ketland (11 snaps of flint)
Gard/Late Ketland (32 snaps of flint)
Gard/Late Ketland (63 snaps of flint)
The Chambers Group —- This group (below) came from Jim Chambers. It contains four locks. The original Manton came from a double fowler and is perhaps the most important lock we filmed.
Chambers Golden Age
Robert Harn
Round faced English
Original Manton (fowler w V pan)
The Kanger Group —- The Kanger group below has five locks. The Roller and Haddaway are important locks to study, in my view.
Kanger/Bob Roller
Kanger/Haddaway (note that there is no frizzen rebound)
Kanger/La Page
Chambers Round face
Chambers Round Face (up-side-down)
Pletcher/Jerry Eider
Assorted Group #1 —- The Assorted group (below) again has a number of locks:
Bauer left hand lock (maker ??)
Pedersoli
Pedersoli
L&R Trade lock
L&R Manton
Assorted Group #2 —- The locks included below are as follows:
Buckwalter Wheellock
Coggeshall (maker??)
Coggeshall (Chambers Roundface??)
Mortimer Pedersoli
Dale (L&R??)
Dale (Davis)
Dale (Sales)
Locks and Swivel Guns by David Price —- This group of locks come from David Price – both conventional locks and those on his swivel breech guns. They include:
Price Double Rifle
Price large Siler
Price Siler 40
Price Siler Rifle
Same Price rifle (up-side-down)
I wish to thank Grant Ferguson for his effort in this project. Without his camera and special abilities, we certainly could not have attempted this. Grant, I hope we get a chance to work together again. David Price worked all day long with me, and I appreciate his help. I also thank him for the opportunity to handle his beautiful swivel breech. Thanks also to Barbie Chambers and Dick Miller for allowing us to work at Gun Makers’ Hall. And last of all, a thank you to all the shooters who brought locks for us to record. I appreciate your willingness to share your lock with us.
Are you interested in watching an original J. Manton flintlock in slow motion? How about a wheel lock? BlackPowderMag was able to do just that at Friendship this spring. With help from blackpowder riflemaker, David Price, and Grant Ferguson from Olympus, we filmed 30+ flintlocks at 5000 frames/second.
History was made at Gun Makers’ Hall during the Spring Nationals at Friendship this year. Blackpowdermag.com and Olympus Industrial collaborated on a slow motion project. Grant Ferguson from Olympus set up a digital video camera capable of 33,000 frames /second under the pavilion behind Gun Makers’ Hall. The goal was to tape as many flintlocks as we could, furnish the shooter with a CD copy, and give the NMLRA a copy of all our work. In all, we were able to give 33 different digital files to the NMLRA.
David Price has just fired a flintlock for the camera.
The background behind this project started back in the fall of 2006. In a phone conversation, Grant Ferguson and I first discussed the possibility of taping both locks and the firing of a rifle. After a number of conversations we agreed that it might be helpful to try this by ourselves instead of having onlookers present. If we failed, we would rather not have an audience.
In January of 2007 Grant brought his equipment to northern Indiana, and we had our first try in my garage. By juggling a couple antique cars around, we had a heated space to work. During this time we taped a large Siler that has been the subject of many experiments over the past 20 years. We digitally recorded this lock in a number of “flint/bevel/priming powder” combinations. The lock even got a chance to perform up-side-down. Besides taping another lock with no frizzen spring, we recorded a flint rifle from the front so we could see lock ignition, vent hole ignition, and the ball exiting the rifle. (Just in case you wondered, a years’ worth of “Guns and Ammo” duct-taped together makes a good bullet stop for a limited number of tries. Dixie Gun Works catalogs aren’t bad either. — Remember, don’t try this at home.)
Grant Ferguson, Olympus Industrial, is shown working with the camera interface.
Armed with the knowledge gained from this experience, I contacted Barbie Chambers, Dick Miller, and Roland Martin to get their take on the project. With their approval we looked for a date during the Spring Shoot. Barbie Chambers is the events planner for the Hall, and we soon had our date. As the time approached, I found a number of gun makers and ML fans willing to help. David Price, maker of the swivel breech raffle rifle, deserves much praise for his assistance. He volunteered to help me out, and as we were about to start, I mentioned that I hoped to use the same priming powder for all locks. David’s reply was, “I think the same person should prime all the locks too.” And he did just that. It allowed me to burn disks for the shooters and line up the next lock to record.
David Price (center) discusses the project with observers.
As we worked, the number of shooters grew and kept us busy most of the day. At one point Barbie came by with four locks from the Chambers booth. One was an original J. Manton from a fine smooth bore double. That had to be a highlight. Another was a wheellock. Leon Buckwalter’s lock is the only wheellock ever taped in slow motion – at least this slow. The frame speed we used for all locks was 5000 frames/second. At this speed it takes perhaps a minute to show the complete ignition sequence. An even faster frame rate could have been used, but the size of the screen would have been reduced. We felt this was a good compromise.
Leon Buckwalter prepares his wheel lock.

From my experimenter’s point of view this was a great day. We gathered a wealth of material from which to draw data, and I think we proved that this media could be used to improve lock function. Another experimenter feels the same way. Lowell Gard of “Bevel Bros.” fame asked if we could video his lock with varying numbers of trials on the flint. He wanted to see if we could see the flint deteriorate as the trials increased. We started with a new flint and worked up to 50+ trials.
All in all, it was a great day for students of the flintlock. I believe every lock owner received a working video of his locks. The NMLRA received them all. Lowell offered to place a few CDs at the Bevel Bros. booth if shooters were interested in purchasing the complete set. We may give that a shot this fall.
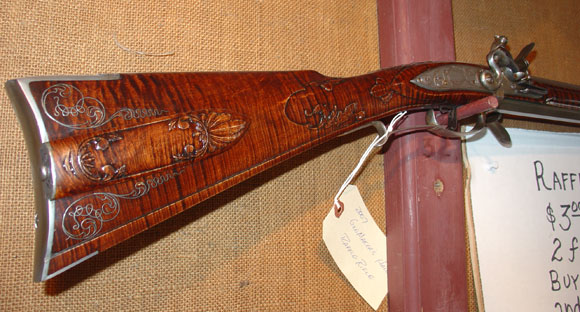
Patch box side of David Prices’s swivel breech rifle. This superb piece will be raffled in the fall..
I chose to include slow motion videos of the J. Manton and the Buckwalter wheel lock. The Manton locks from the late flint period are, in my opinion, the finest locks made. The wheel lock is included because I don’t think one has ever been photographed at this speed.
I wish to thank Grant Ferguson for his effort in this project. Without his camera and special abilities, we certainly could not have attempted this. Grant, I hope we get a chance to work together again. David Price worked all day long with me, and I appreciate his help. I also thank him for the opportunity to handle his beautiful swivel breech. Thanks also to Barbie Chambers and Dick Miller for allowing us to work at Gun Makers’ Hall. And last of all, a thank you to all the shooters who brought locks for us to record. I appreciate your willingness to share your lock with us.
It’s finally ready! Flintlocks with multiple variables at 5000 frames/second. This movie will run at GunMakers’ Hall this spring. Here’s your chance to see it early. See if you can see individual blackpowder grains ignite.

The accumulation of my high speed flintlock videos is finally finished. Because of over all size the movie is in two parts. Part A includes experiments with my old faithful large Siler lock using chipped English flints, sawn agates, Swiss Null B and Goex ffg priming powder. A video of a Chambers Round Face lock without a frizzen spring has also been included. Of particular interest is the trial with Goex ffg. The grains of powder can be seen flying in the air above the pan. The first ignition takes place above the flint almost even with the top jaw.
Part B includes a pair of high speed videos of a large Siler lock firing up side down. The lock is tried with chipped English flints bevel up and down. Swiss Null B is used in both trials.
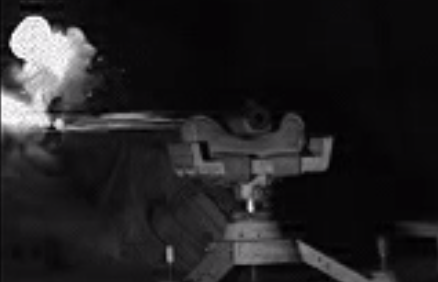
Also included in Part B are three tries at video taping a flint rifle firing. The camera used was monochrome are 15,000 frames/second – three times faster than the rate used on the locks. Lighting was a tough problem. We used 3000 watts on the gun and wished for double or triple that amount. The frame rate means a very fast shutter. In the first two tries, we started the camera on the sound of the trigger. In the last we simply let the camera run and fired the rifle.
The high speed flint video project is done. BPM, working with Grant Ferguson from Olympus, captured video of a flintlock using different grades of black powder as well as flint configurations.
The process was more complicated than I expected. We got some decent stuff with lighting our biggest problem. The higher the frame rate the more light is necessary. With over 3000 watts of halagons going, we still were limited in the frame rates we could use.
The shot of the rifle firing a ball worked at 15,000 fps. With more light we could have more options. As it is you can see the pan ignite, pause, barrel ignite, pause, then the ball exiting the muzzle. The cool thing here is that we could see the jet exiting the vent hole, then wait for evidence from the muzzle. On this shot we had to use monochrome instead of color camera because of the frame rate and lighting.
We did the locks at 5000 fps in color. We did chipped flint – bevel up and down, ffffg and ffg priming powder, sawn agate flint, lock upside down, and one with no frizzen spring. With the playback software I’m using I cannot count frames. Without a frame count I can’t make the comparisons I would like to make, but I’m still pleased with our first try. (A frame count would tell us how long it took the ball to exit the barrel after the barrel charge was lit.) In other sessions I will be prepared with another couple thousand watts to add to what we used.
The video below is a large Siler lock with a new chipped flint, bevel up. The priming powder is Swiss Null B. The video was done using a color high speed camera at 5000 fps. This lock has been timed many times by computer over the last 20 years. It averages .0388 seconds from the time the sear trips until the pan ignites.
There is much more to add. We will be posting prehaps a dozen more videos, most using this lock with different flints, priming, etc.
Black Powder Photography — editor, Larry Pletcher
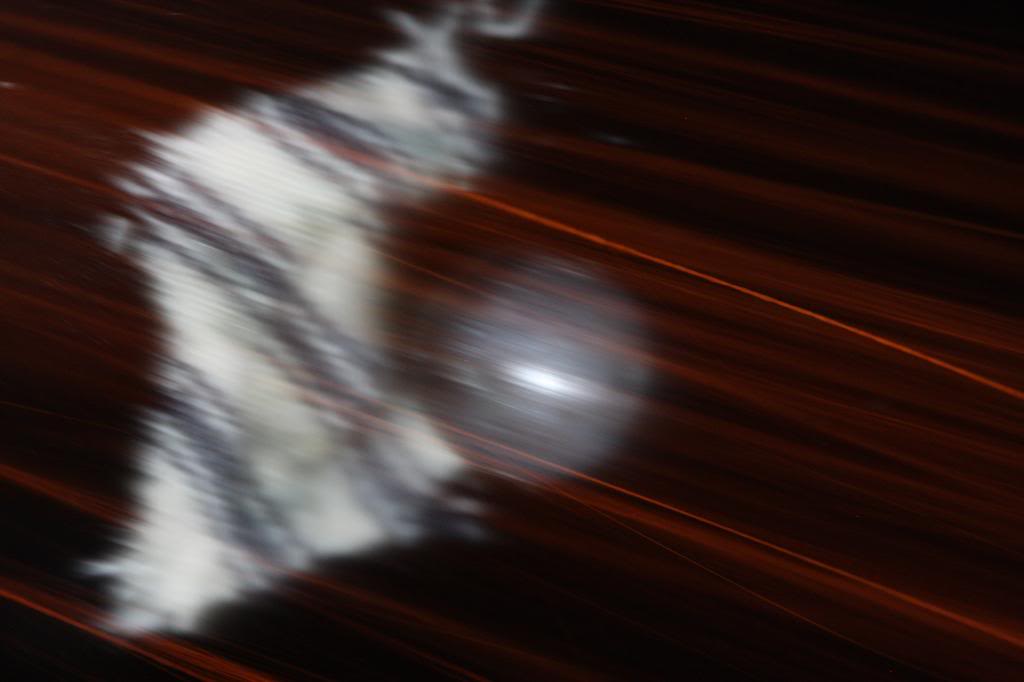
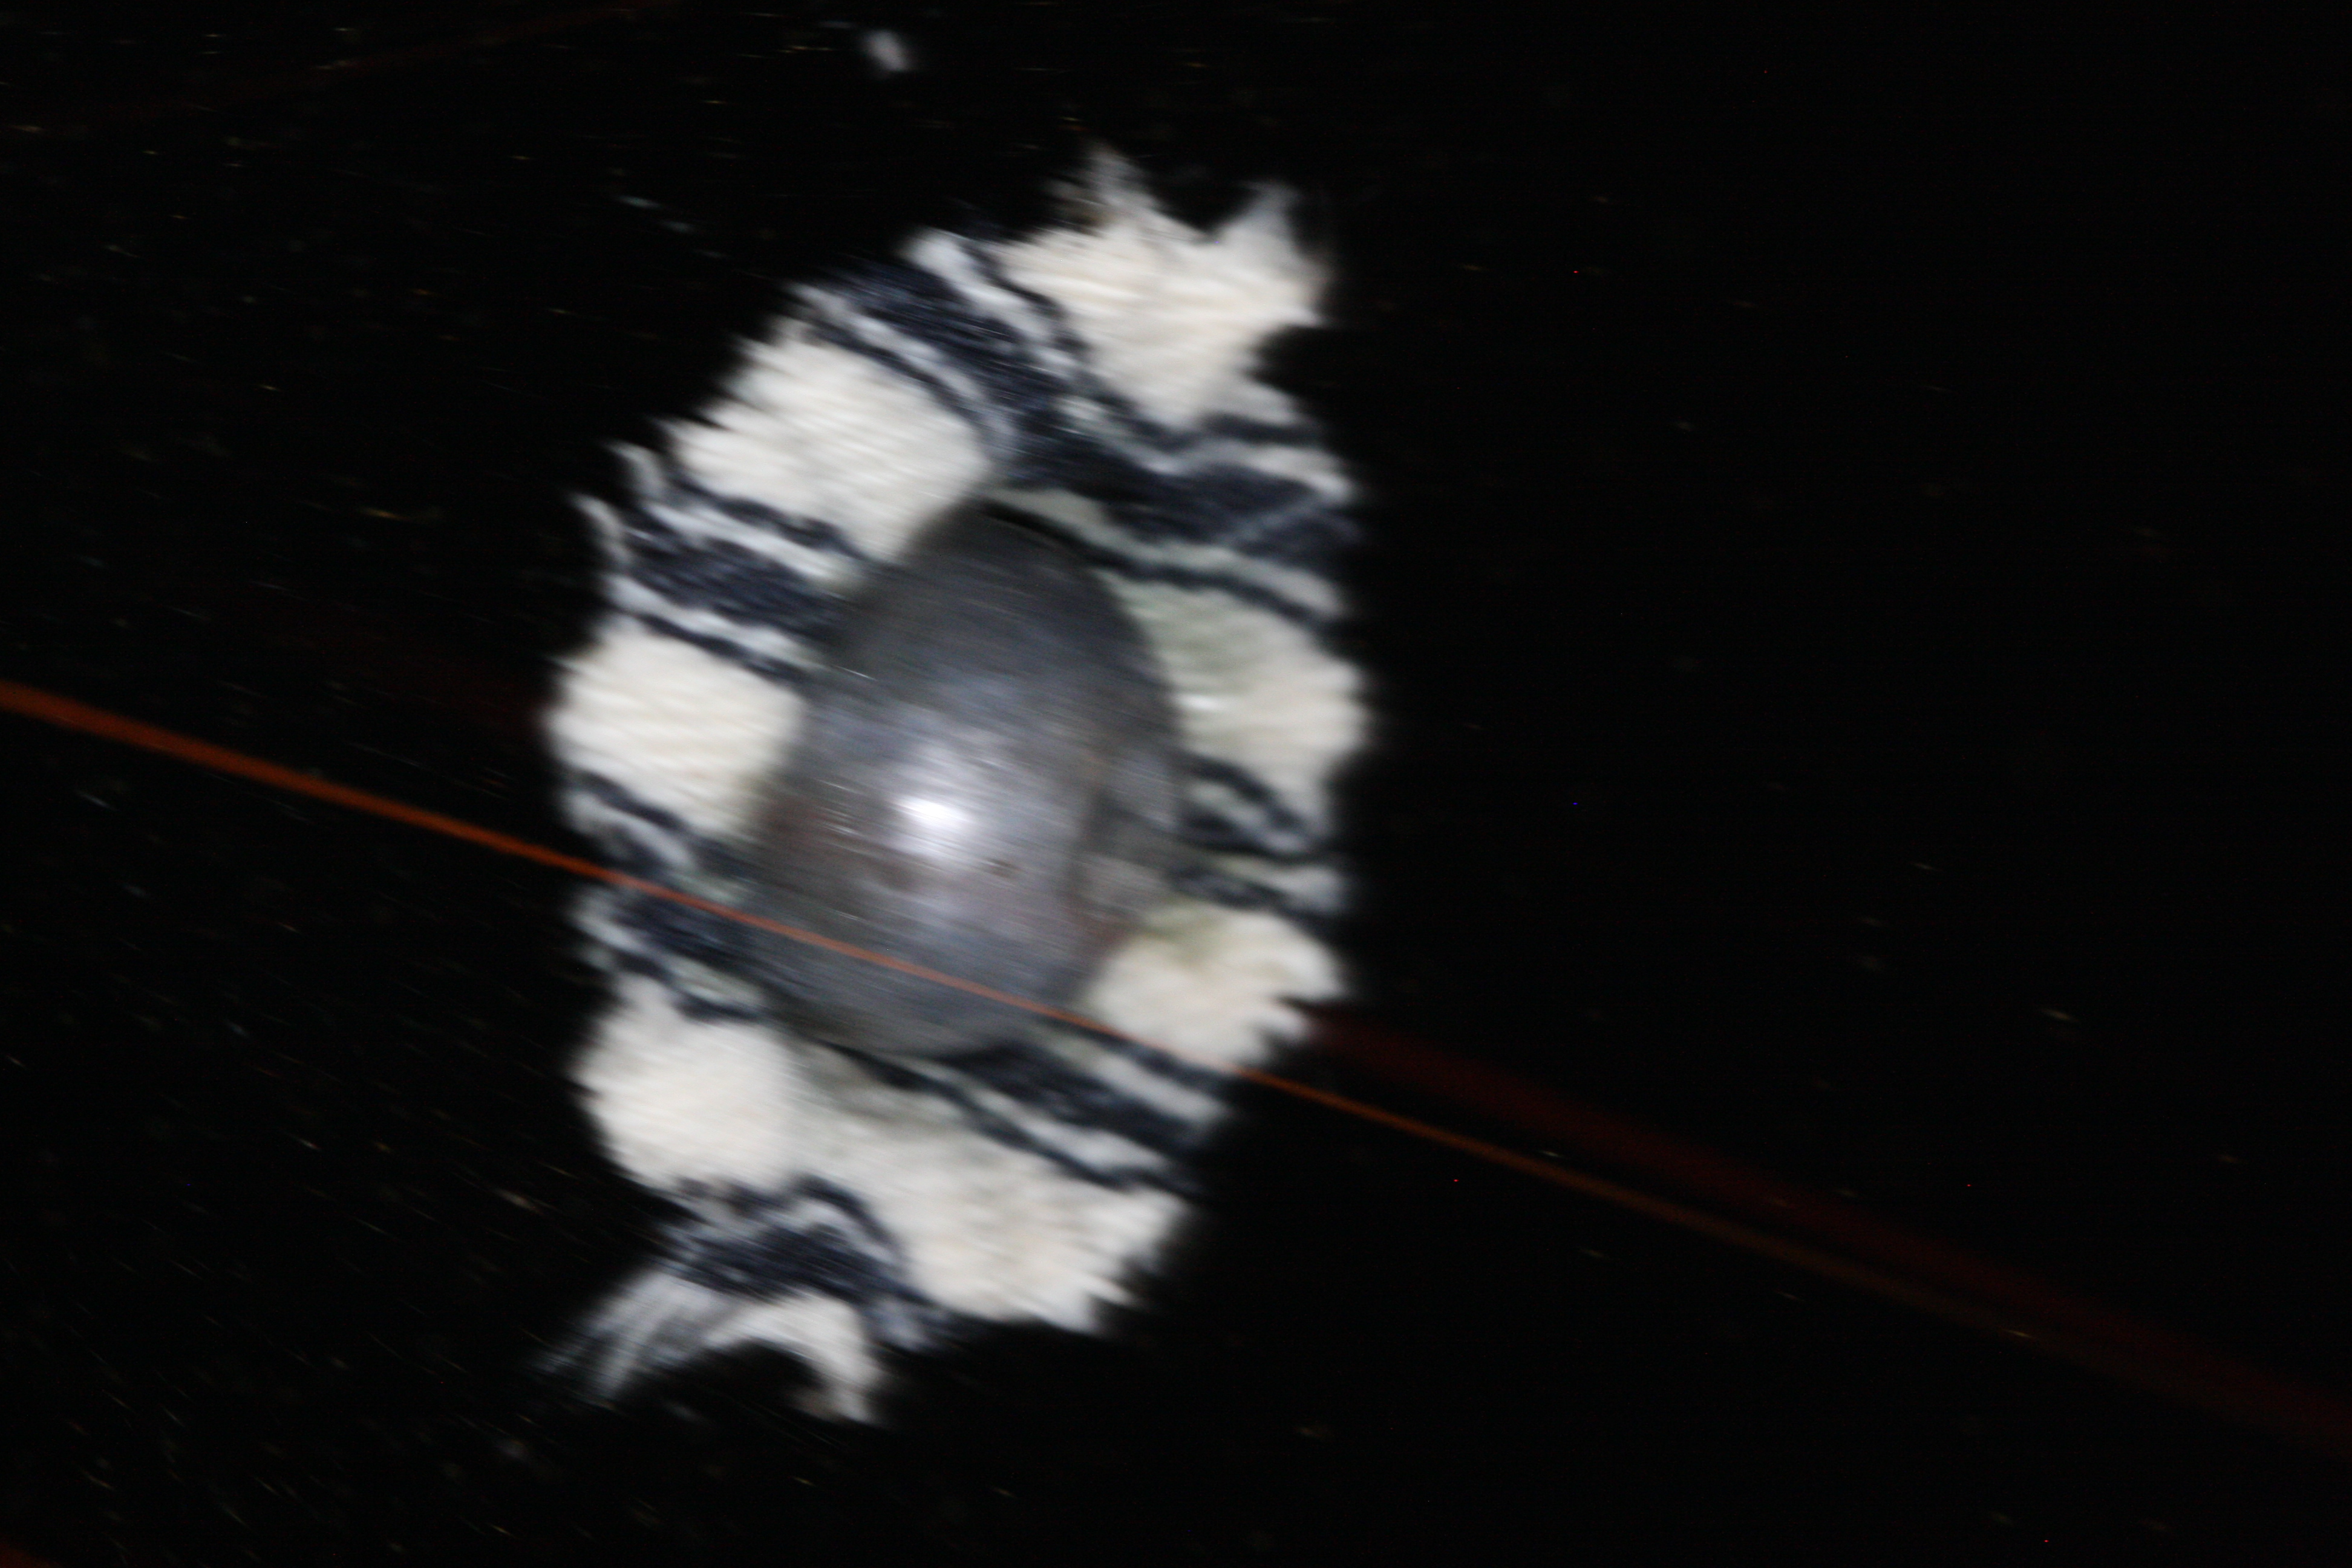
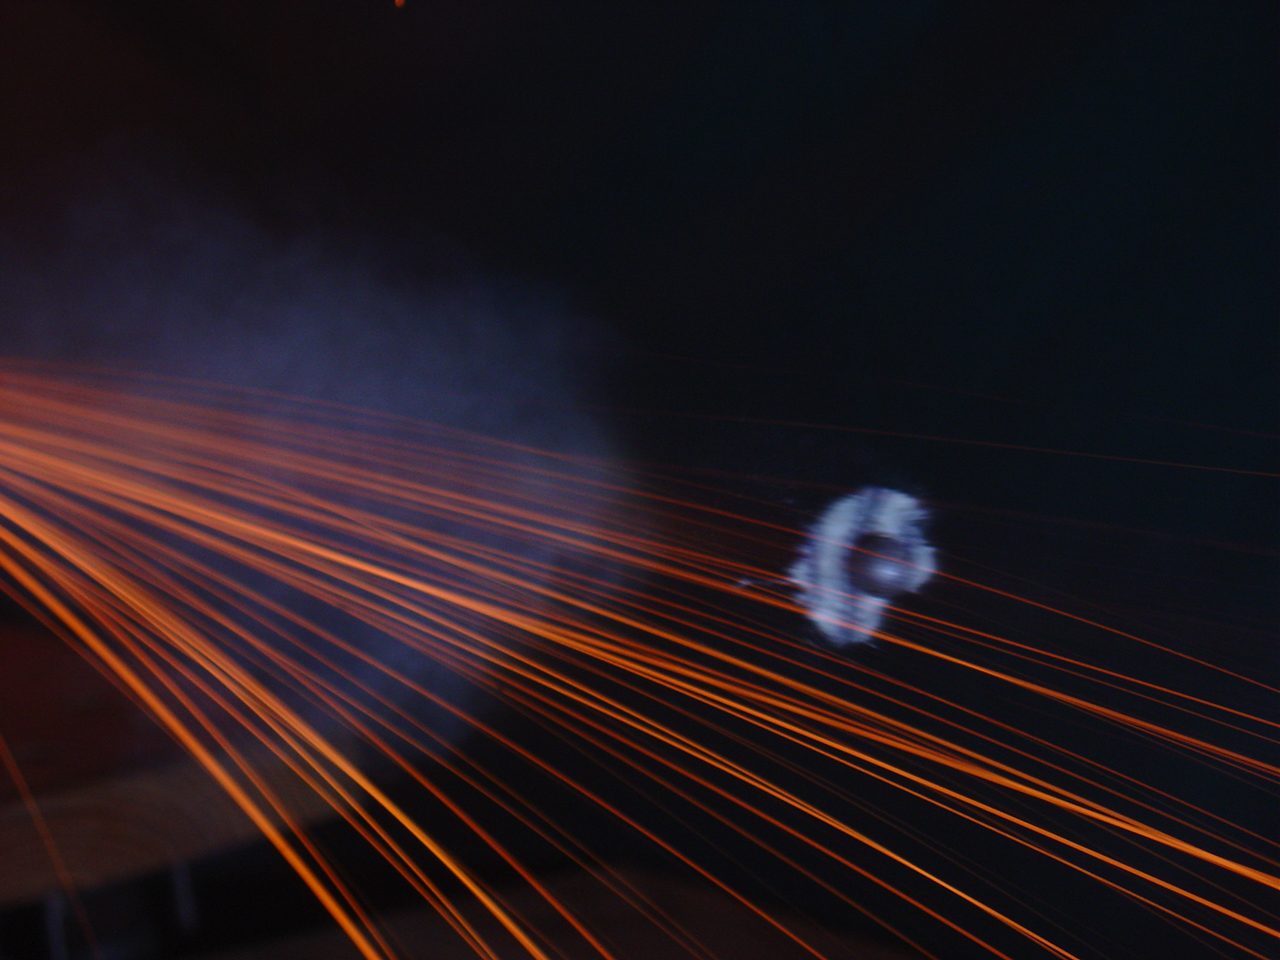
(The title photo was taken in January 2014 using the same methodology, but with a close-up lens.)
For some time I have wanted to take a high speed photo of a patched ball from a flintlock muzzleloader shedding its patch. This article documents the six month process of my attempts. Included are all the mistakes I made and what I learned about black powder as a result.
Jan. 11, 2006:
Today I video taped an experiment at the range to prepare for the “patched ball” photo. I wanted to see if I could tell about how far from the muzzle the patch began to separate. When shooting from the kneeling position, I found the patch about 12 feet away from the muzzle. The actual separation was undoubtedly a little closer than that. Off the bench I’ll start with the camera aimed about 10 feet from the muzzle and see whether the patch has separated.
I also tried the magazines as a bullet stop. At about 15 feet, the ball penetrated the fourth magazine. That should give me adequate ability to stop the ball. The stop will need checking after each shot. Blue insulation board will be used to prevent bouncing off the magazines. I don’t think this is necessary, but will err on the safe side.
The gun used is a 20 ga flint trade gun. The load tried today is 25 gr. fffg followed by an over-powder wad soaked in Crisco. The patched .595 ball is seated on the wad. The sound of this load is pretty weak.
Jan. 12, 2006:
Today the physical setup was completed. The infrared beam is ready. I can break the beam with a pencil and cause a flash. The shooting bench is set to give distances of 10, 11, and 12 feet from the beam. With the flintlock on the muzzle rest and aimed at the center of the stop, the ball will break the beam. The bullet stop has four times as many magazines as is necessary.
The next step is to actually fire the gun and see if the ball breaks the beam and triggers the flash. If that works, the camera will be set to have a shutter opening of 5 seconds of so. With the camera ready, the shooter will be primed. The lights will be shut off. The camera shutter will open, and the shot fired. The flash should have been triggered. The light is turned back on and the photo examined. The gun will be adjusted closer or farther away to get the patch falling away. This will take two people to do — one to do the shooting and the other to handle the camera and lights.
Jan 14, 2006:
Today was a process of prepping the camera and flash. The camera is a Sony Cyber-shot 5.0. It can be adjusted in the necessary ways, but it does require careful adjustments. The following are settings different from normal:
Camera:
Flash:
1. Manually adjusted to 1/16 normal flash. This is variable as we see how the photos look. At first this would appear to be fast enough, in reality it may be too slow. If there is too much blur, I will substitute a variable resistor for the thermister. This allows a shorter flash, in fact the fastest I can get with present equipment. At that speed the flash output may be too dim to light up the ball. Since the resistor is variable, it may be possible to find a setting that solves both issues.
After these settings were done, I adjusted the infrared beam again. With the camera in place, I moved the ball until it broke the beam, causing the flash. I also took a photo of the ball to check the focus. Everything seems to work.
Jan. 18, 2006:
Fig. 1 shows the ball after the patch has been lost.
Fig. 1
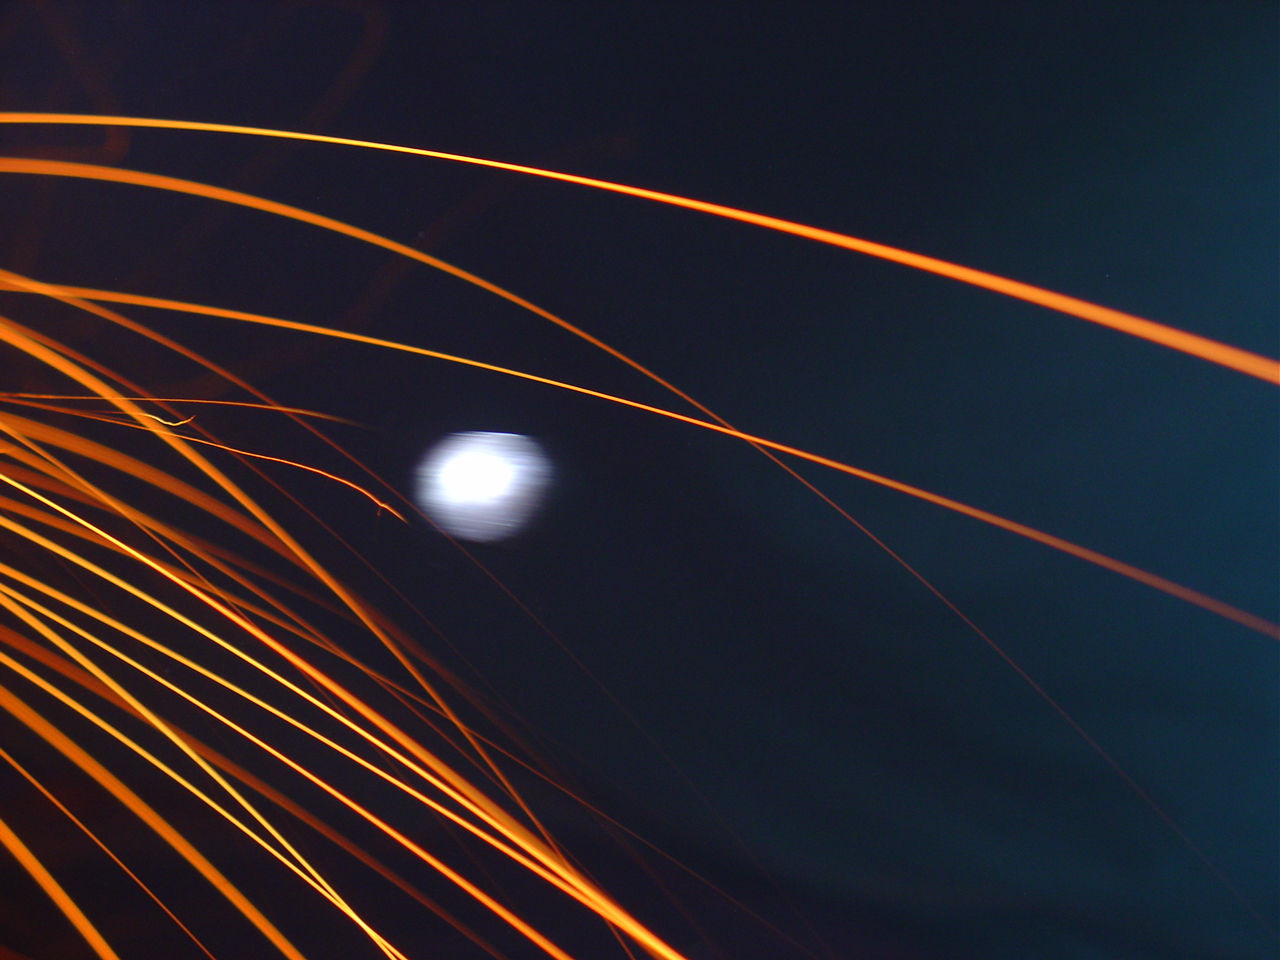
Fig.2 shows the patch falling away. The ball is out of the camera view to the right. While I got an image, this session was less than a success. I learned that the patch seems to come off the ball between 8 and 9 feet from the muzzle. This will help us in the next try.
Fig. 2 (This photo was lost in 2013 when the files were damaged and the site rebuilt.)
Jan. 20, 2006:
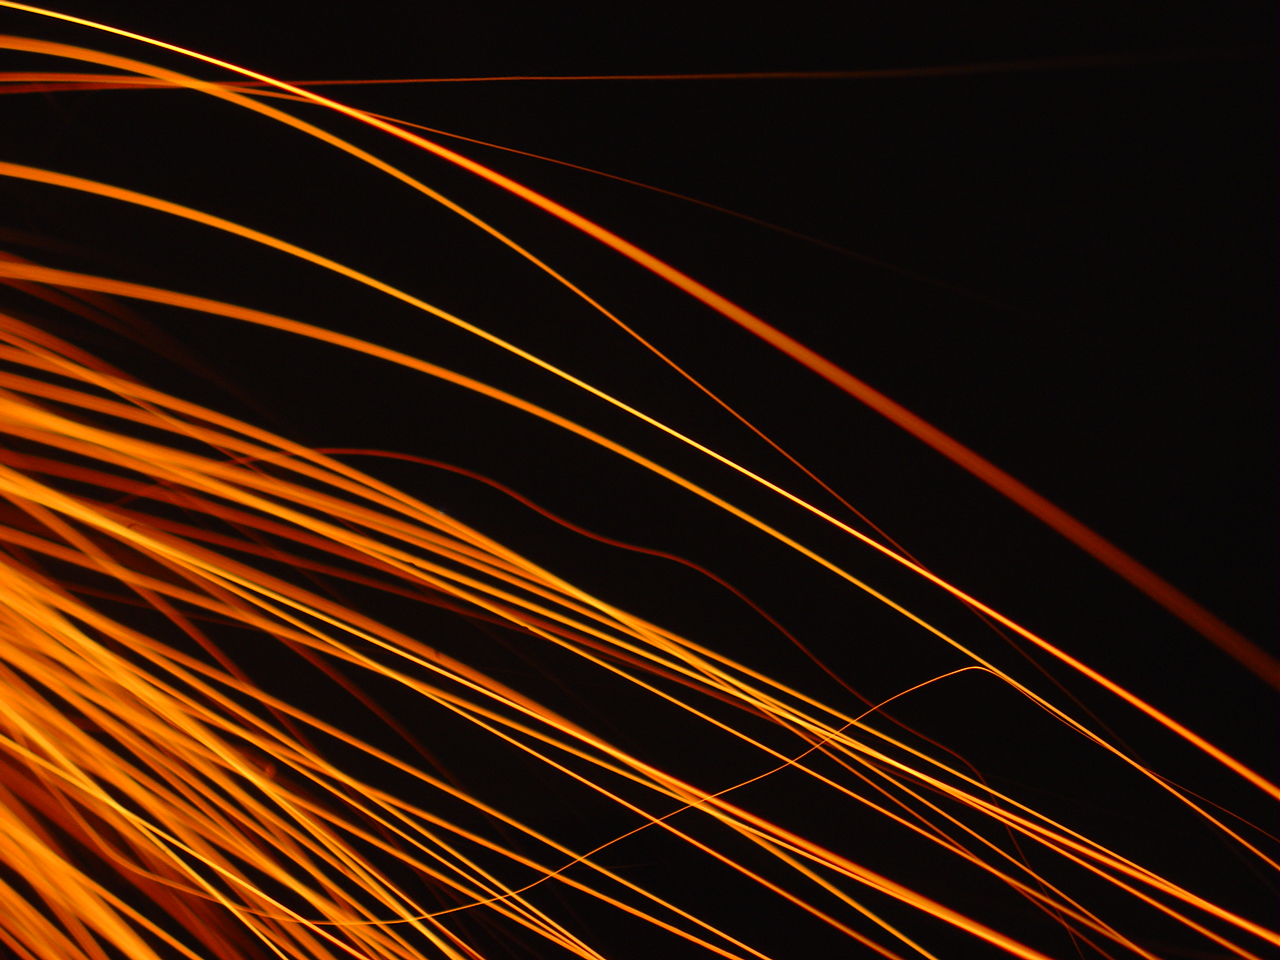
Ed and I took another set of photos tonight. Both show the ball, no patch, but showing the over-powder wad. The ball in Fig. 3 had a felt marker mark placed on the sprue as a joke. But, the mark shows in the photo. These were taken at 9’3″ from the infrared beam. The over powder wad has apparently solved the problem of smoke covering the ball in flight. The orange lines do show grains of powder still burning after leaving the muzzle.
Fig. 3
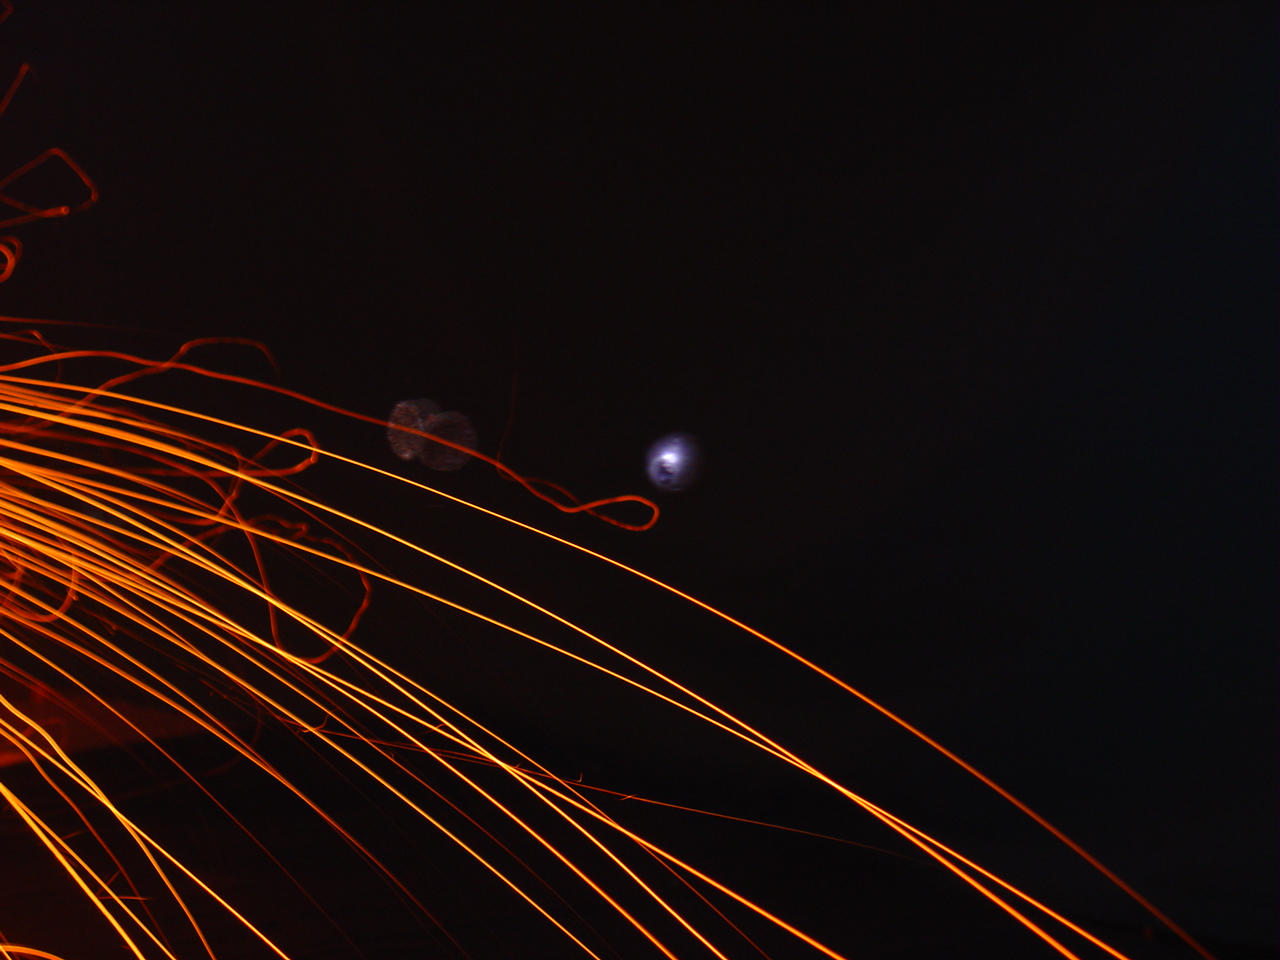
Fig. 4
On our next try the distance will be to test the distances between 8 and 9 feet. We feel like we’re gaining on this. Five shots are about all we can do in the garage until the smoke gets too thick.
One key change that was necessary was that the 1/16 flash setting still too long duration. I installed a variable resistor. I adjusted the resistor as fast as I could without making it too dim. This seemed to work. I can still get a little shorter, but will sacrifice amount of light to do it.
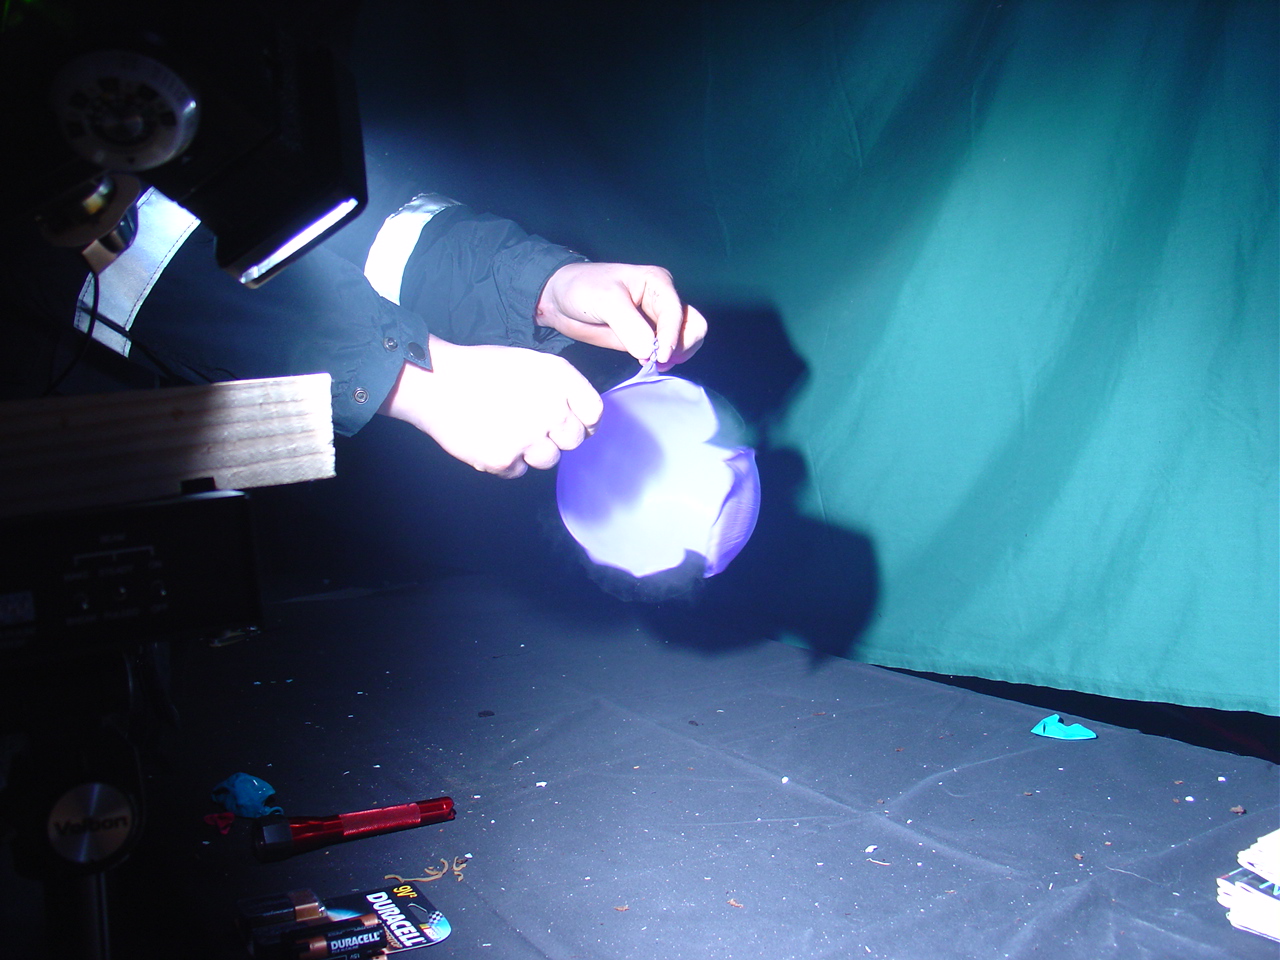
My friends Mark, Matt, and Doyle stopped by, and after we finished the patched ball session, we played with bursting balloons. In Fig. 5, Matt is doing the honors. The setup makes this type of photo easy to do.
Fig. 5
Jan. 27, 2006:
Fig. 6
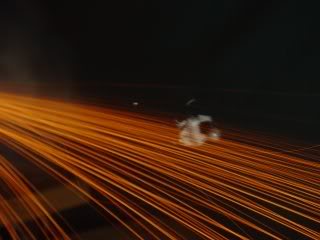
Tonight started well when Doyle brought popcorn. But the photo session was disappointing. Fig. 6 was taken when the flash didn’t cycle. All we got was sparks. The ball is in the center of the photo, but is invisible because there was no flash. Other pics seemed out of focus. Distances varied from 8 to 9 feet, but we couldn’t tell if the patch was on the ball – none of the pics were clear enough to be definitive.
Fig. 7 shows an interesting item. There is a shadow on the ball from a spark that is passing it. I speculate that this shadow is proof that gases expelled from the barrel are able to travel faster than the ball. In order to cast a shadow on the ball the spark has to be located between the flash and the ball. The flash is located slightly ahead of the infrared beam. The spark has to be slightly ahead of the ball to leave a shadow. It is my belief that initially the spark overtakes the ball, but as the spark slows, the ball overtakes it on the way to the bullet stop.
Fig. 7

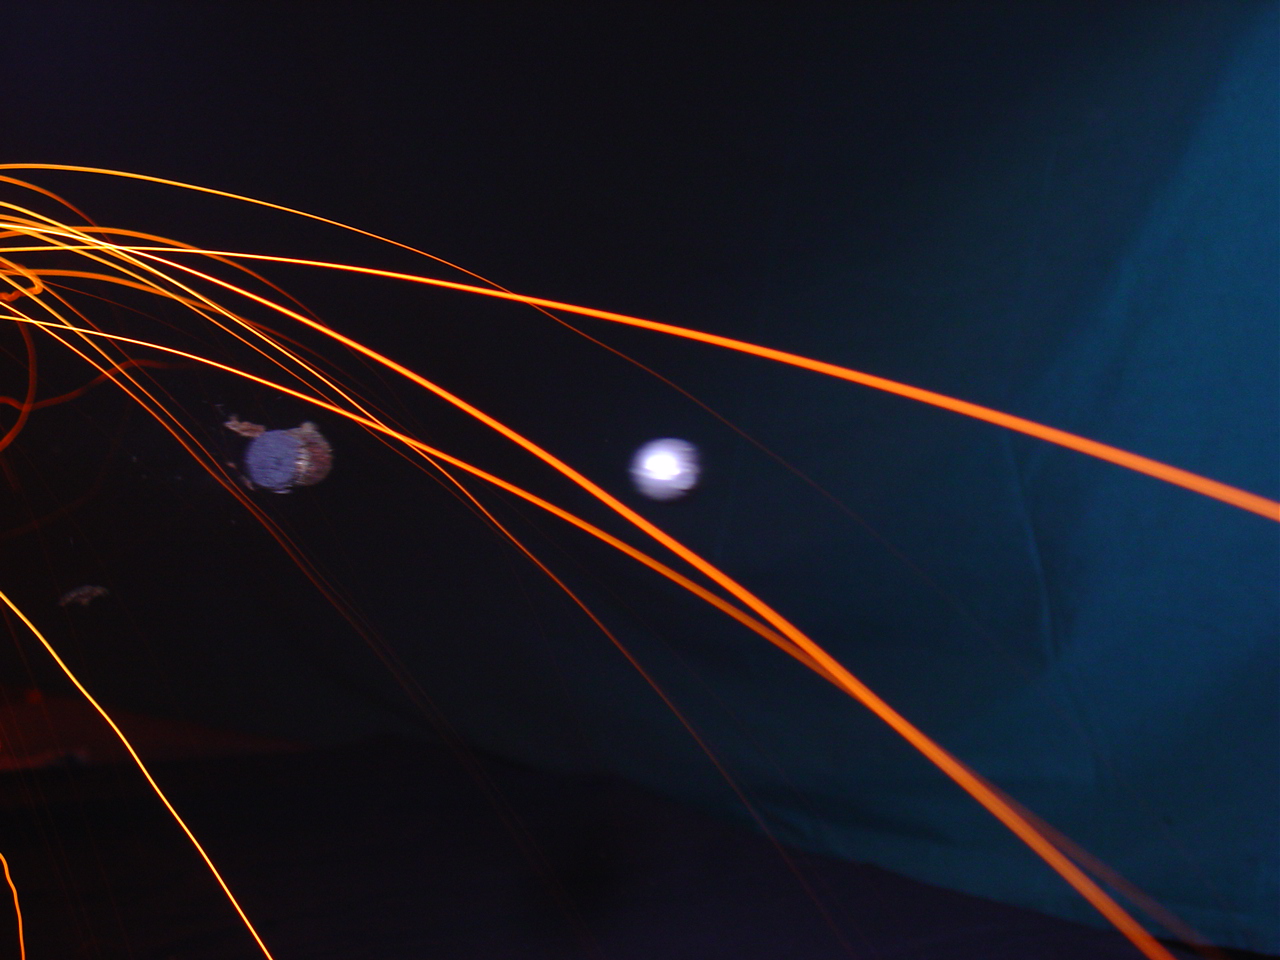
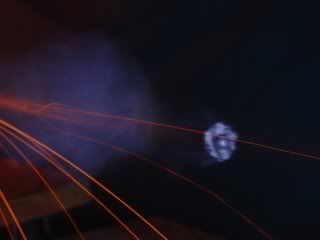
Fig. 8
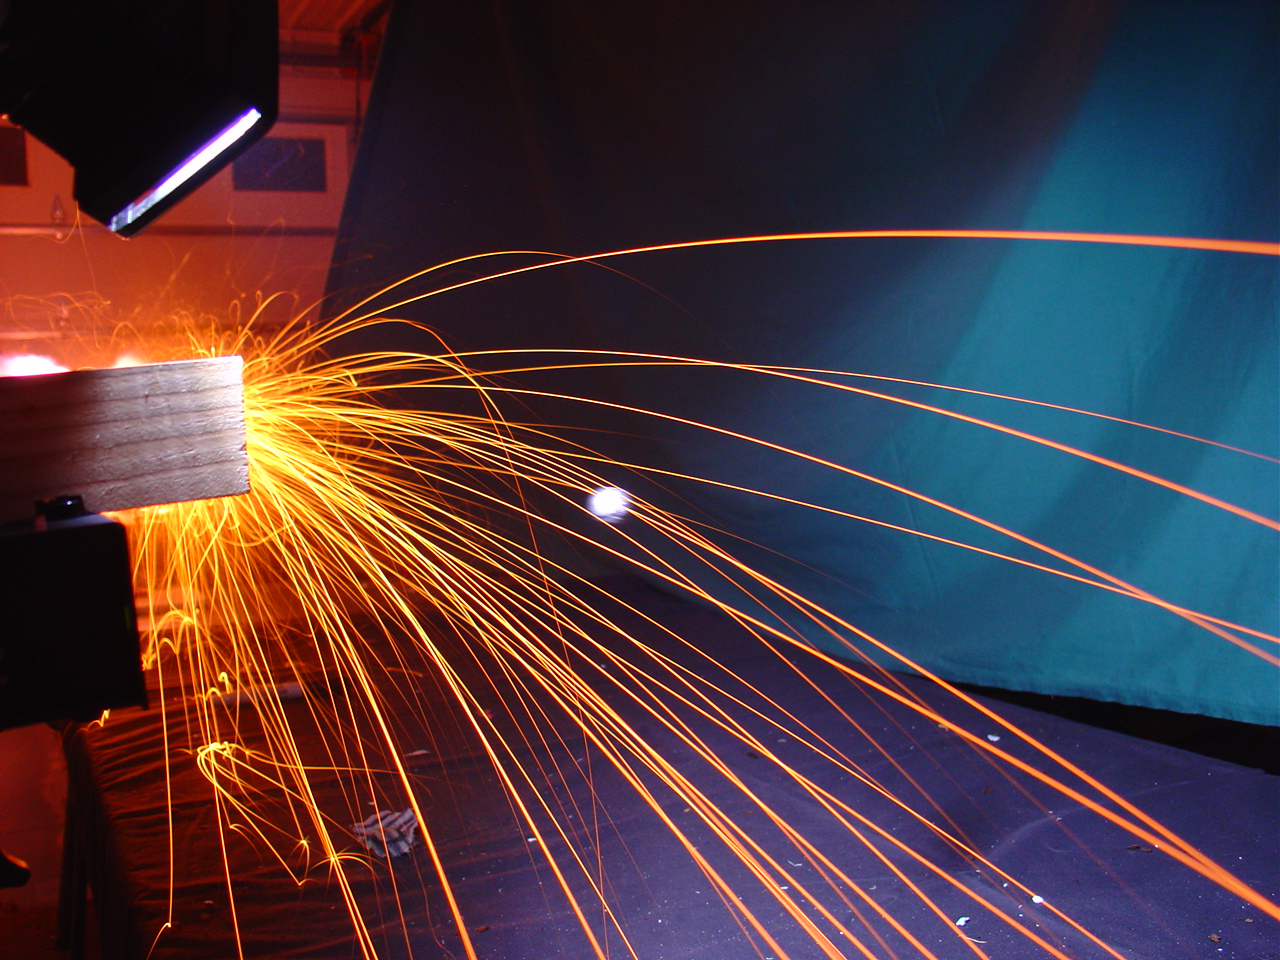
Fig. 8 was taken zoomed out and shows part of our photo setup. The rifle muzzle is hidden behind the flash mounting. We got the ball but didn’t learn from this one. The patch seems to separate inside if 8’6″, but we have yet to get a good photo it this.
Jan. 30, 2006:
The session on Friday left a bunch of questions. The duration of the flash is the largest cause, I think. I adjusted the flash duration twice, and each time over adjusted. To solve this I gave it a new graduated adjustment dial. I cut a disk out of wood and marked ¼” increments on the edge. Using Mumford Micro Systems’ Time Machine, I timed each increment. With the results printed out in a chart, I can adjust the flash duration close enough to do repeatable trials. The first 4 positions are so close in duration as to be unusable. However the rest of the dial settings give usable increments. Positions 5-8 yield increments faster than the fastest factory setting of 1/30 full flash. There are 4 more settings between 1/30 and 1/16 full flash. Flash durations slower than these are generally too slow to be of much experimental use.
During this week’s session we will first determine the best flash setting and then get to the business of photographing the separation of patch and ball. While last week’s tries were too blurry to be sure, it is my speculation that we will need to be closer than 8 feet – perhaps 5-6 feet to do this. If that is true, sparks from the muzzle may be a problem. Time will tell.
Feb. 2, 2006:
Tonight we decided to start our photo session with the muzzle 5 ft from the infrared beam. The resulting shot, Fig. 9, was completely filled with sparks. No ball could be seen. The ball should be in the right third of the photo and midway up and down. This photo gives no evidence as to where the patch begins to separate.
Fig. 9

For Fig. 10, we moved the gun back to 6 feet. We hoped to lessen the sparks and see the ball. The result was the same. The sparks were too intense to see the ball whether or not the patch had separated. Again the ball should be in the right third, midway top to bottom.
Fig. 10
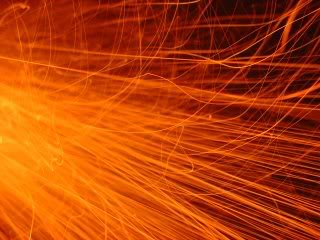
In Fig. 11 we moved the gun back to 7 feet. Again the sparks were intense. We can see the ball and tell that the patch had separated, but the sparks prevent us from seeing the patch. In one of these photos we added the over-powder wad to see if it would help to contain the sparks. However, it would be difficult to prove which of these used the wad. There seems to be no way to avoid the sparks problem.
Fig. 11

Our last try of the night, Fig. 12, was done to narrow the distance in which the patch might be separating. We moved the gun to from 7 feet to 6 feet 6 inches, hoping that we could see enough of the ball to tell if the patch had separated.
Fig. 12

It is our opinion that the ball in this photo has no patch. We believe, because of sparks, the ball cannot be seen closer than 6 feet 6 inches, and that by this distance the patch has already separated. We don’t think further photos will catch the patch and ball separating.
Fig. 13
When this project was begun, I believed that smoke would be our enemy. Sparks instead, were our downfall. We can say with authority that, in our experiments, the separation of the patch took place closer to the muzzle than 6 feet 6 inches. At distances closer than this, the sparks produced are too intense to capture the separation in a photo.
Several interesting sidebars came to light during our work:
Feb. 24, 2006:
Recent information from a muzzleloading friend means that I need to try the experiment with another powder. William Knight has impeccable credentials in the field of black powder. He recently performed experiments with Swiss, Elephant, and Goex brands of black powder. The experiment consisted of dissolving a measured amount of the various powders and examining the remains. Summarizing his results, Goex powder had 5% of the charcoal remain on top of his screen. Swiss had virtually nothing that did not dissolve.
Mr. Knight related to me that the difference was that the Swiss powder used charcoal that was ground almost to dust. Goex charcoal was not ground that finely. Mr. Knight suggested that the sparks seen in our photos were particles of charcoal burning after leaving the barrel. It was his opinion that Swiss powder would probably have noticeably less sparks.
I purchased a can of Swiss ffg powder and will set up to repeat the experiments. Mr. Knight’s information may still allow us to get a photo of the patch separating from the ball.
March 9, 2006:
Tonight we tried Swiss ffg powder to see if there was a reduction in sparks. Because of a couple of unrelated problems we fired only one shot. The charge was 25 grains of Swiss ffg — just as we had done with the Goex charge. The distance was 6 feet from the infrared beam. The result was a photo with a very substantial reduction in sparks. The photo was a failure from the standpoint of getting the ball on film. But it was a success regarding the powder. Our experience confirms Bill Knight’s findings that Swiss powder contains charcoal ground more finely than Goex charcoal. It also confirms that sparks in the Goex photo are caused by those charcoal particles. The lack of large charcoal particles in the Swiss powder leads us to believe that our goal of a photo of the patch separating from the ball is now finally possible.
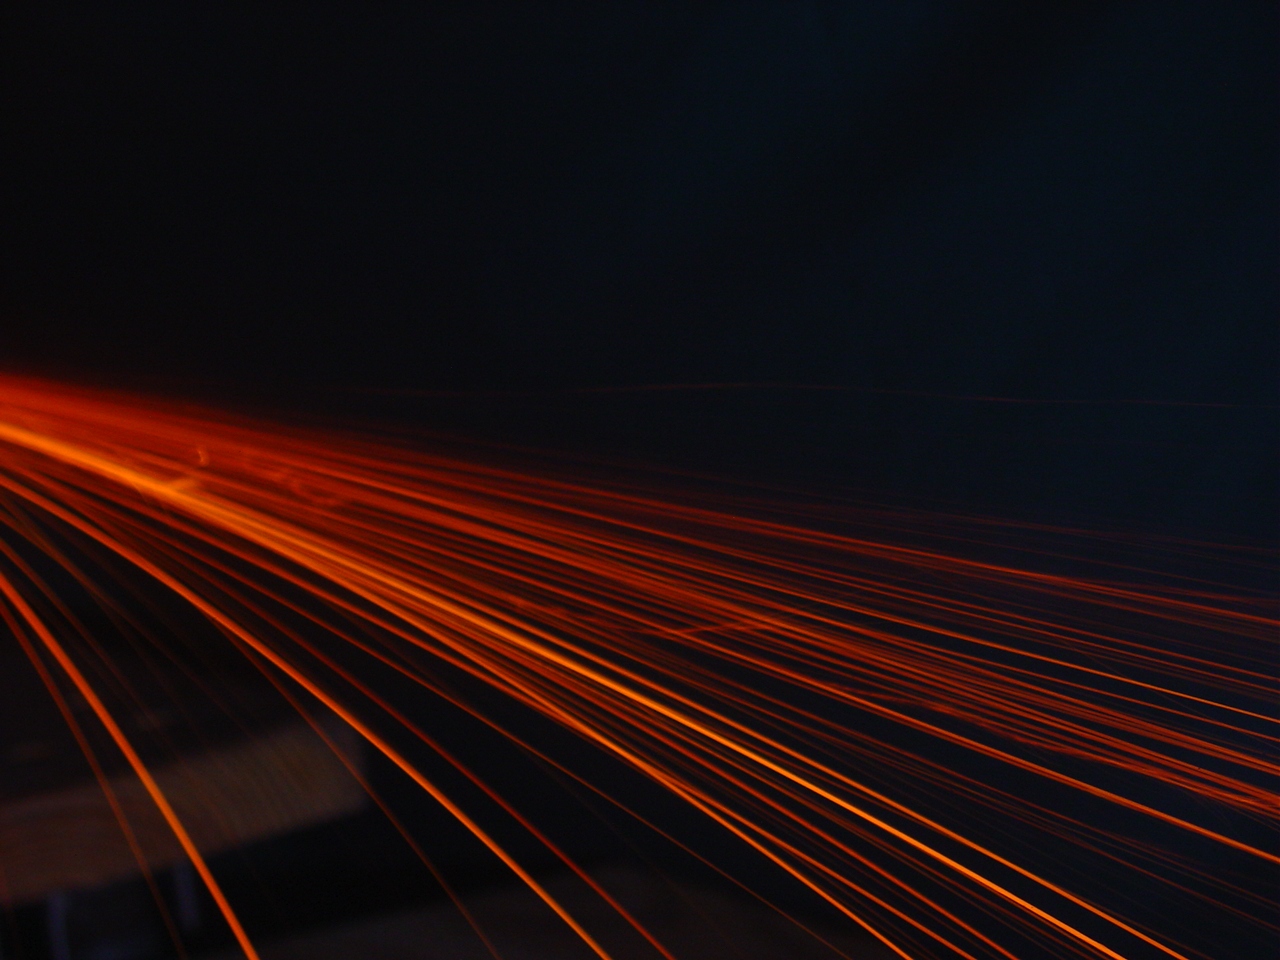
Fig. 14 was taken with the Swiss ffg load at 6 feet. Compare this photo with Fig. 10, also taken at 6 feet but with Goex powder. The only variable in these two photos is the powder. The reduction is unmistakable.
Fig. 14
June 6, 2006:
This is the first photo session since changing to the .40 caliber flint rifle. We made the change because of a safety flaw found in the operation of the trade gun. The rifle used tonight has a Siler lock, Douglas barrel, and Davis triggers. I have a high level of confidence in it. The last entry explained the reason of the change to Swiss black powder. As we worked tonight, the noticeable decrease in sparks was extremely helpful. We could photograph the ball more than twice as close as when using Goex.
The procedure used was largely the same as in previous attempts, with the exceptions noted above. The shot is fired in total darkness. The rifle is loaded with 10 grains of Swiss ffg powder and a .395 caliber ball. Breaking the infrared beam triggers the flash. Once everything is ready, the rifle is aimed, lights switched off, camera shutter is opened, rifle is fired, and finally the camera shutter is closed. After examining the resulting digital photo, adjustments are made, and the next shot is prepared.
In Fig. 15, the muzzle of the rifle was 30 inches from the beam. One can see the spacing between the ball and the patch. In Fig. 16, the rifle was moved closer- this time 26 inches from the beam.
Fig. 15
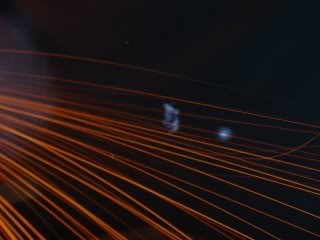
Fig. 16
This photo is indistinct, but does show that the patch and ball are much closer together. We felt that we were on the right track and decided to bring the rifle closer.
Fig. 17
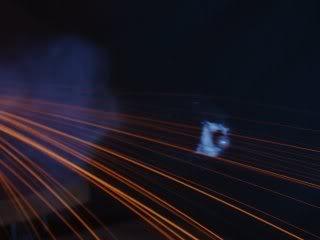
Fig. 18
Our next try, Fig. 17 was fired with the muzzle 24 inches from the beam. In this shot the patch has just separated from the ball, but the distance is so small that the ball still casts a shadow on the patch. After another try at this distance, Fig. 18, we moved the muzzle to 20 inches. At the 20 inch distance, the patch still contacts the ball. We took Fig. 19 and Fig. 20 at this distance. While they each vary slightly, they all show the patch and ball in contact with each other. These photos met our goal at the beginning of the project.
Fig. 19

Fig. 20
We did move to 17 inches to see if the patch could be photographed tightly wrapped around the ball. This last photo shows the patch still wrapped around the ball, but the ball is difficult to see.
Fig. 21
It is interesting to note that there were less sparks at 17 inches with Swiss powder than there were at 60 inches using Goex.
My good friend Ed Harting was the trigger man in all of our trials. It was his job to fire the benched rifle in total darkness. With all equipment ready, Ed would aim the rifle. When he was anchored well, I would turn out the lights and open the camera lens. Ed would then fire the shot. I was probably more comfortable with Ed behind the gun than he was with me out in front. Ed’s barber shop was also the center for the planning of the experimentation and methodology used. We would examine the photos and plot our next session. A fair number of Ed’s customers became actively involved in our progress. Thanks, Ed for your help and support.
(Ed died of cancer since the project was completed. He was a good friend is greatly missed.)
———–
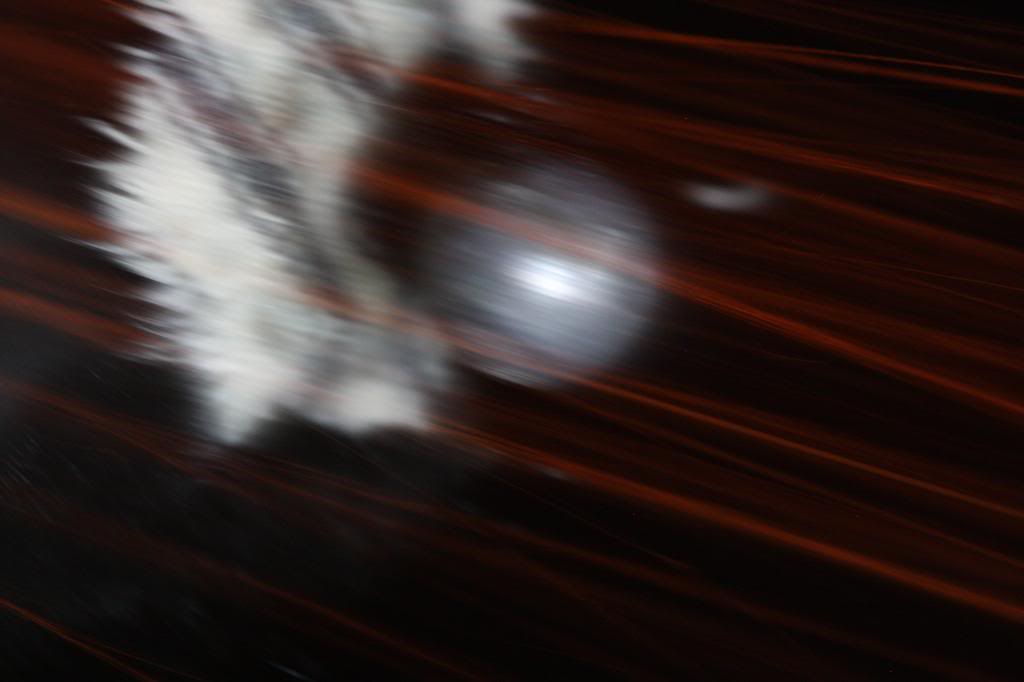
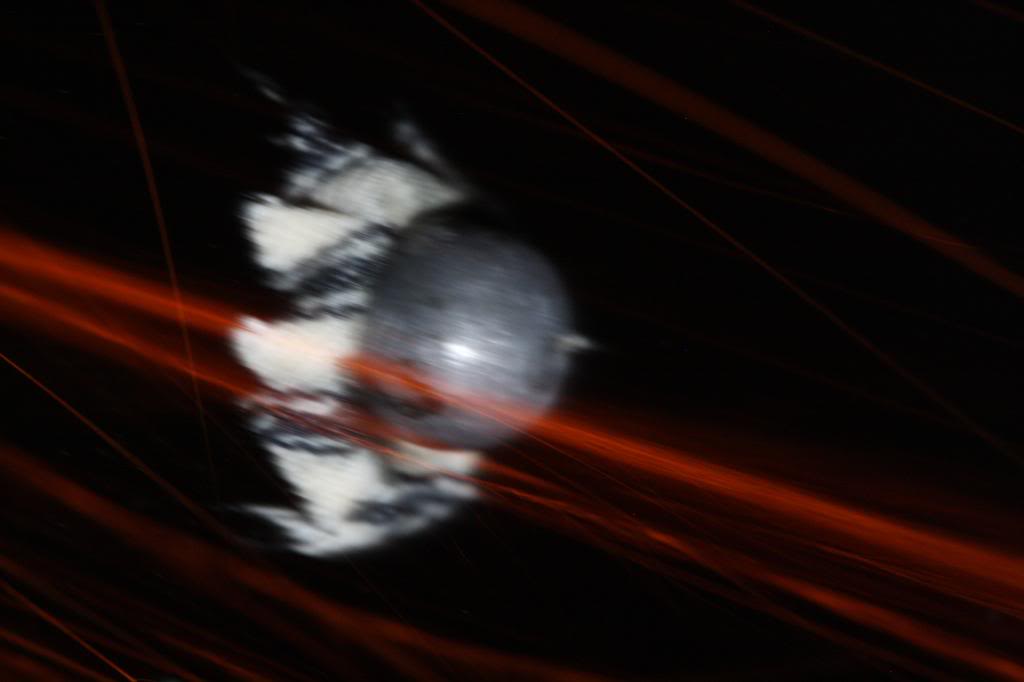
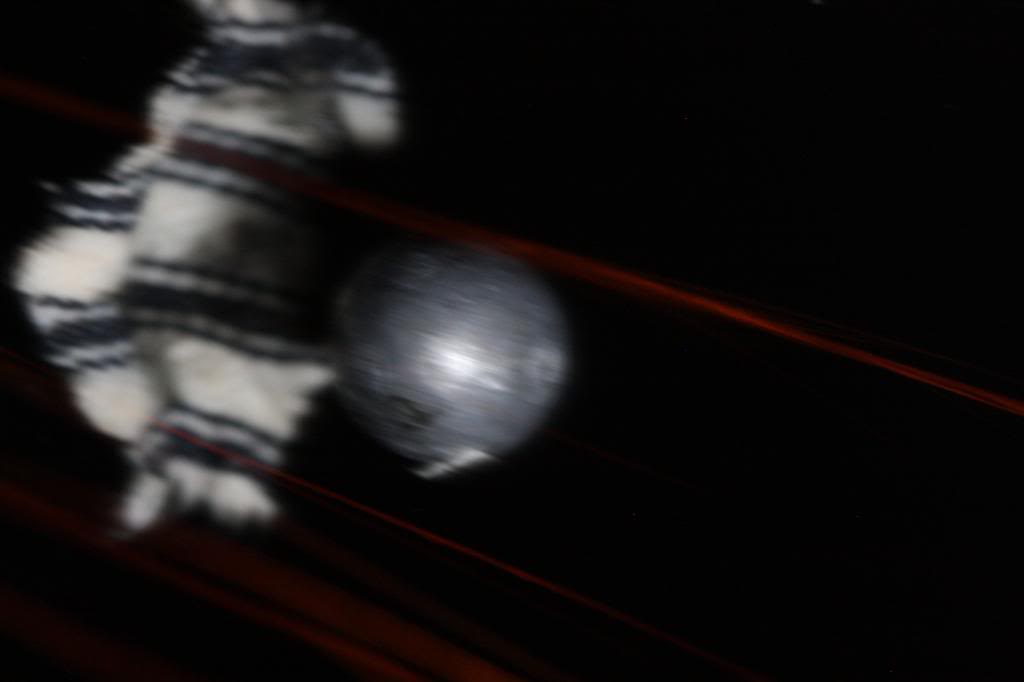
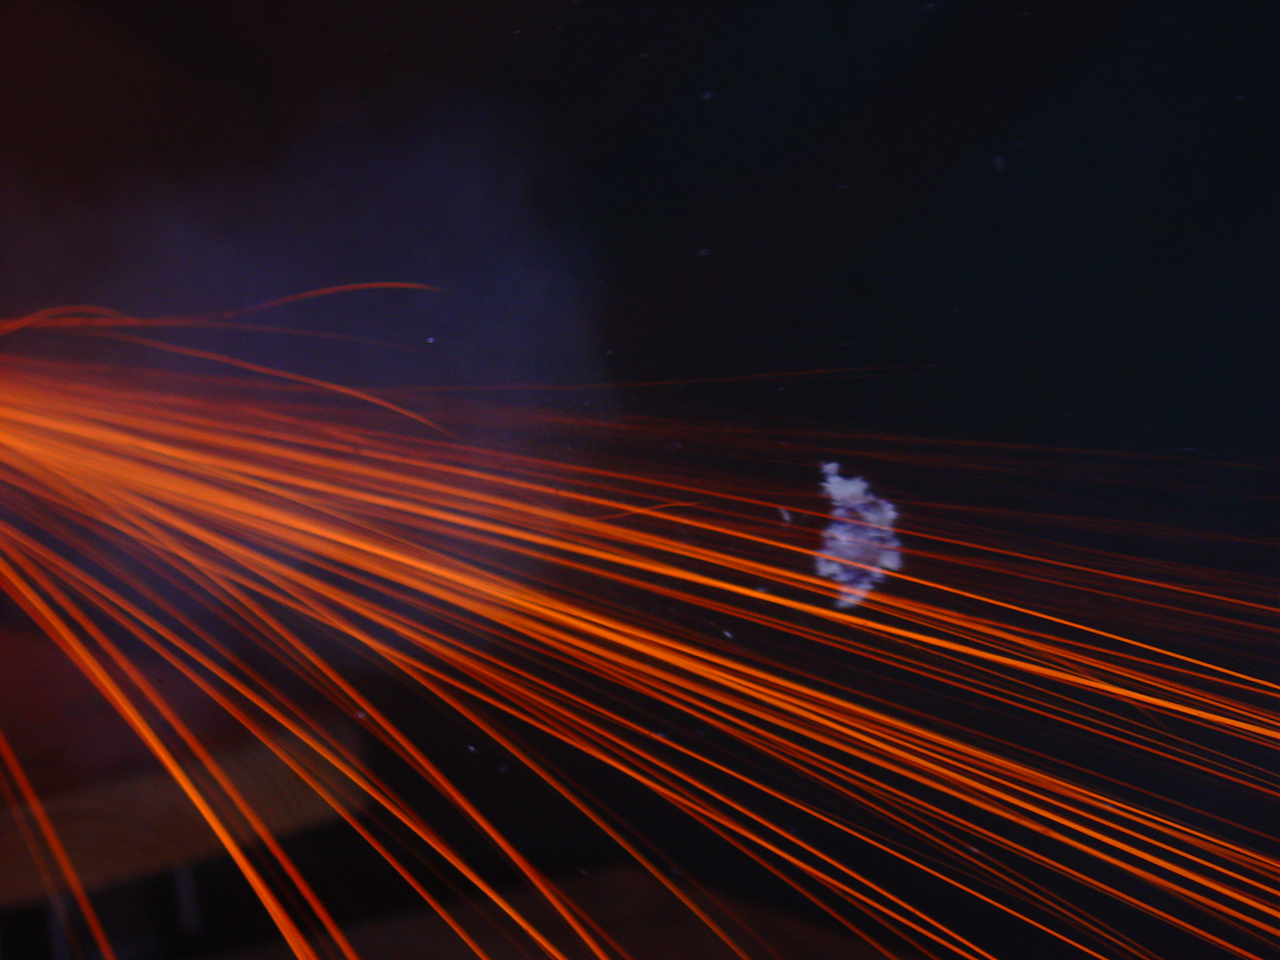
In 2014, Steve Chapman and I decided to duplicate the work Ed and I did earlier. We used a different camera and lens, hoping to get larger images. The title image is one of this later group. Below are more patch/ball images and also photos of the equipment.
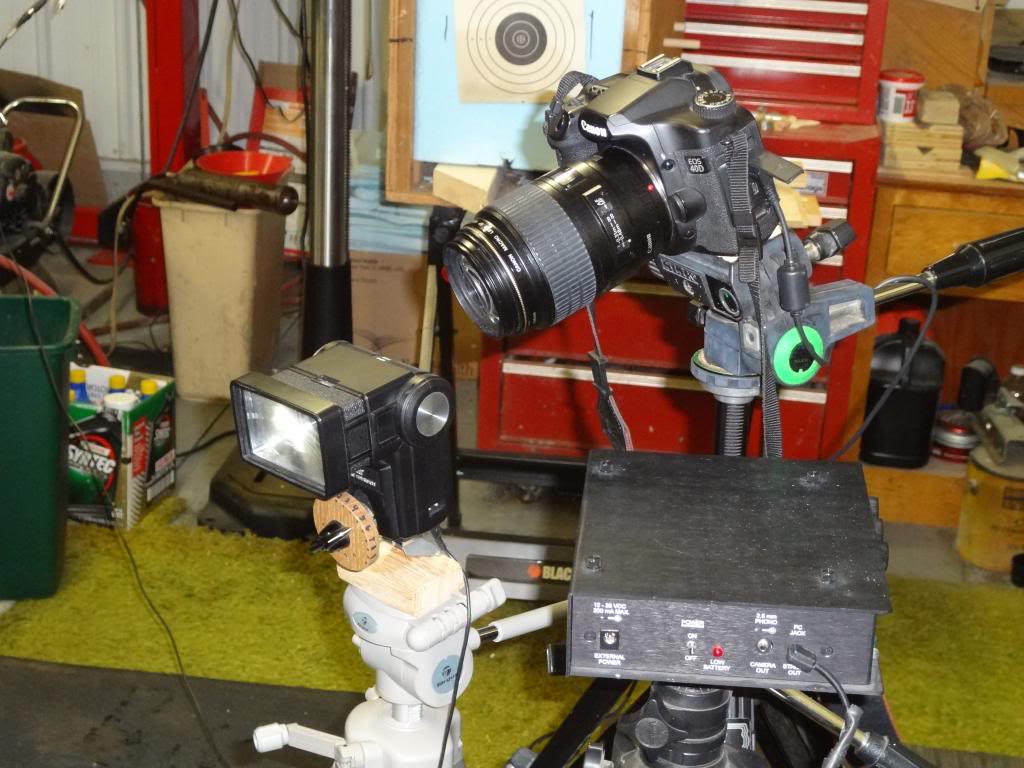
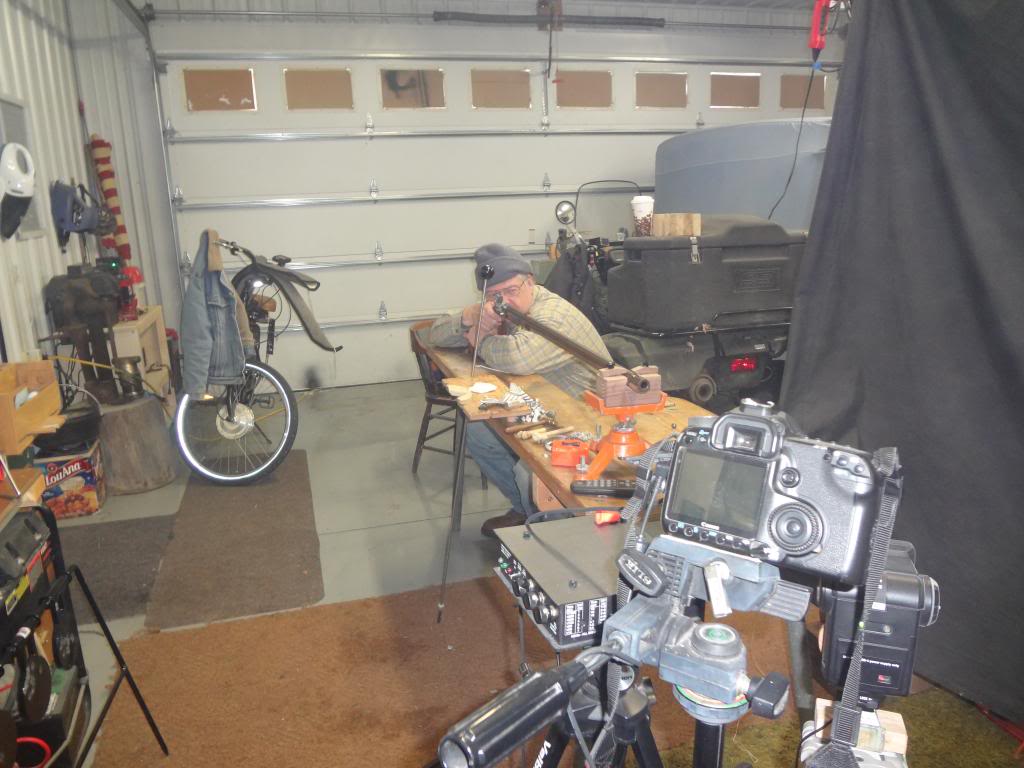
And just for fun: