Category: How To’s

  • Cleaning Your Gun by Wayne Stormer

    Wayne Stormer is an experienced muzzleloader who posted this on FaceBook.  It is reproduced here with his permission. He retains all publishing rights.  Wayne and I are both interested in seeing newer black powder shooters get a good start.

    CLEANING YOUR GUN

    It keeps popping up on other sites off and on all the time. I see all sorts of concoctions and magical spells being used by novice and seasoned black powder shooters alike. Everyone looking to make the elusive magical patch lube and how to magically clean their guns. Lets dis-spell a few ideas and look at some basics here while avoiding debates.Remember there are new shooters to this sight as well and this is mainly geared towards them.

    You’ve wiped your bore dry, loaded you new gun up, and you’ve fired it. You’ve wiped between shots, and are done for the day. You’ve got fouling in your bore, and it is time to clean things up and go home. That’s right. I’m talking about cleaning up right in the field or at the firing range after a shooting session. Maybe you choose to clean when you get home, but I like to clean my gun then and there.

    The fouling residue in the gun has salts, carbon, and acids. Any internal combustion device will produce acids. That is just the way it is. It is time to neutralize and clean the gun. Your gun will smell good and so will you thus keeping the missus happy when you get home……especially if you are late to dinner again.

    Everyone has their magical mystical way of doing things but, for the old boys, it gets down to the basics. Water, alcohol, and oil/grease to get the job done.
    1- The water softens and removes the salts, acids, and grime.
    2- The alcohol helps remove excess water and moisture.
    3- The oil/grease neutralizes any remaining minute traces of salts
    and gives a protective coating to the bore of the gun preventing
    rust.

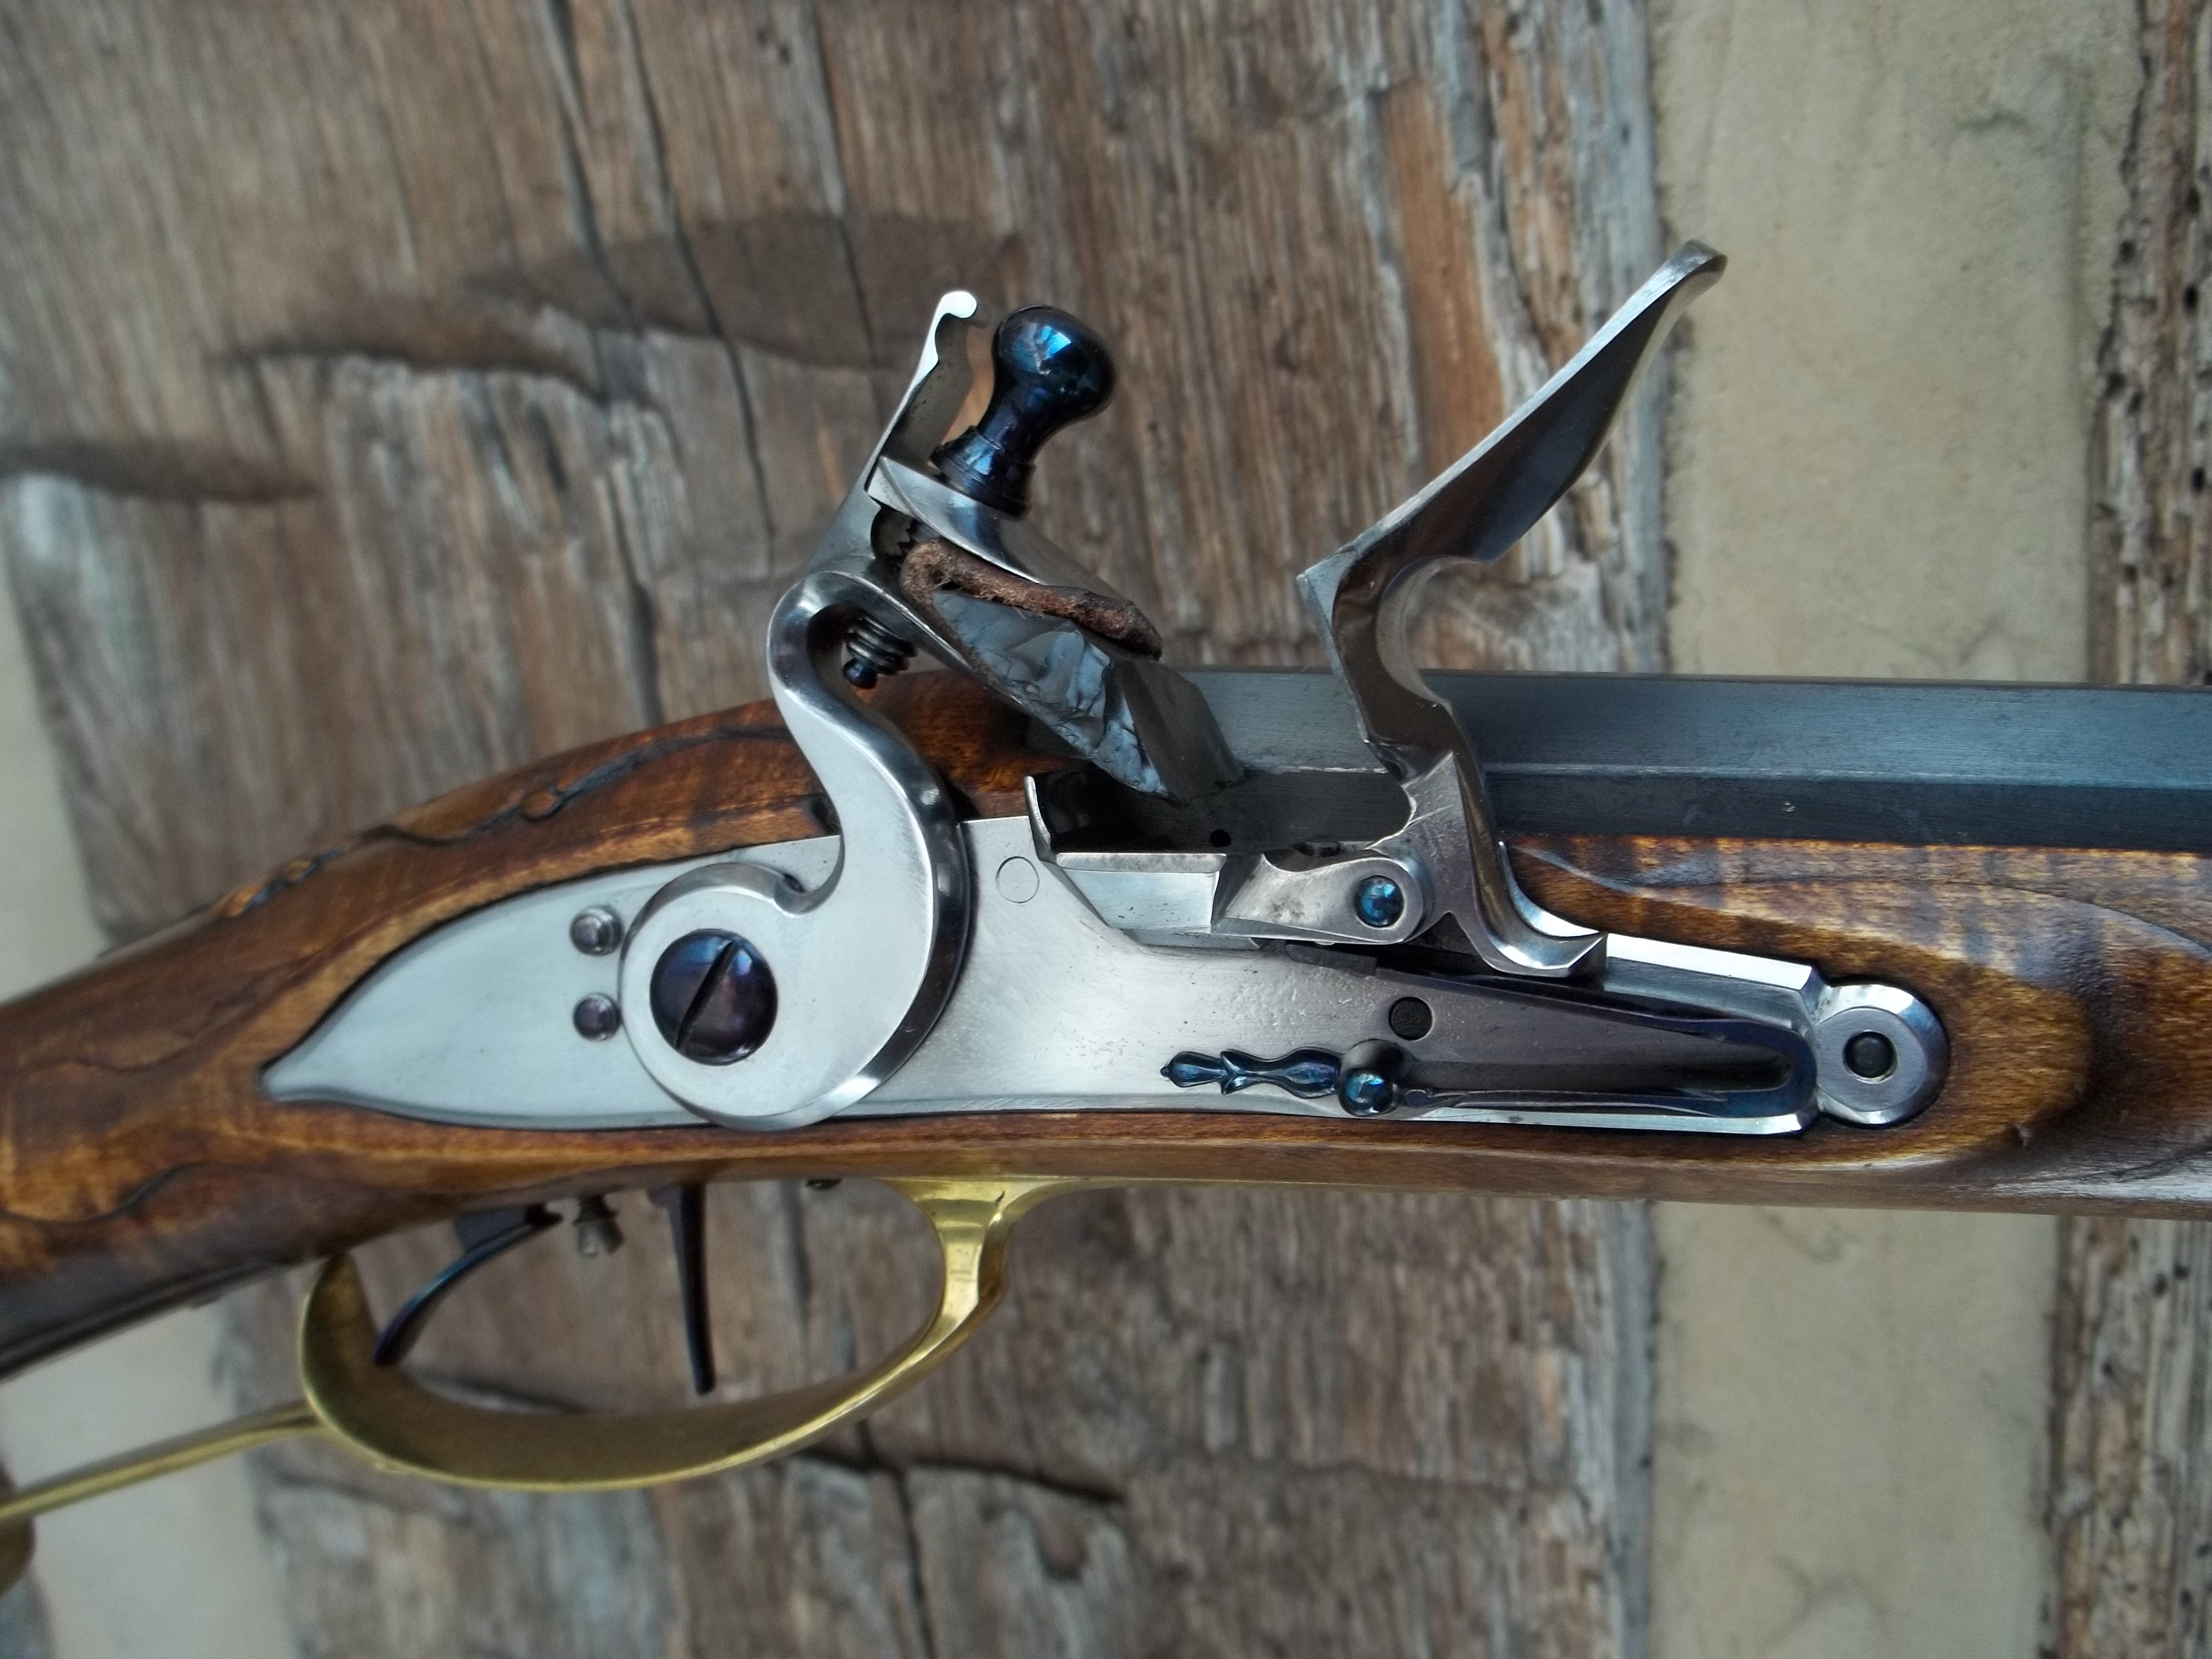
    Want to use a modern wonder lube or cleaner? Be my guest and best of luck to you in your endeavors sincerely. For me, I got into shooting black powder in a more traditional sense to a point. I take a bottle of water, 70-90% Isopropyl rubbing alcohol with Wintergreen and Methyl Salicylate in it, followed with either WD40 or use an oiled/greased shooting patch. That is how I clean my bore and lock. Simple.

    But what about these commercial wonder lubricants and cleaners? Do you need them? No and yes. Yet if they work for you, and you are routinely cleaning your gun, then I say go with it! Cleaning that gun is what matters. However, lets look at the basis of these things for a moment.

    Whether it is crude oil from organic matter that has been in the ground, or the pitch & crude oil made from coniferous trees, all these “new” and improved things are the products of numerous distillations with things added and subtracted to attain various characteristics sought to do the things we want them to do. Pine oil, and other items made from such, is nothing new. The ancients and Appalachian folk new about such things. Trust me, Americans love to distillate things! For purely medicinal purposes only, don’t you know……..

    What is behind these modern wonder lubes and cleaners? The same things that were used before through time. They made pine beers, soaps, oils, emulsifiers, inks and so much more. Anyhow, this distillation process of coniferous trees is where Tall Oil comes from which is a main ingredient in those magical lubes and cleaners. They are a pine detergent, and pine oil, added to mixed alcohol, with a non-polar solvent to keep them mixed as a single entity for use. Sometimes a little citrus oil thrown it as well. Nothing new under the sun. People have been making their own similar concoctions for some time but finally some folk saw there wasn’t a patent for such and obtained one for their concoction. Hey, free enterprise.

    As for the distillates from crude pitch/asphaltus/crude oil from the ground, mankind has been using such for thousands of years where available as well. It too has brought about many distillates that we use. This brings us to Ballistol and WD40 products. Yes, they are distillate products blended with others to do specific jobs they were intended for. Ballistol is pretty well know and works, but WD40 has a mystery to it having been first brought about in 1953 by Norm Larsen with his Rocket Chemistry Company in San Diego, California and Ken East was set to work improving and creating different variation of it until he came up with Water Displacement formula 40. I guess you could say it is rocket science after all.

    WD40 isn’t fish oil either boys and girls.That is what I heard as well before but it just isn’t so. Here is what it contains:
    50% aliphatic hydrocarbons (long term non-volatile viscous oil)
    <25% petroleum base oil distillate (light lubricating mineral oil)
    12-15% low vapor pressure aliphatic hydrocarbon (evaporator)
    2-3% carbon dioxide (propellant) if in a spray can

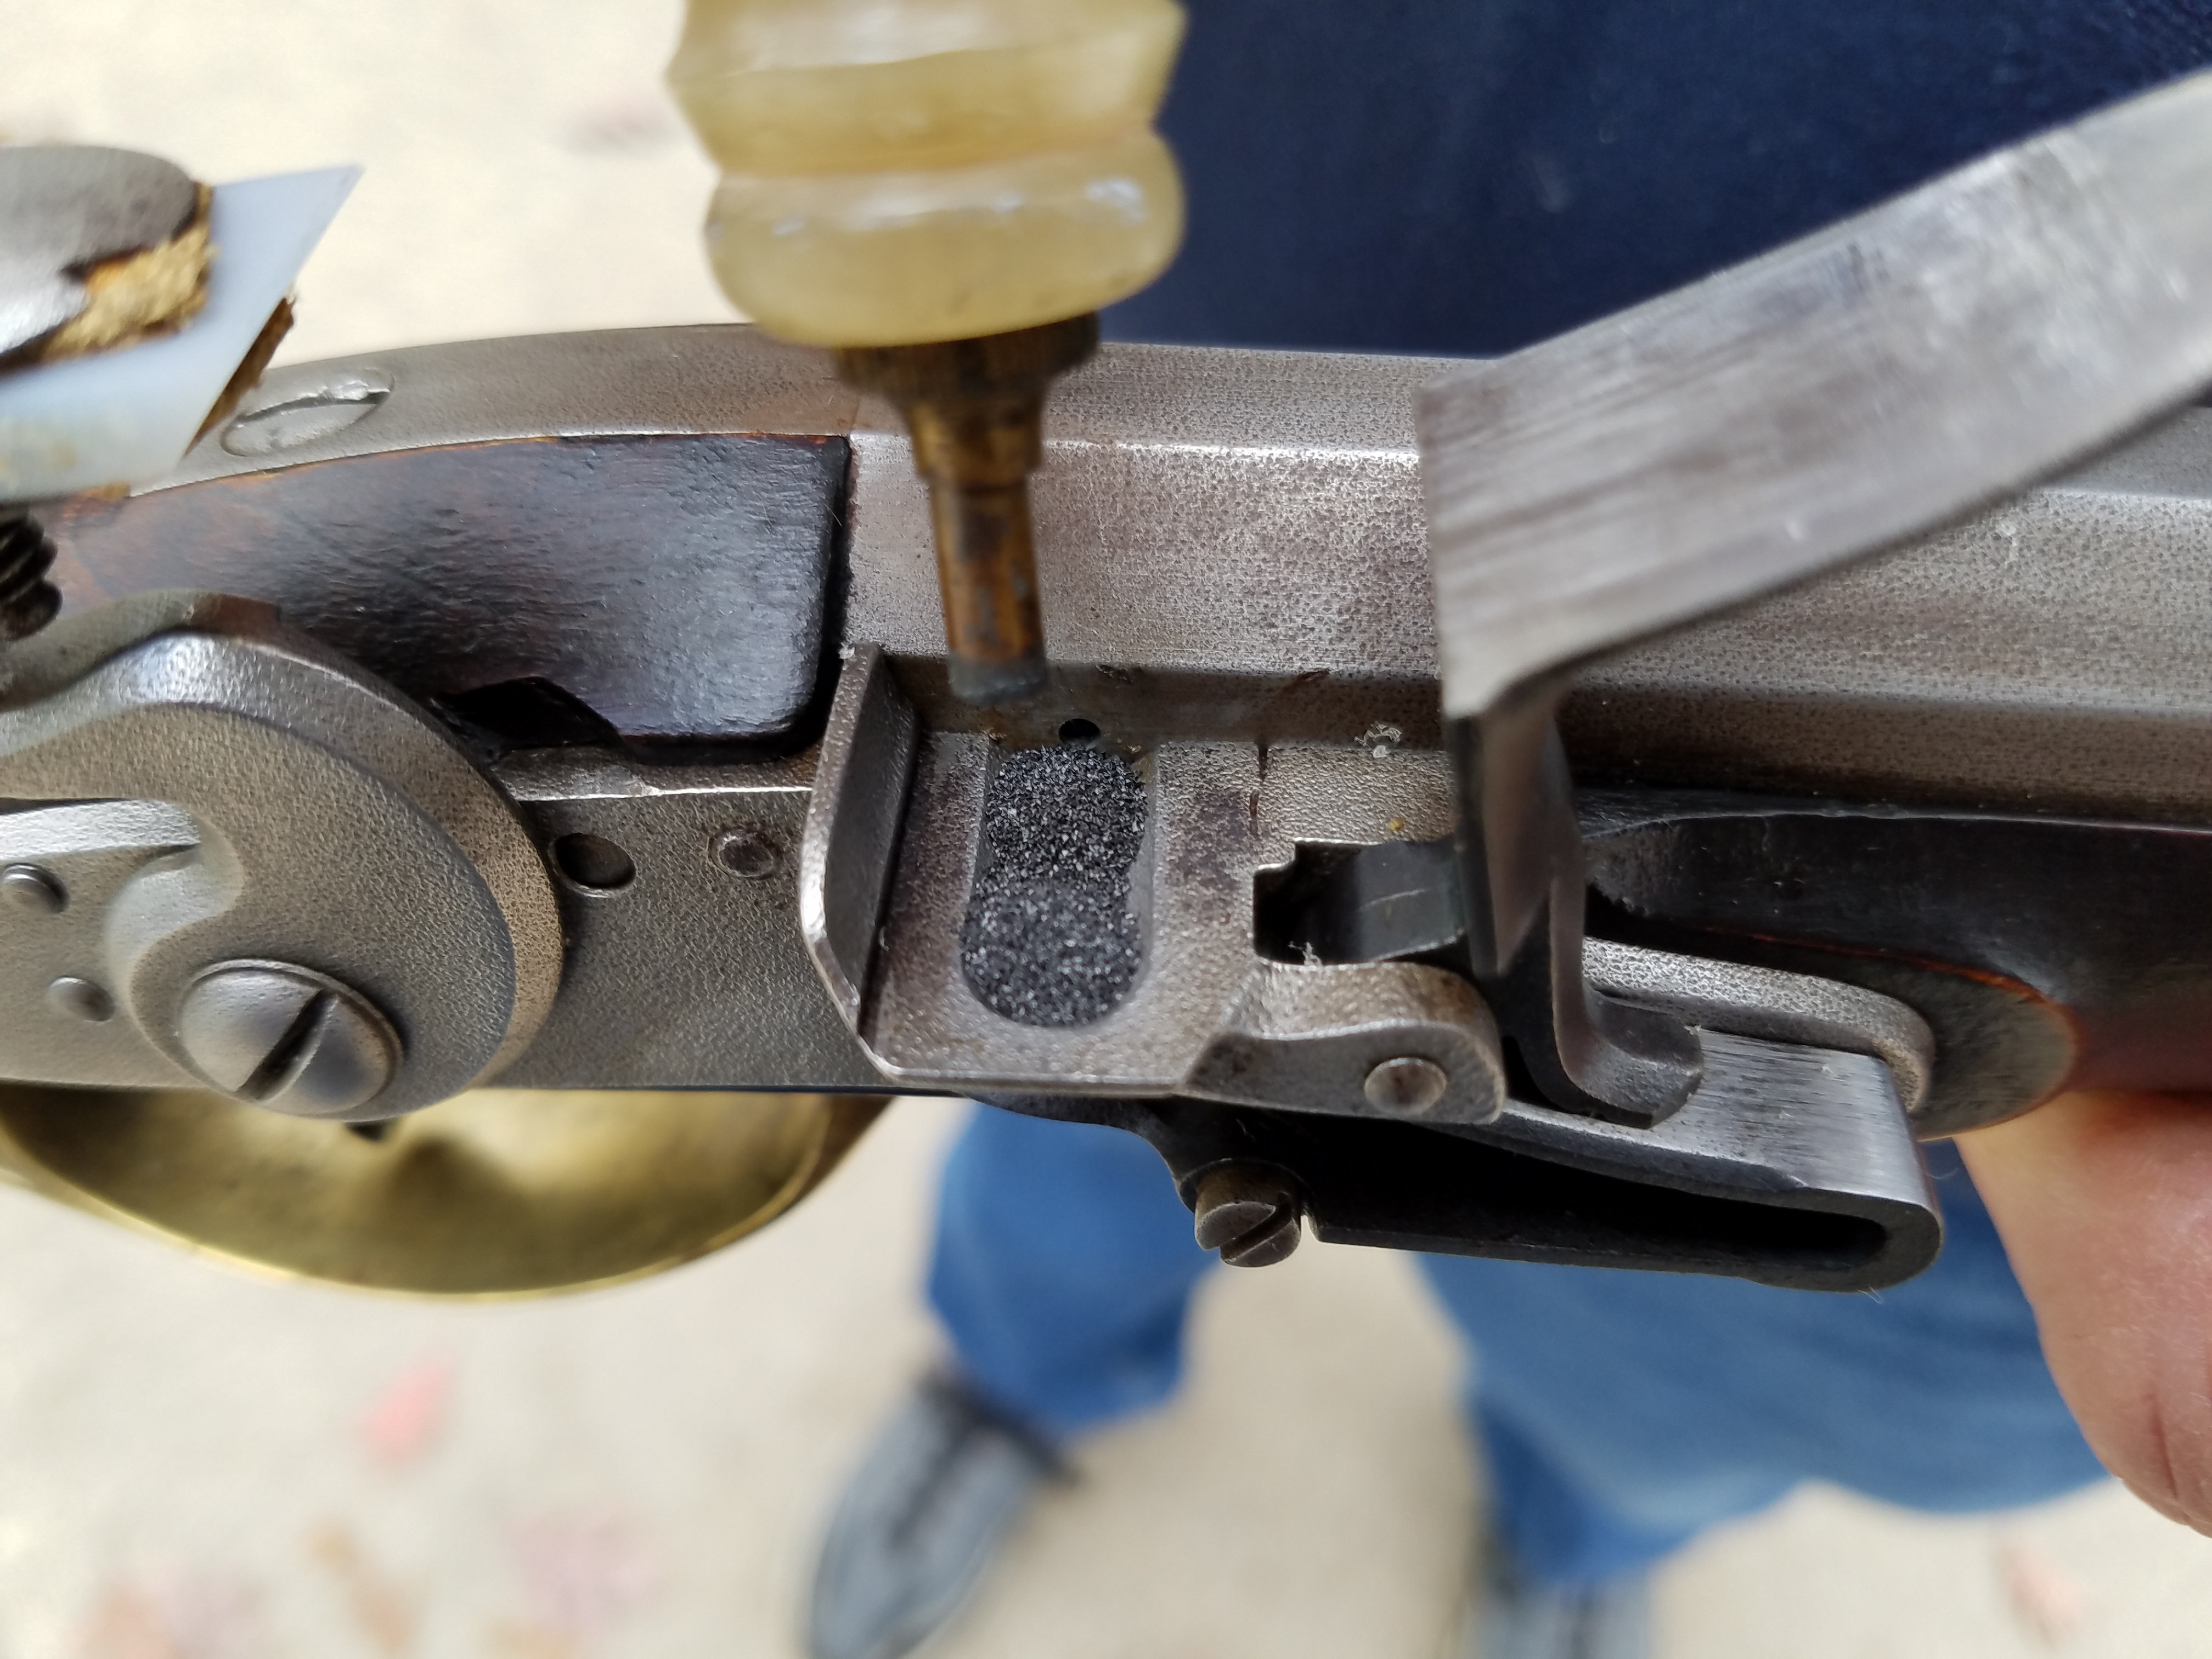
    This gives you a product that has penetrating anti-corrosion ingredients, with water displacement in even the tiniest minute crevices (like the area where the breech plug with threads connect with the barrel threads), and soil removal, leaving a rust inhibitor on the metal. It is a low viscosity oil easy to remove and not a heavy oil. Night and day items with different properties and characteristics.

    Don’t forget that your iron barrel guns are similar but different critters from yesterday’s evolving carbon steel barrels and today’s high carbon, molybdenum, and chromium molybdenum steel barrels being made. Different properties and characteristics. You might have to season iron barrels, but you have to coat and protect your steel barrels because most steels rust quickly. Therefore you must be on top of the game with your steel barrels to prevent rust getting any toe hold on your gun. That means cleaning and oiling your gun as soon as you can as humidity and moisture are your enemies in an unclean gun.

    Please, we aren’t going to have debates over how long one’s gun can go before cleaning either. Not everyone lives in a low humidity area and home or in a high humidity region. You may not see it but your bore is being affected ever so slightly when you leave fouling in it. Things can culminate over time.

    There you have it. Cleaning your gun is important and is fun with the right attitude. Maintenance is a part of life. It can also be an enjoyment while inspecting your gun for things needing attention before they become a problem too.

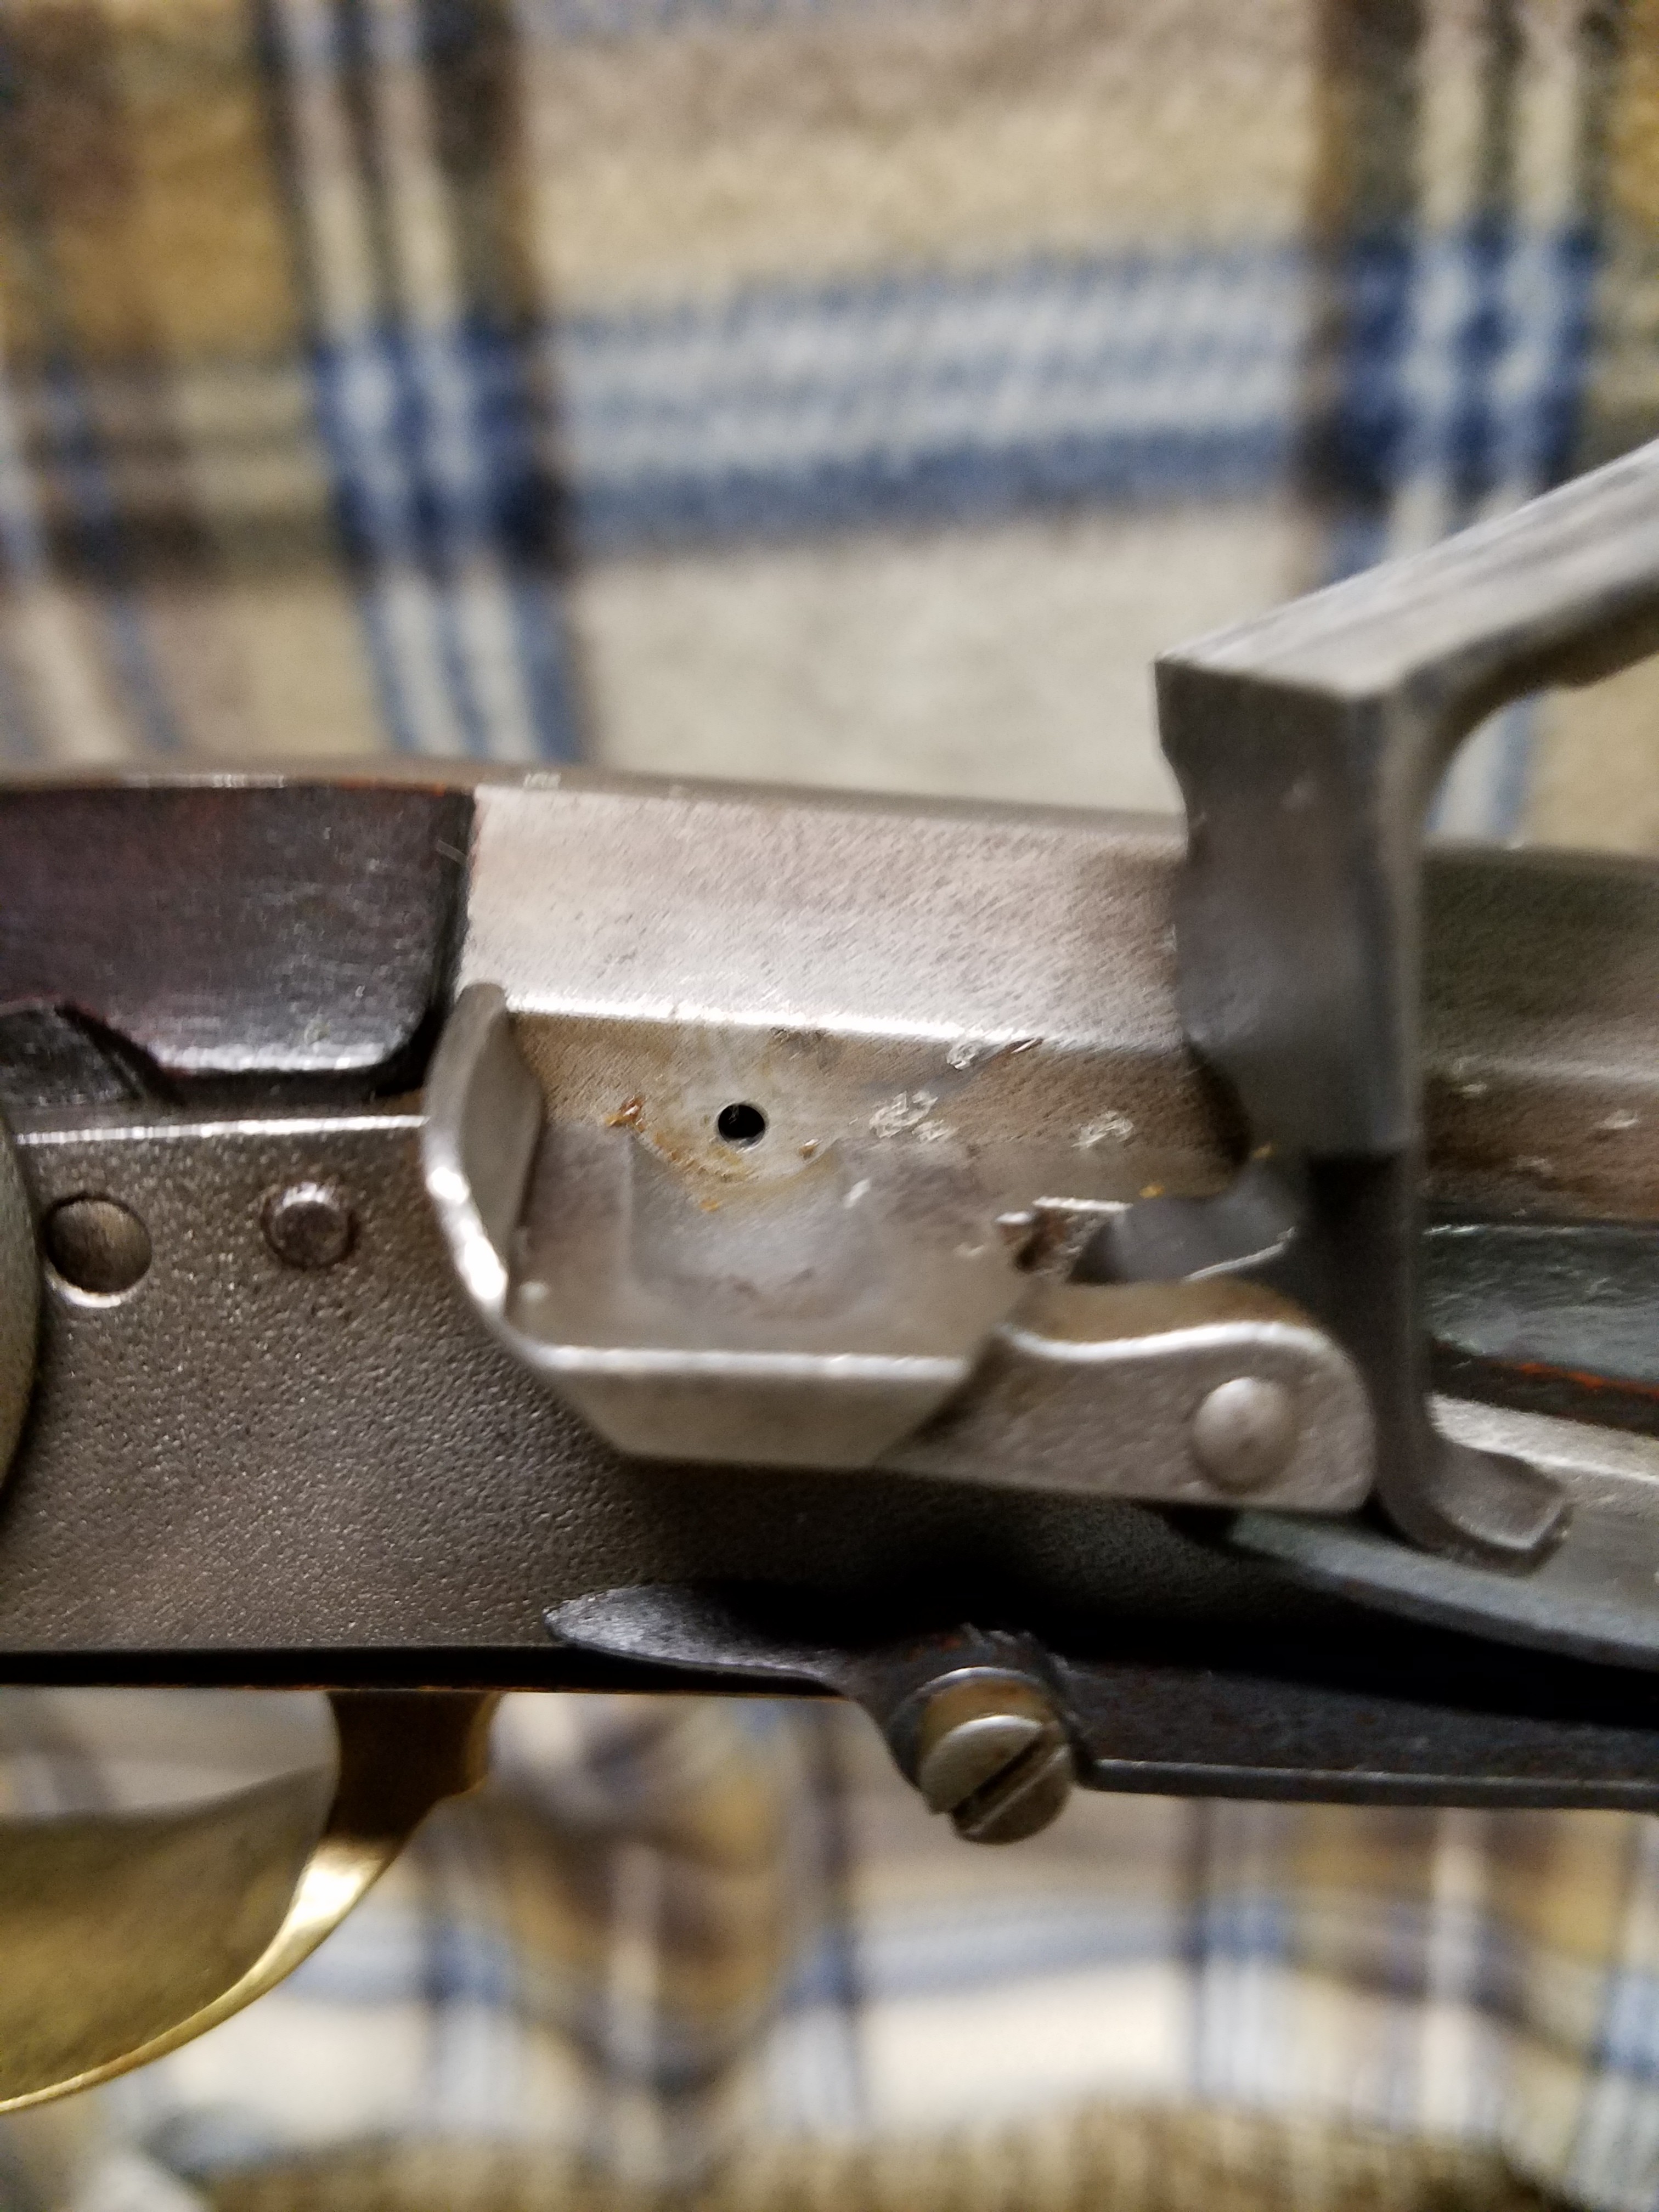
    As long as you clean your gun and oil it WHICH EVER WAY YOU PREFER (emphasizing only), it’ll do well and so will you. Just be sure to wipe the bore dry, and clean the touch hole or percussion ignition pathway, before loading and you’re all set to go. It is and isn’t rocket science.

    Wayne, thank you for your contribution.

    Larry Pletcher, editor

  • Your New Flint Rifle

    Your New Flint Rifle

    You’ve opened up a new dimension in muzzle loading with a new flint rifle. Being experienced with a percussion gun is a good start because you know procedures dealing with loading and cleaning a round ball gun. The lock, however, brings new challenges.

    Our discussion here is not meant to cover everything you need to know about shooting a flintlock. That would take books, and much of what you are about to learn will be taught you by your new lock. I will try to cover the basics and then let your lock teach you.

    Jim Chambers Large Siler
    Jim Chambers Large Siler – I like the sparks it produces!

    Lets talk about flints and sparks first. Most shooters like the knapped English flints or amber colored flints. I like both of these. Some locks like sawn agate. My locks do, however I would steer you clear of cheaper sawn dark stones. This is where you learn from your lock. It will teach you what works best. Lock suppliers will help with the proper size to use.

    Your flint should be installed so that it is close but not touching the frizzen when on half cock. Most shooters I know like leather to hold the flint. When positioned well, the flint edge will be parallel with the frizzen surface and strike the frizzen about 1/3 of the way down. When at rest it should not contact the barrel flat.

    Try “firing” the lock to see its spark production. In dim lighting you can get a good idea about how it’s doing. Close the frizzen and bring the cock to full cock.   A good lock will produce many sparks that land in the pan. You may want to adjust the flint, experiment with flint types, try bevel up or down, etc. Let the lock teach you what works.

    vent-pic

    Let’s assume you like the spark production and go on to another issue. The vent in your barrel needs to be kept squeaky clean and dry of oil. I like to clear and dry my vent with a pipe cleaner. My vents are drilled to .067”. Many rifles come with a 1/16” hole (.0625’). My reason for using a .067” vent is not for better ignition – it’s so I can easily use a pipe cleaner when necessary.  (A 1/16” vent will give good ignition if the lock and the vent are well maintained.)

    The priming should cover the pan to provide space for the sparks to land. It should lay against the barrel. Note that priming is just below the vent
    The priming should cover the pan to provide space for the sparks to land. It should lay against the barrel. Note that priming is just below the vent.


    Priming the pan can be done with various granule sizes of real black powder. The smaller the grain size, the faster the ignition will be. I’d suggest using 4fg to prime. Personally I like Swiss Null B for priming. The priming needs to give the sparks a bed on which to land, so cover the whole bottom of the pan. Make sure that some priming is close against the barrel. How full the pan should be depends on what your lock likes. Shooters argue about this – do what works for you. I don’t worry too much as long as I have priming against the barrel.

    Without writing a book I tried to cover three basic flint problem areas: the lock, the vent, and the priming. As you shoot the gun, you will pick up many little tricks that with help. Other flint shooters are a good source of additional help. Most of this web site is devoted to flint shooting, flint ignition, lock timing, vent timing, etc. Take a look at the pull down windows on the home page for more help.

    You are well on your way to a flint addiction. Welcome home.


  • Cleaning Your New Rifle

    Well, you’ve done it. You had your first shooting session with your new rifle. You are smart enough to watch the old timer down the bench clean his rifle and he mentions that you shouldn’t forget to clean yours.

    One of the first things a new shooter is told is to clean the gun after shooting is over. That is good advice, and today we will talk about cleaning your rifle after your first day of shooting.

    Lets say that your still at the loading bench with all your newly acquired ML stuff. With everything out on the bench, let’s look at the things you’ll be using. Mixed in with all the loading supplies you probably have a pile of cleaning patches, a bottle of solvent, a jag that fits your rifle, and a bottle of oil. You may have bought these because a another shooter told you that you would need them.

    Let’s have you begin by wetting a patch with solvent and wiping the barrel. This won’t get it clean, but it will convince you there is plenty more to get out. Since your rifle is percussion, fold a patch into quarters and lay it over the nipple. Lower the hammer on it. Now, squeeze some solvent into the barrel. Wet a patch also and run it up a down a few times. After a bit of scrubbing, bring the jag near the top of the top of the barrel, tip the rifle to one side, take the hammer back to half cock and remove the patch. A downward push with the ramrod will squirt the solvent out through the nipple. Run a clean patch and see what it looks like. If it comes out with black on it, you may need to repeat the process. The amount might be so small that a patch wet with solvent will finish. When the patch comes out clean, dry the barrel out with another patch or so.

    You are ready to oil the barrel and see to the outside of the rifle. I often take a patch previously wet with solvent and wipe the lock and the barrel’s exterior. To oil the rifle I happen to like a product called Rem Oil. There are a number of good ones. Sheath is another that comes to mind. Squirt some oil down the barrel and on a patch. I run the patch up and down a few times. At the end I want to see a spray of oil come out the nipple. The oily patch is then used to wipe the lock, nipple, and barrel exterior.

    Looks pretty clean and you might be done. But – check around the nipple and you will probably find some crud down deep in the crevices. A toothbrush is a good tool for getting at this. Sometimes I let this go until I get home. The problem is that sometimes I get lazy and the job doesn’t get done. Since you don’t have a toothbrush with you, I’ll just have to trust you to clean the crevices around the nipple when you get home. And . . .when you shoot the next time bring a old toothbrush with you.

    There, I think you’re pretty much done. If your rifle sits in a vertical position between shoots, I have one more thing for you to do. Lower the hammer on a folded patch. If you have oil running out of the nipple, it won’t run down the stock.

    That should leave you in pretty good shape. It’s never a bad idea to run an oil patch down the barrel in a few days to see if you really got it clean. Shouldn’t be too bad off though.

    Now, there are many ways of cleaning your rifle. You have the basics, but things change if you are shooting from a pouch, on a primitive trek, or putting the gun away for an extended period of time. And every veteran shooter has a method he likes best. And he will have his pet solvents, oils, etc. So I’m leaving this open-ended. I hope my muzzle-loading friends on the forum will step in and comment on their cleaning tricks.

  • Choosing a Wooden Ramrod

    Examine the grain when selecting a wooden ramrod…… When I choose a ramrod I look for one in which the grain in the wood doesn’t run out the side. Good rods are made from split blanks; made this way the grain should follow the length of the rod without running out the side. Don’t be afraid to sort through a bunch to find a good one. A good straight-grained hickory rod will last a long time if not abused.

  • Competition shooting range basics

    Your first time shooting at a National Shoot in Friendship should be a highlight. If you are inexperienced, it would be good to introduce yourself to the Range officer. He is interested in your safety as well as everyone else. His suggestions will assist you. Developing safe habits as you practice are strongly recommended.

    Here are some examples:

    • The muzzle of your firearm should be pointed up and be higher than your head as you move from the loading bench to the firing line and BACK.
    • Capping or priming of your gun is done only at the firing line.
    • Your powder is to be covered at all times.  Many shooters simply set their powder measure over the can’s spout.
    • Report any malfunctions of your gun to the range officer.
    • Listen and obey range instructions.

    This is not meant to be an exhaustive list, but may help you feel more prepared as you gain experience. One final thought is to register to shoot the day before you intend to compete. Then spend time watching the operation of the range. Get a feel for how things work. This should help you to be more at ease when you compete.

  • Filing on a Front Sight

    Raising a front sight lowers where the bullet will hit. . . “I filed and filed on my front sight and it still shoots high.”  This line was an inside joke at our muzzleloading range years ago.  The rule of thumb should be to move the front sight the opposite direct you wish to move the bullet’s impact.  Raising a front sight lowers where the bullet will hit.  Lowering the front raises the impact point.  An ideal situation would be to fire your new muzzleloader and find it hits low on the target.  Now, filing the front sight raises the impact of the bullet.  Before you file too much, it would be good to fire at different distances.  File too much and you’re in the opening scenario, and a replacement front is necessary.

  • Adjusting windage on a front sight

    Move the front sight the opposite direction you want to move the impact. . . Adjusting windage on a front sight uses the same thinking process as in the tip above. Moving a front sight left moves the impact to the right. Care should be used as you drift your sights, front or back. Hopefully your sights are movable with a modest blow. A brass drift pin is ideal. If your sight moves too easily, you may be able to tighten the fit by striking the dove tail nock with a center punch, making a dimple or two. This raises the metal around the dimple and tightens the fit of the sight.

  • Dry-firing a percussion firearm

    Dry-firing a percussion firearm. . . . Care should be used in dry-firing a percussion firearm. If the hammer is dropped on an empty nipple, the nipple is very likely to upset and develop an oversized rim. Caps may no longer fit properly. (The only exception to this that I know of is the Ruger Old Army, whose hammer is stopped just short of the empty nipple.) A common sign of this is that a cap may not fire the first time the hammer falls. The first fall of the hammer may actually seat the cap, and the cap may fire with the second hammer fall. If this happens, check the nipple to be sure that the cap still seats correctly. Light dressing of the nipple with a file may be in order.

  • Using a Wooden Ramrod

    Your ramrod is a safety tool …….. One of the first tricks that I was taught years ago was marking my ramrod. Place your ramrod into the barrel. We want the ramrod tip resting on the breech plug, with the barrel empty. Make a scratch mark on the ramrod even with the muzzle. I lay a sharp knife across the muzzle and rotate the ramrod against the blade. I want a visible mark all the way around. This is your indicator of an empty barrel. Now load your rifle using your normal load. Repeat the procedure marking the barrel again. These two marks will help in a number of ways. It’s always easy to verify that your barrel is empty or loaded. It’s too easy to be distracted as you load. A marked ramrod can quickly verify where you are in the loading process. In some situations you may be asked to demonstrate that your rifle is empty. Your ramrod is the tool to use.