Category: Gallery

  • Flint Elk Rifle

    Flint Elk Rifle

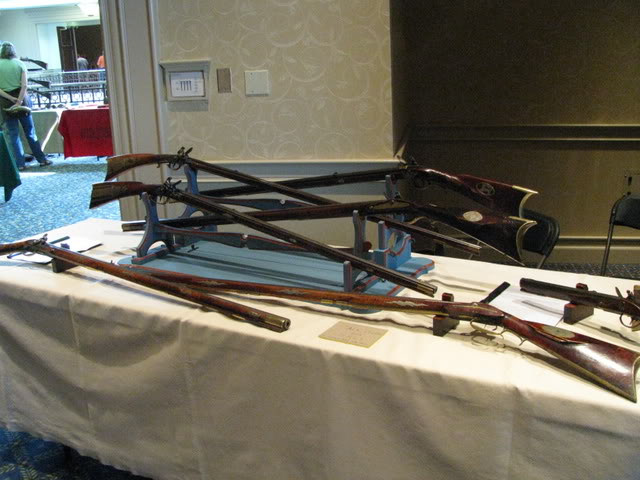
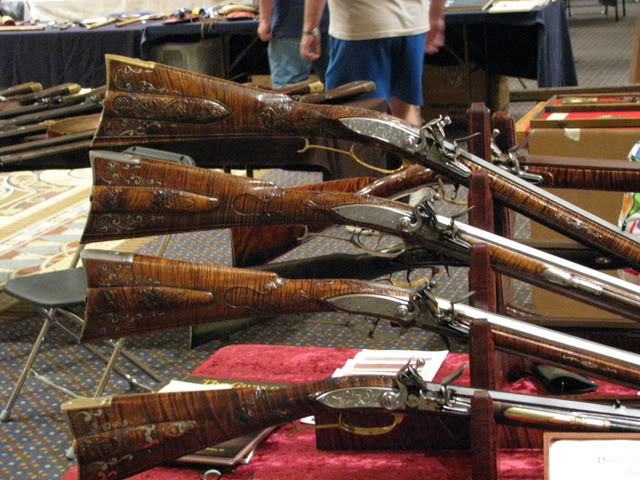
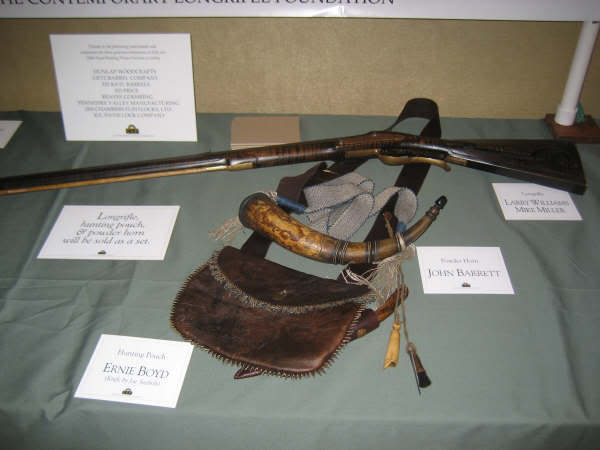
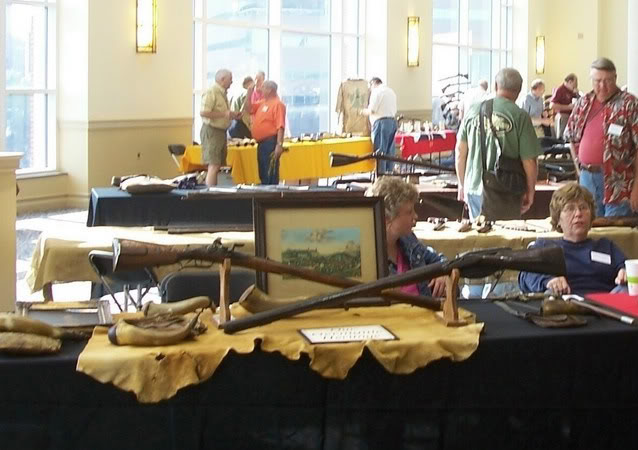
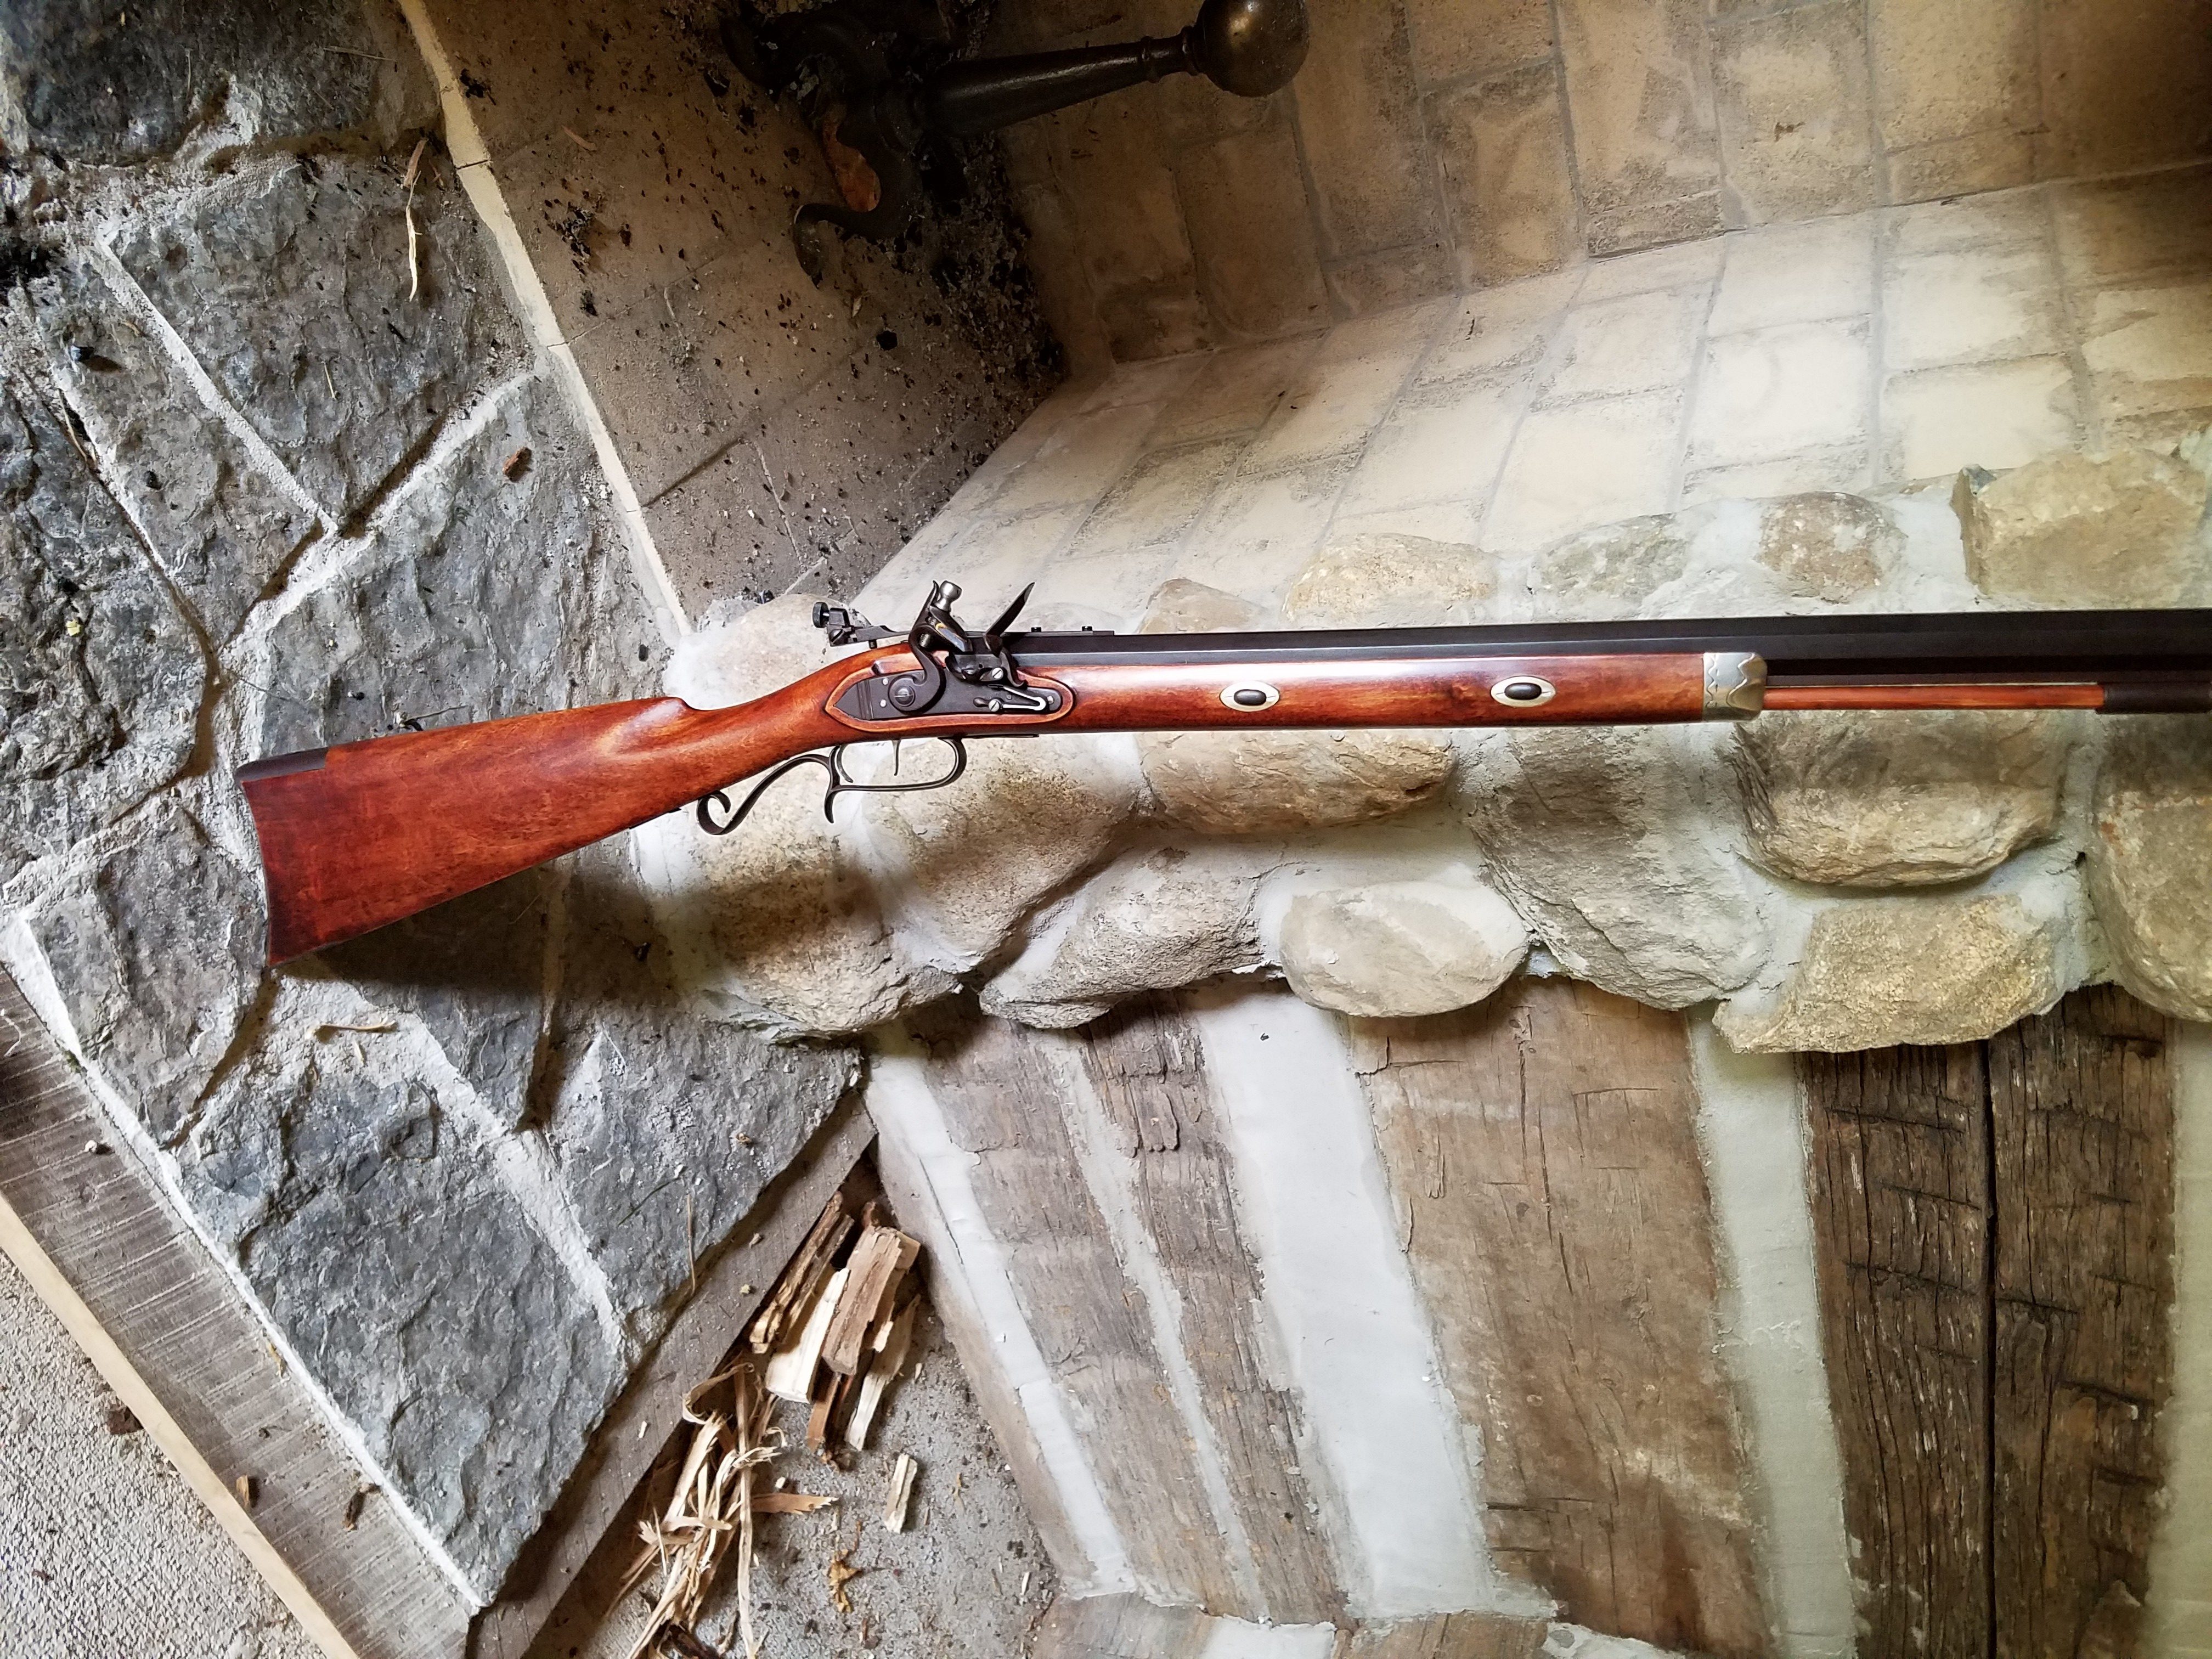
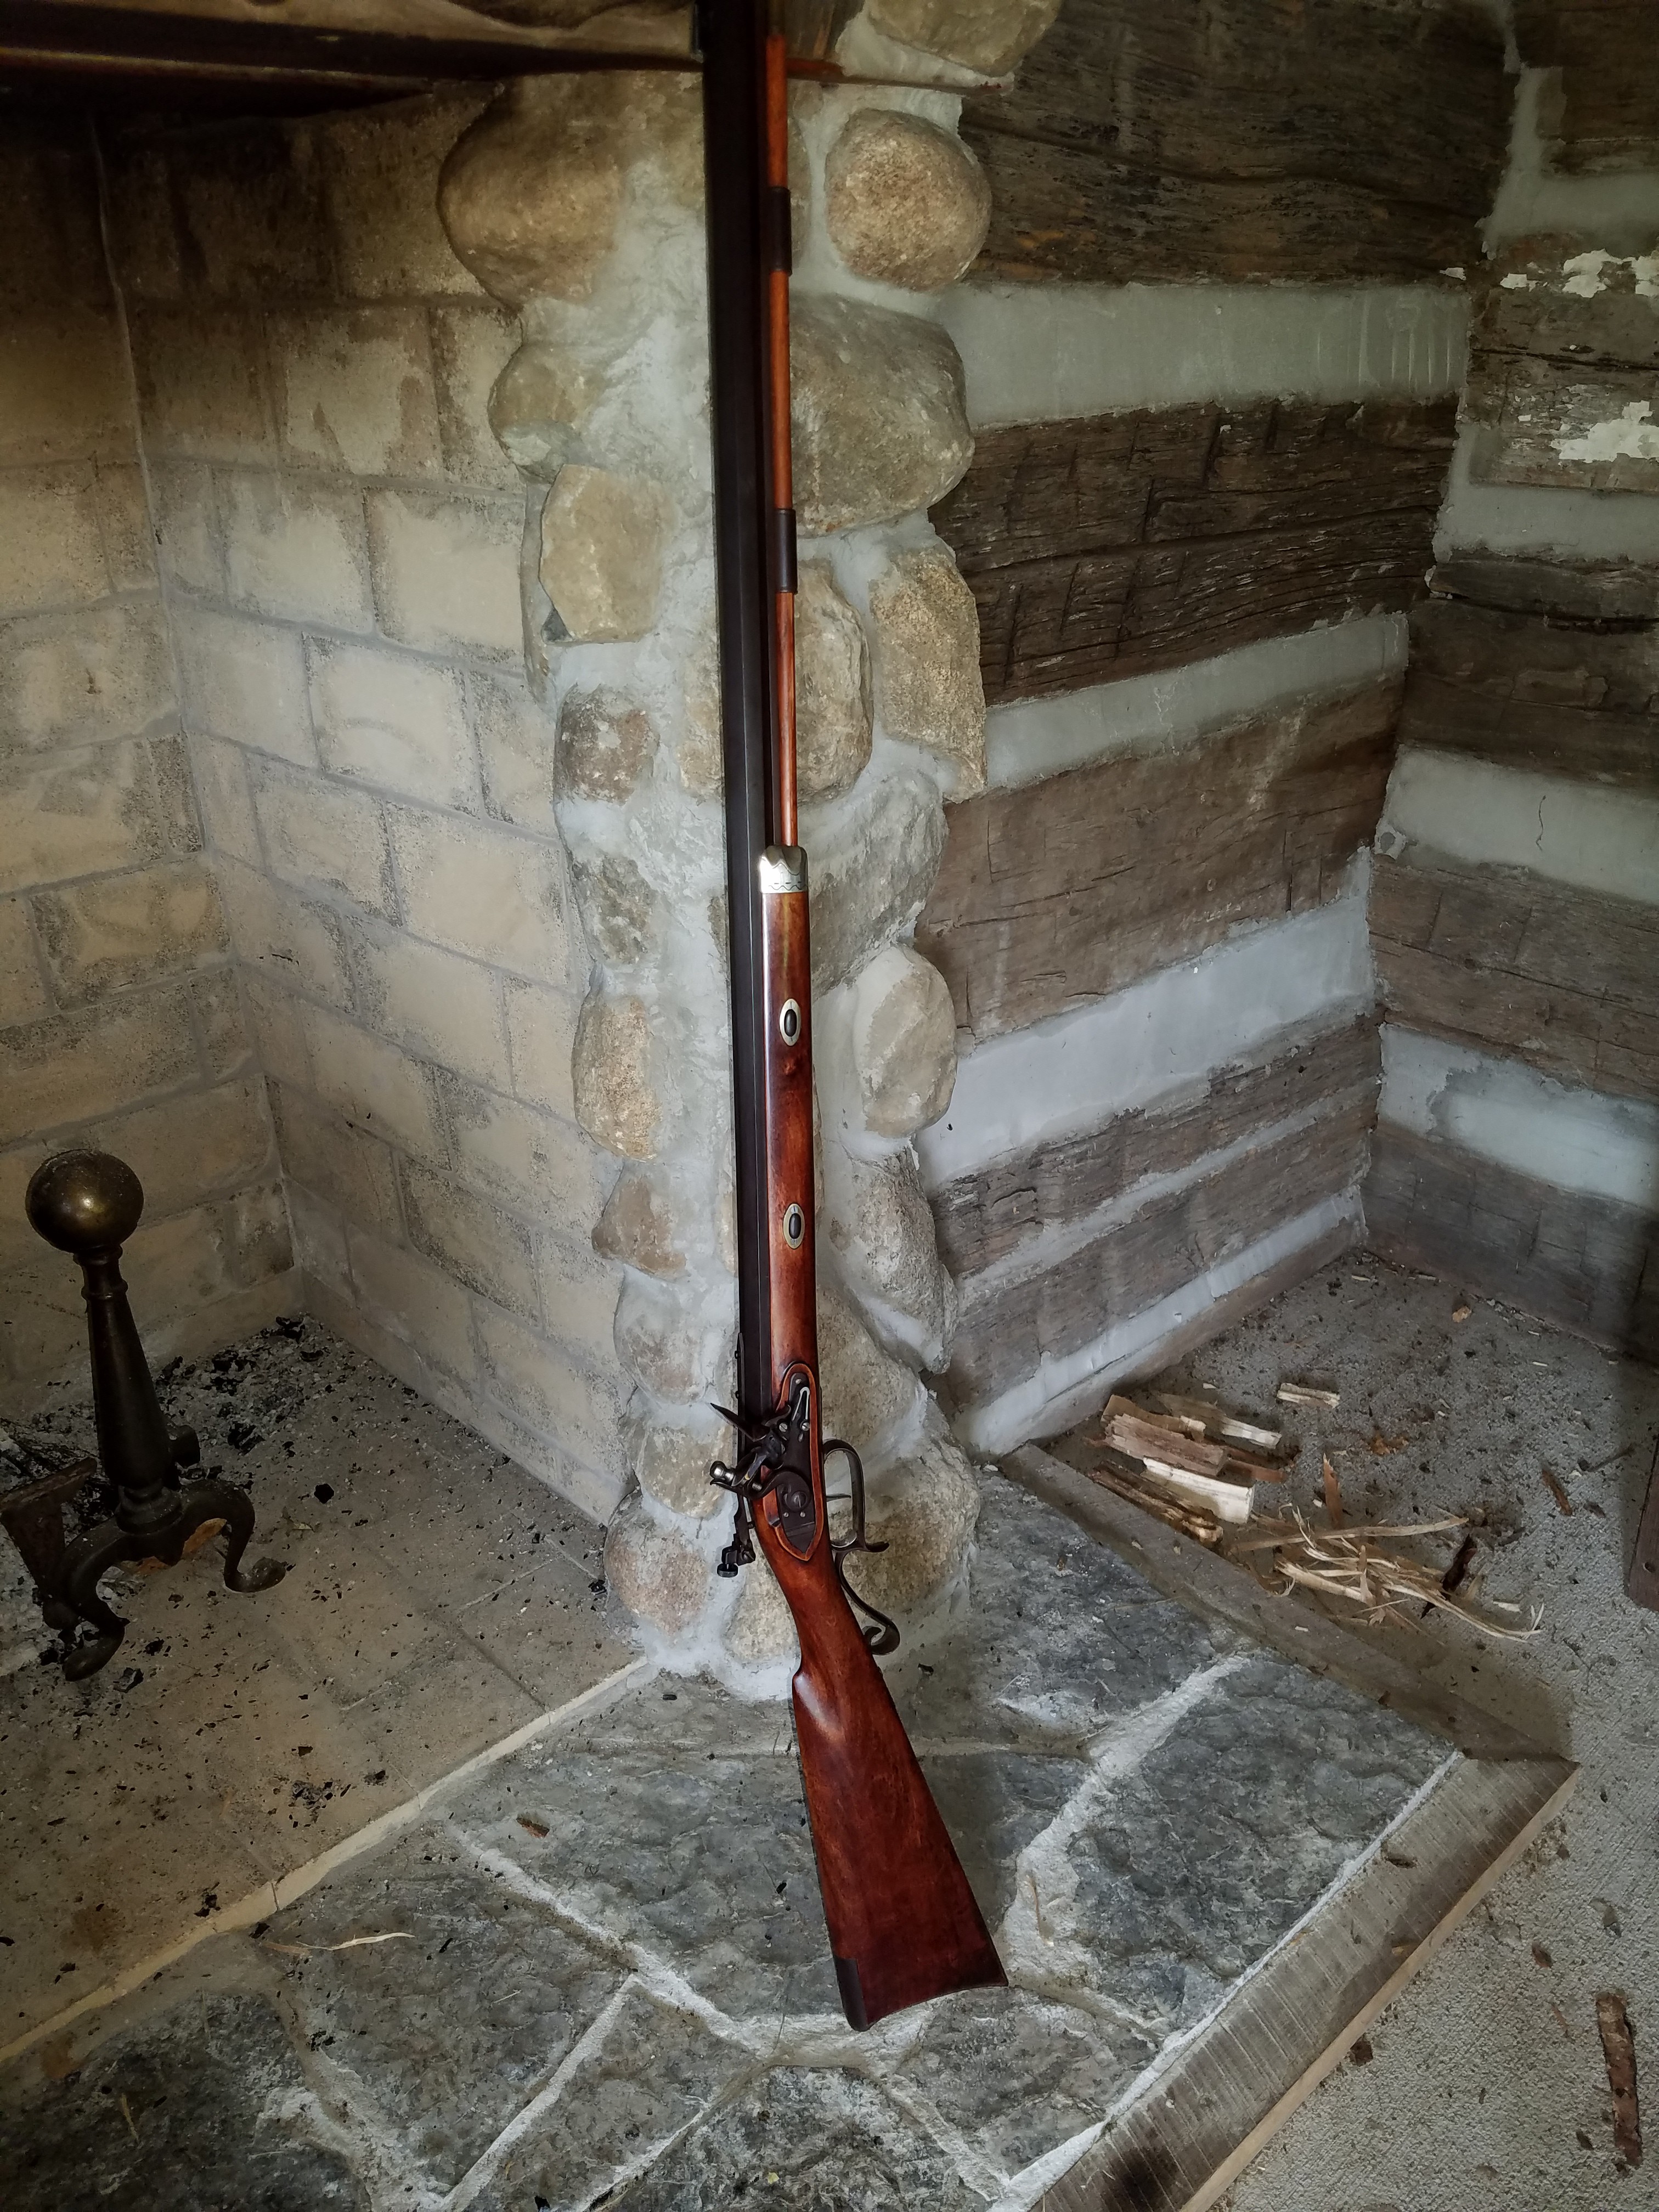
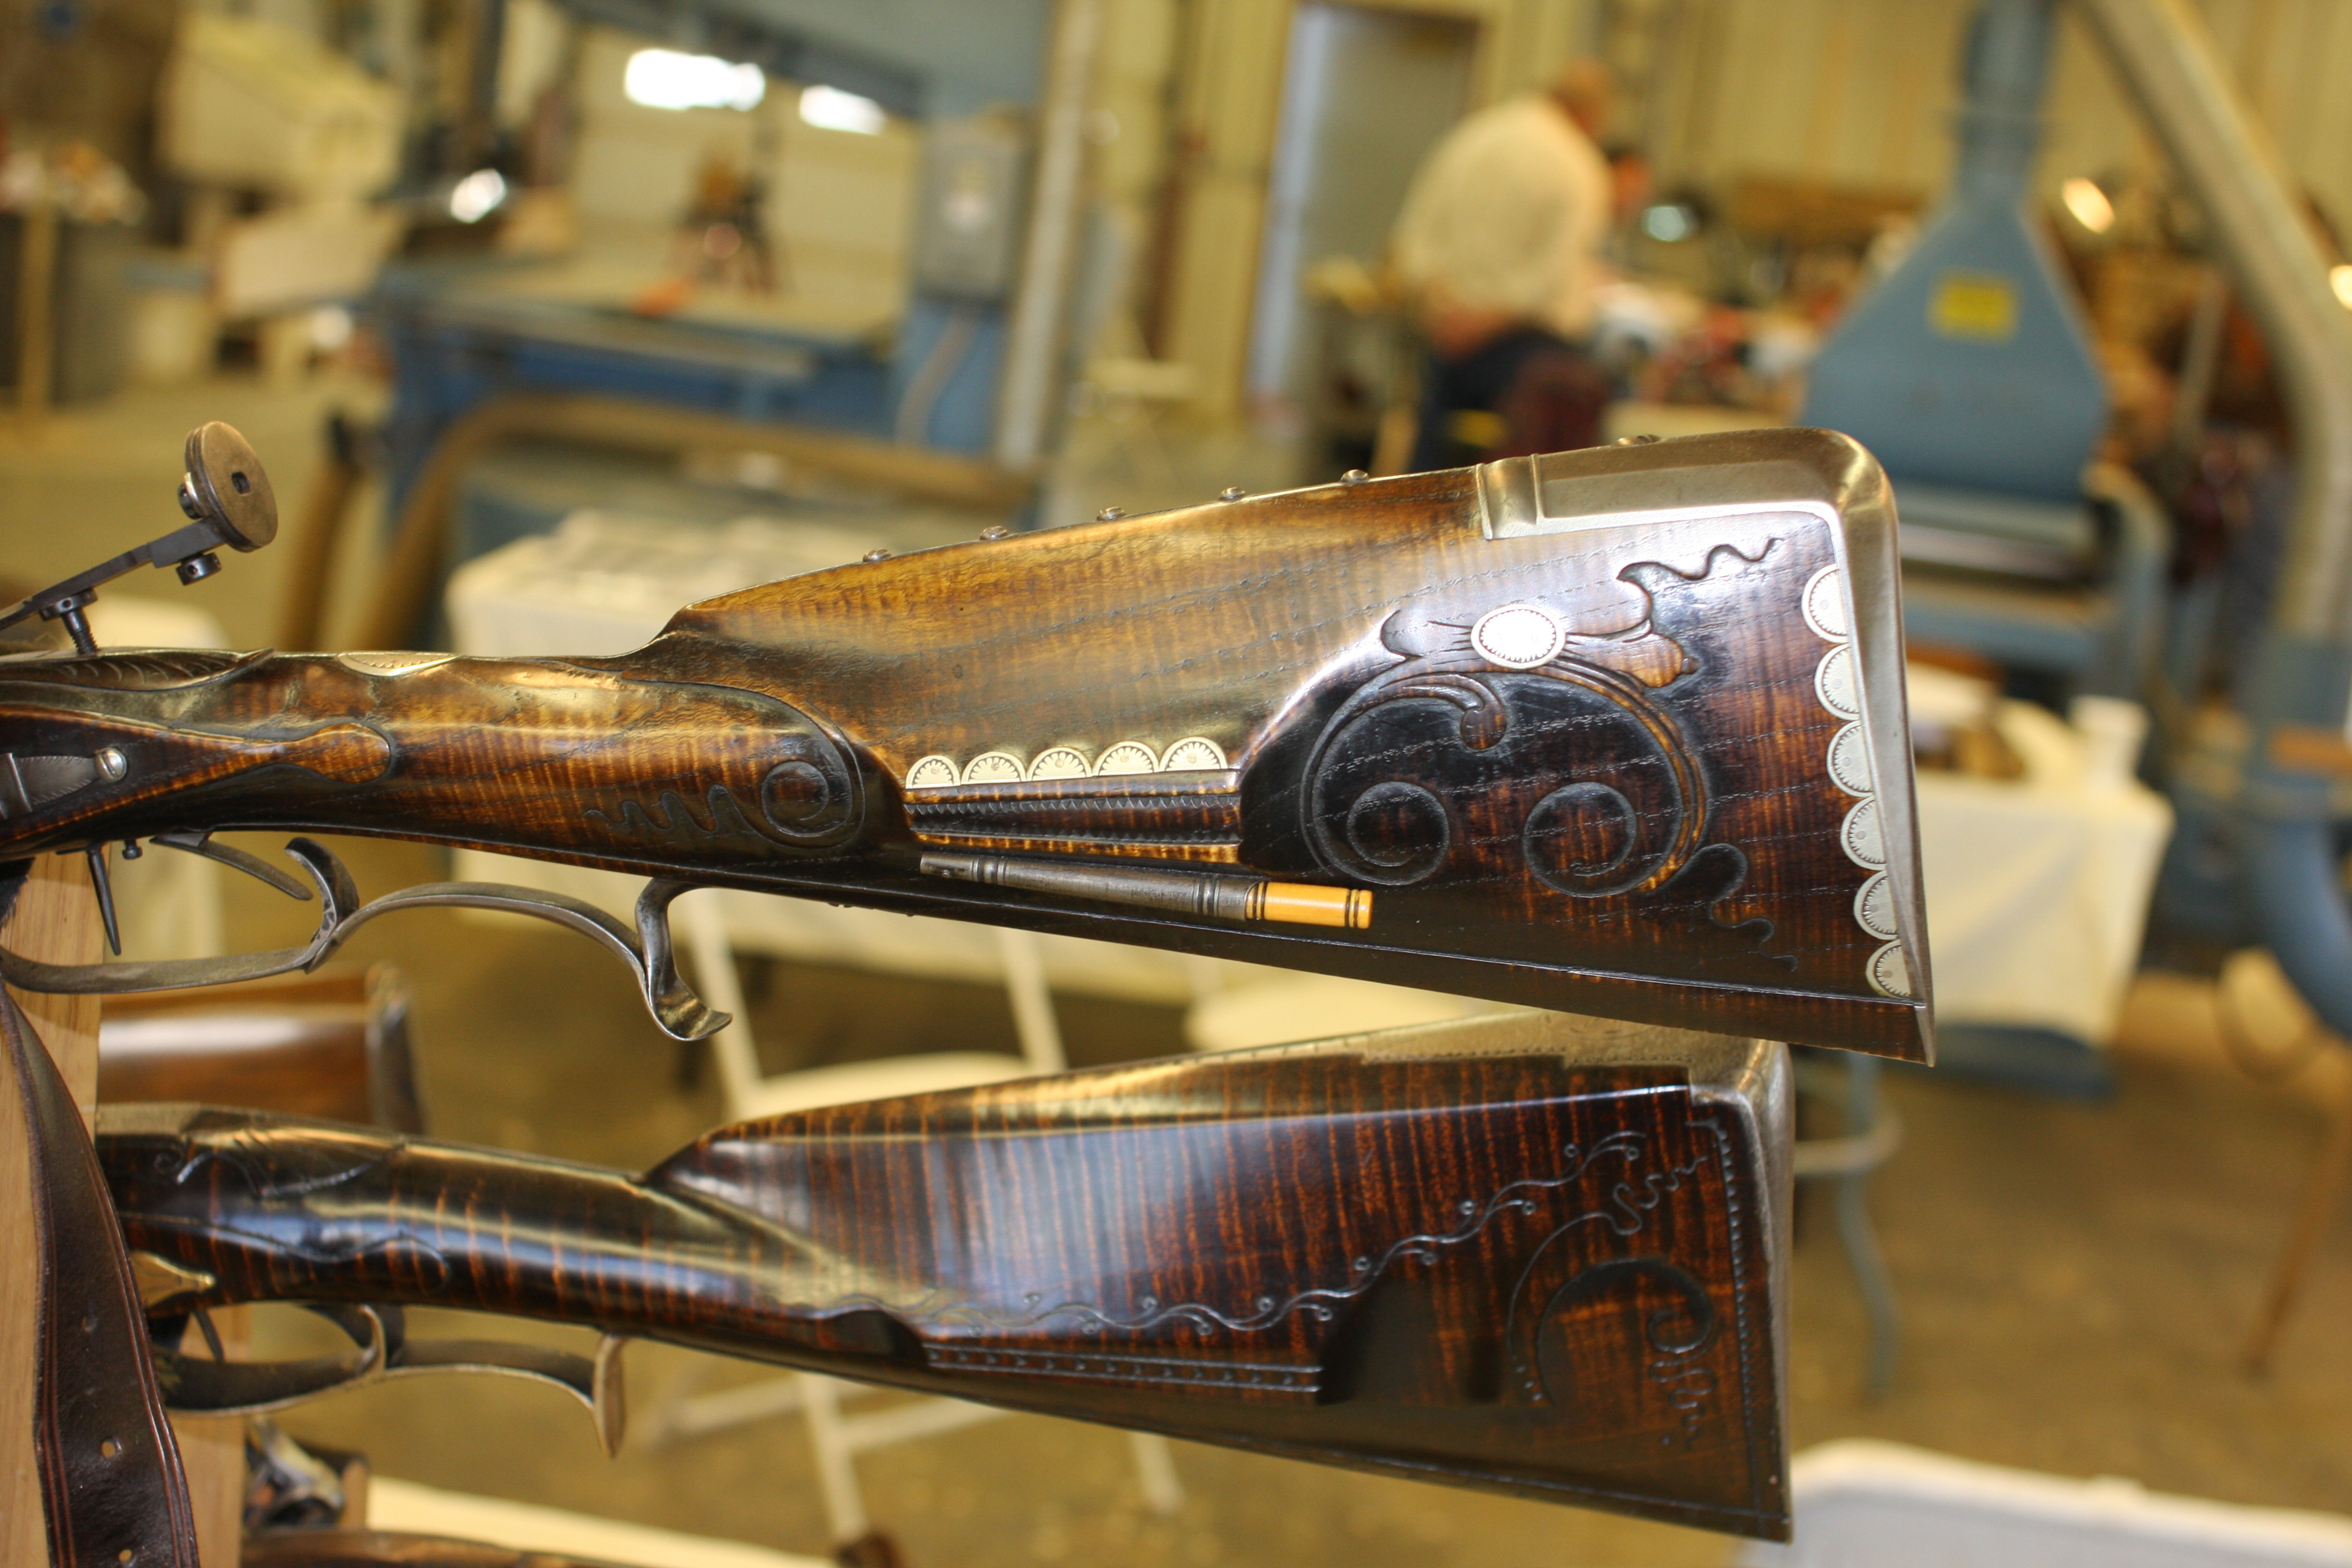
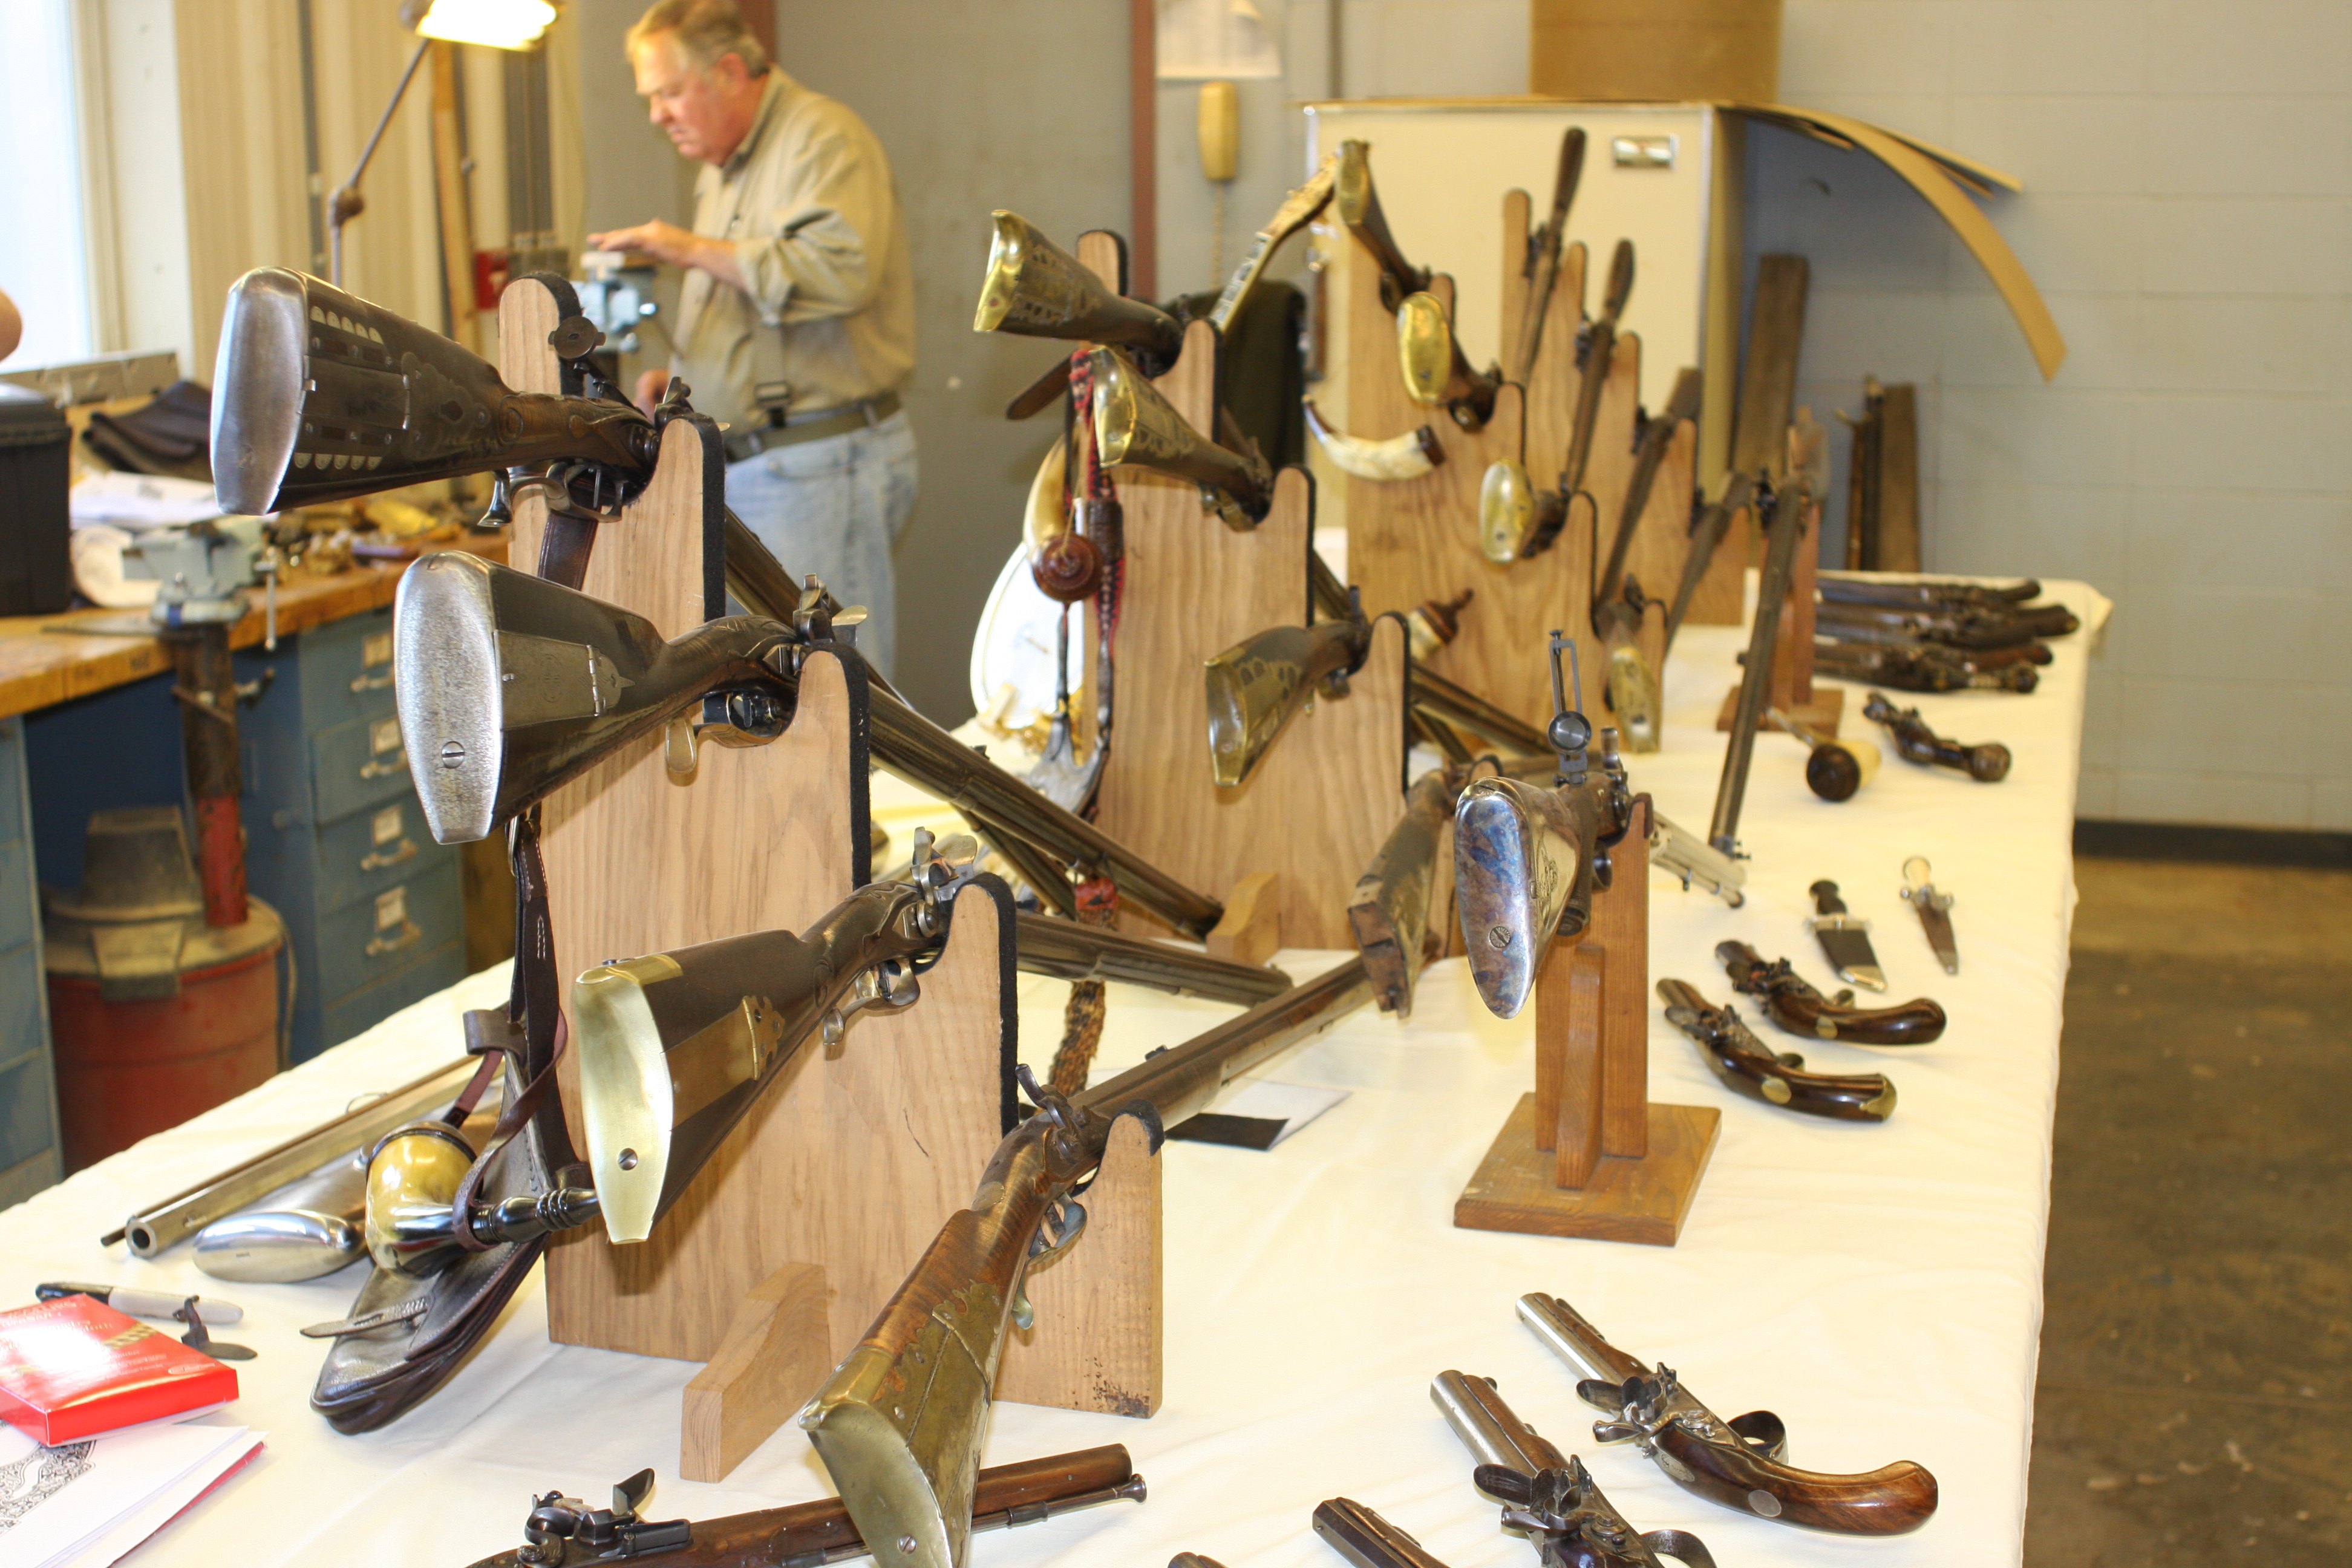
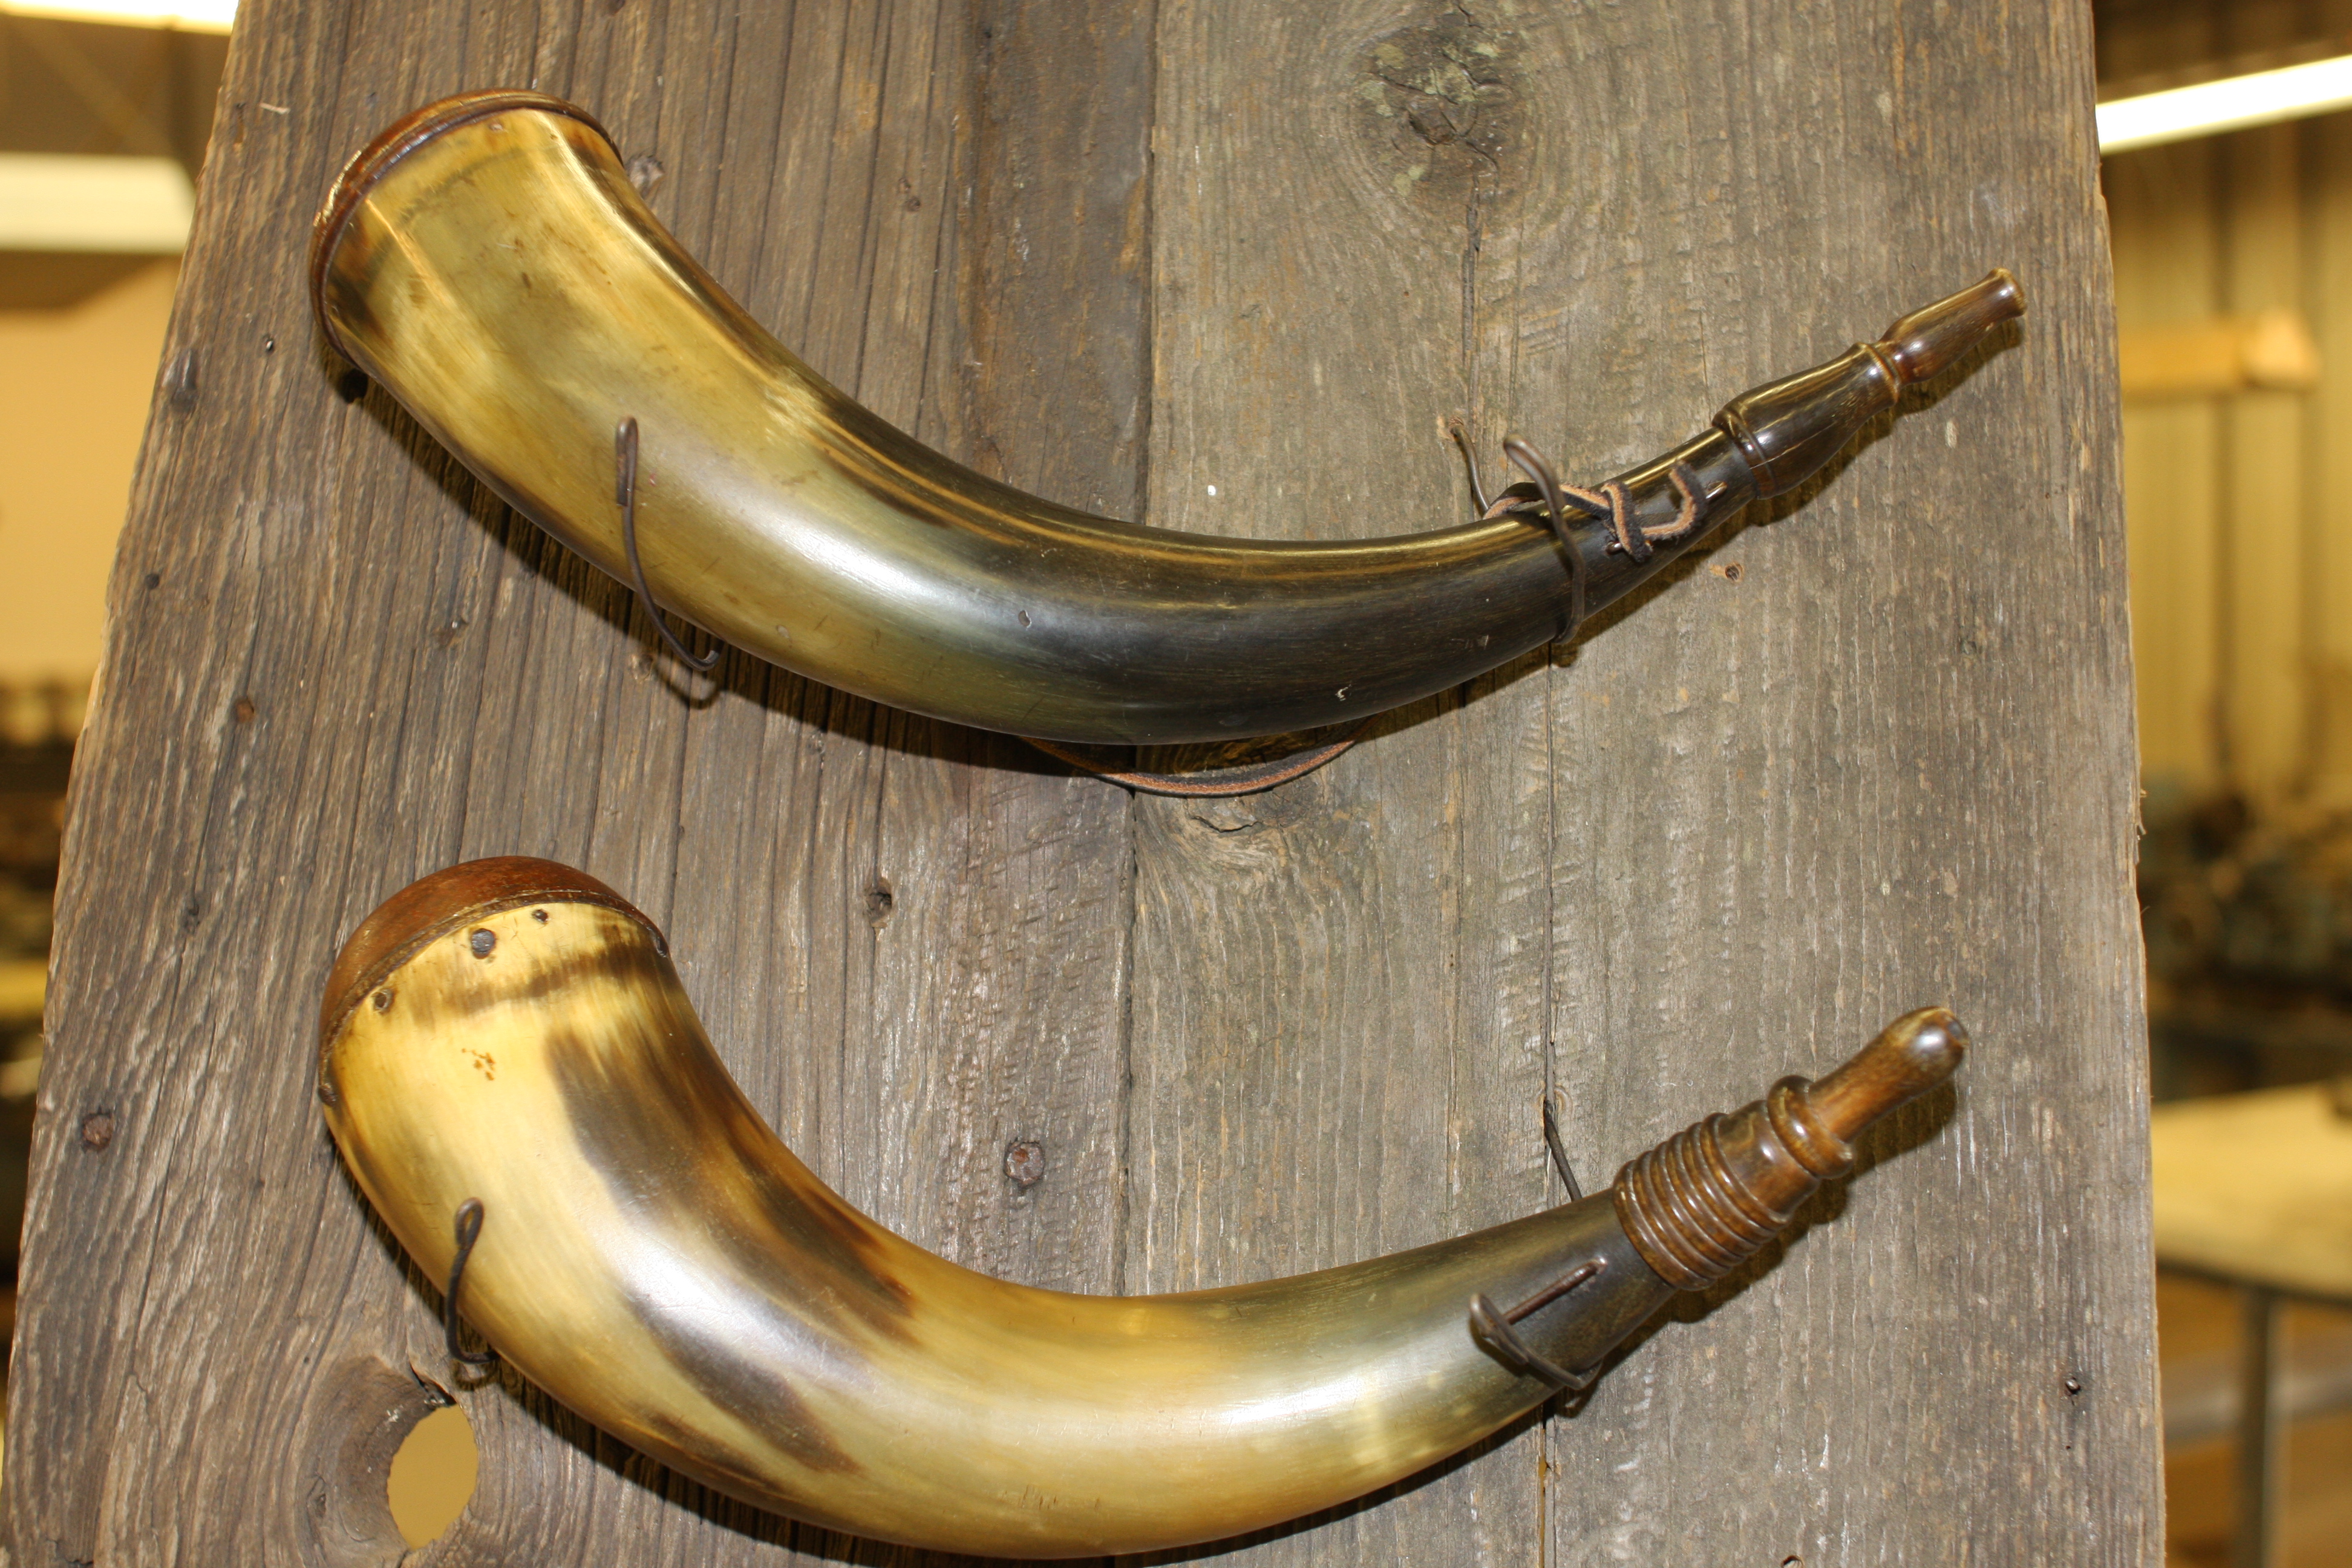
    The history of this rifle began years ago when my friend Rick Shellenberger in Colorado cleaned out an old muzzleloading shop. Among other items, he brought home 2 Sharon .58 caliber rifle barrels. Both were rifled at 1 turn in 72 inches. These barrels have eight lands and grooves. Rick kept one barrel and gave the other one to me.

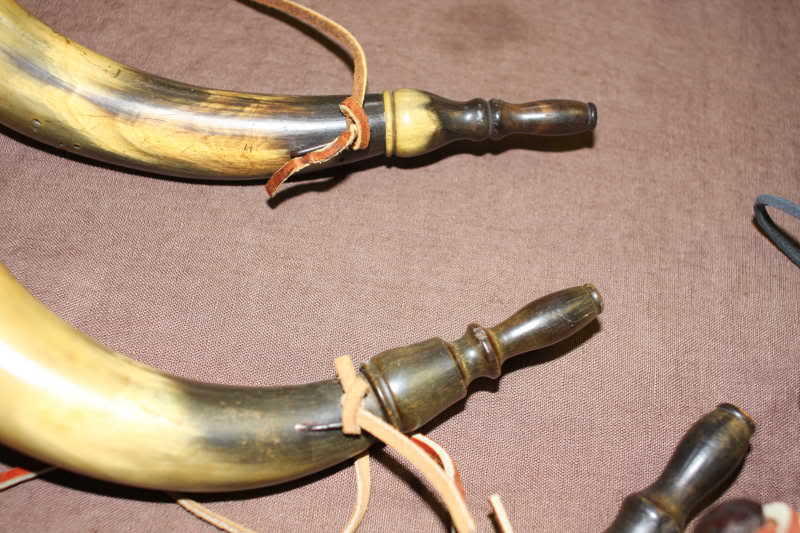
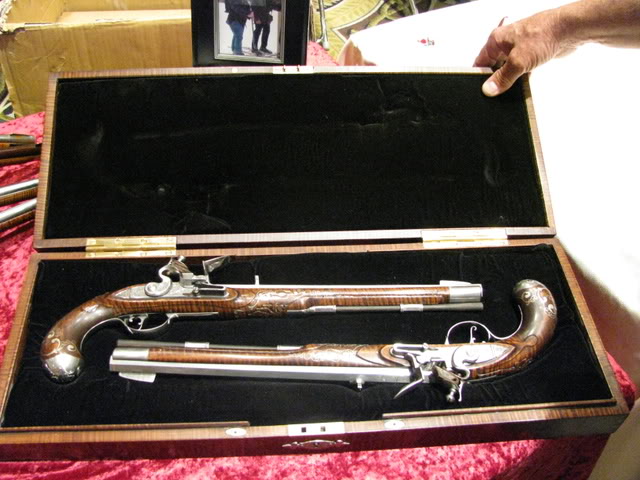
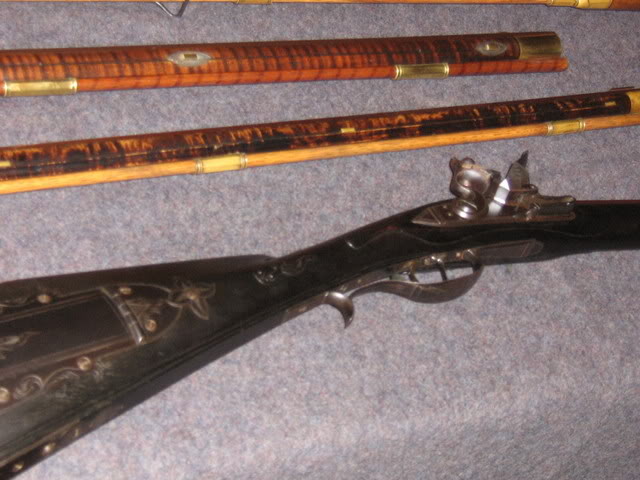
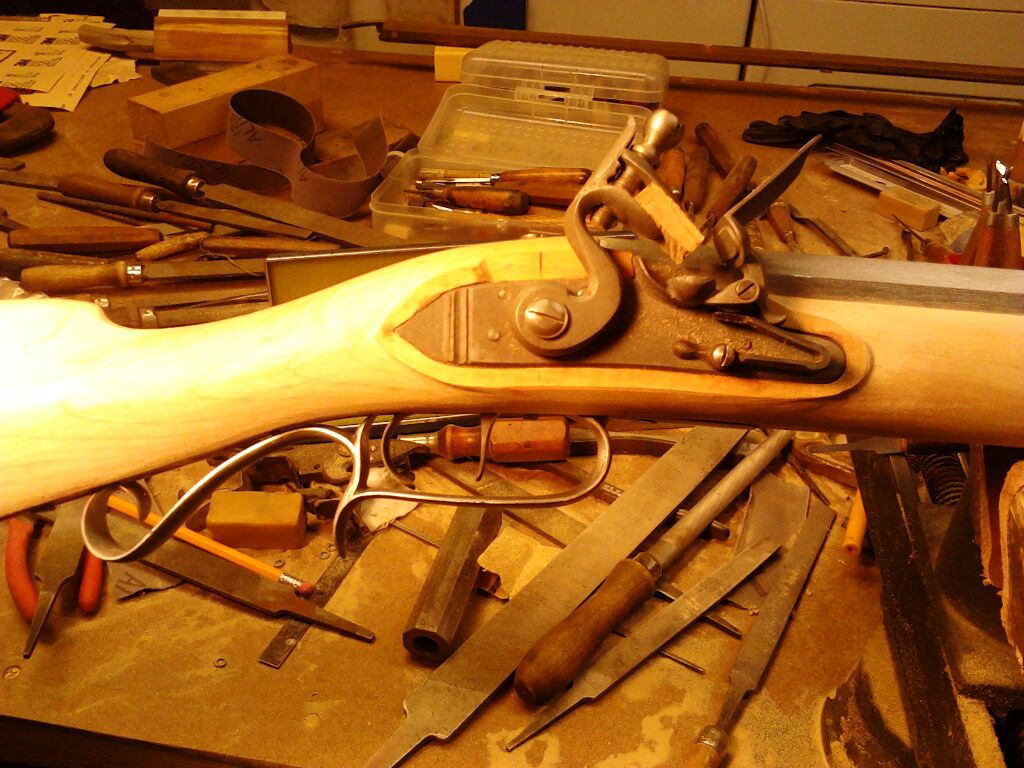
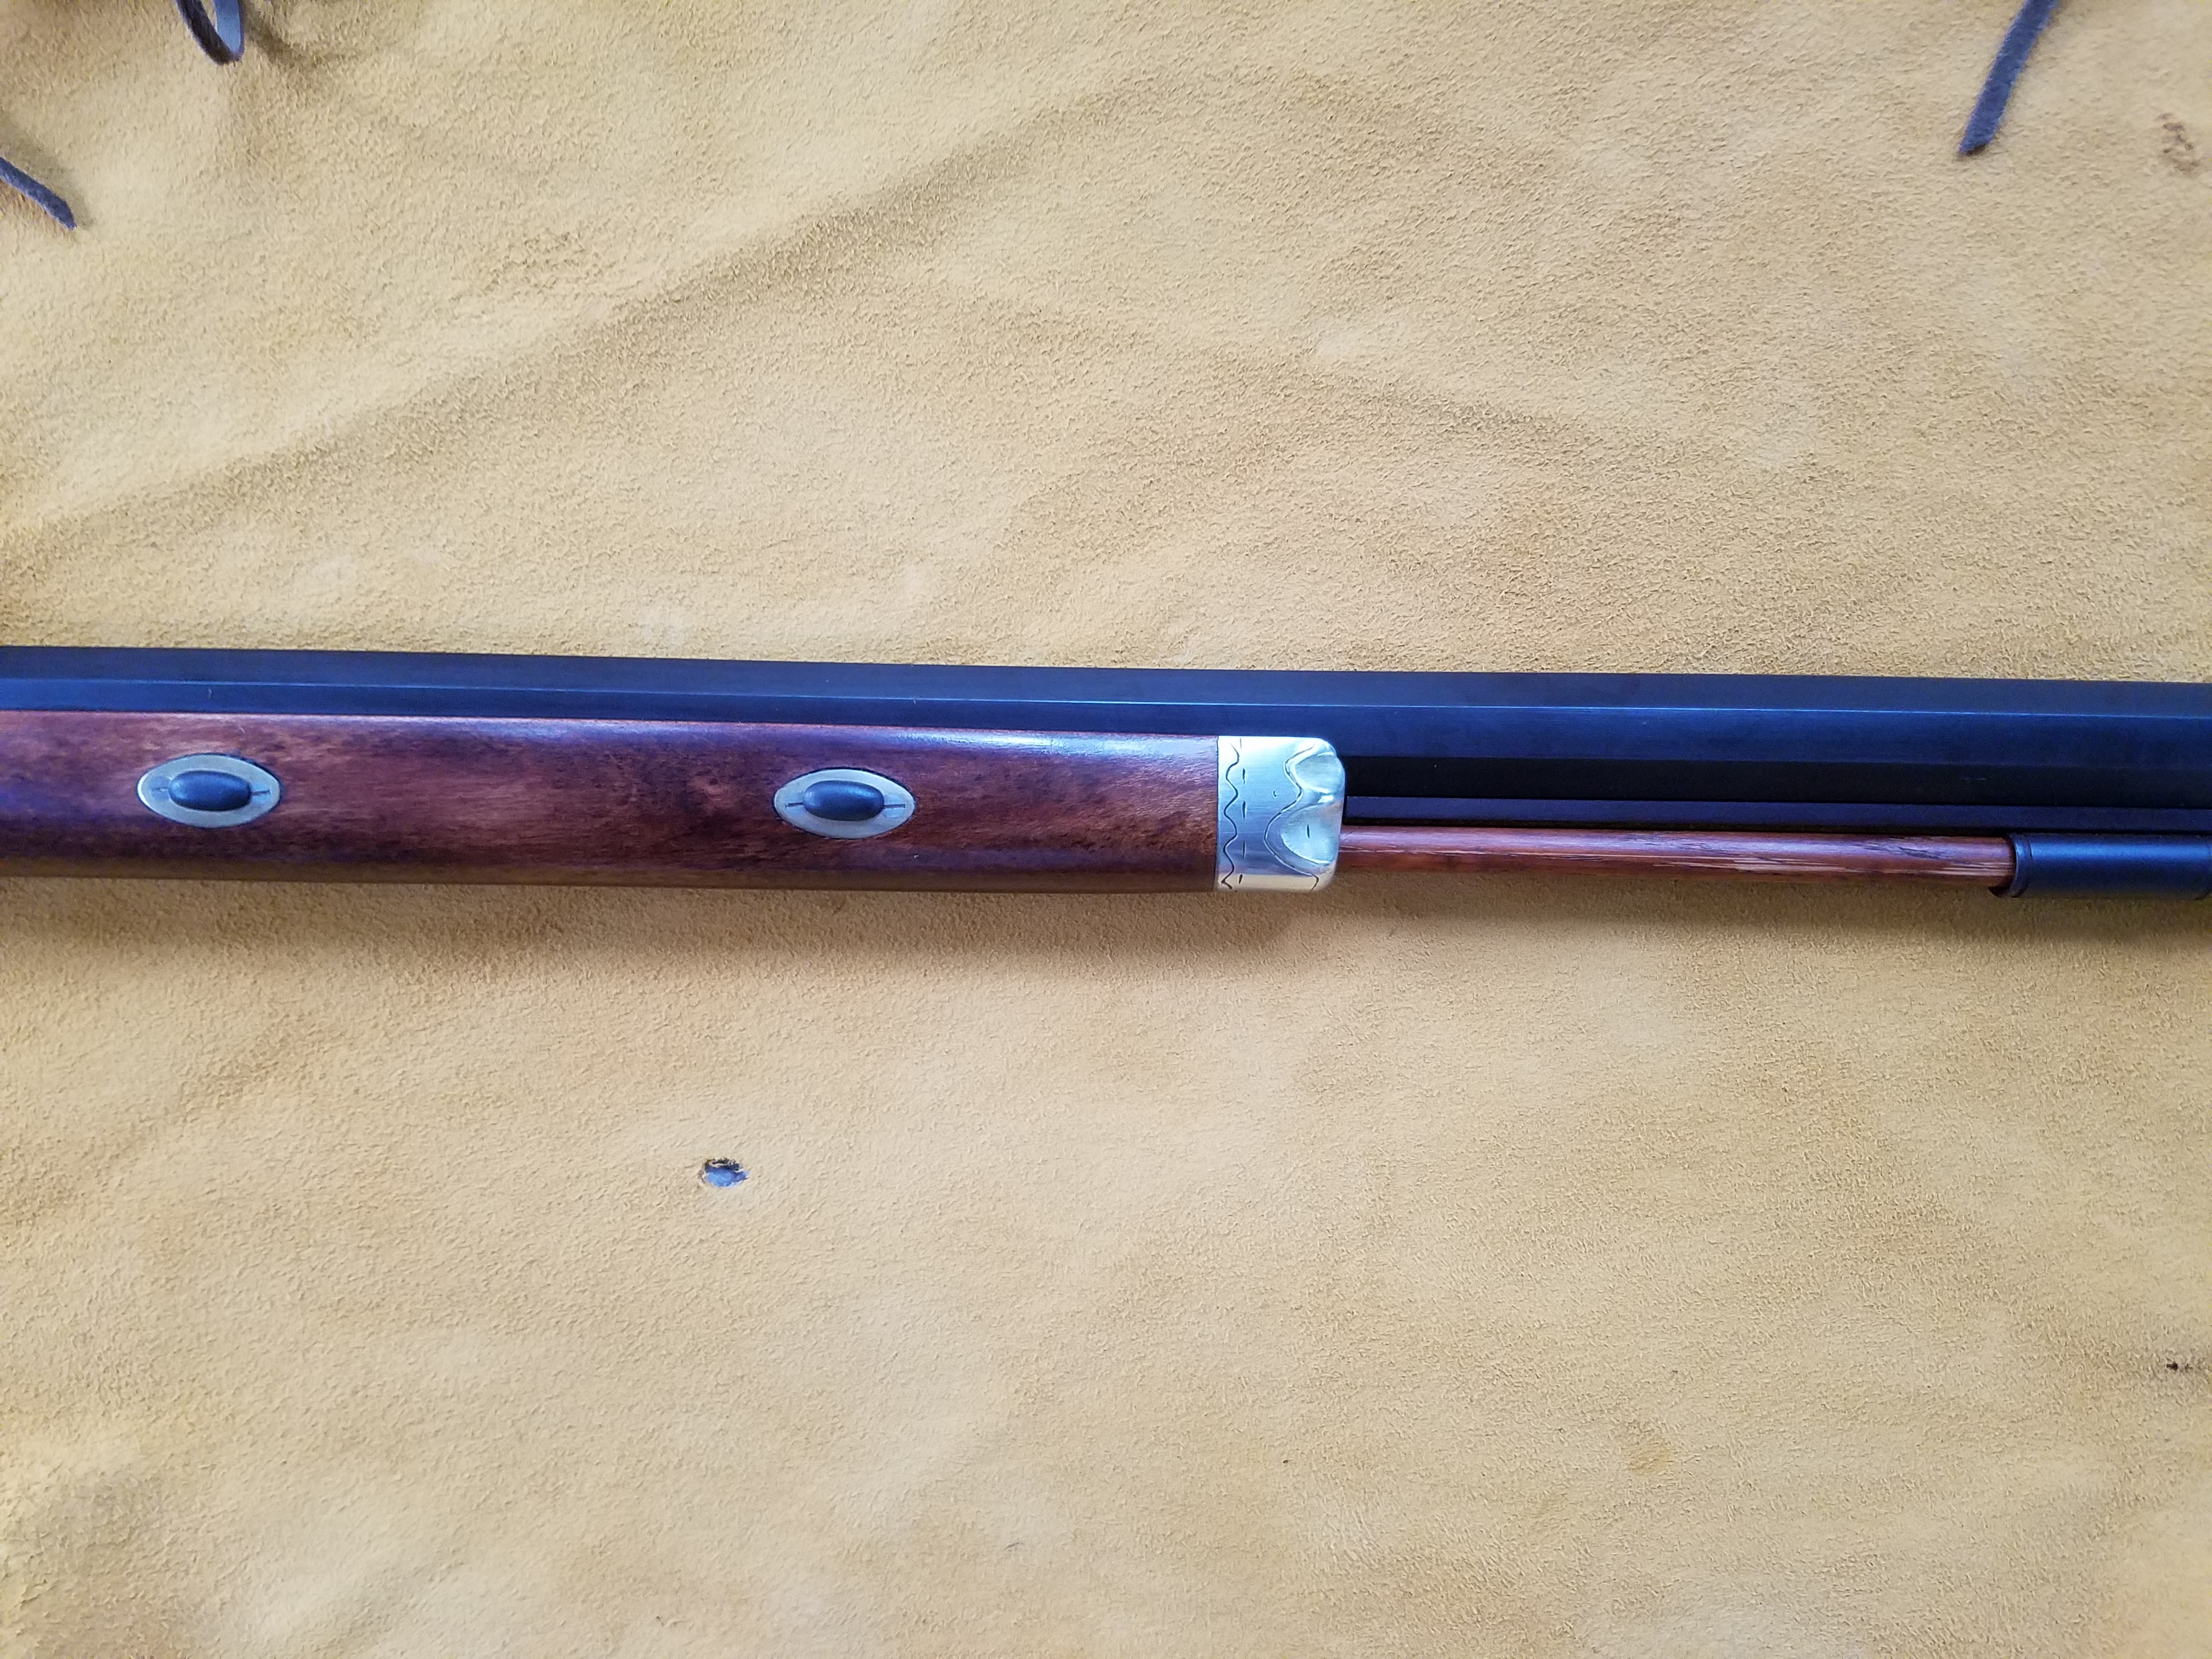
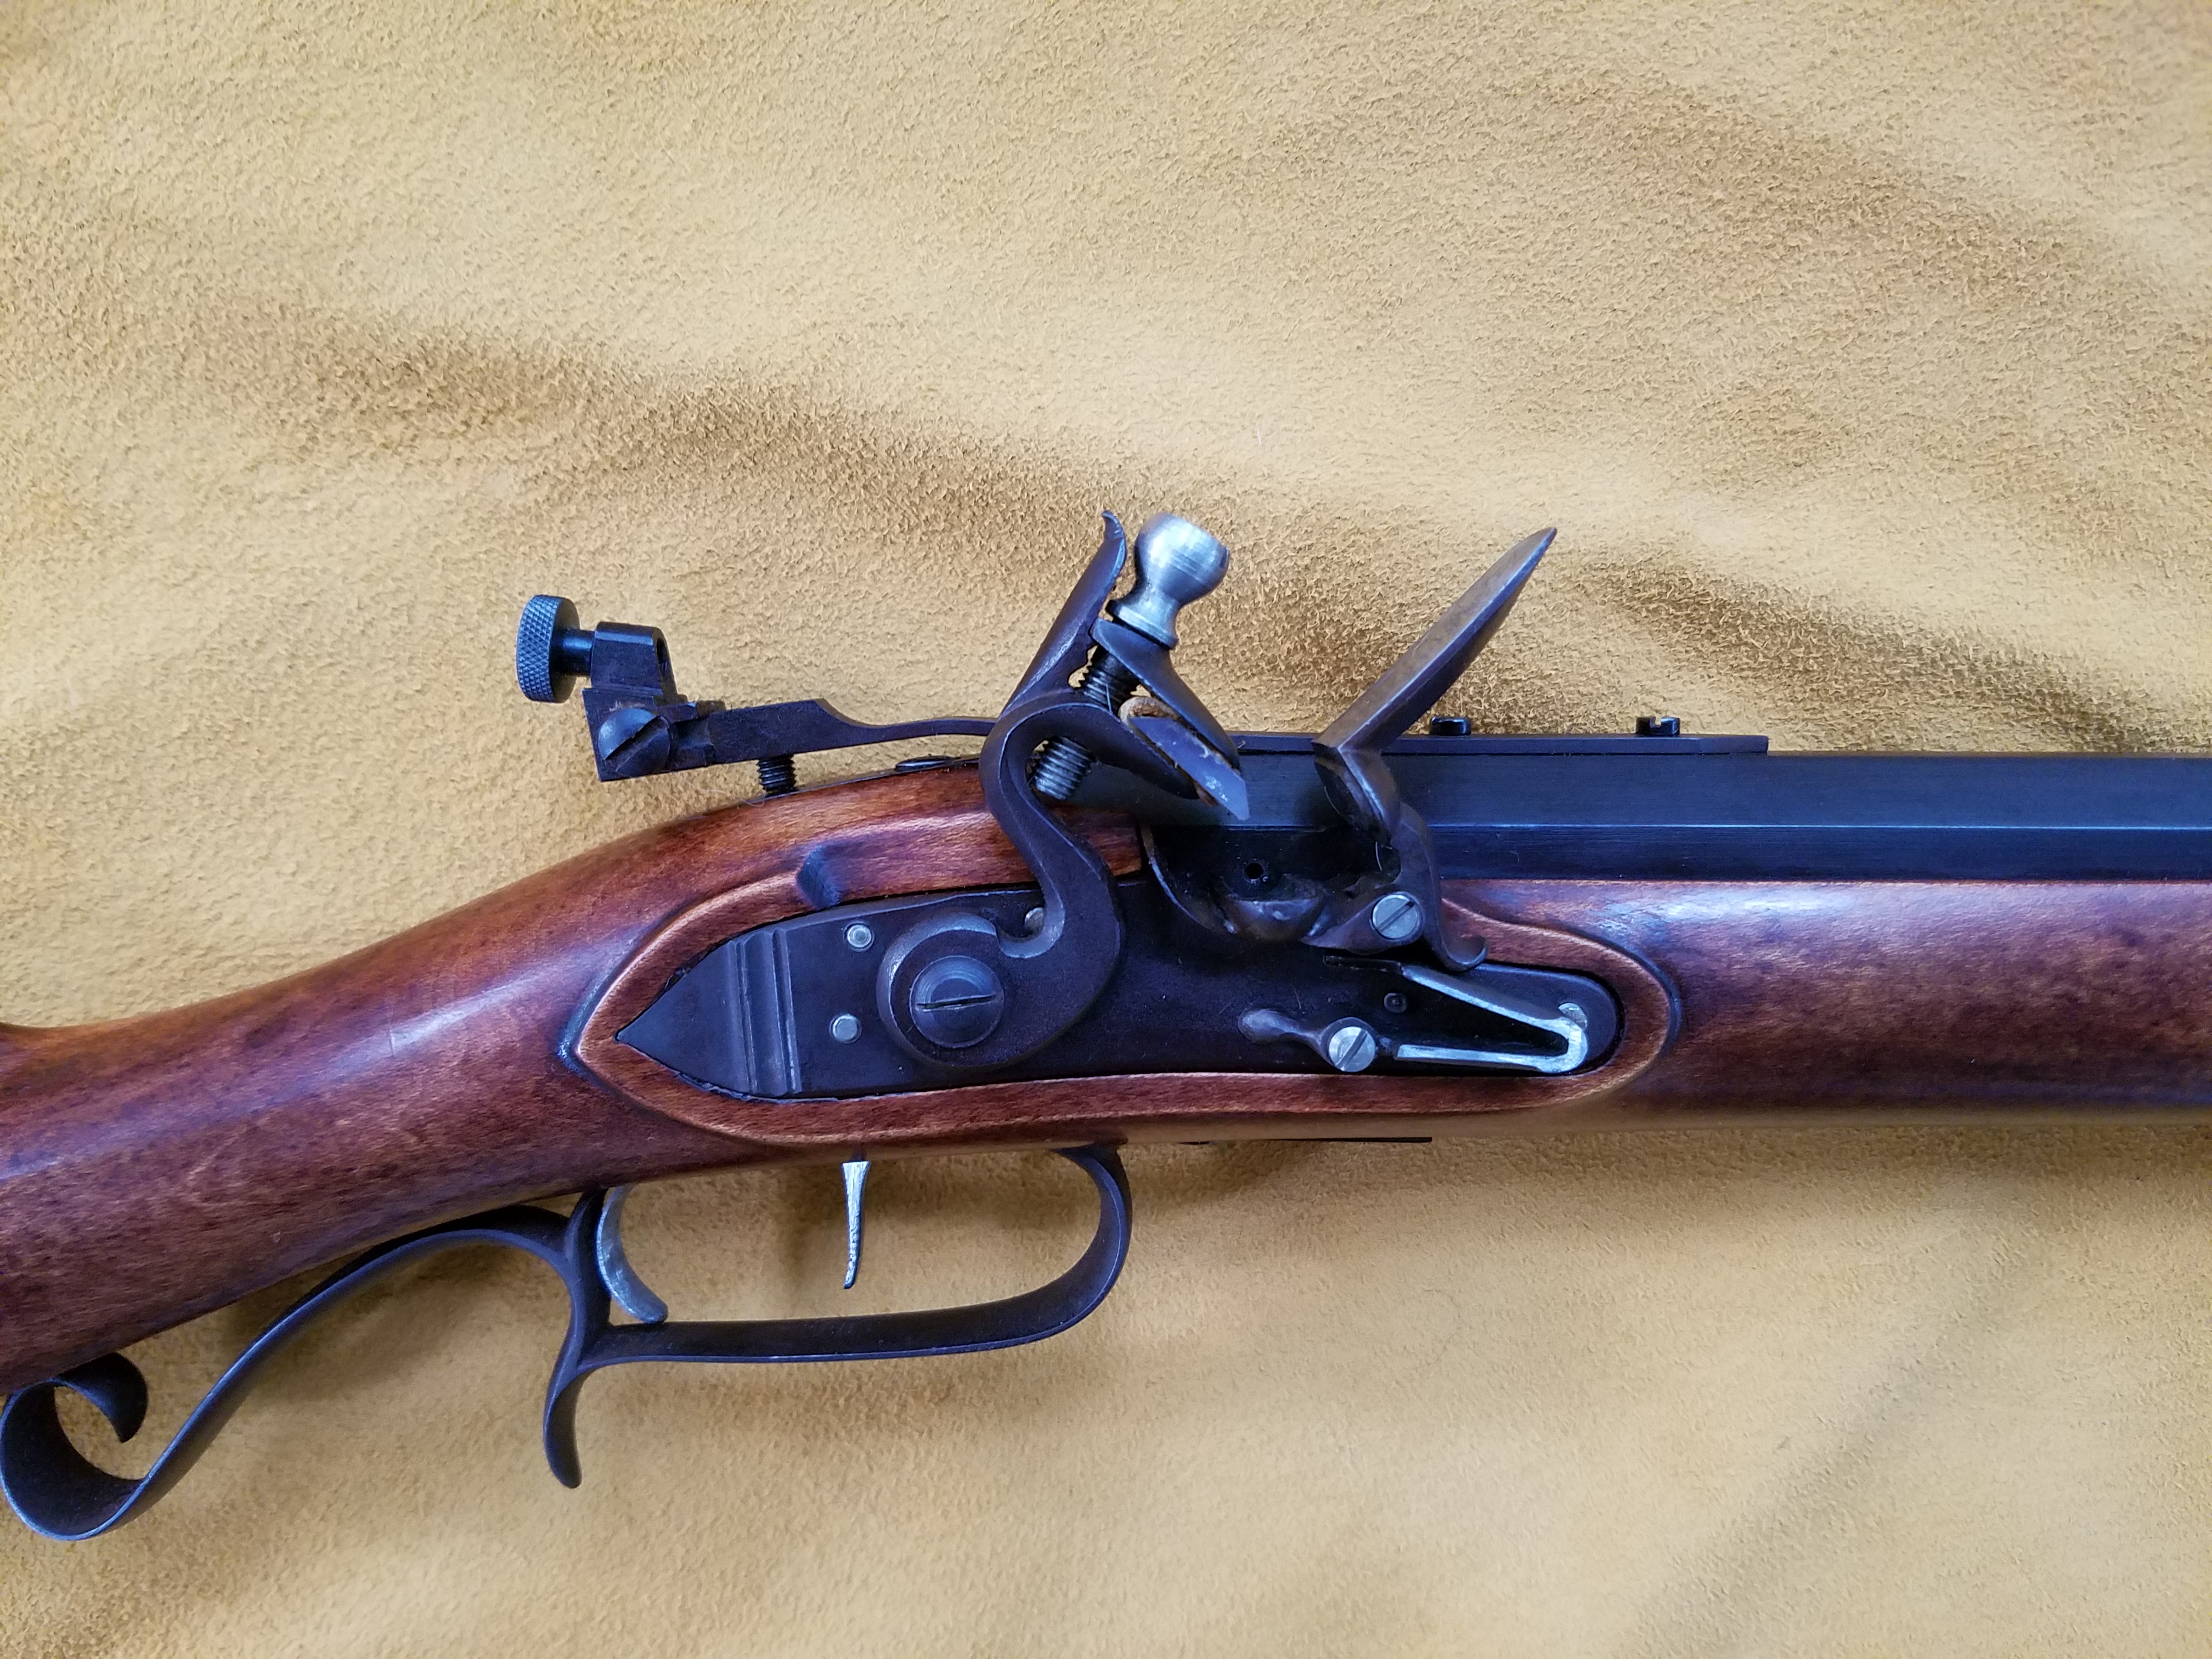
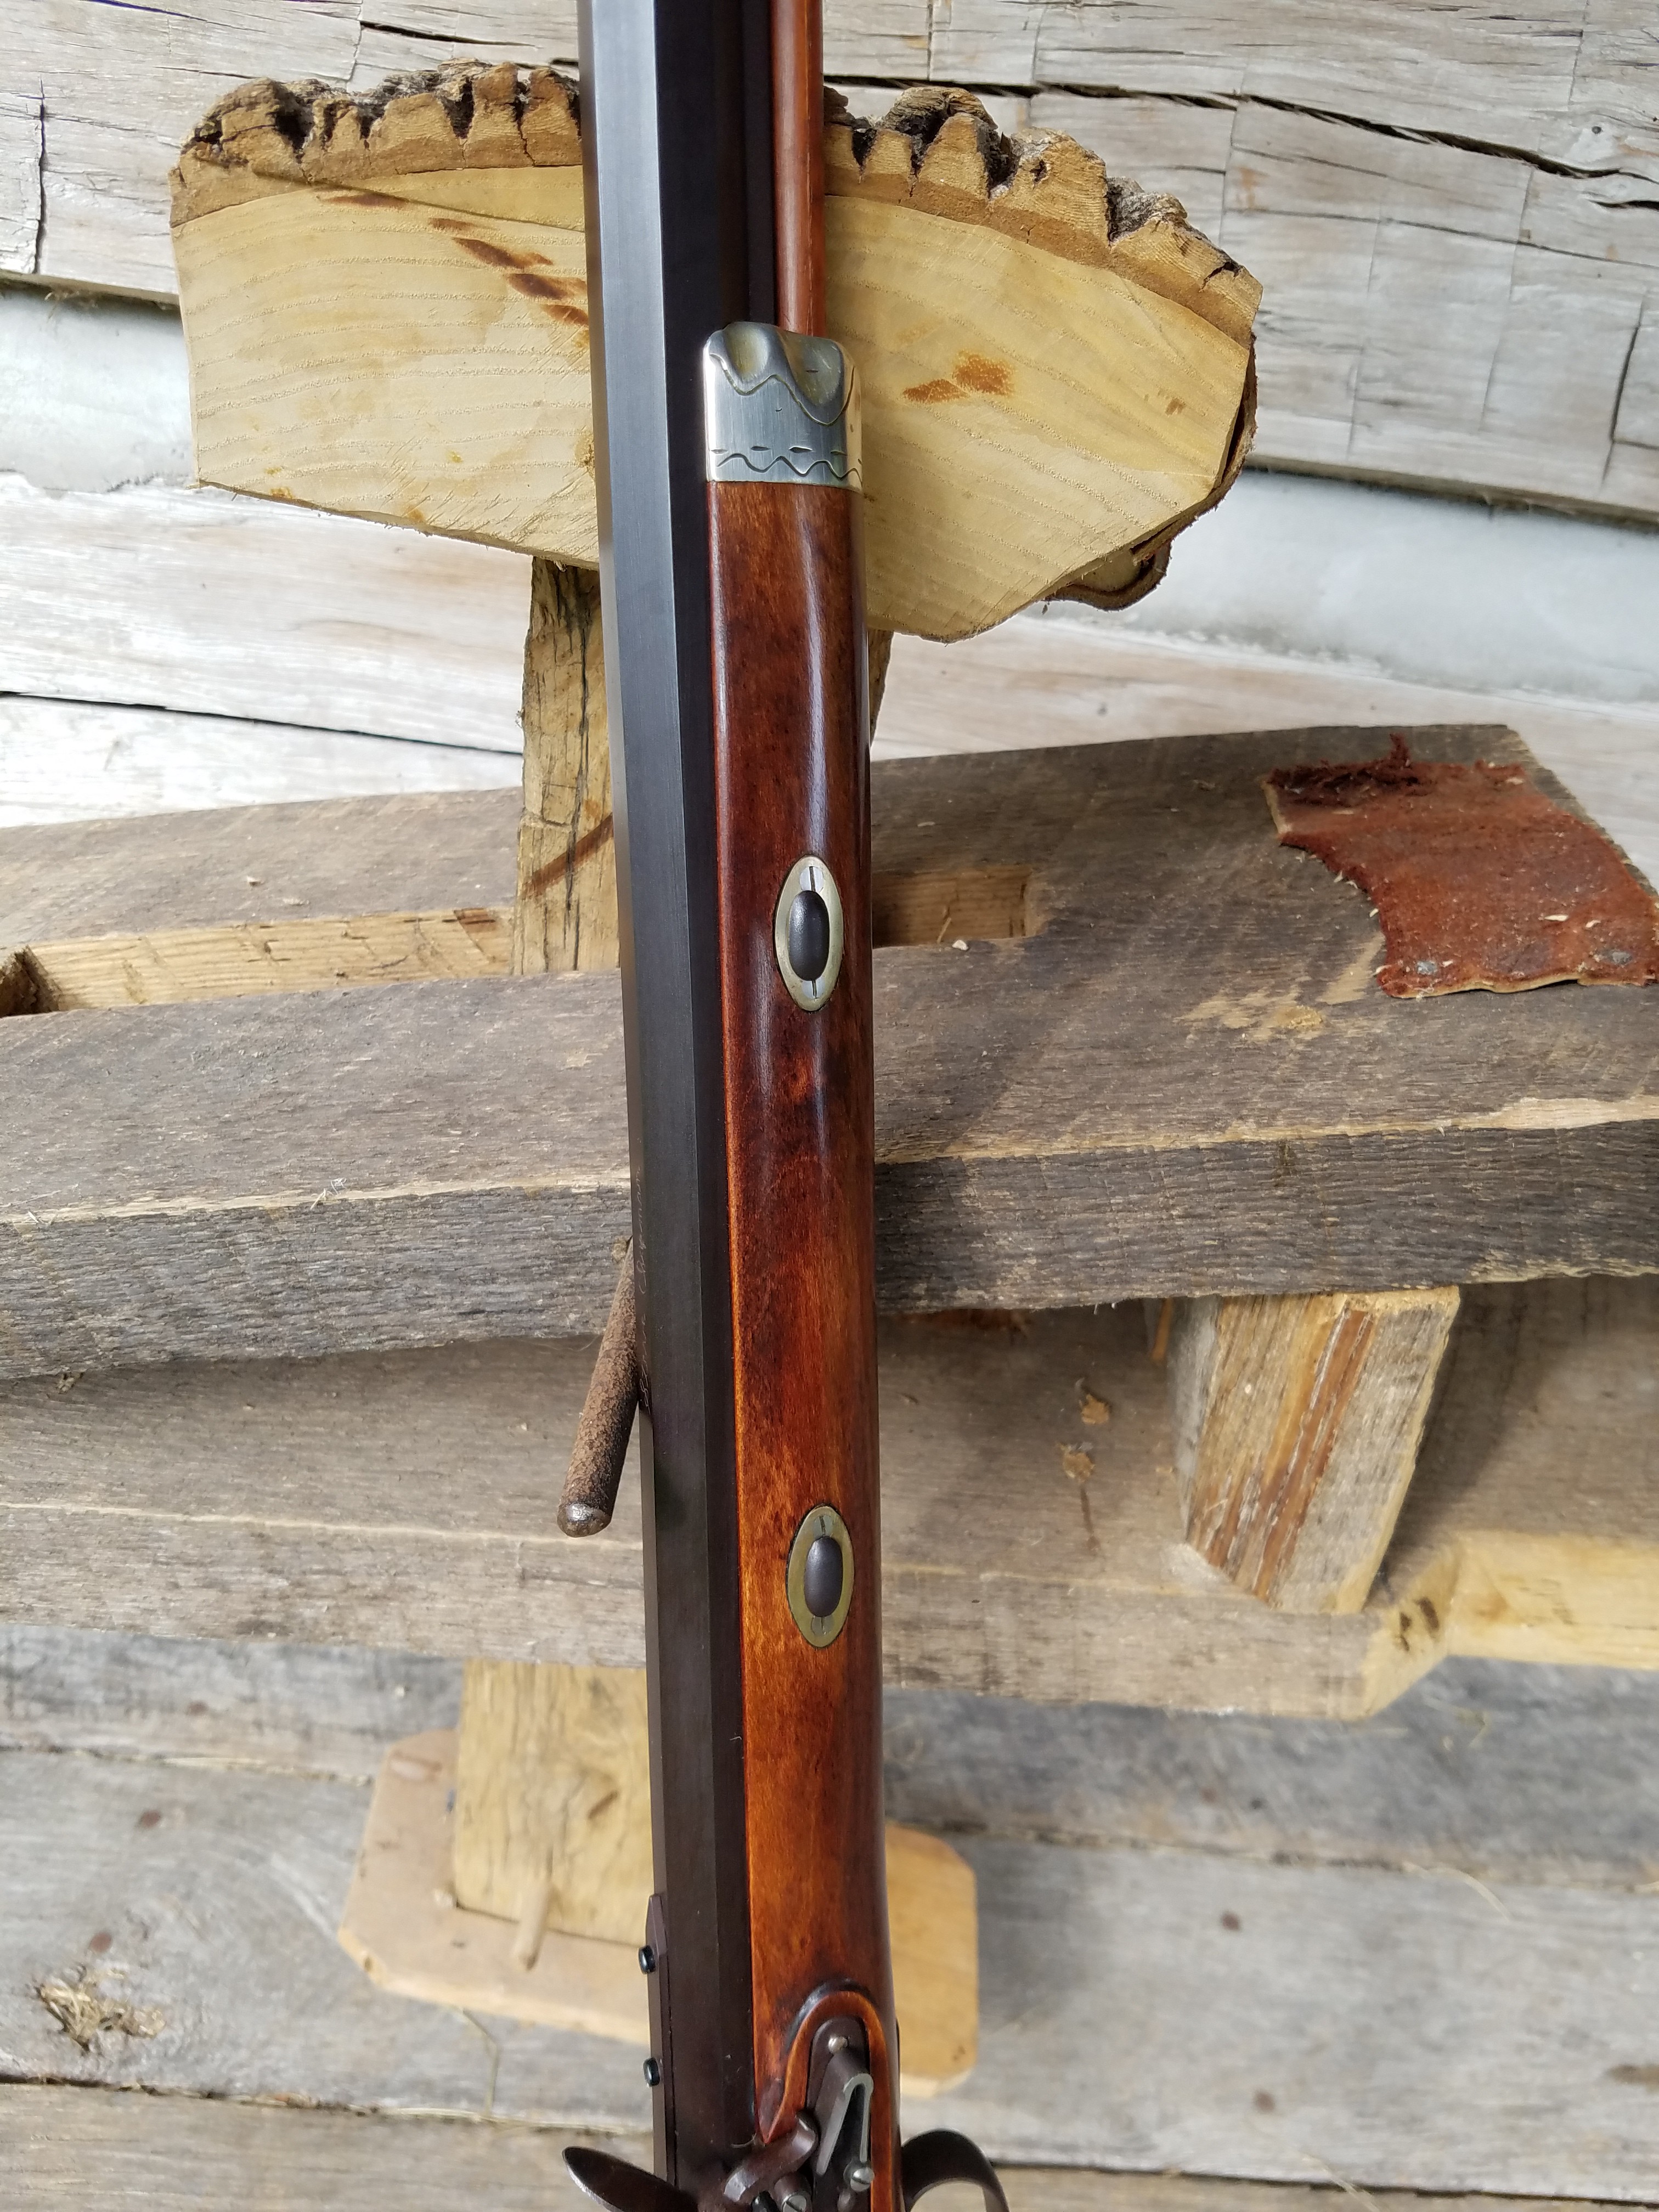
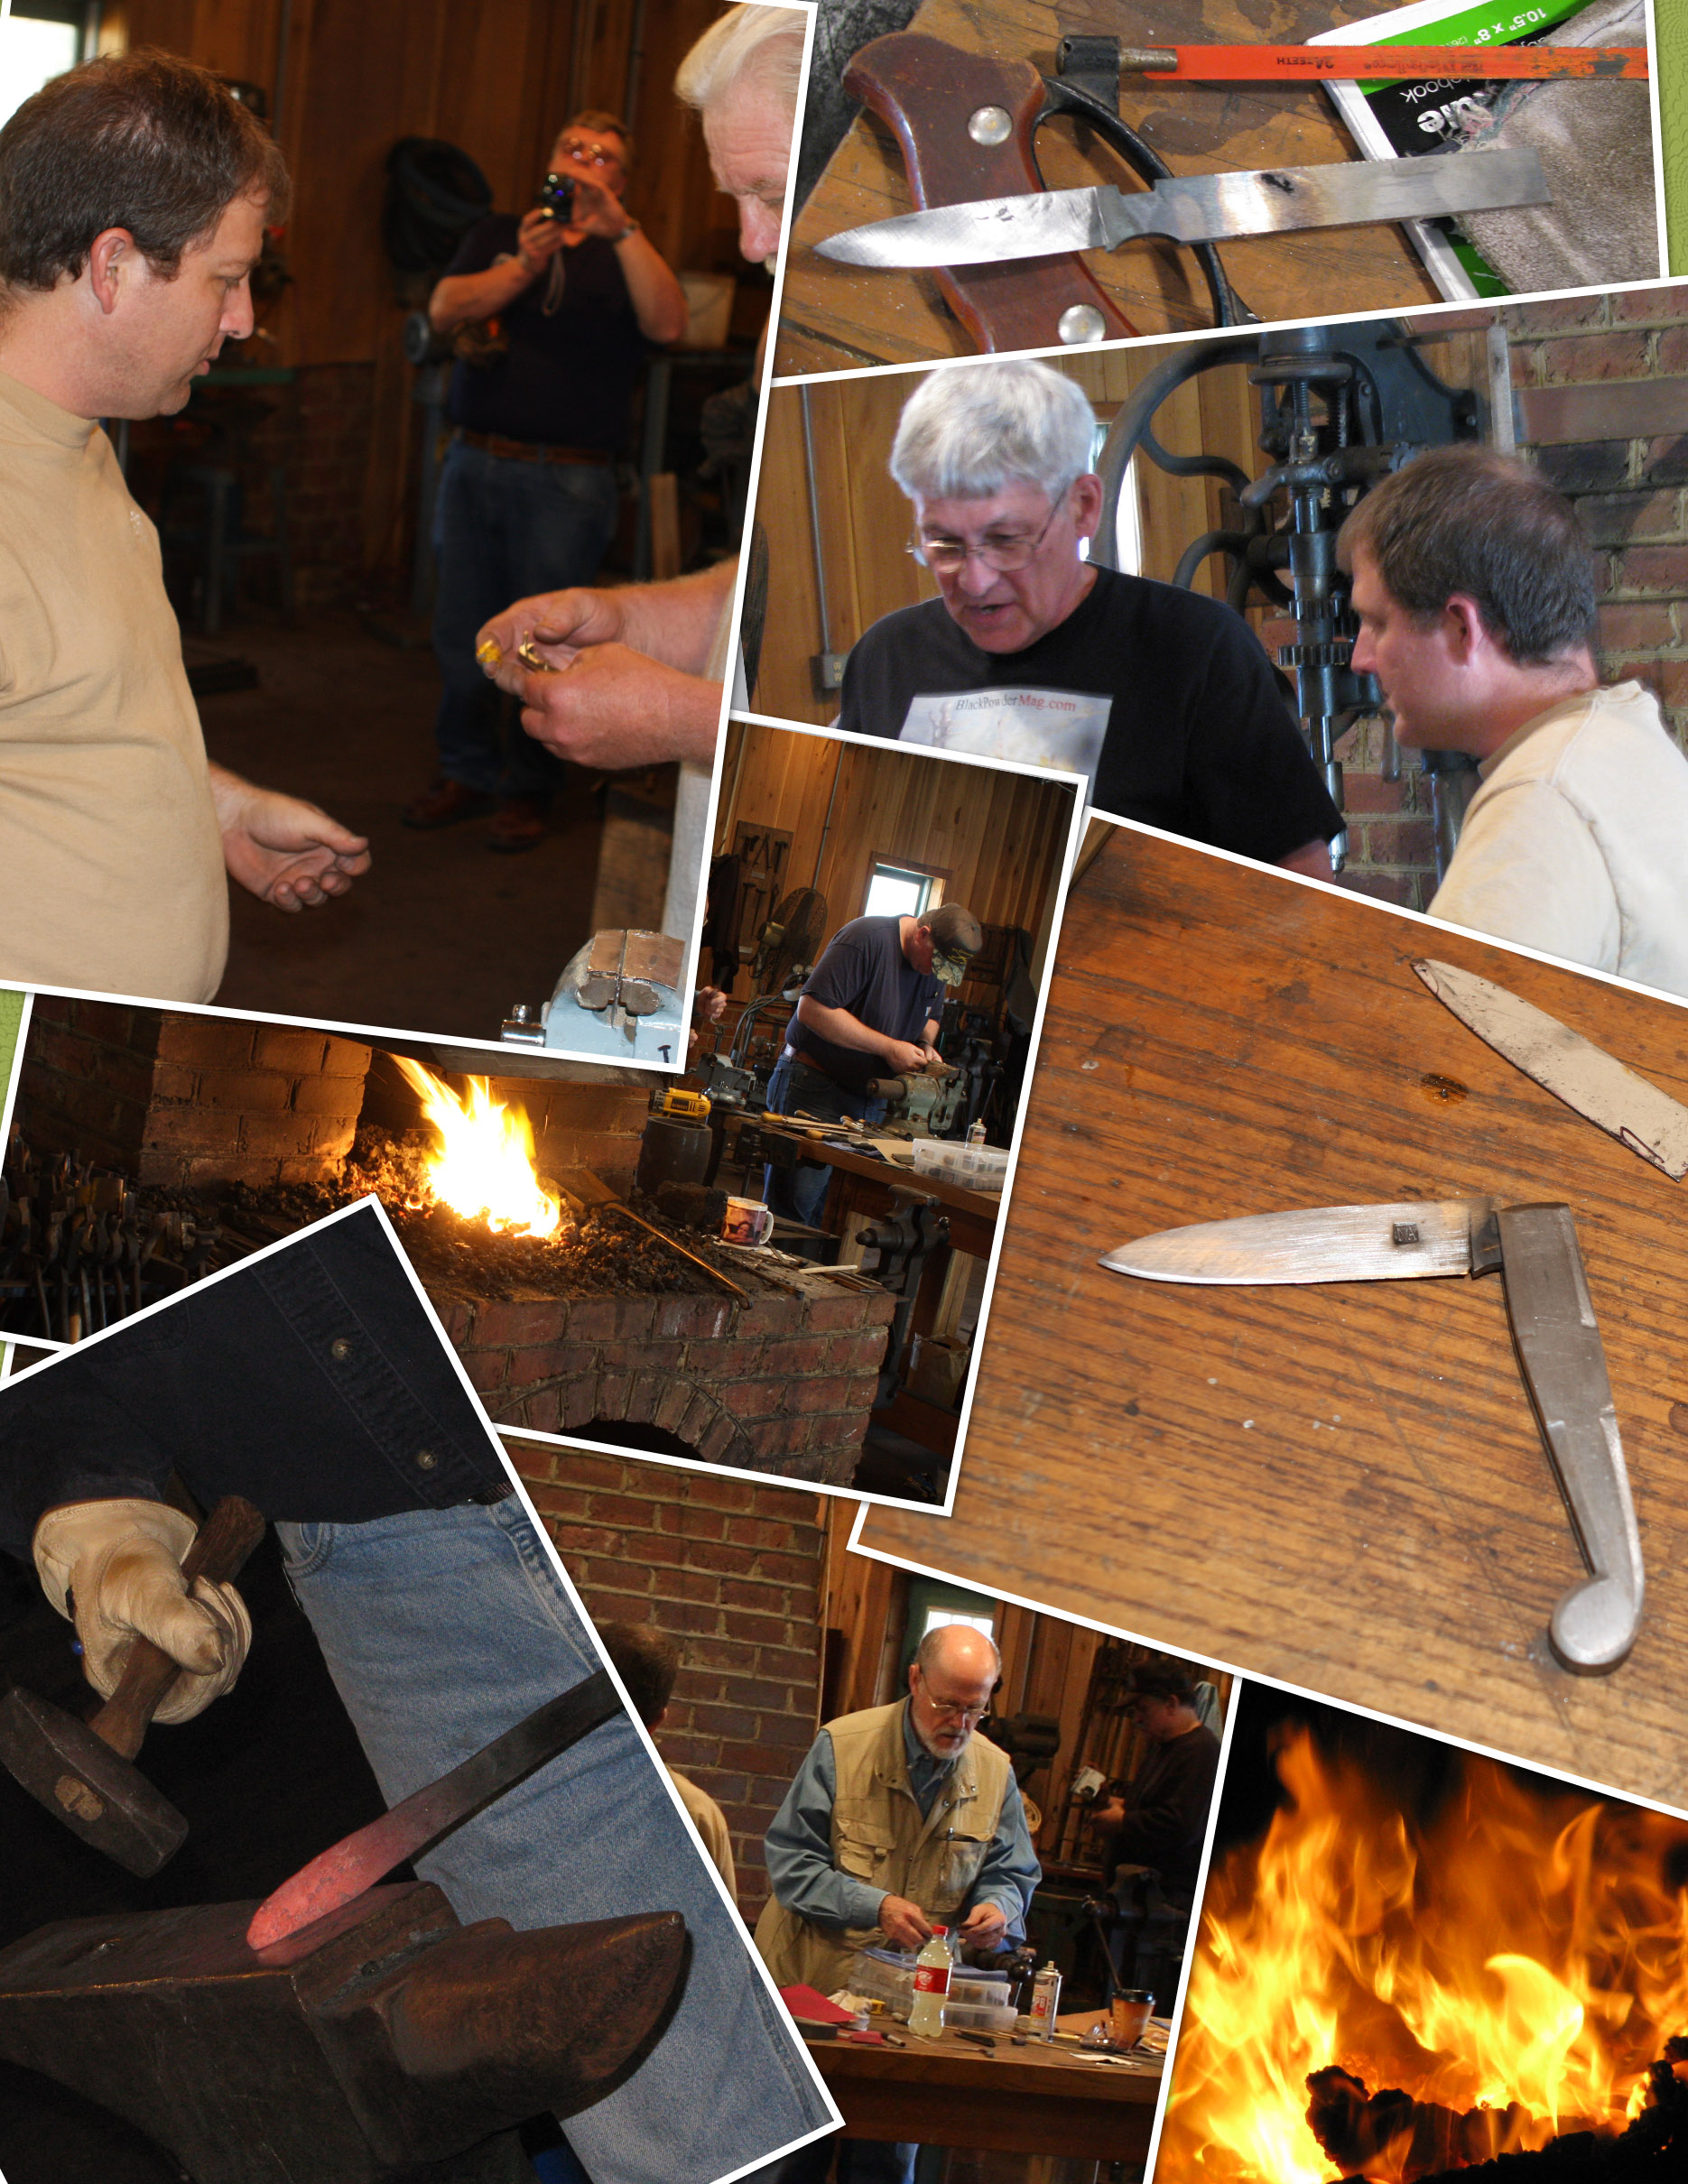
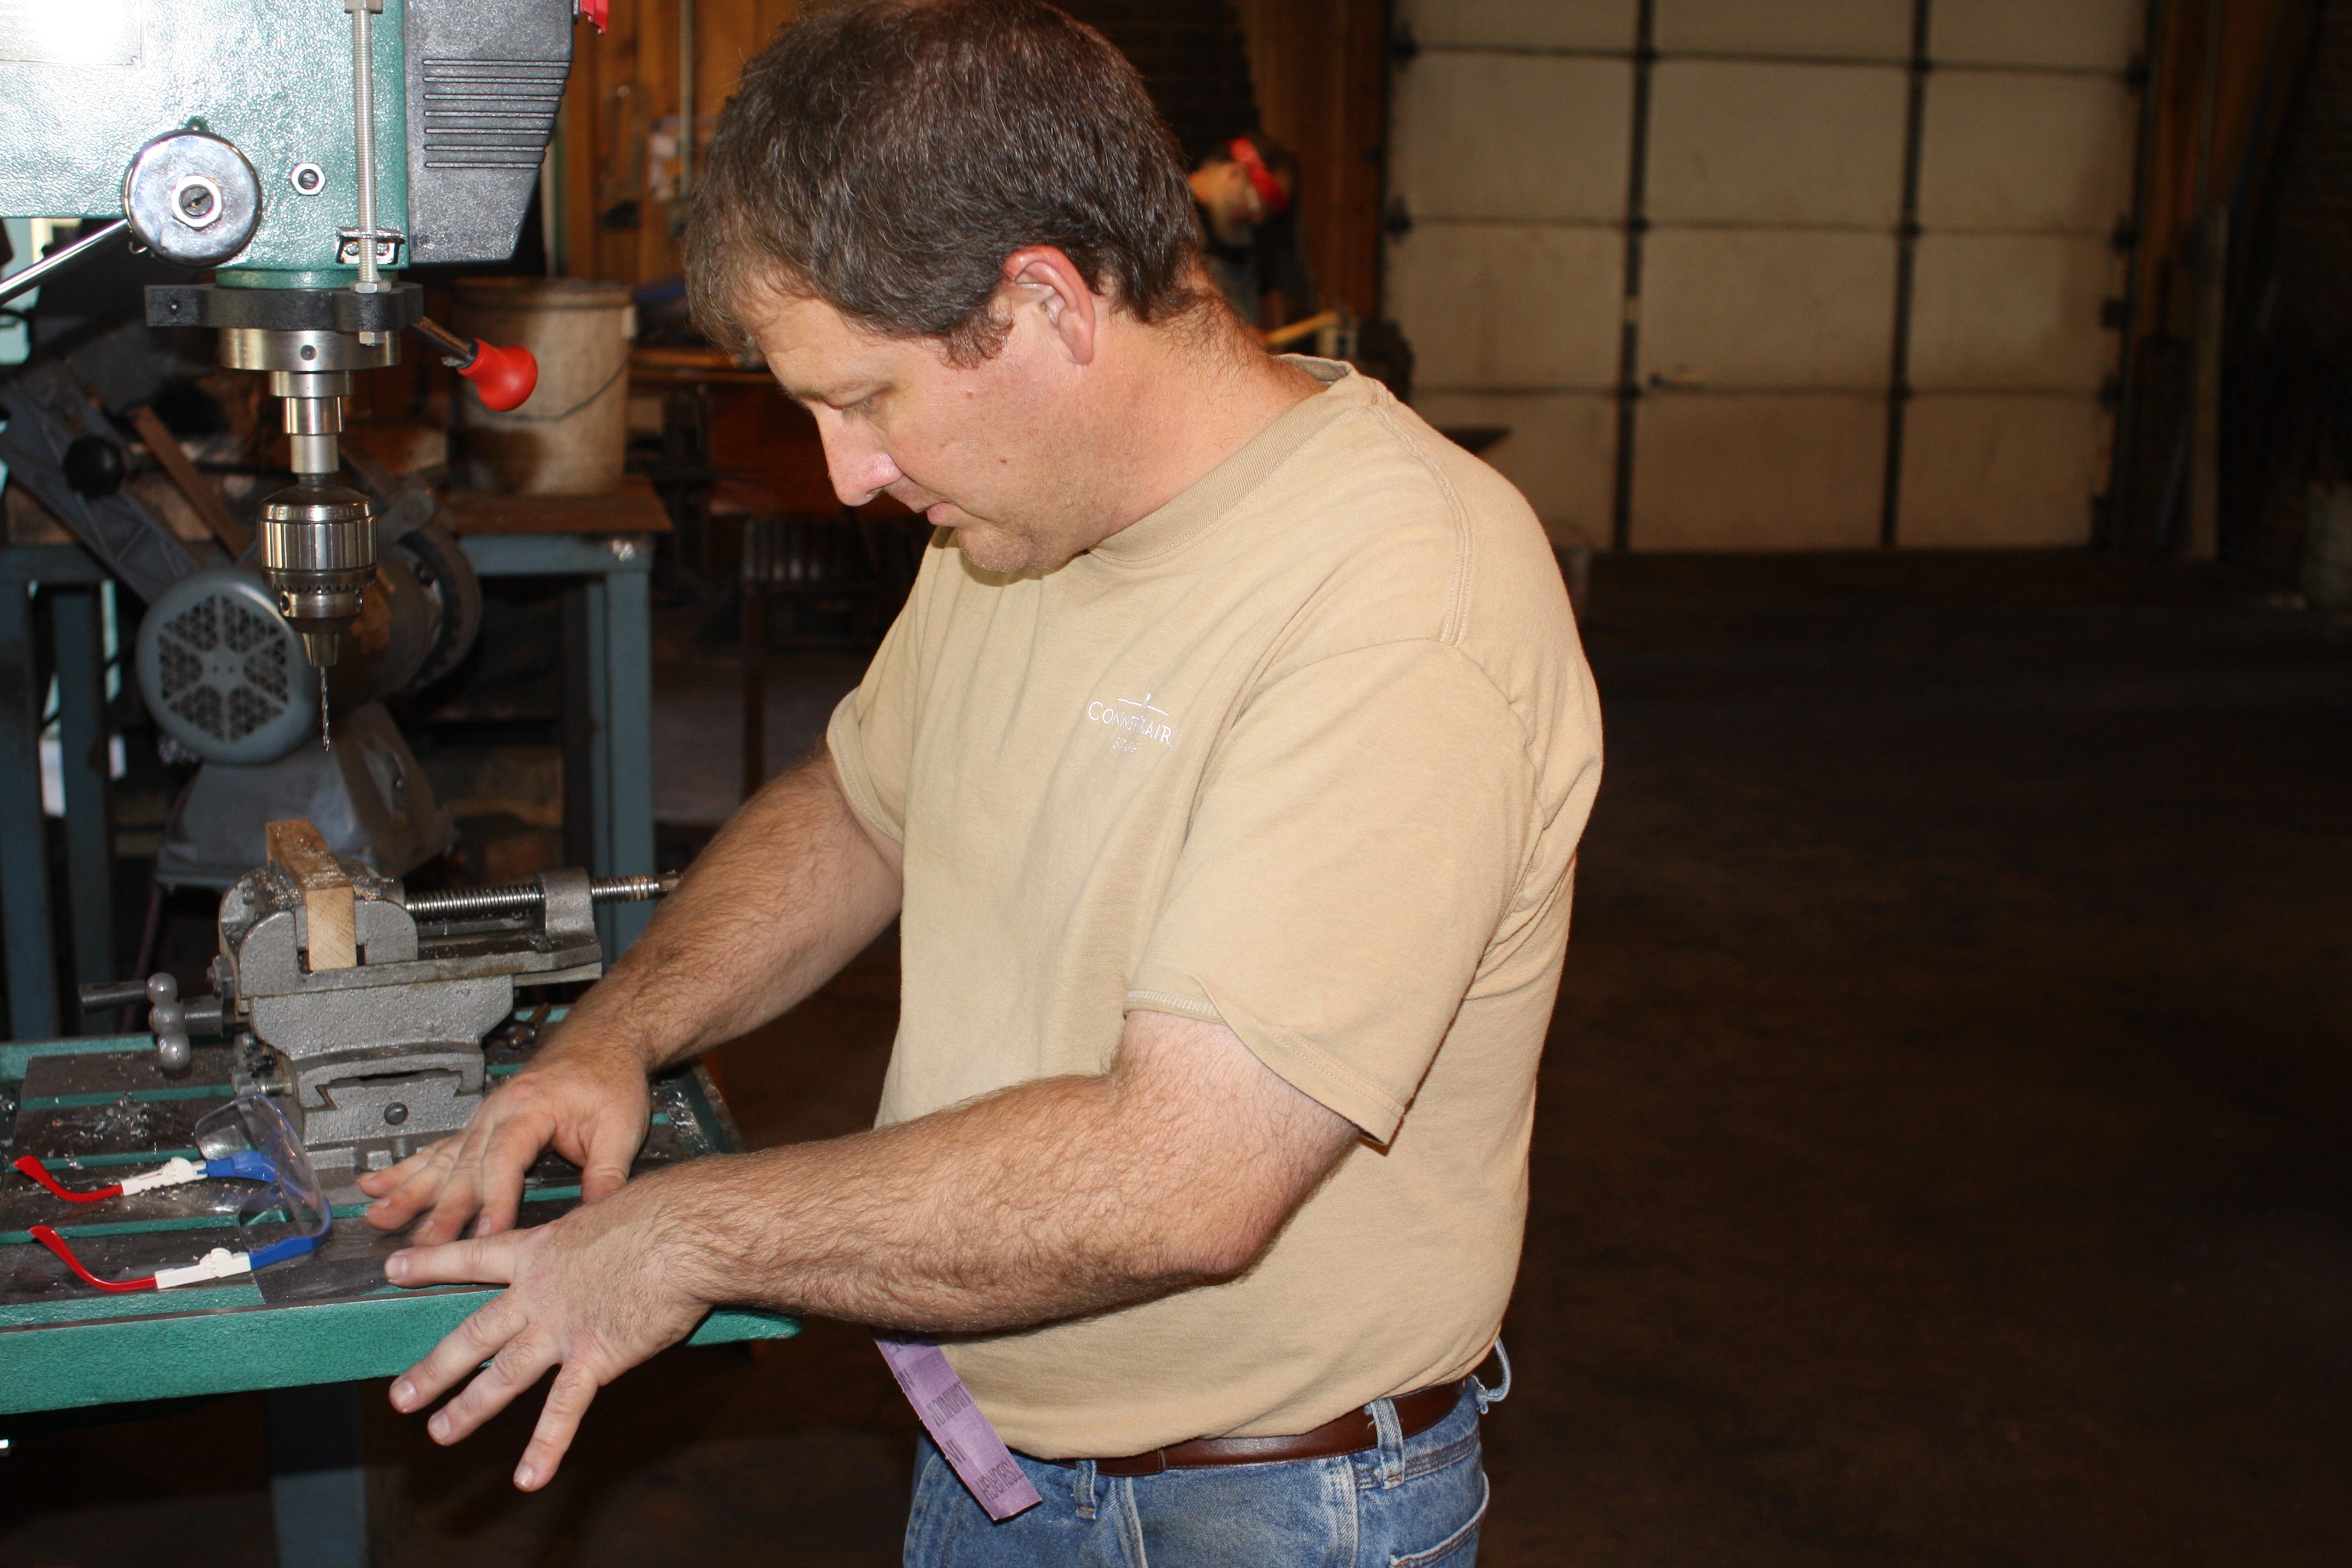
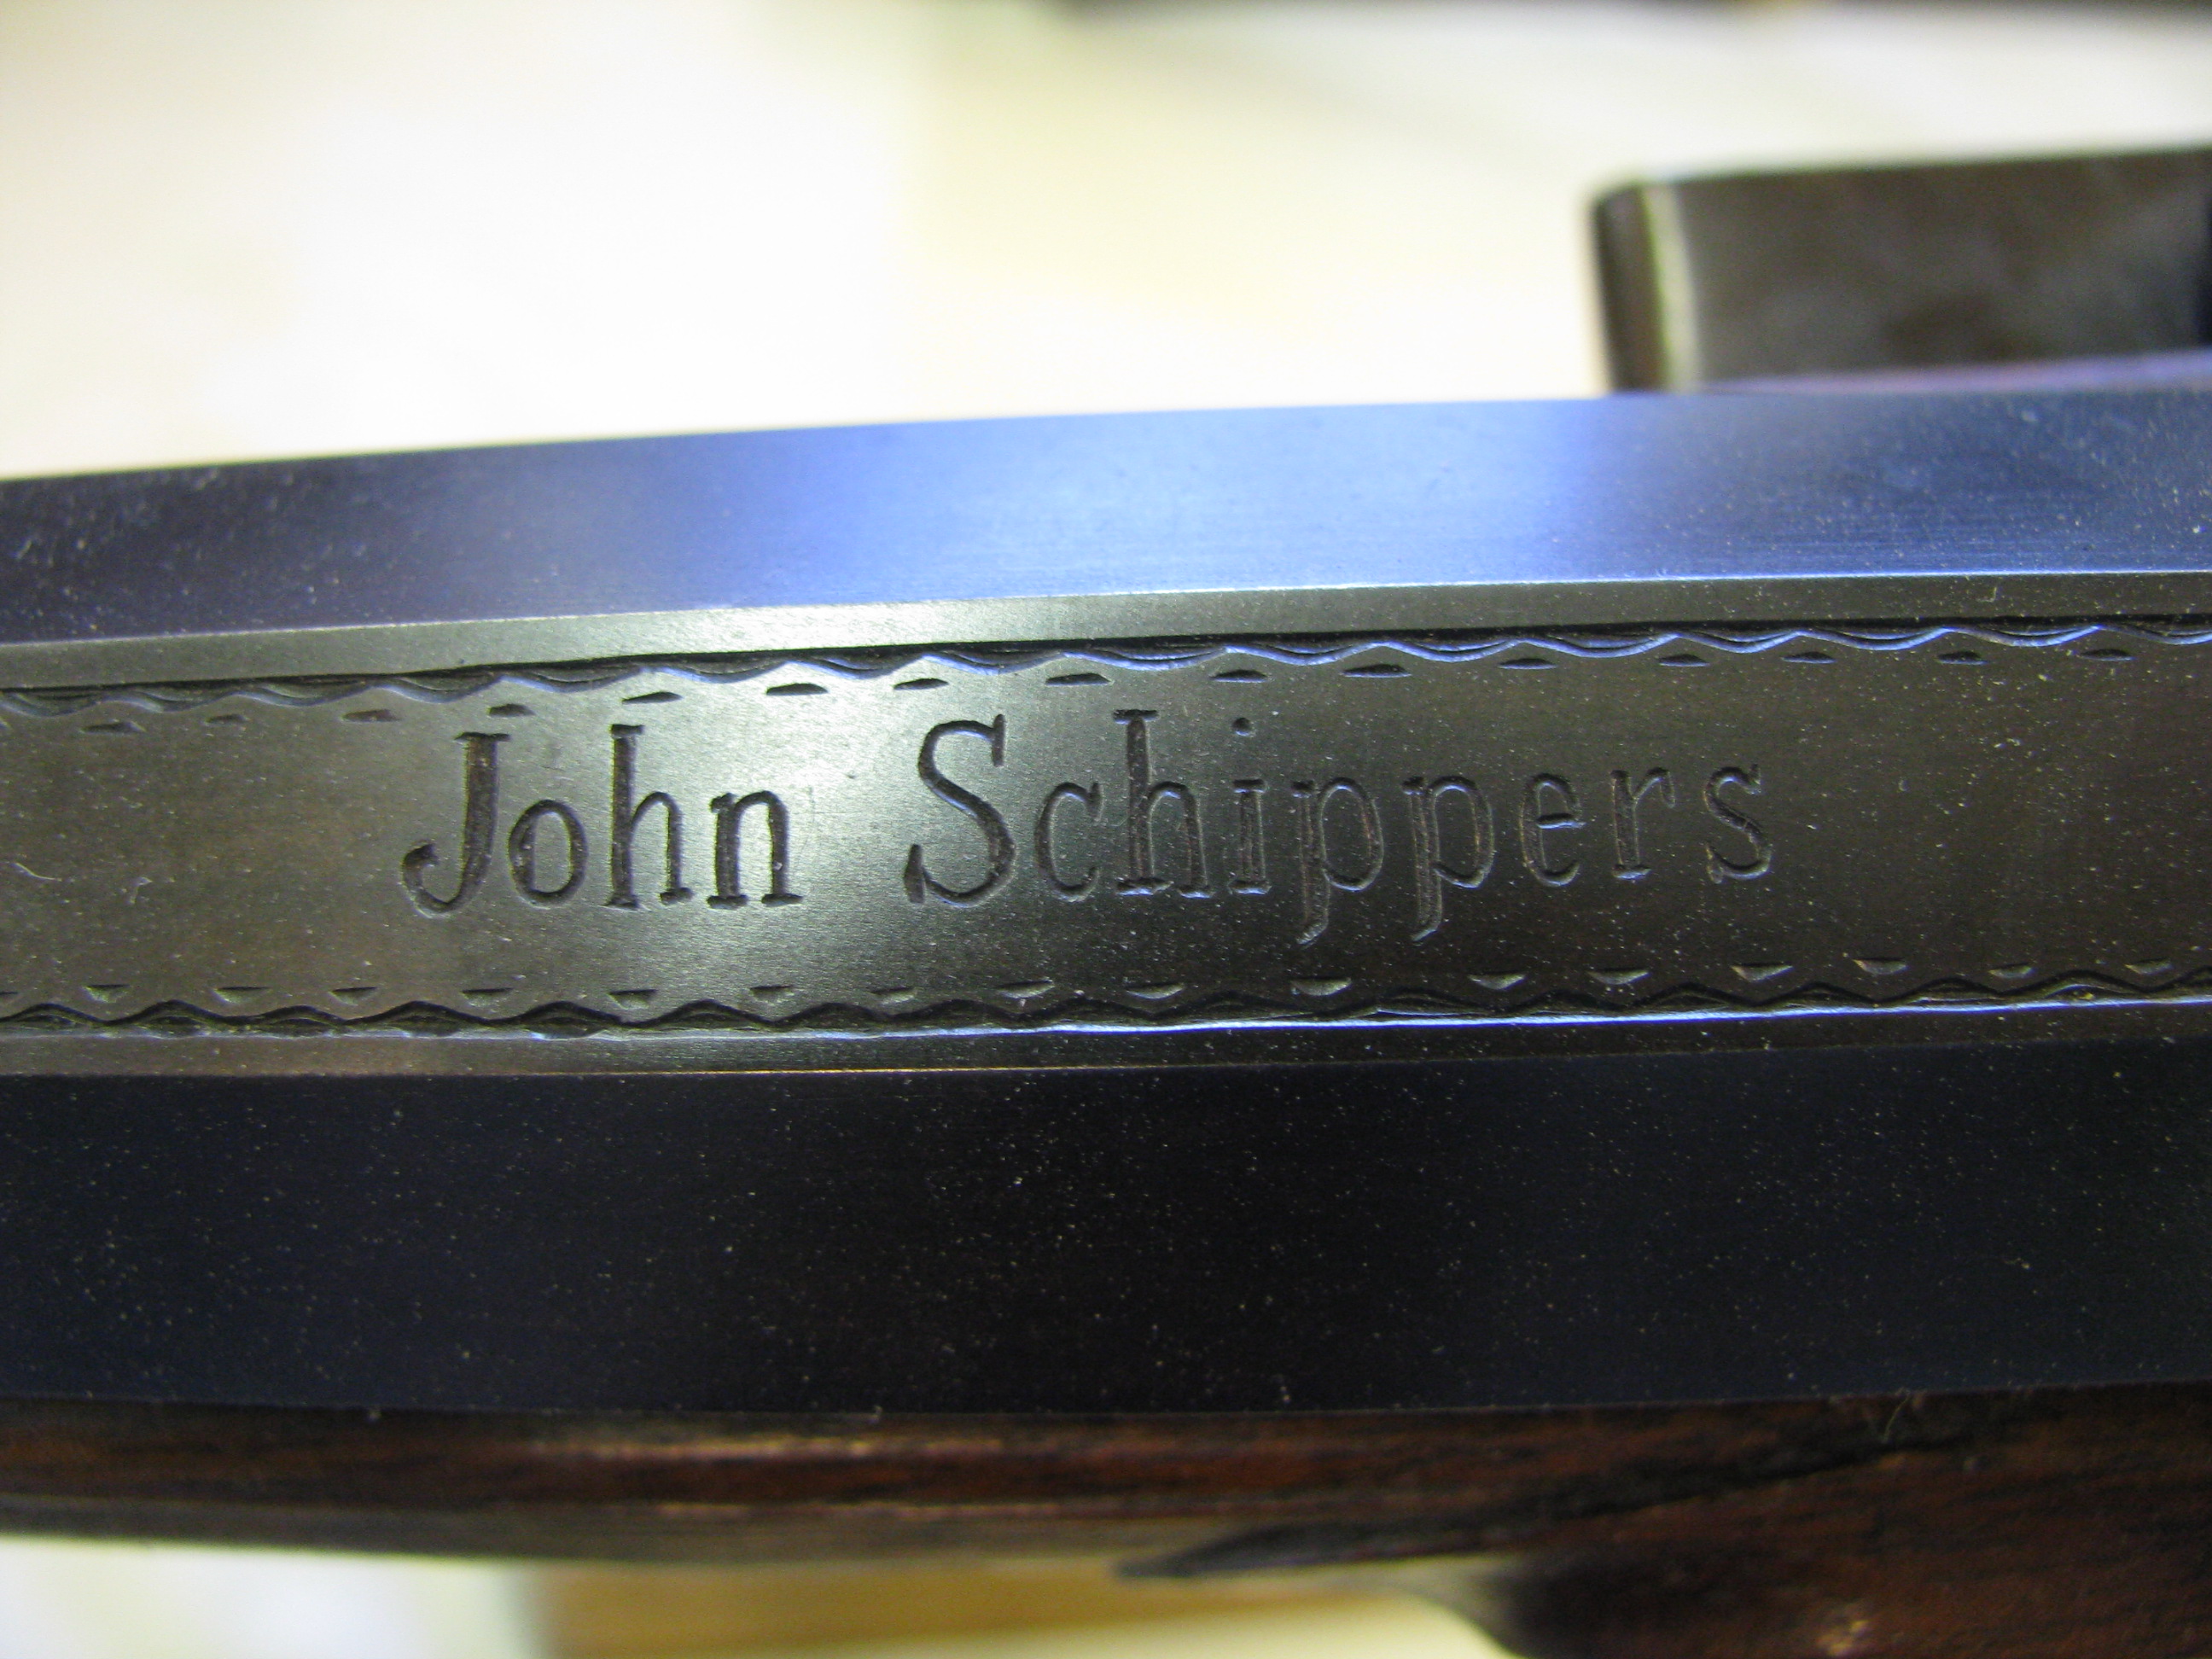
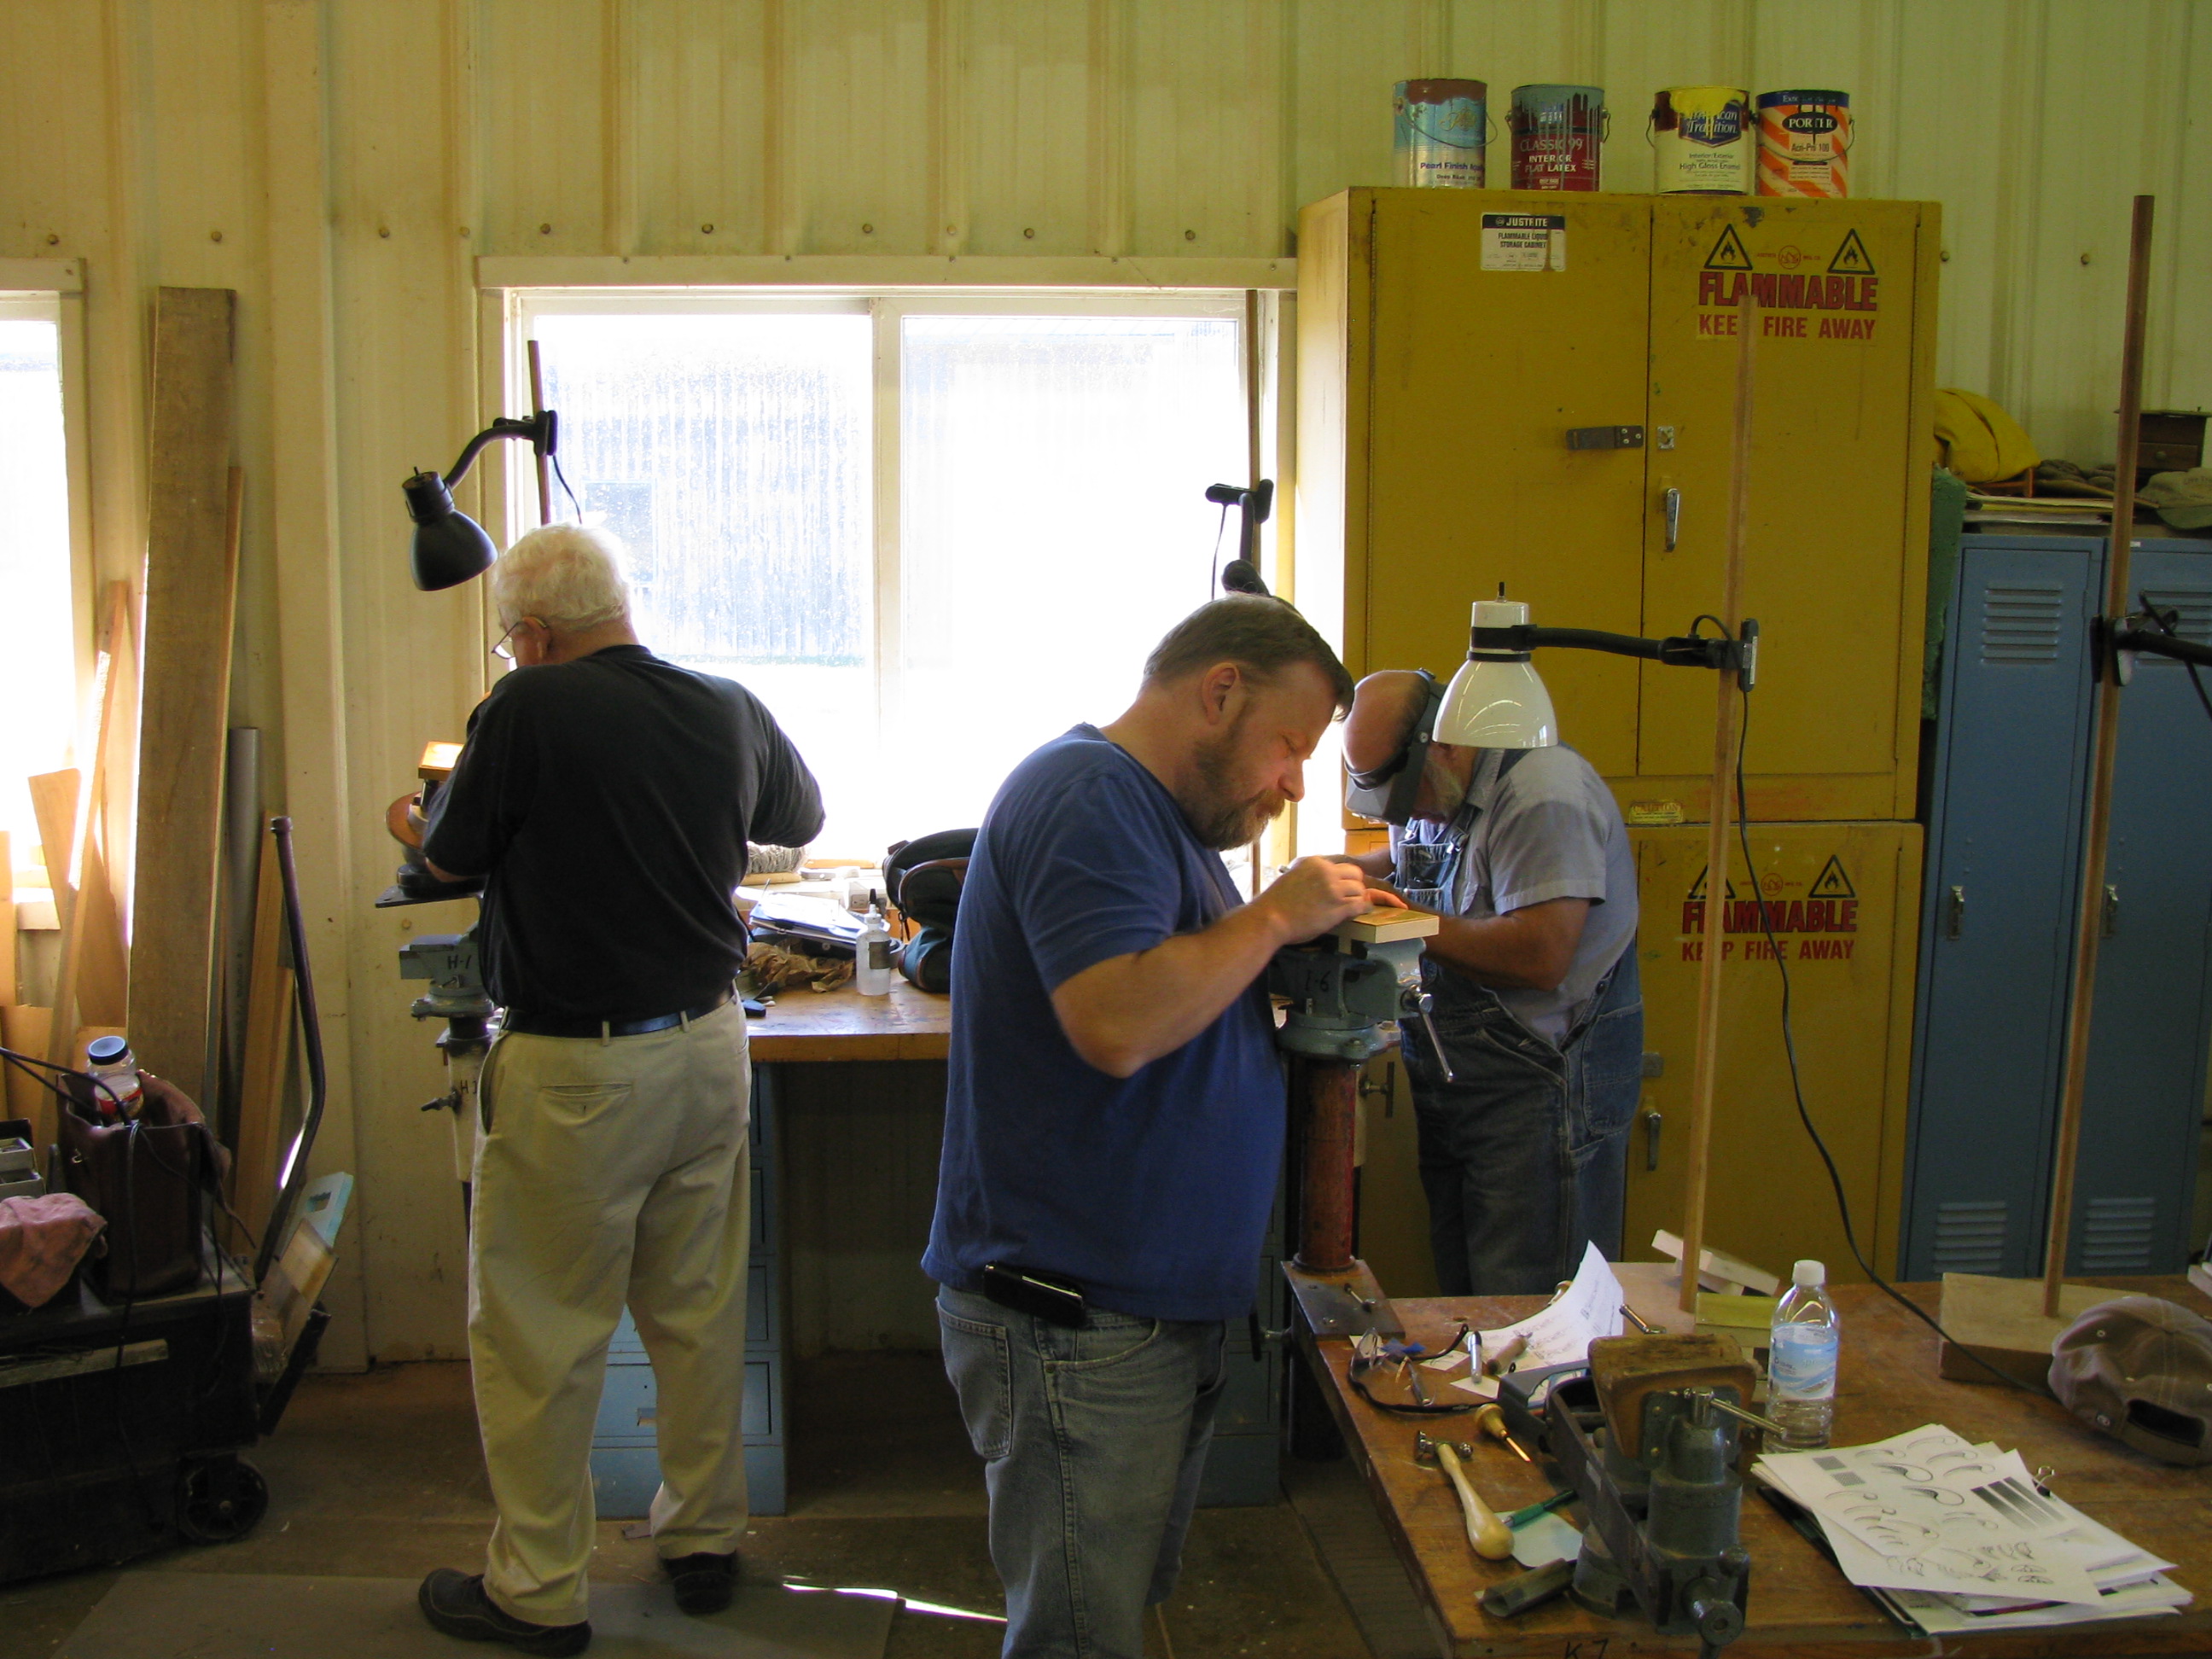
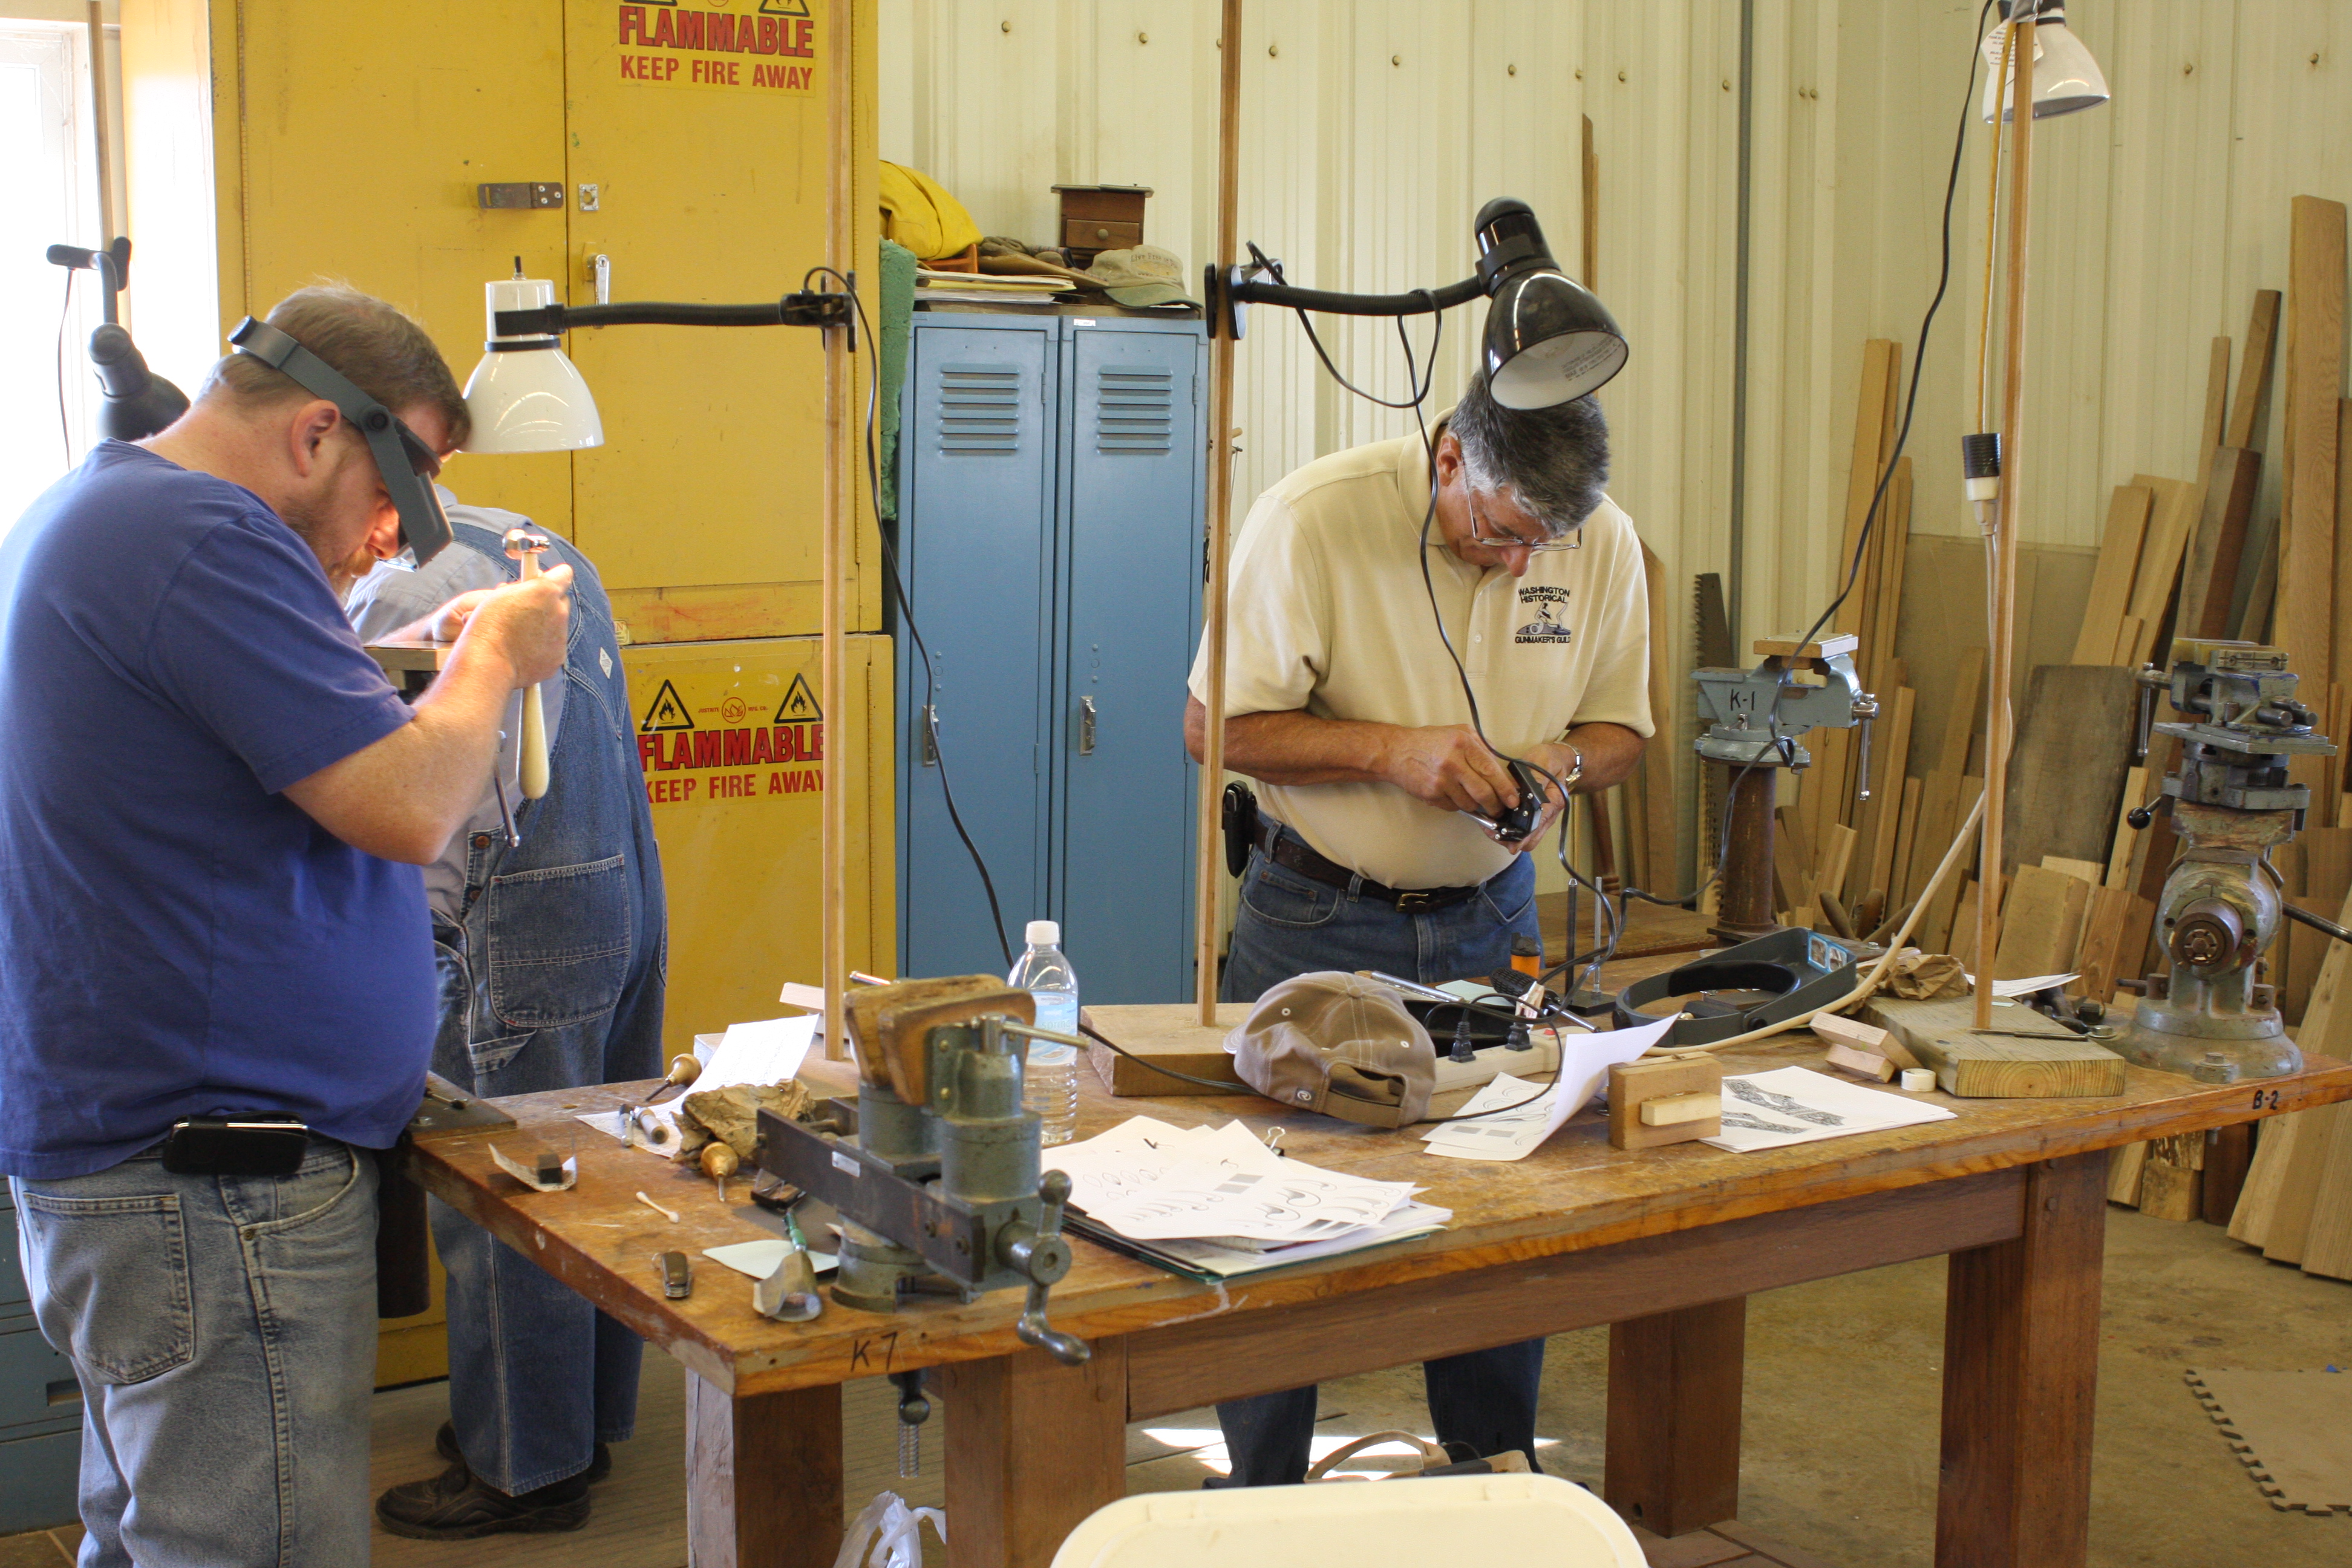
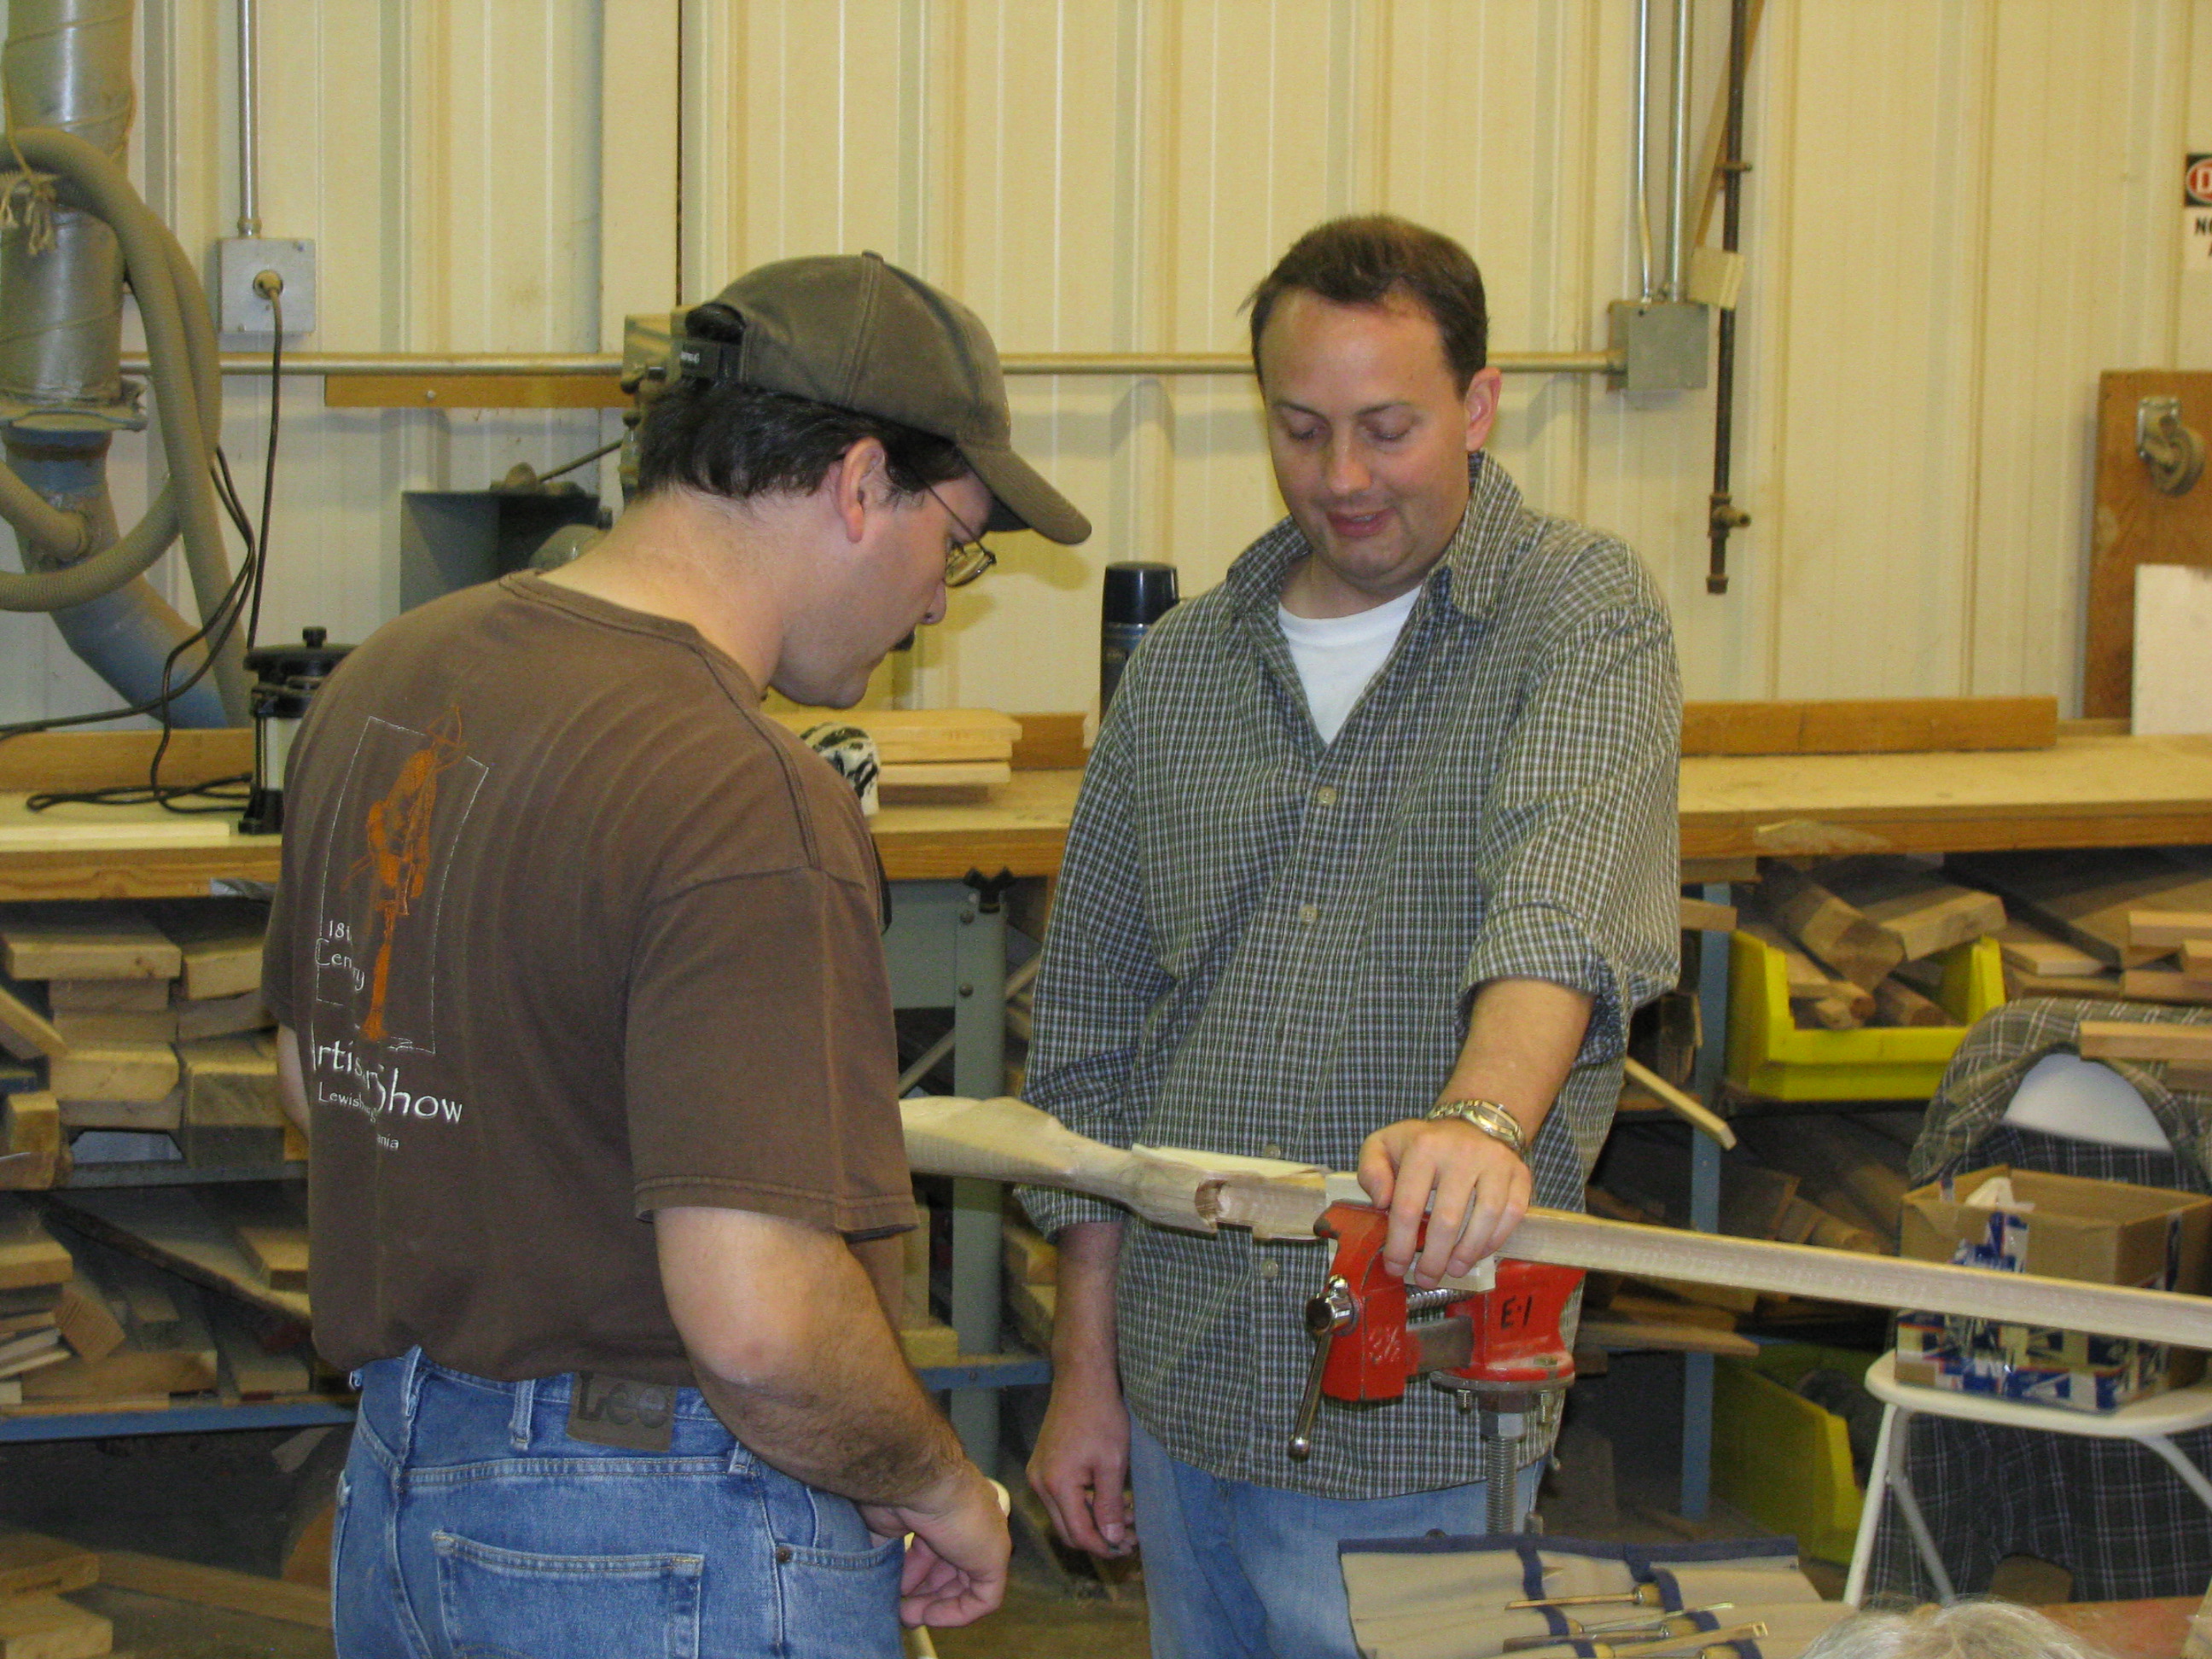
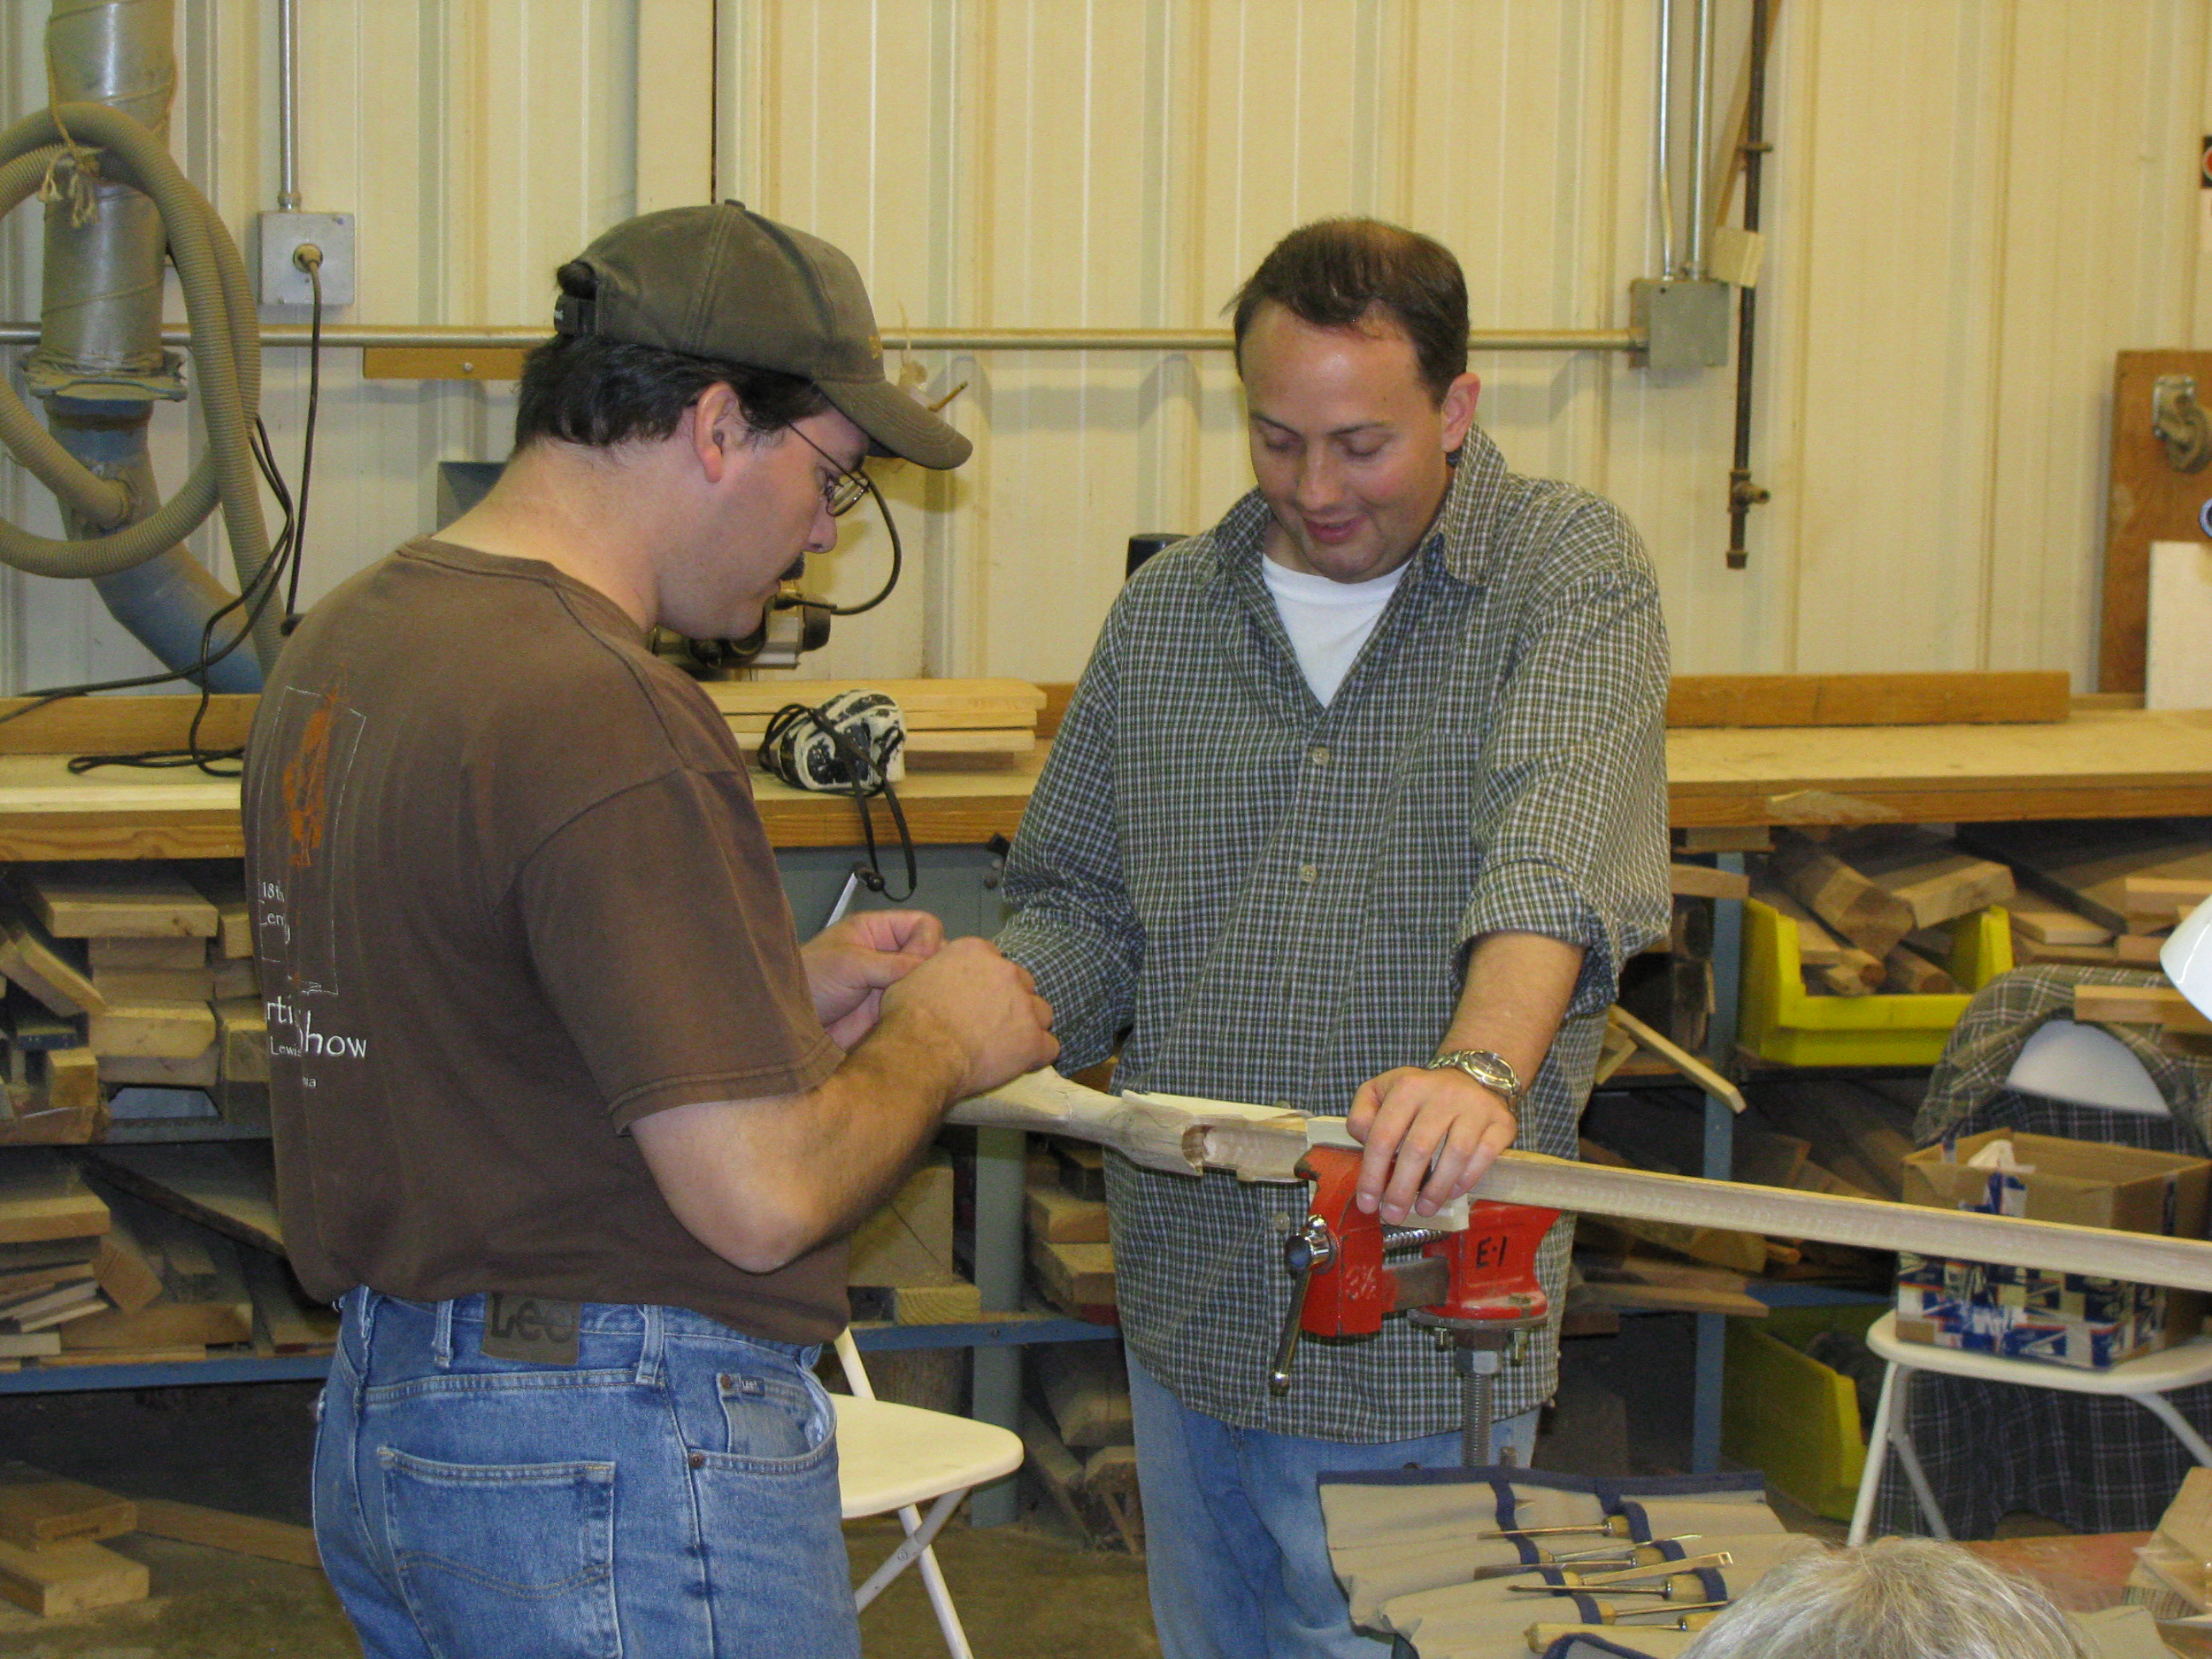
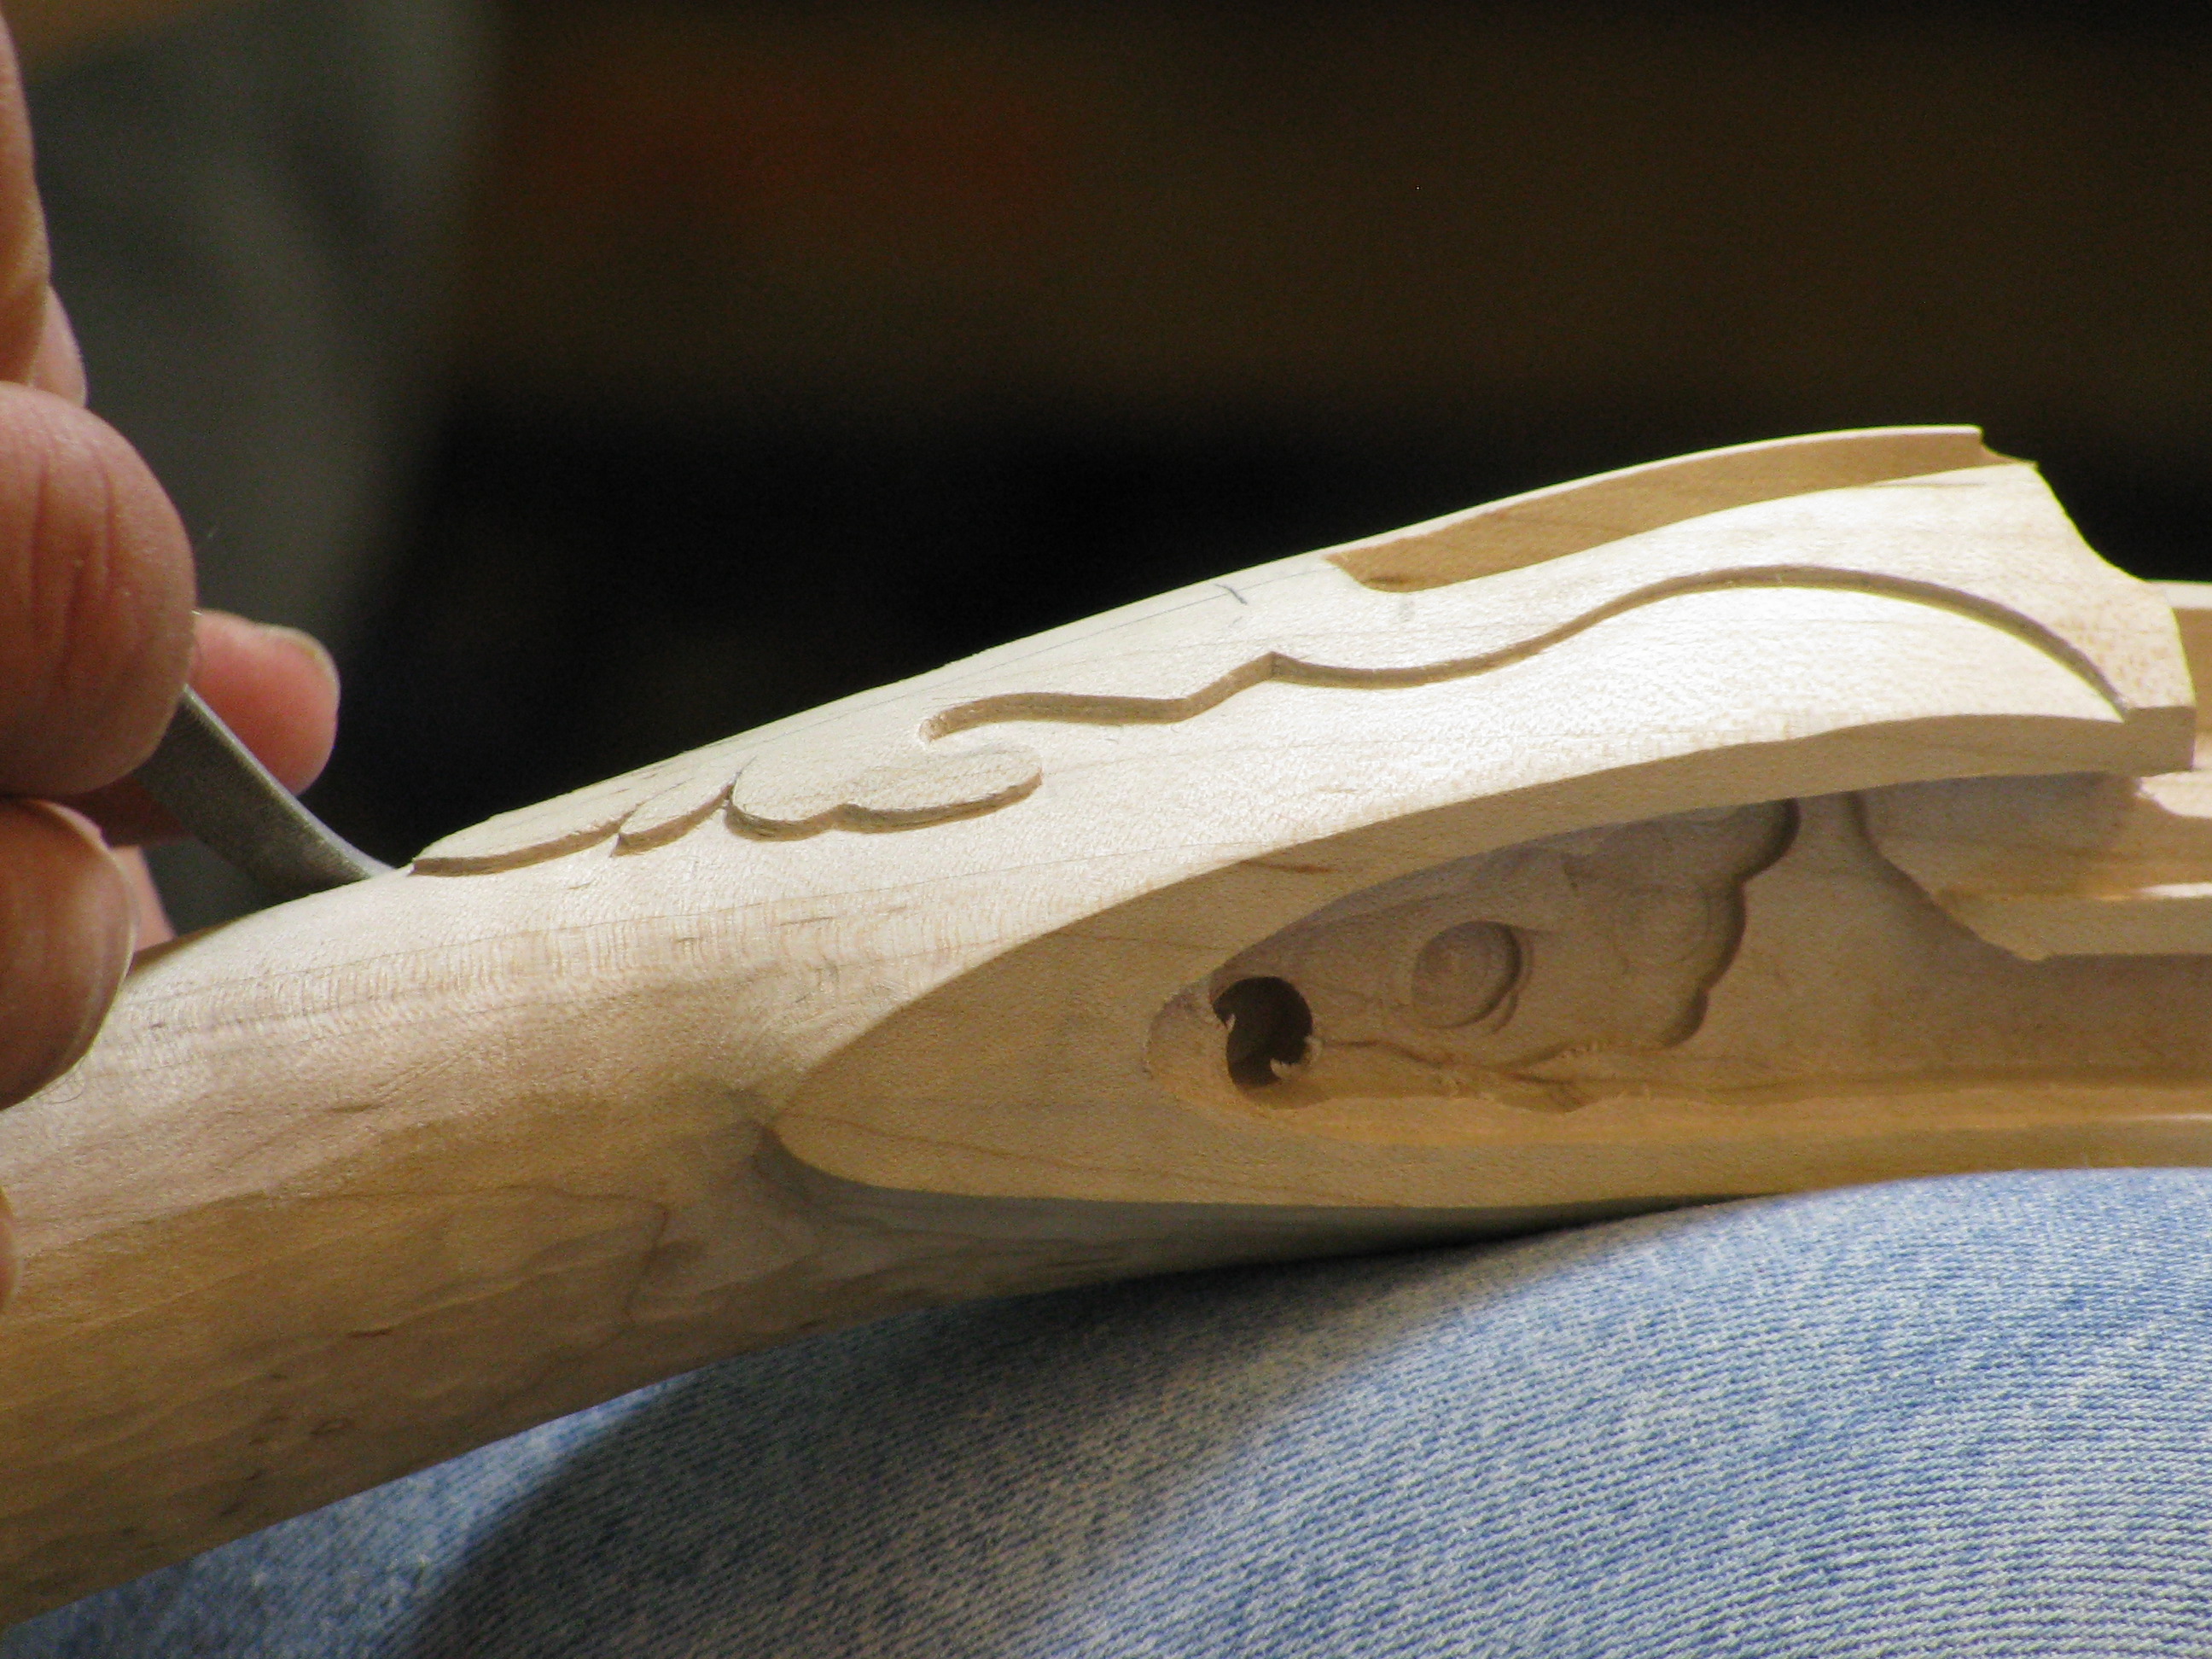
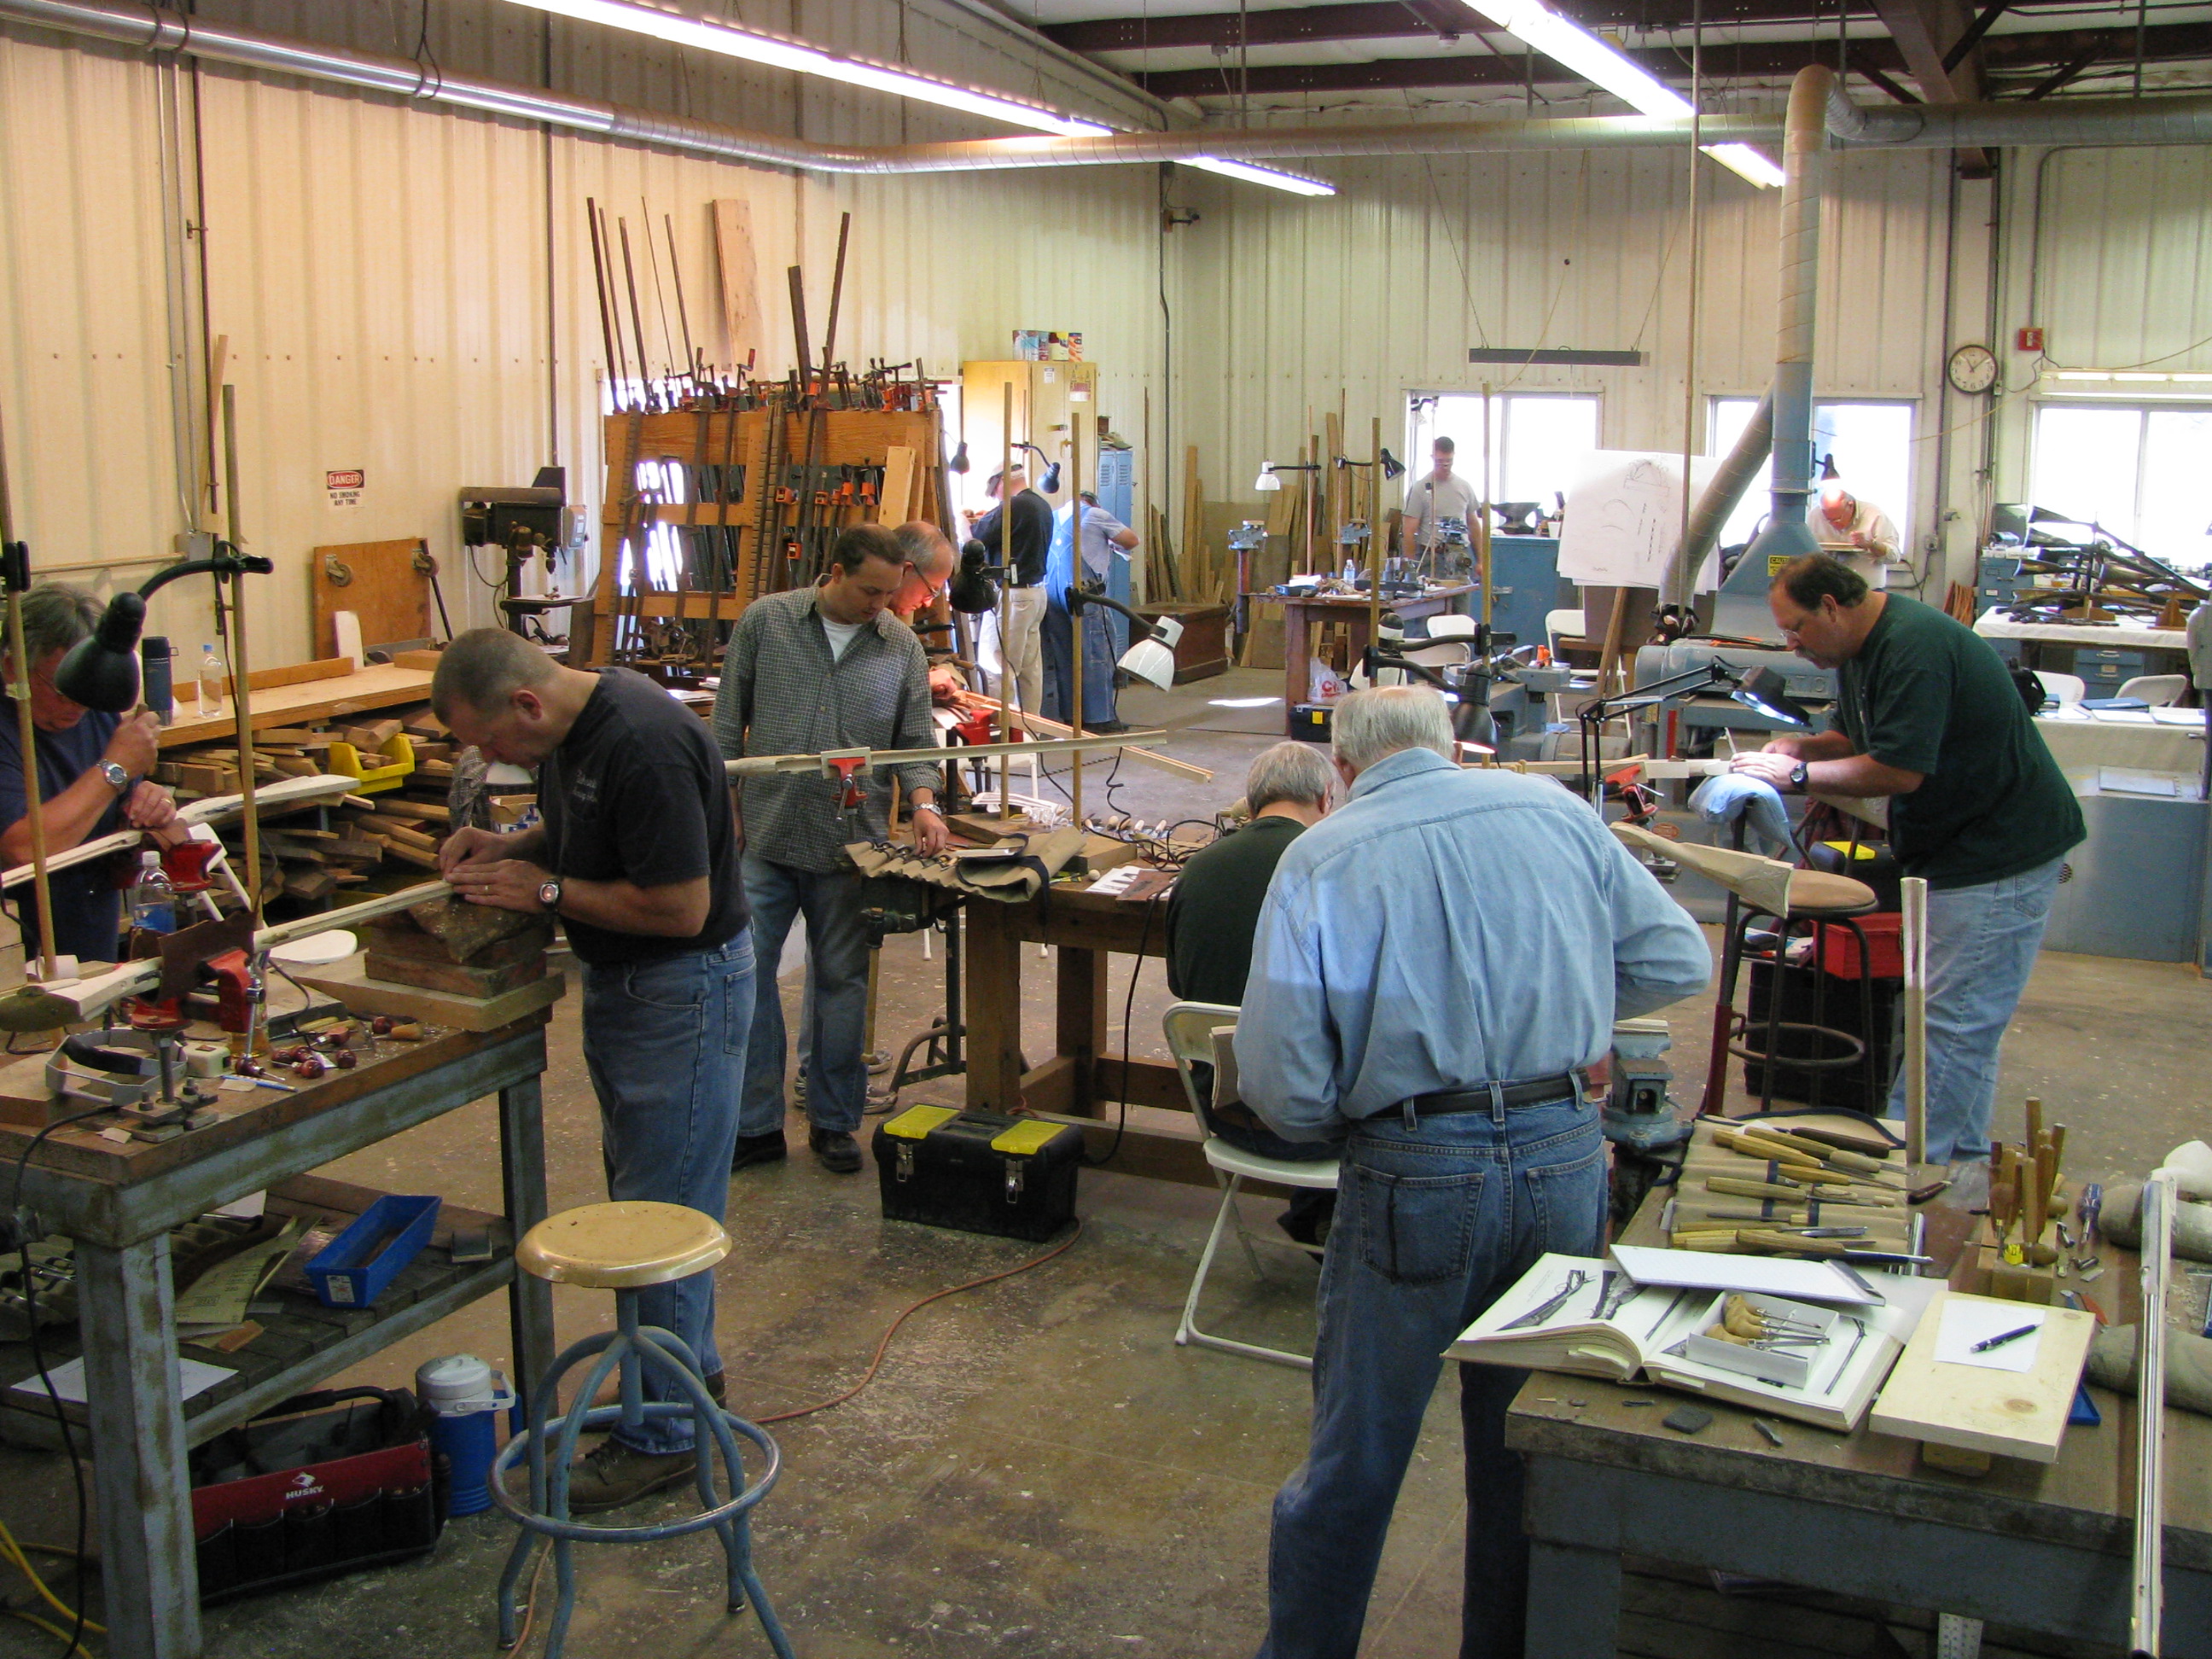
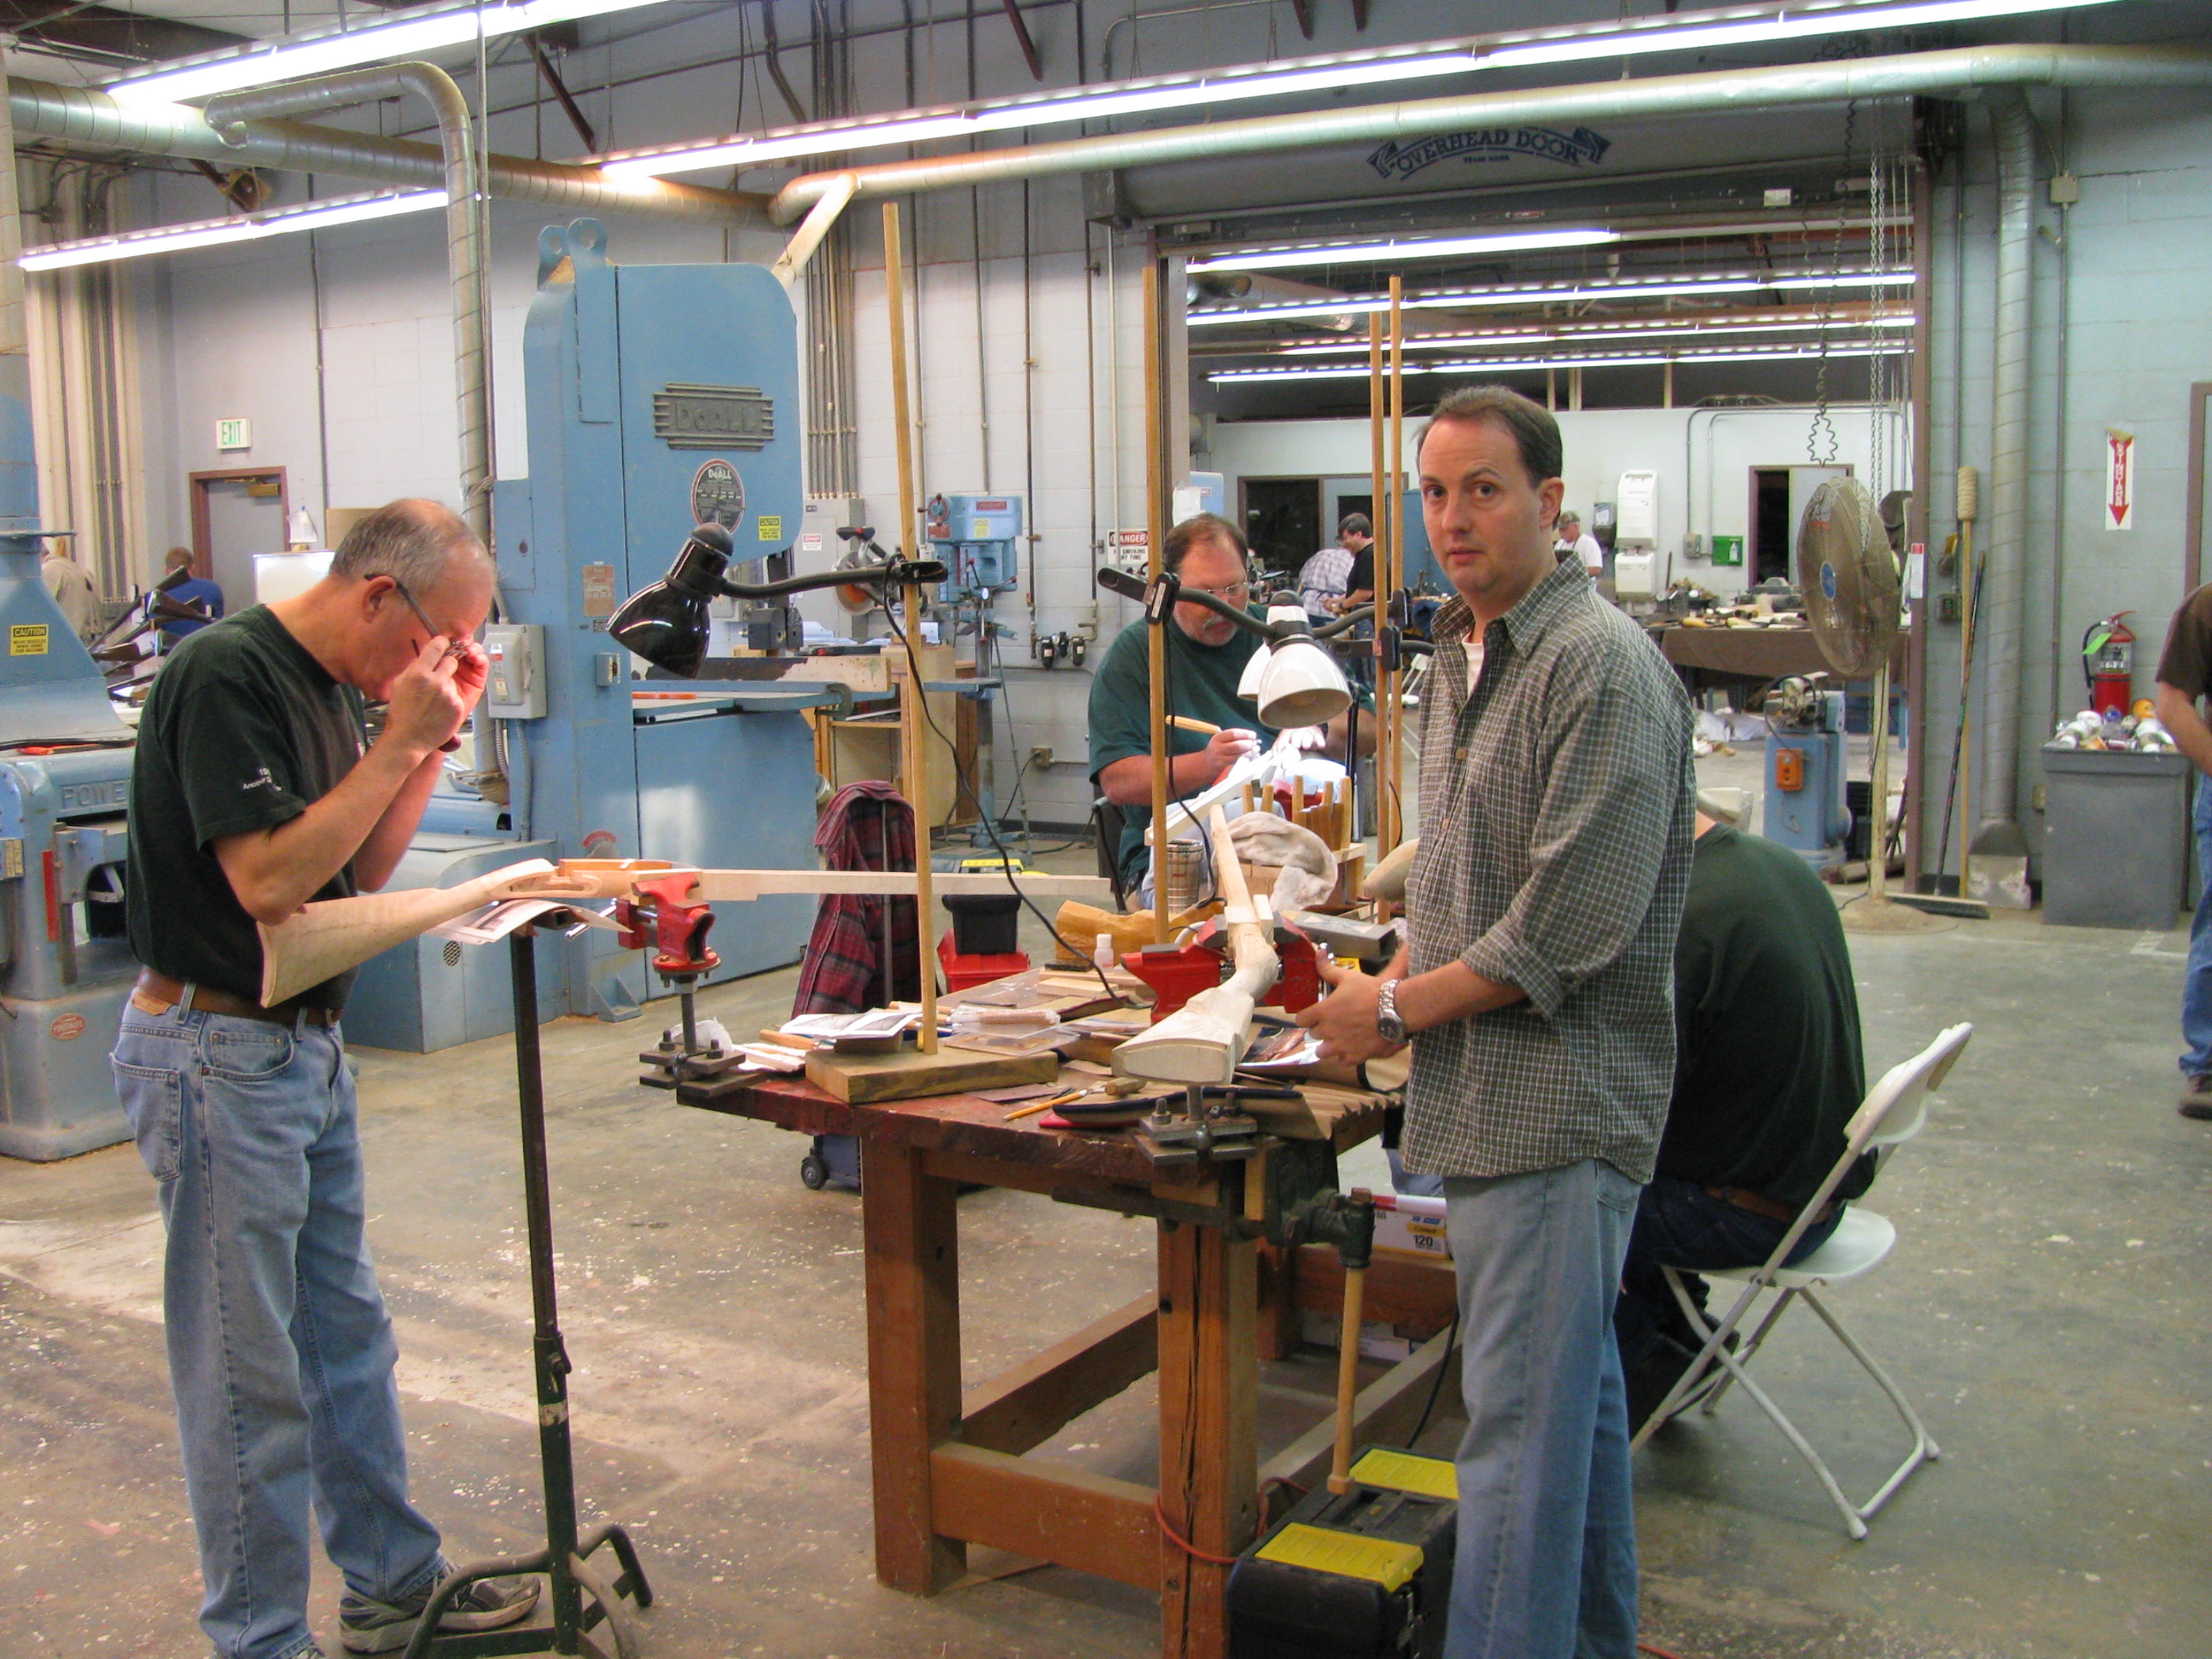
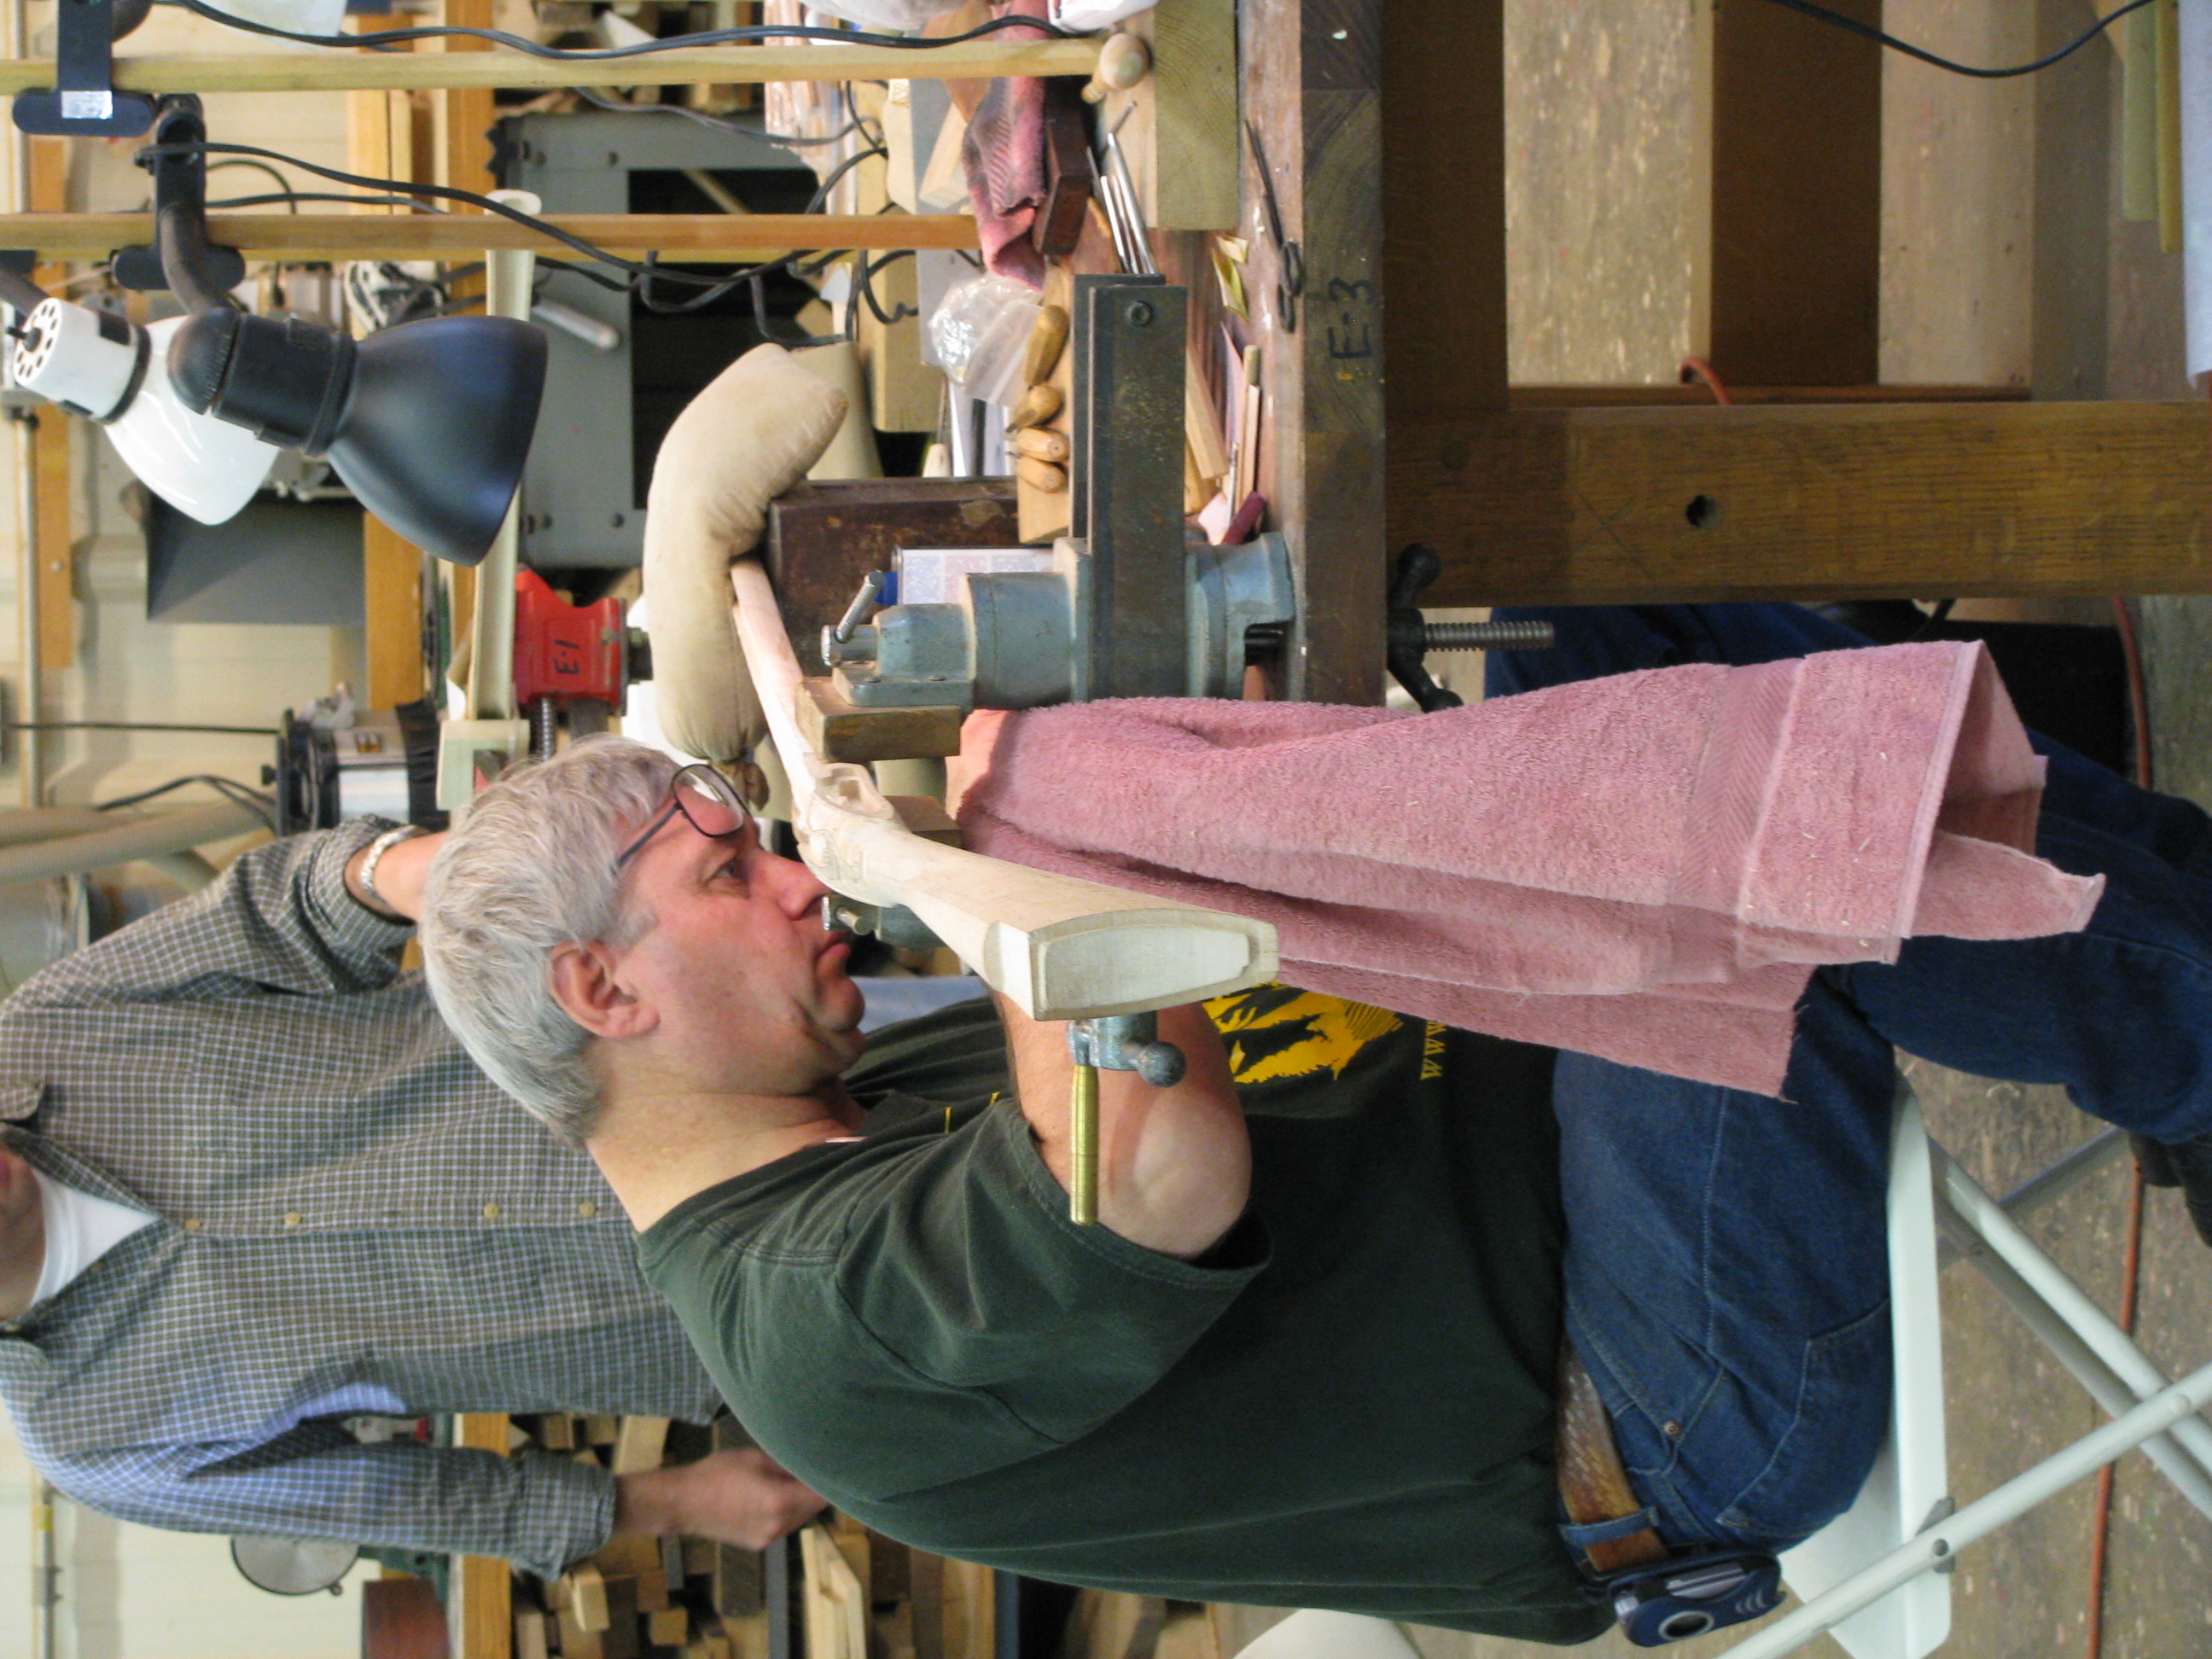
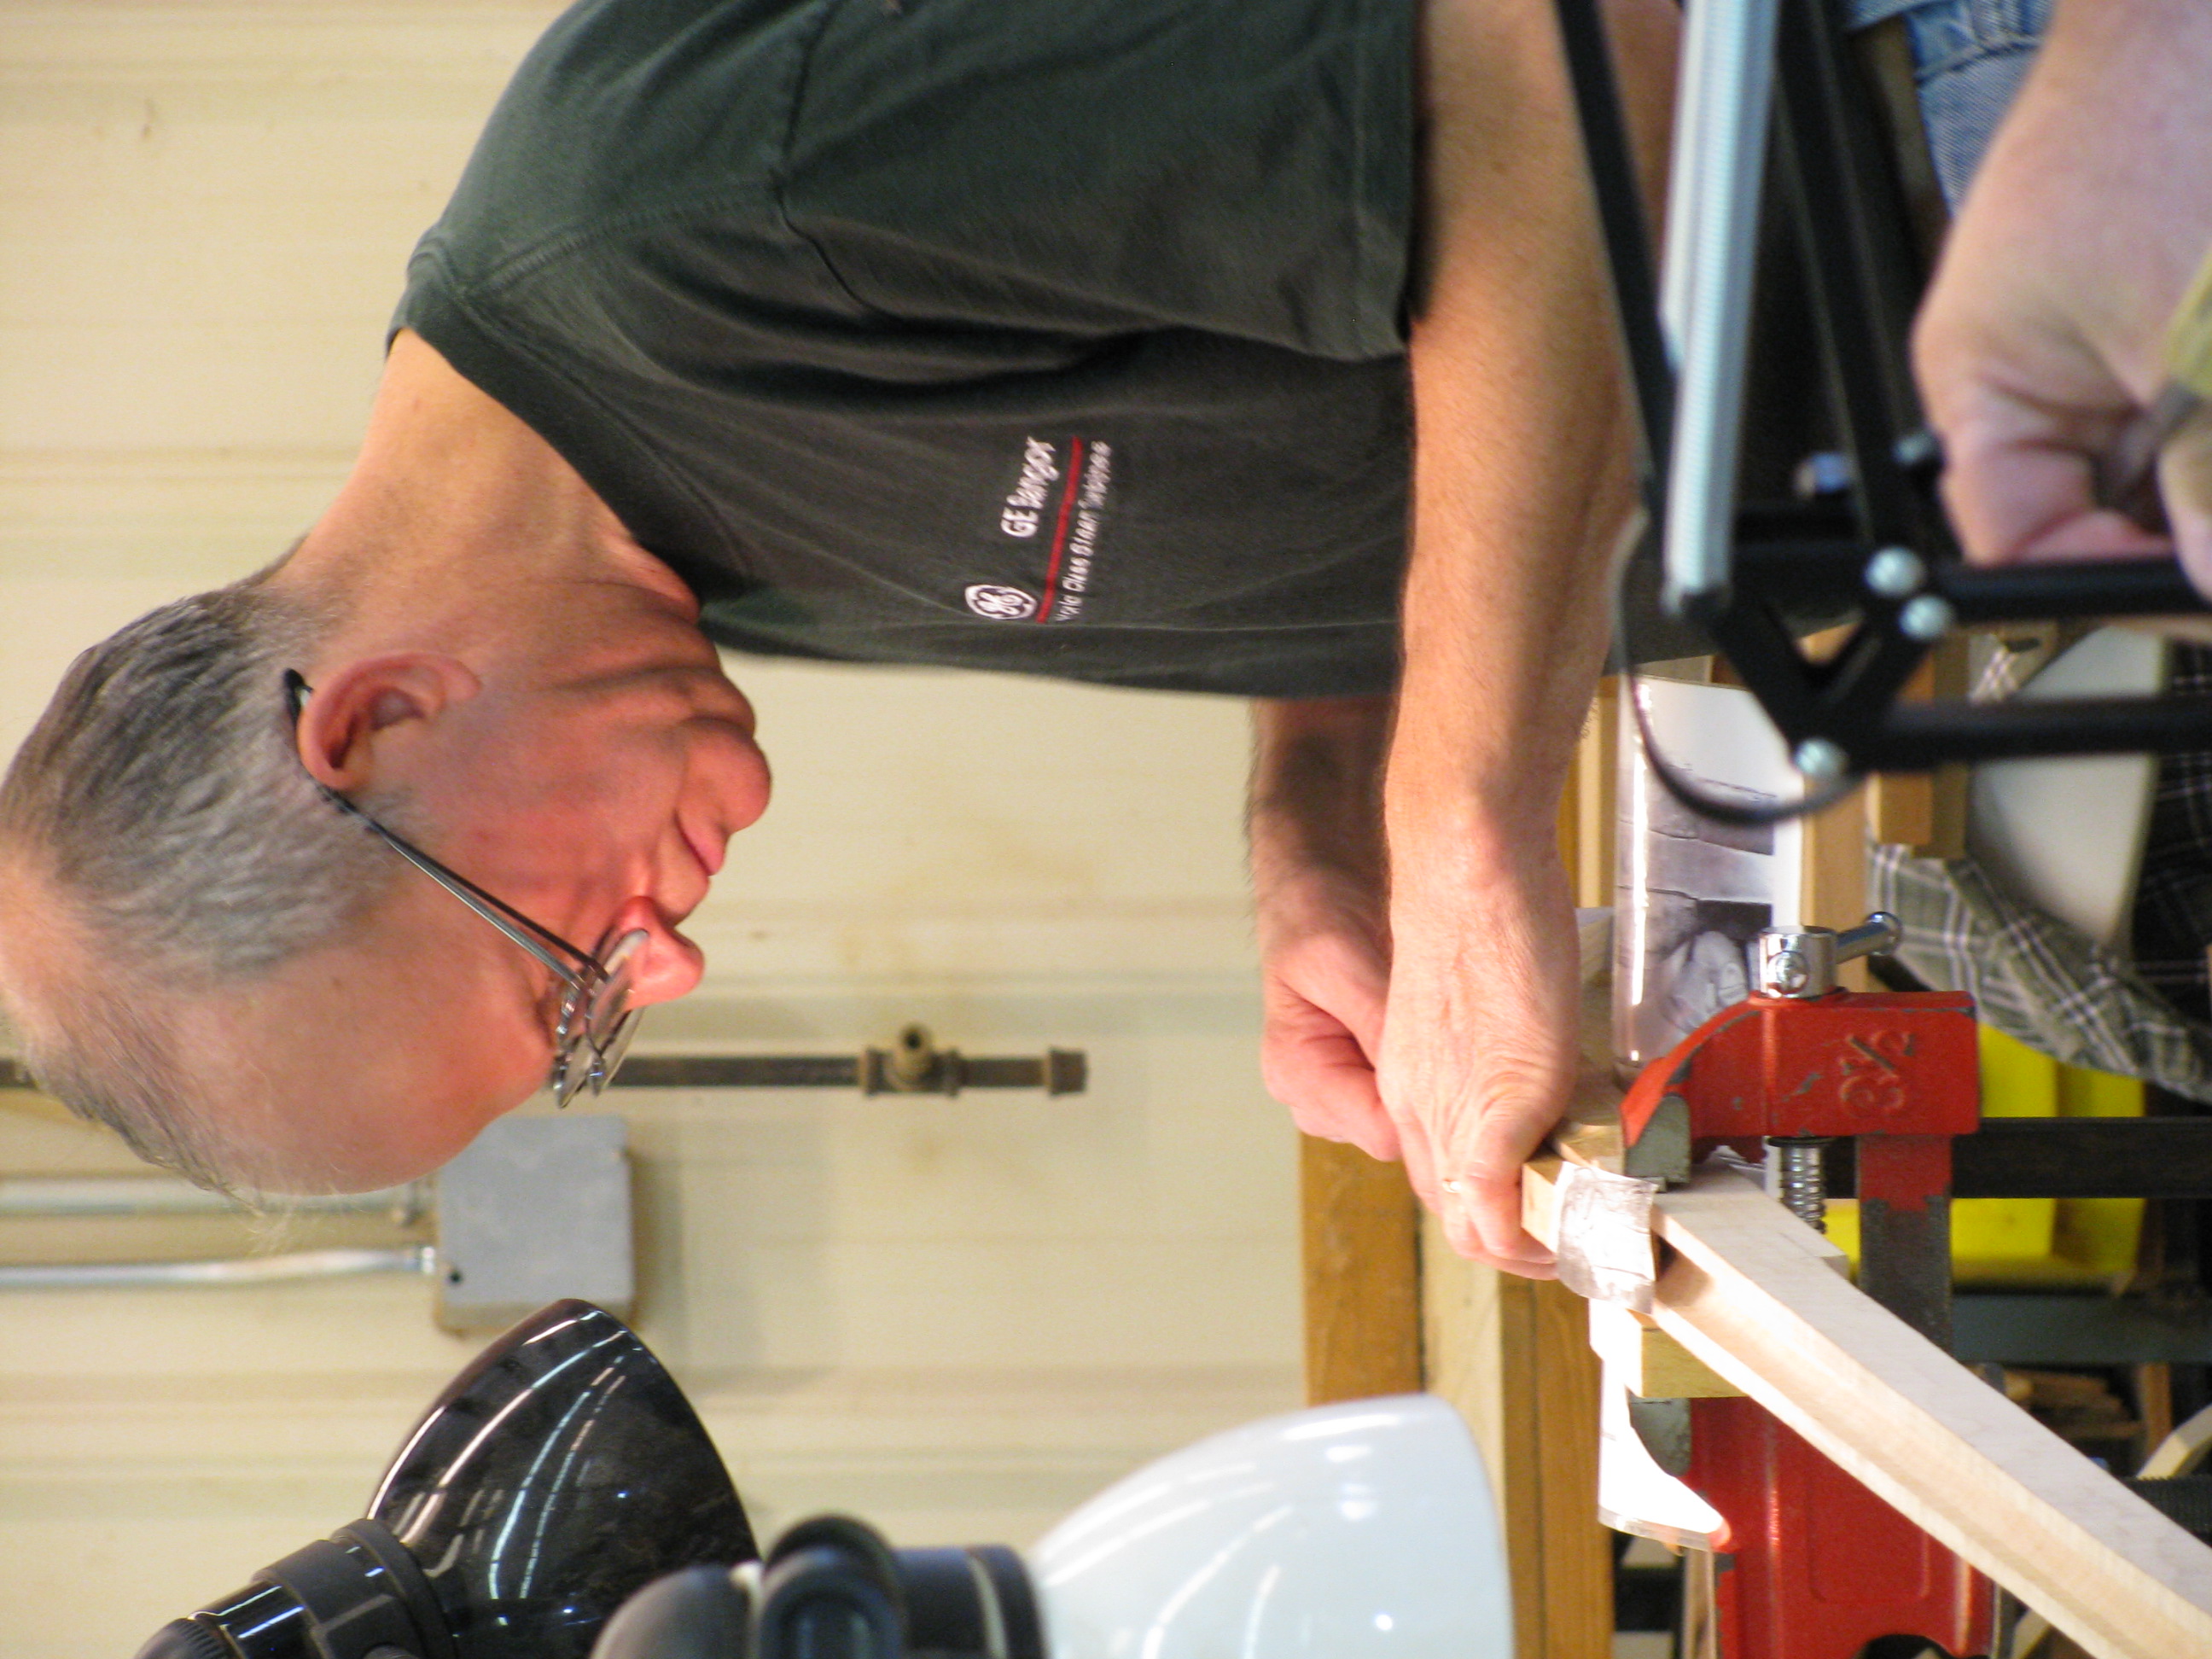
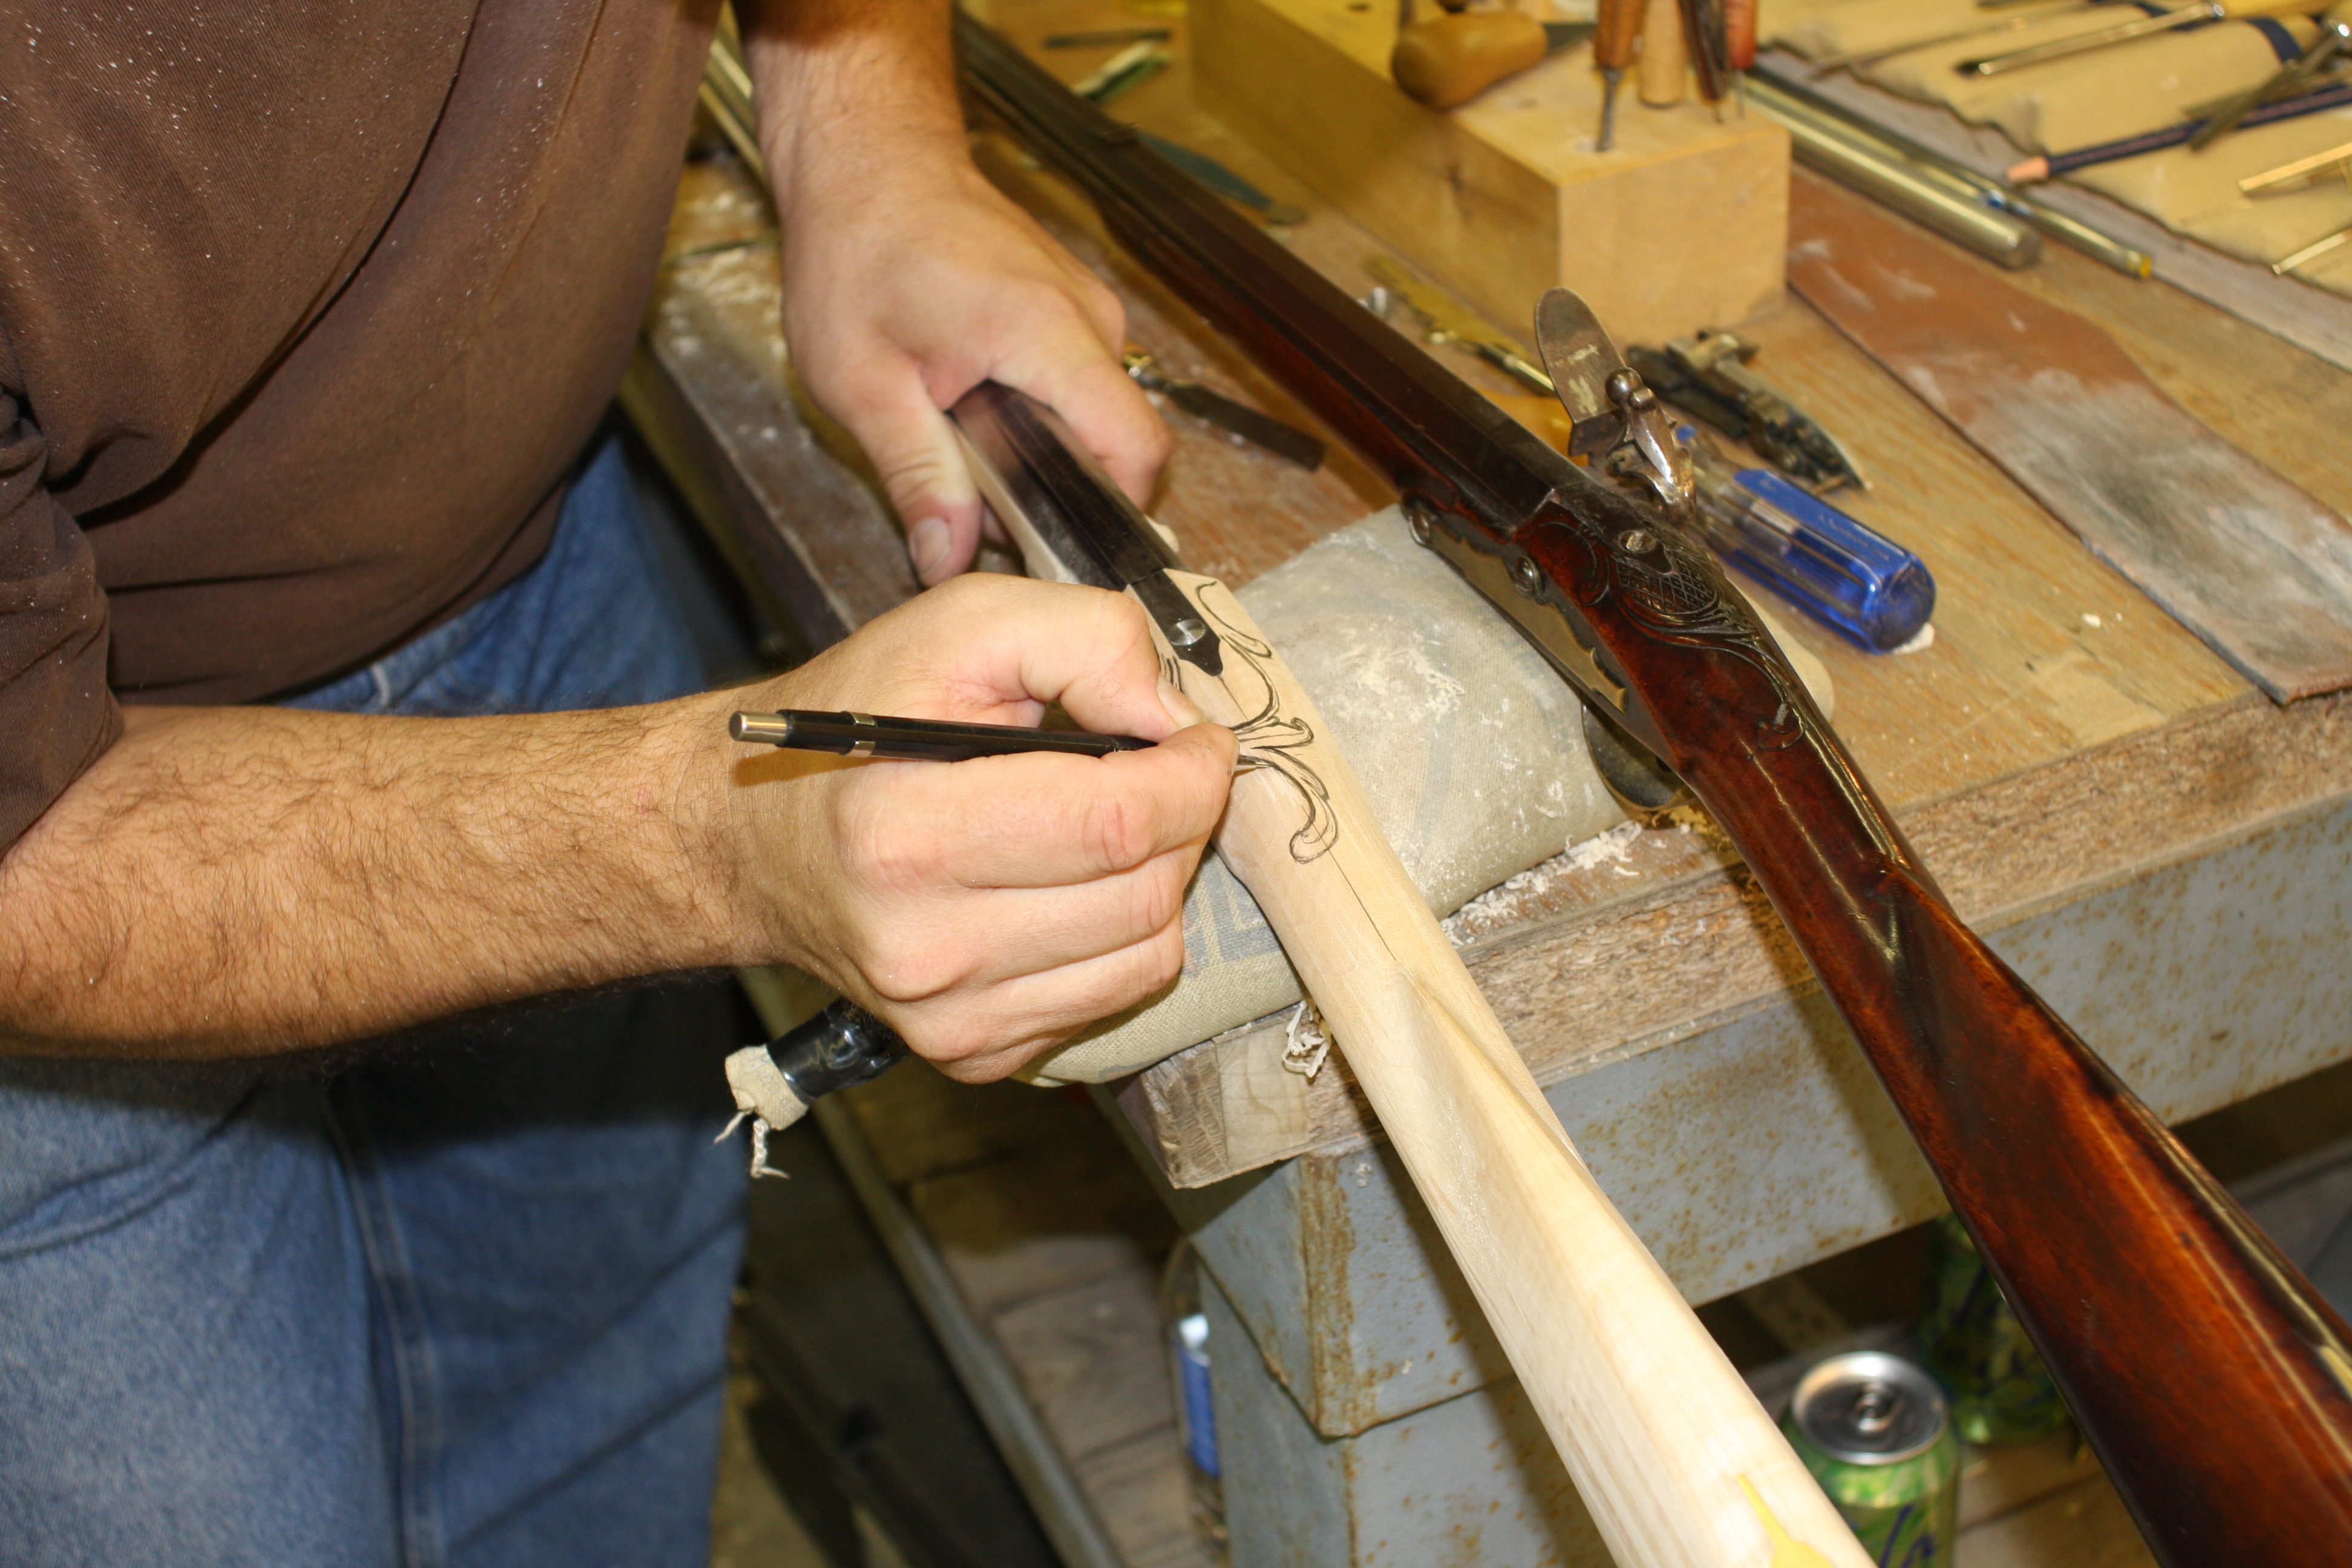
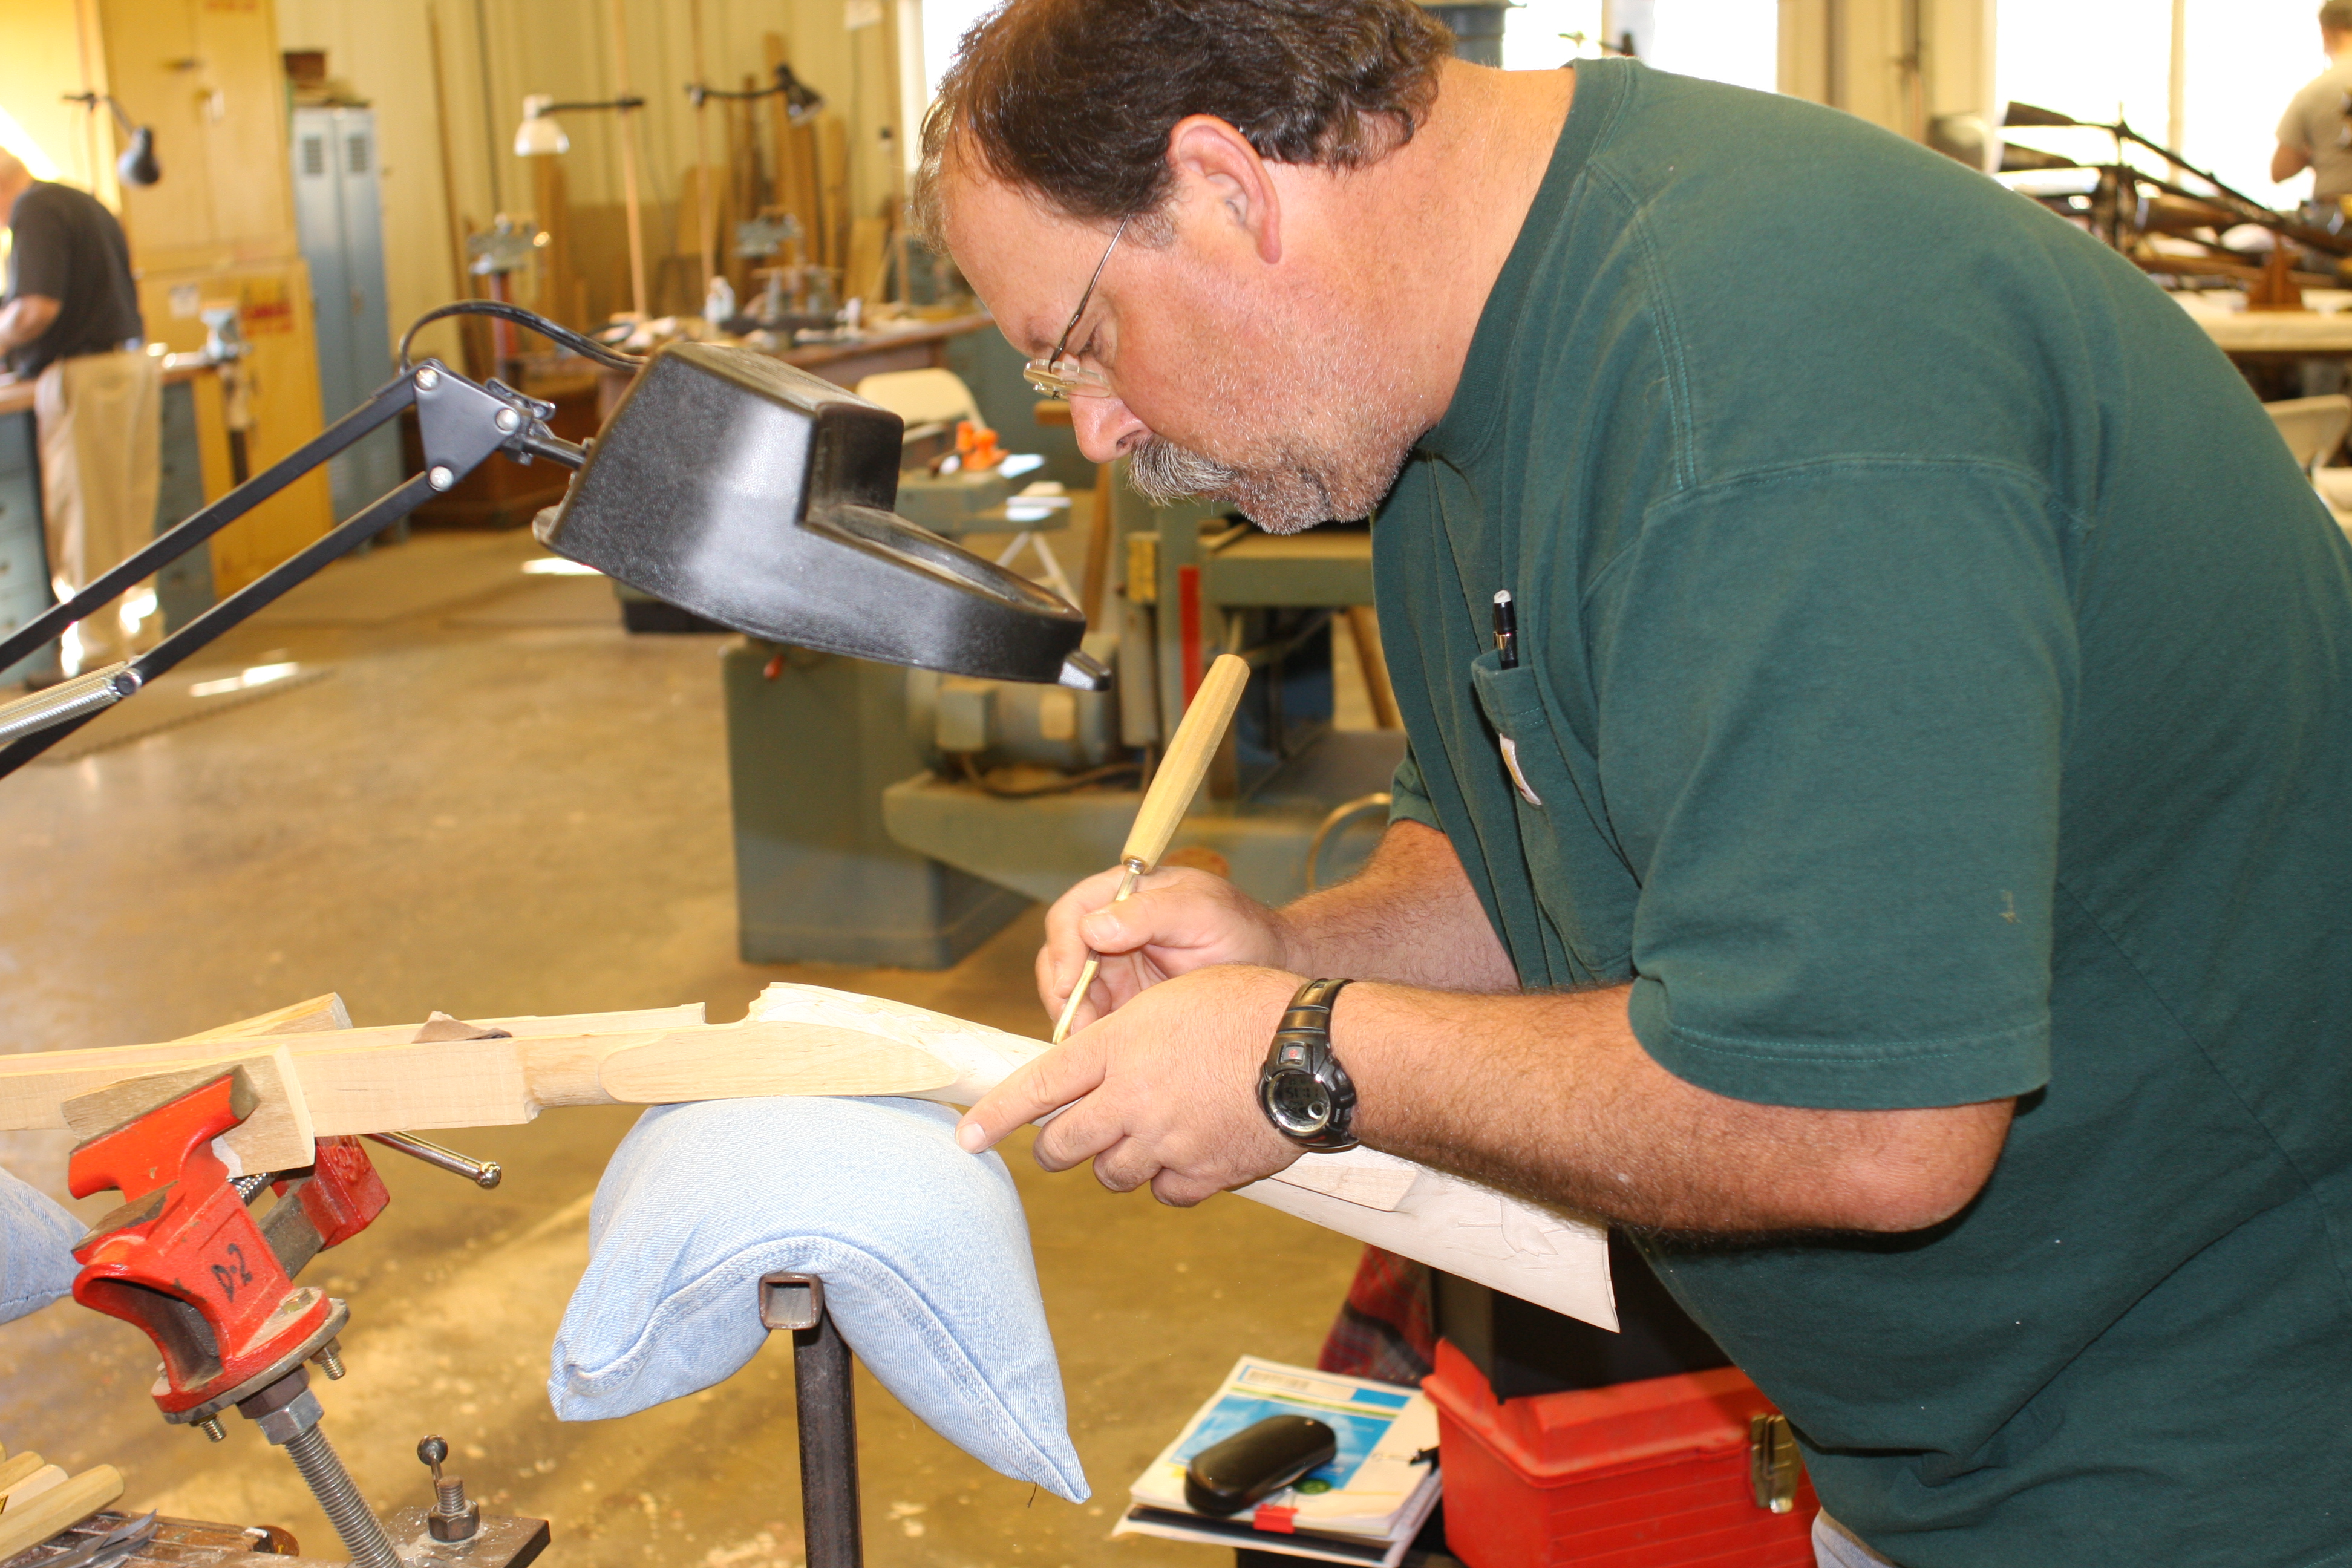
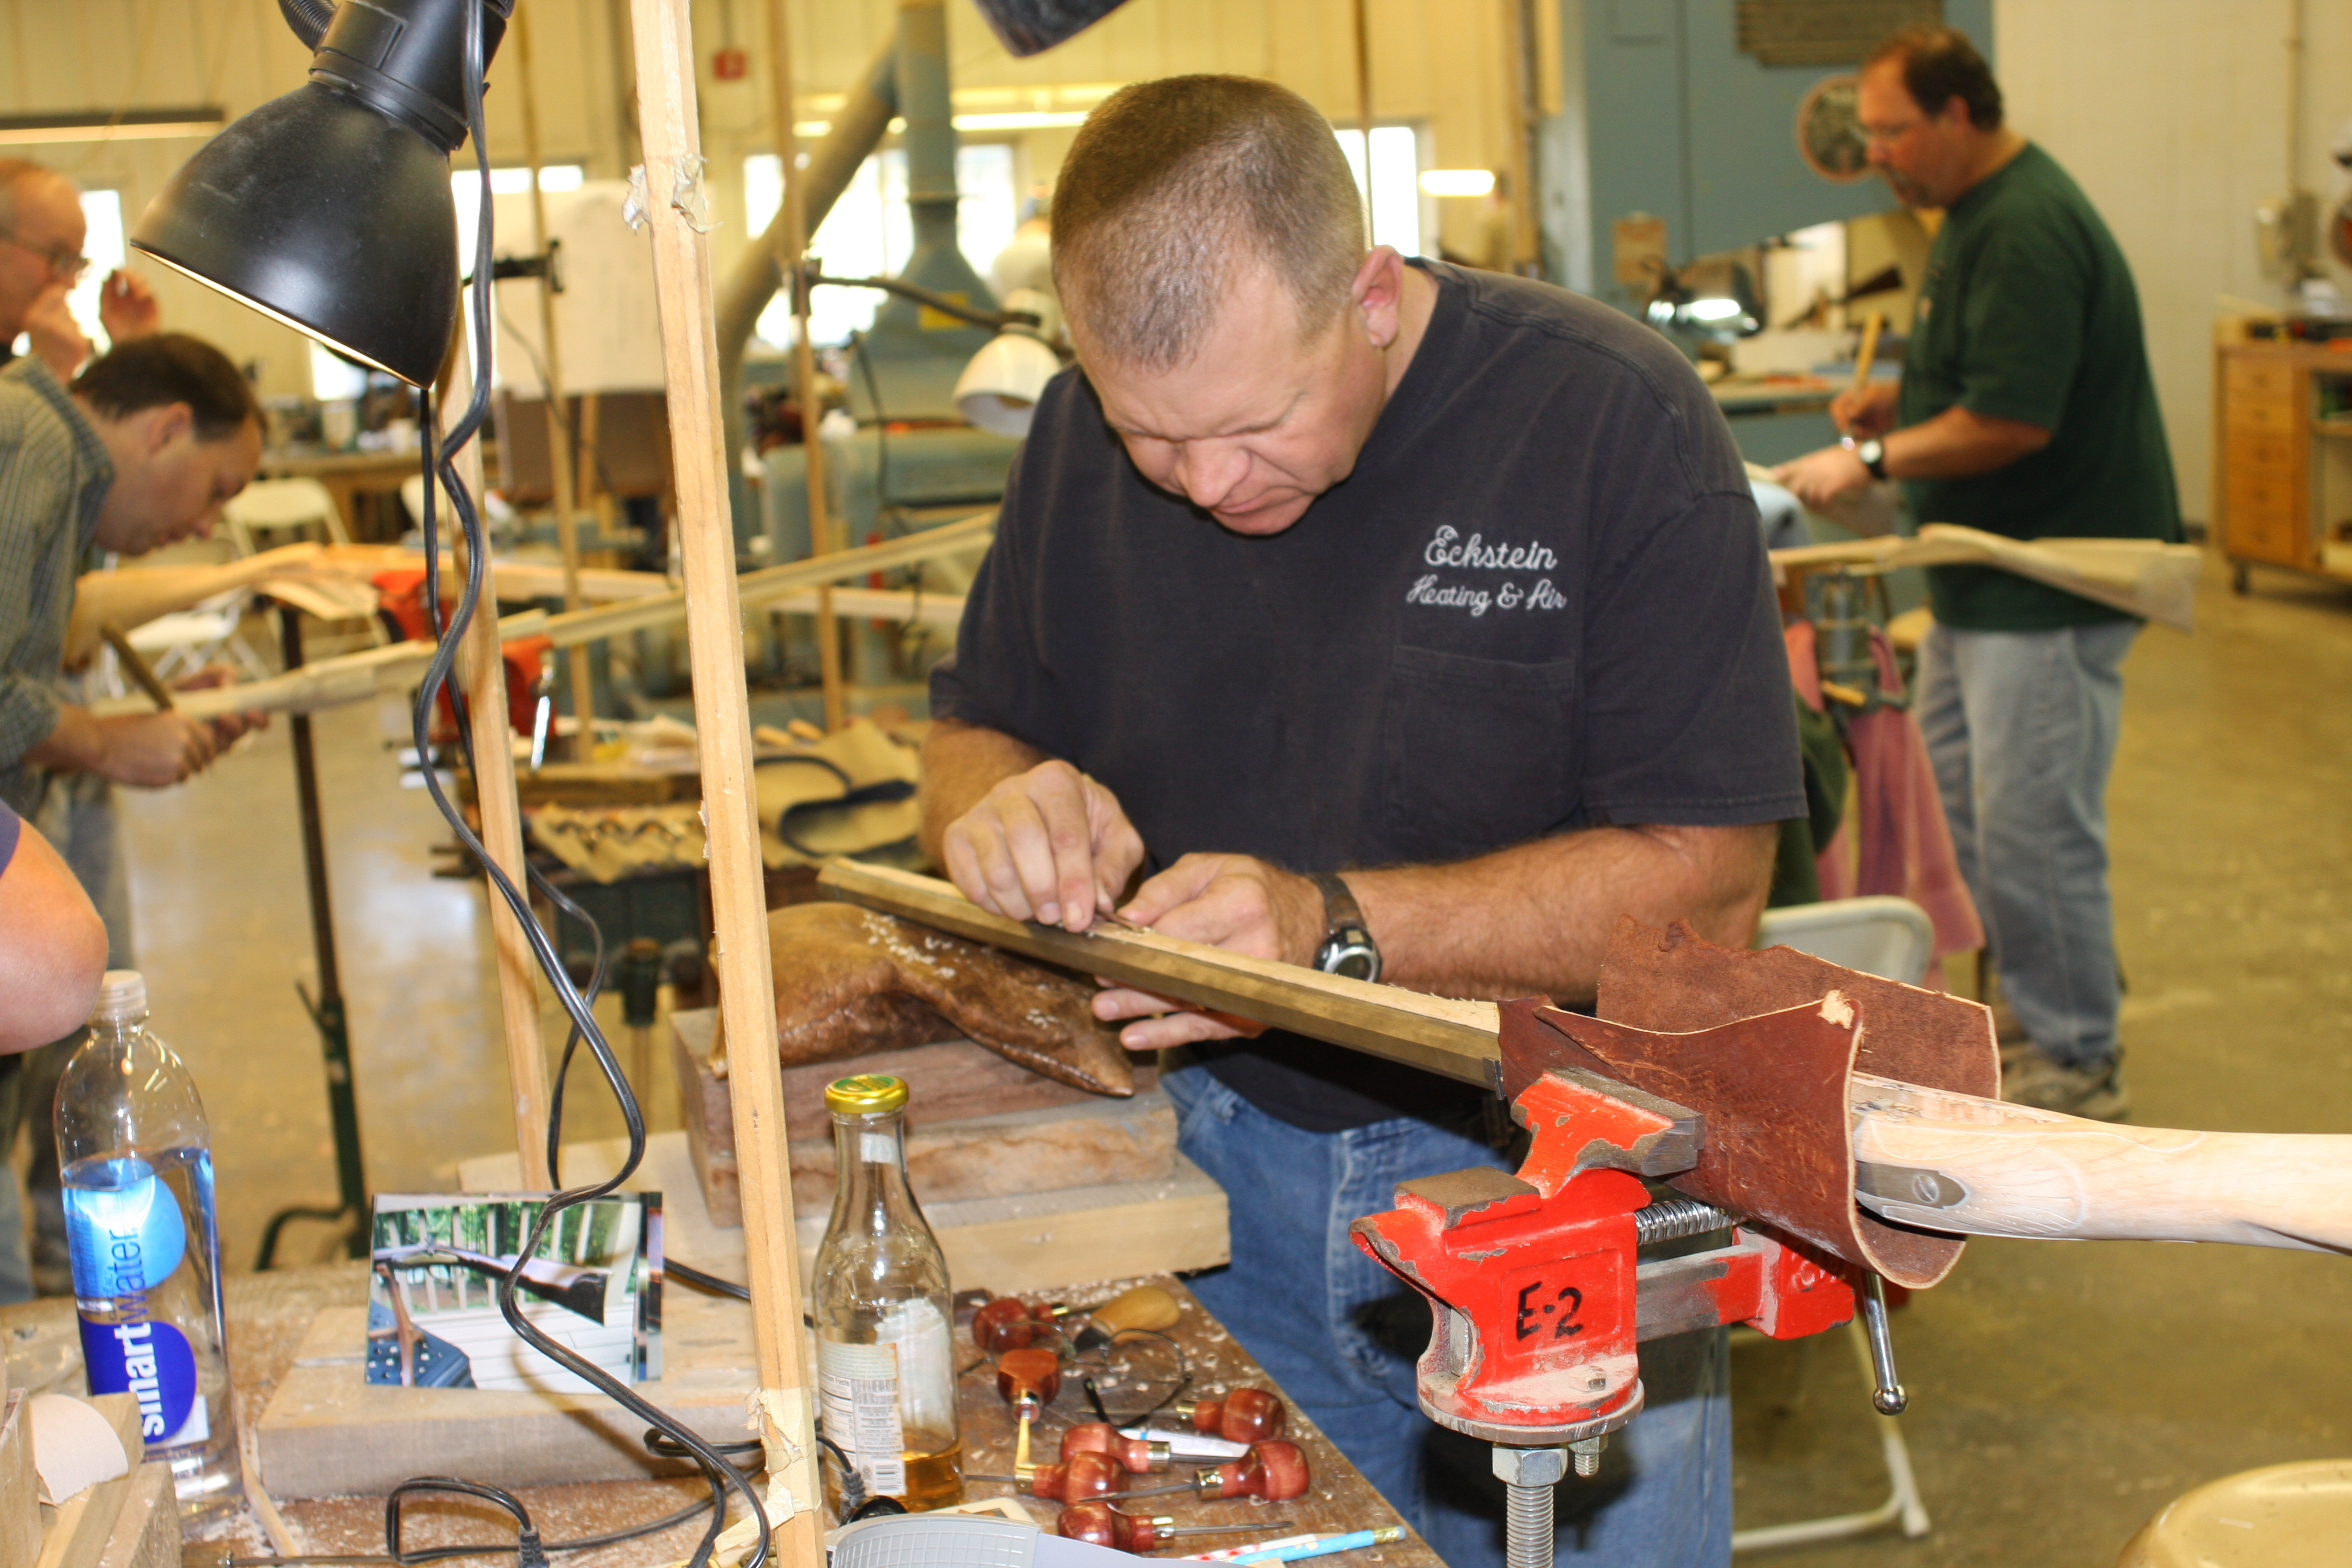
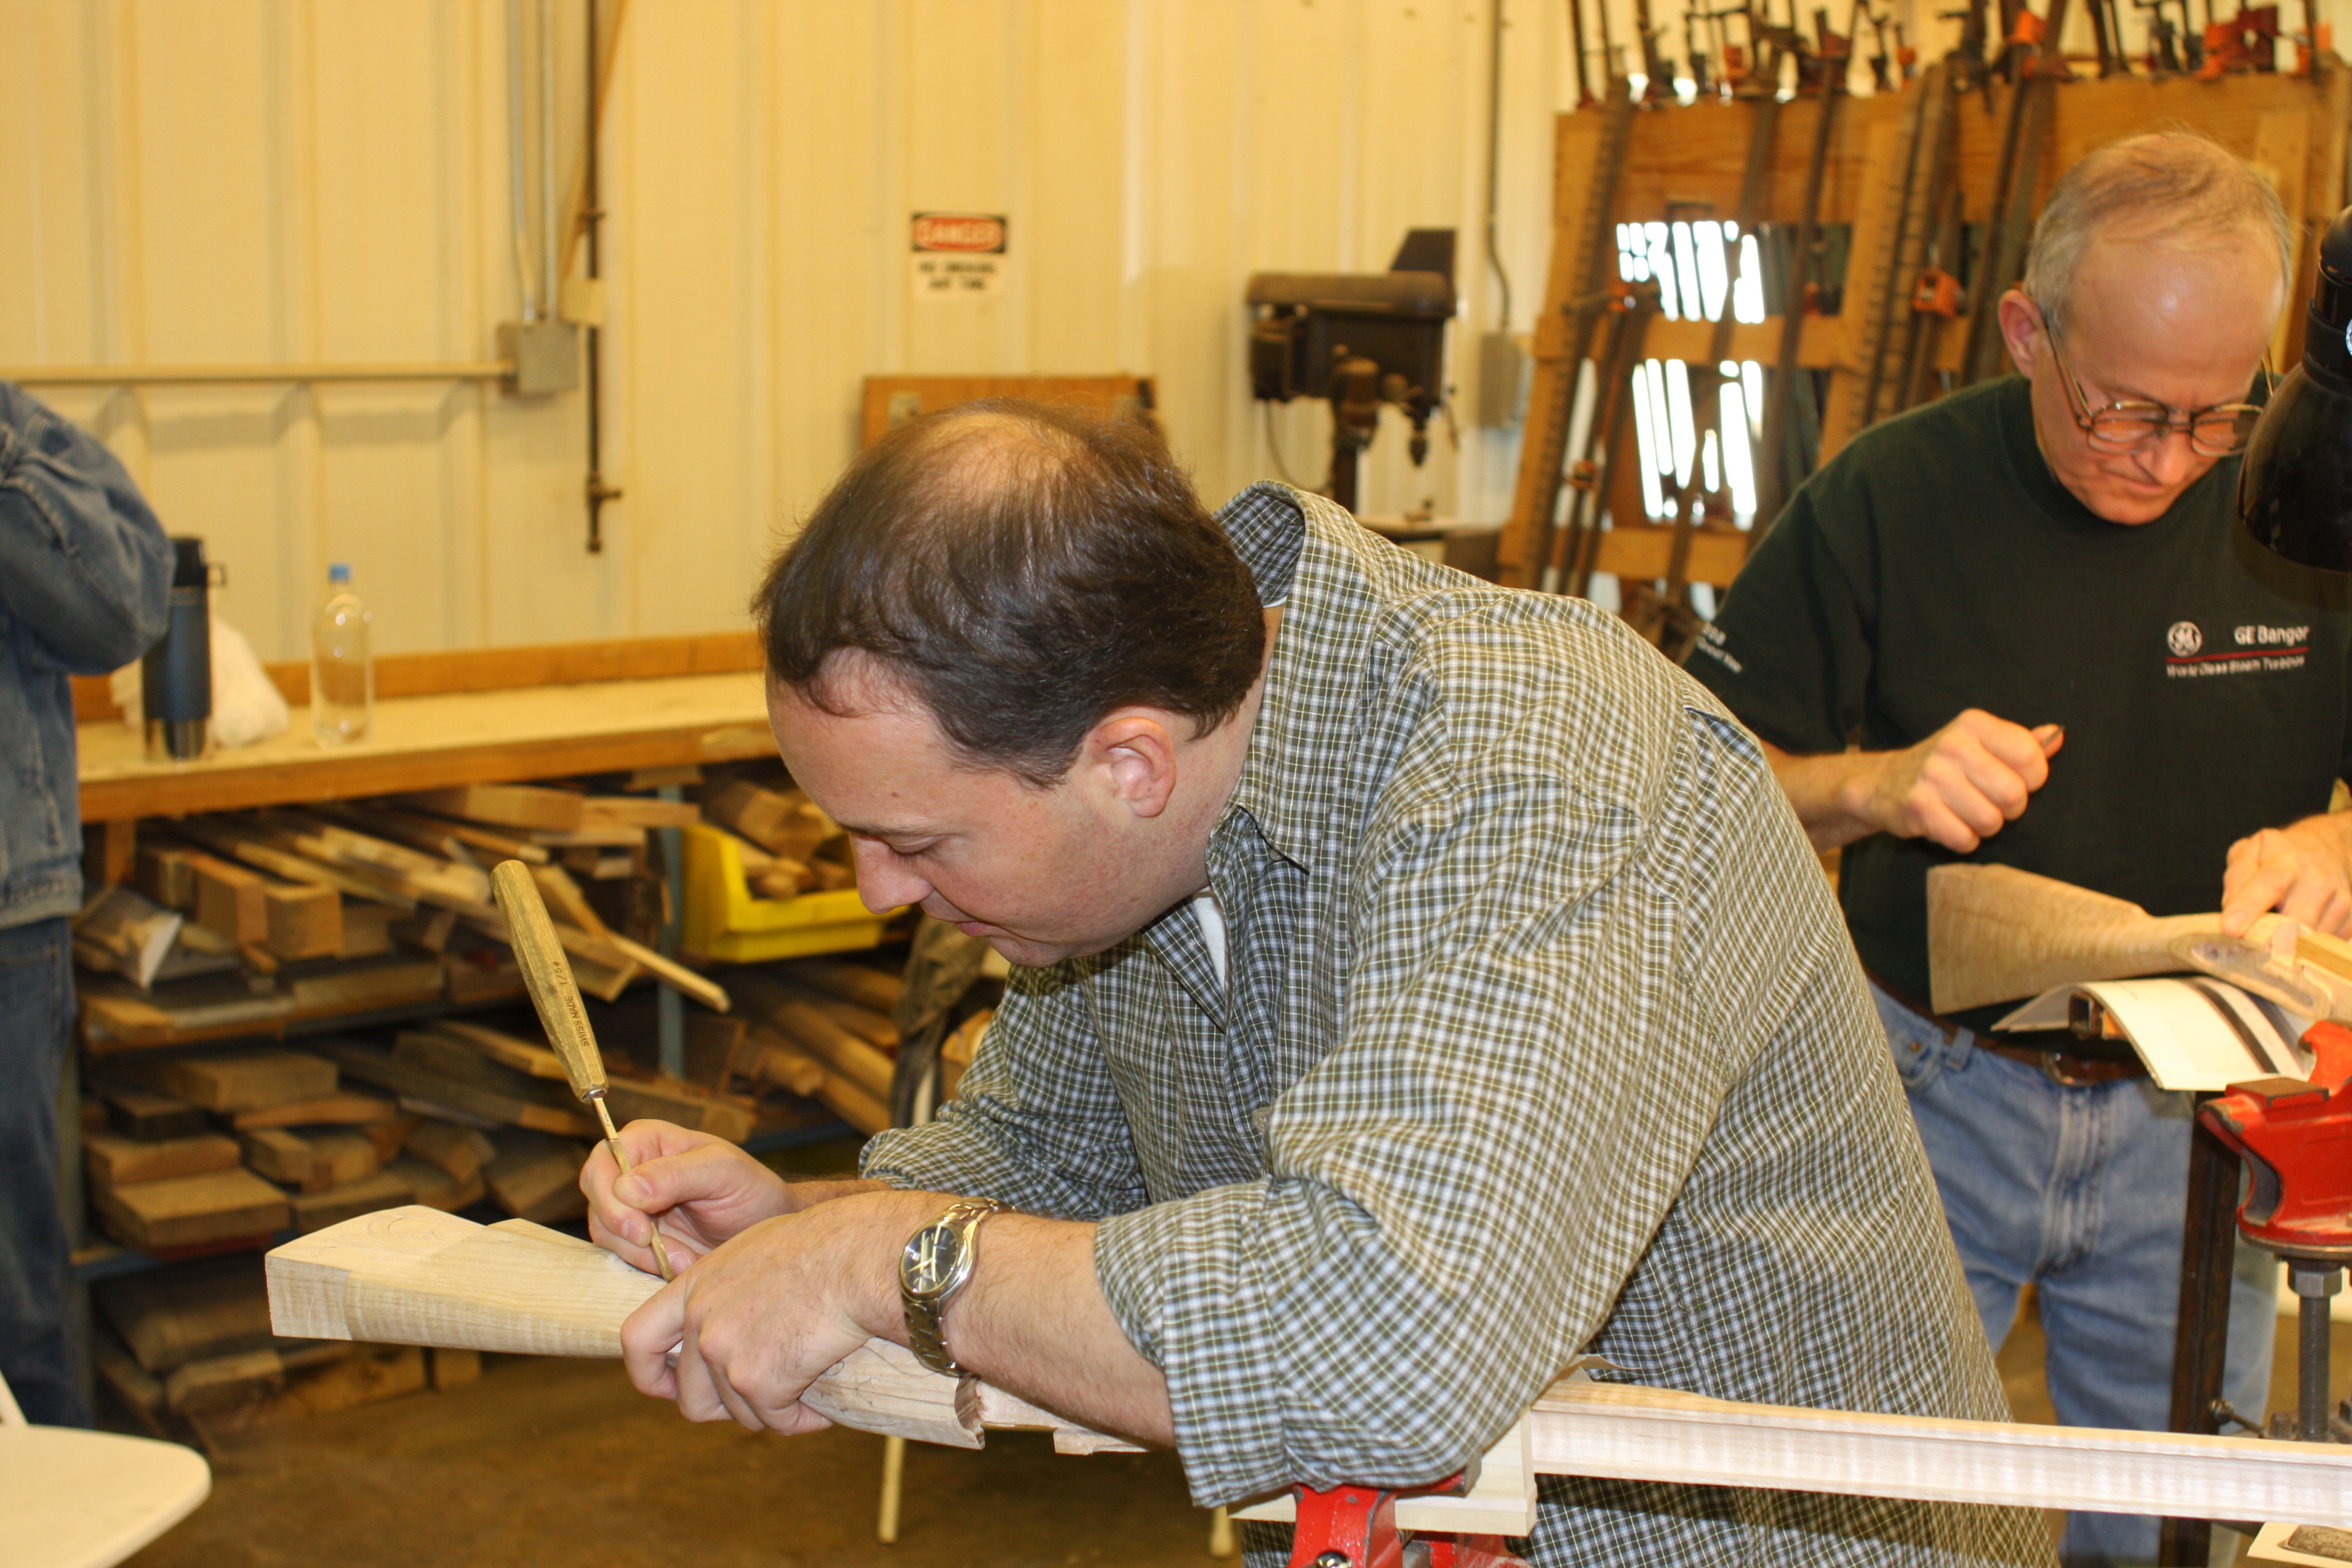
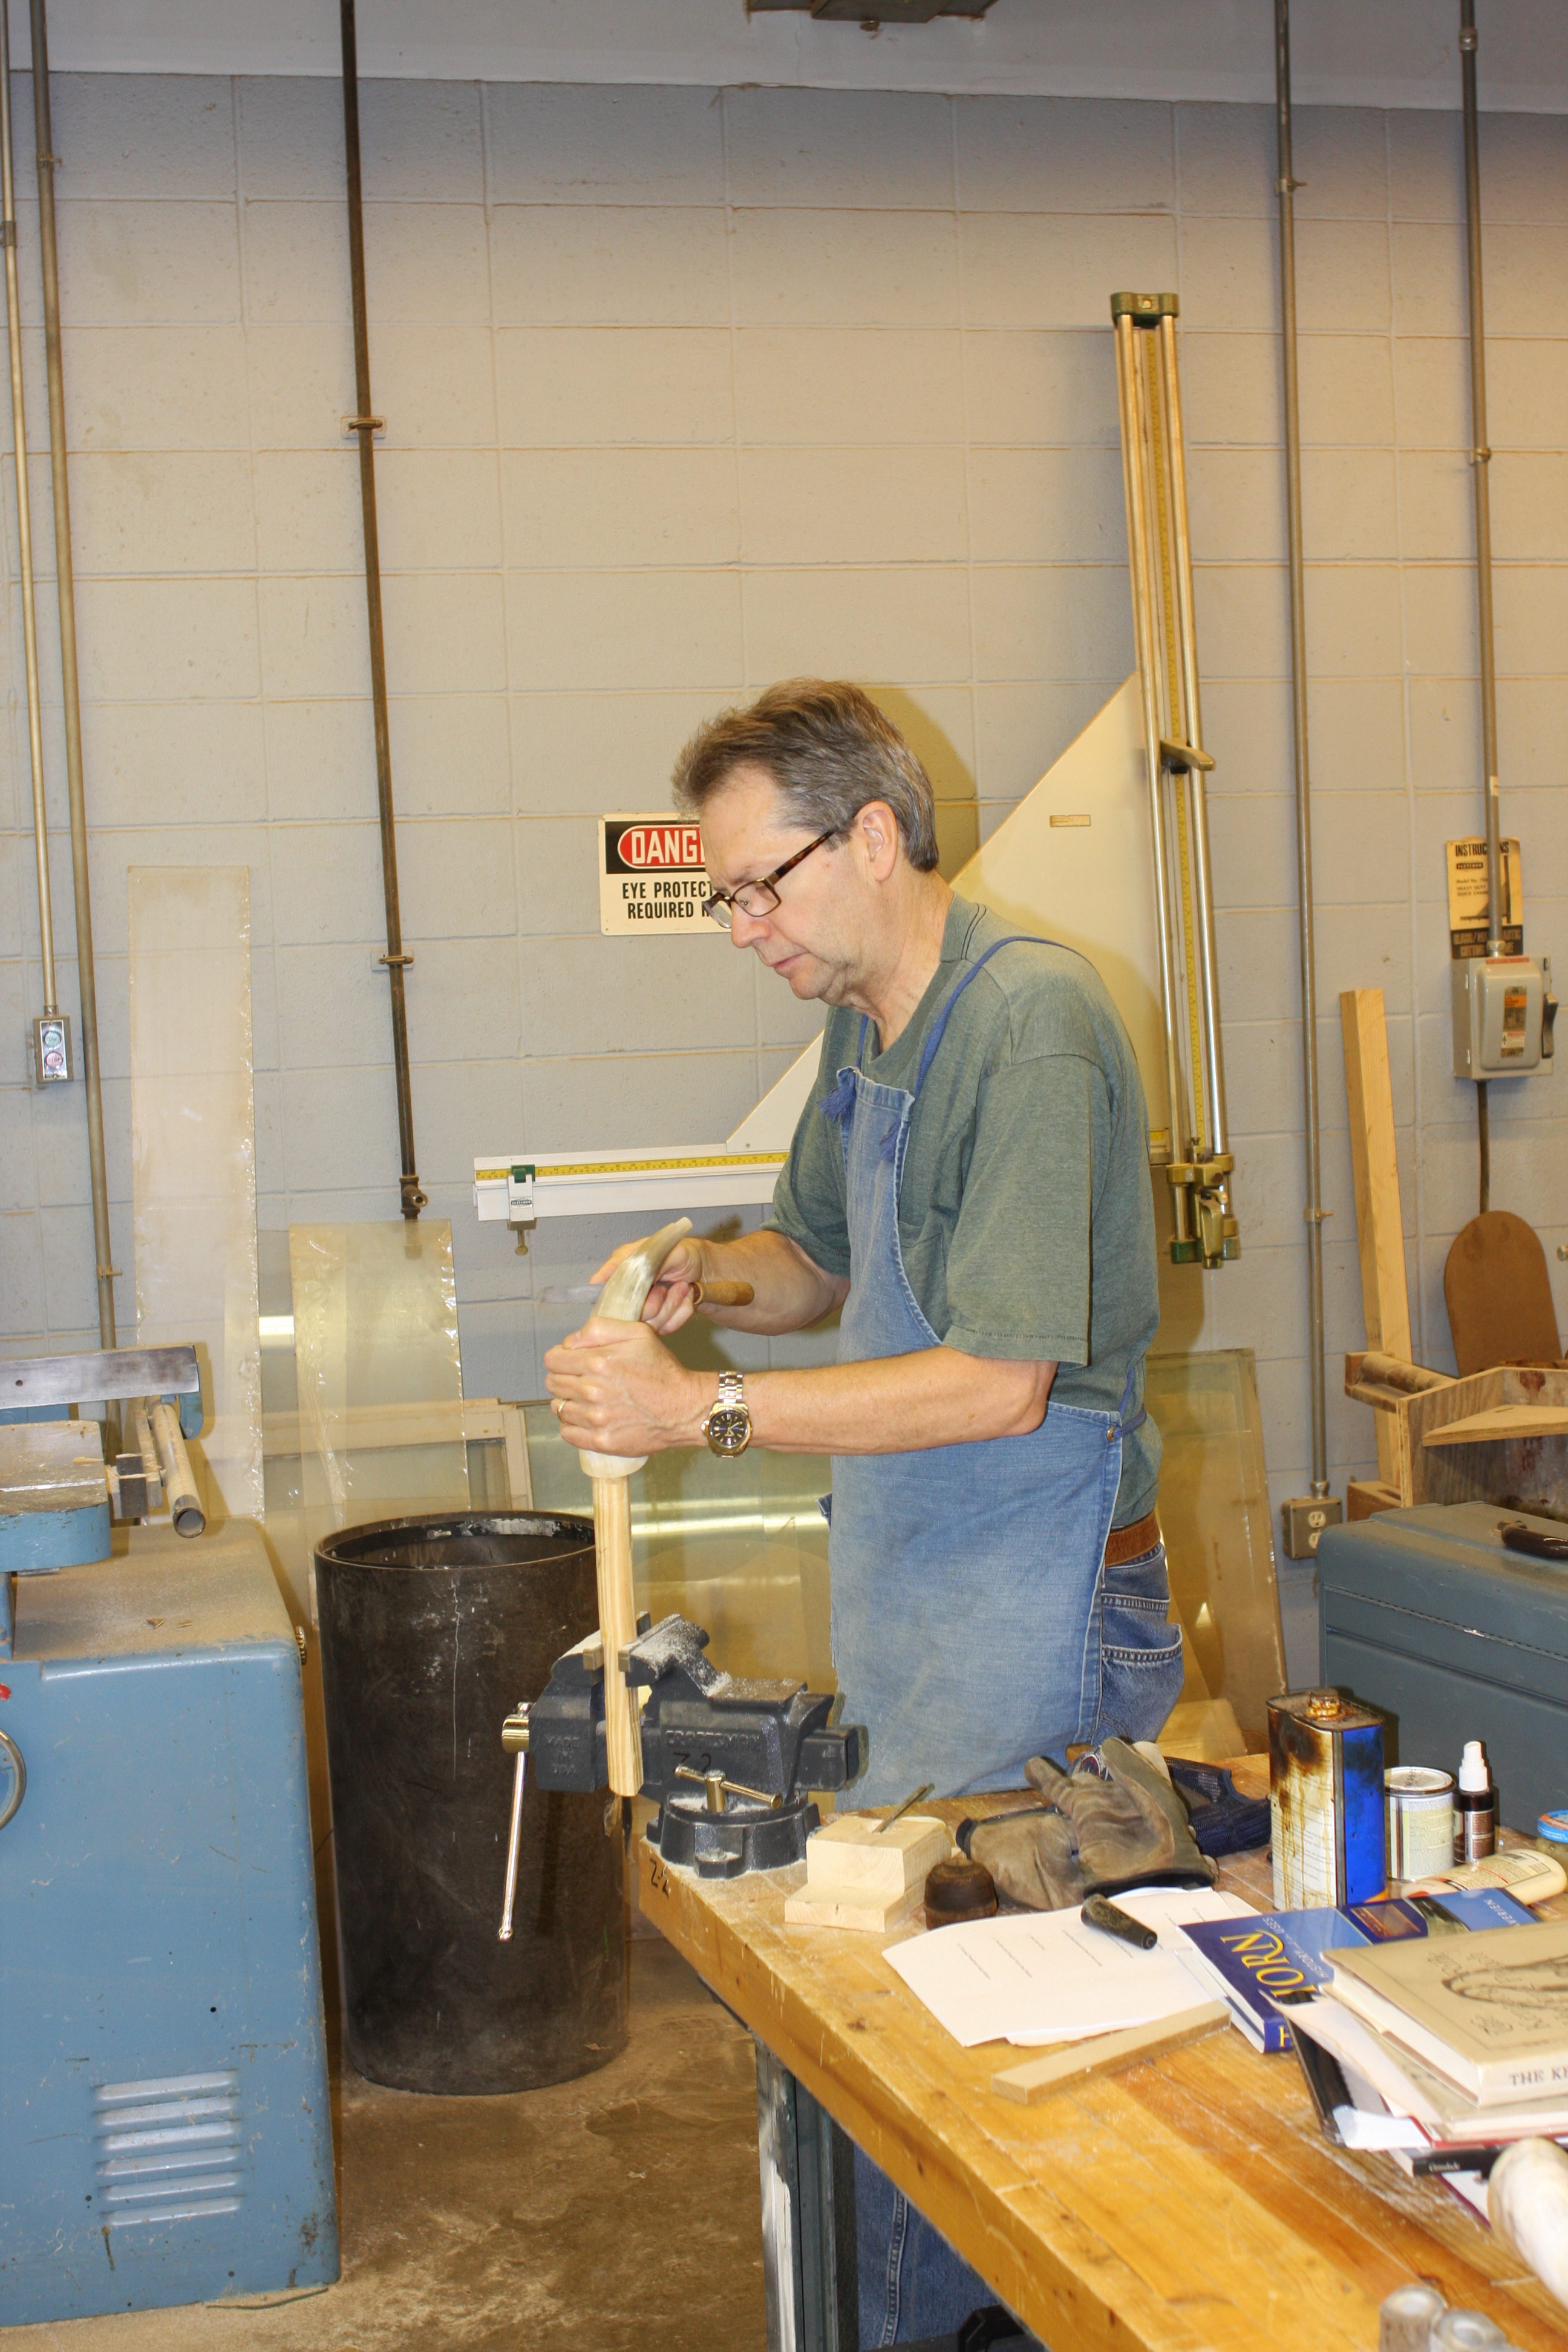
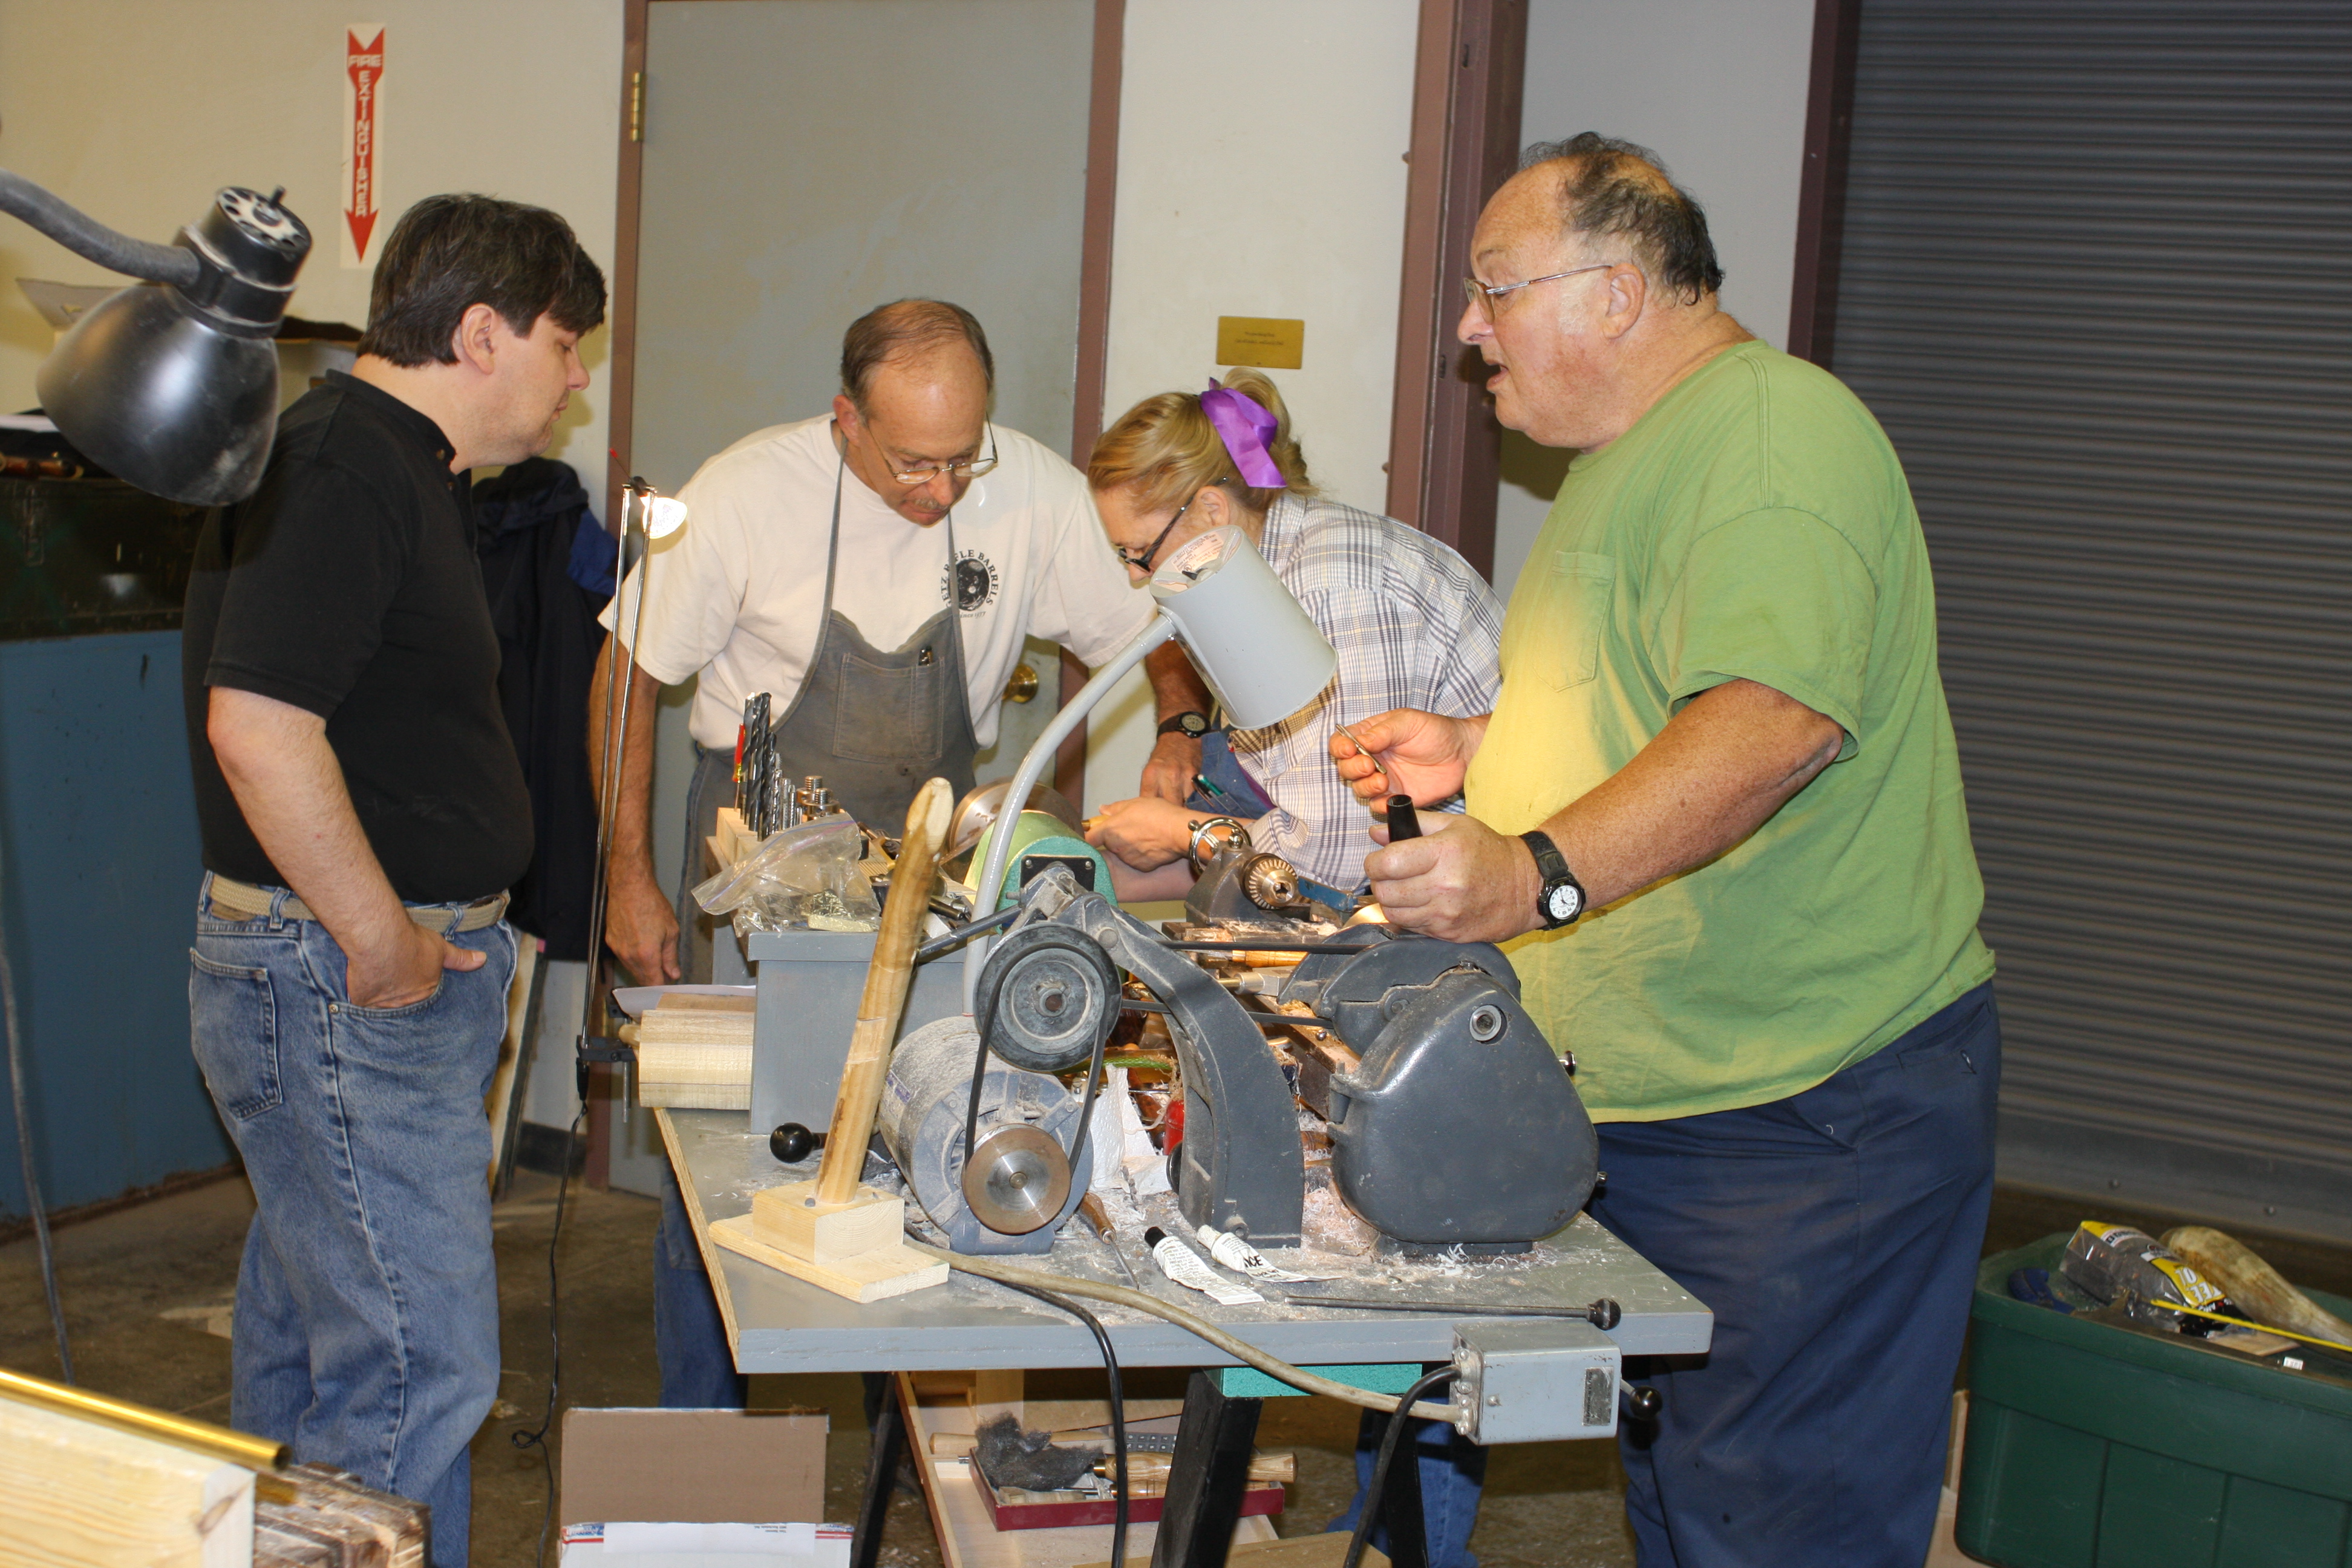
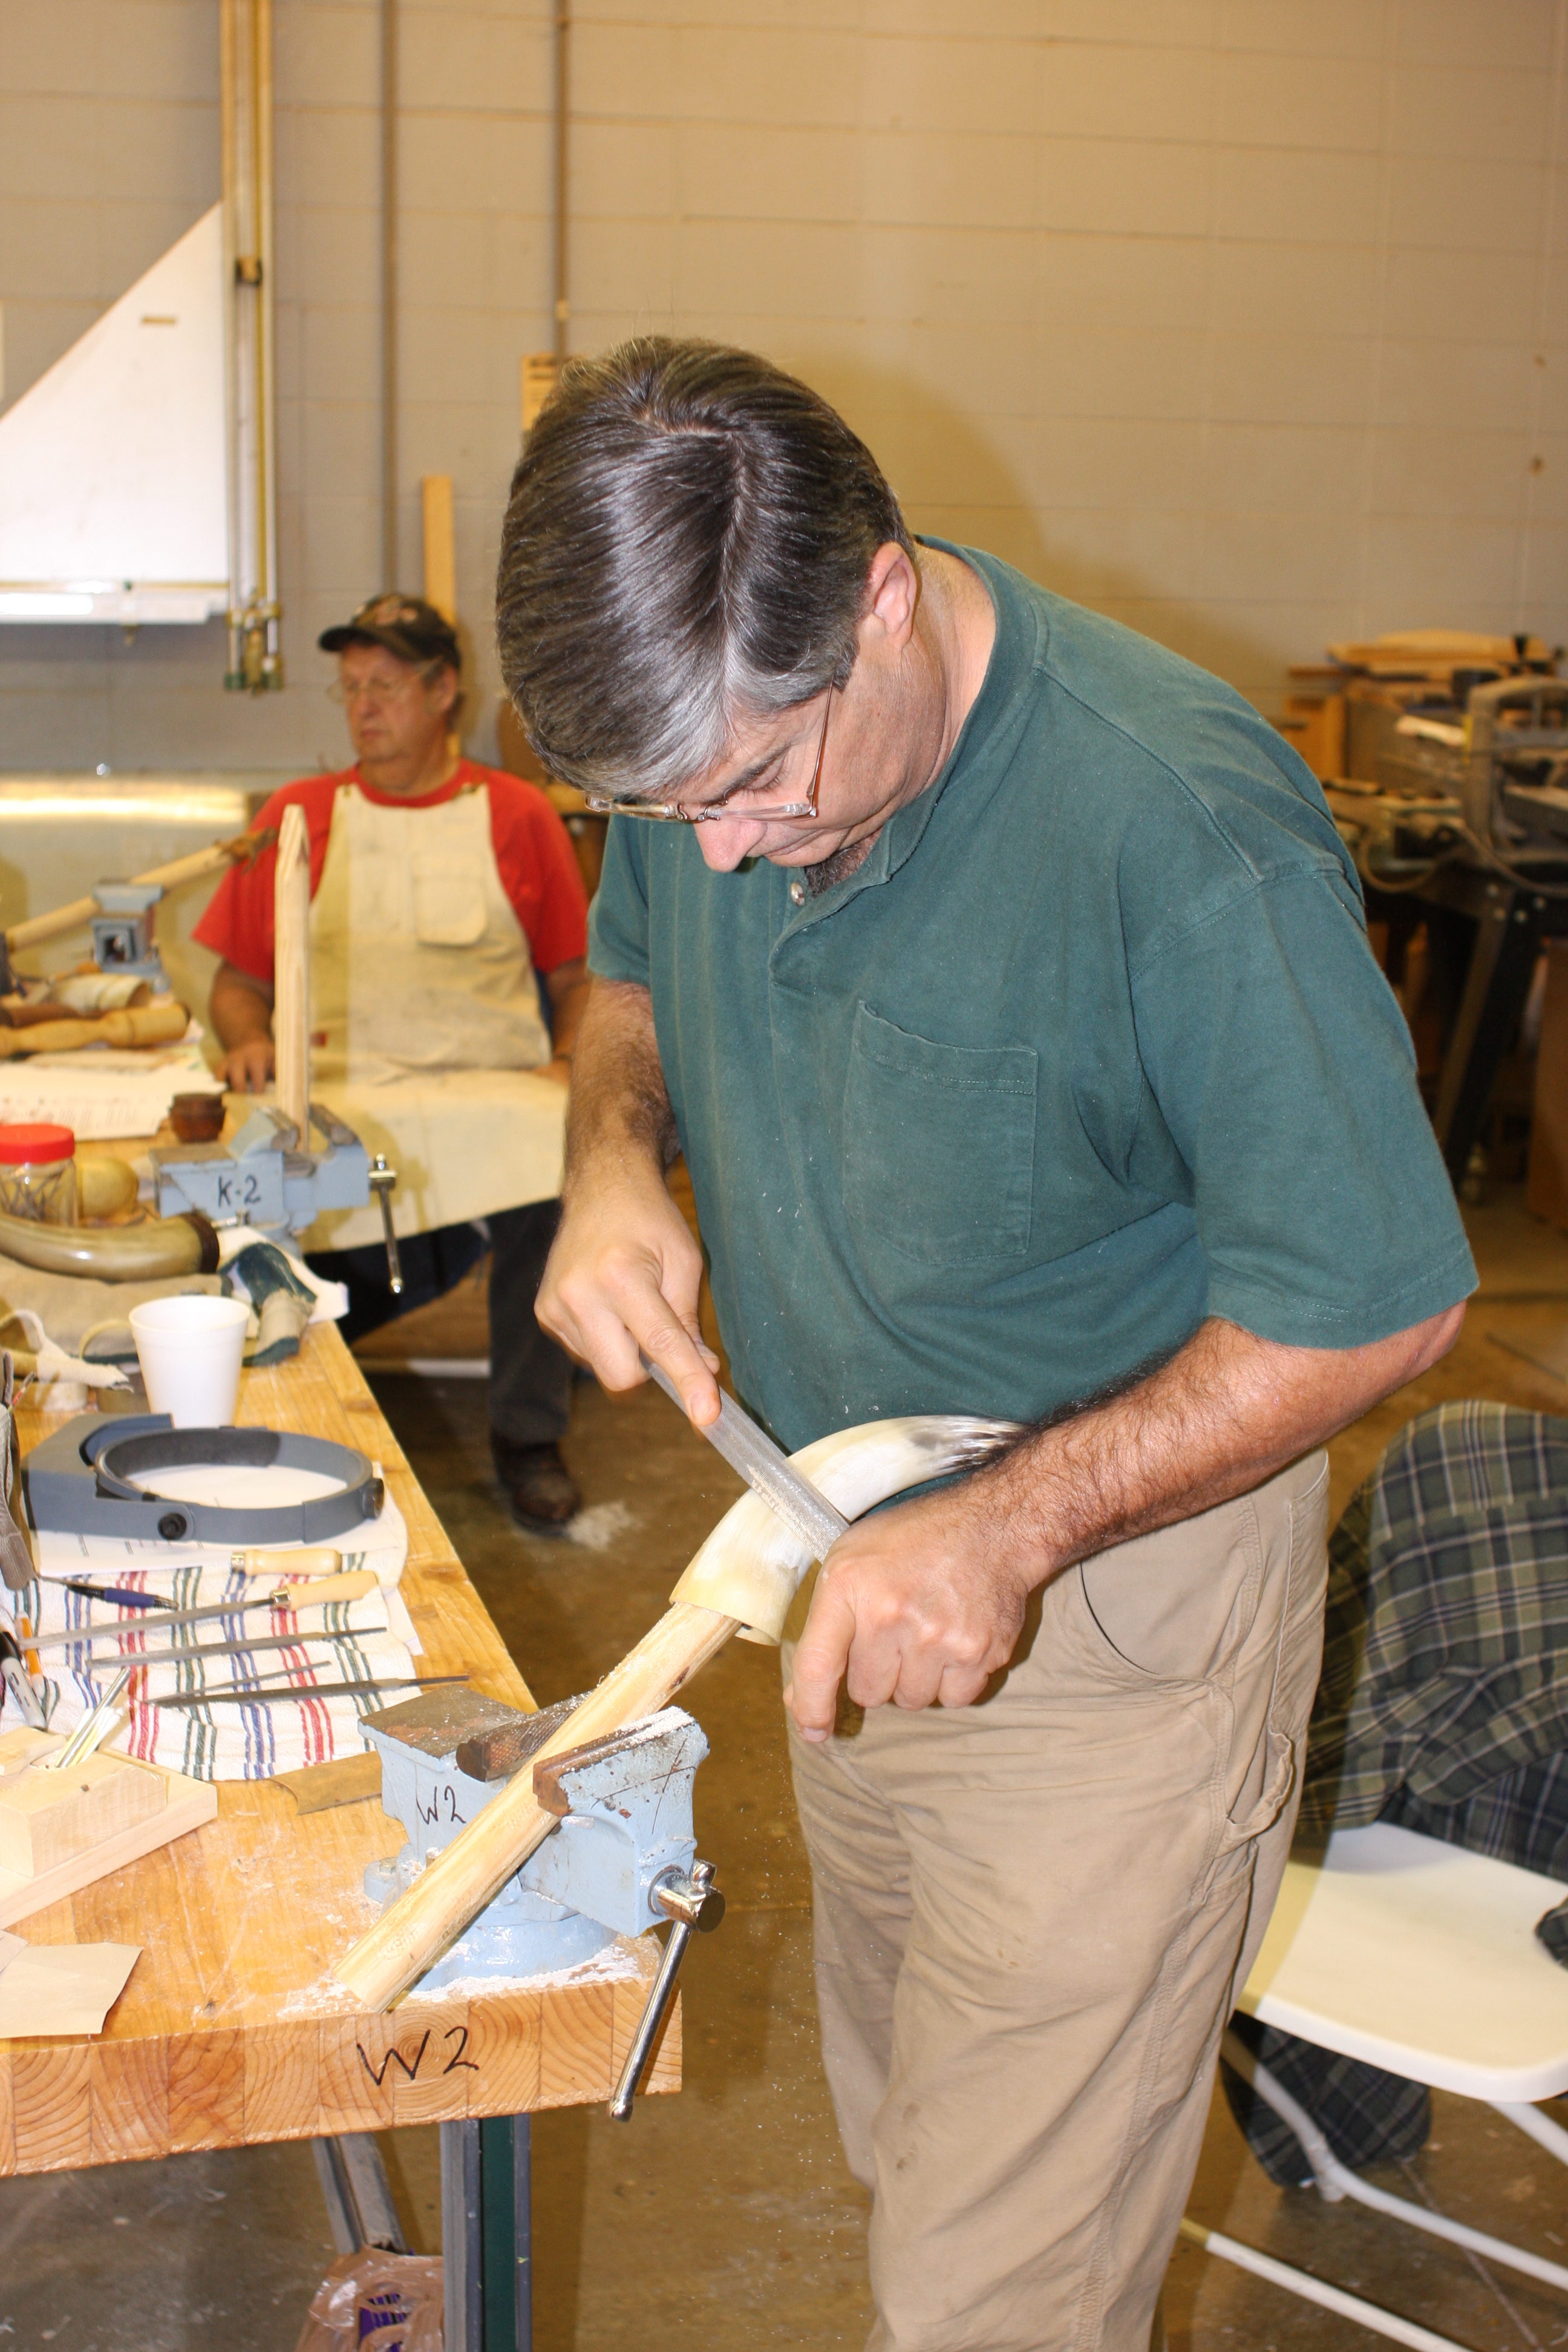
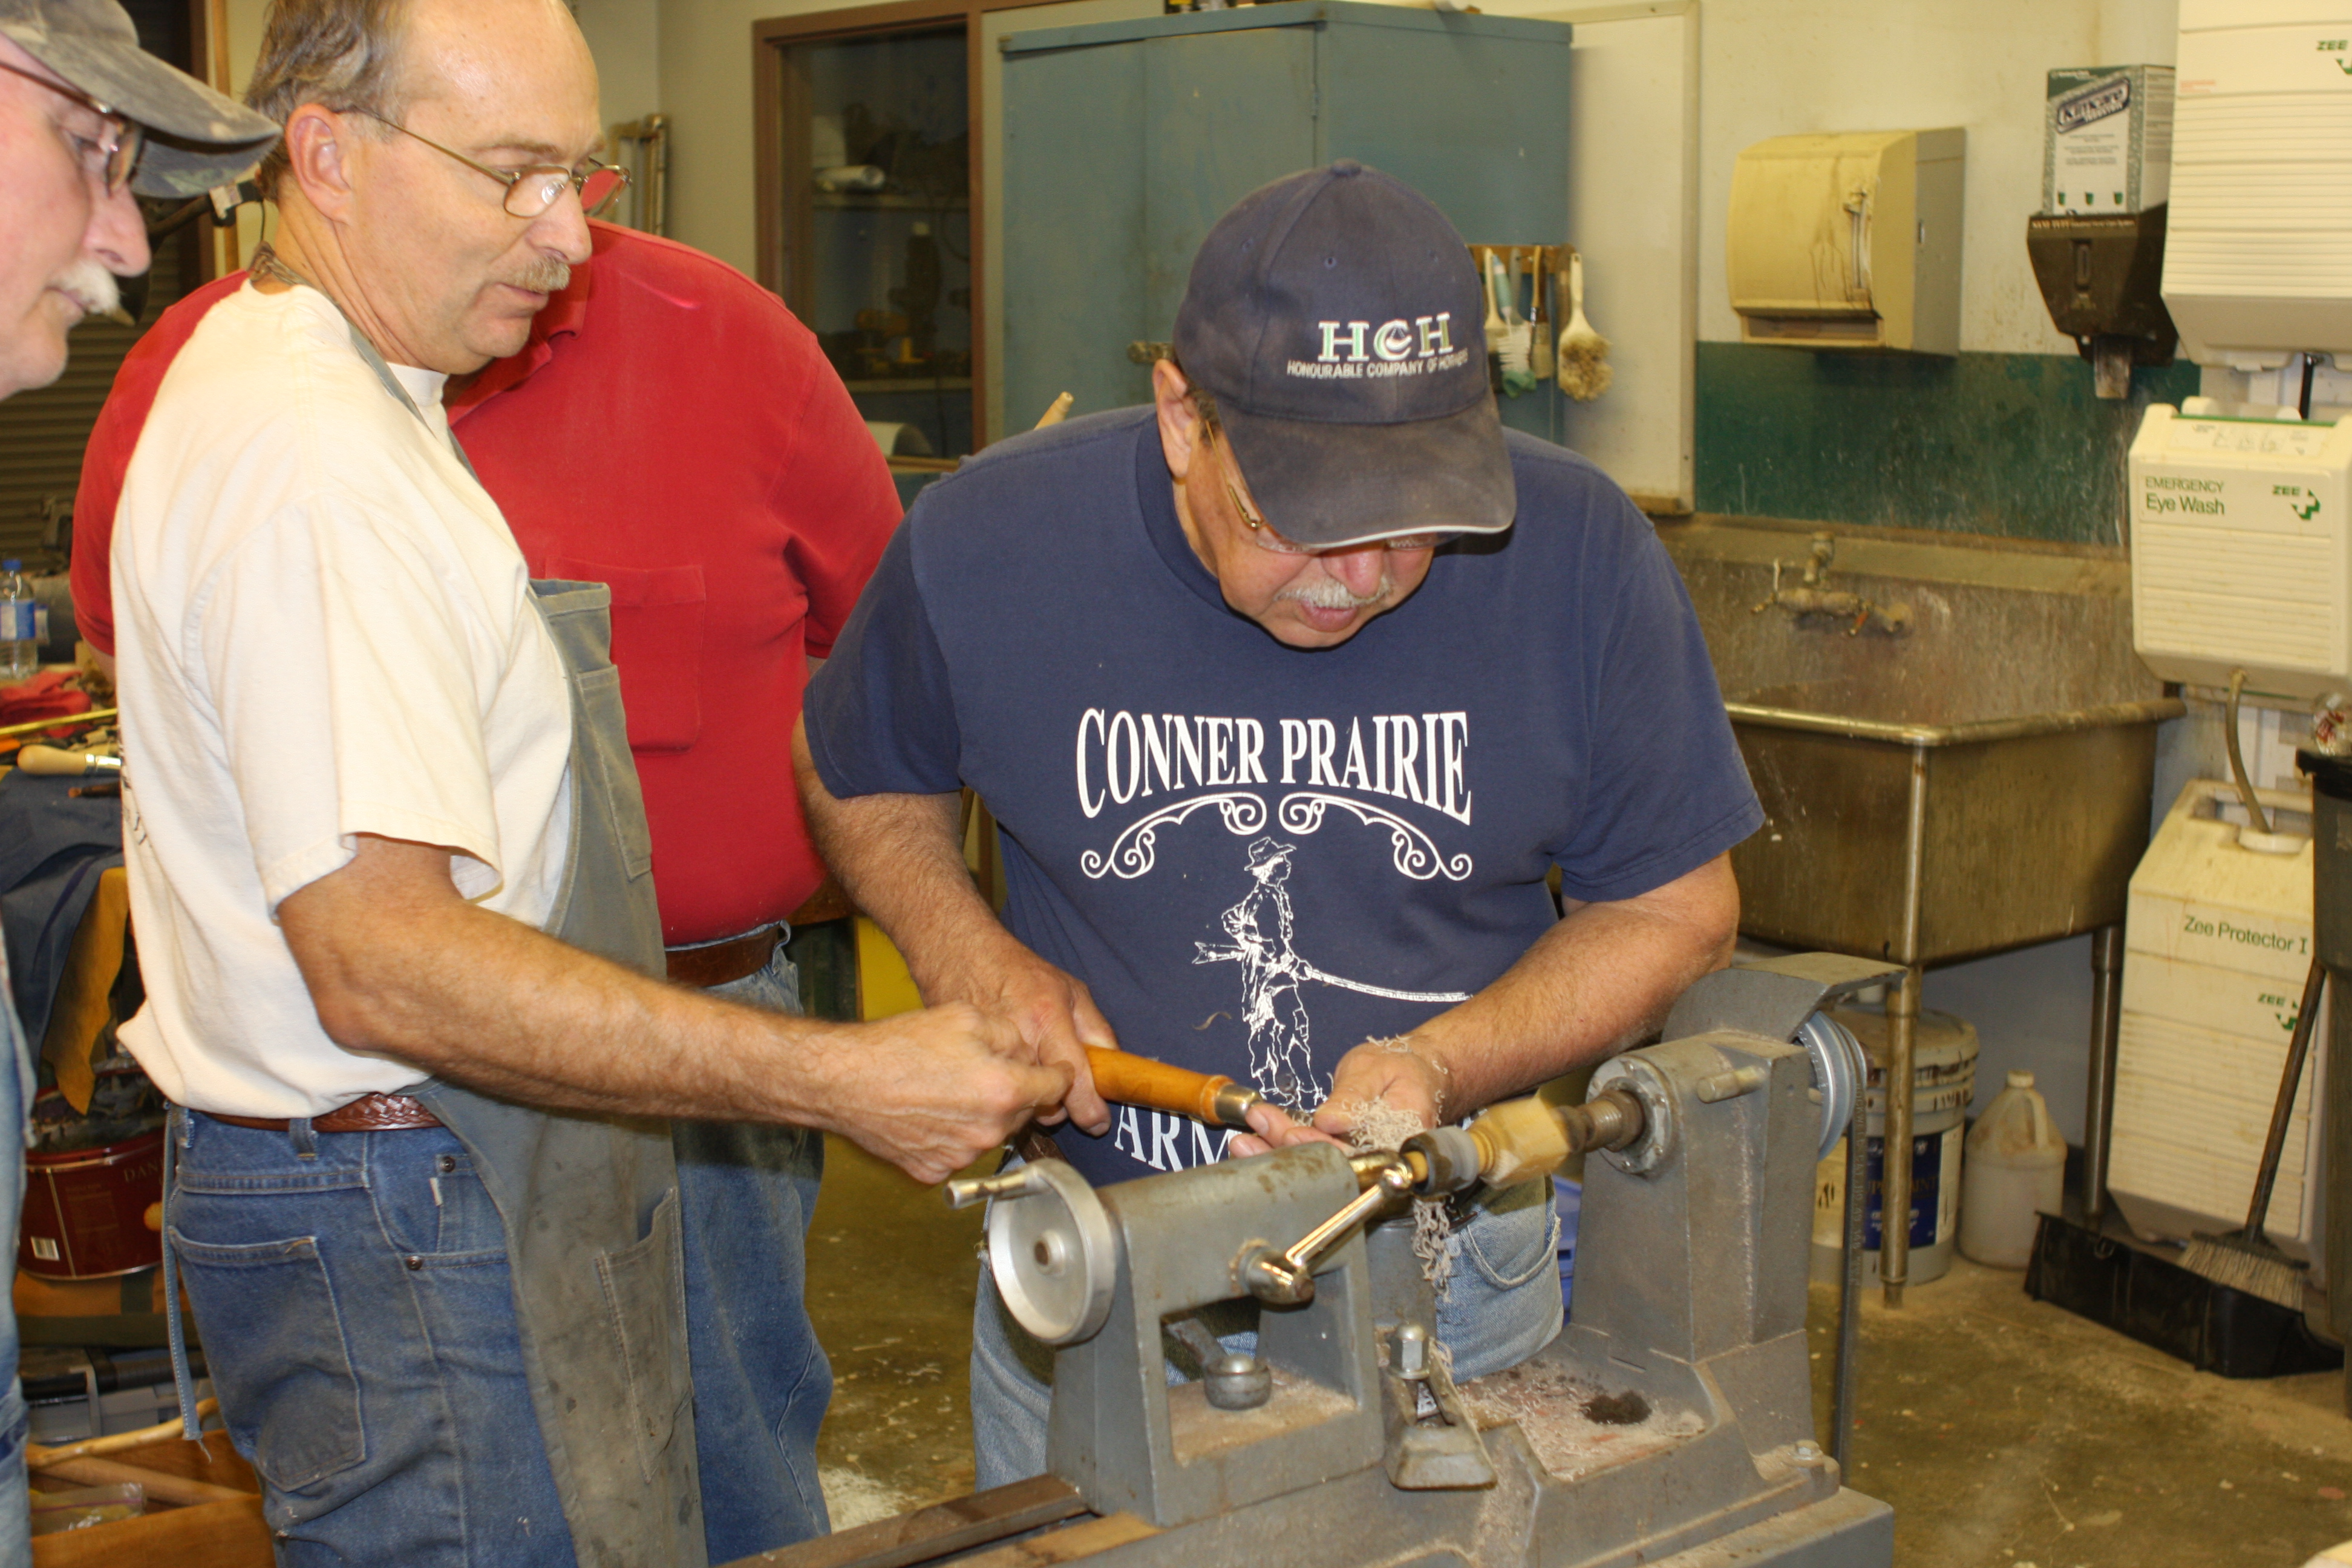
    Back in Indiana, years passed until I began collecting parts to complete the rifle. My friend Steve Chapman gave me hard maple rifle stock. It was a half stock with a 1 inch barrel channel and a mortice cut for an L&R lock. Steve suggested we look for an L&R lock that matched the mortice, and both of us like Davis triggers. I bought parts at the Friendship spring shoot, and Steve took them back to his shop.

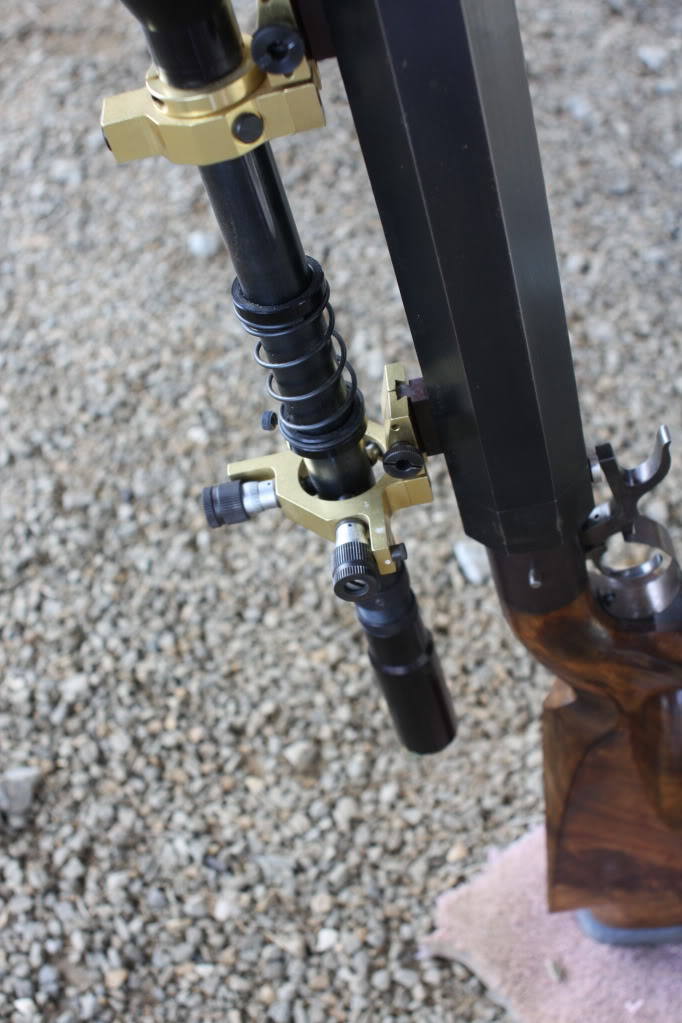
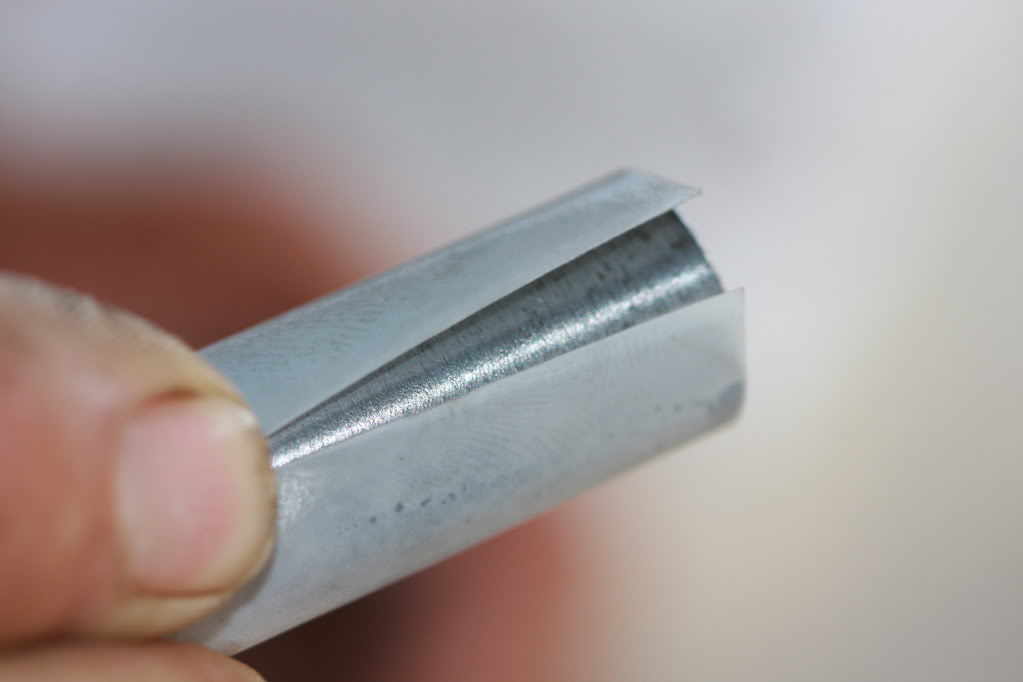
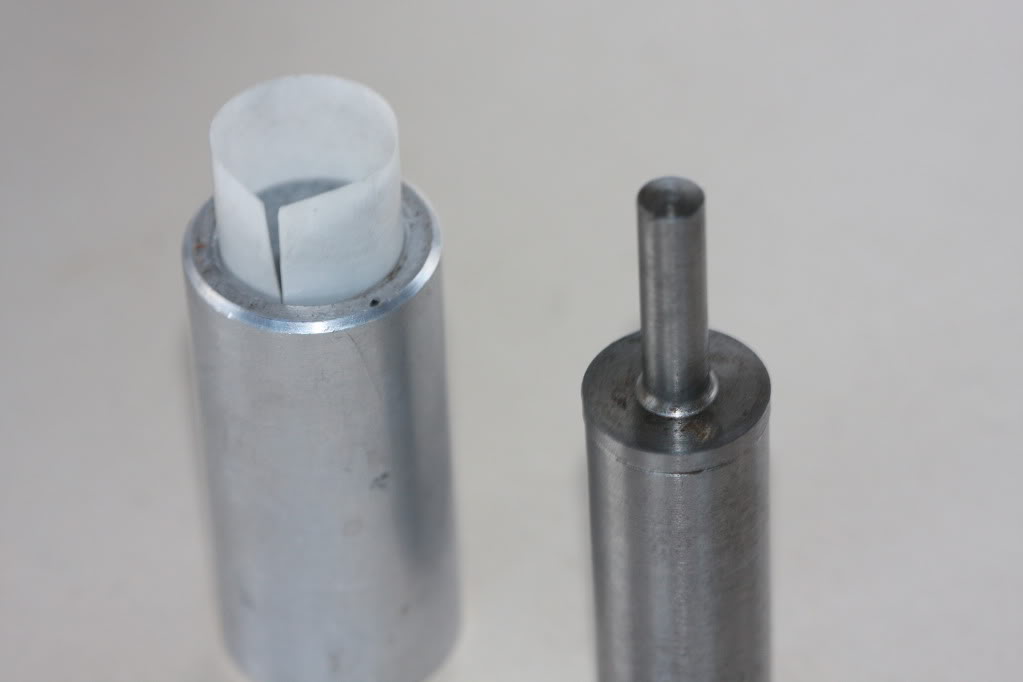
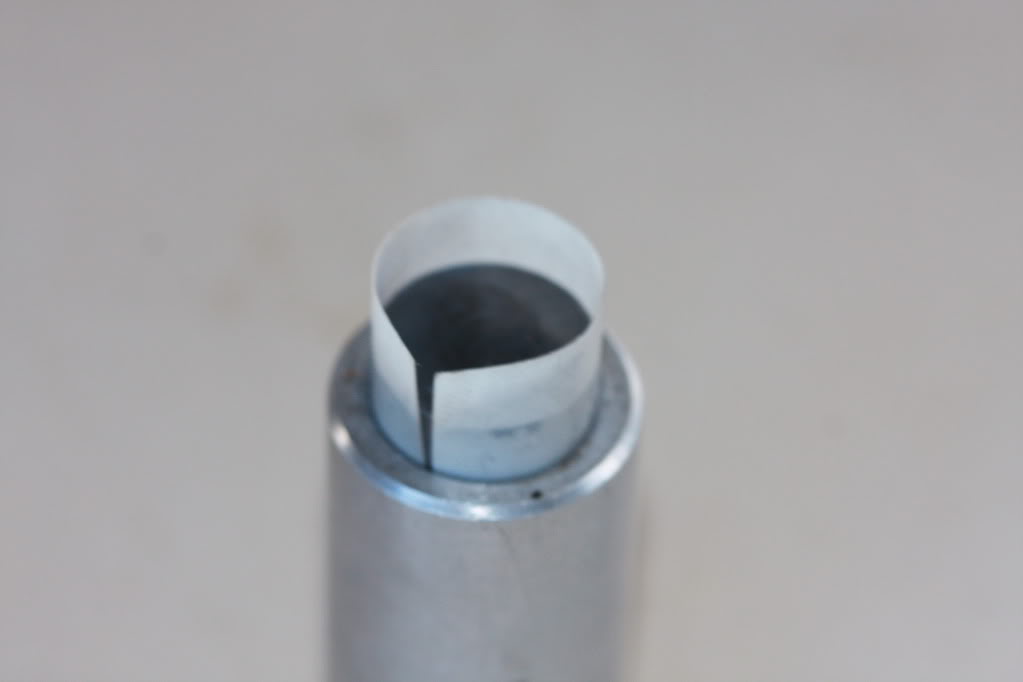
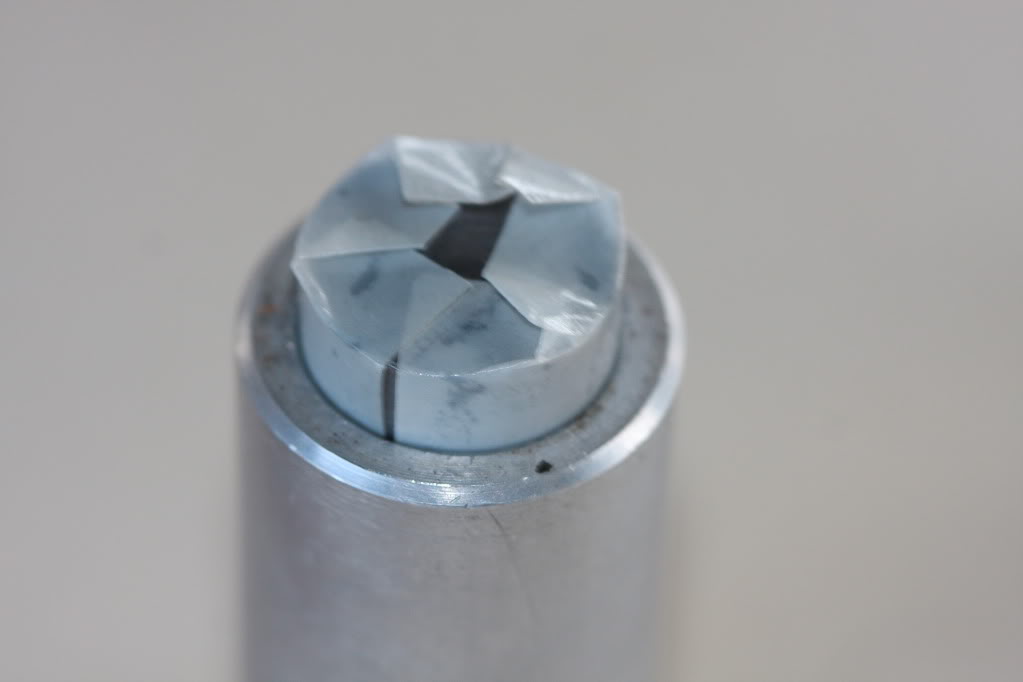
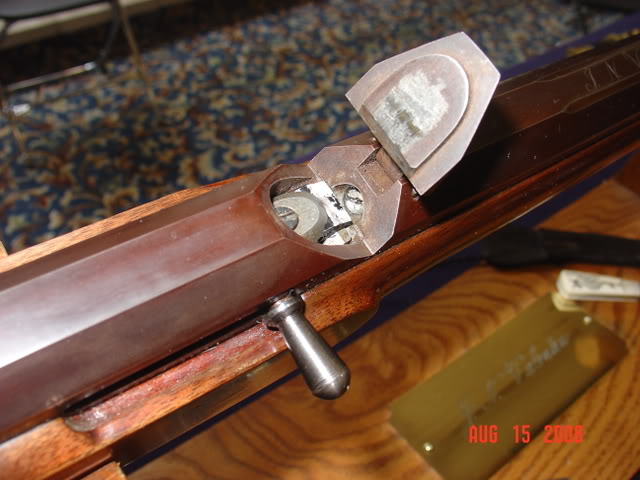
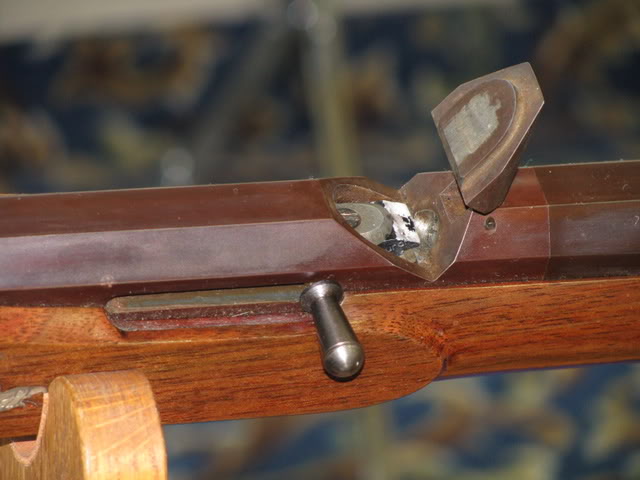
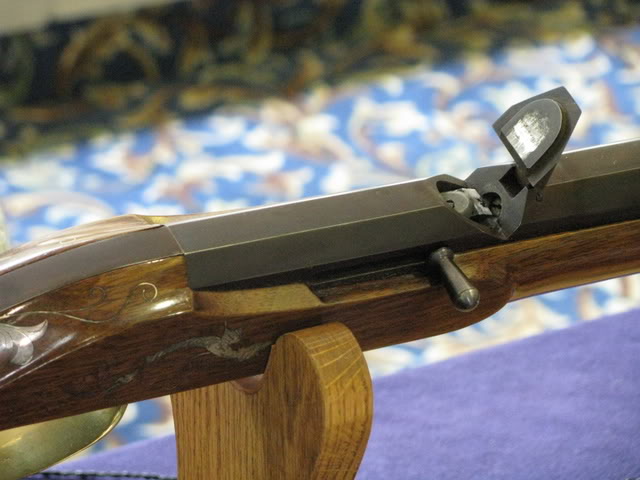
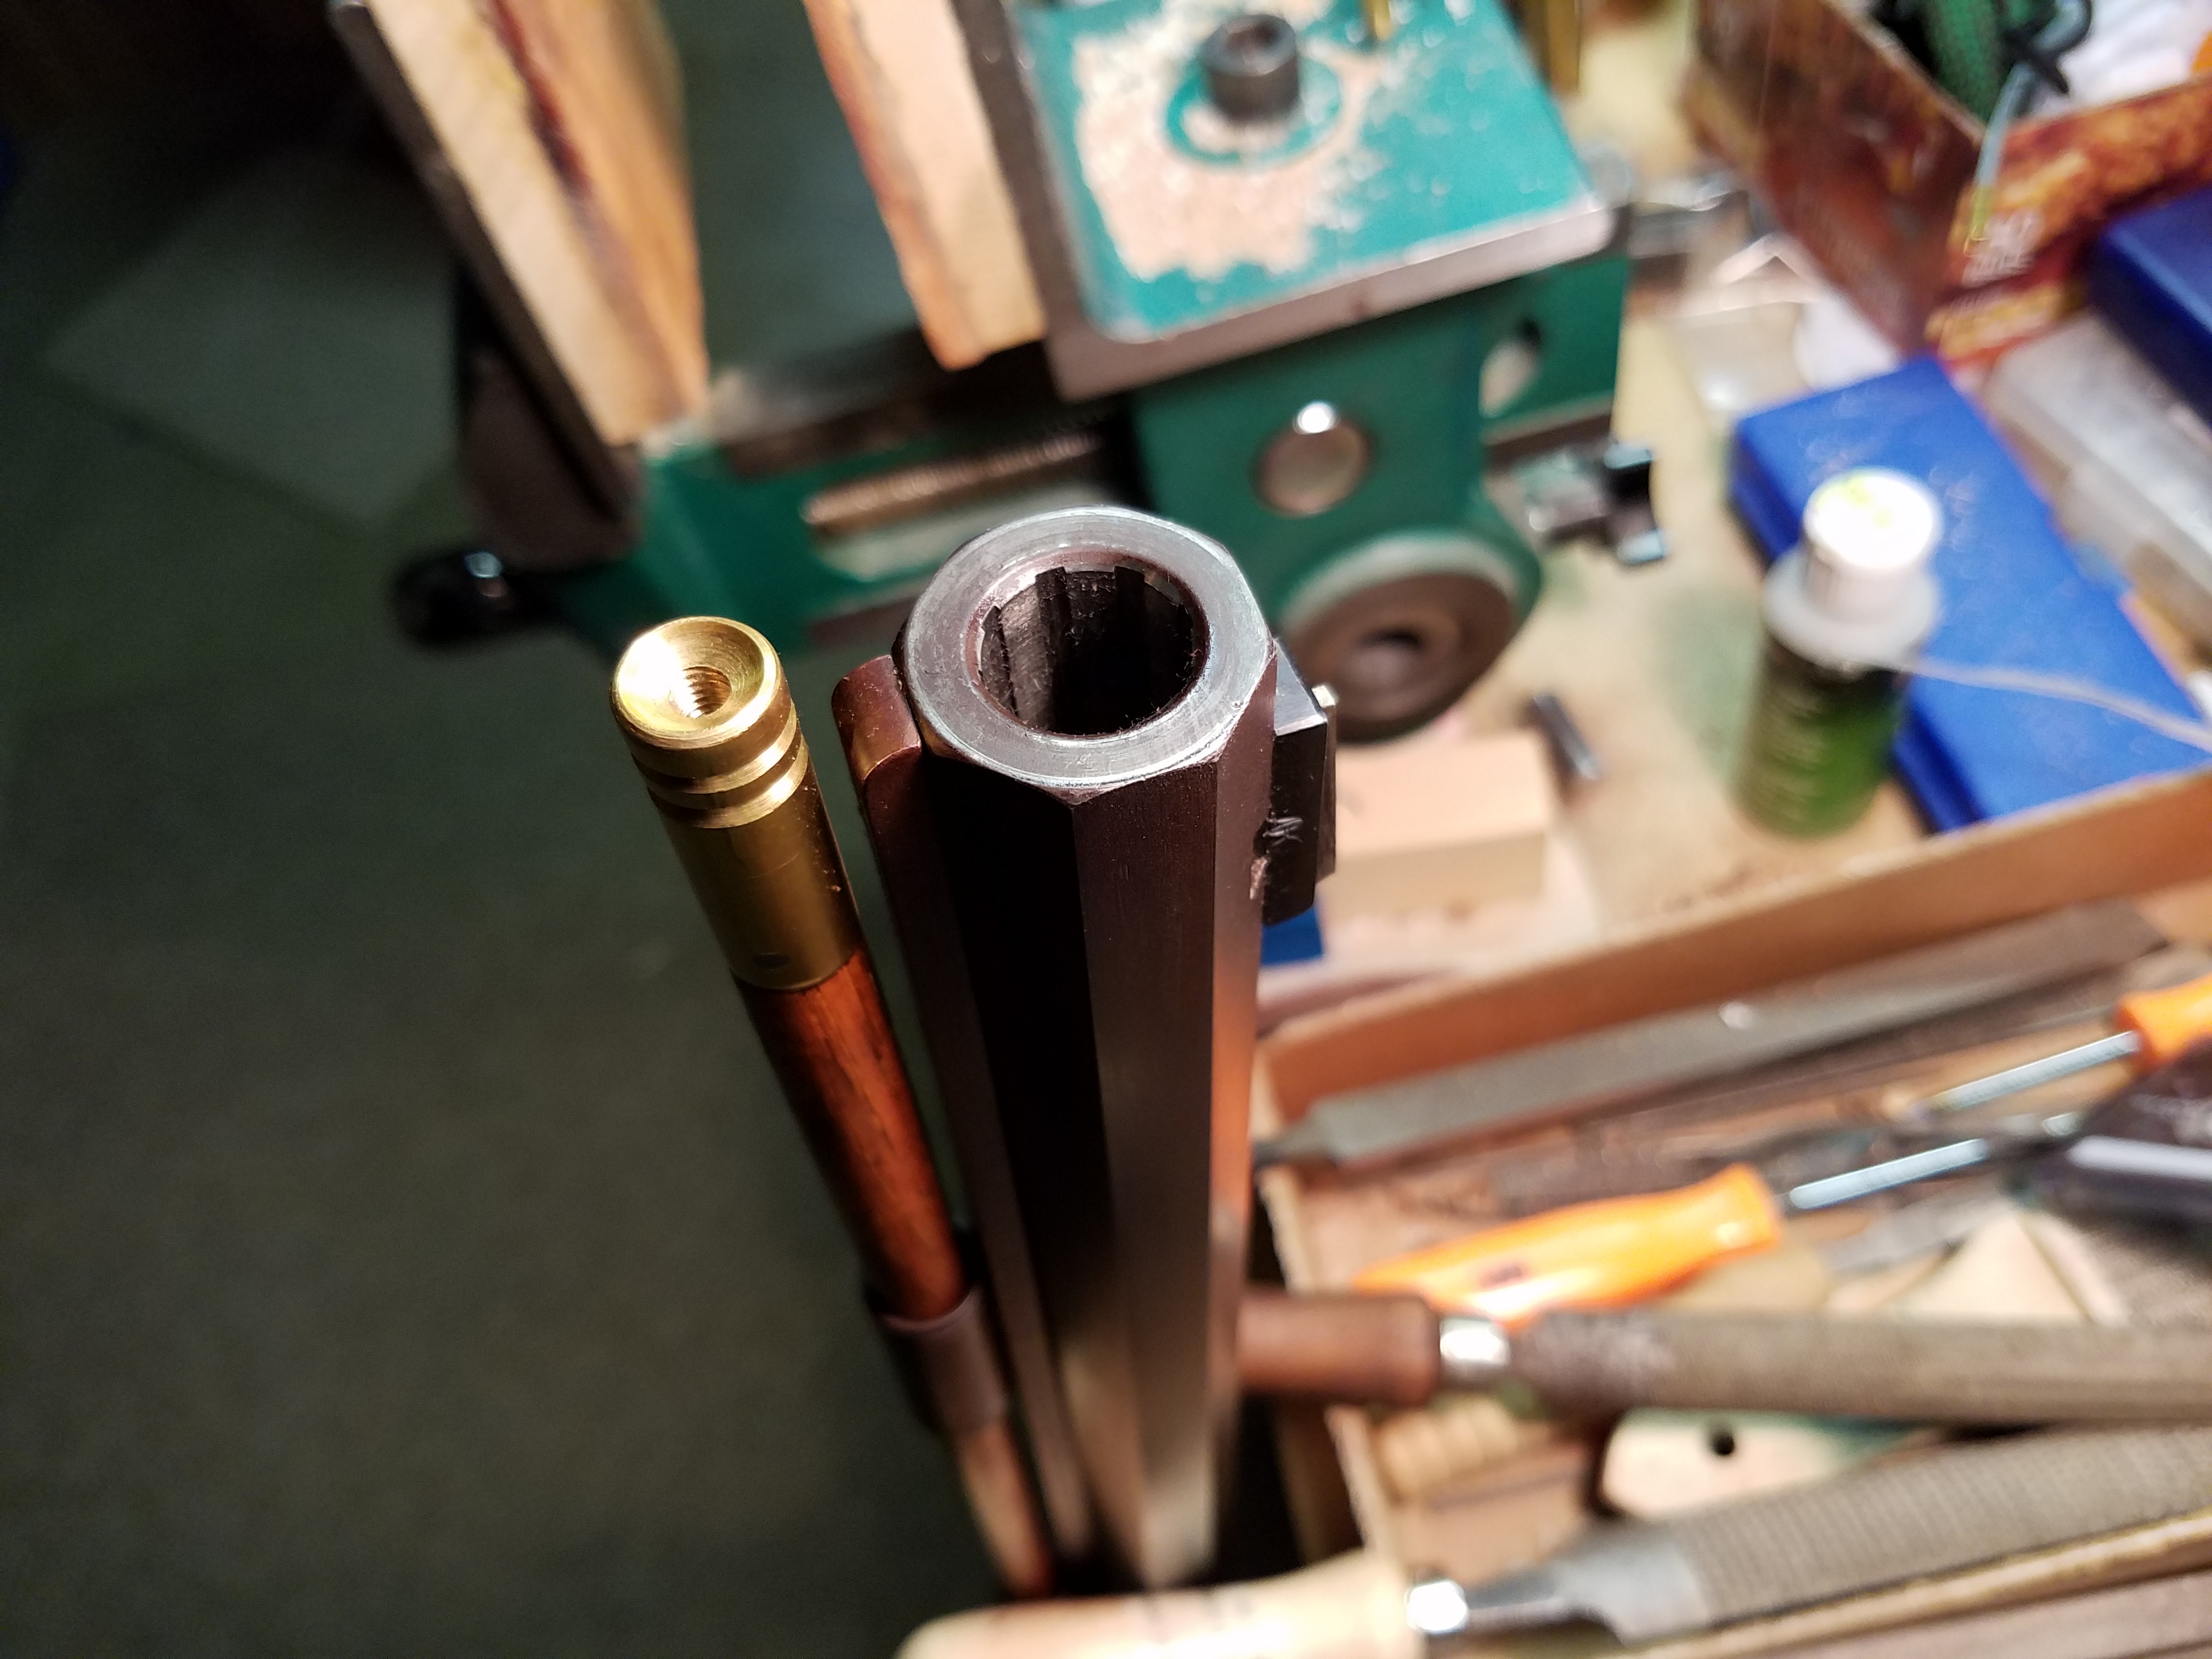
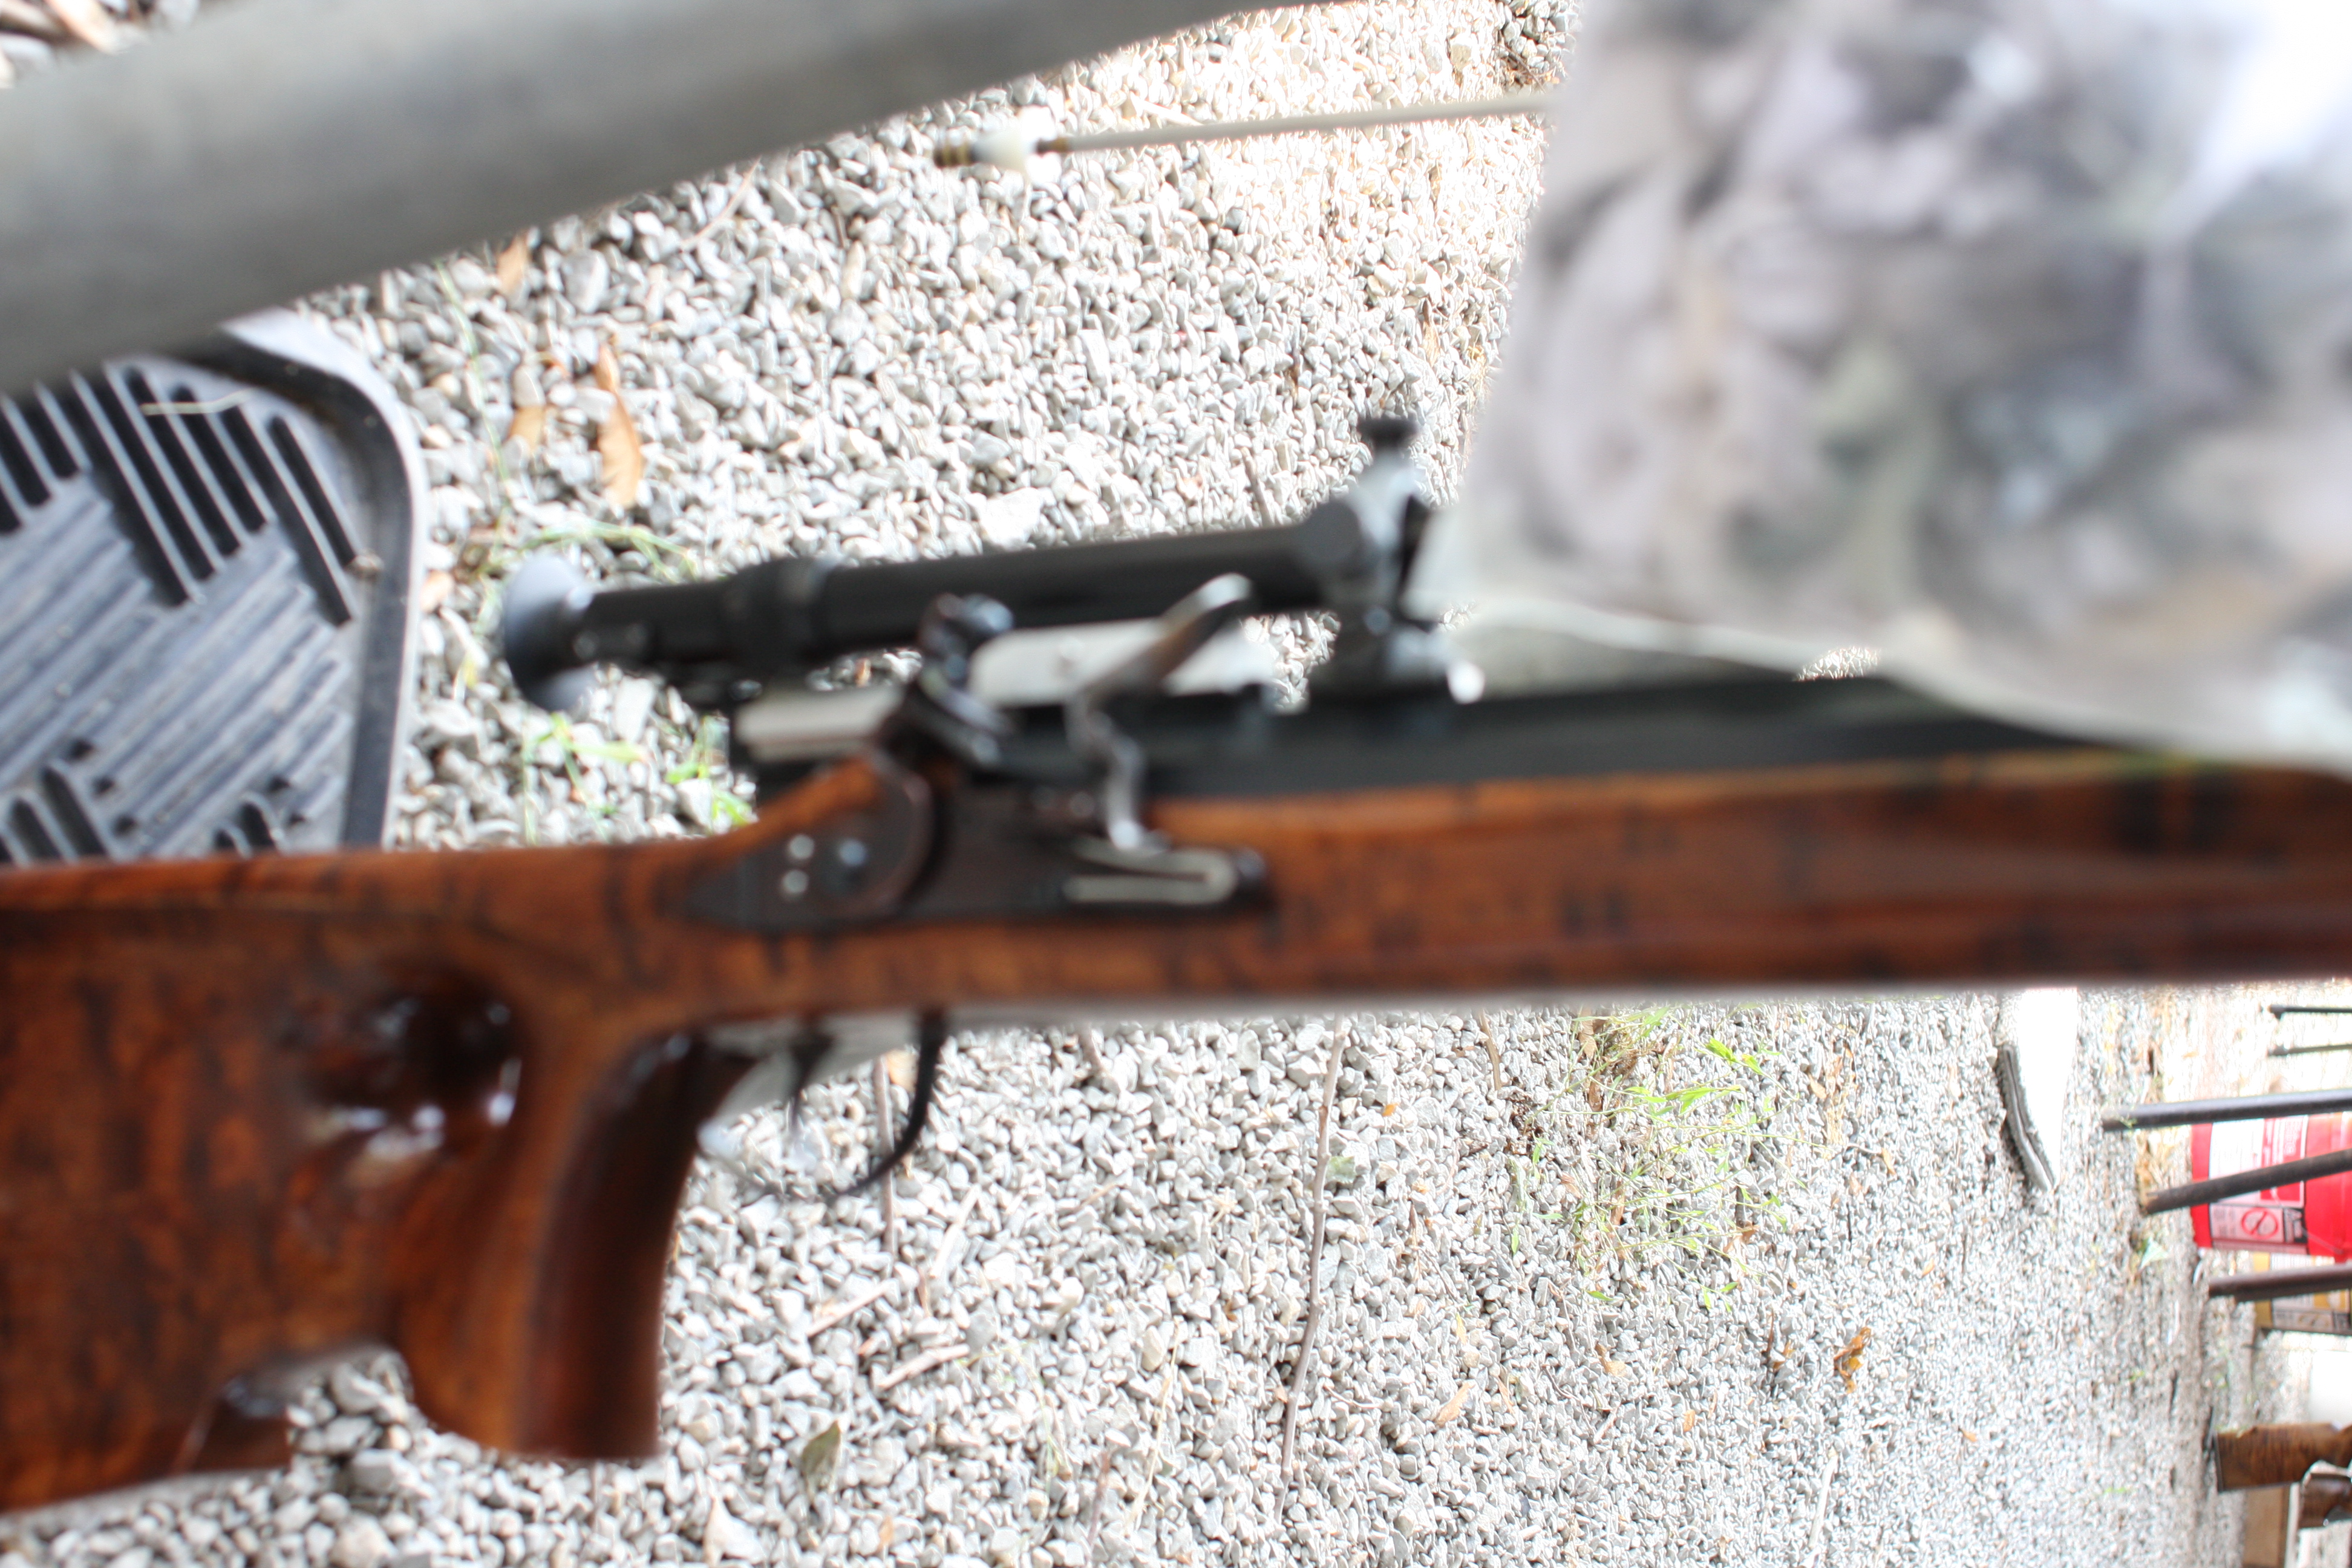
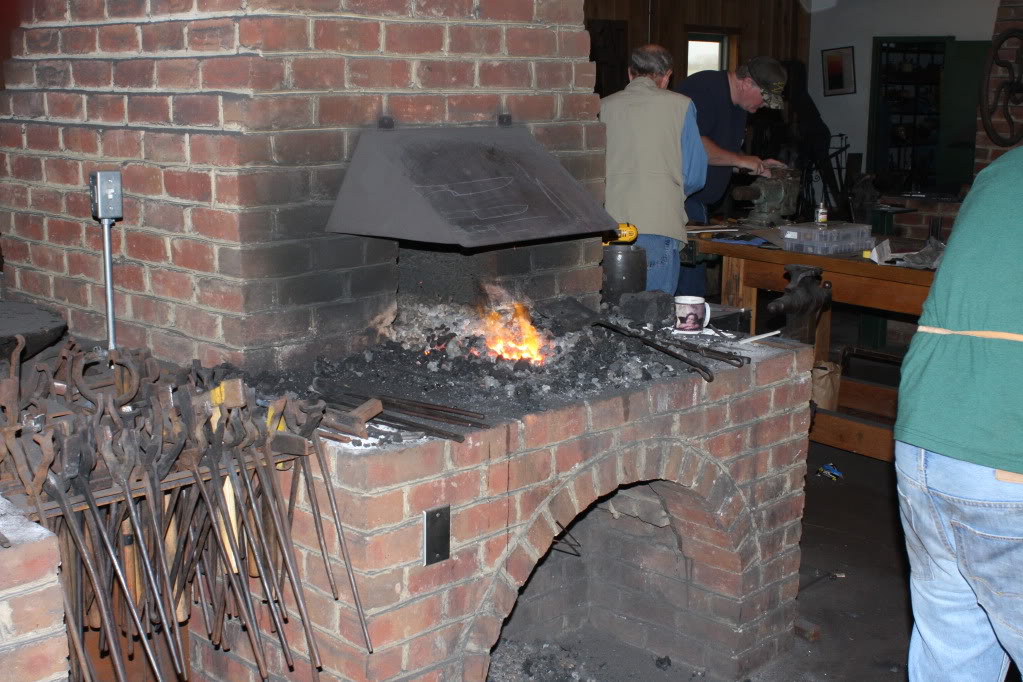
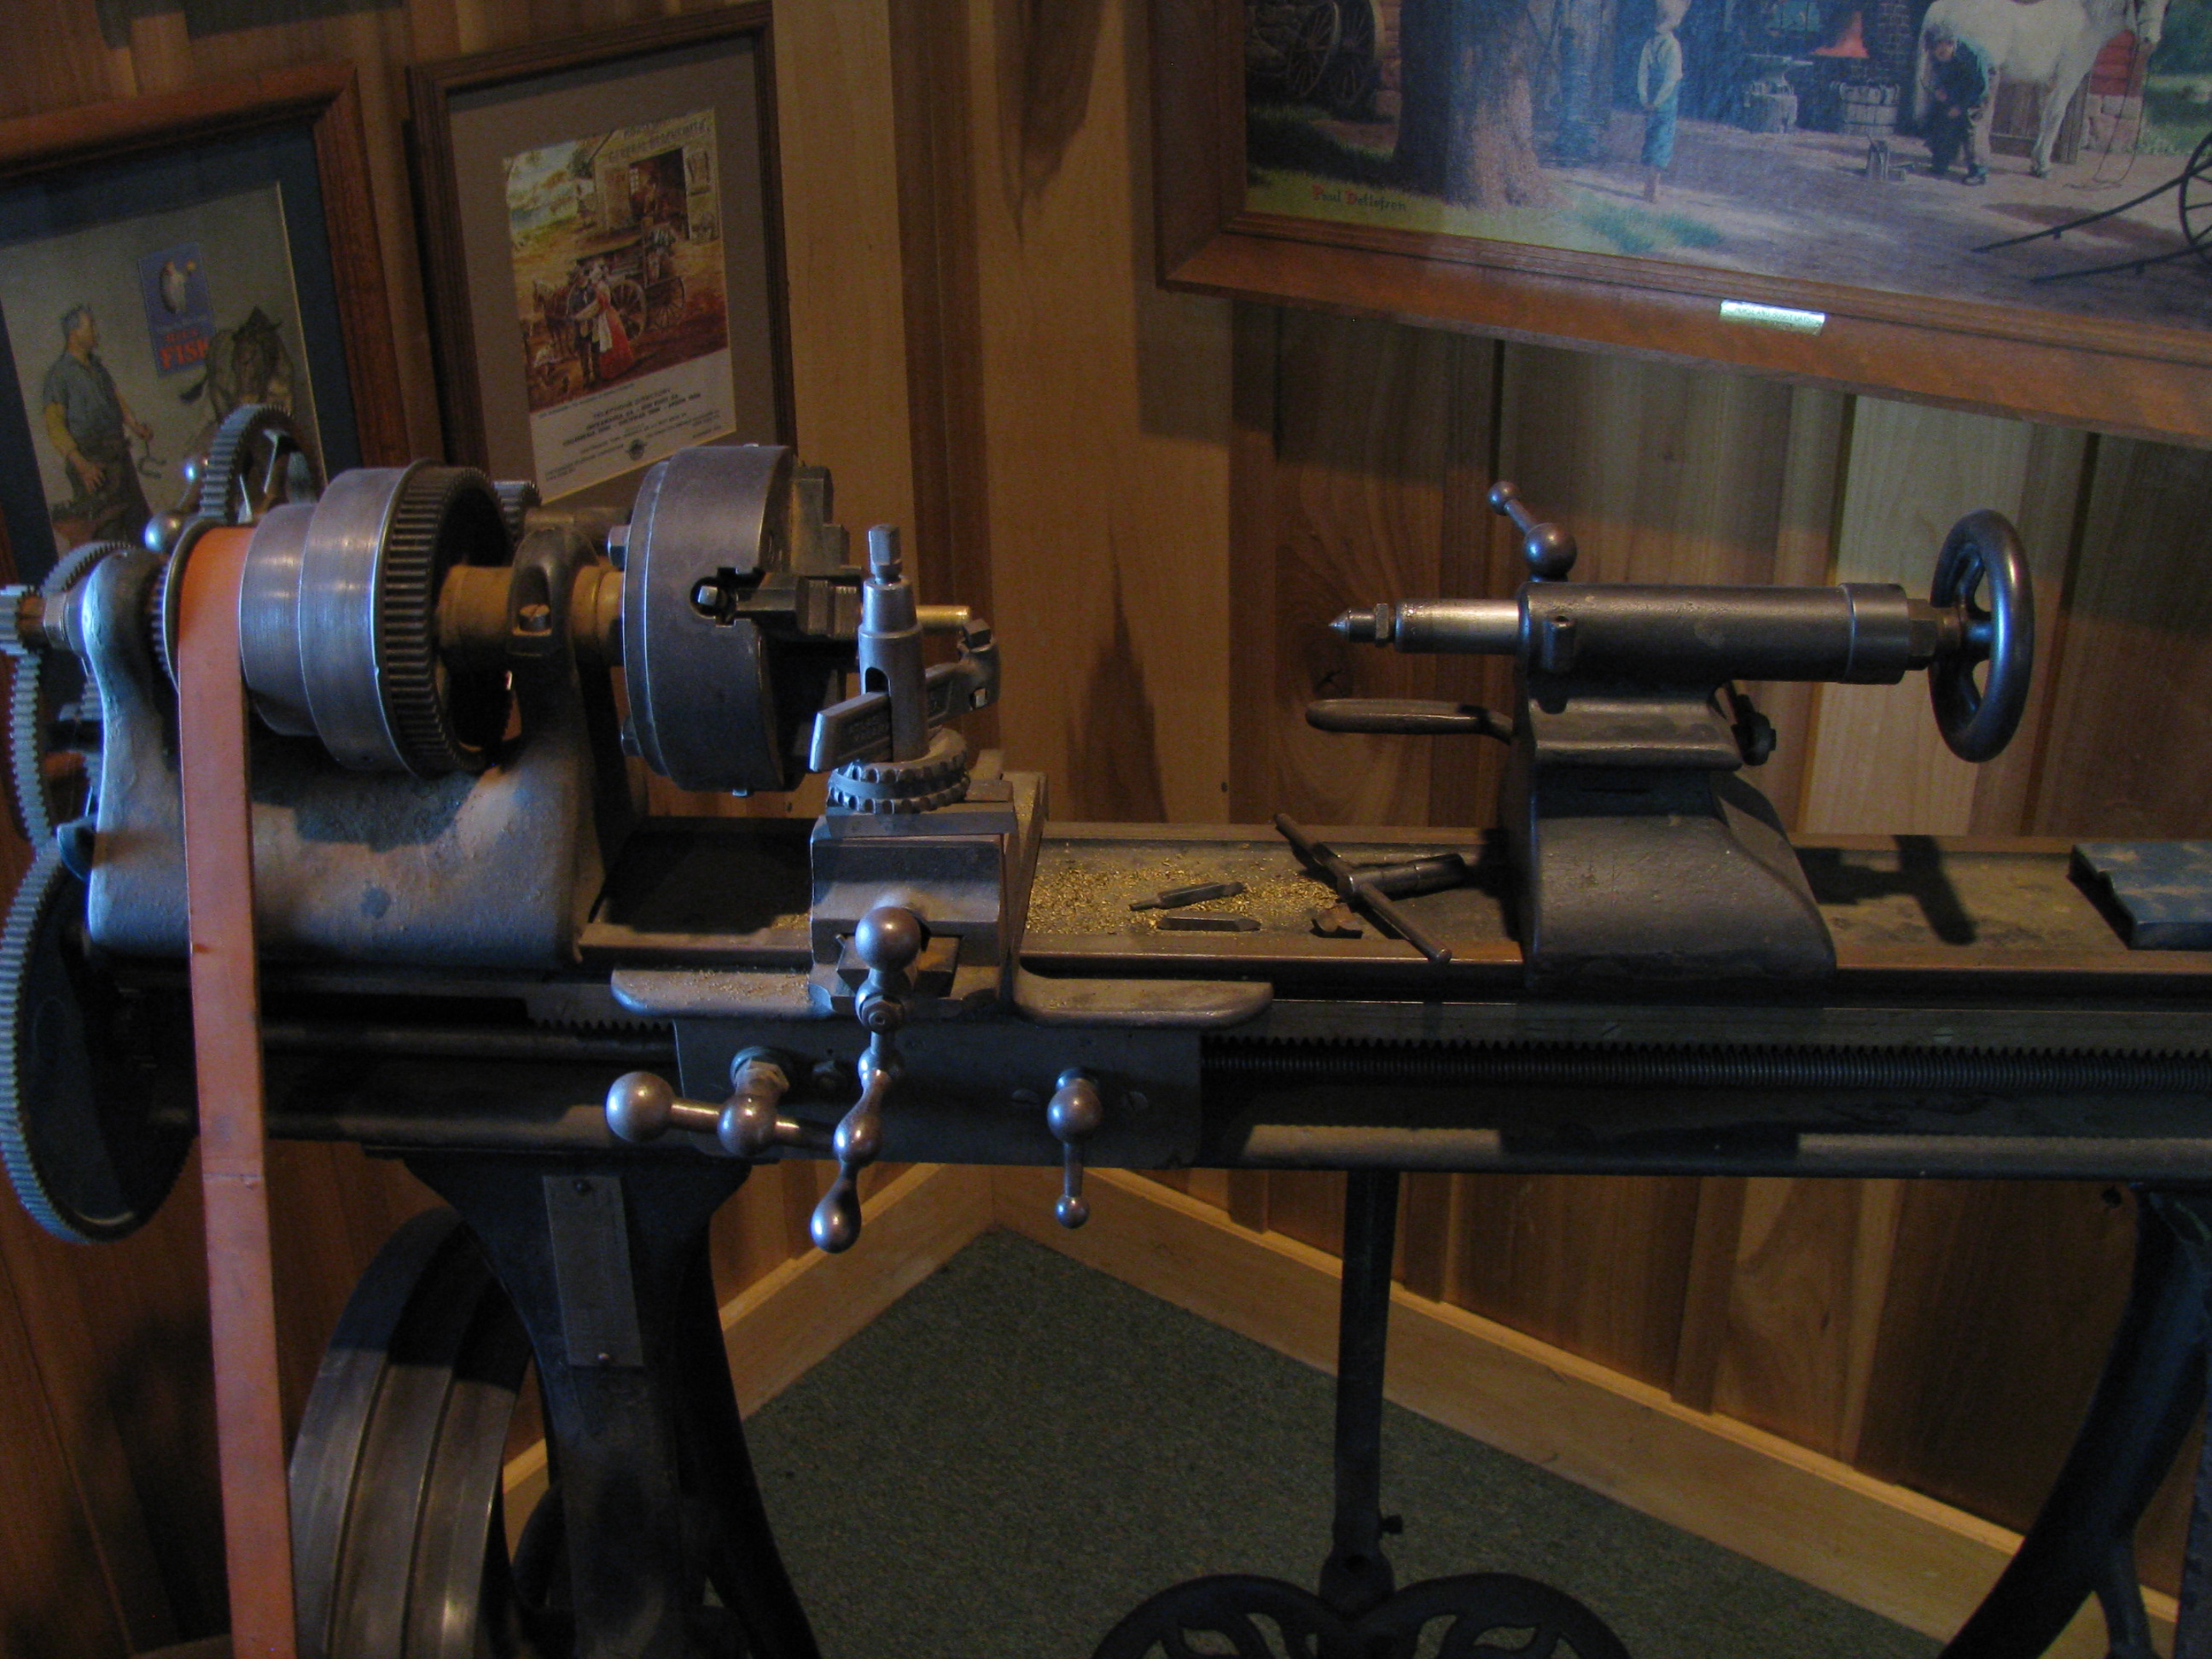
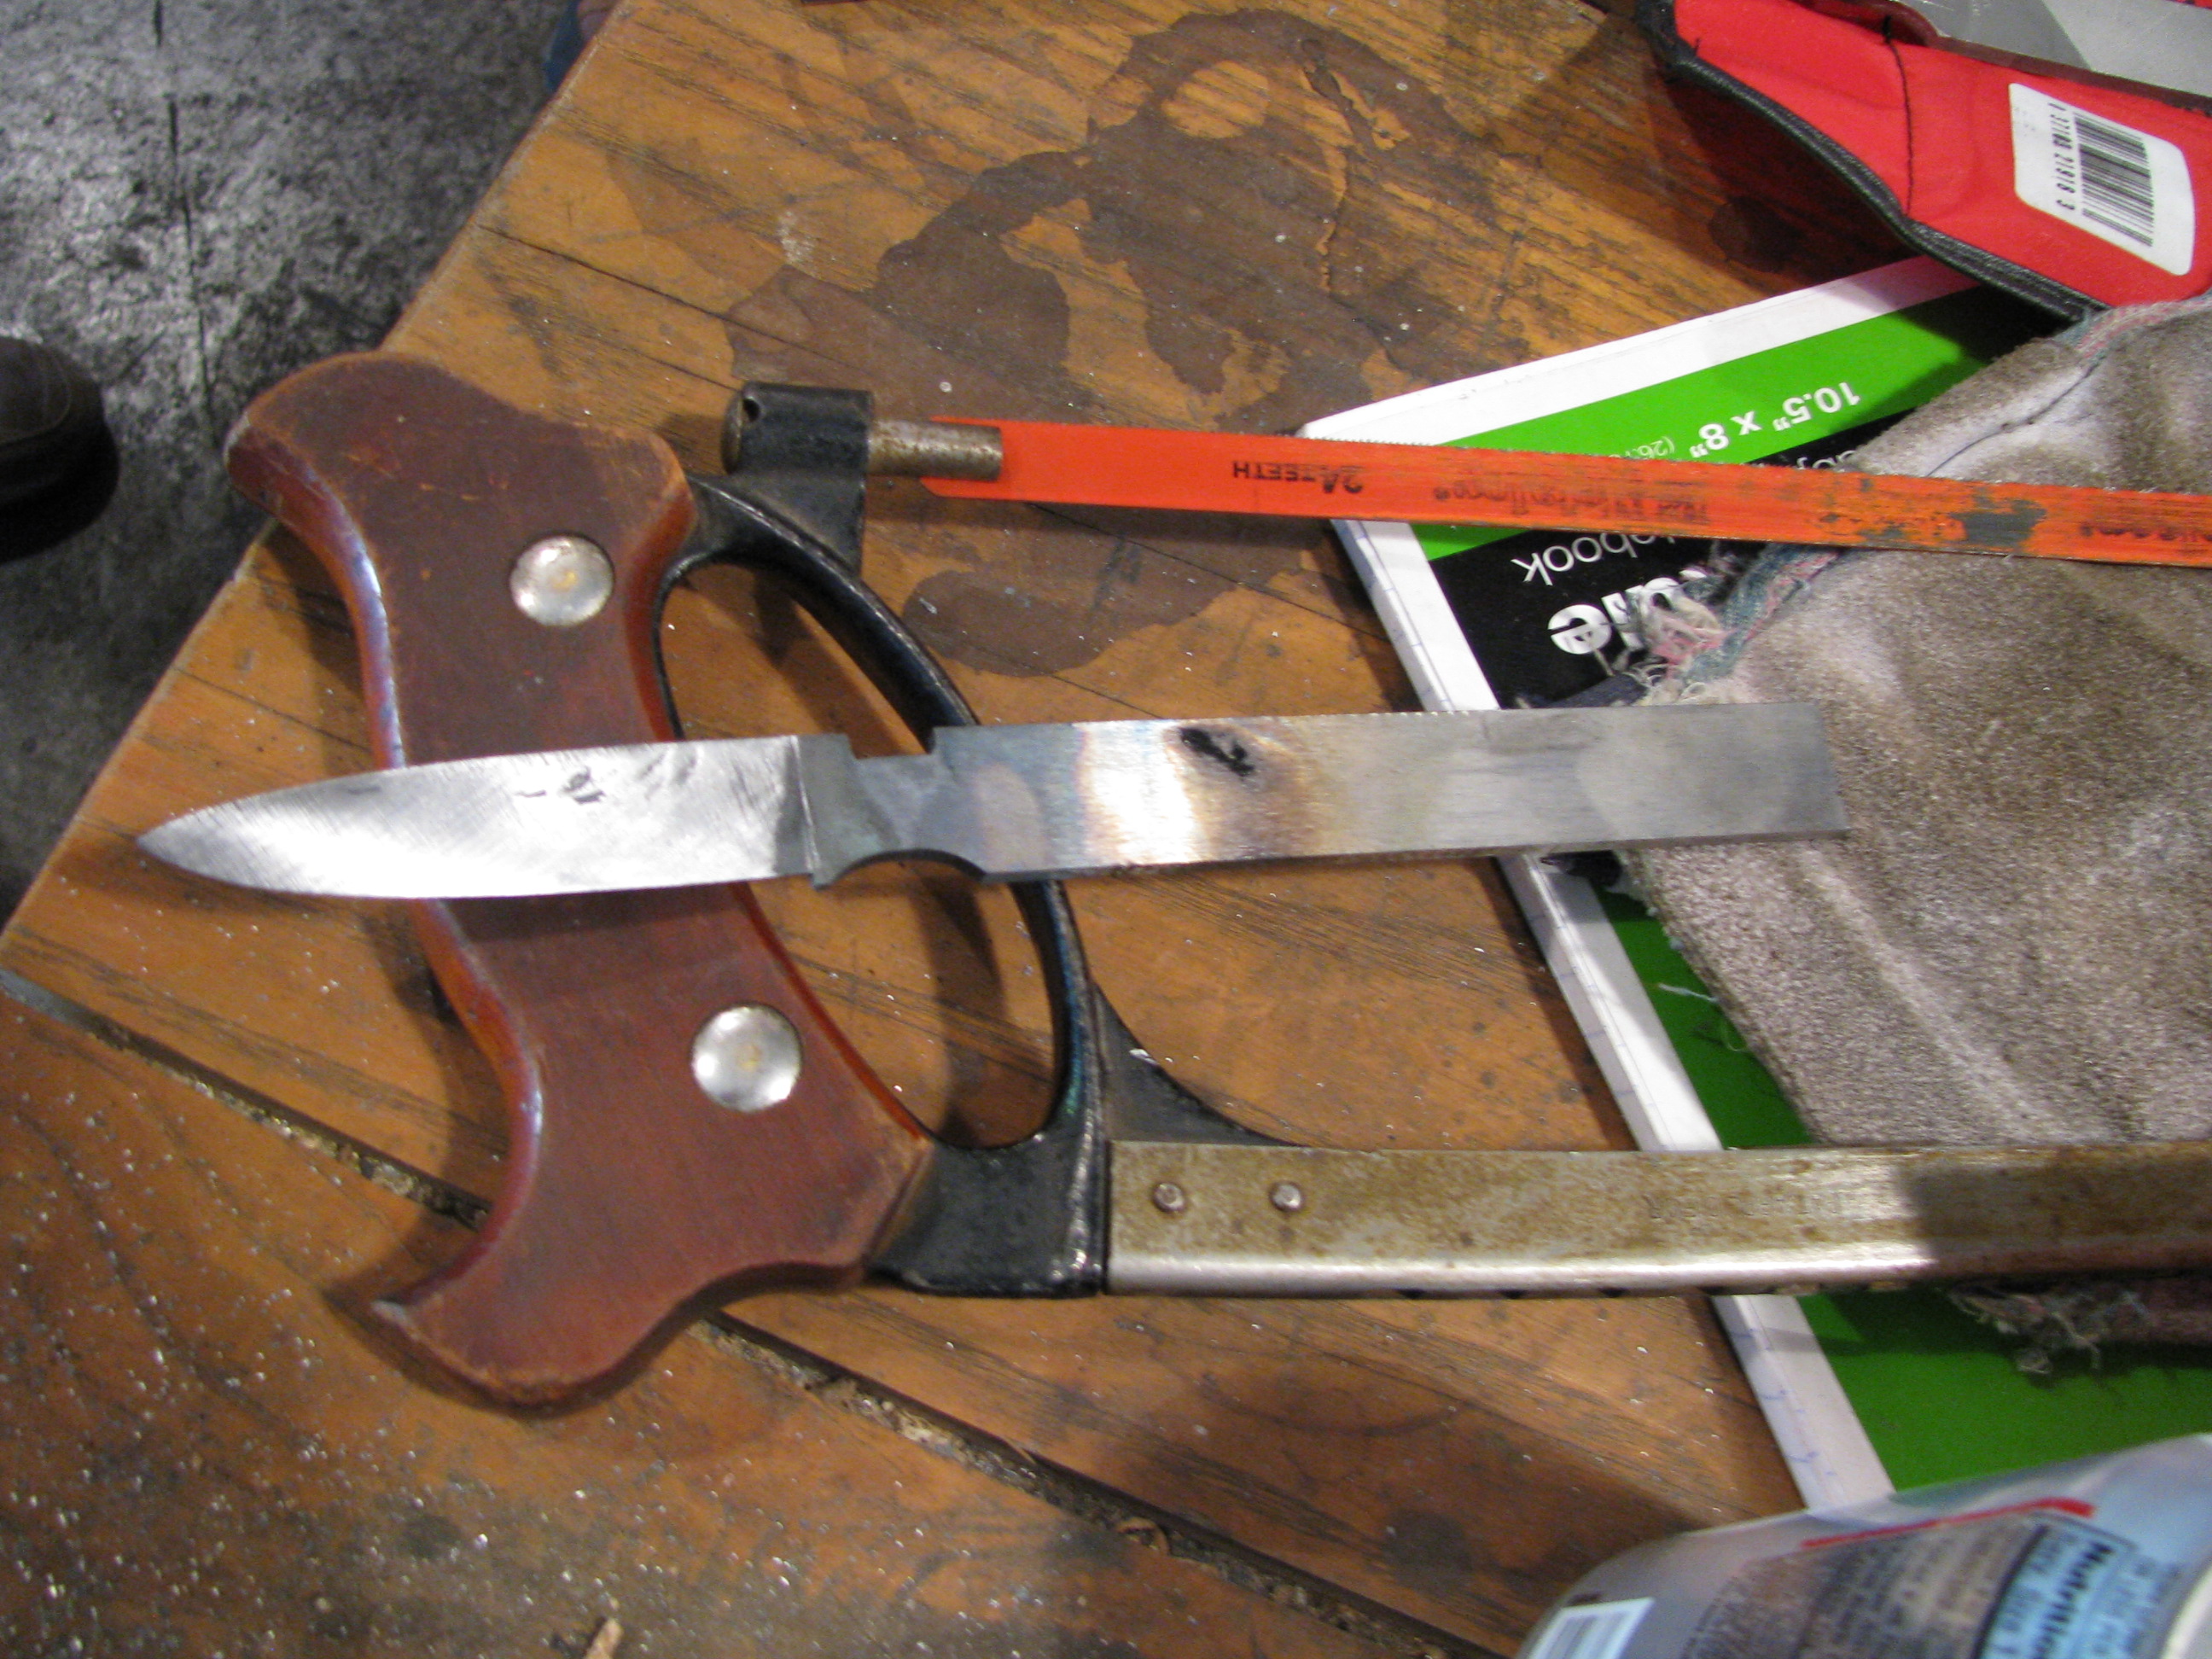
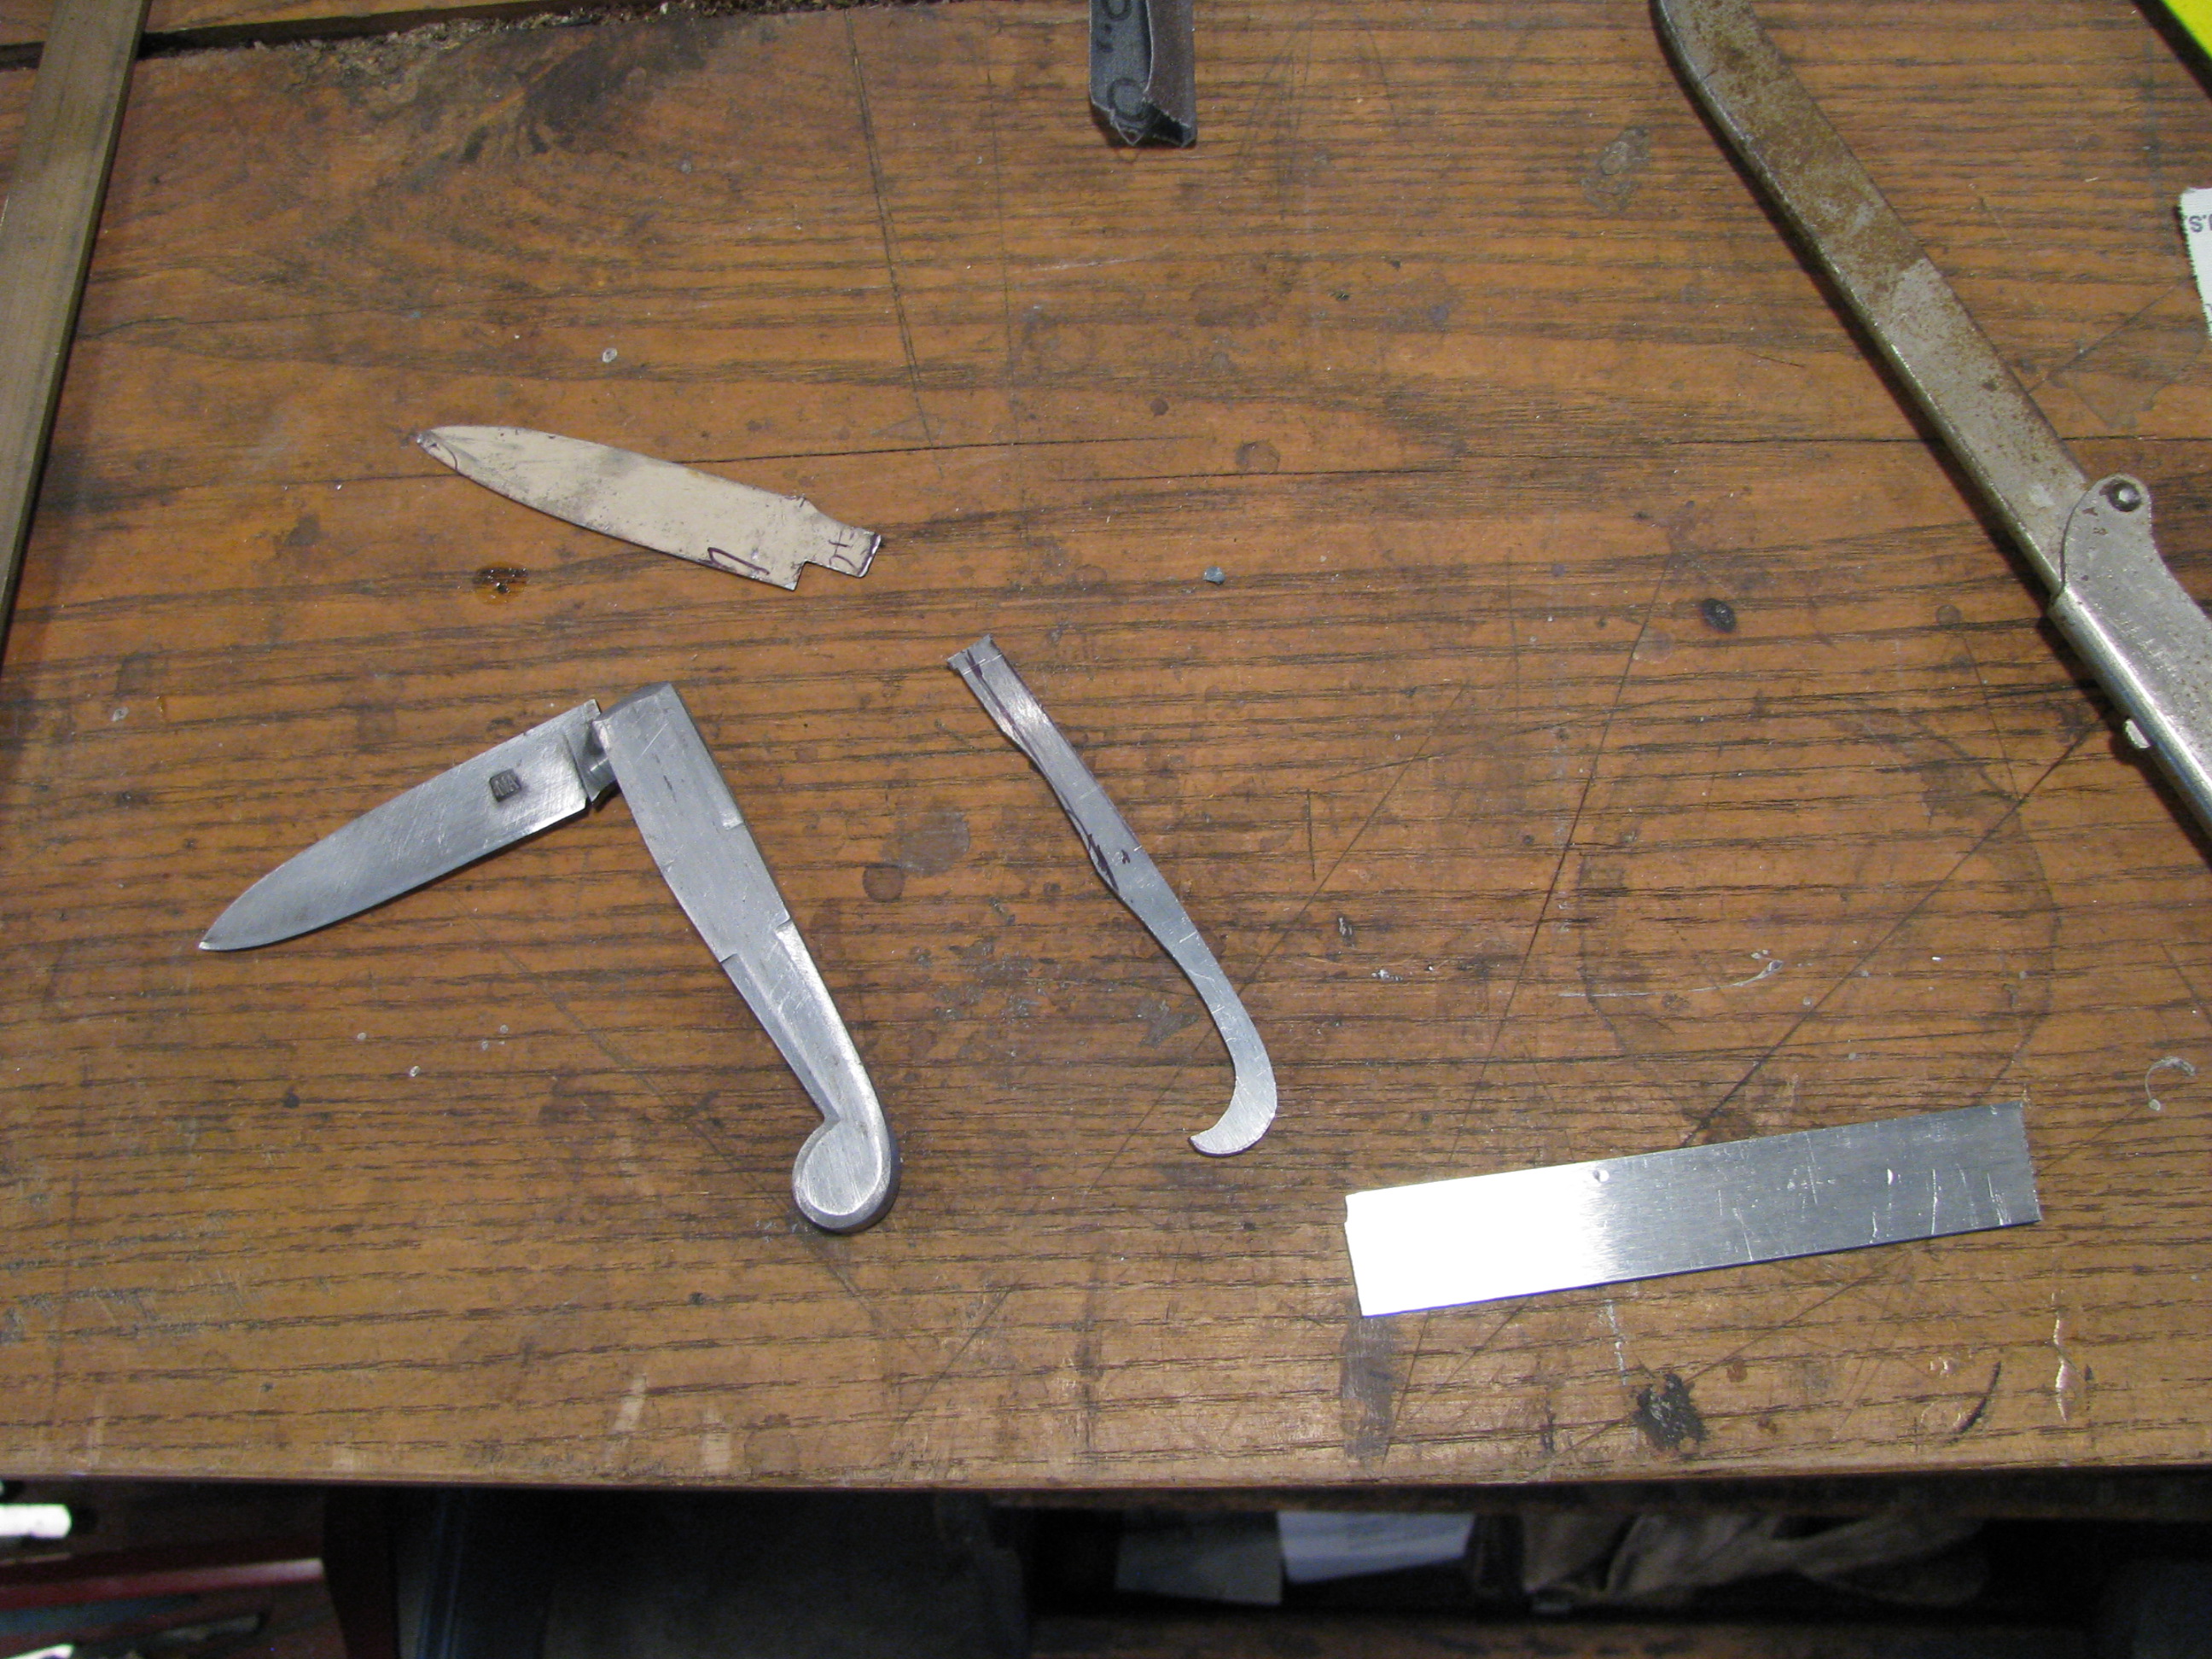
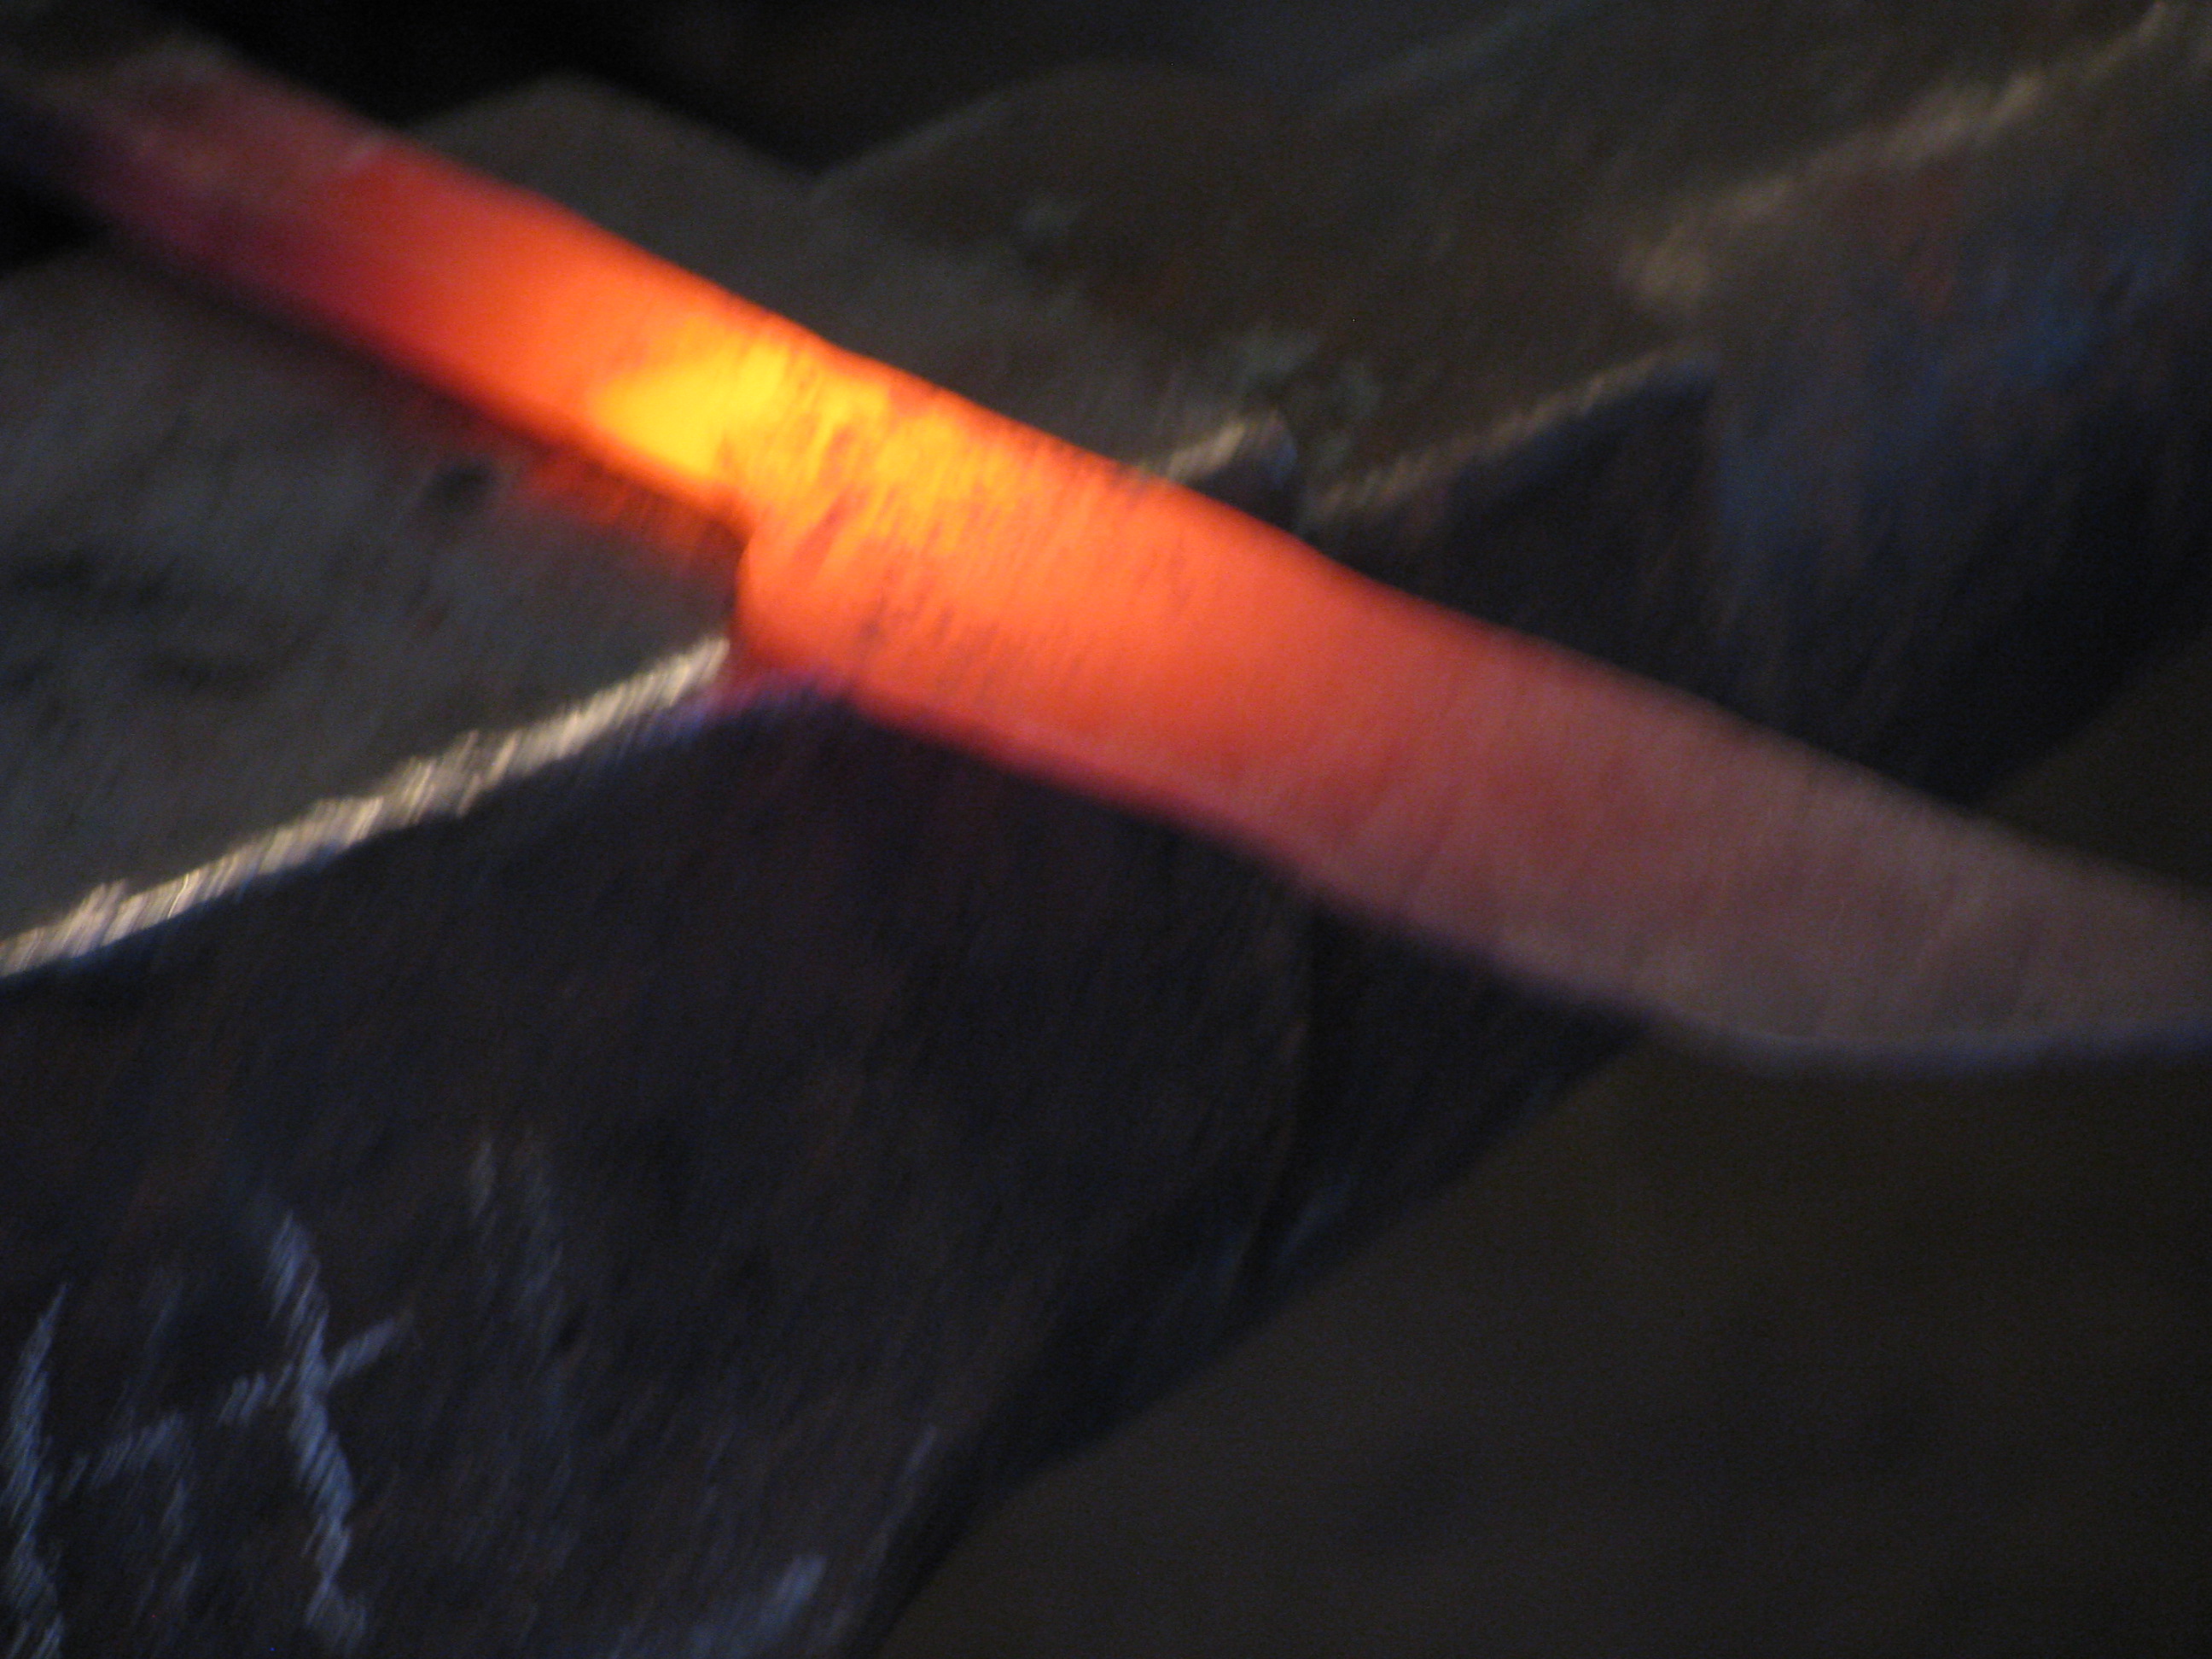
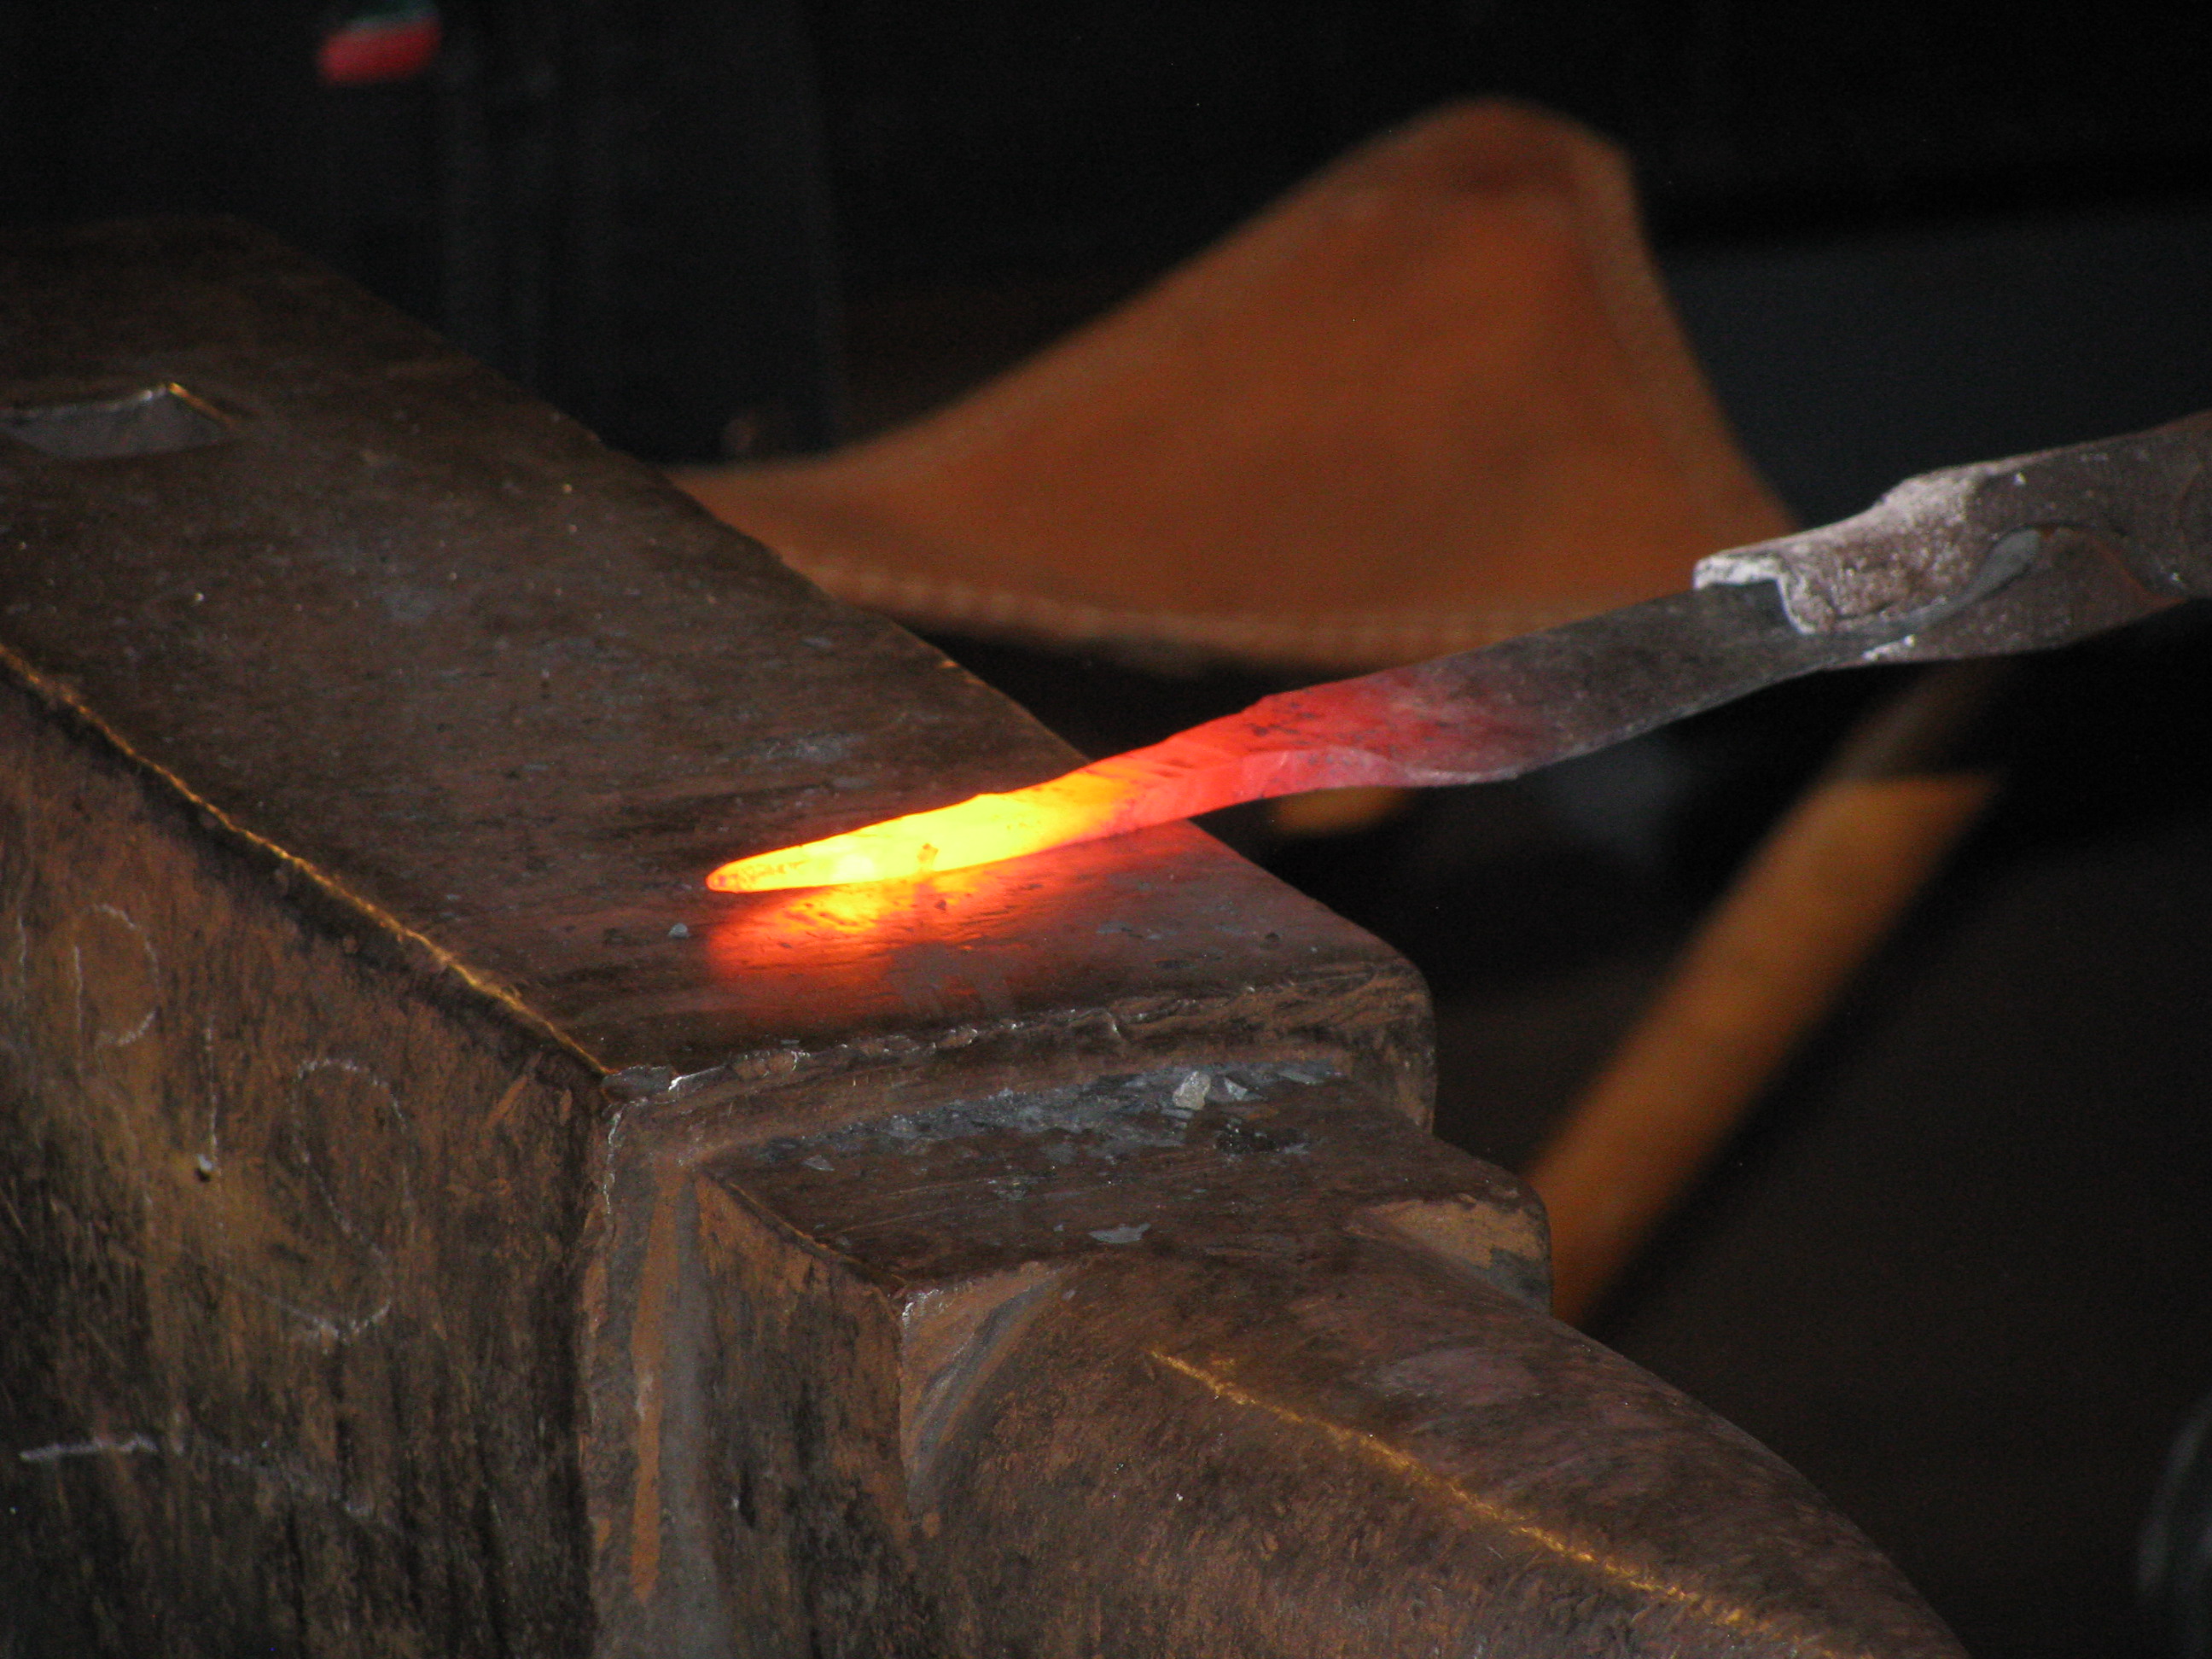
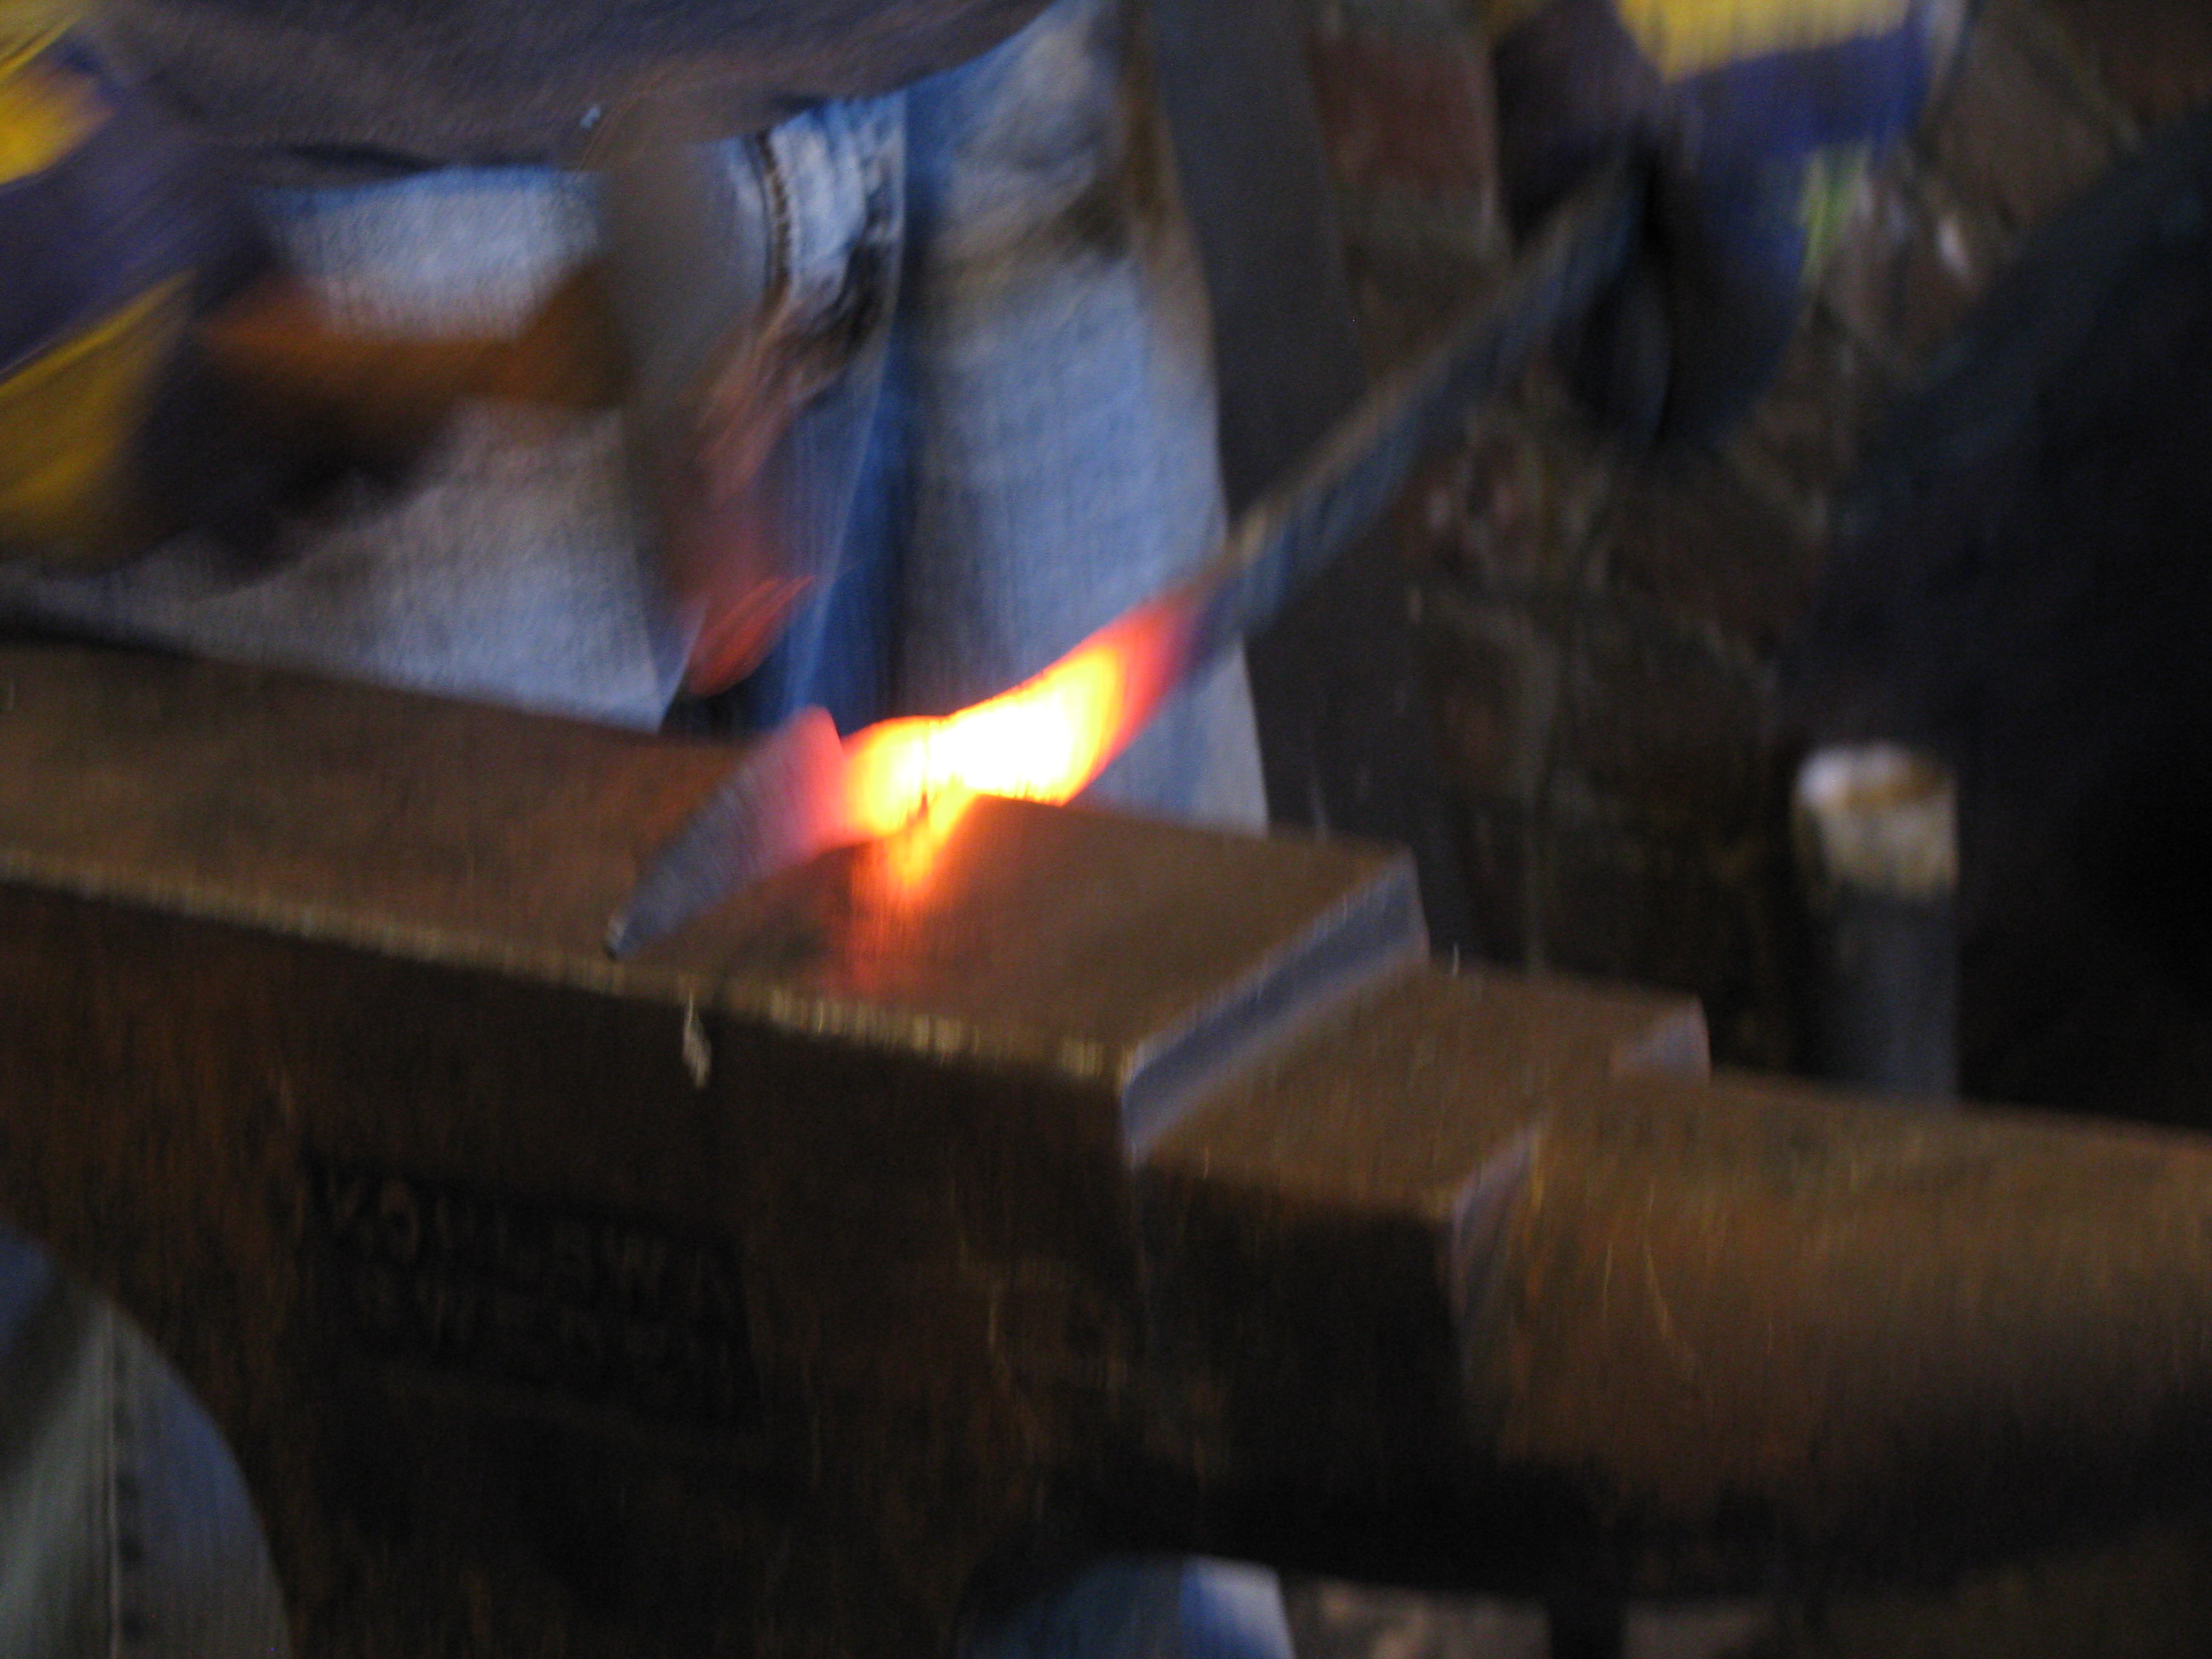
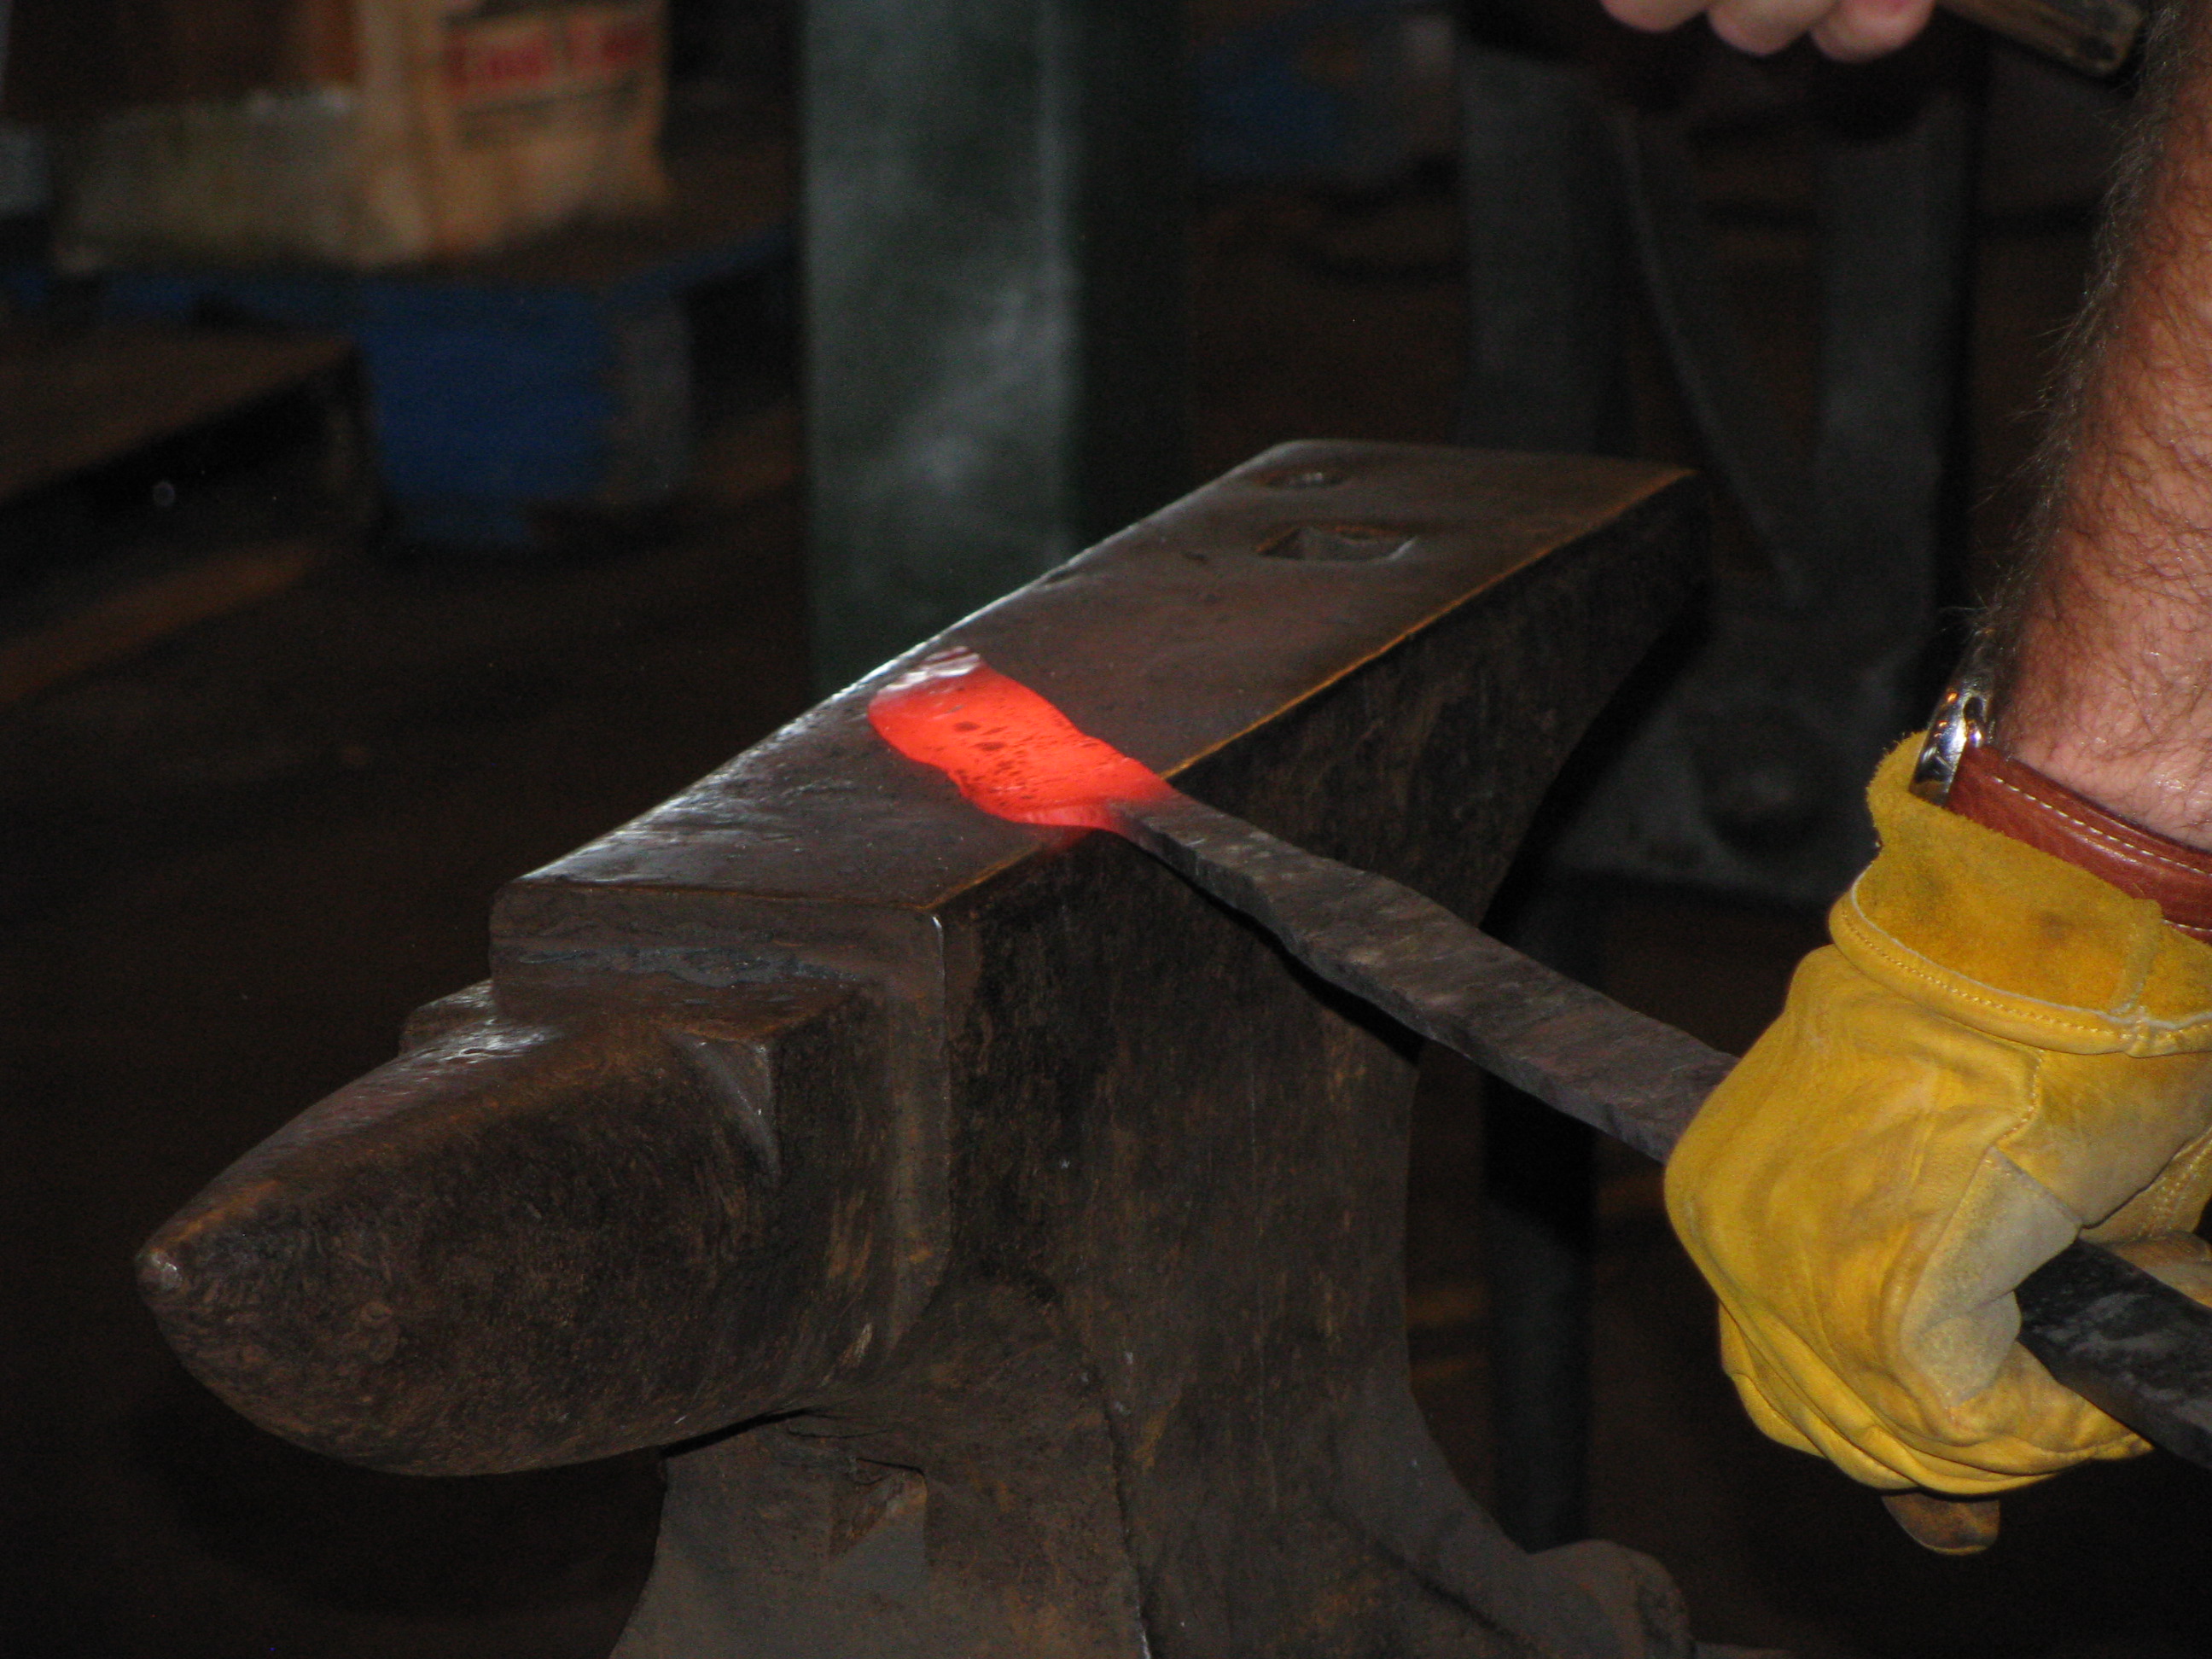
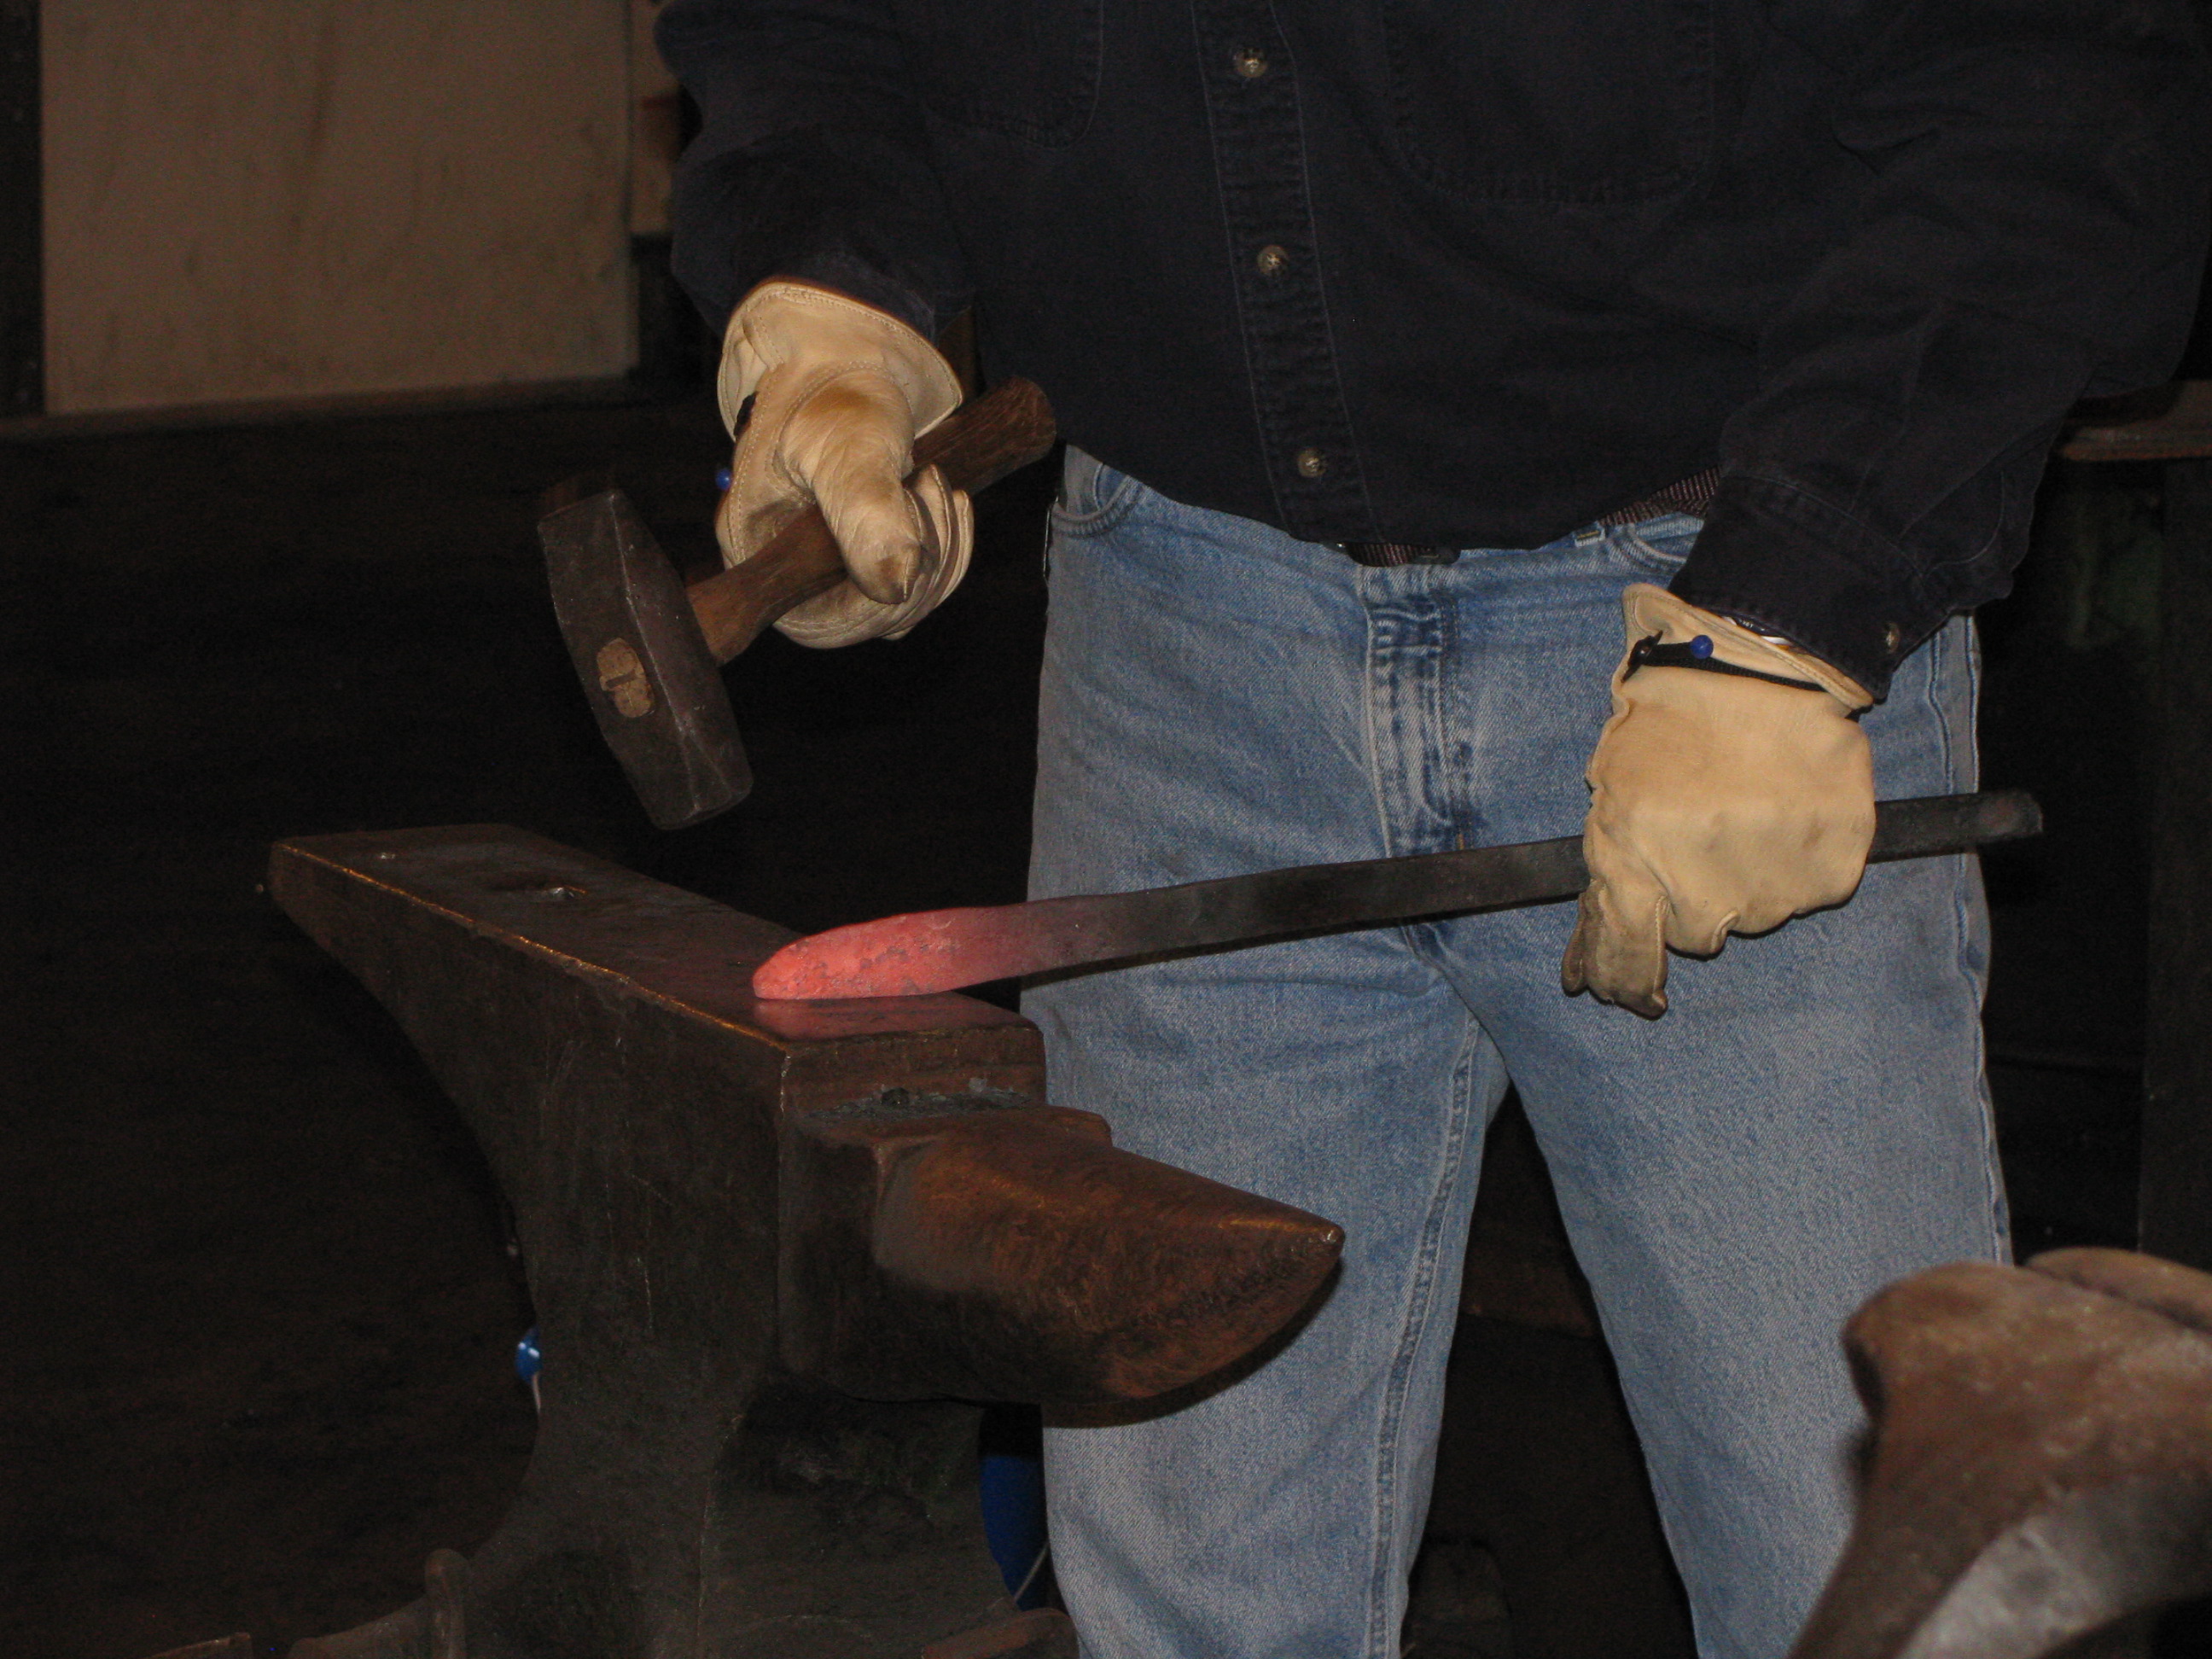
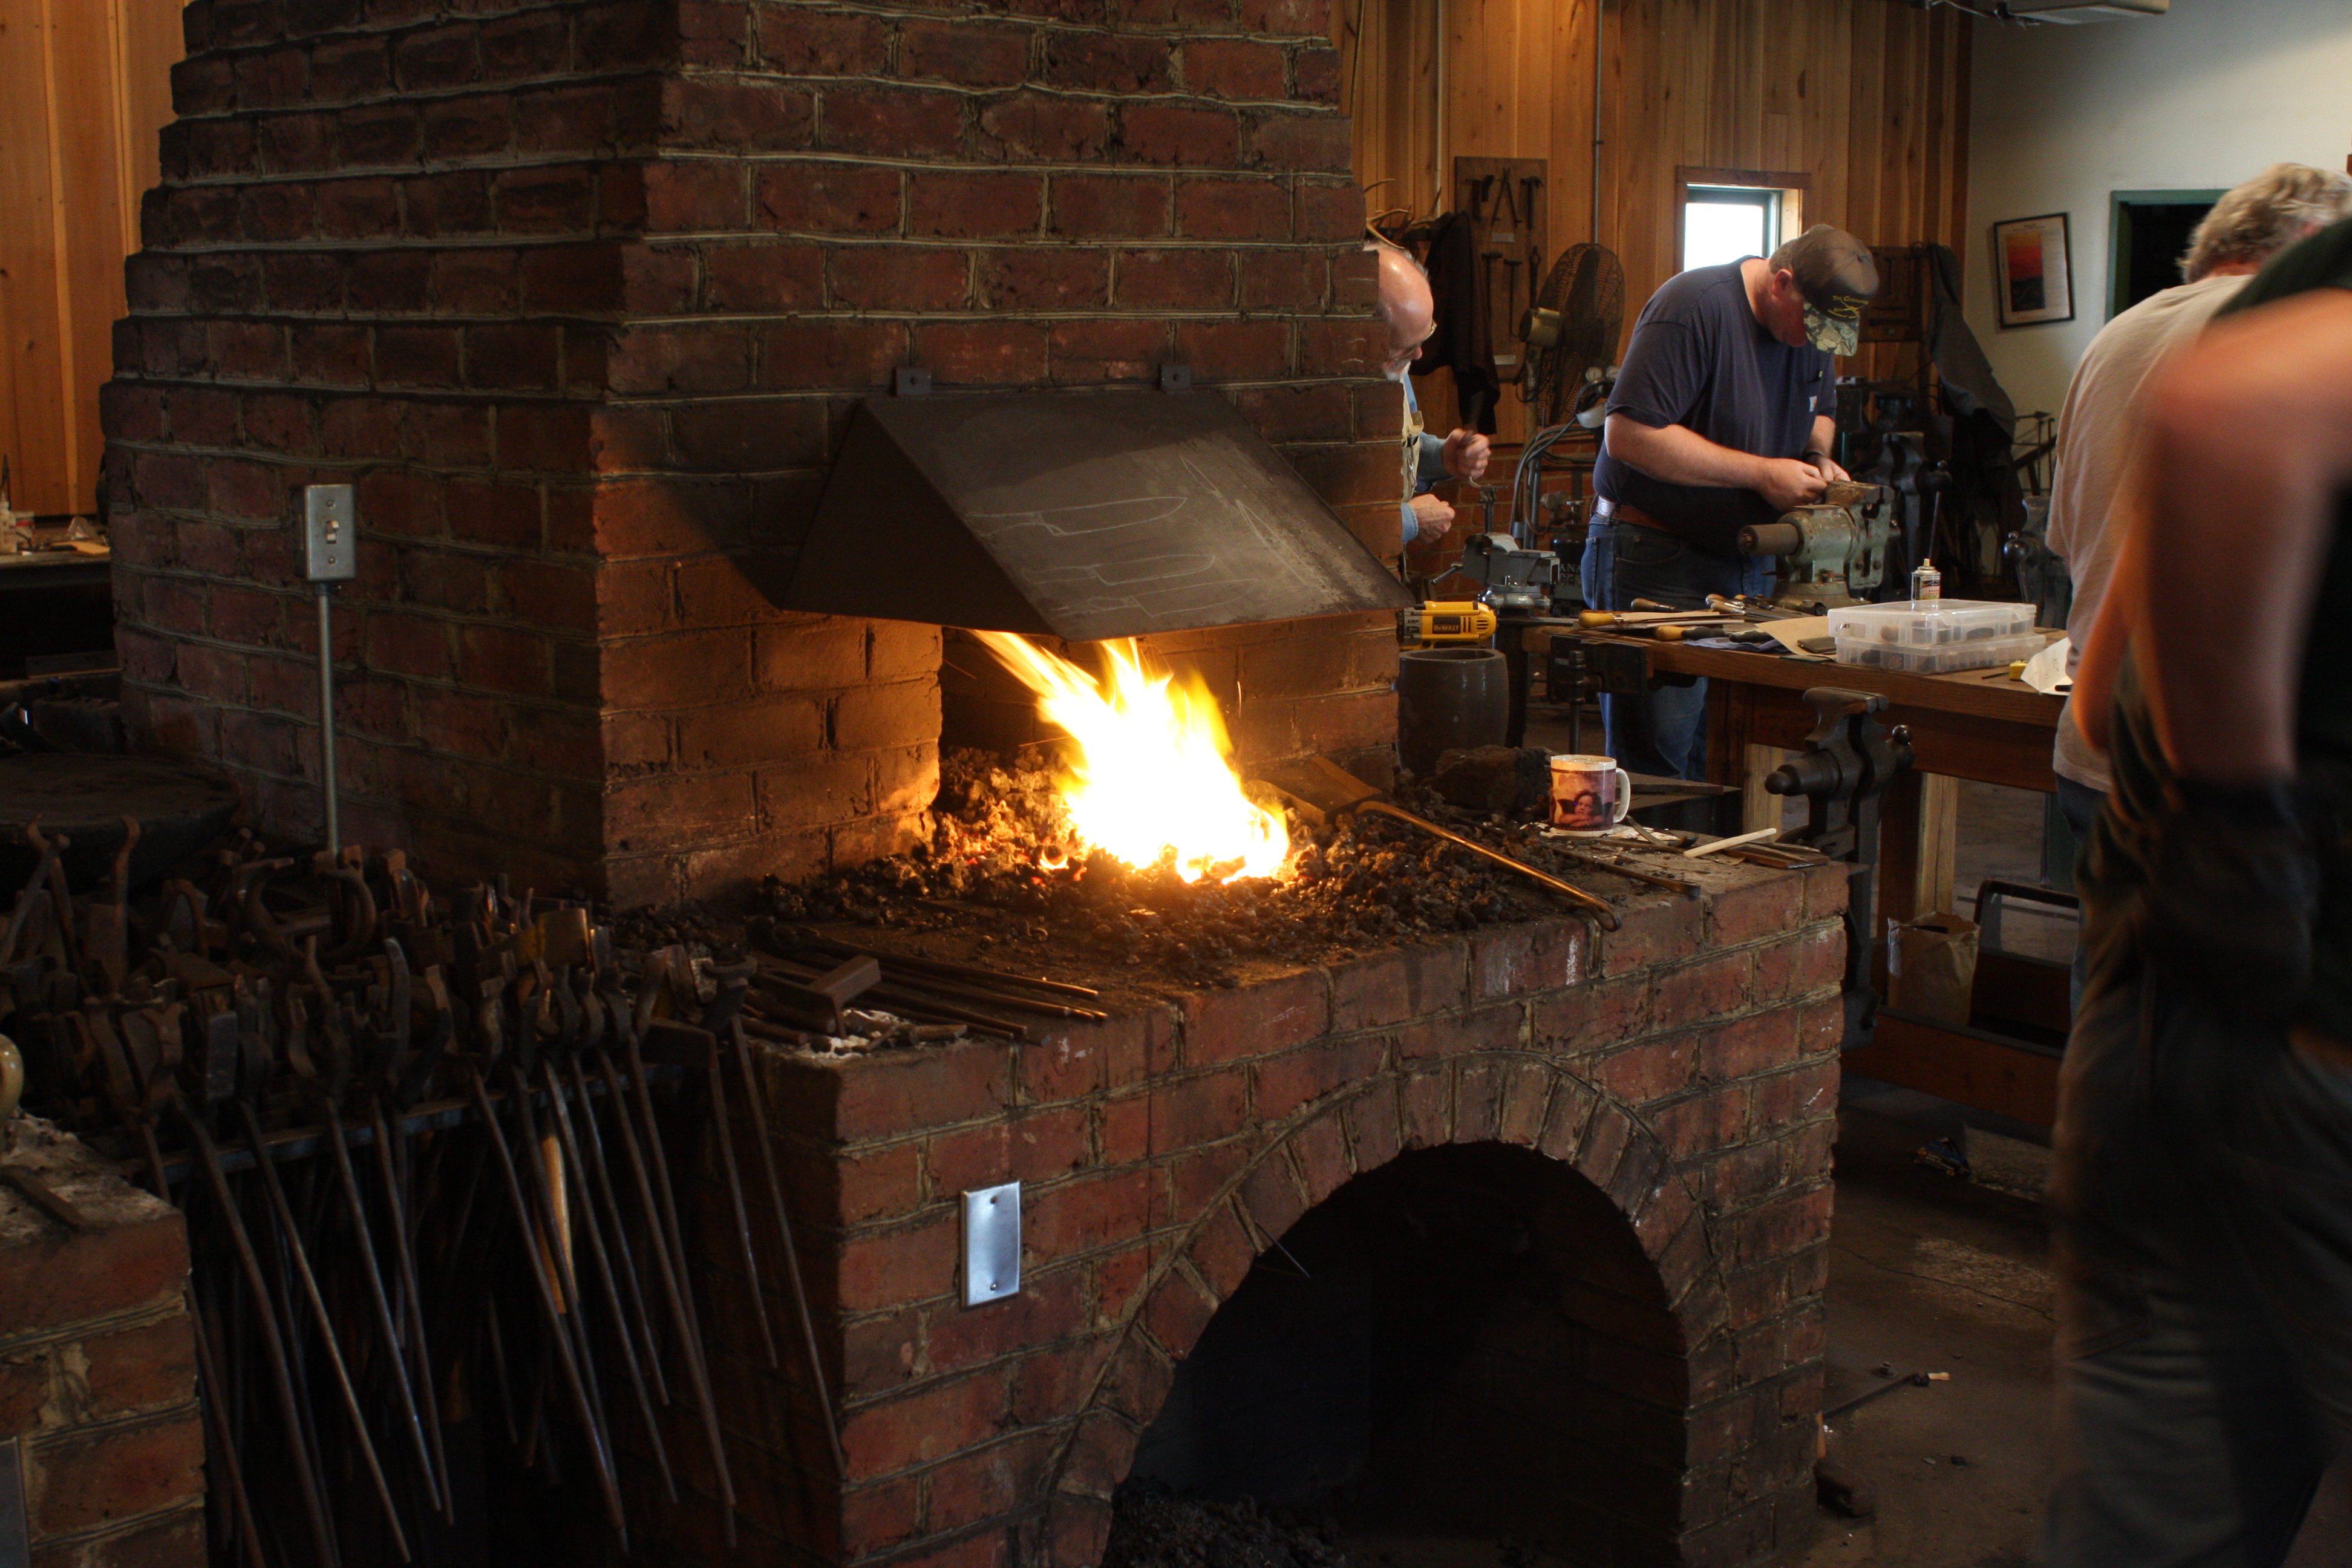
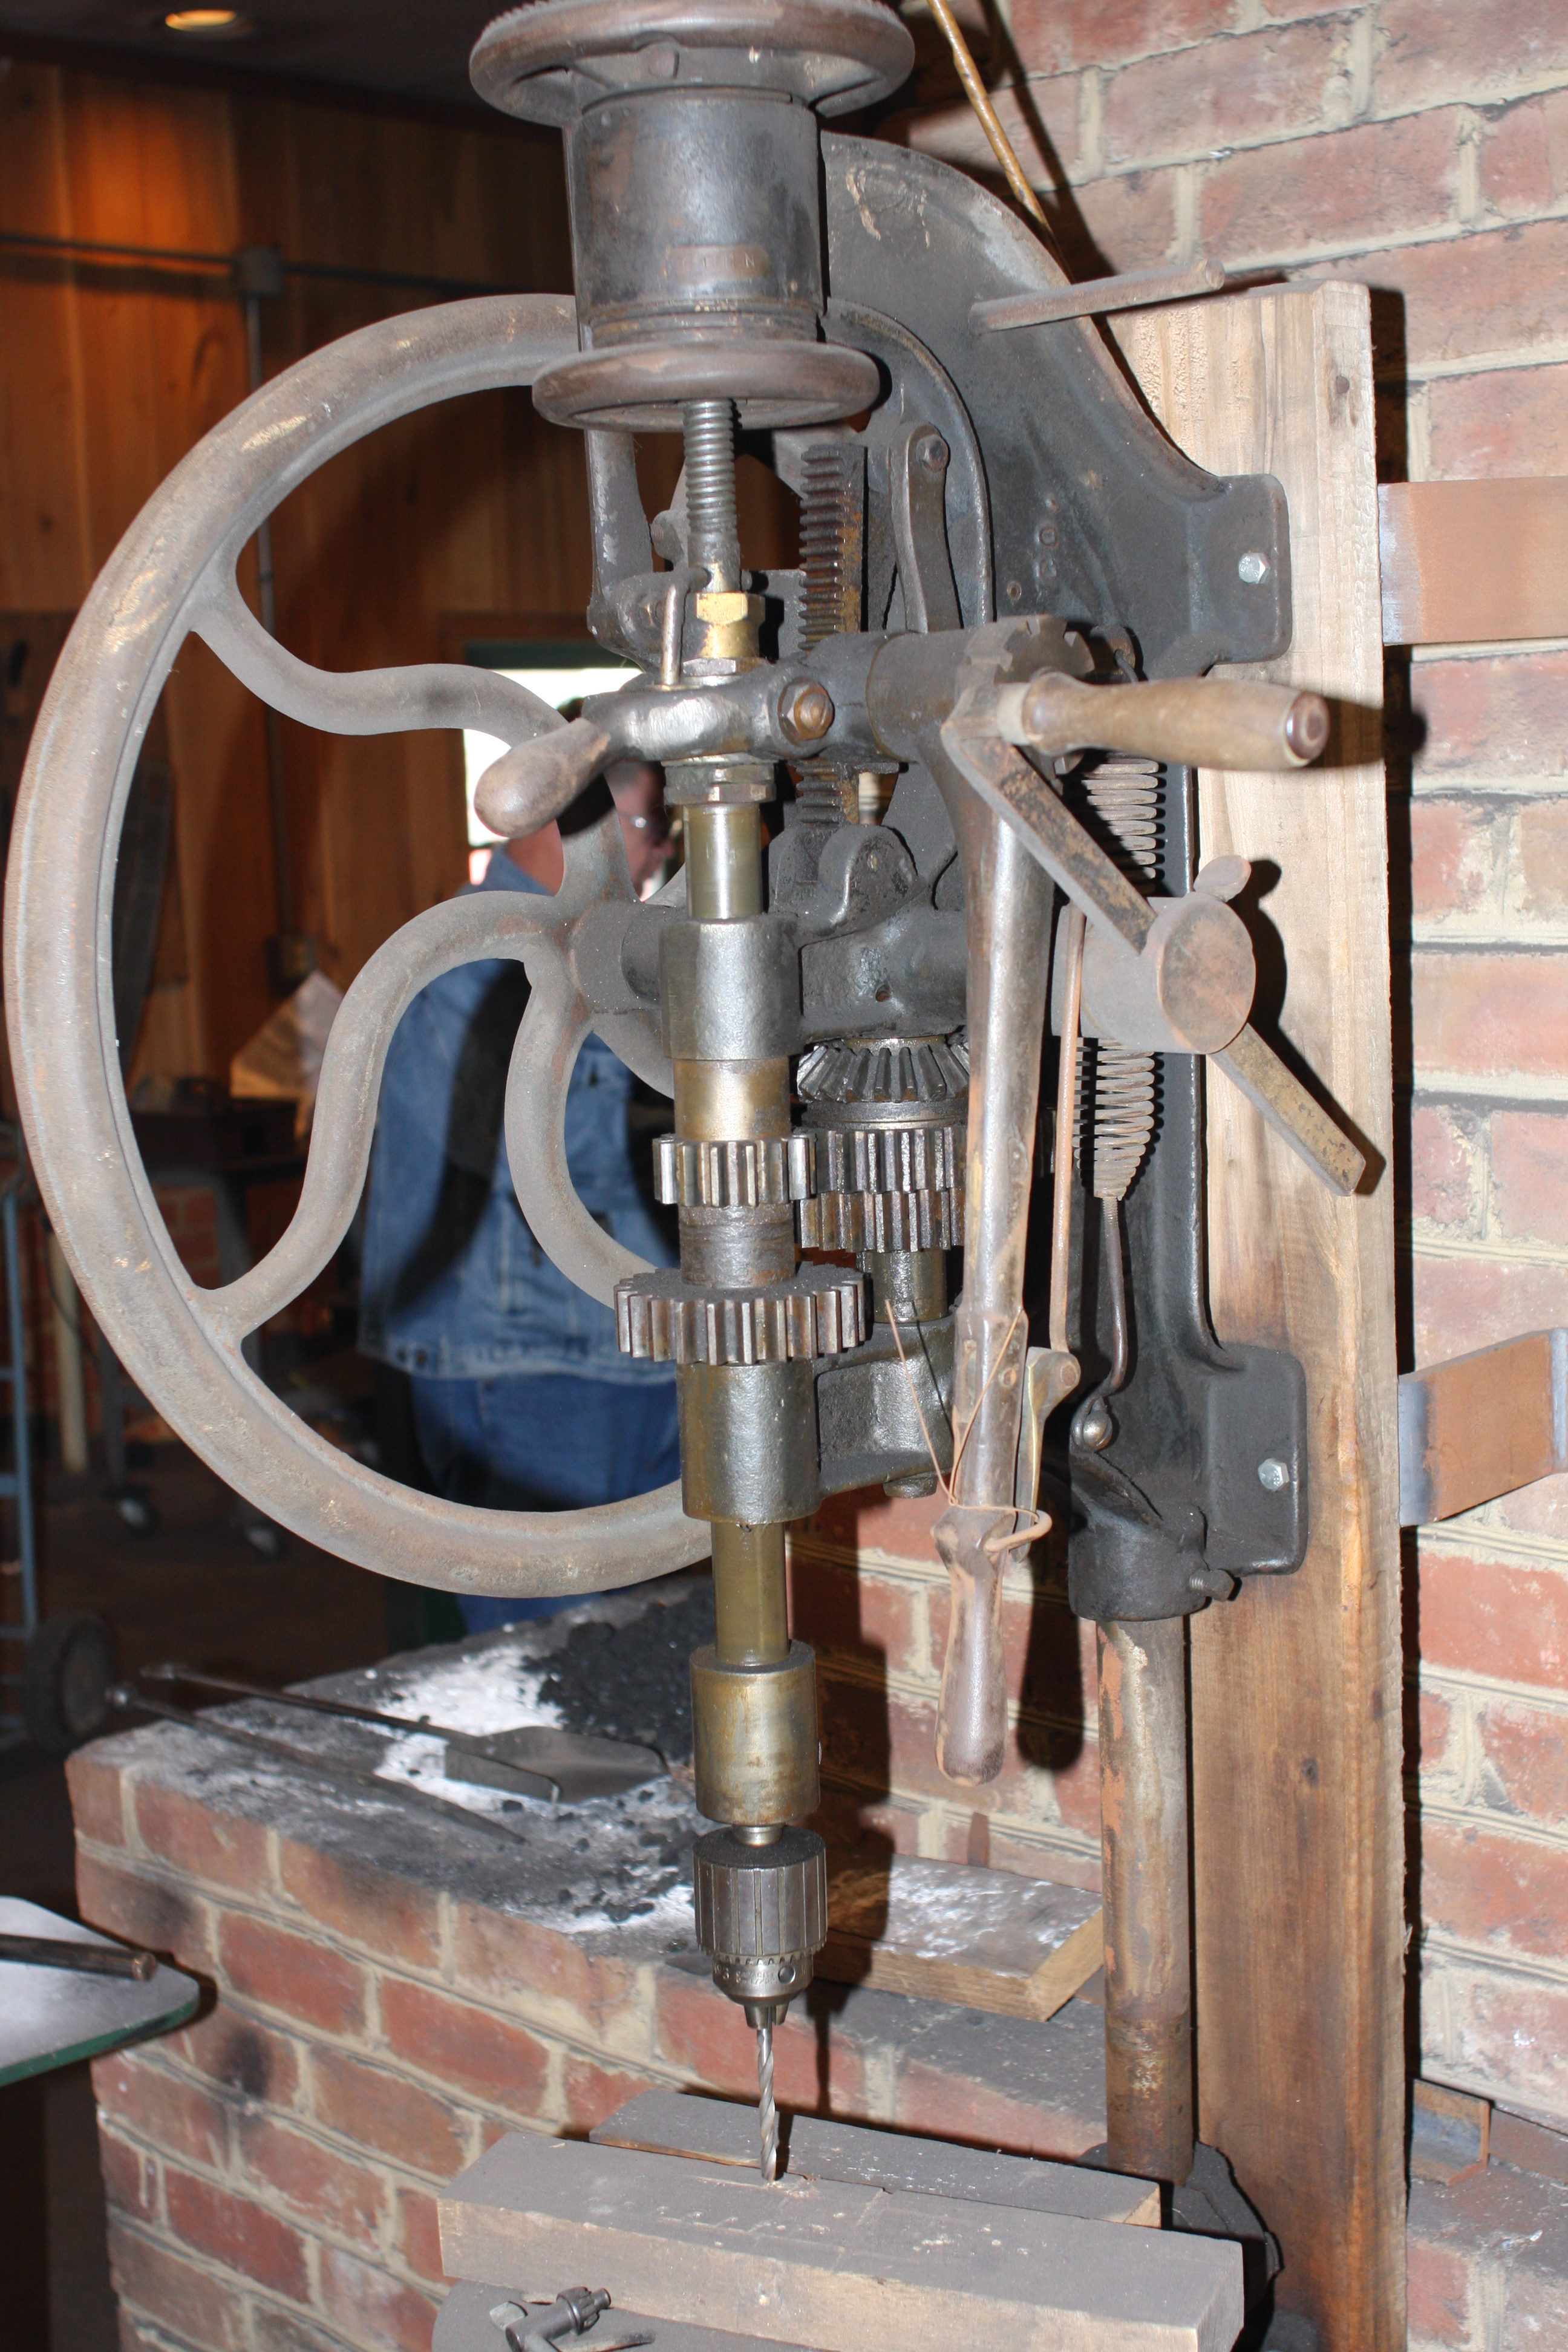
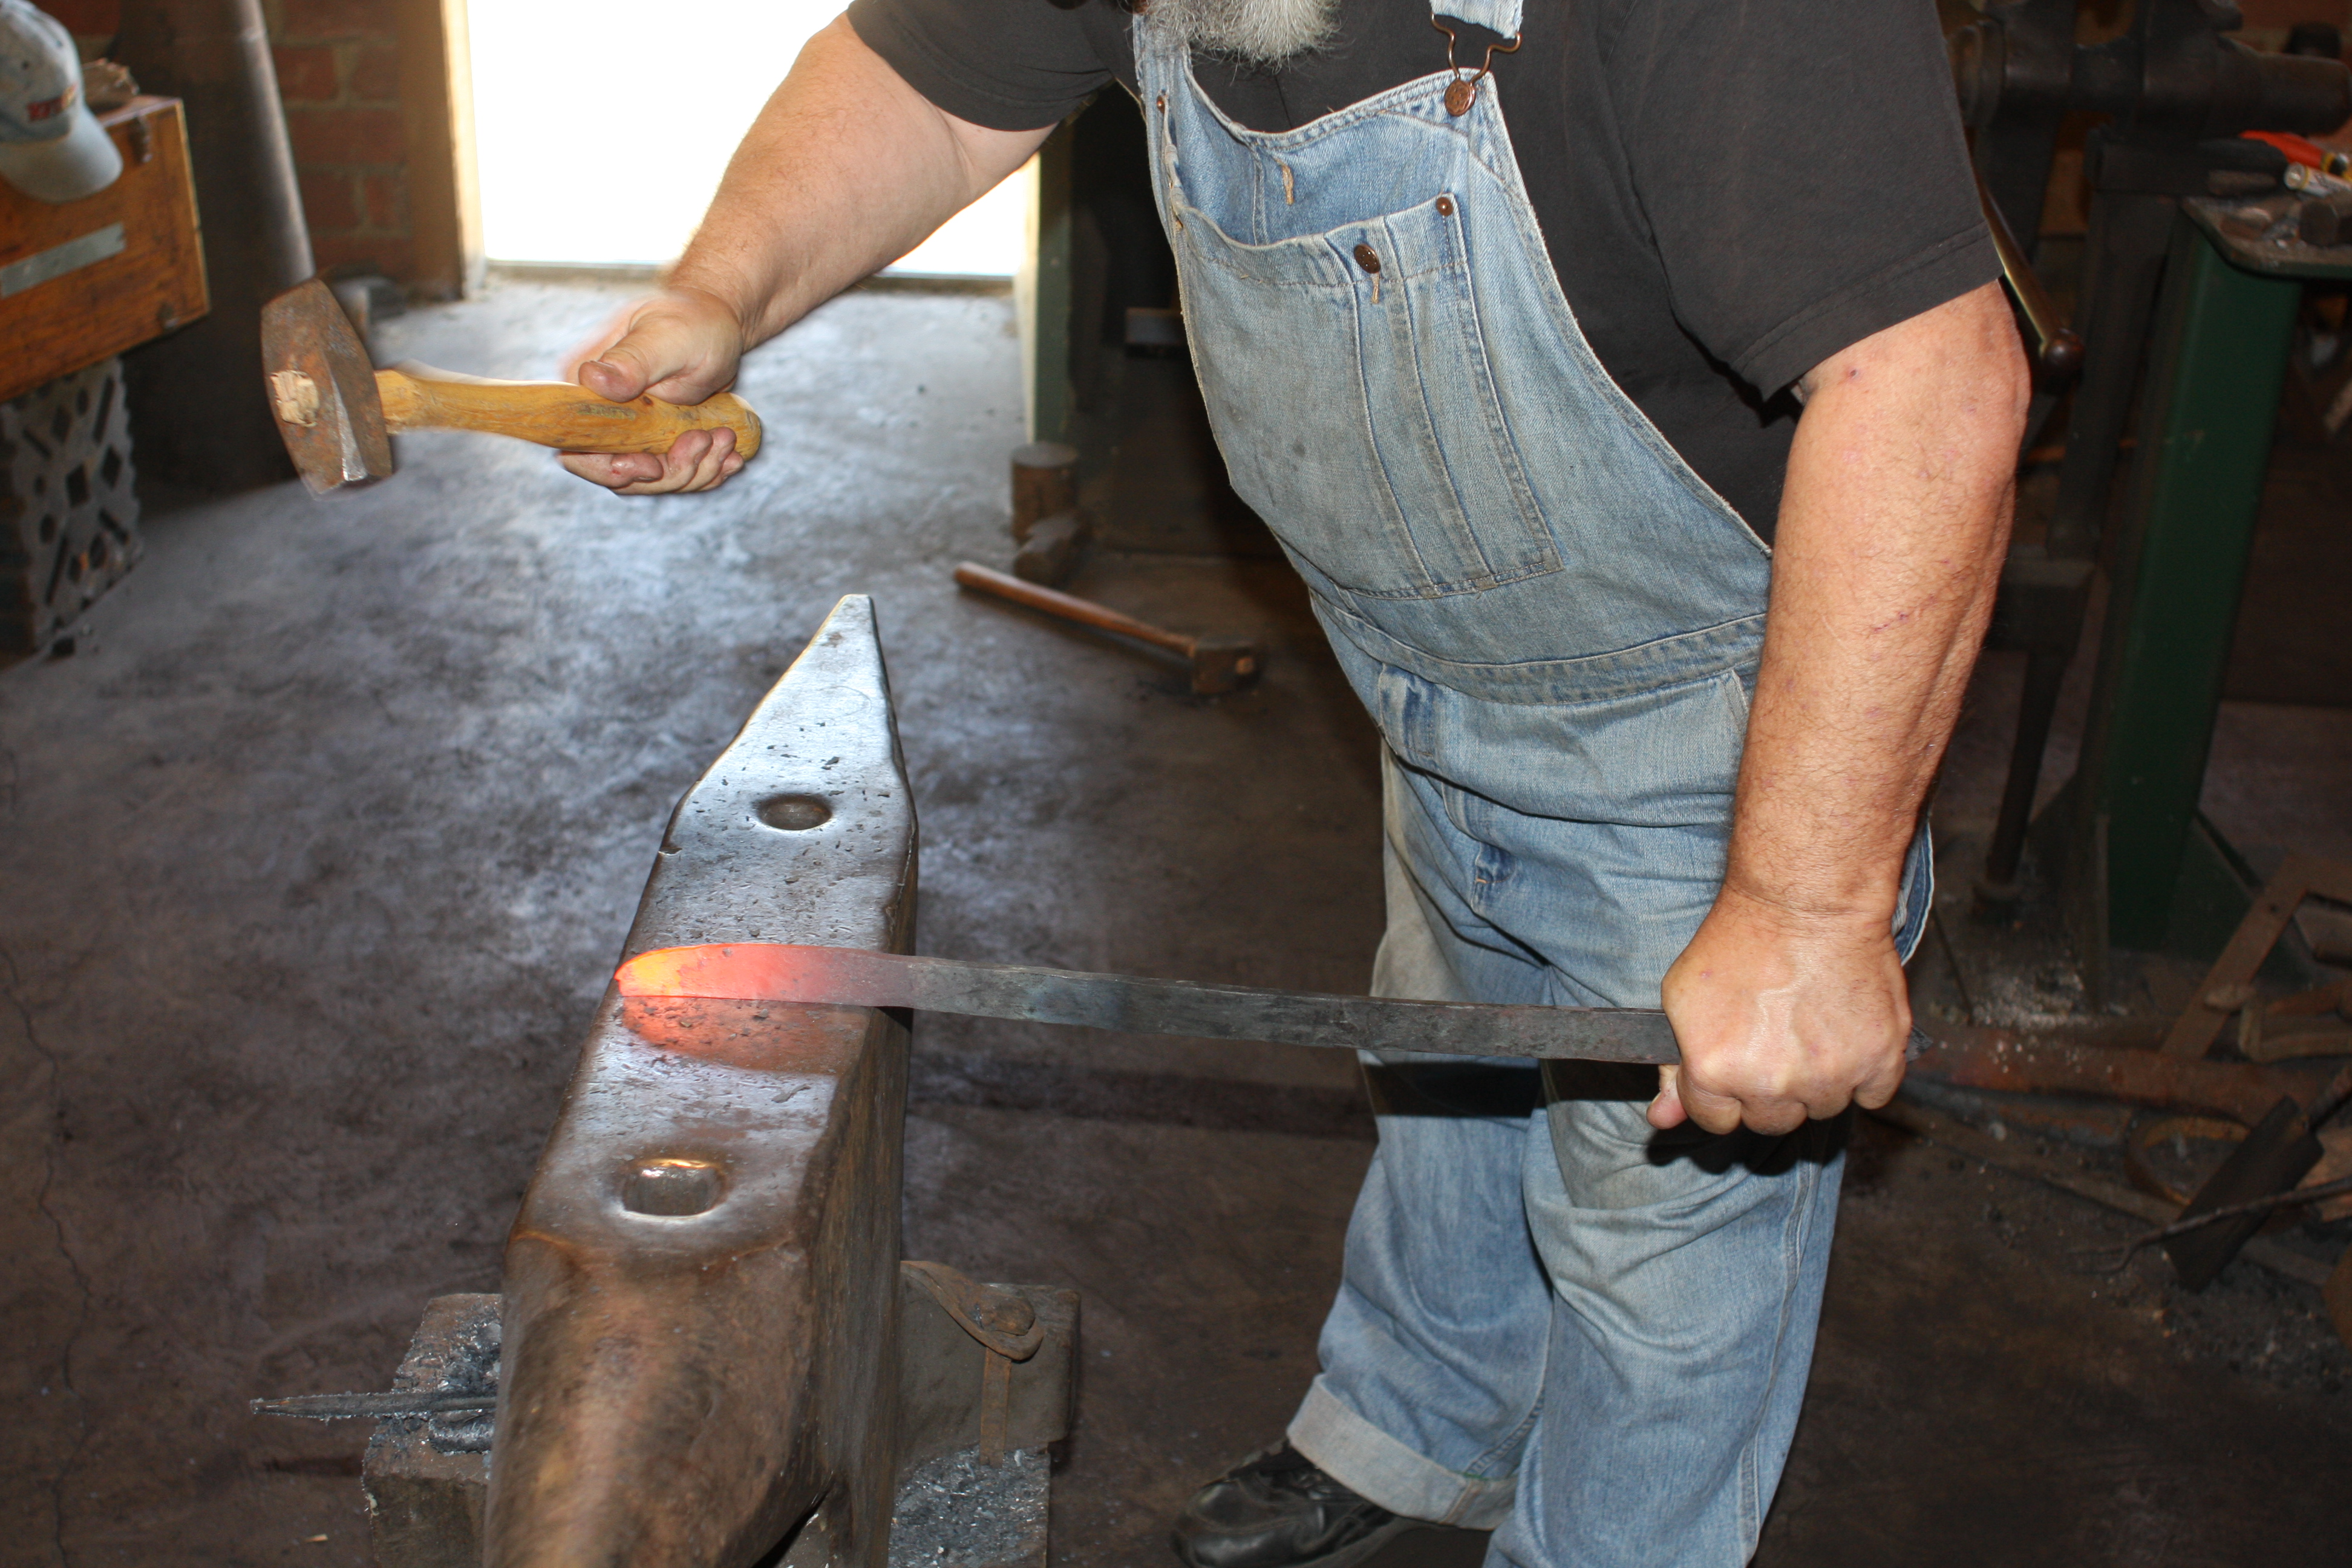
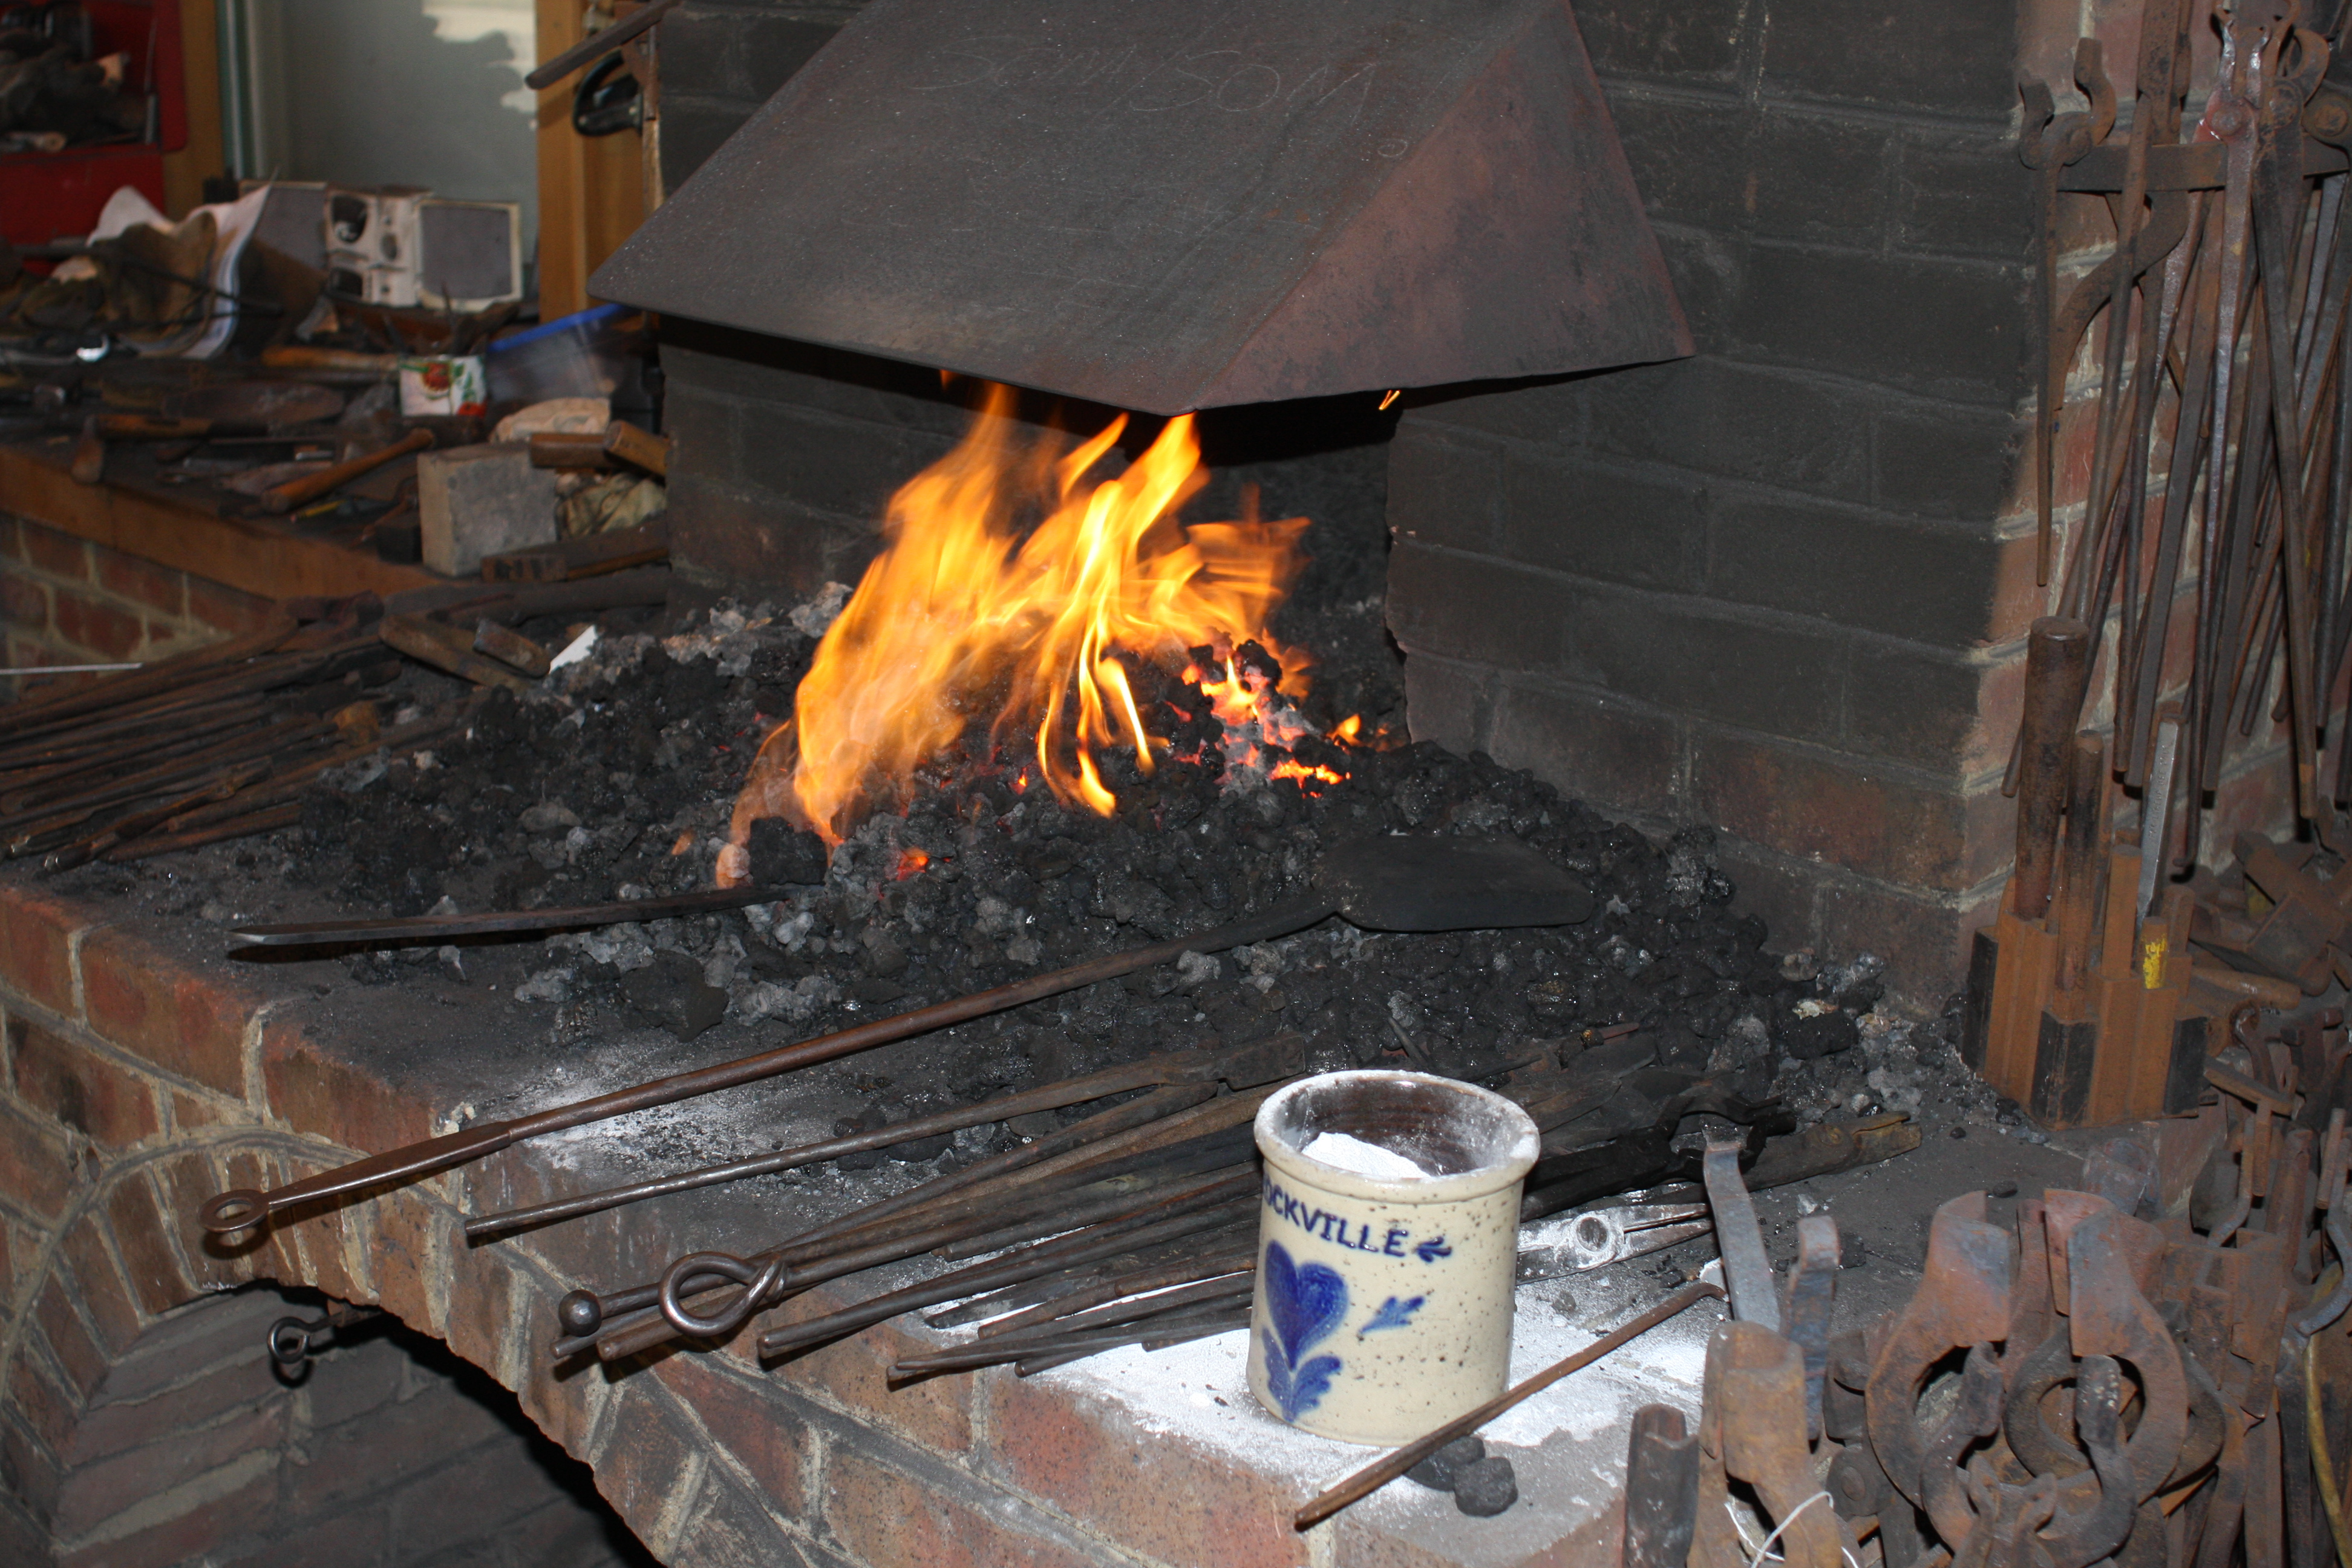
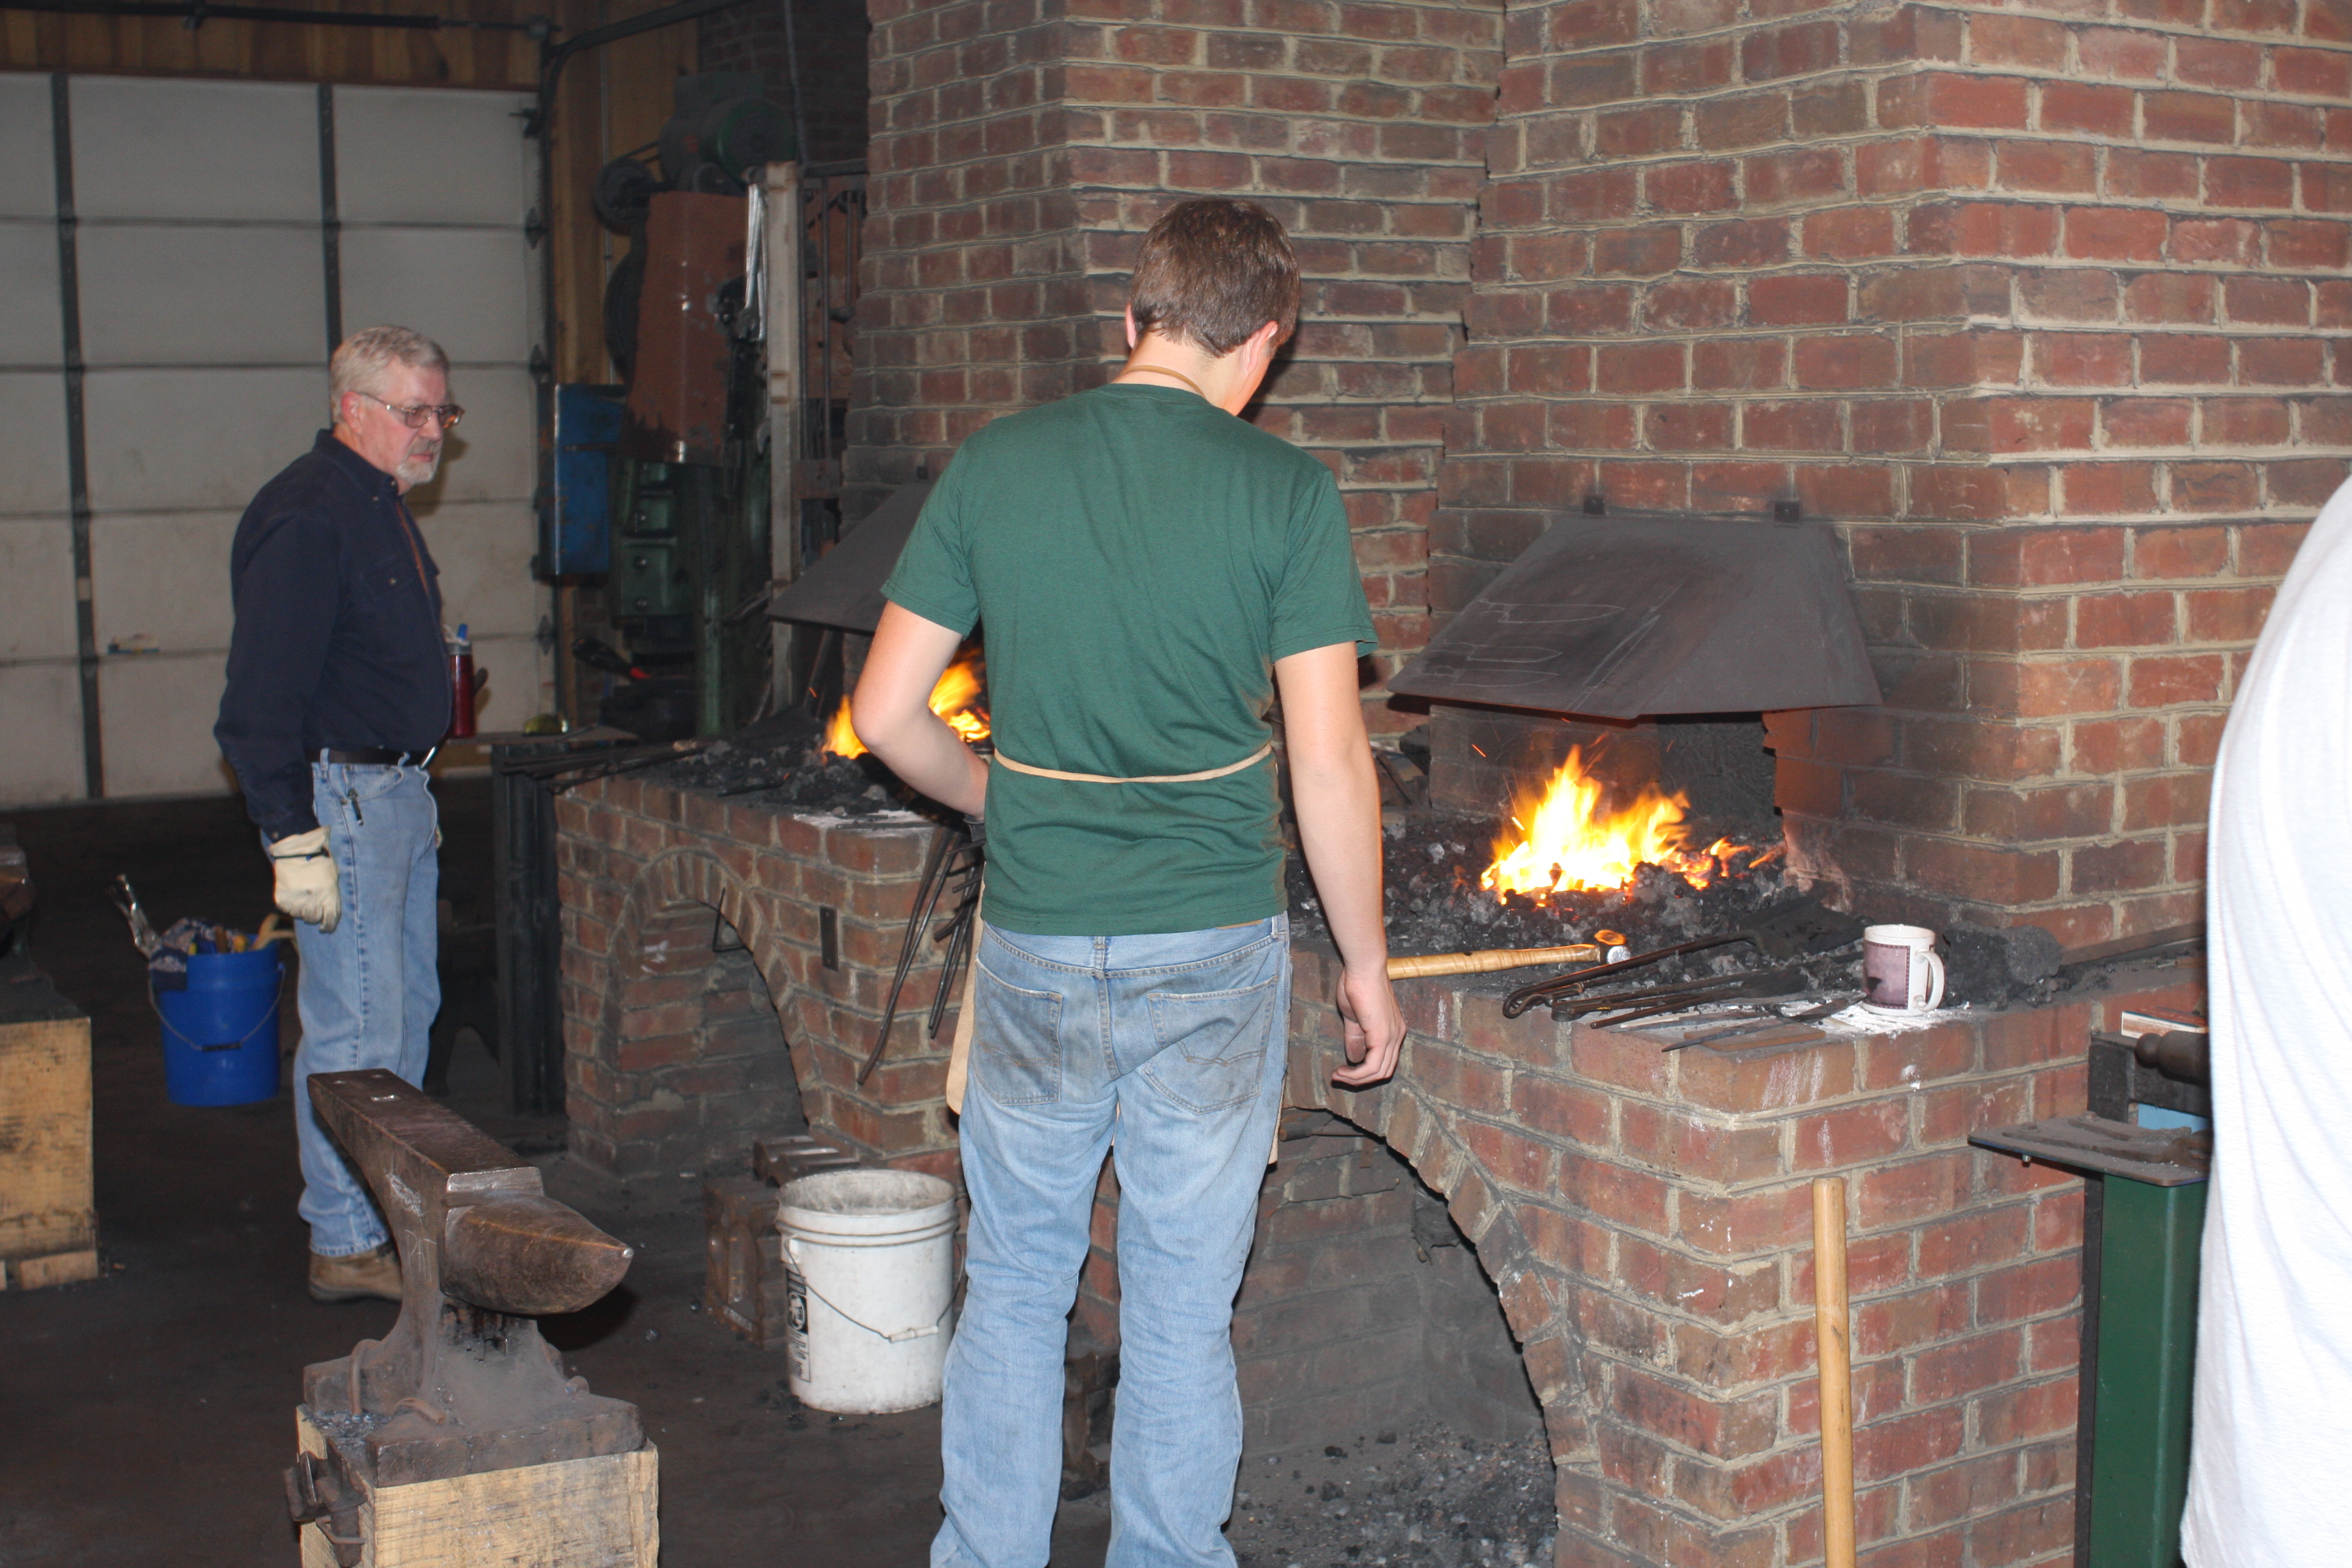
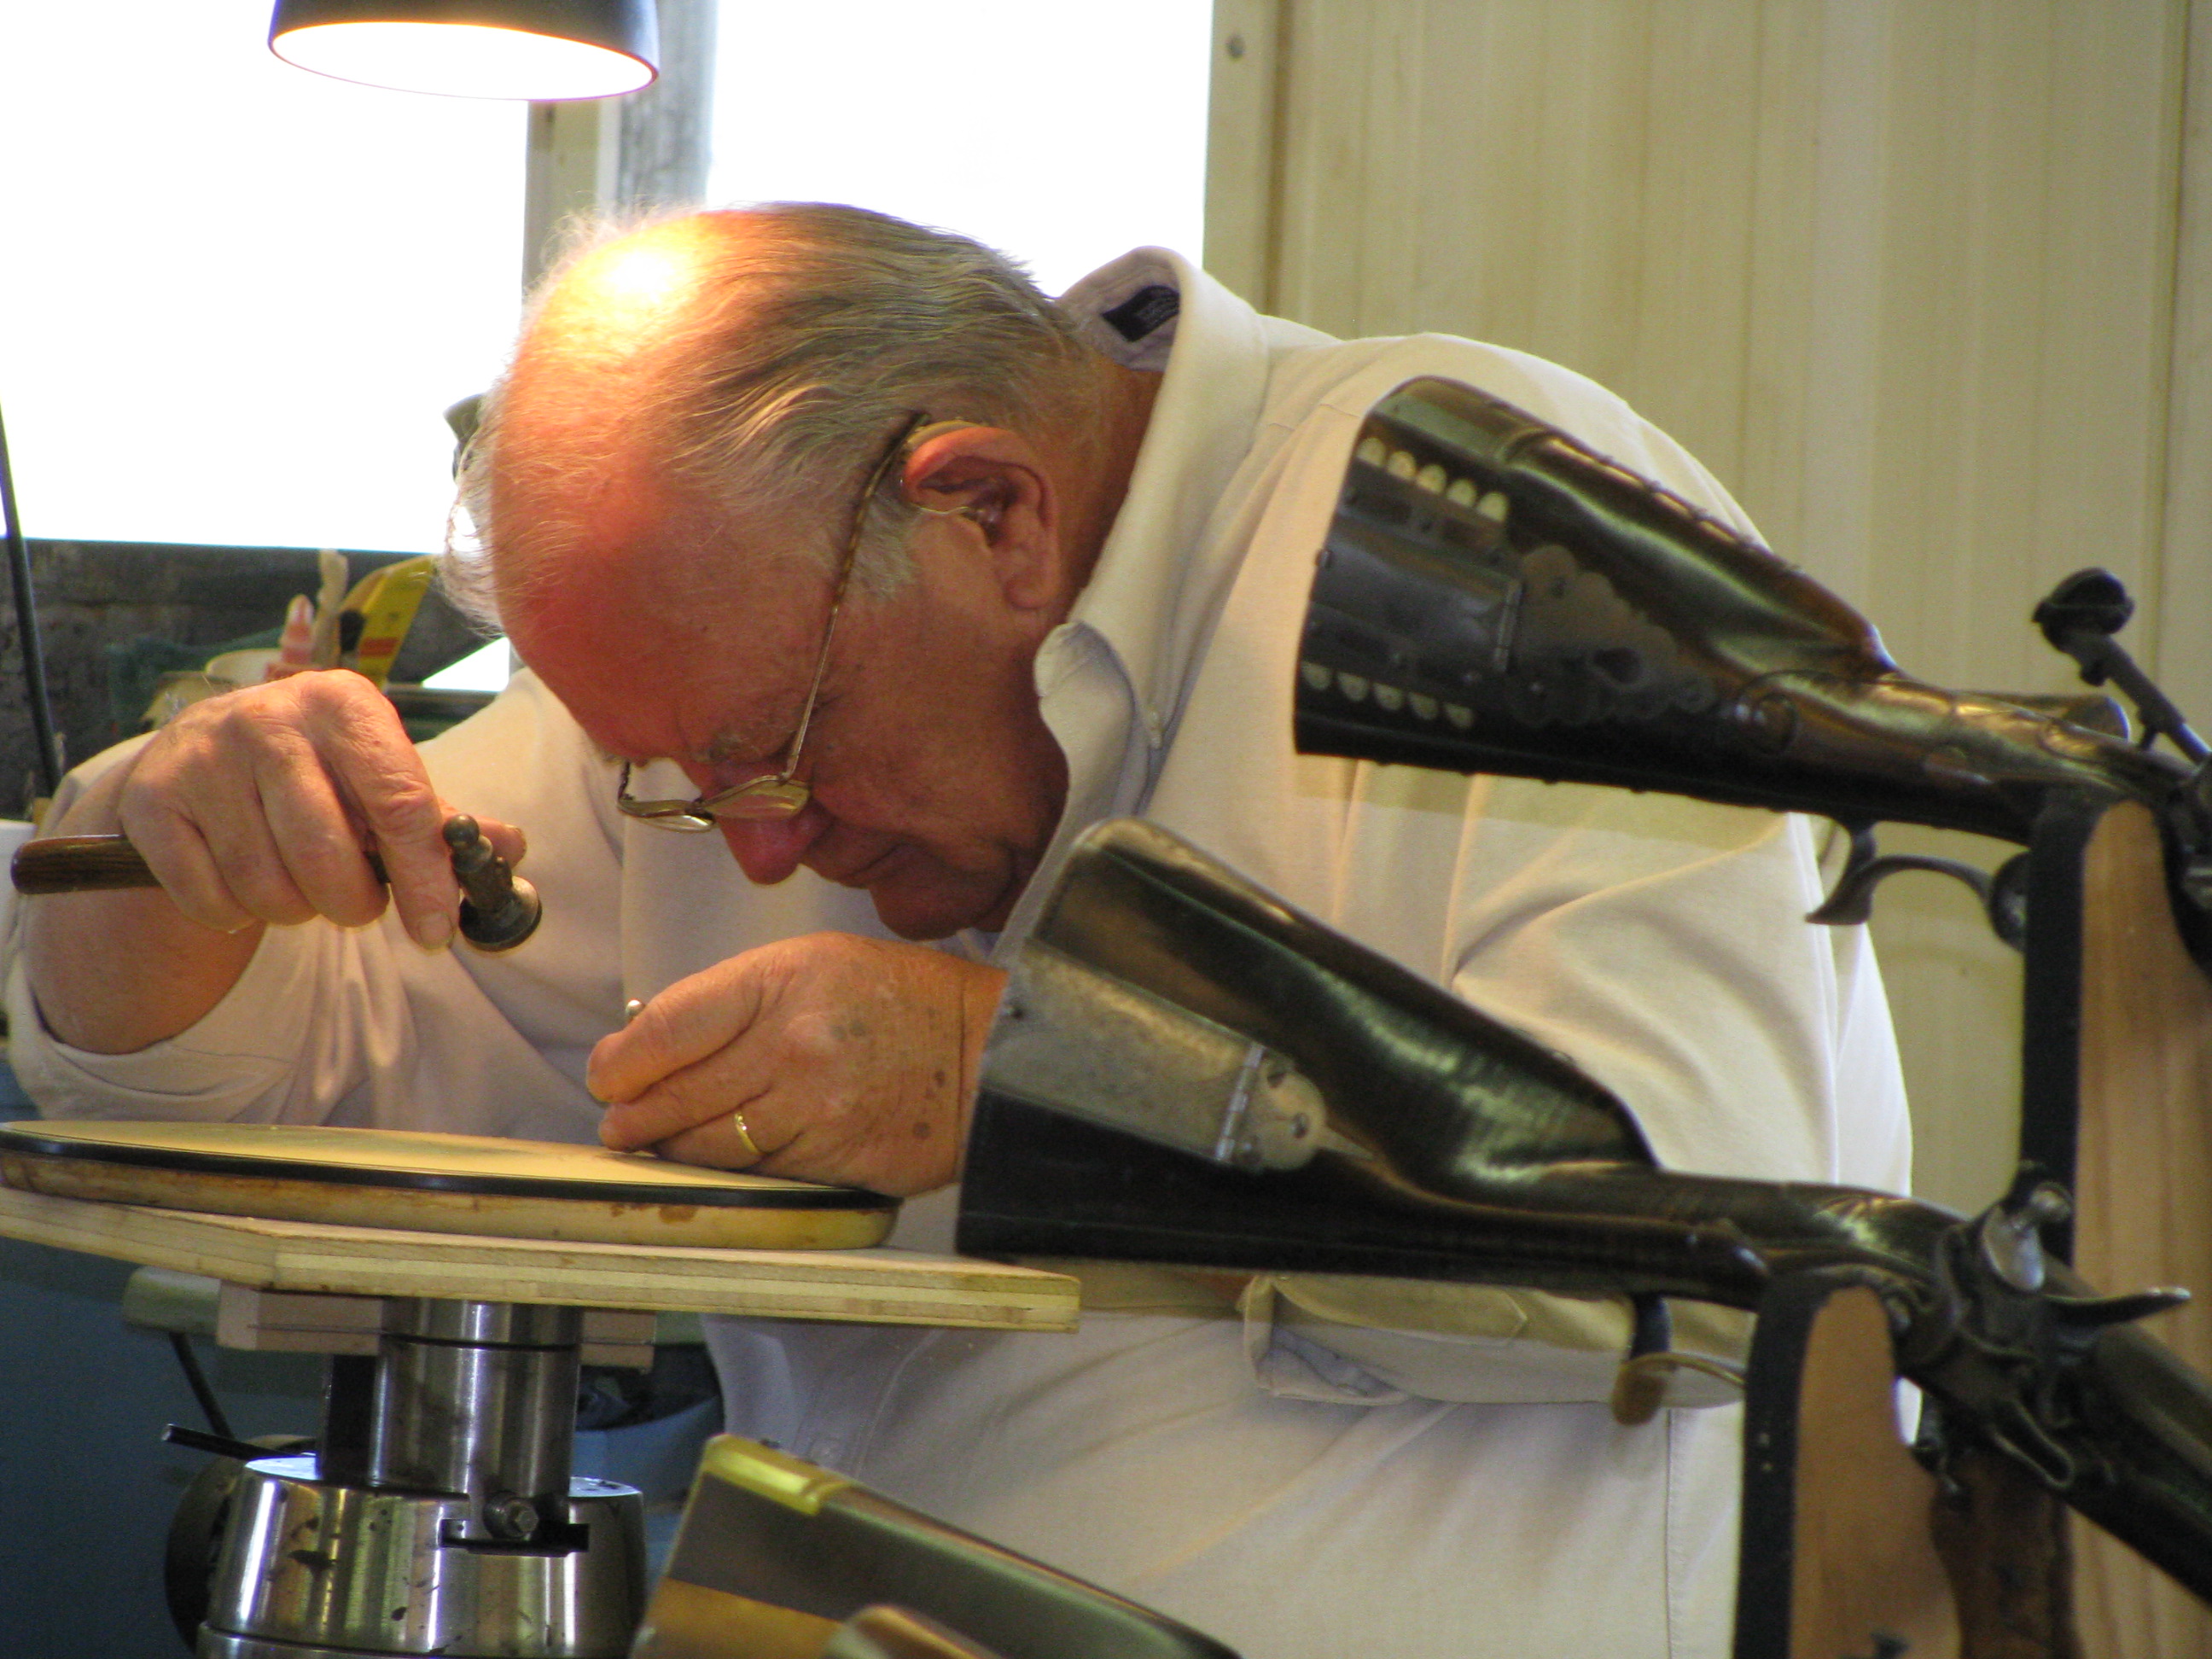
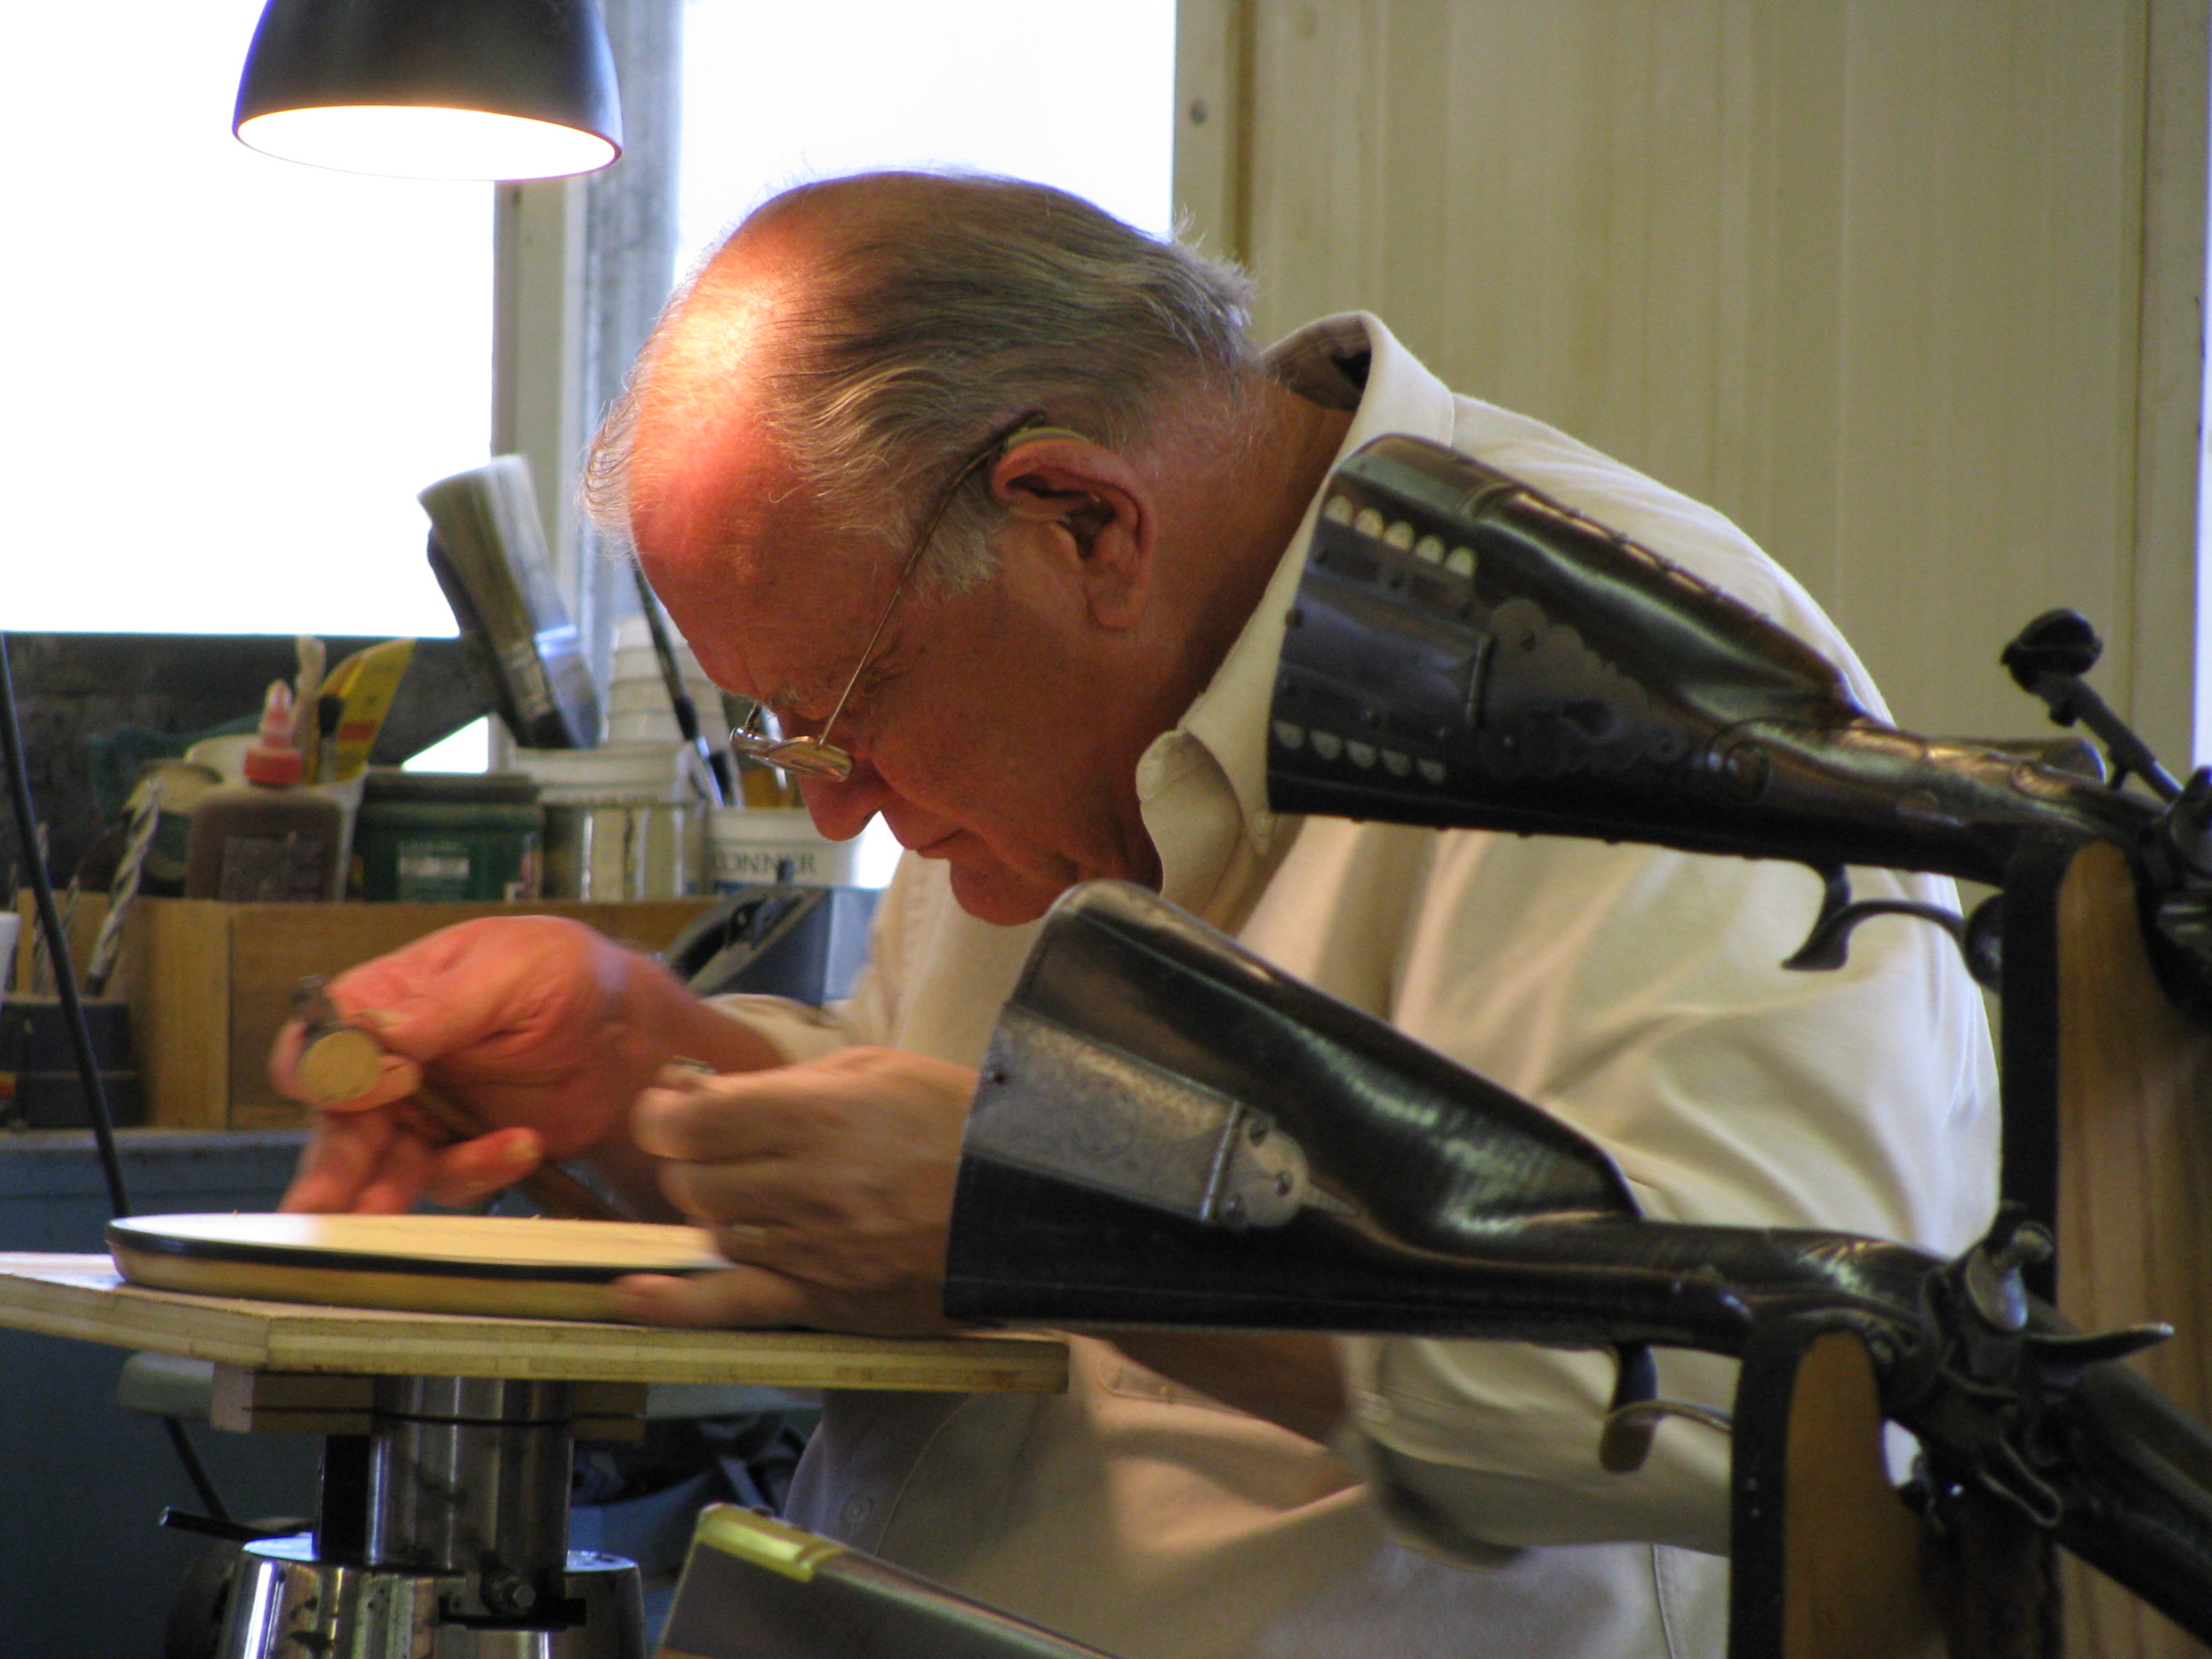
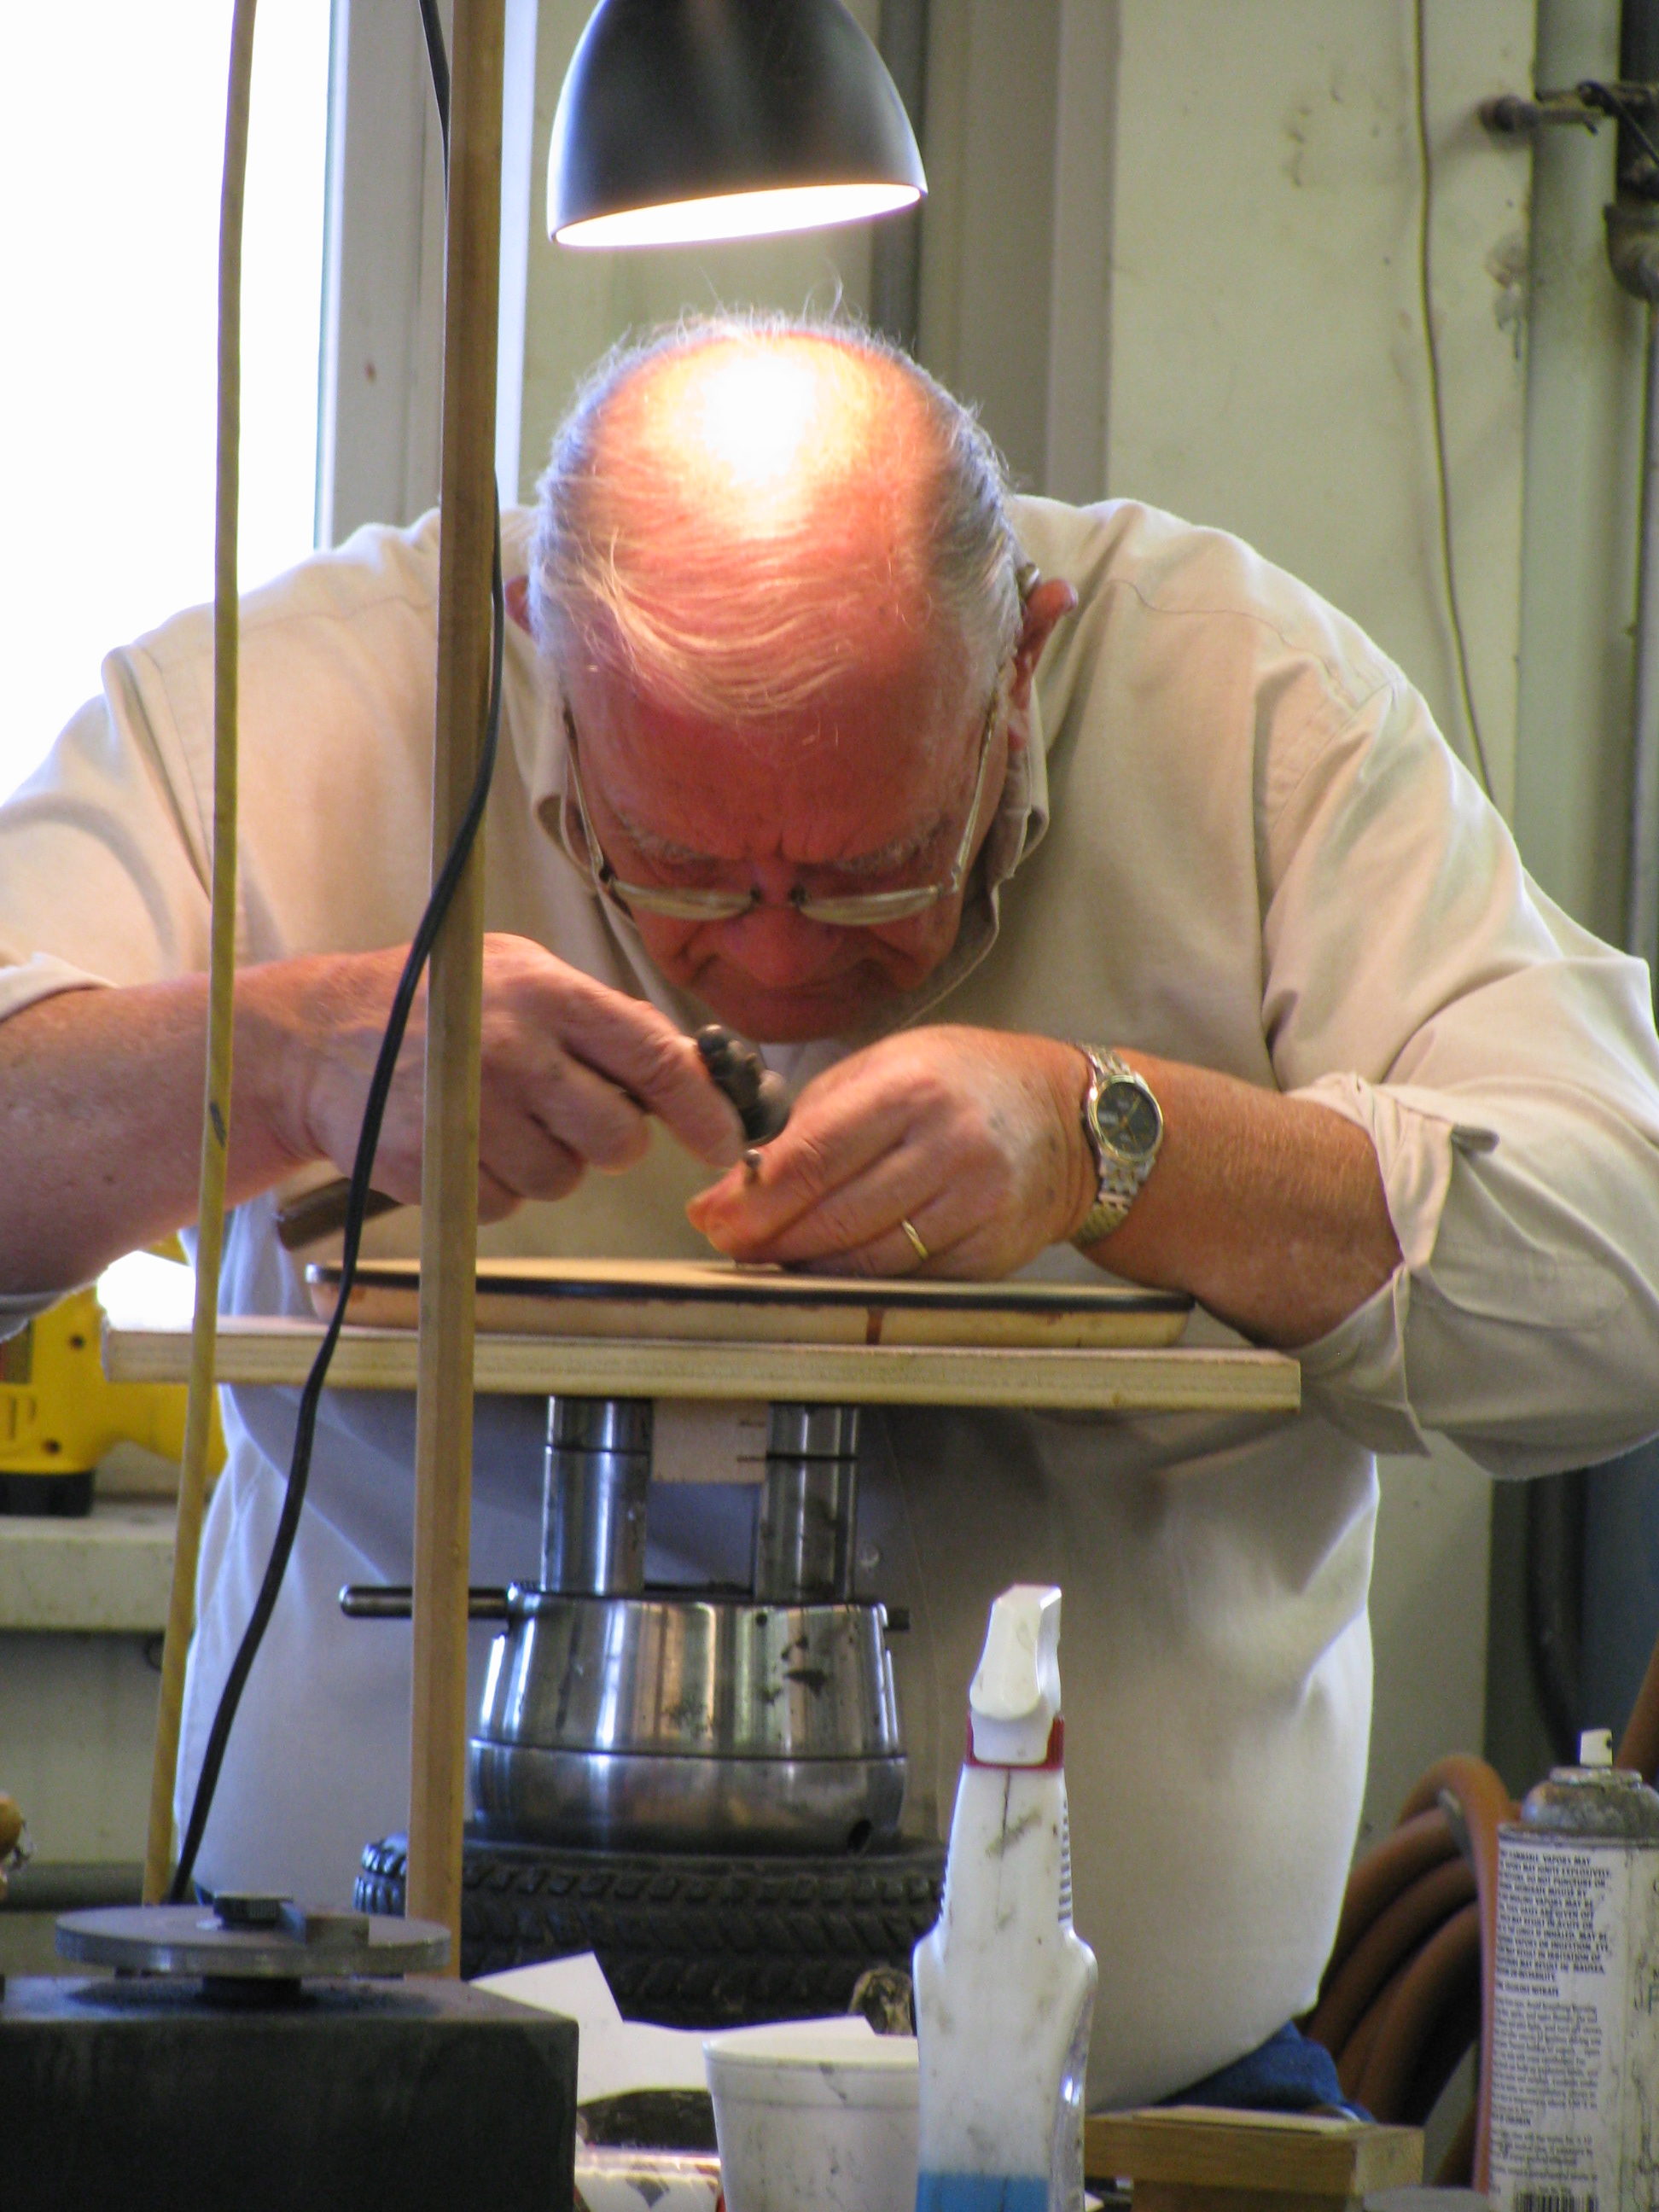
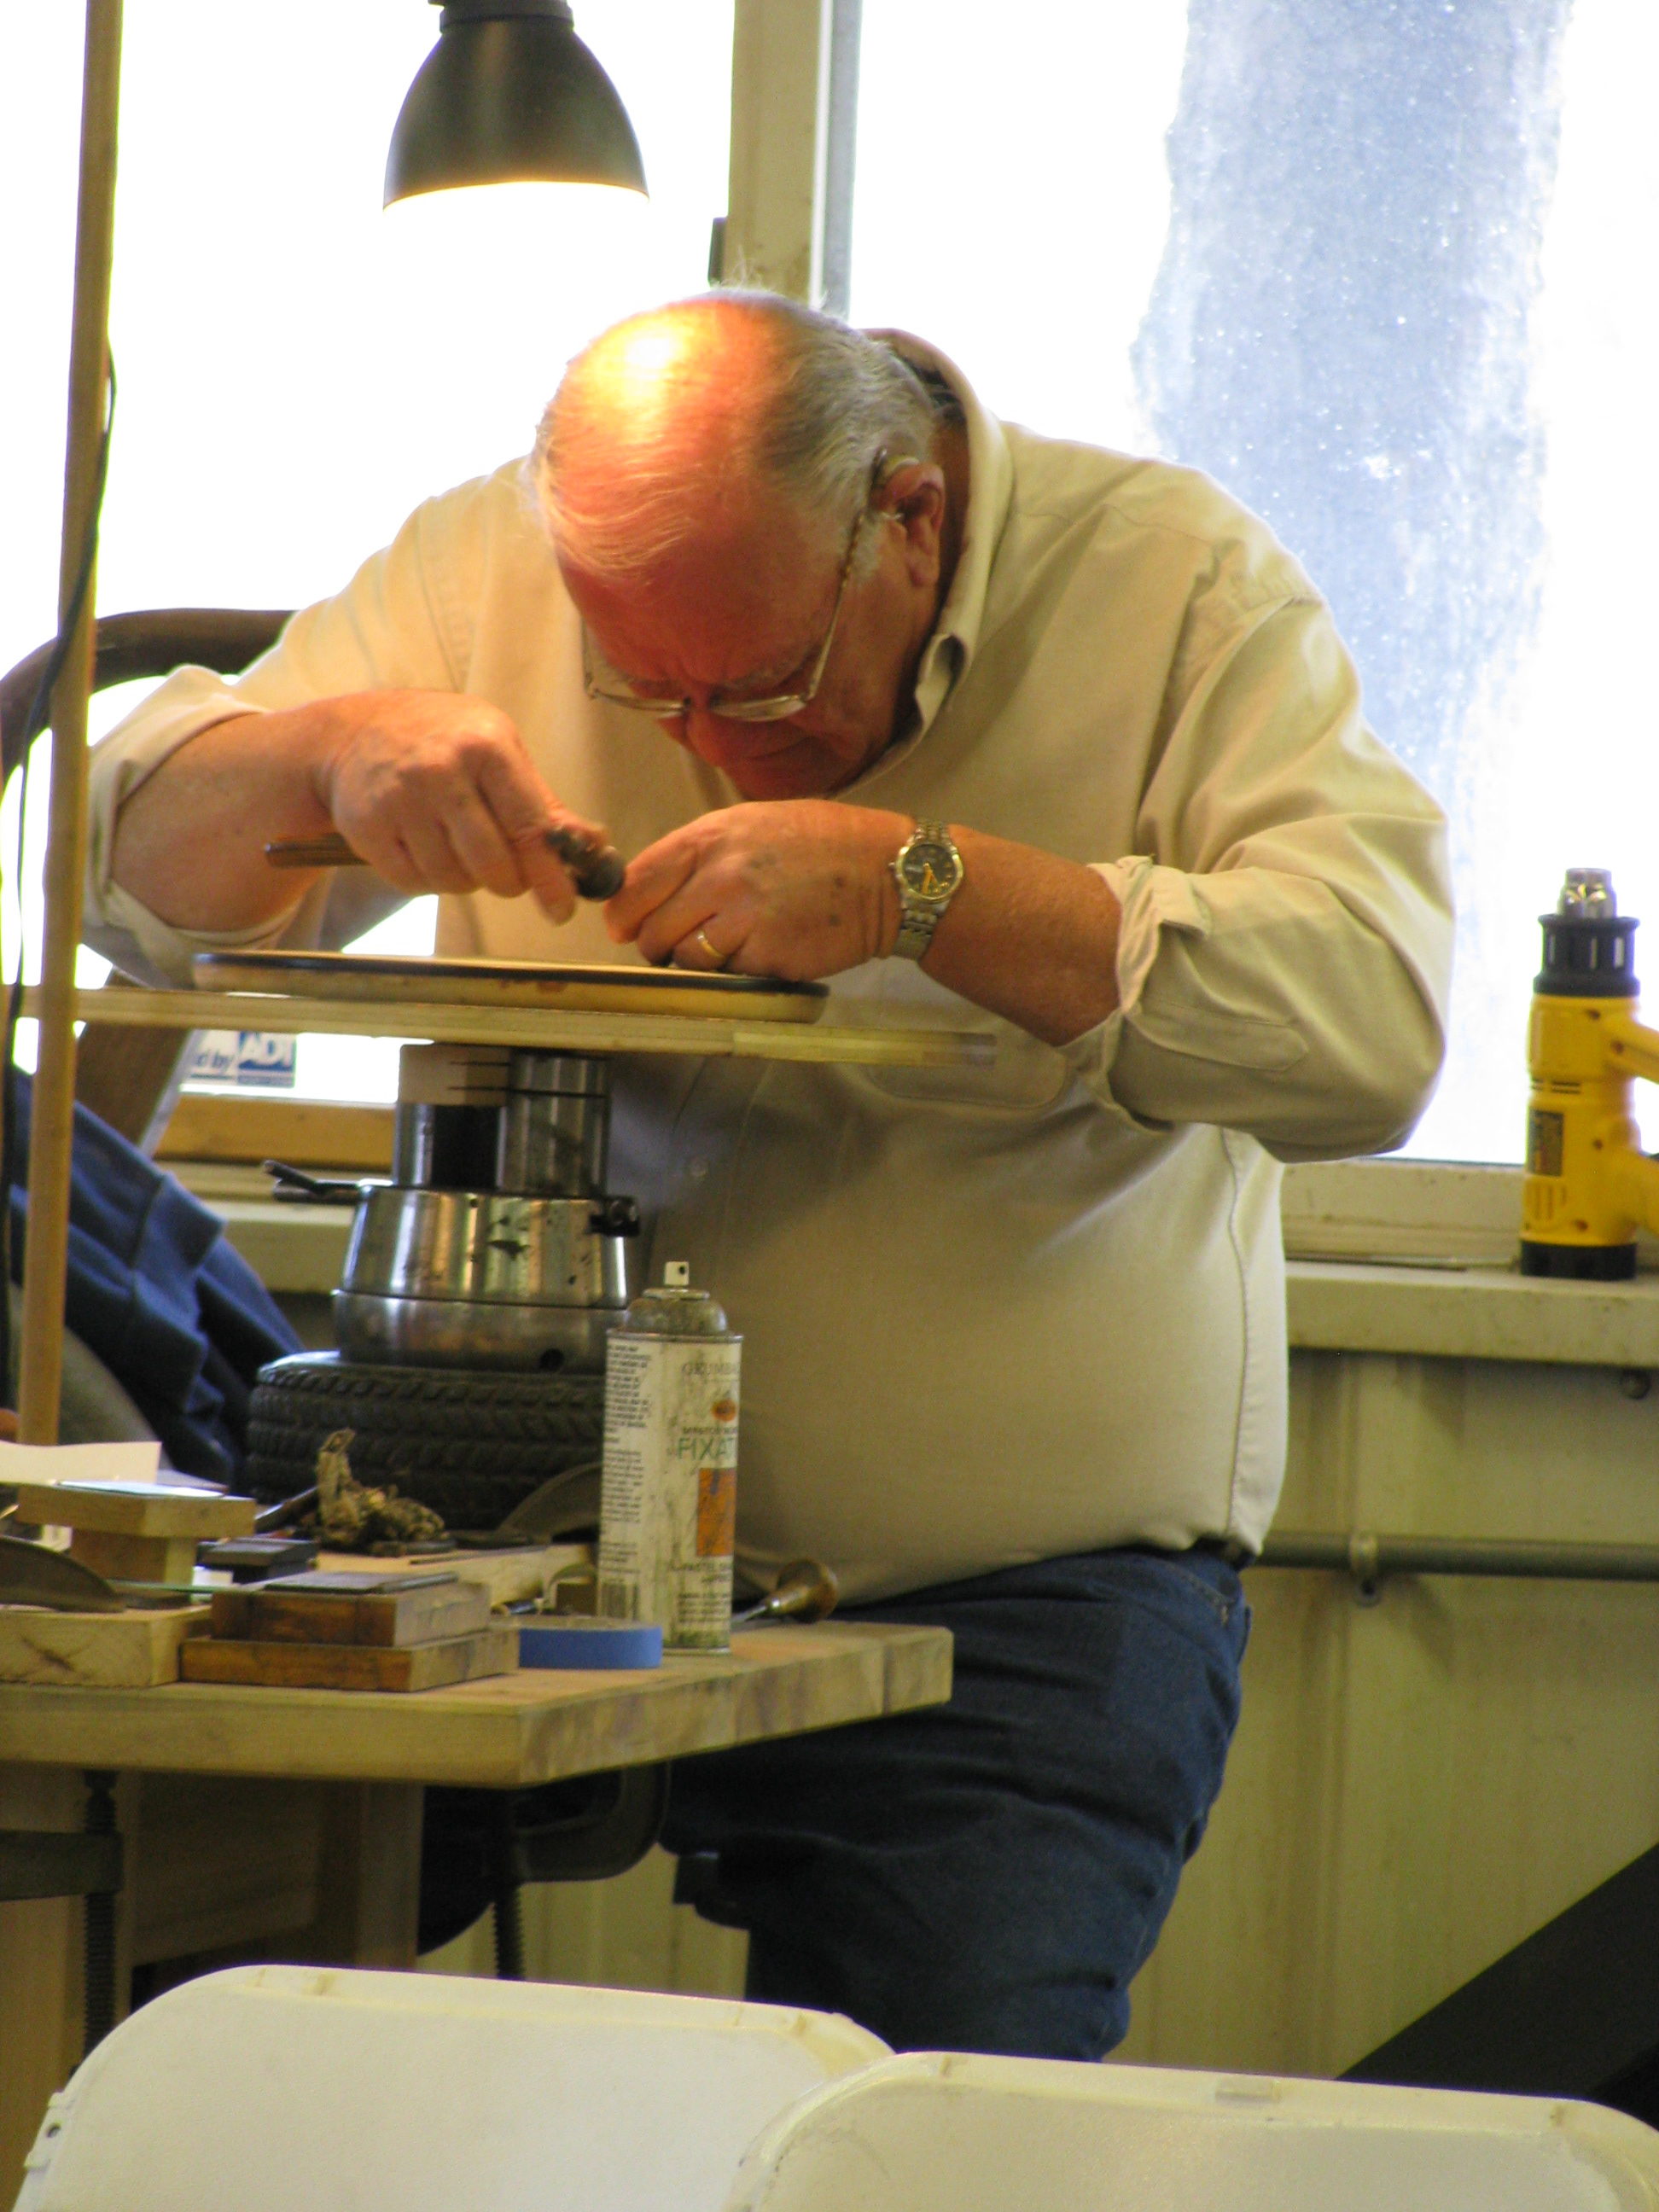
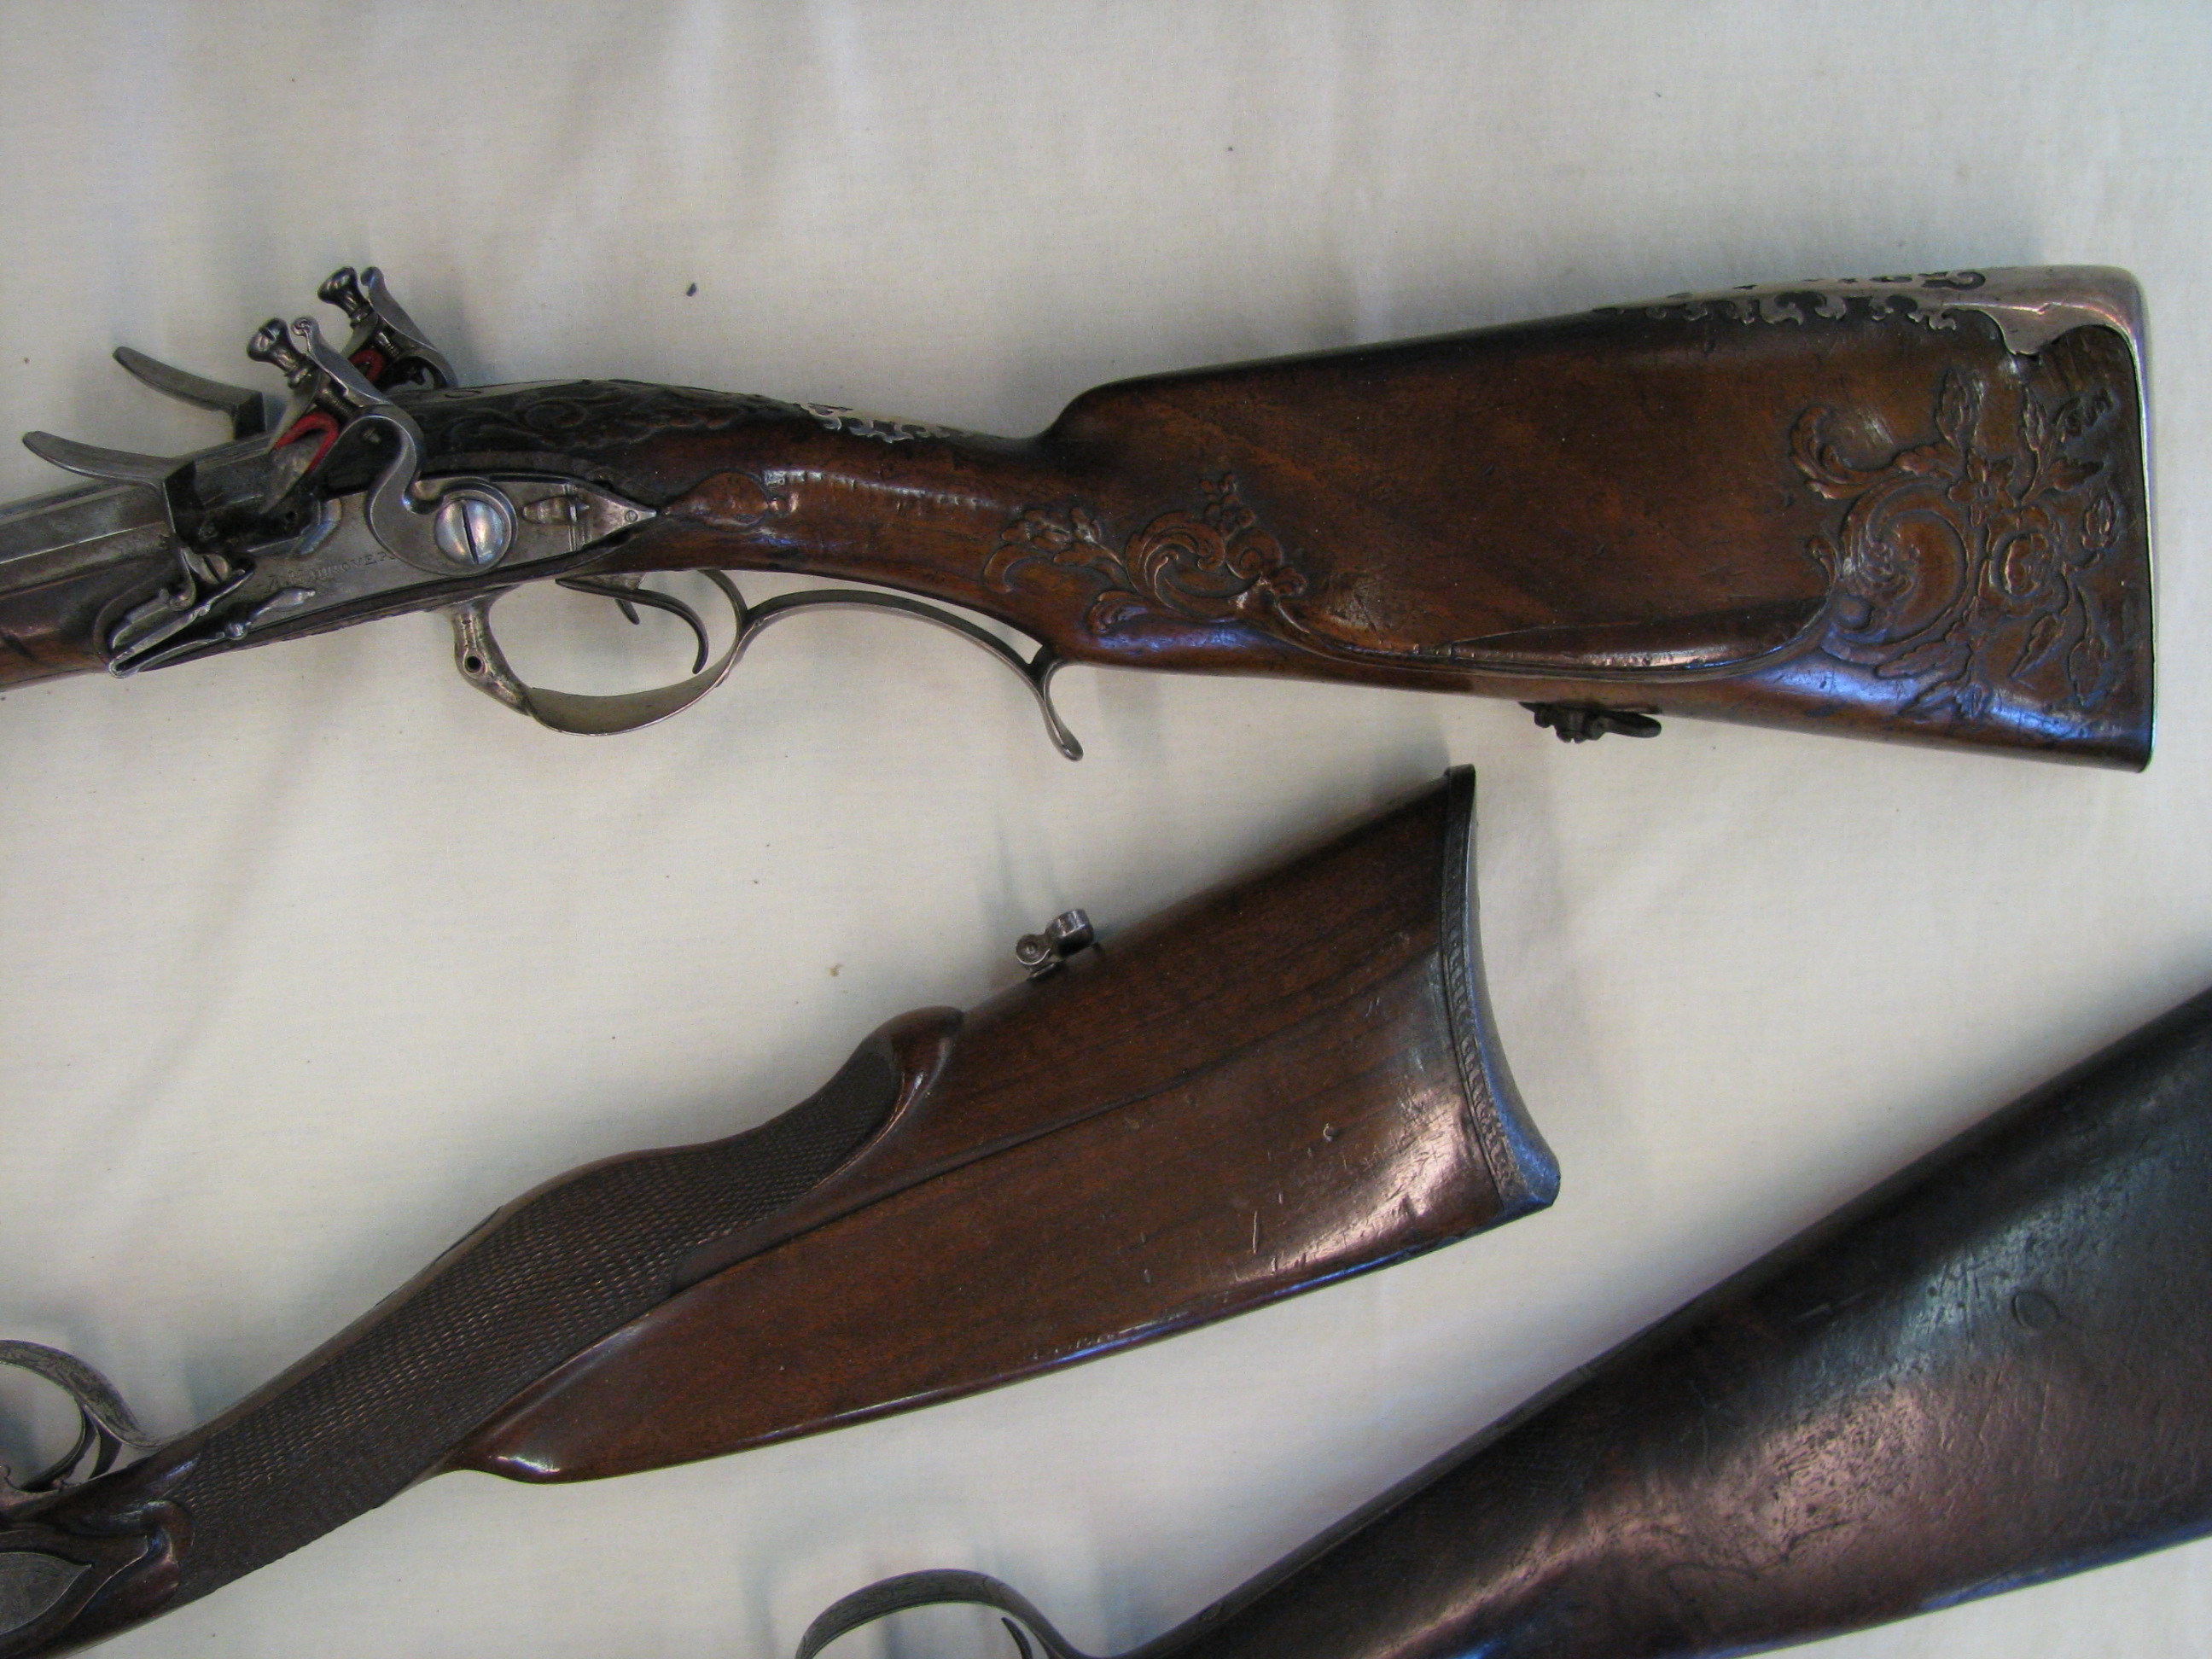
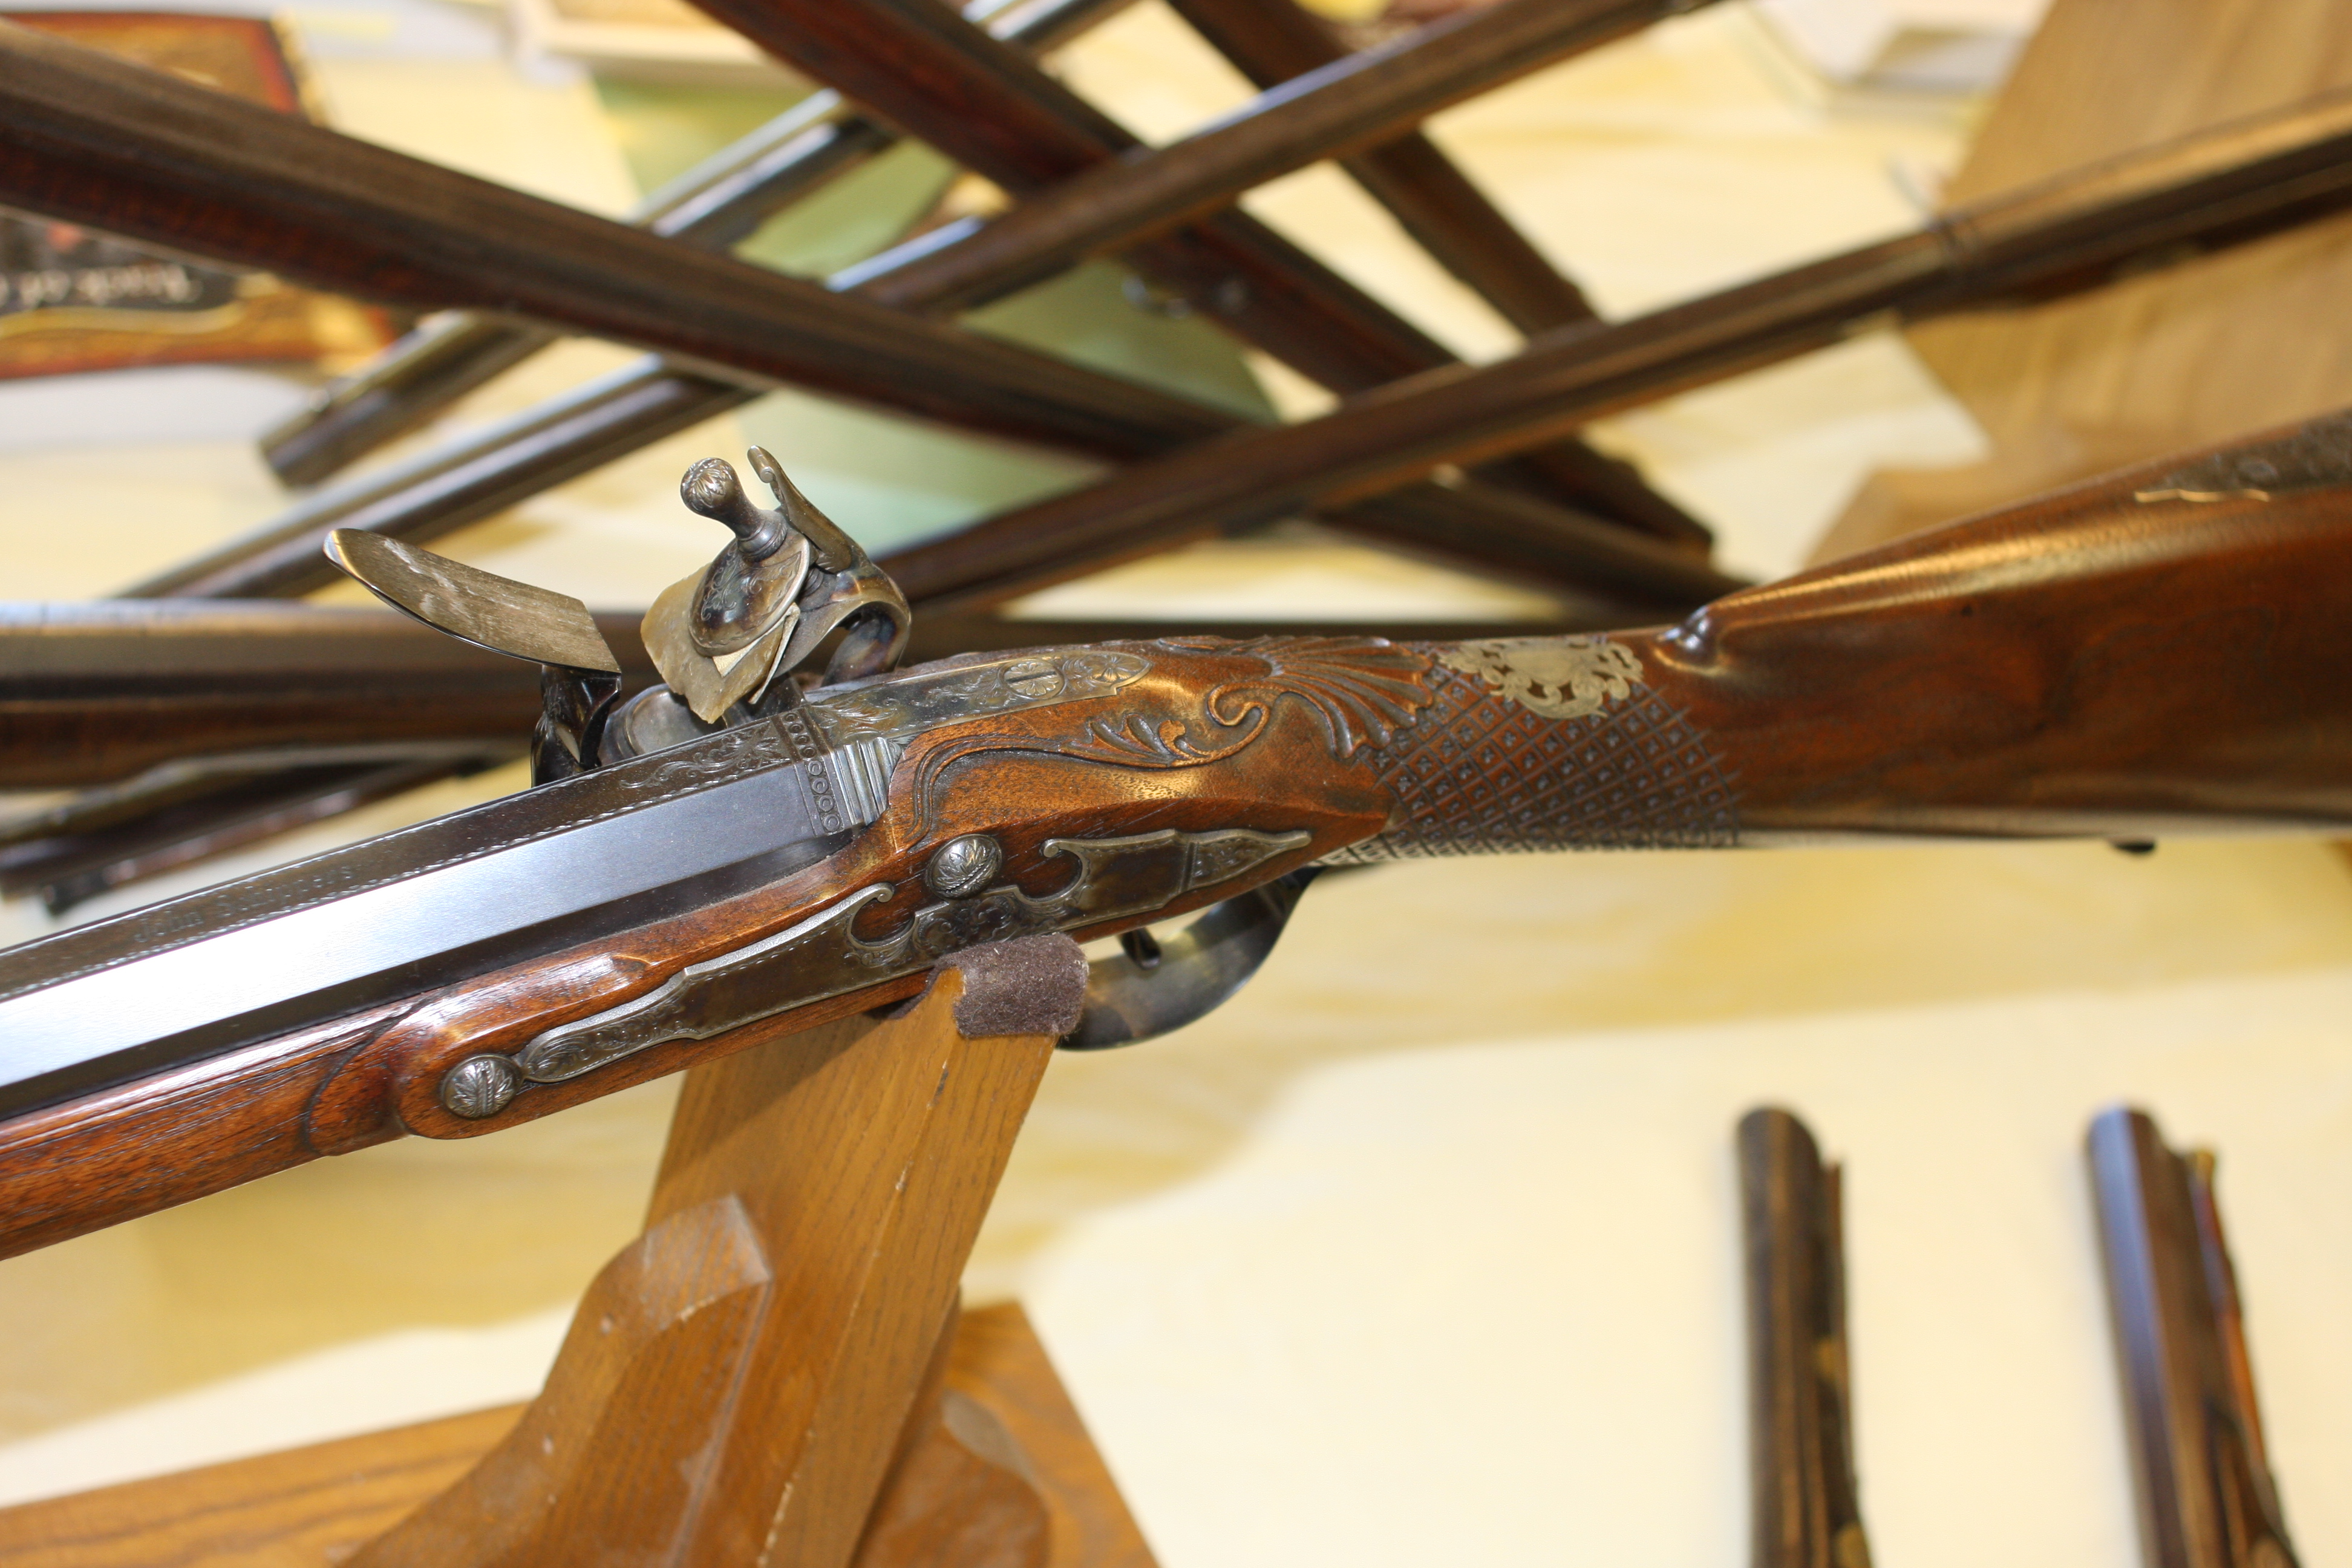
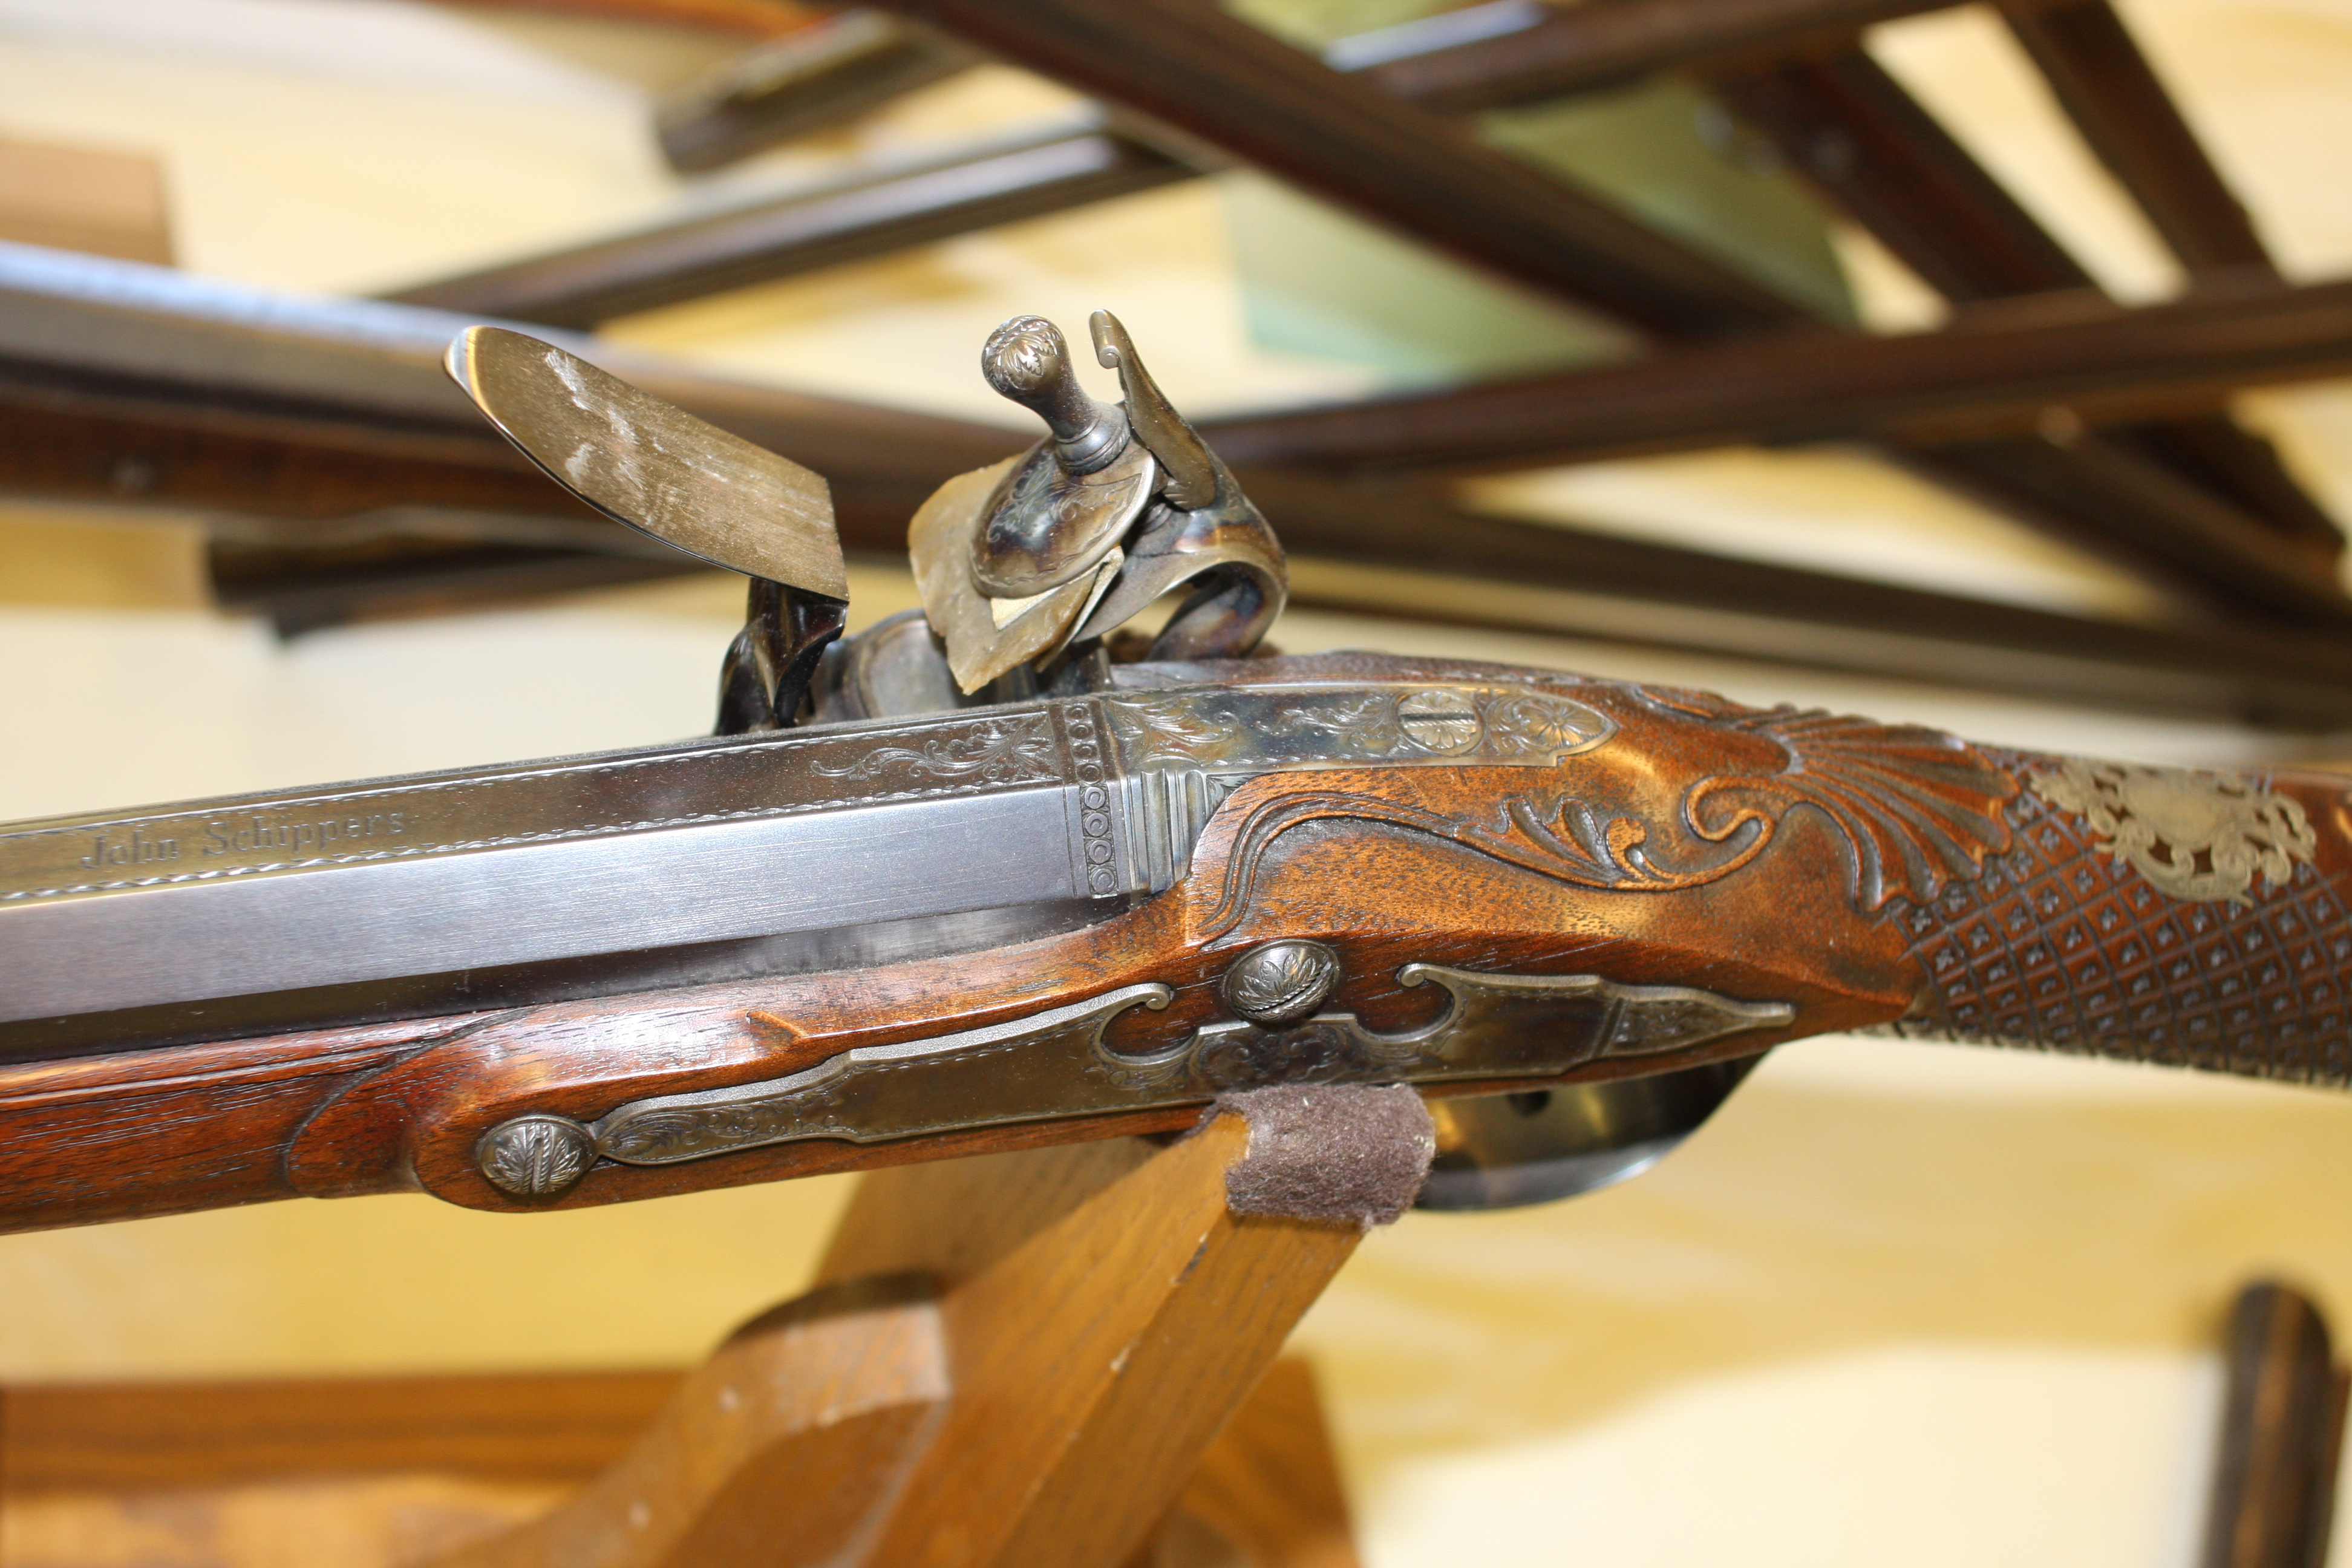
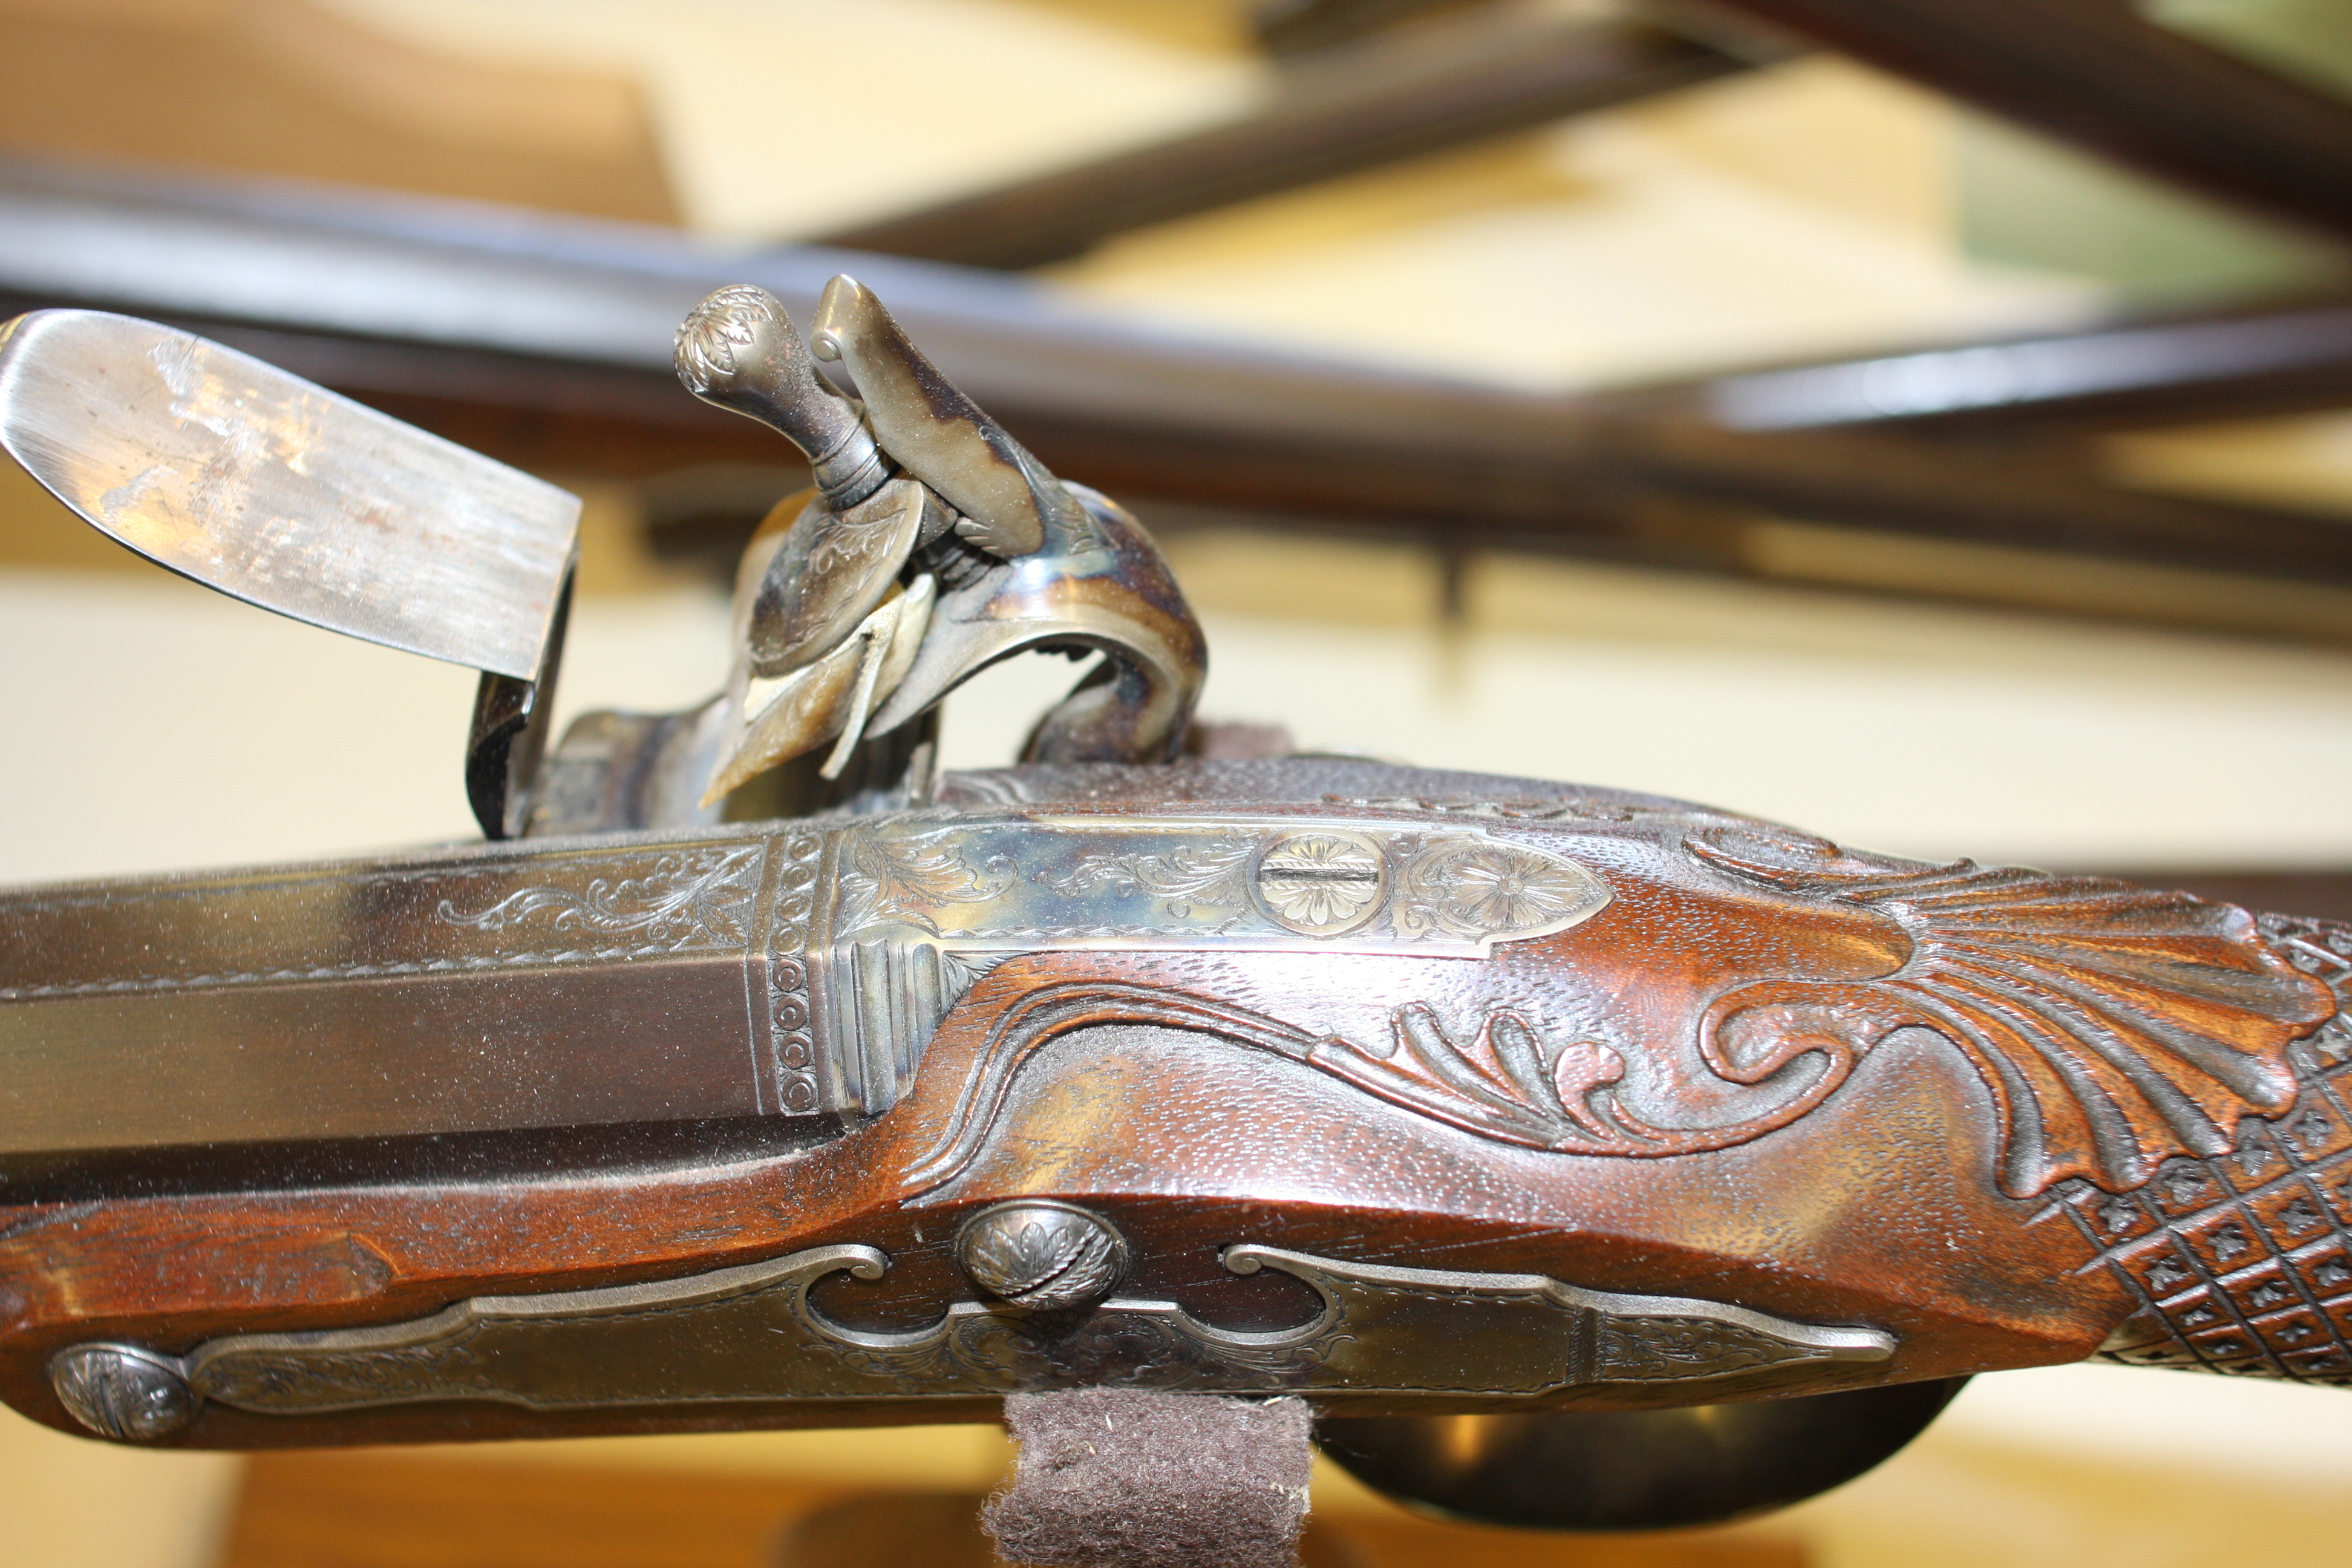
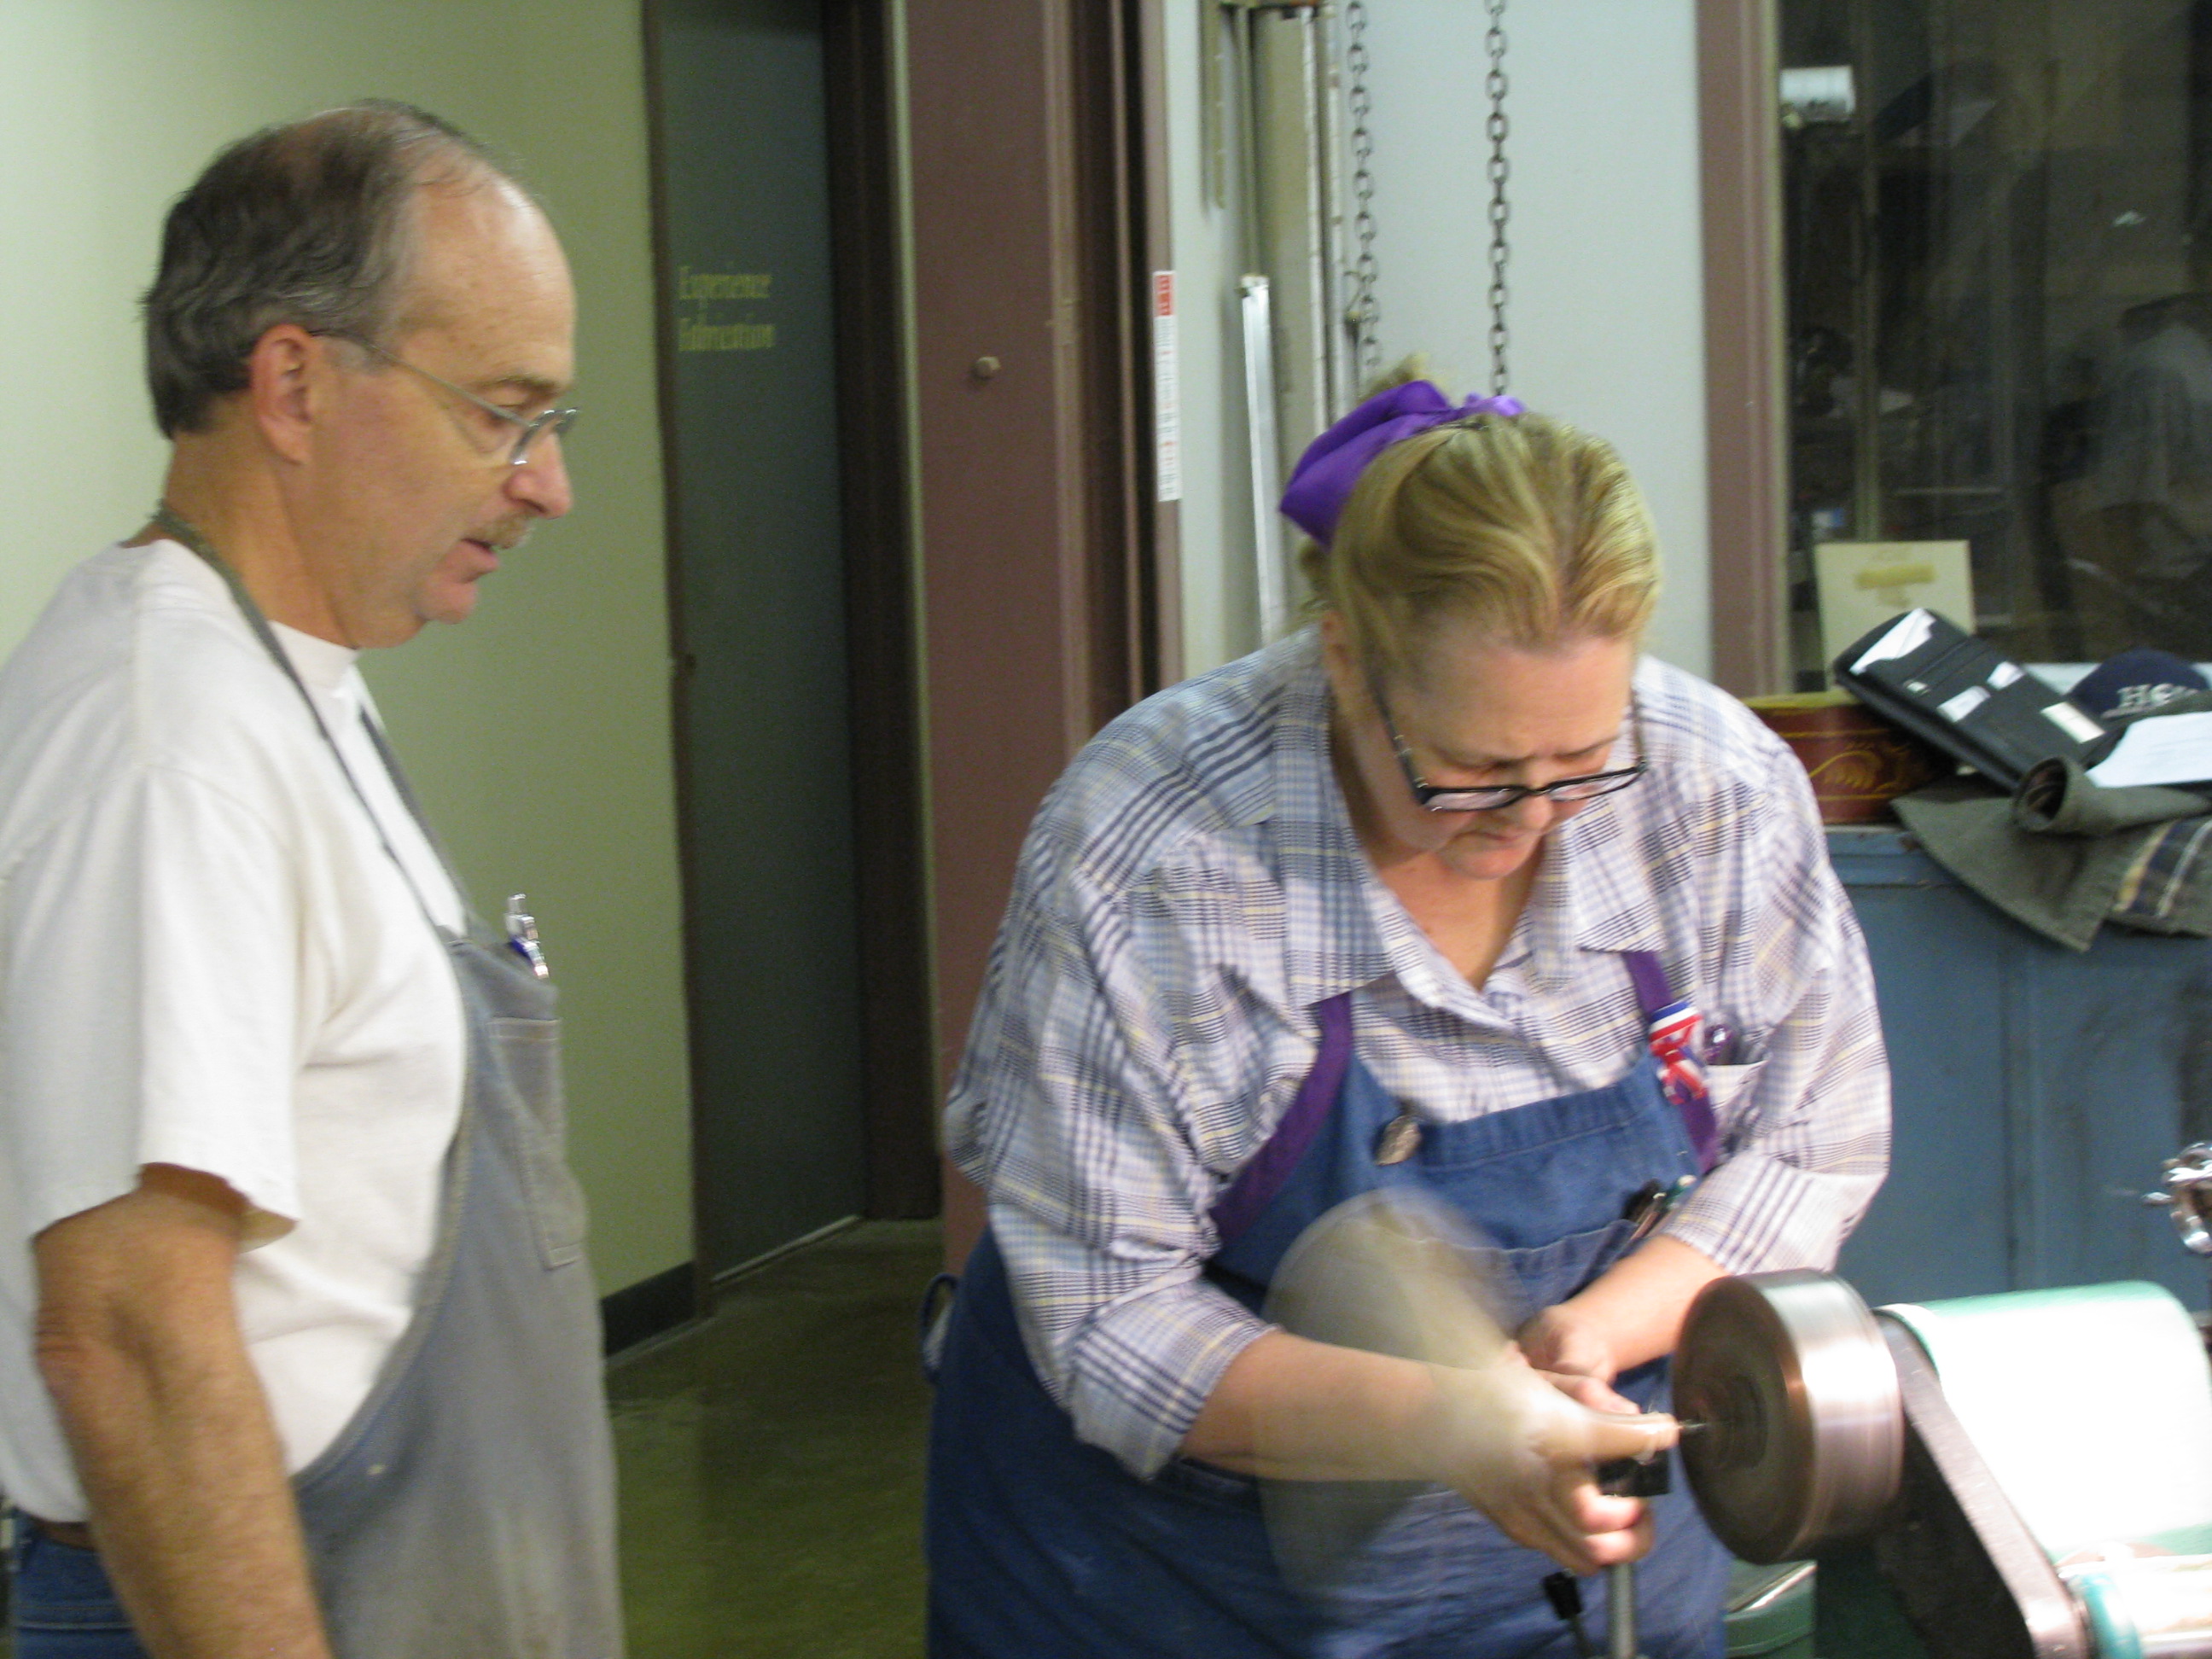
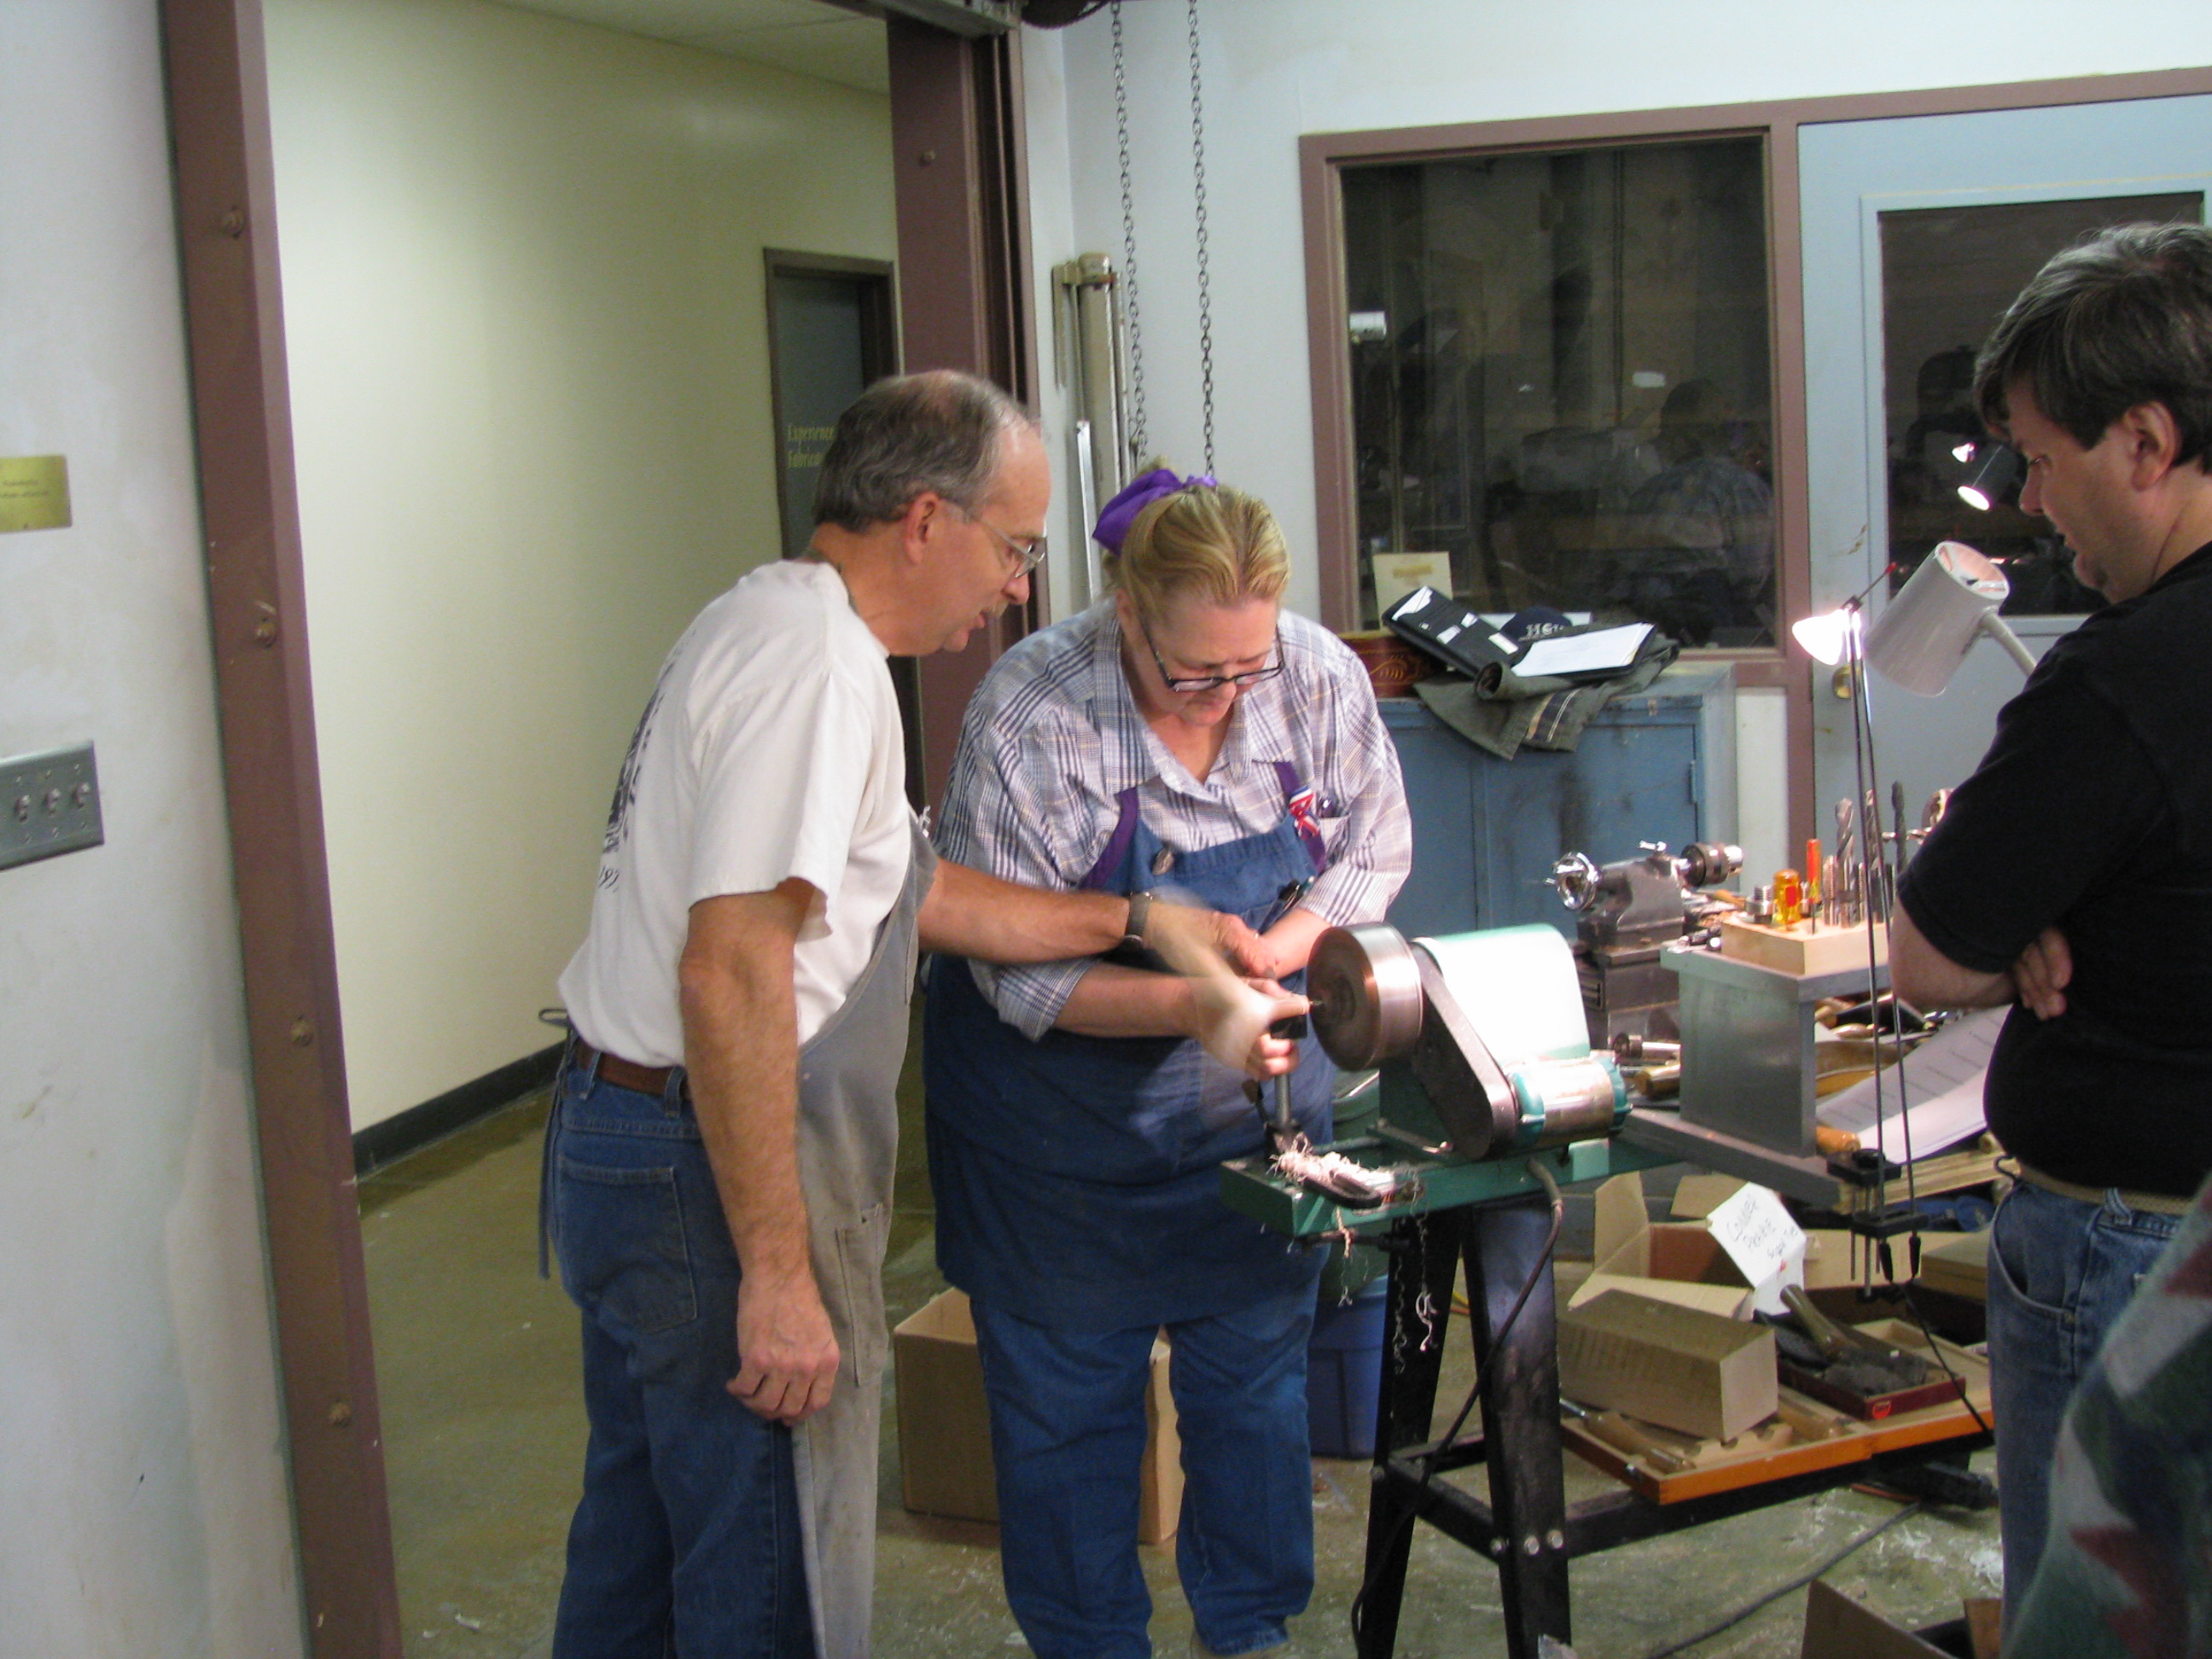
    Steve knew that time wasn’t a factor, and had a number of other gun-making projects to finish ahead of mine. When he began to work on the gun, a couple decisions were made.  One decision was to use Tom Snyder’s vent coning tool to make the vent.  This process consists of drilling a 1/16″ hole, inserting Tom’s threaded pin, and installing the cutter through the open breech.  We used a cordless drill to cut the internal cavity.  The cavity is very similar to Jim Chamber’s vent liners.

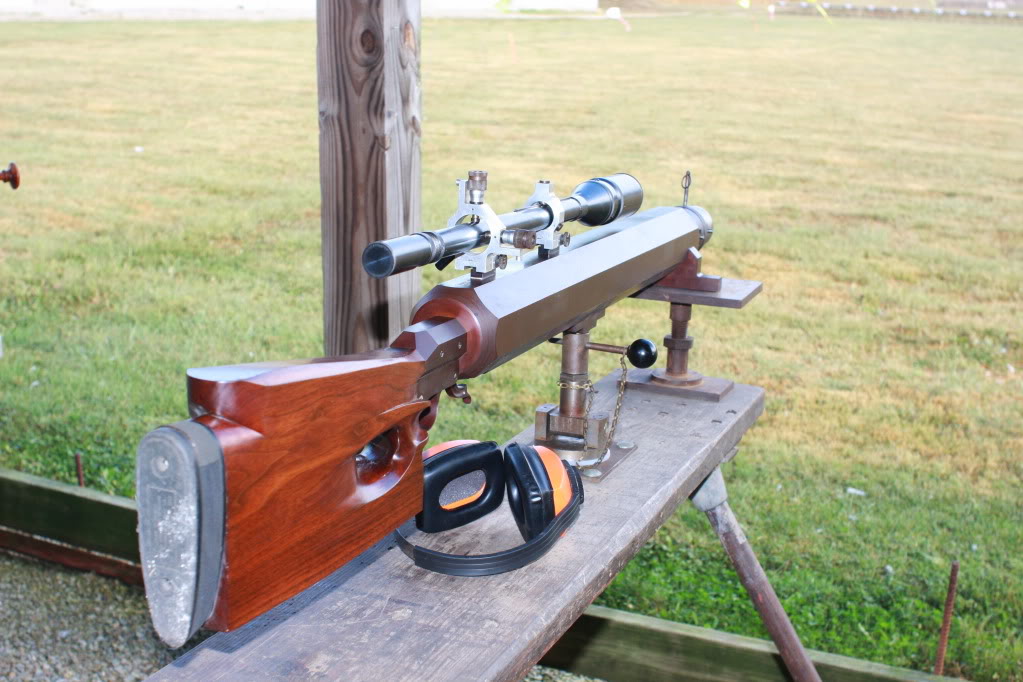
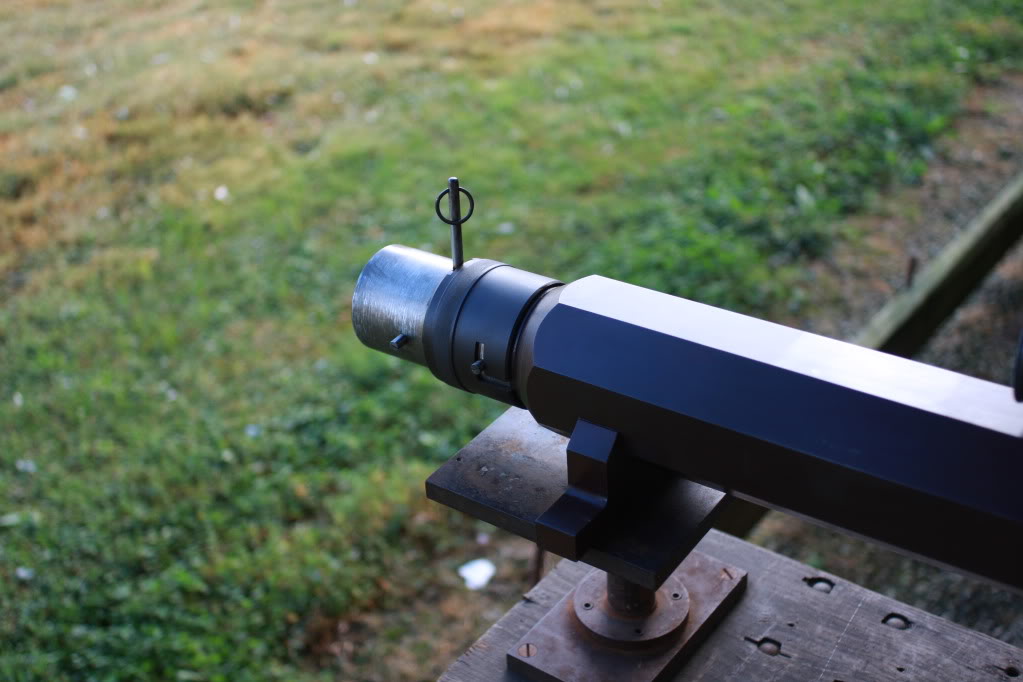
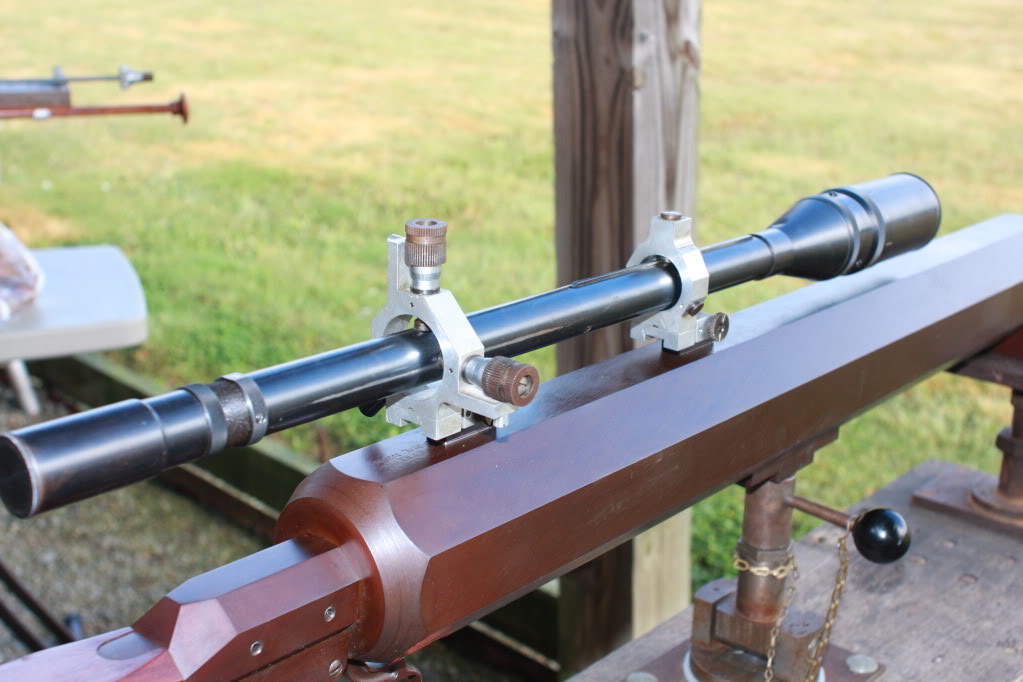
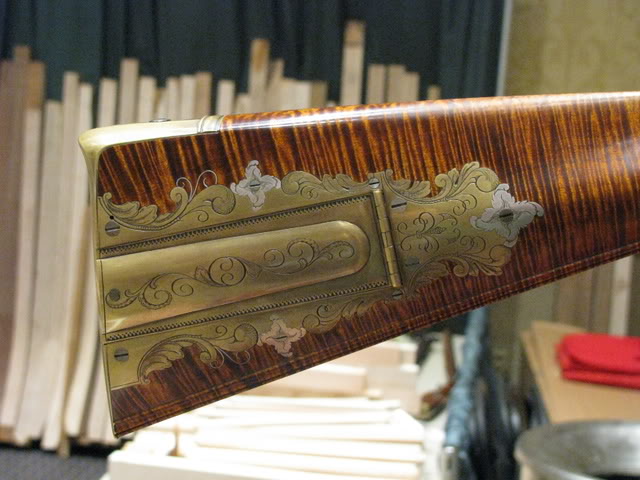
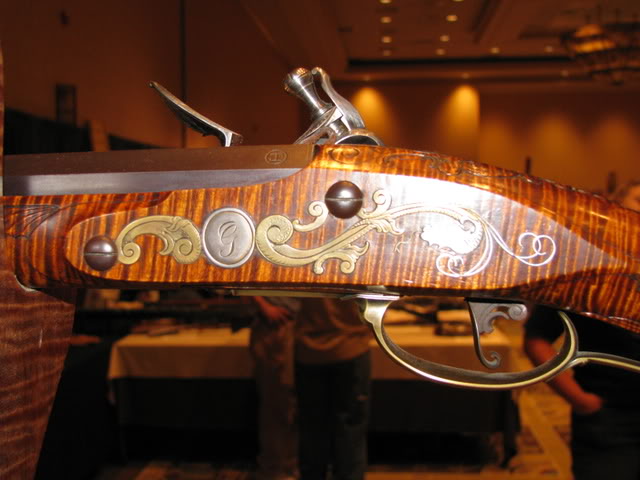
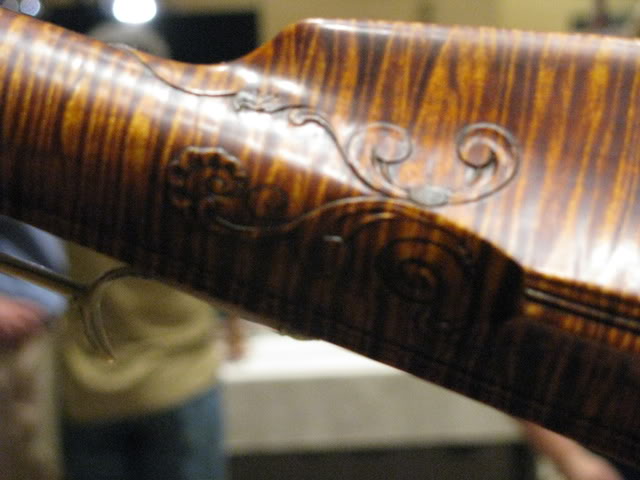
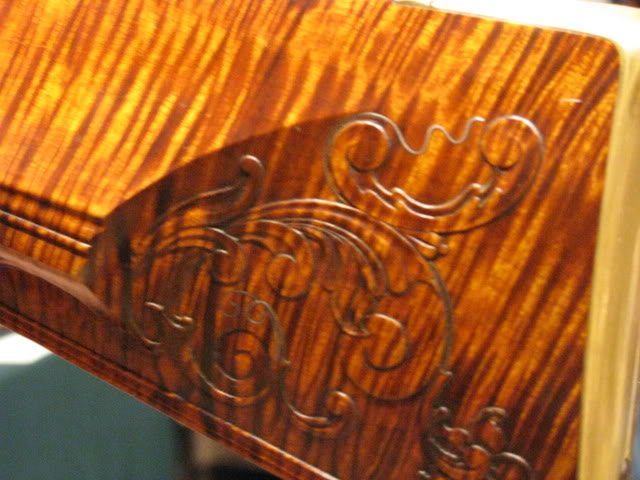
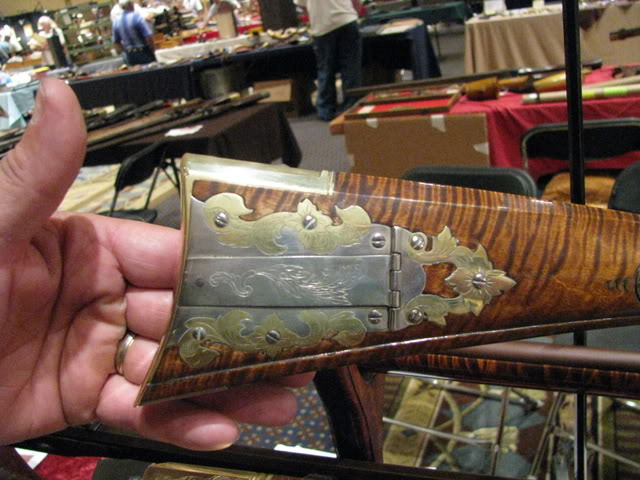
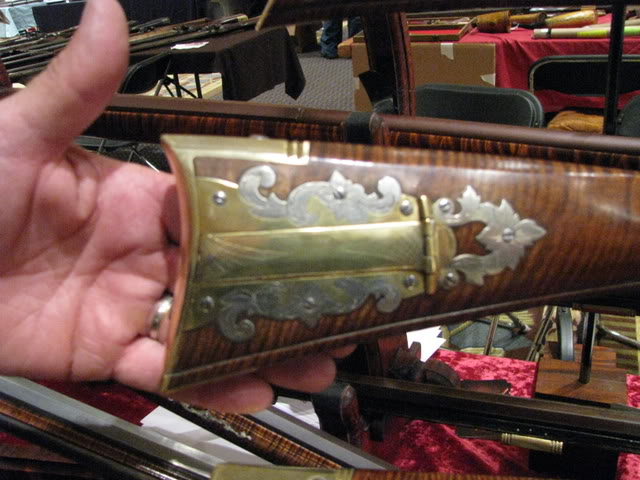
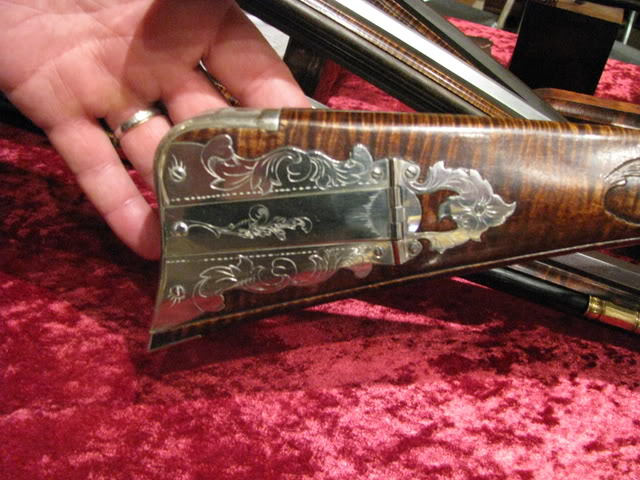
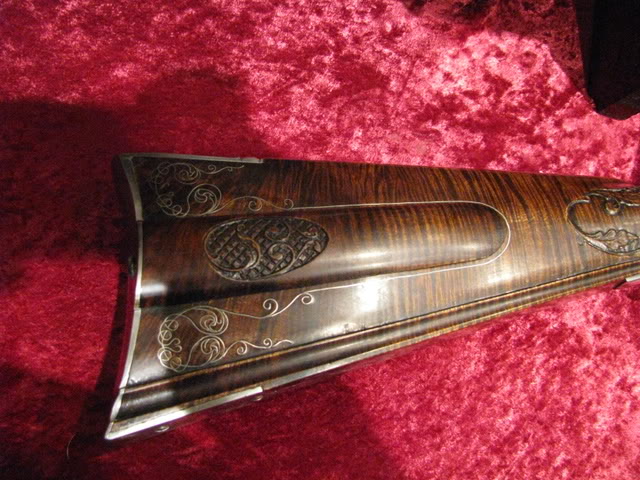
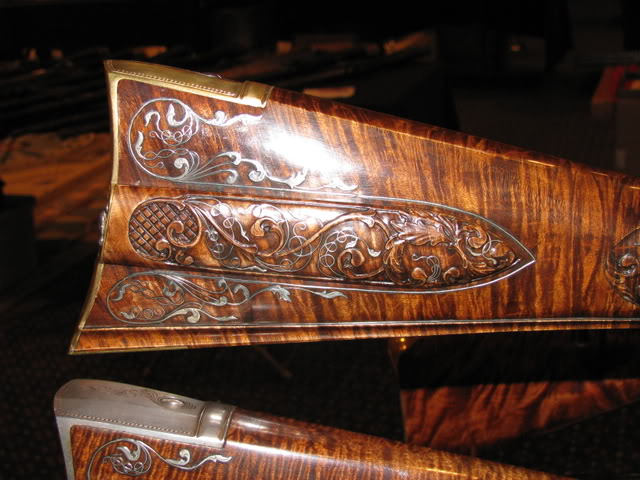
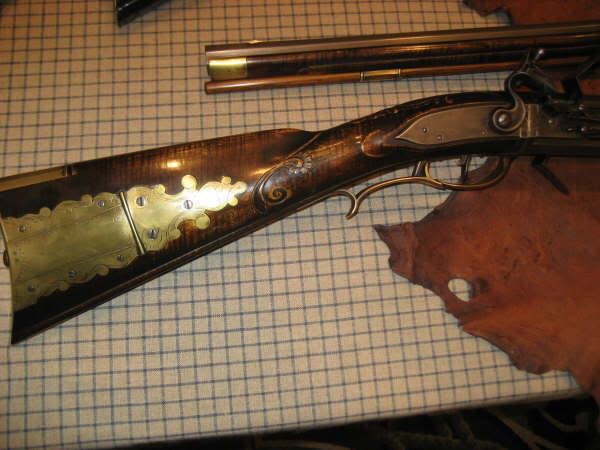
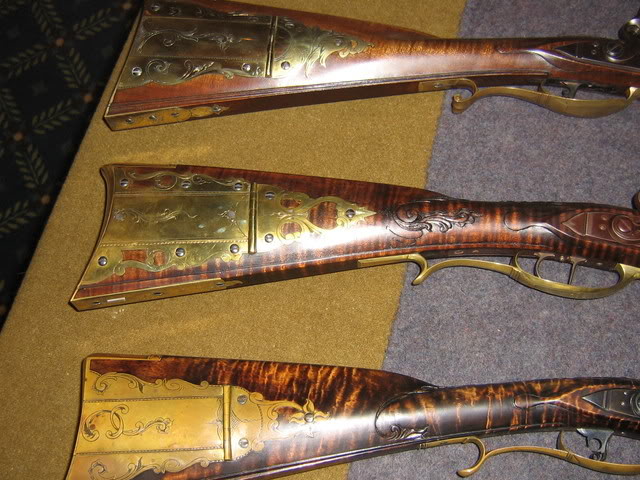
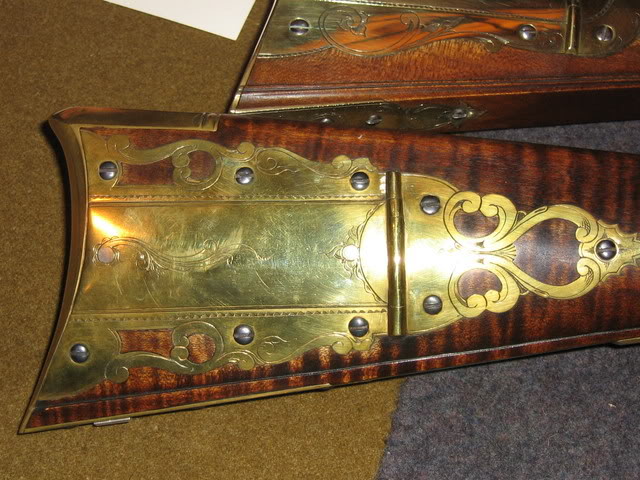
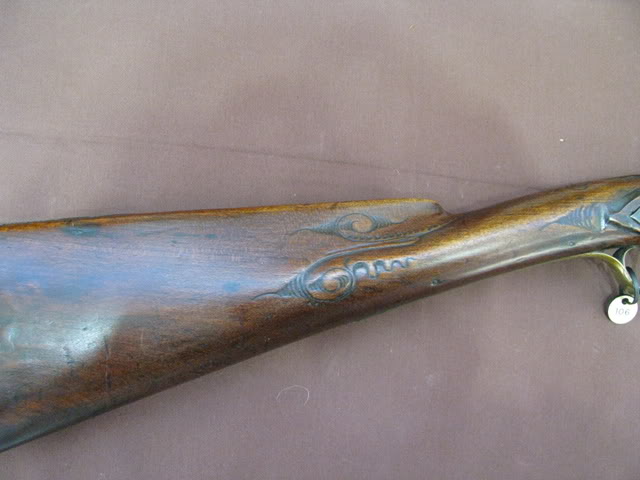
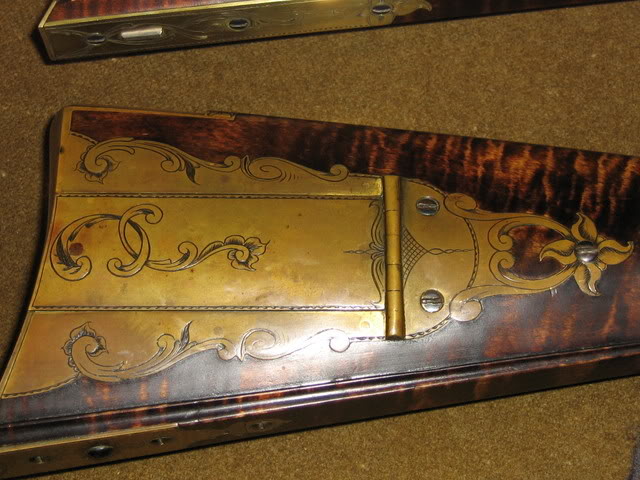
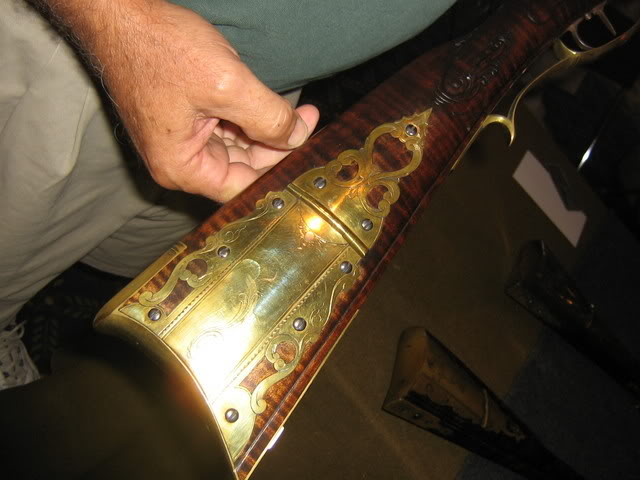
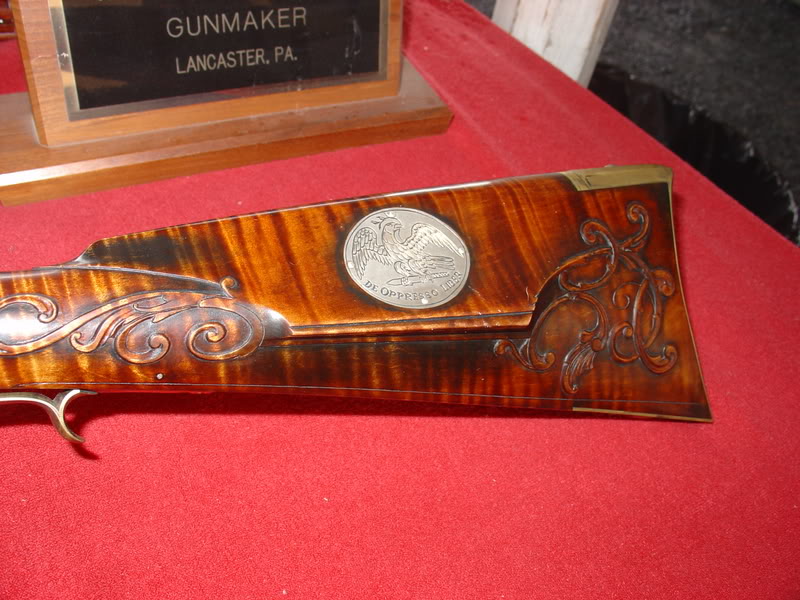
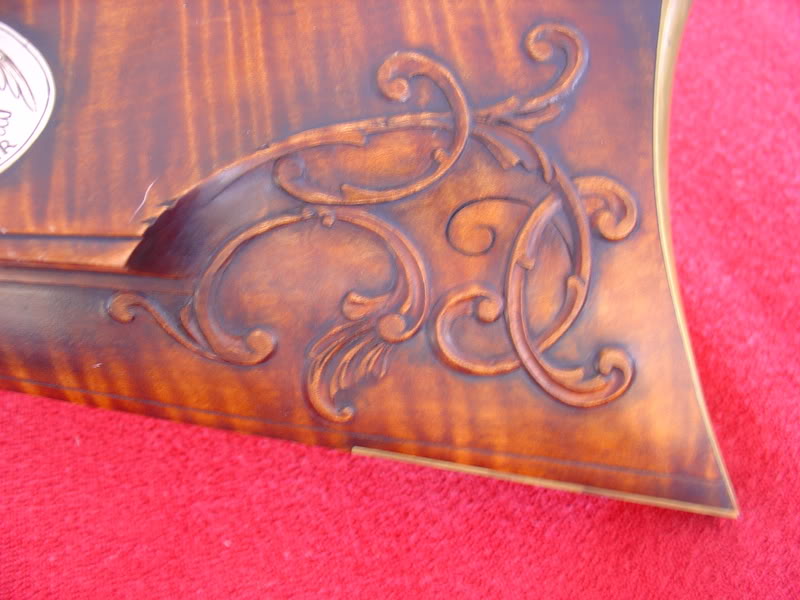
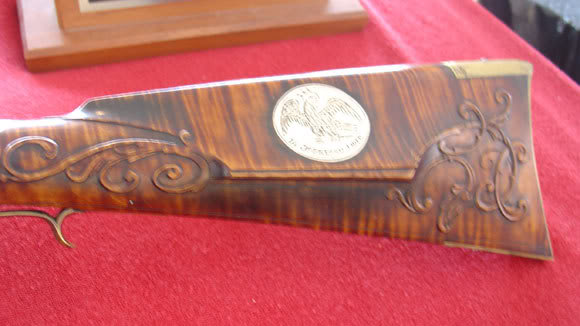
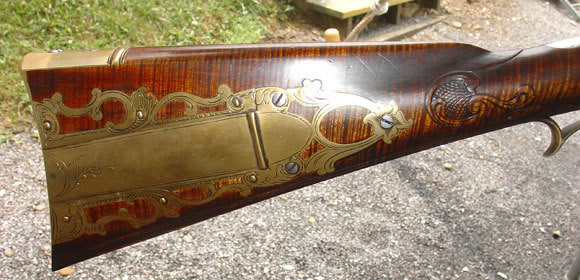
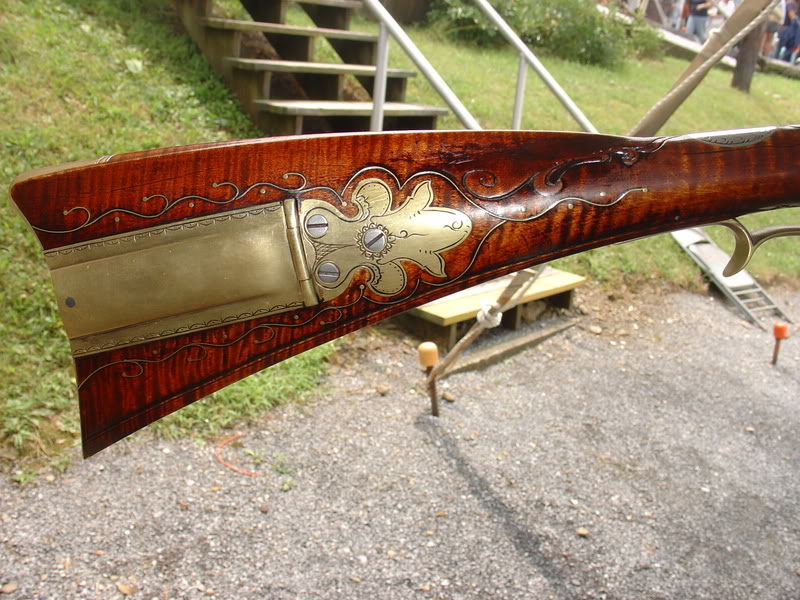
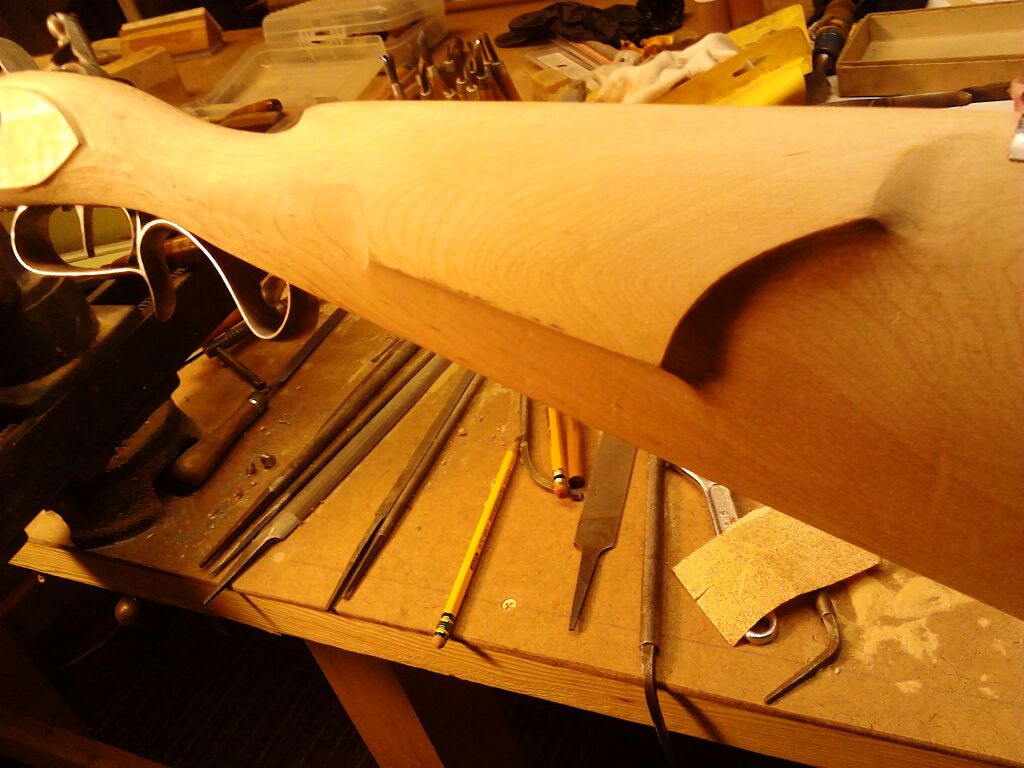
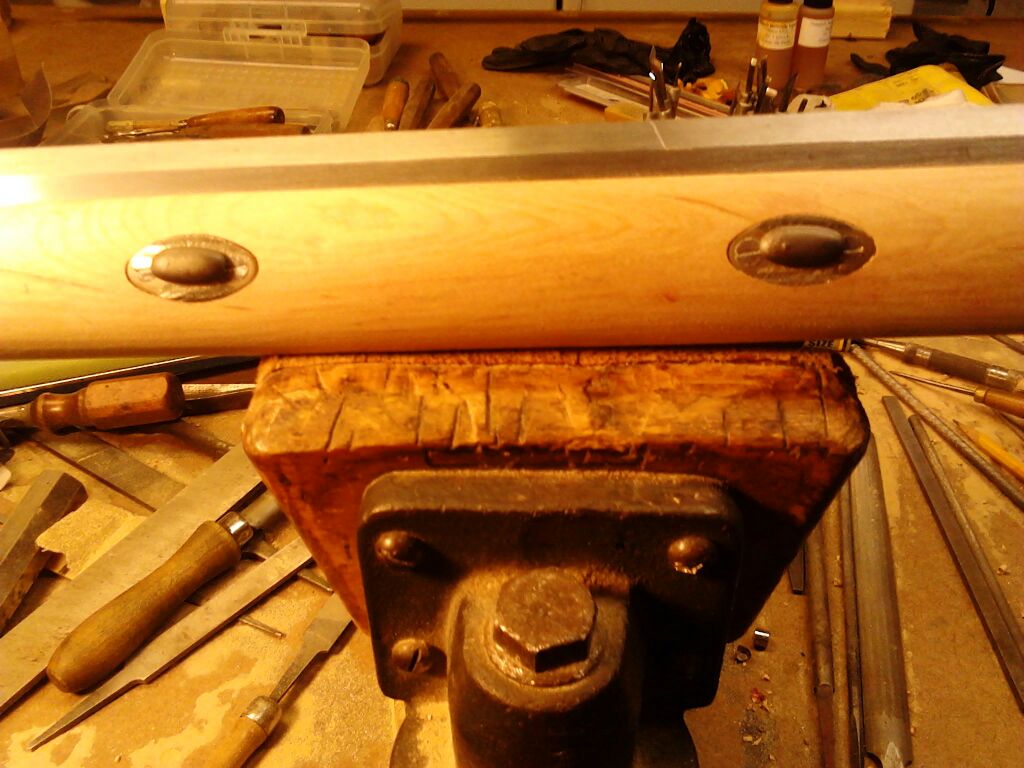
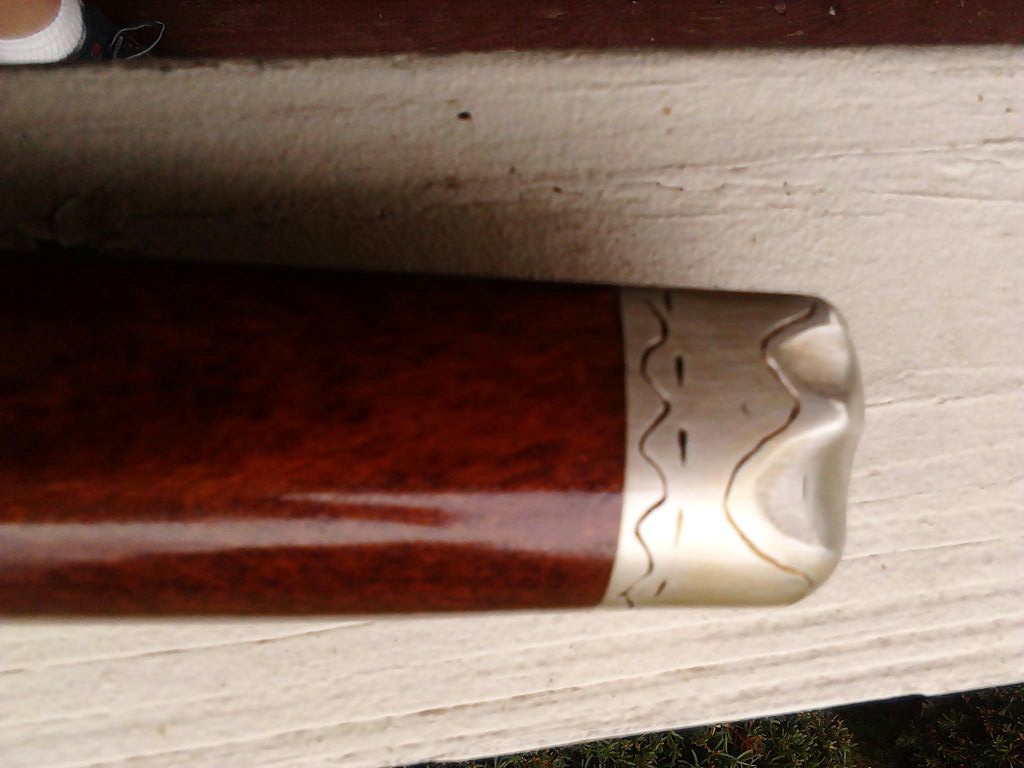
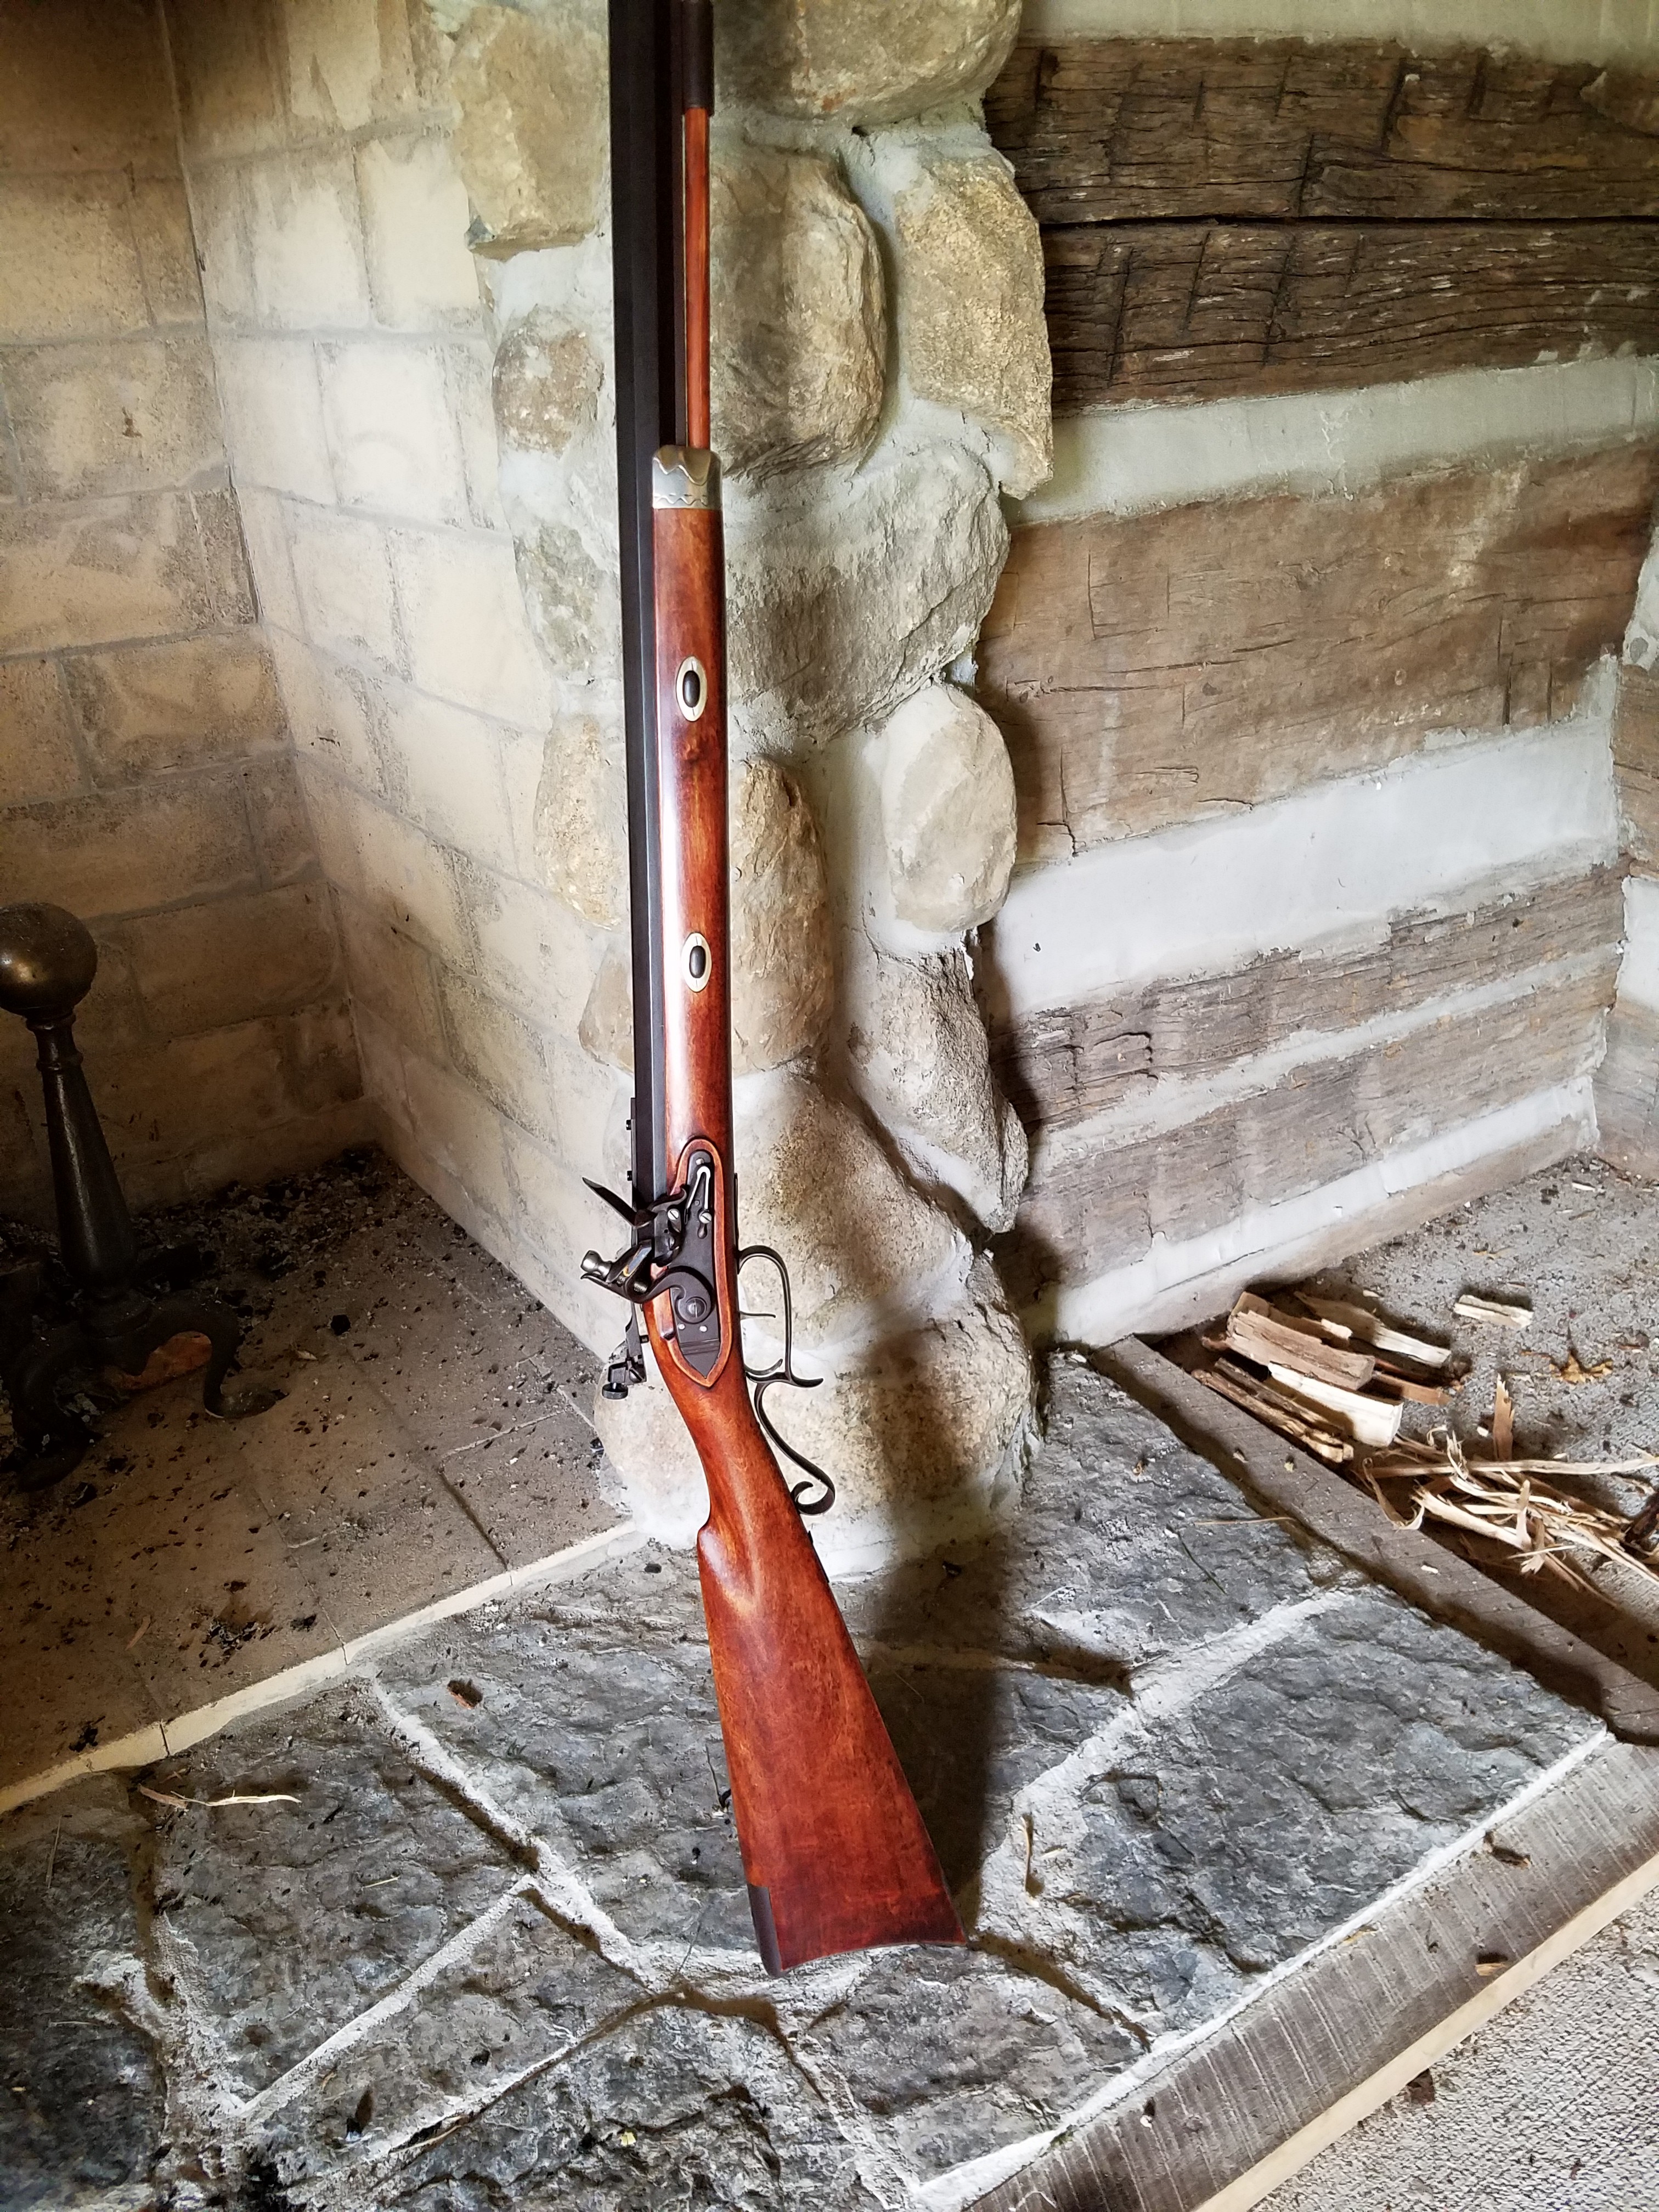
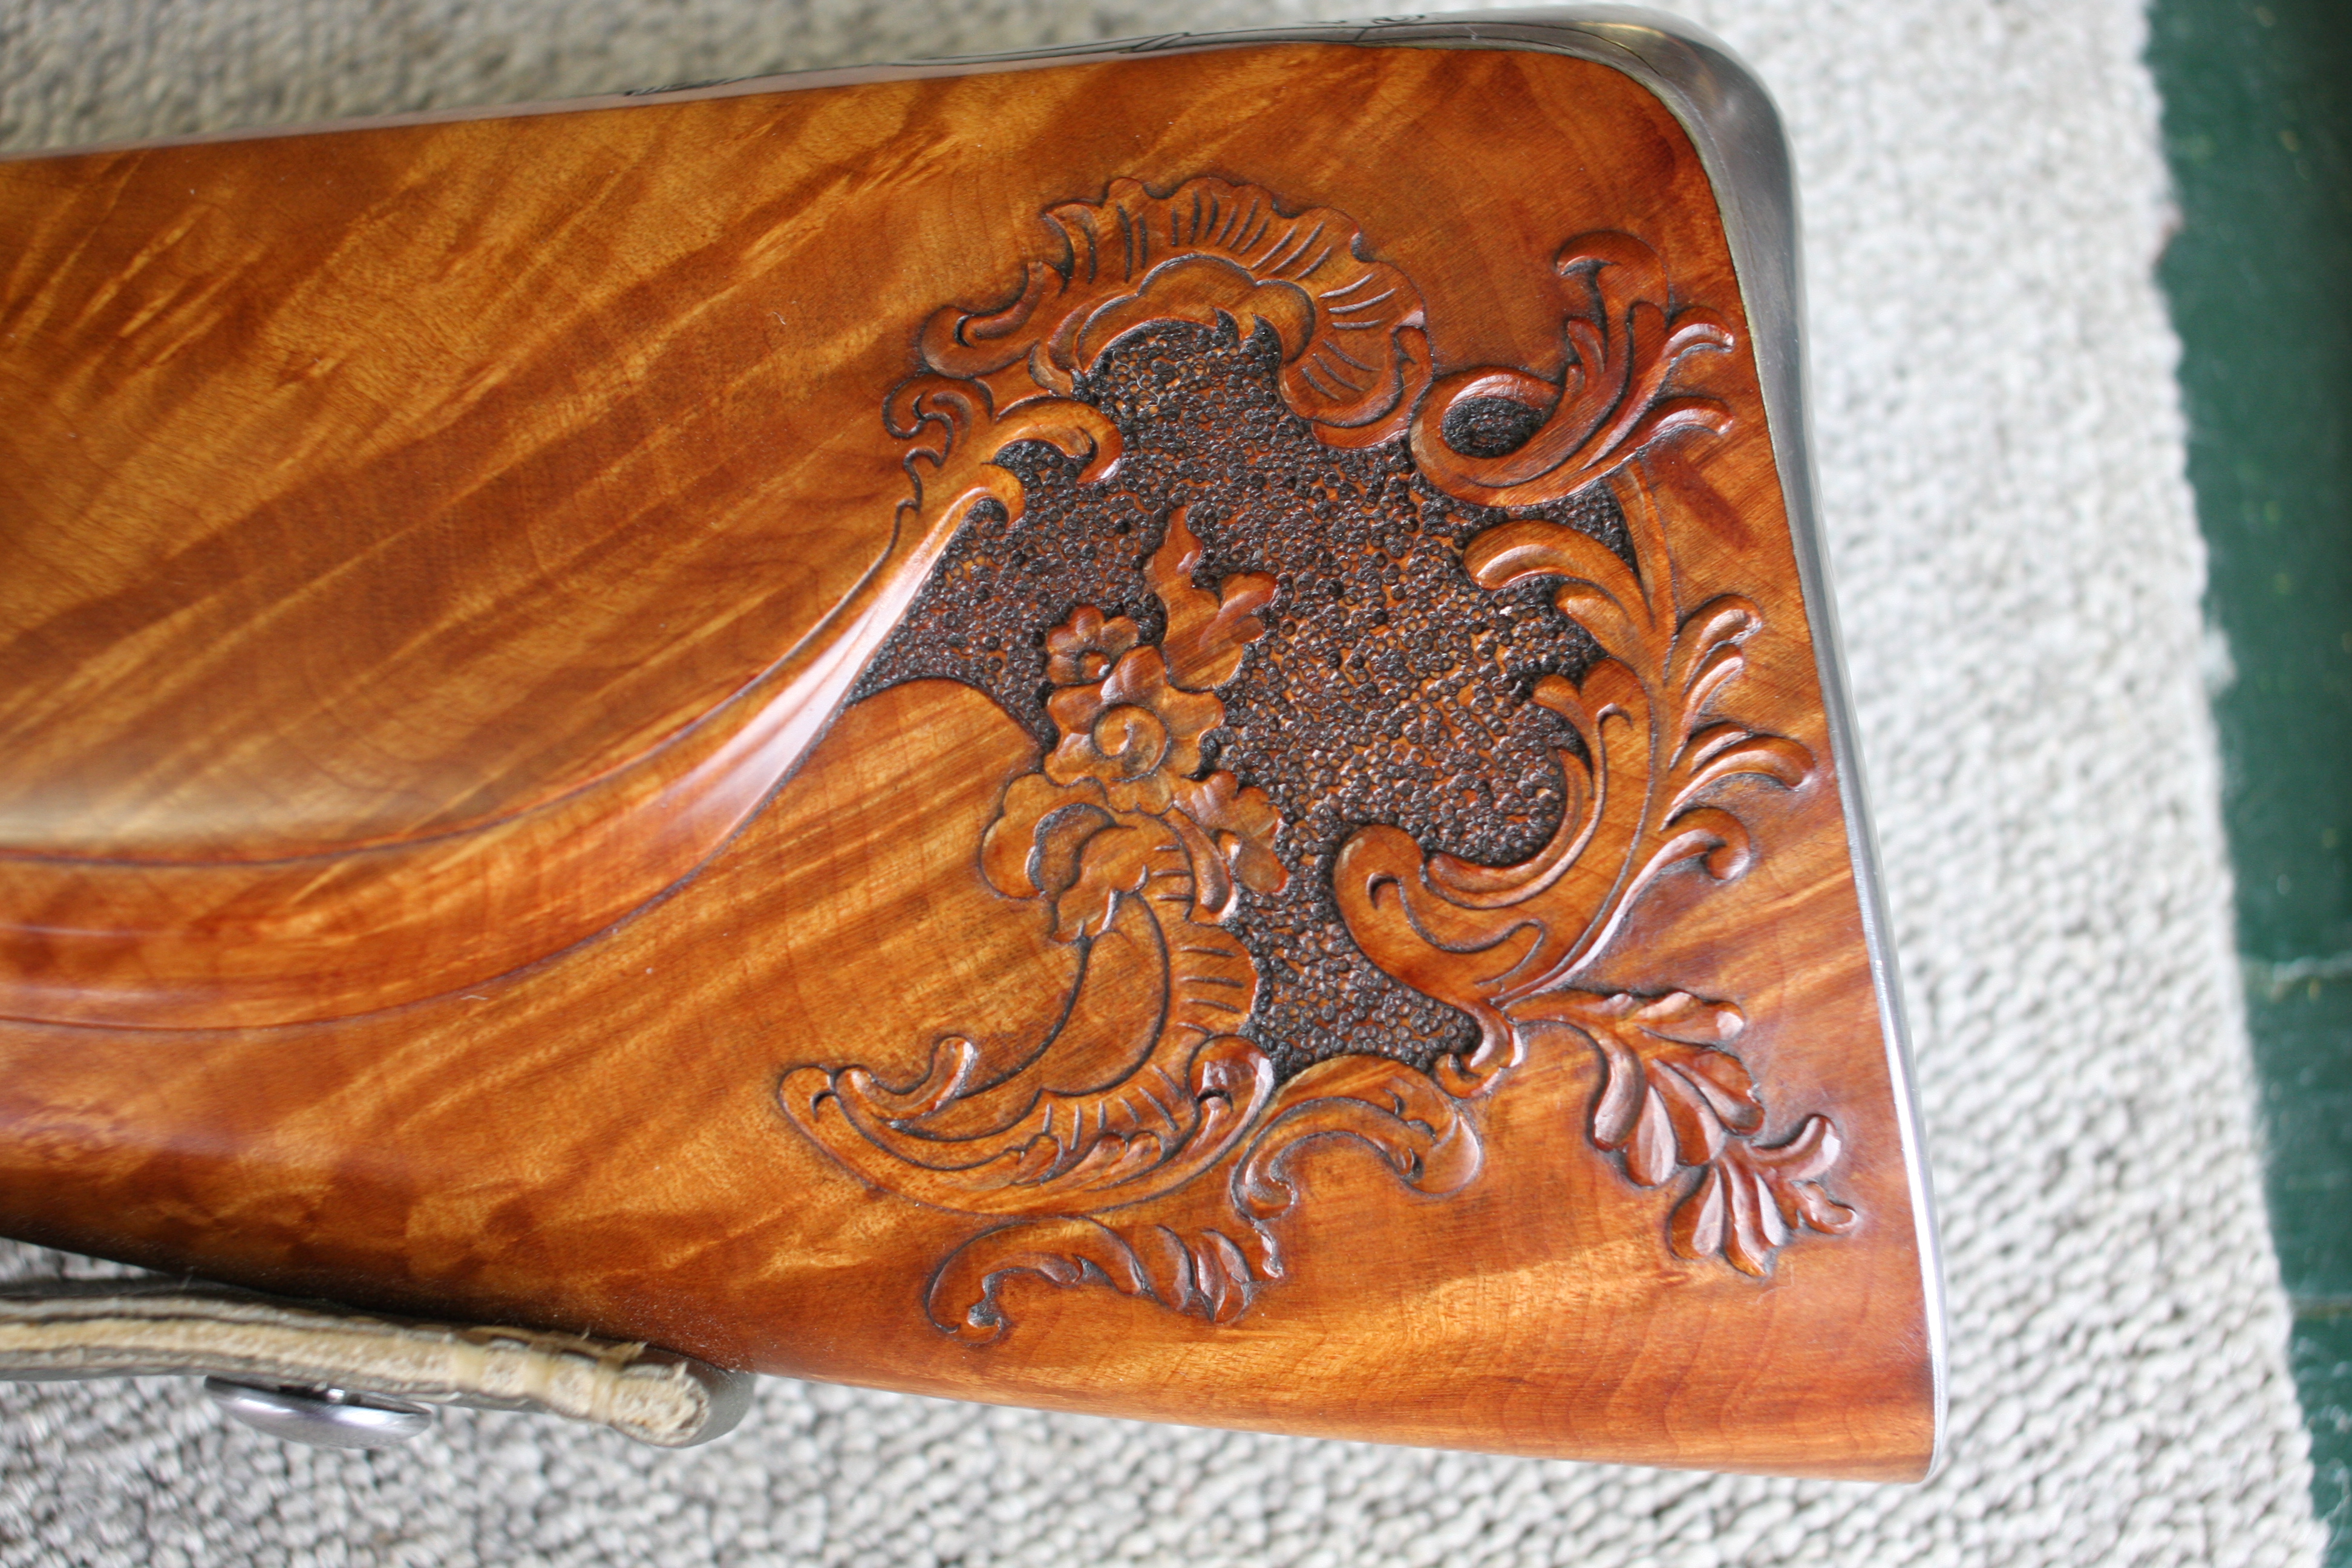
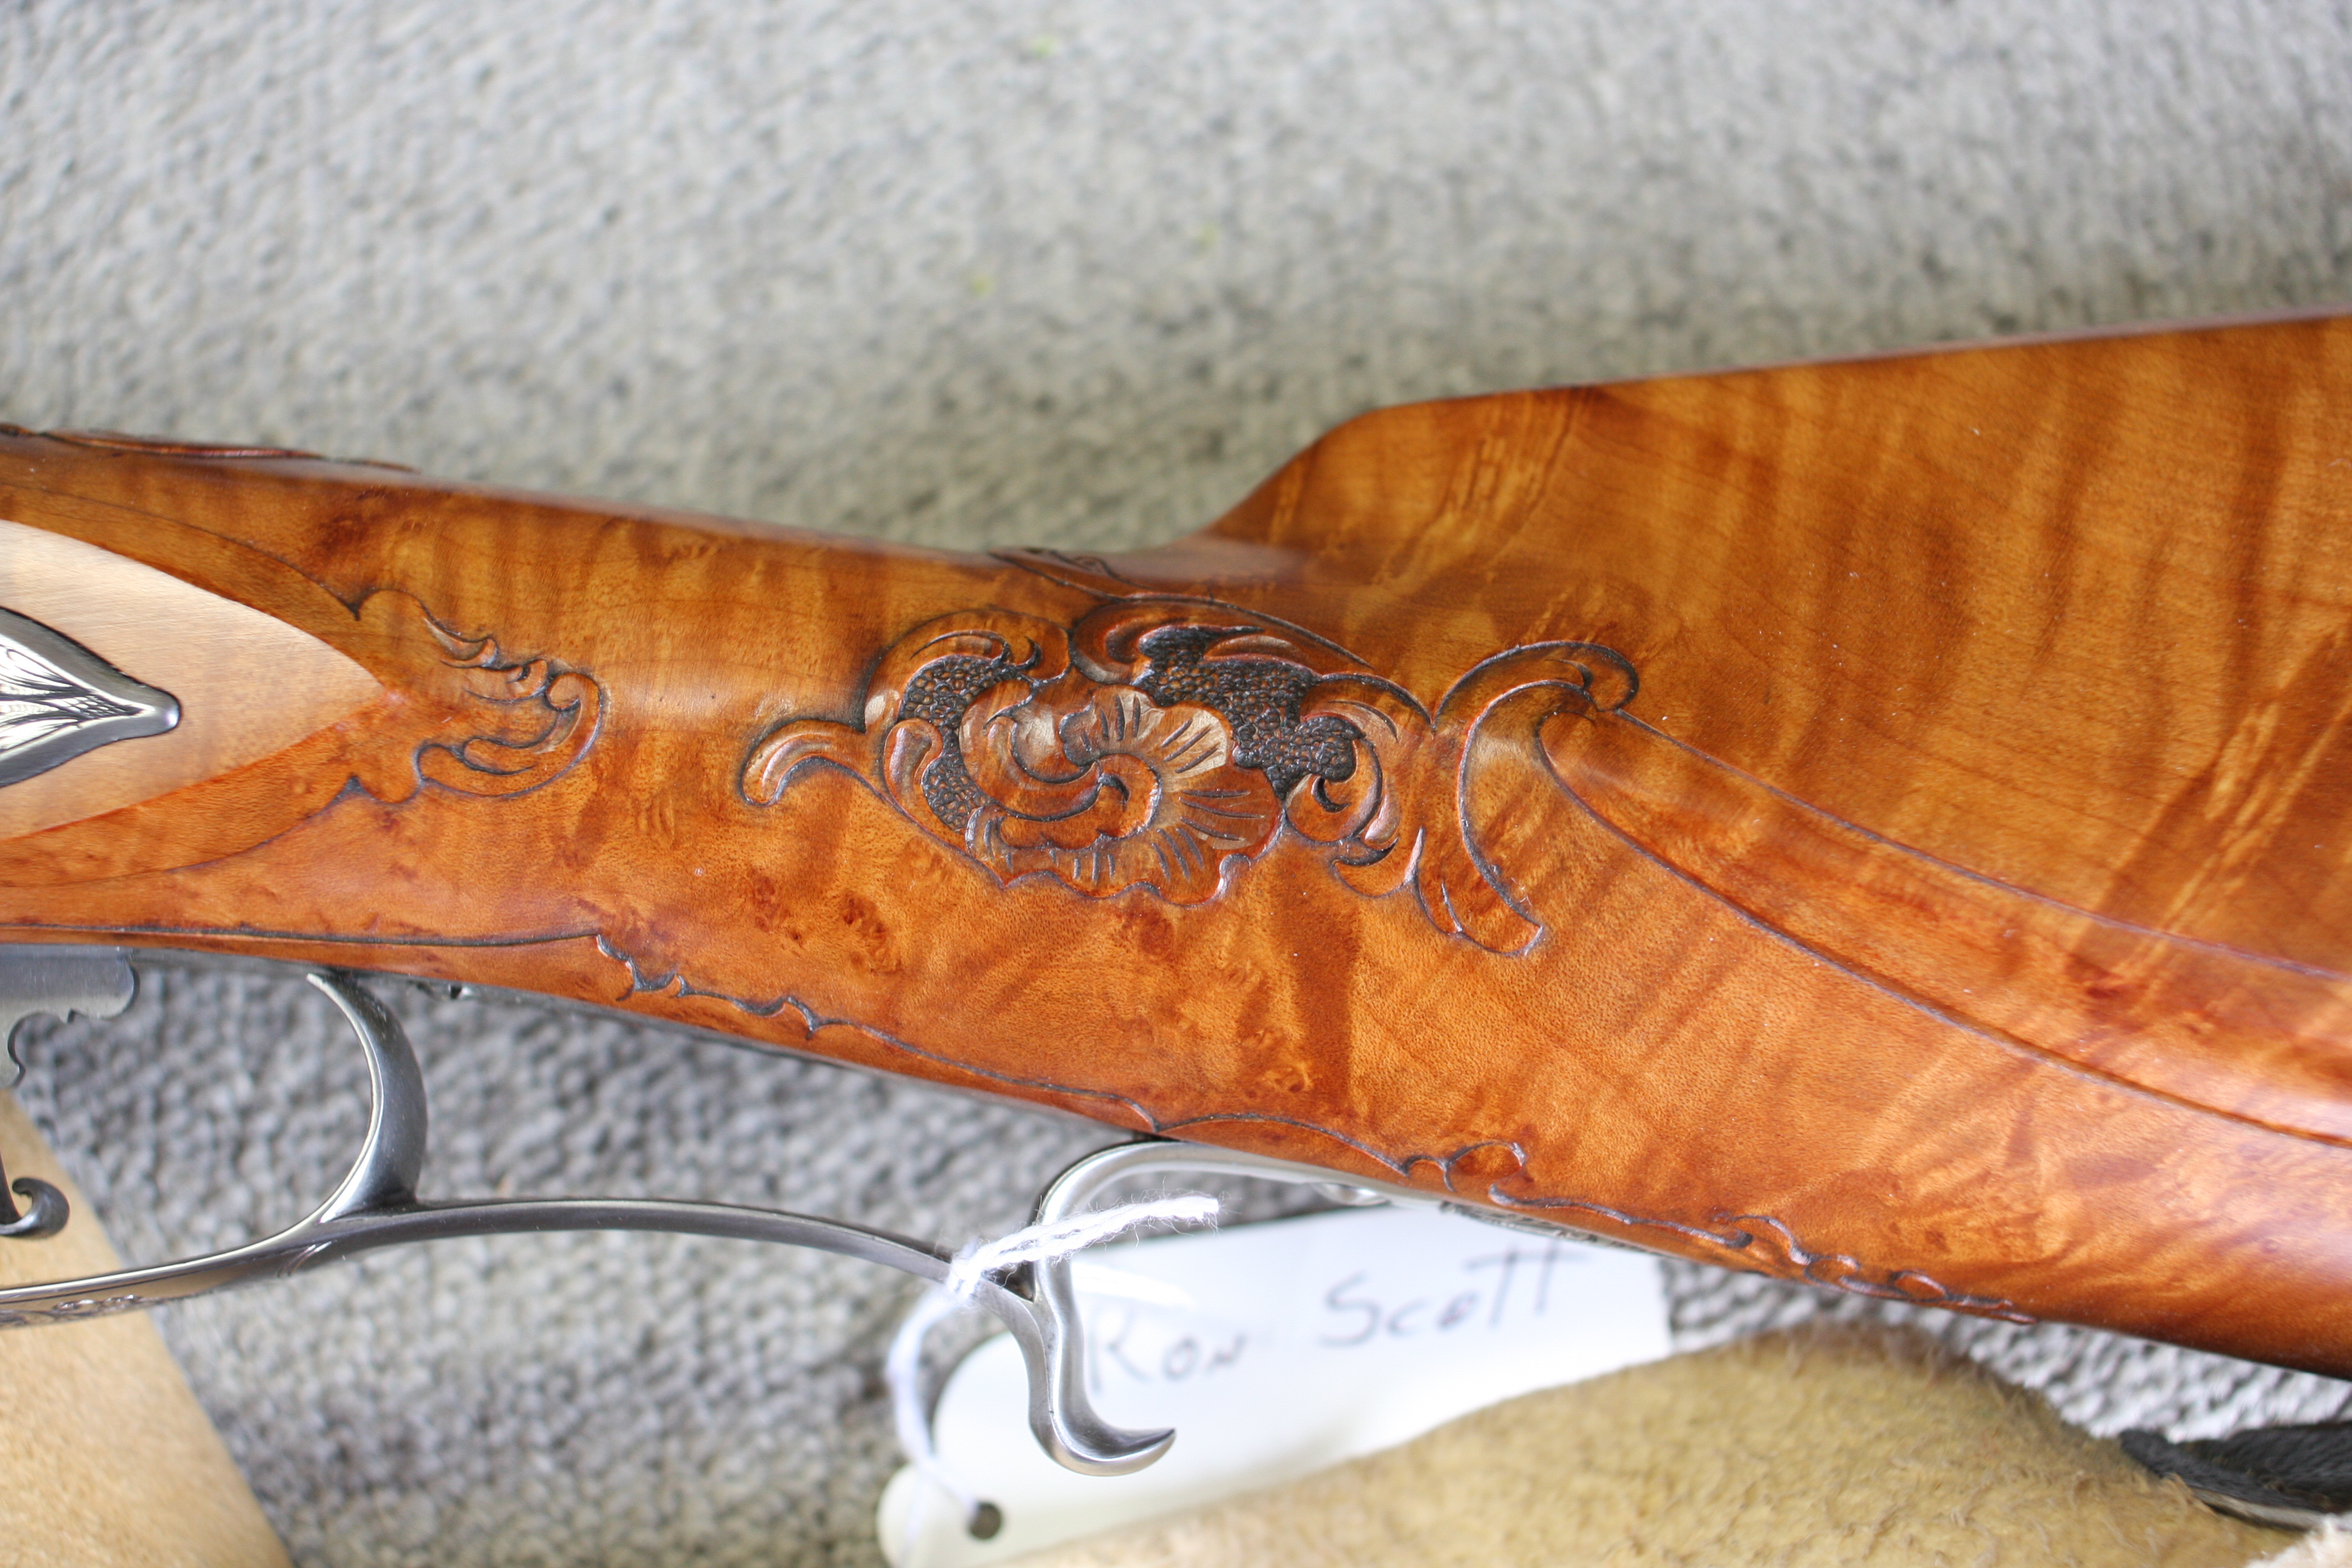
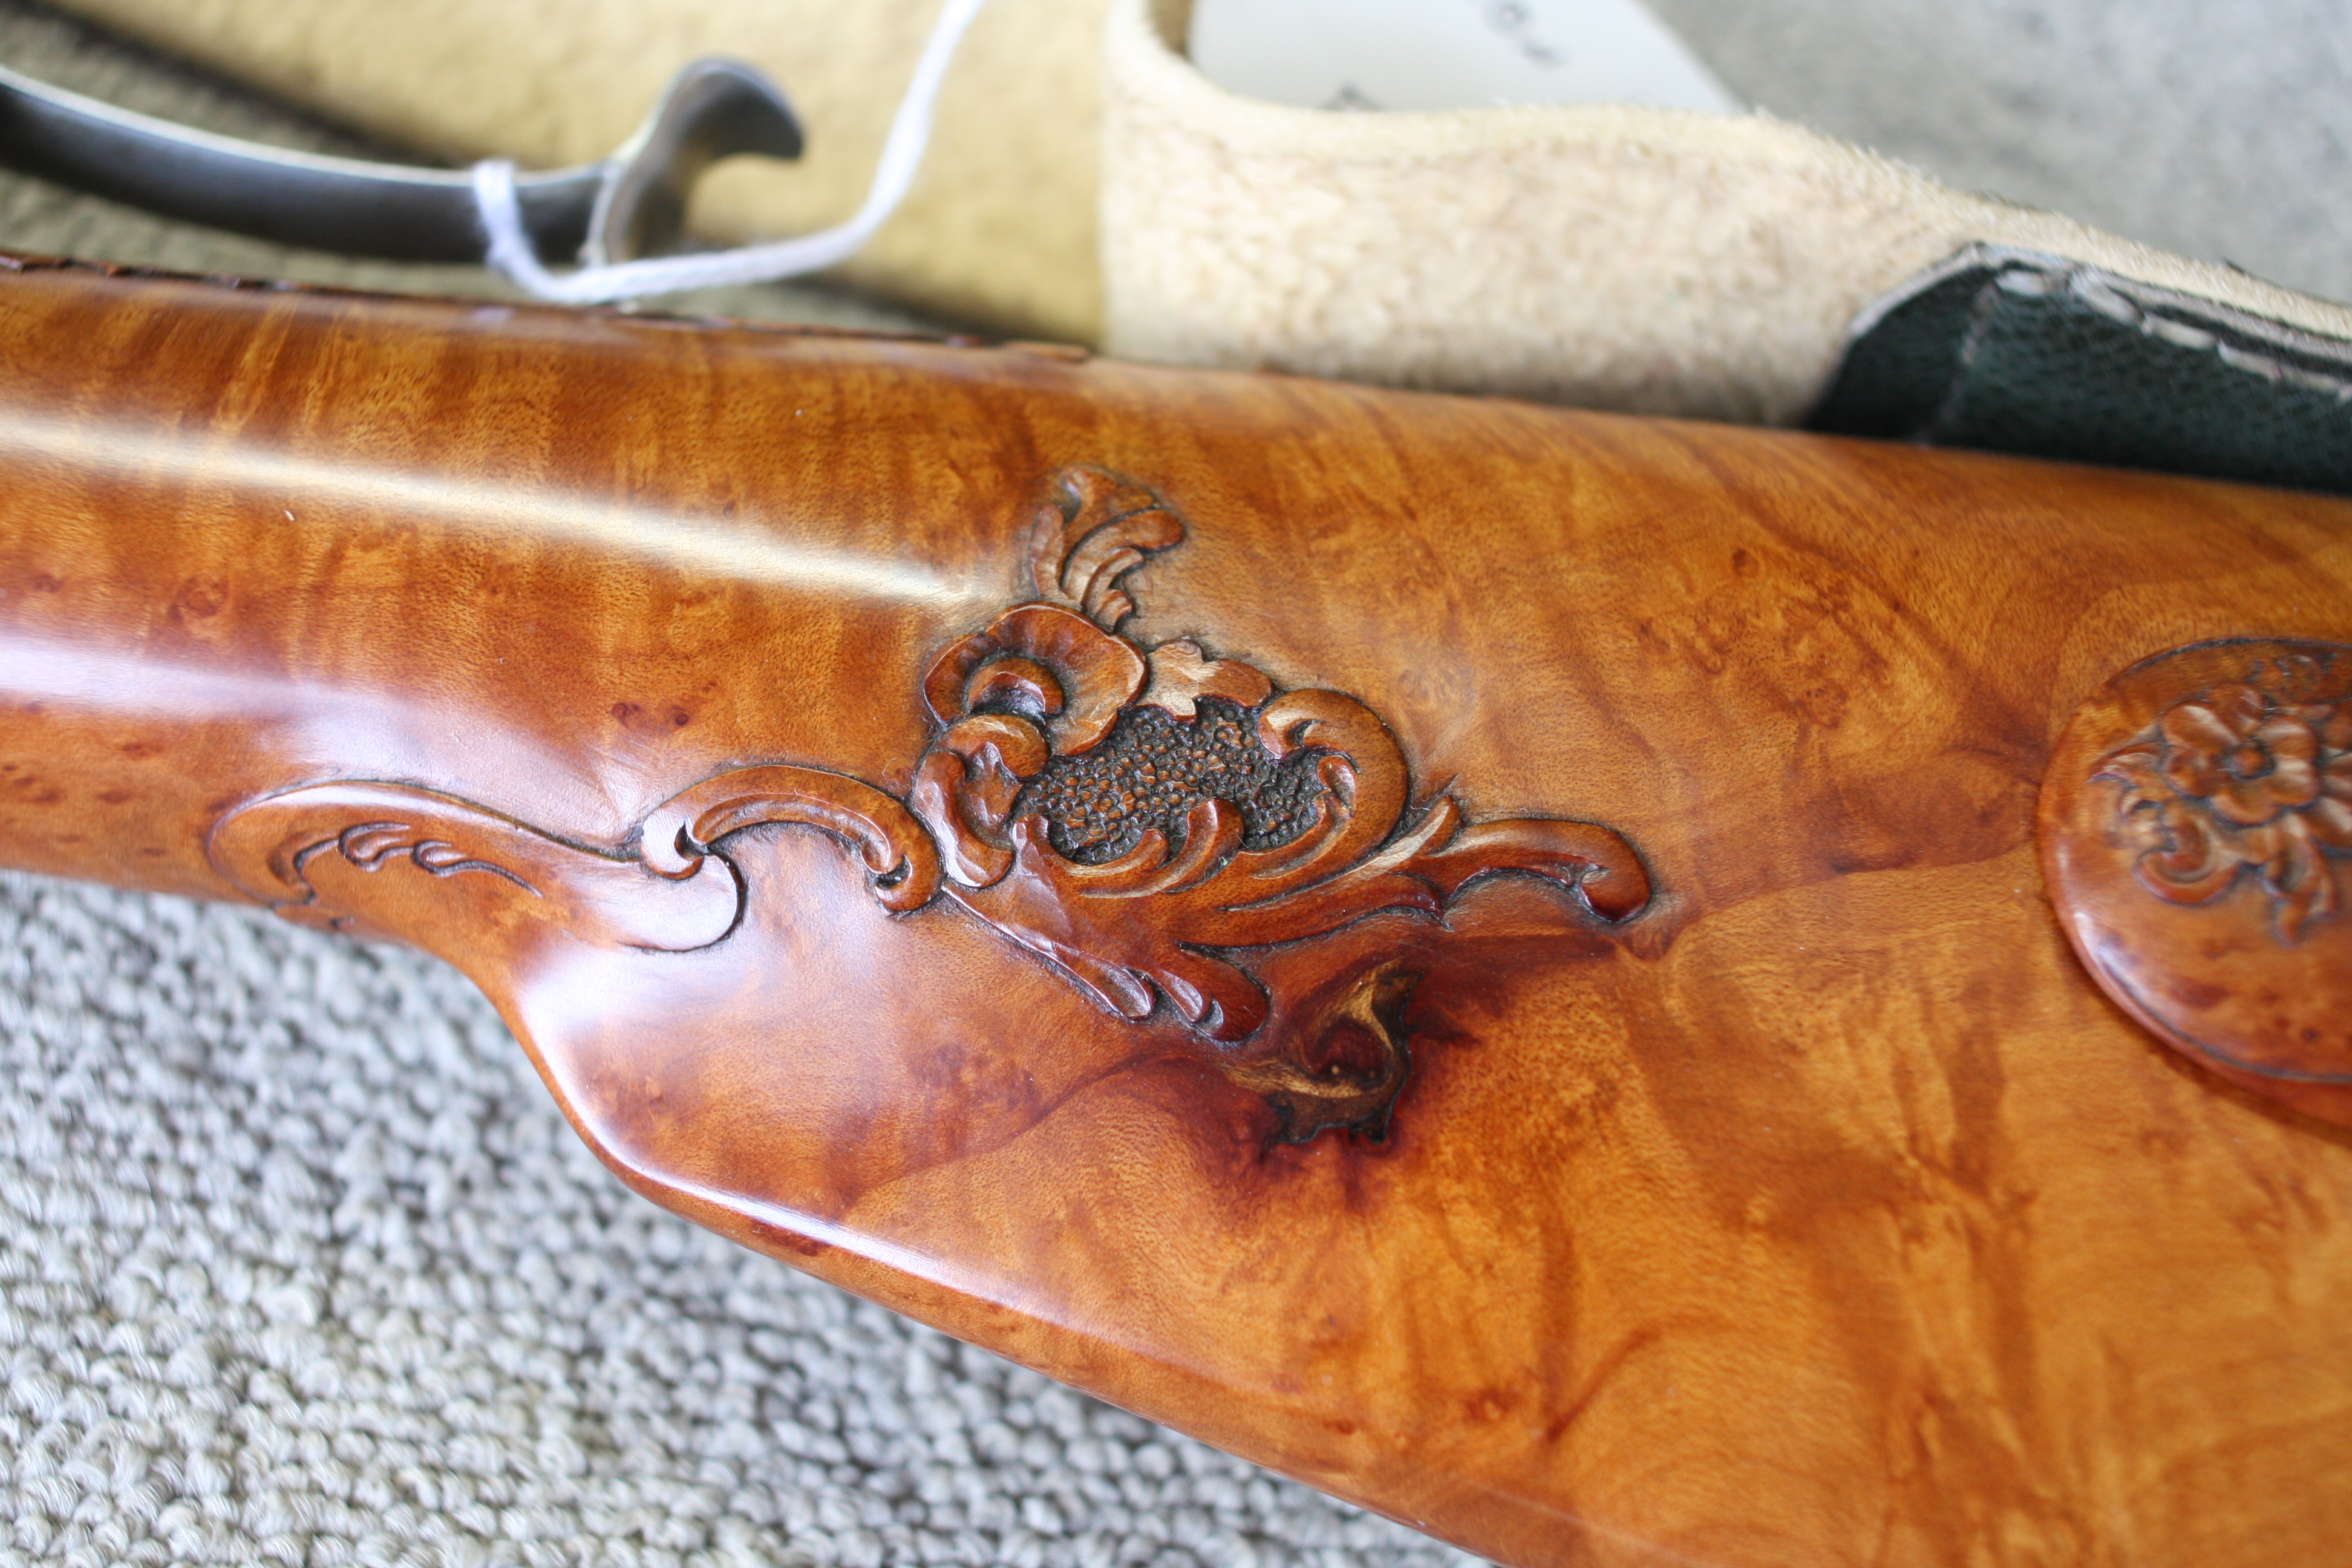
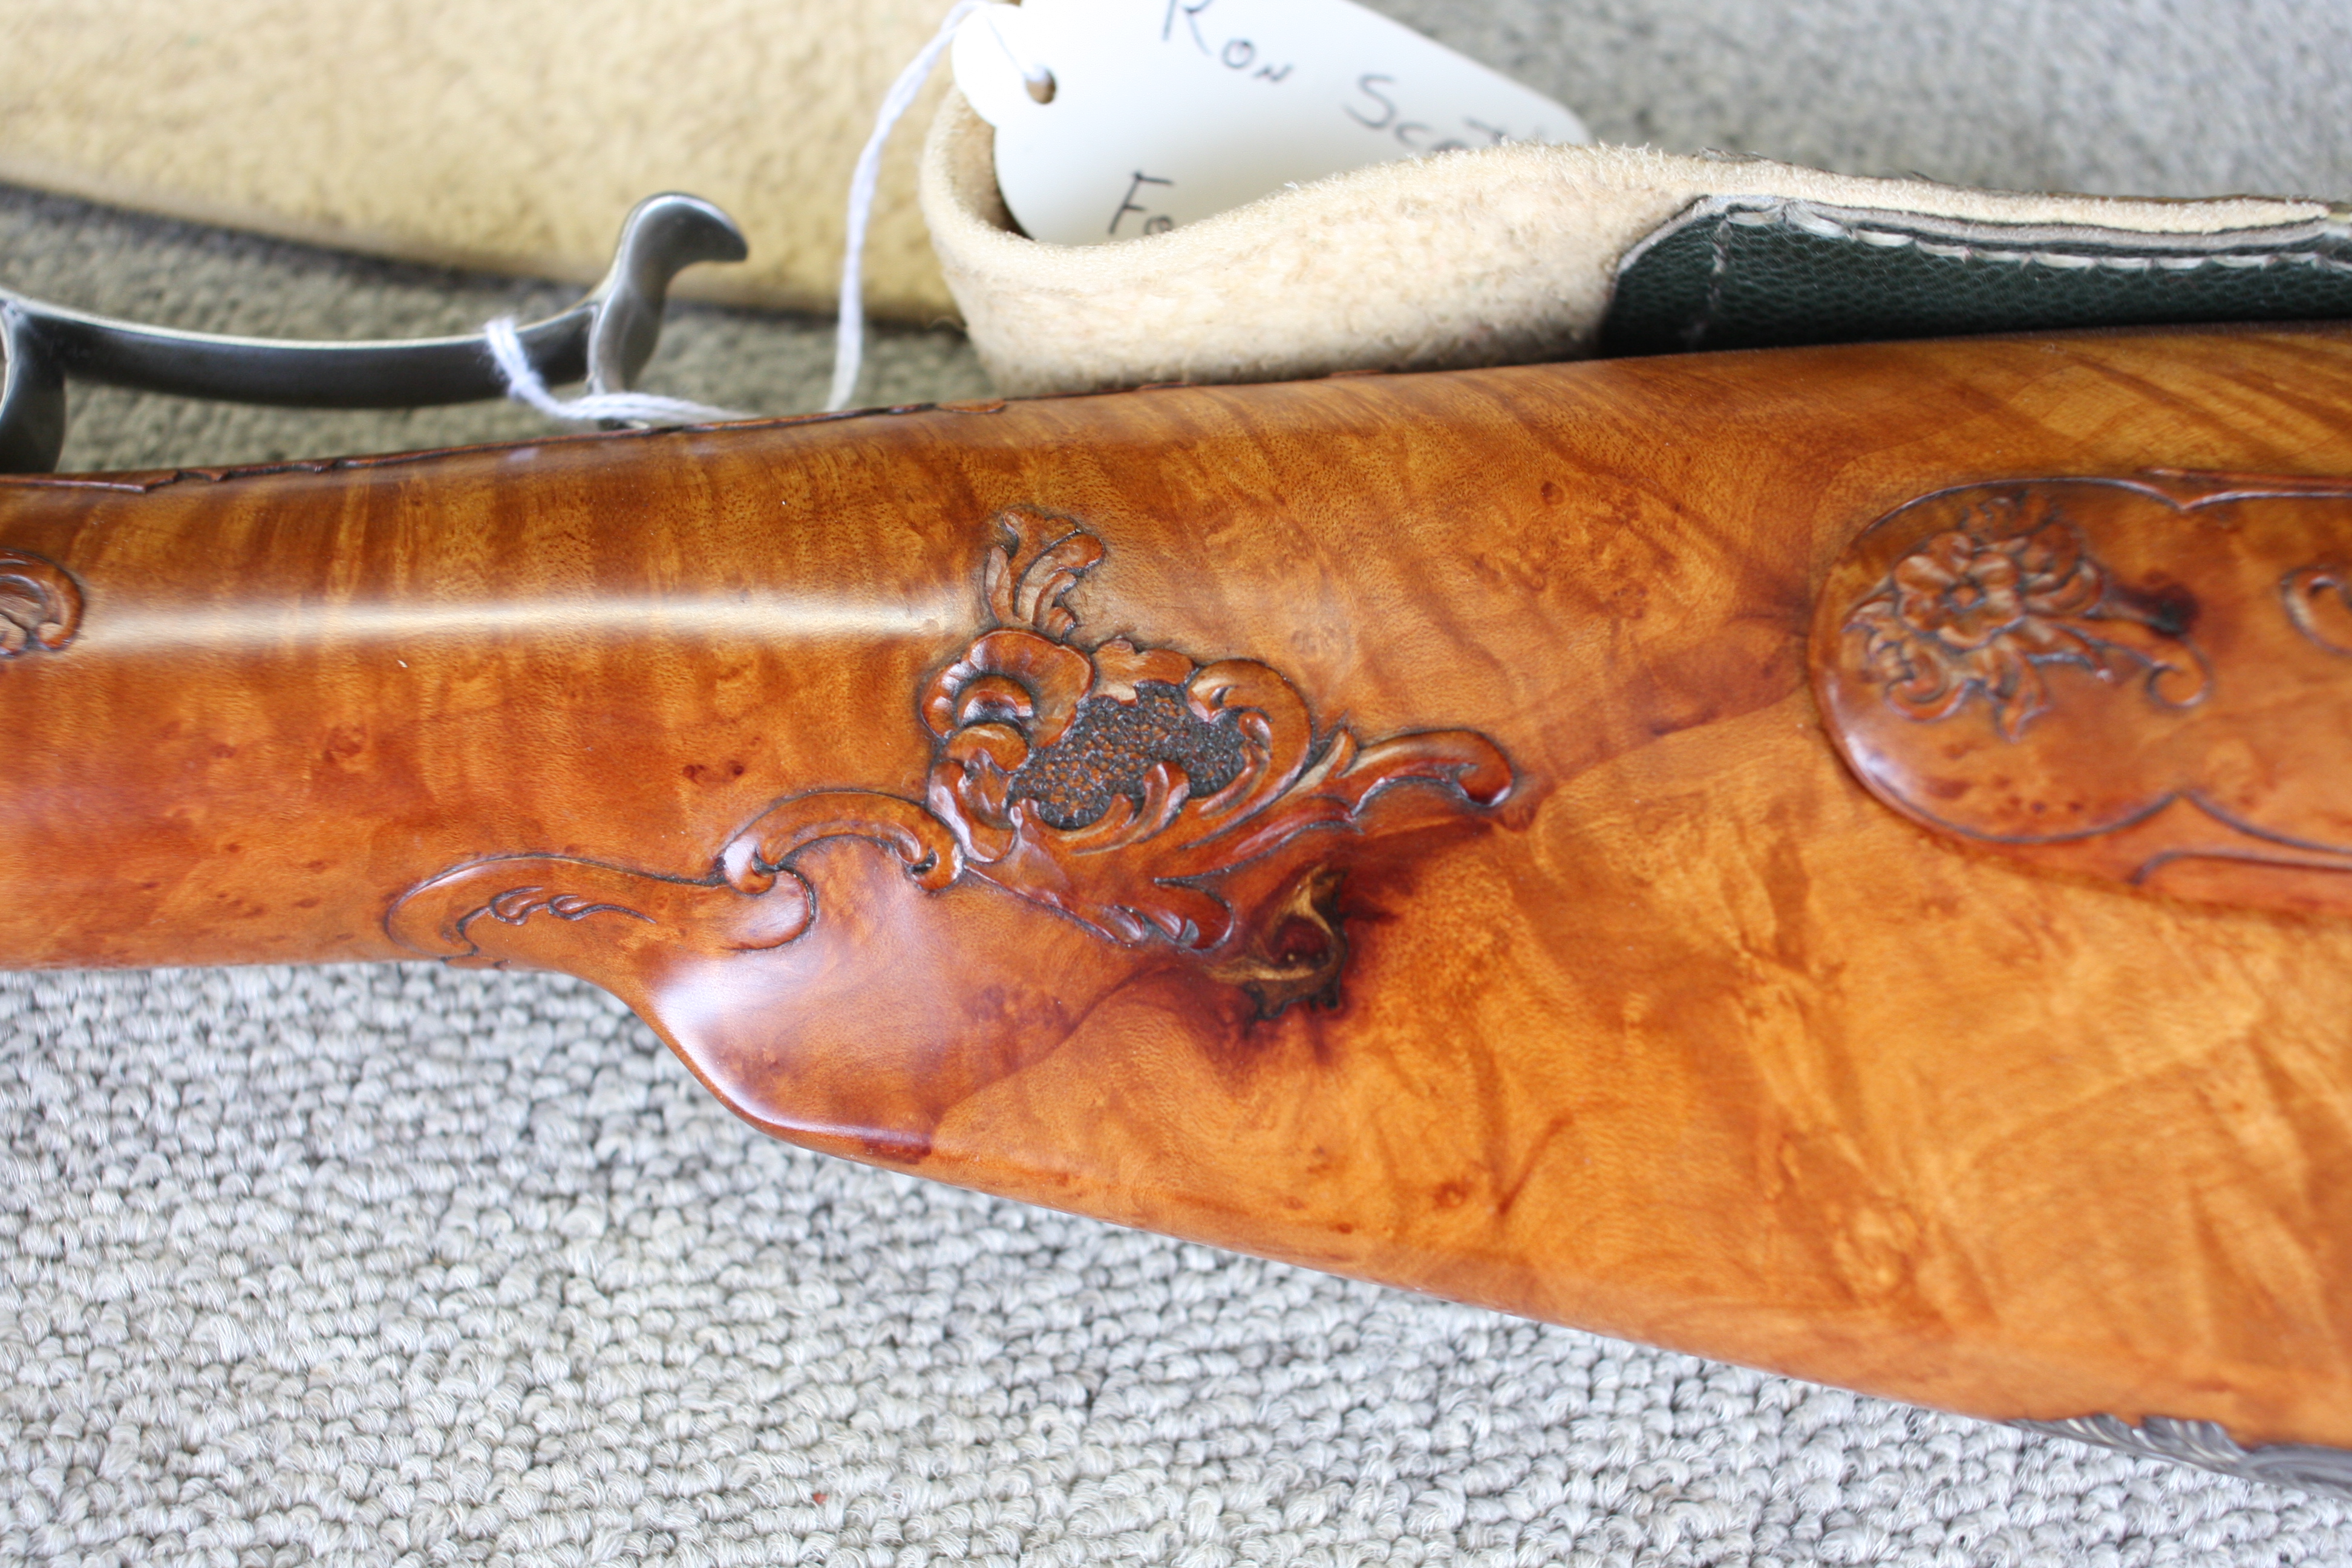
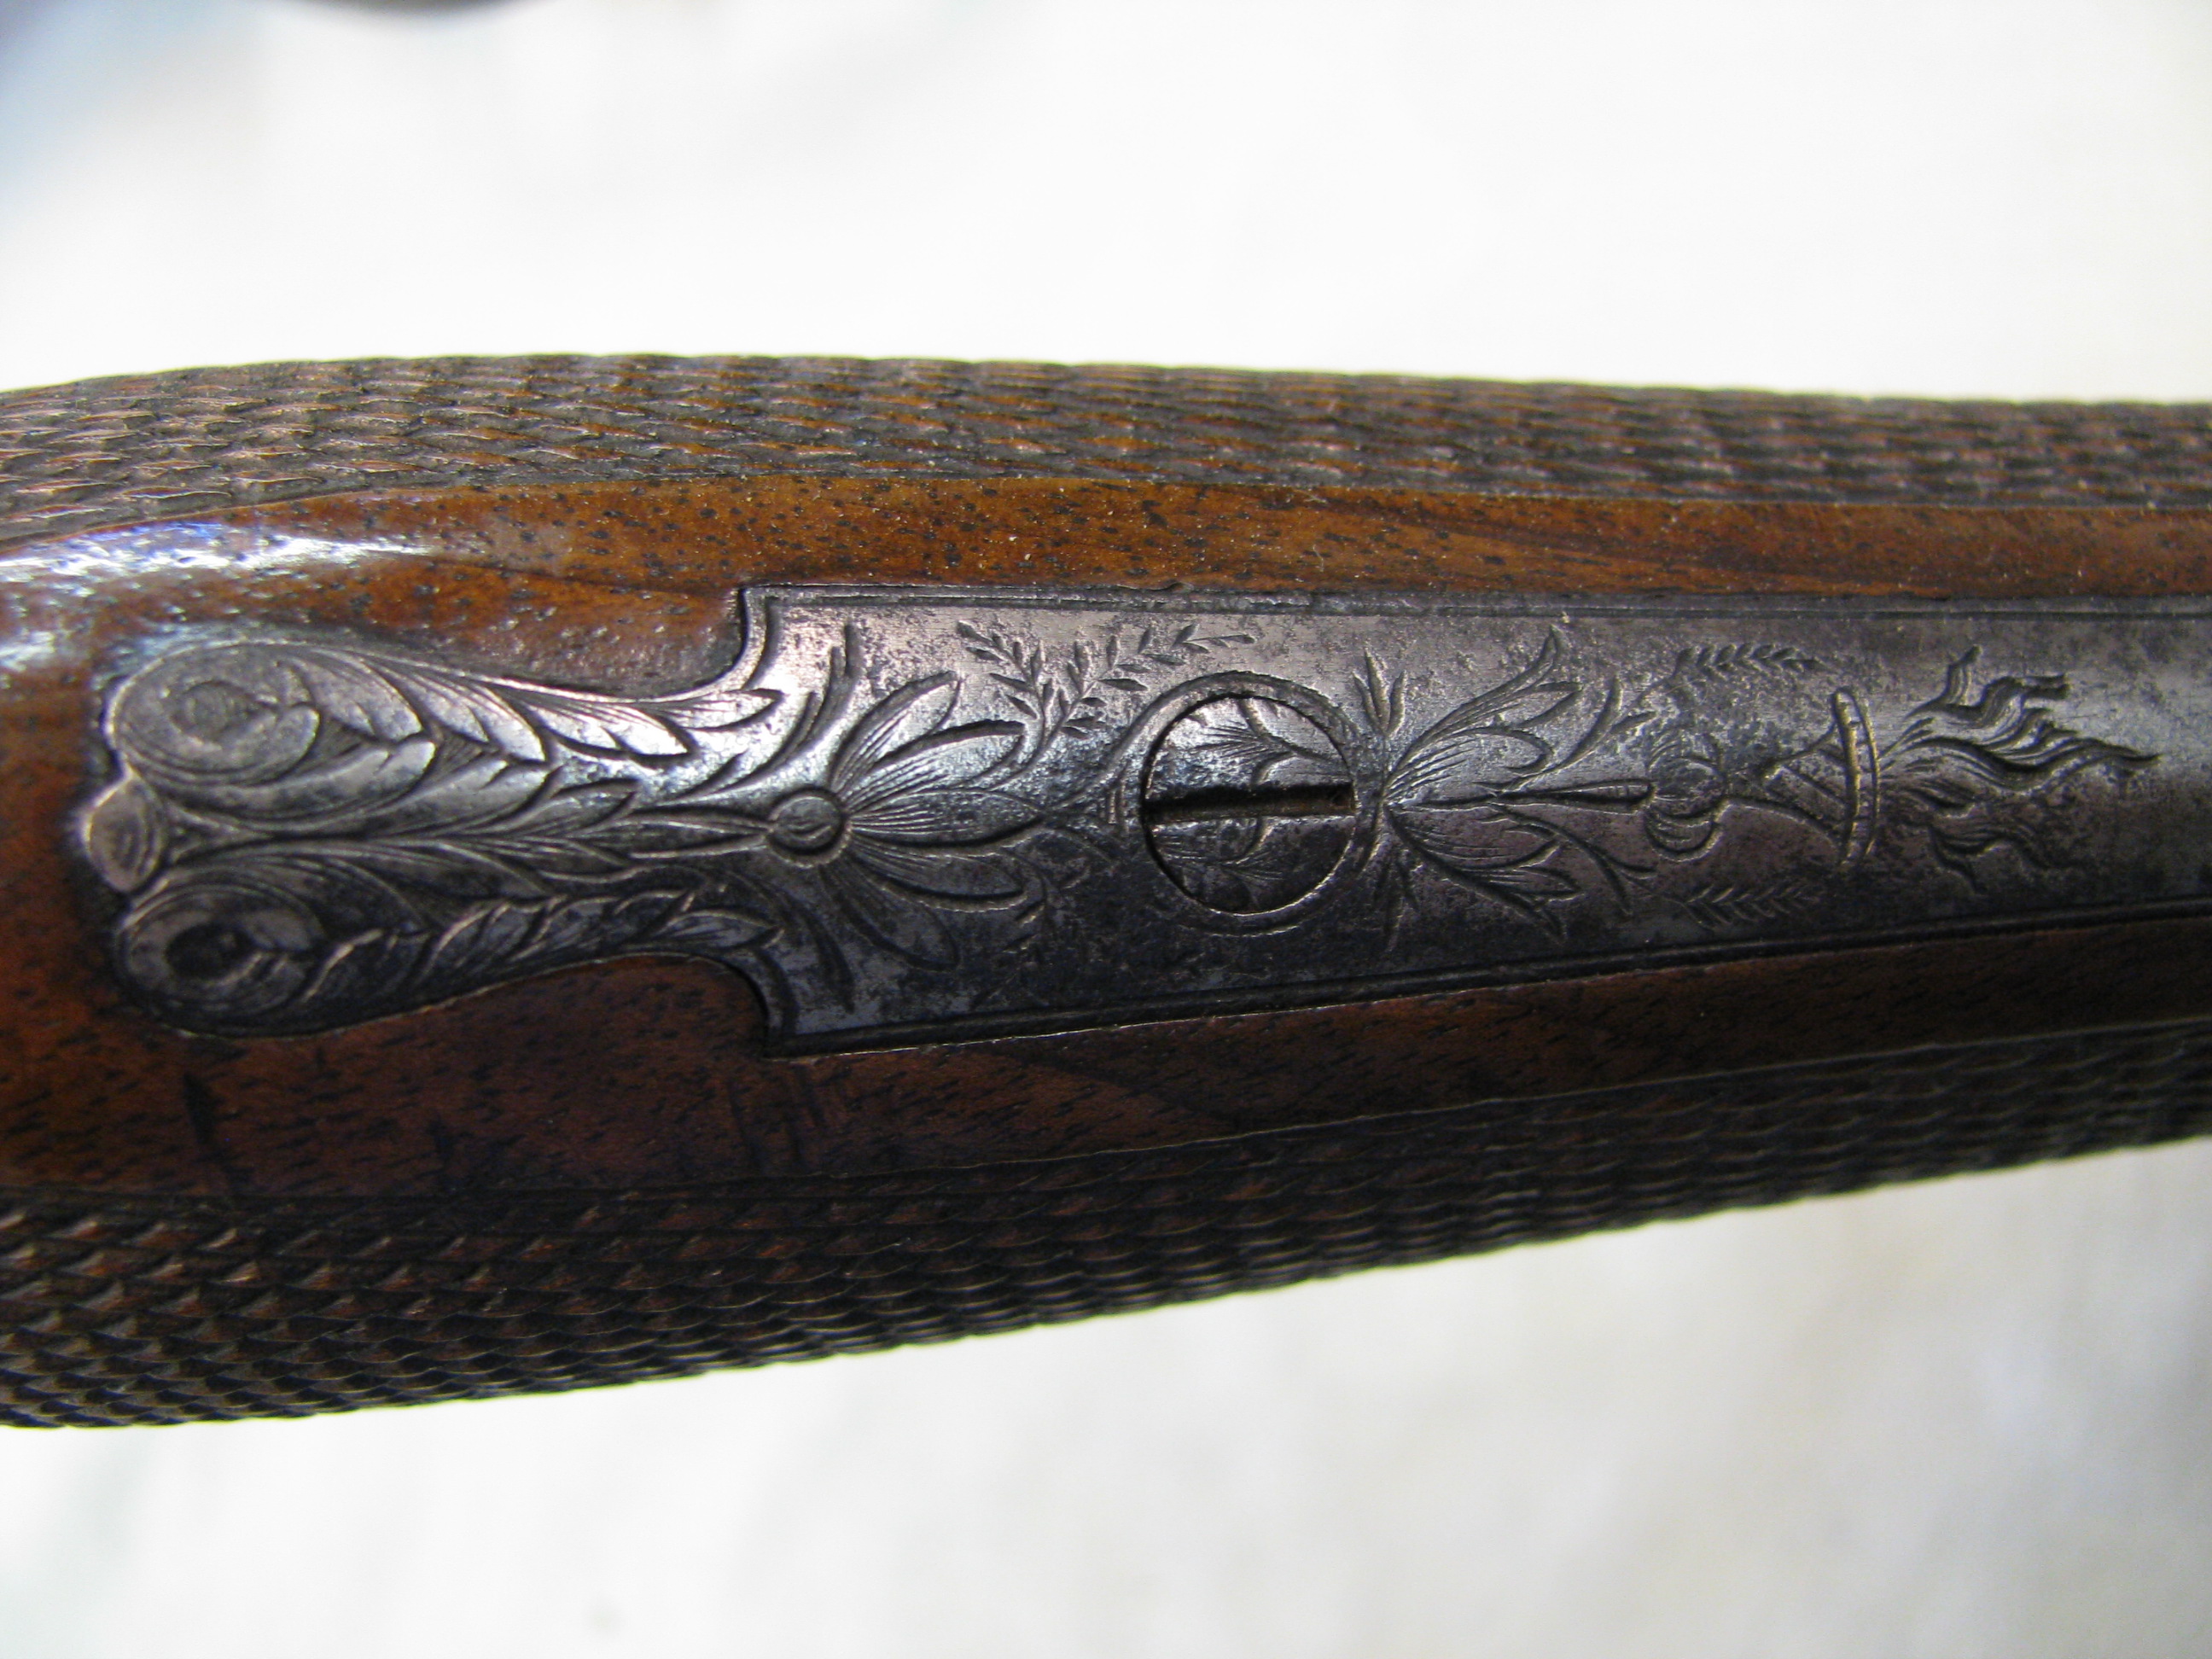
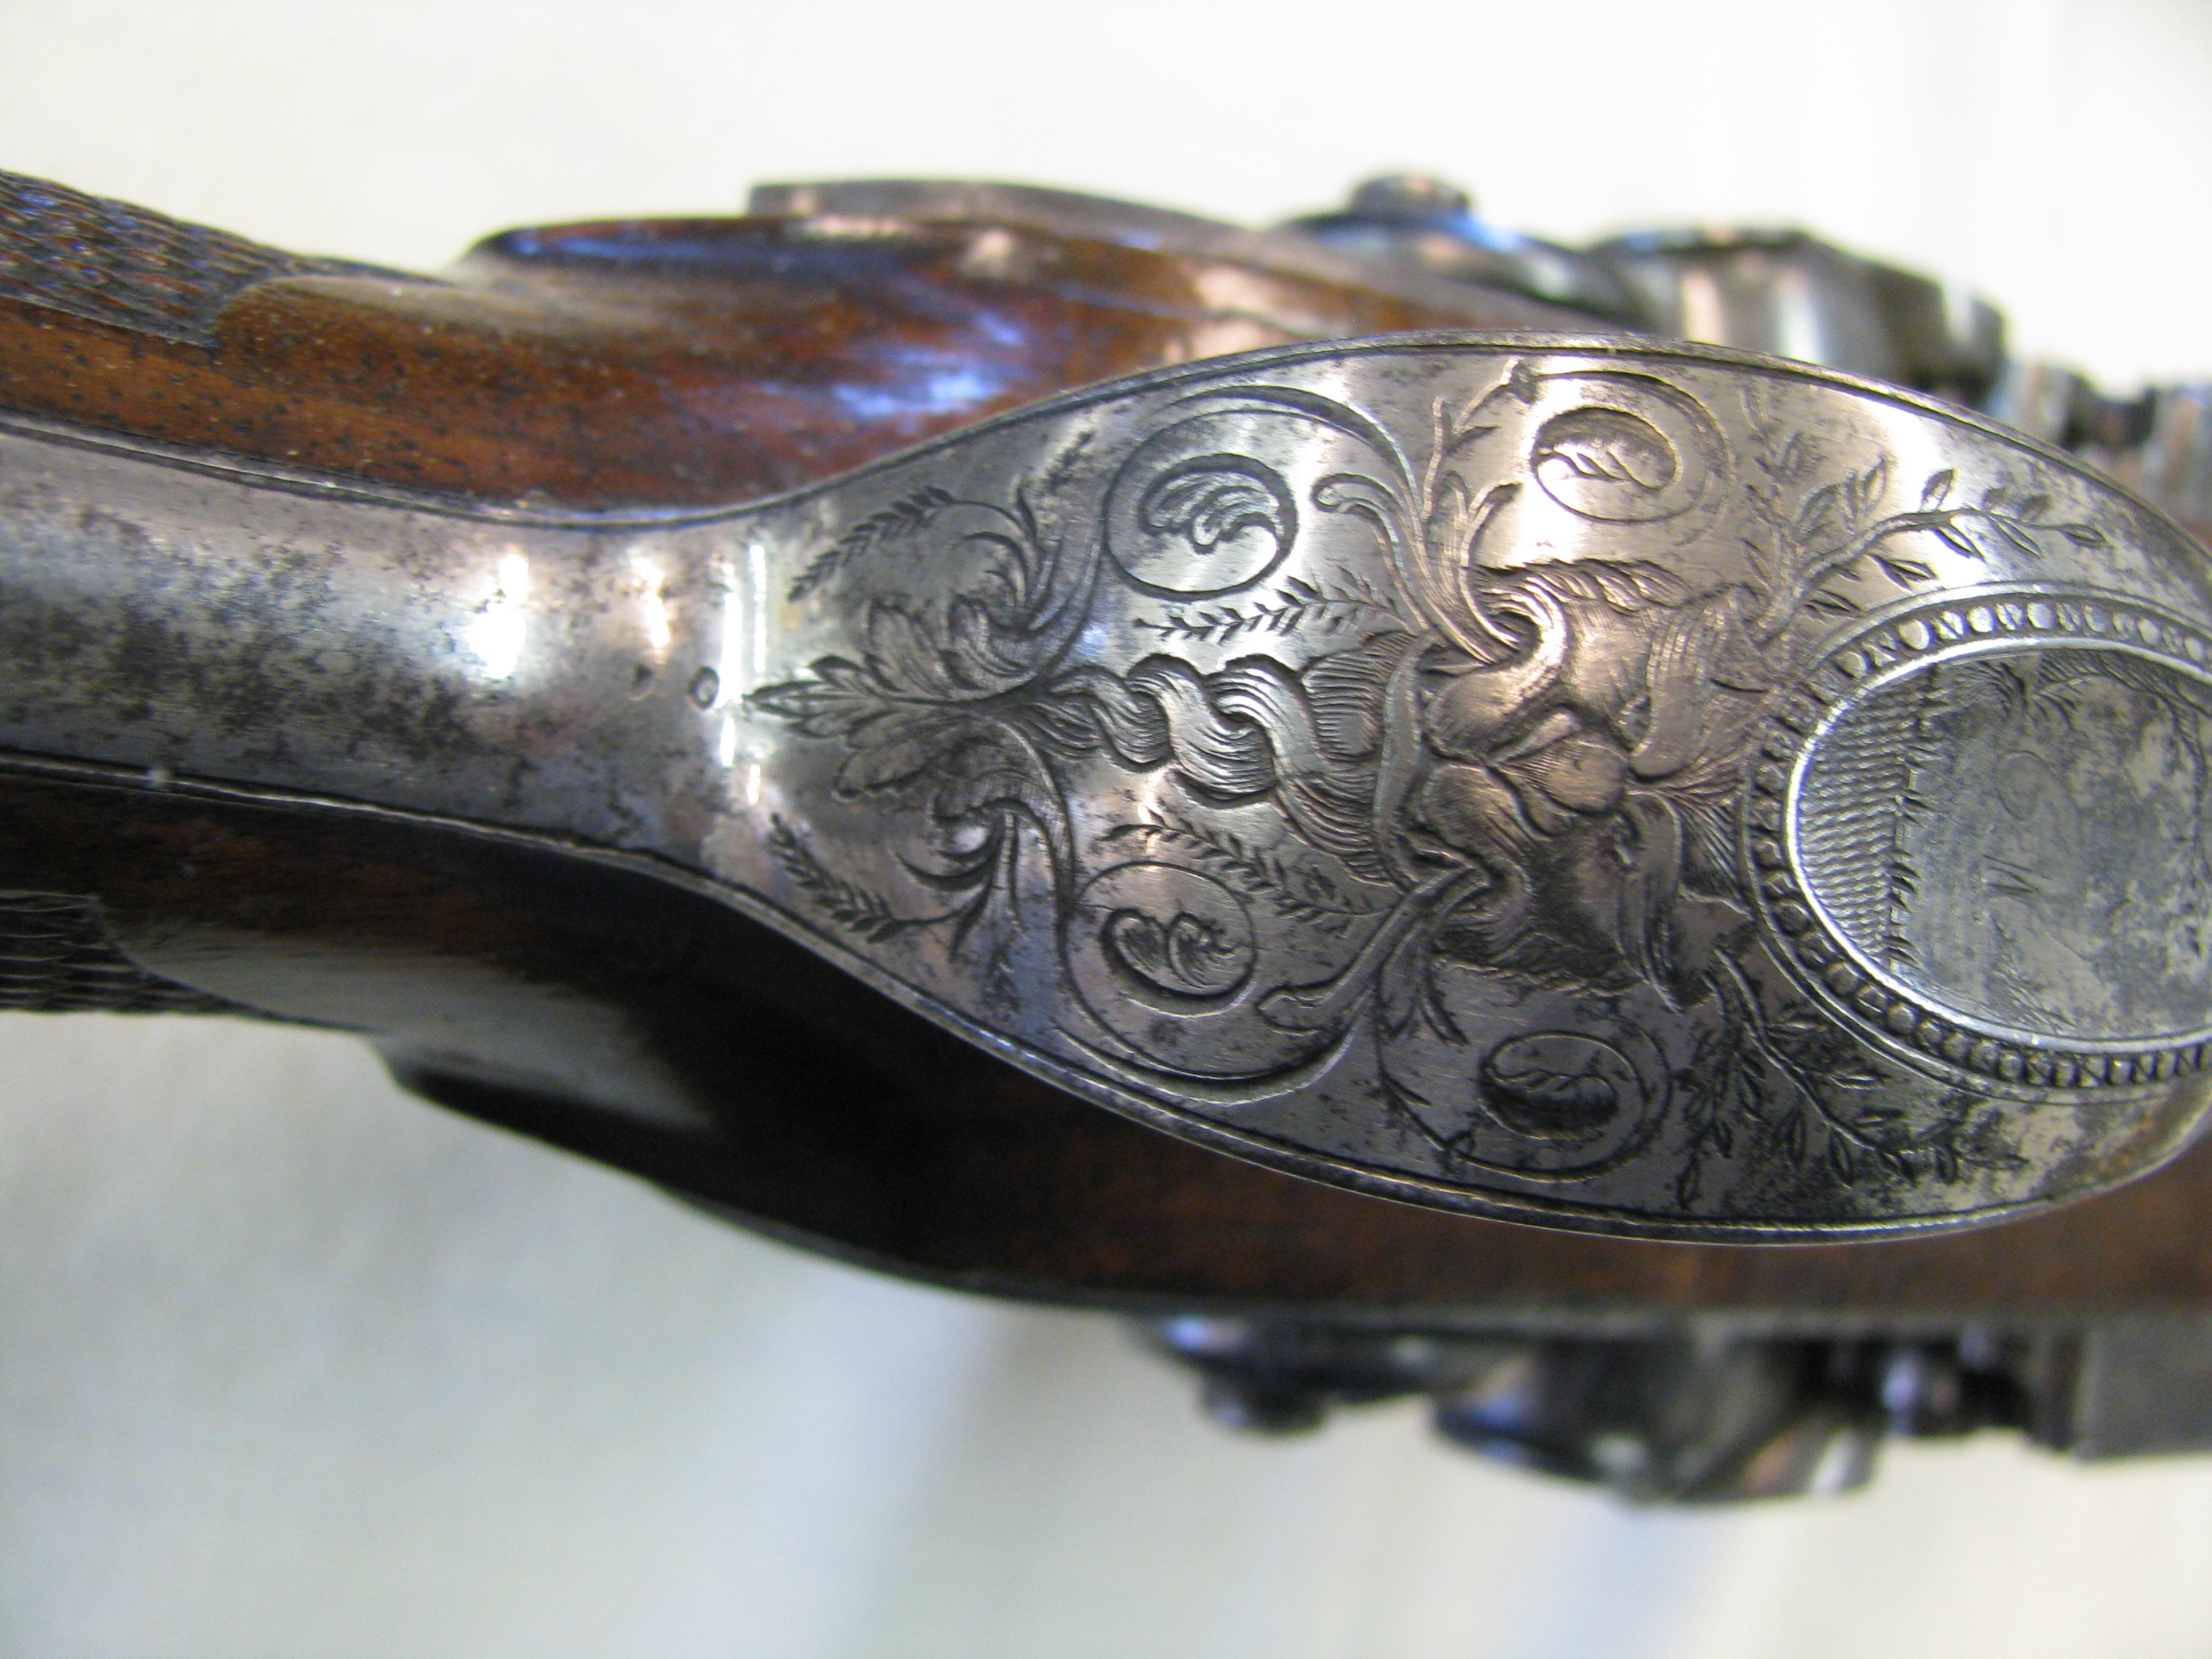
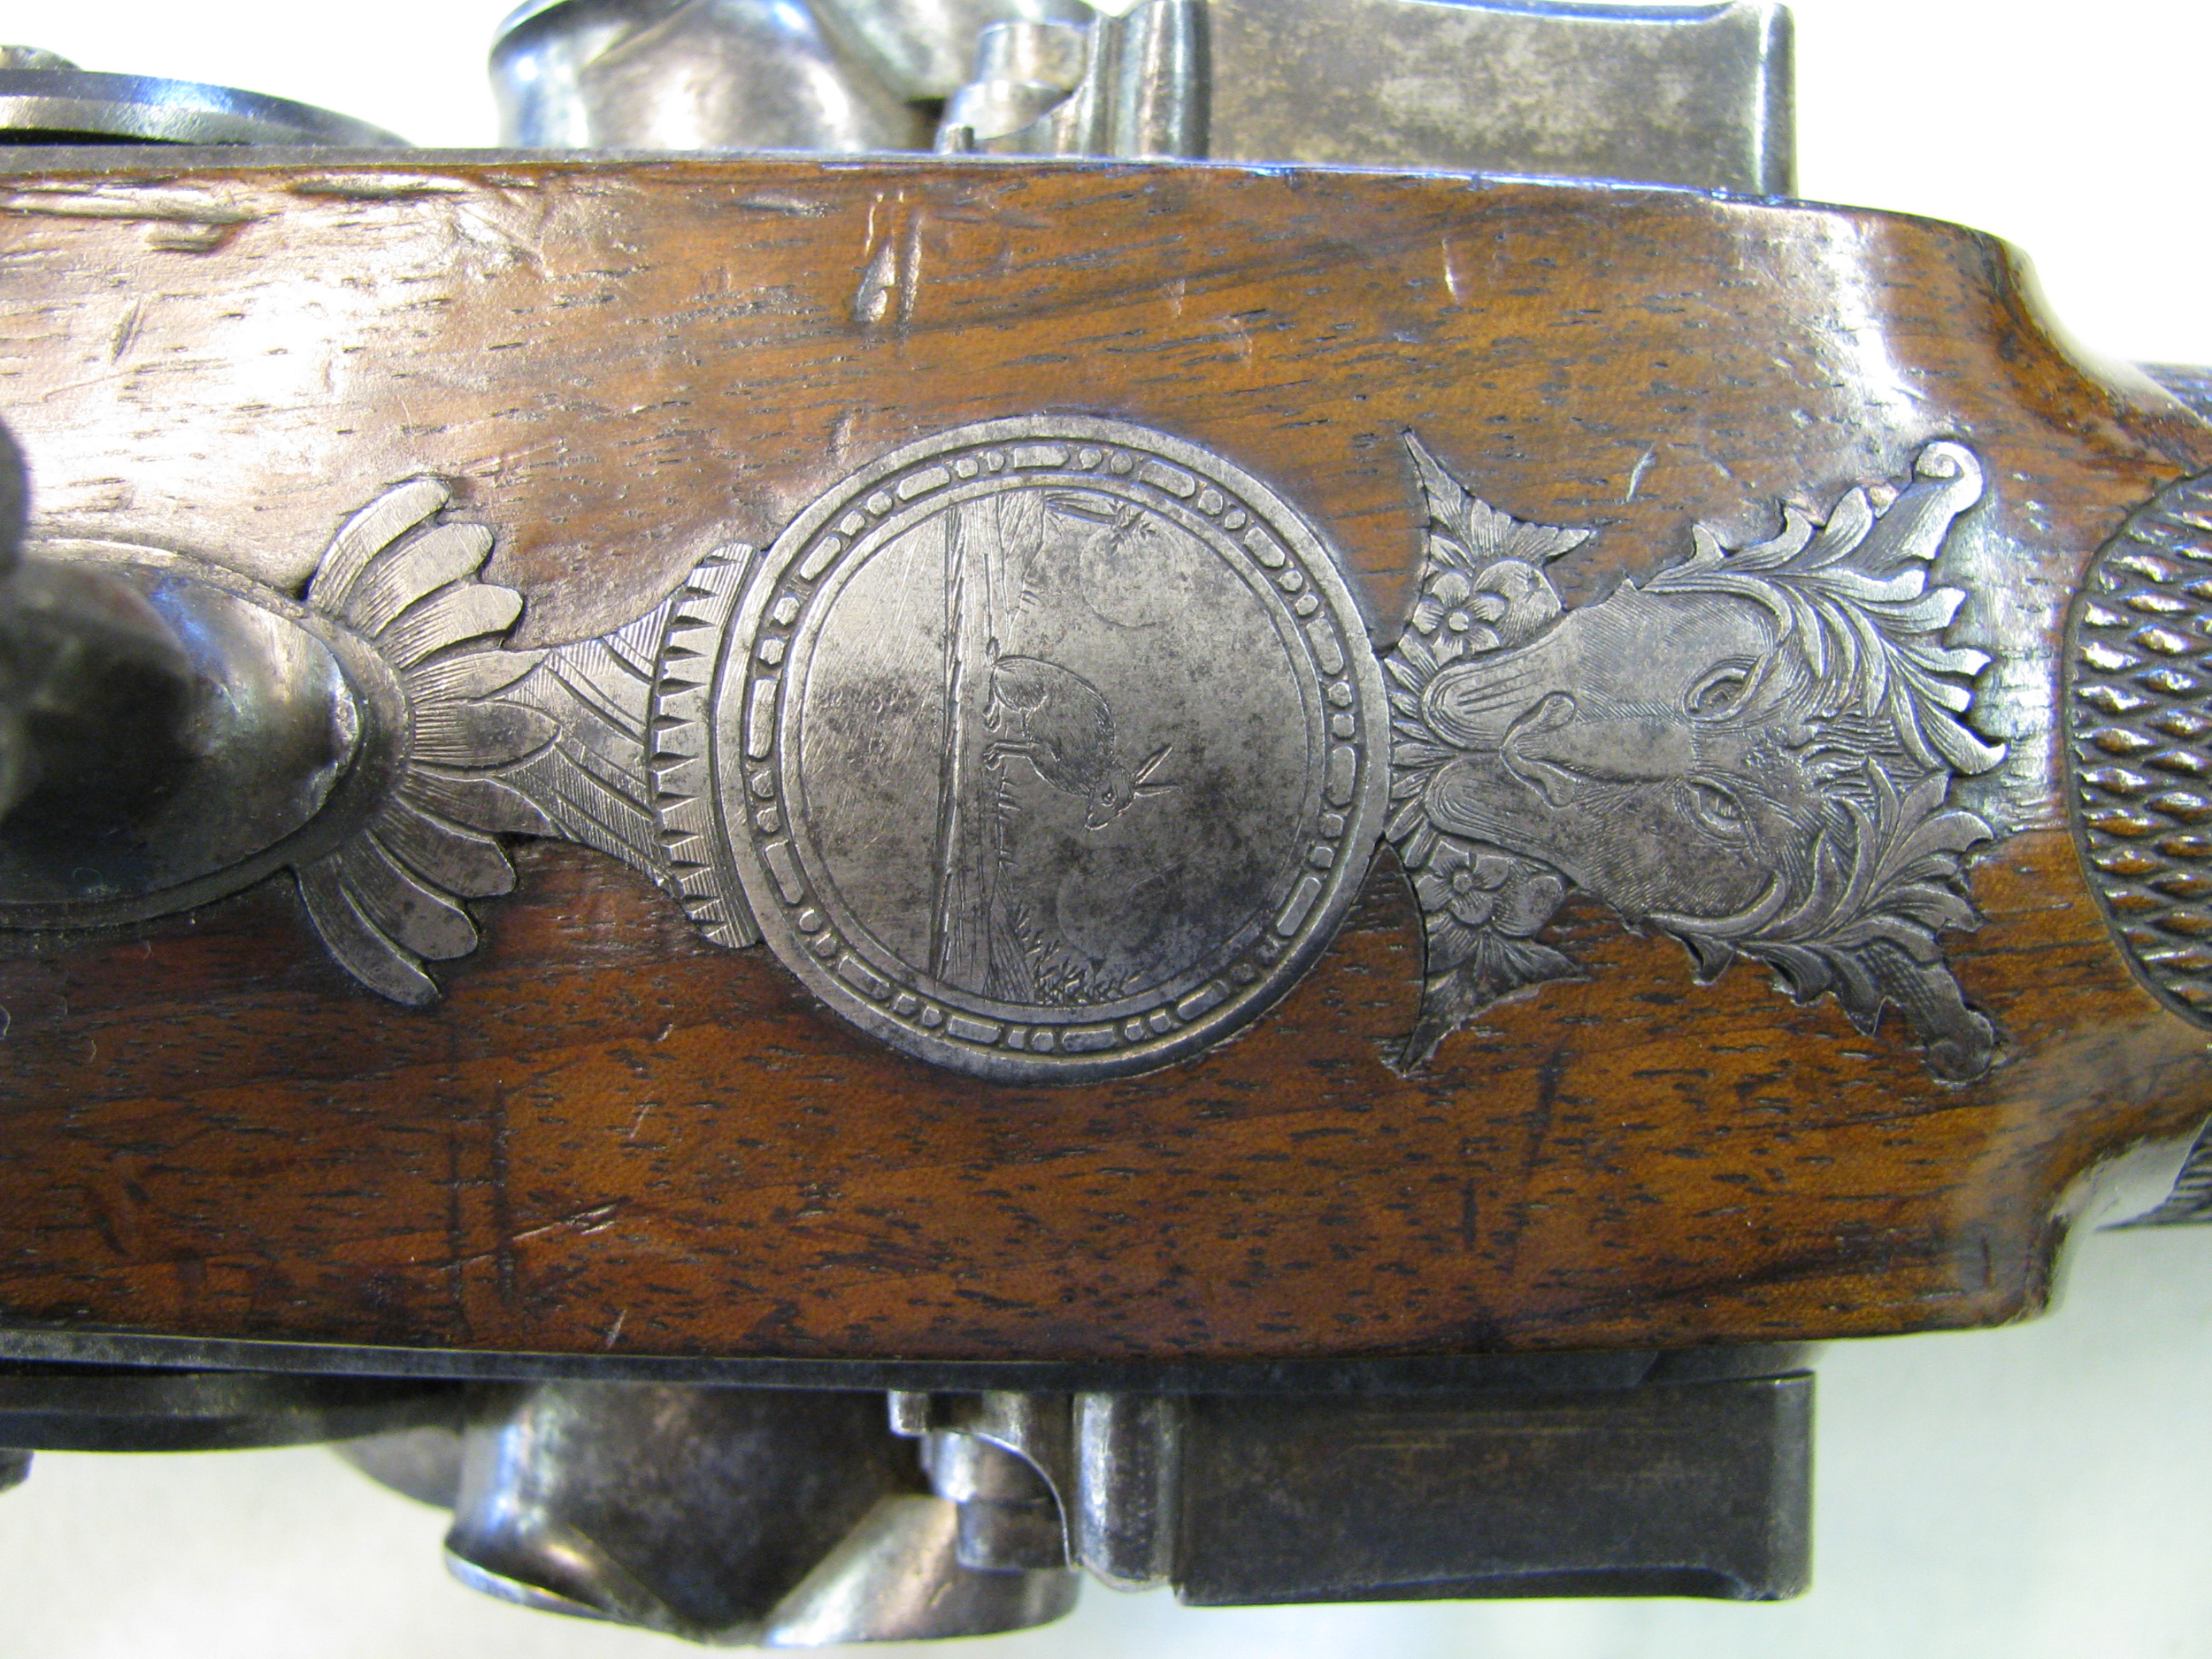
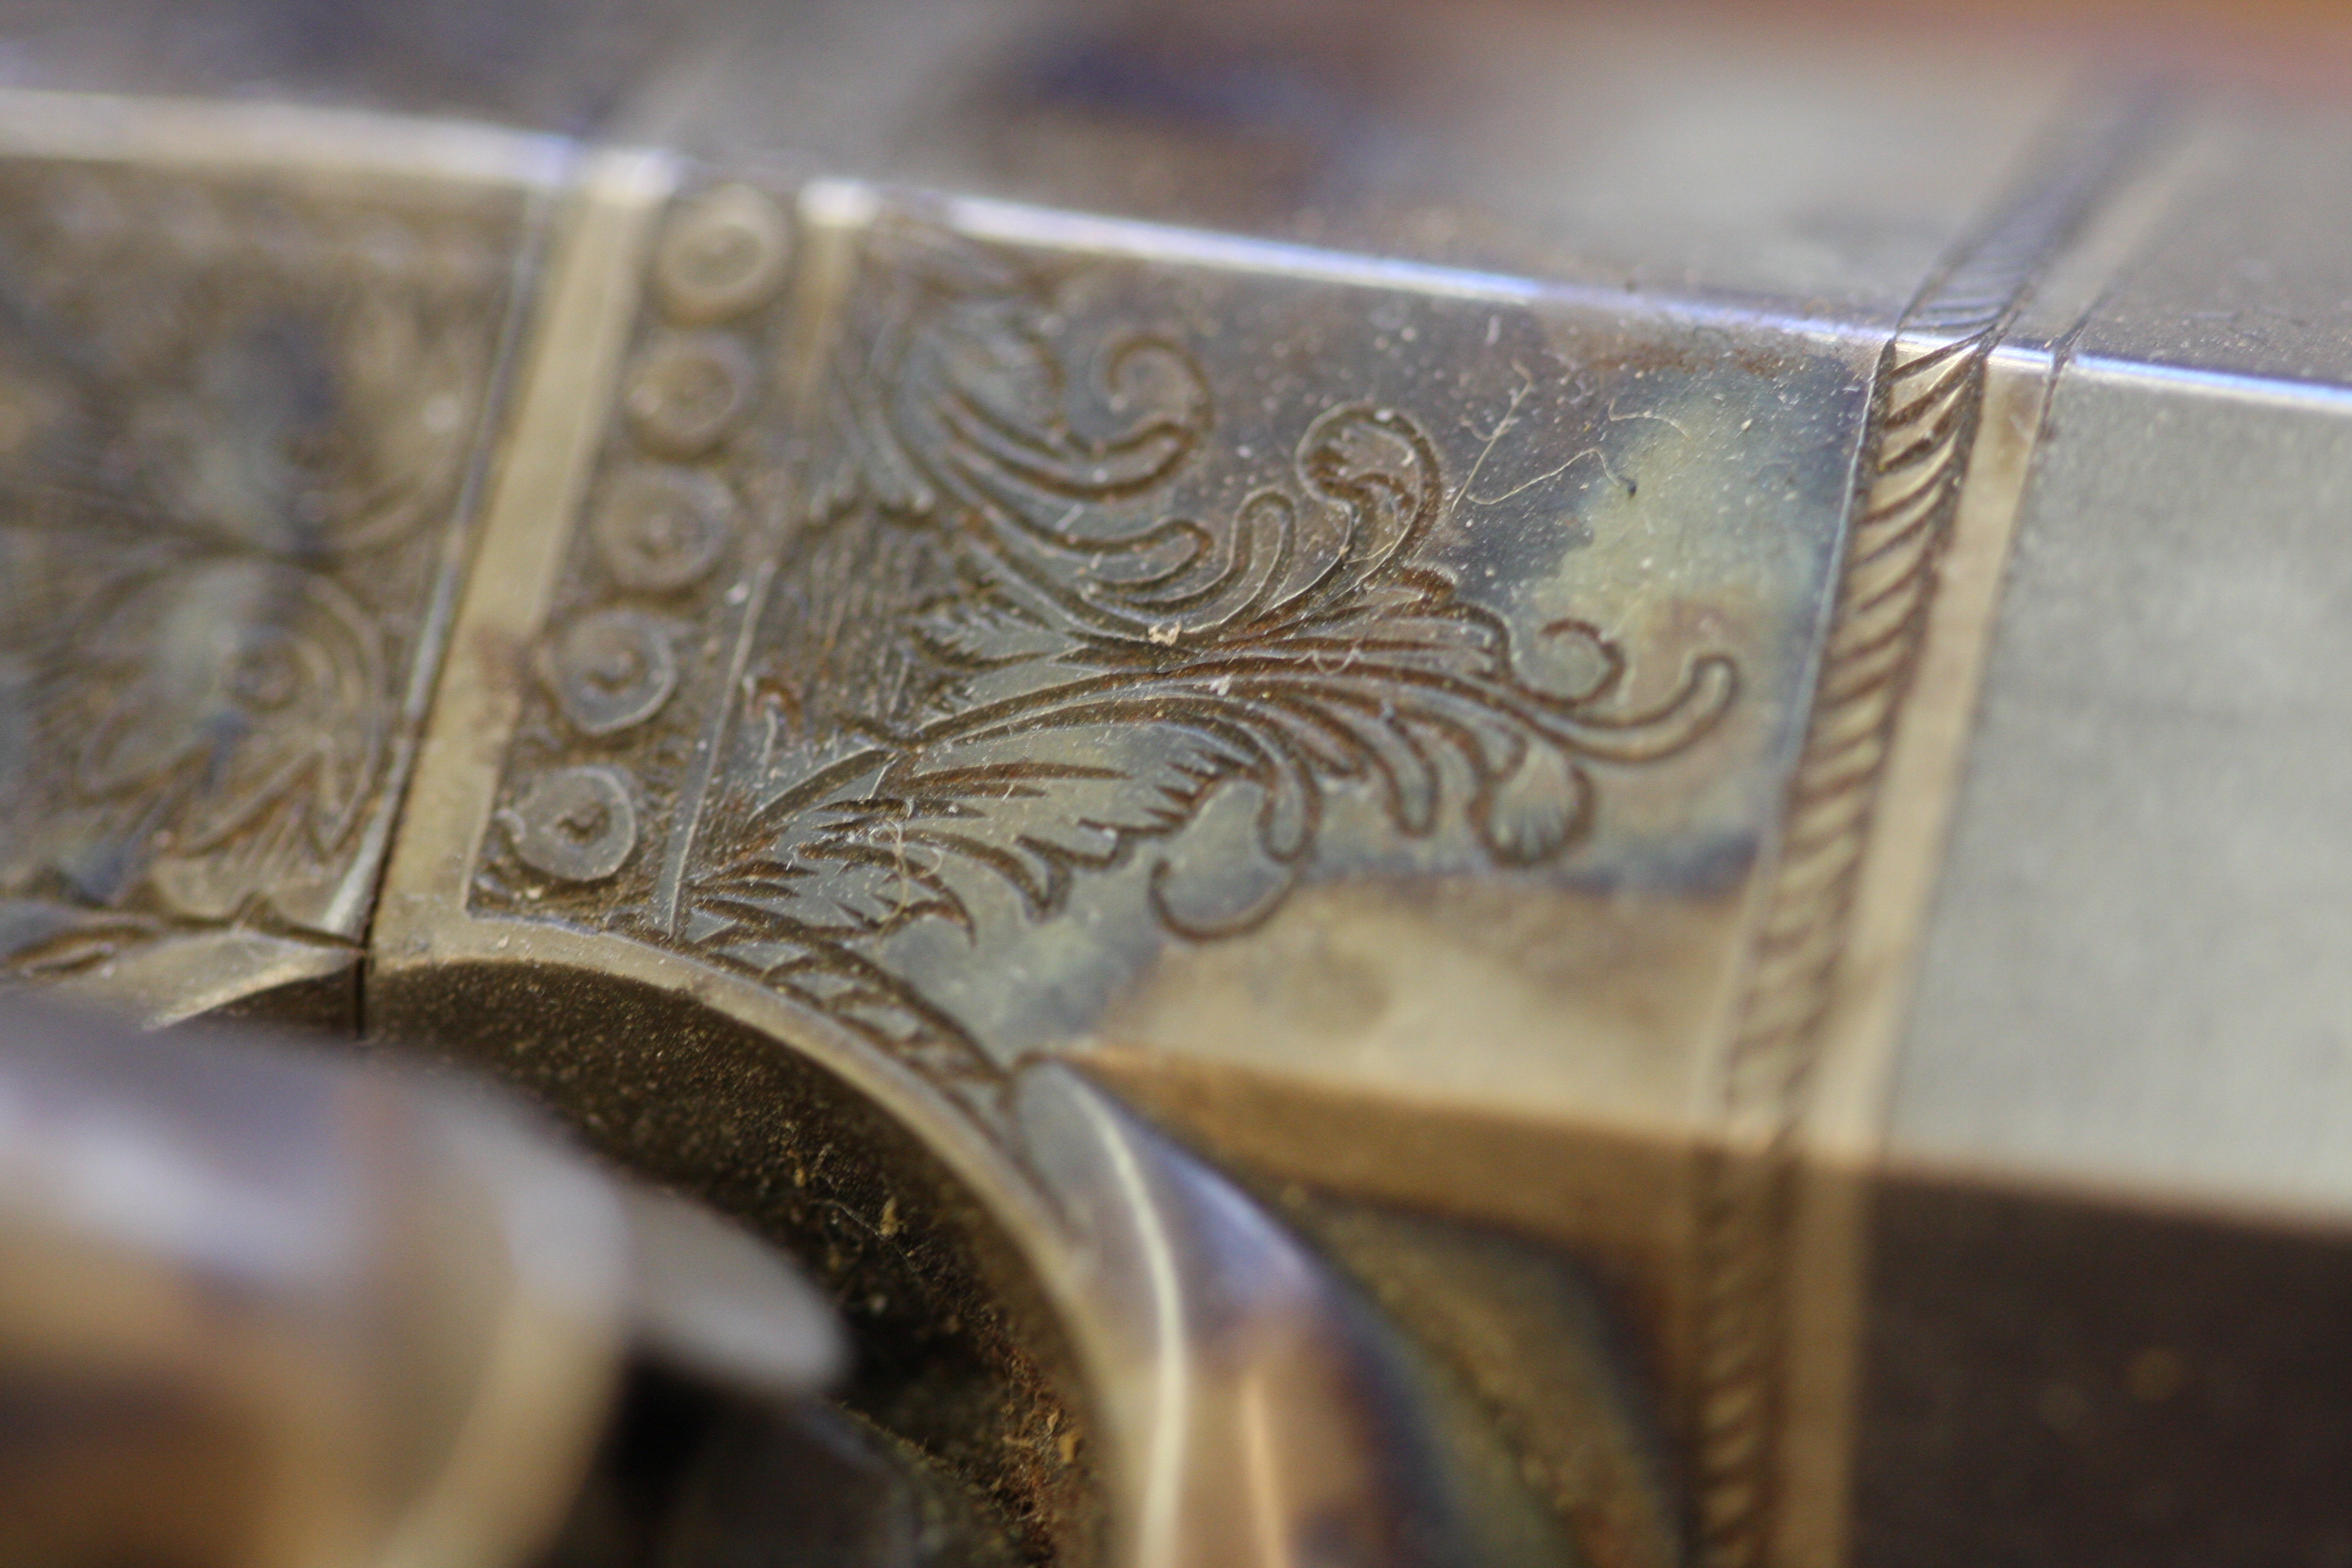
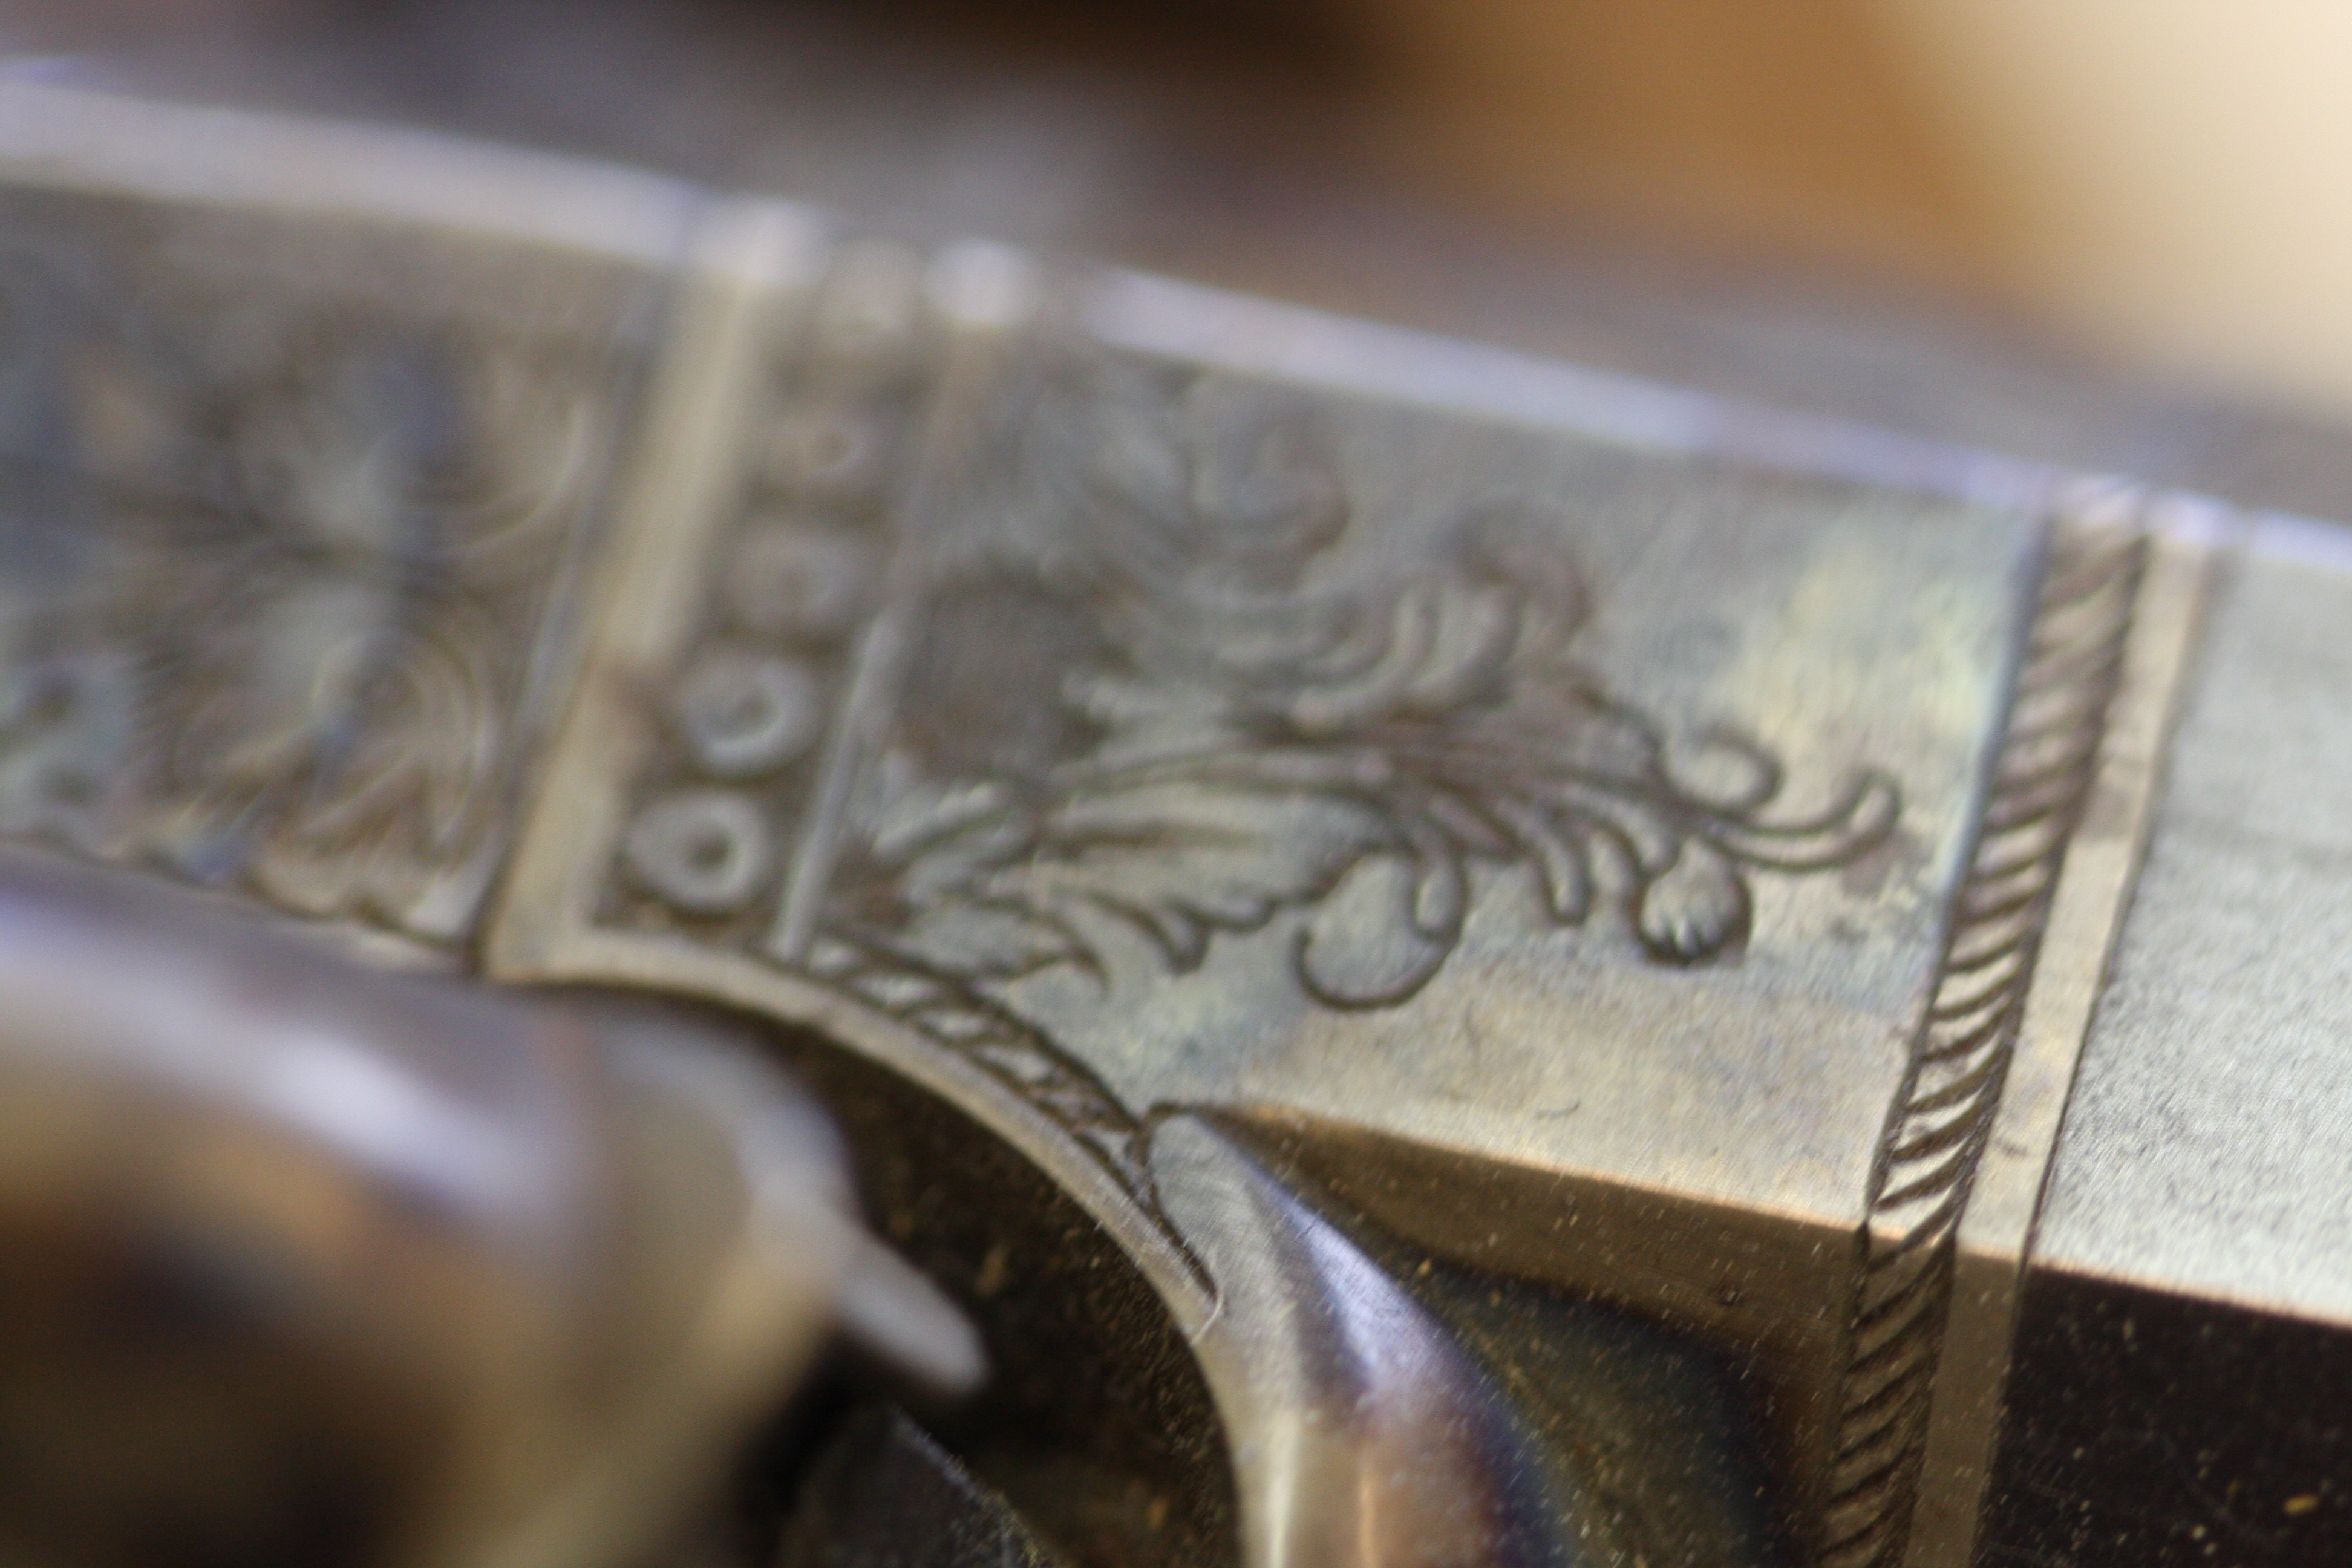
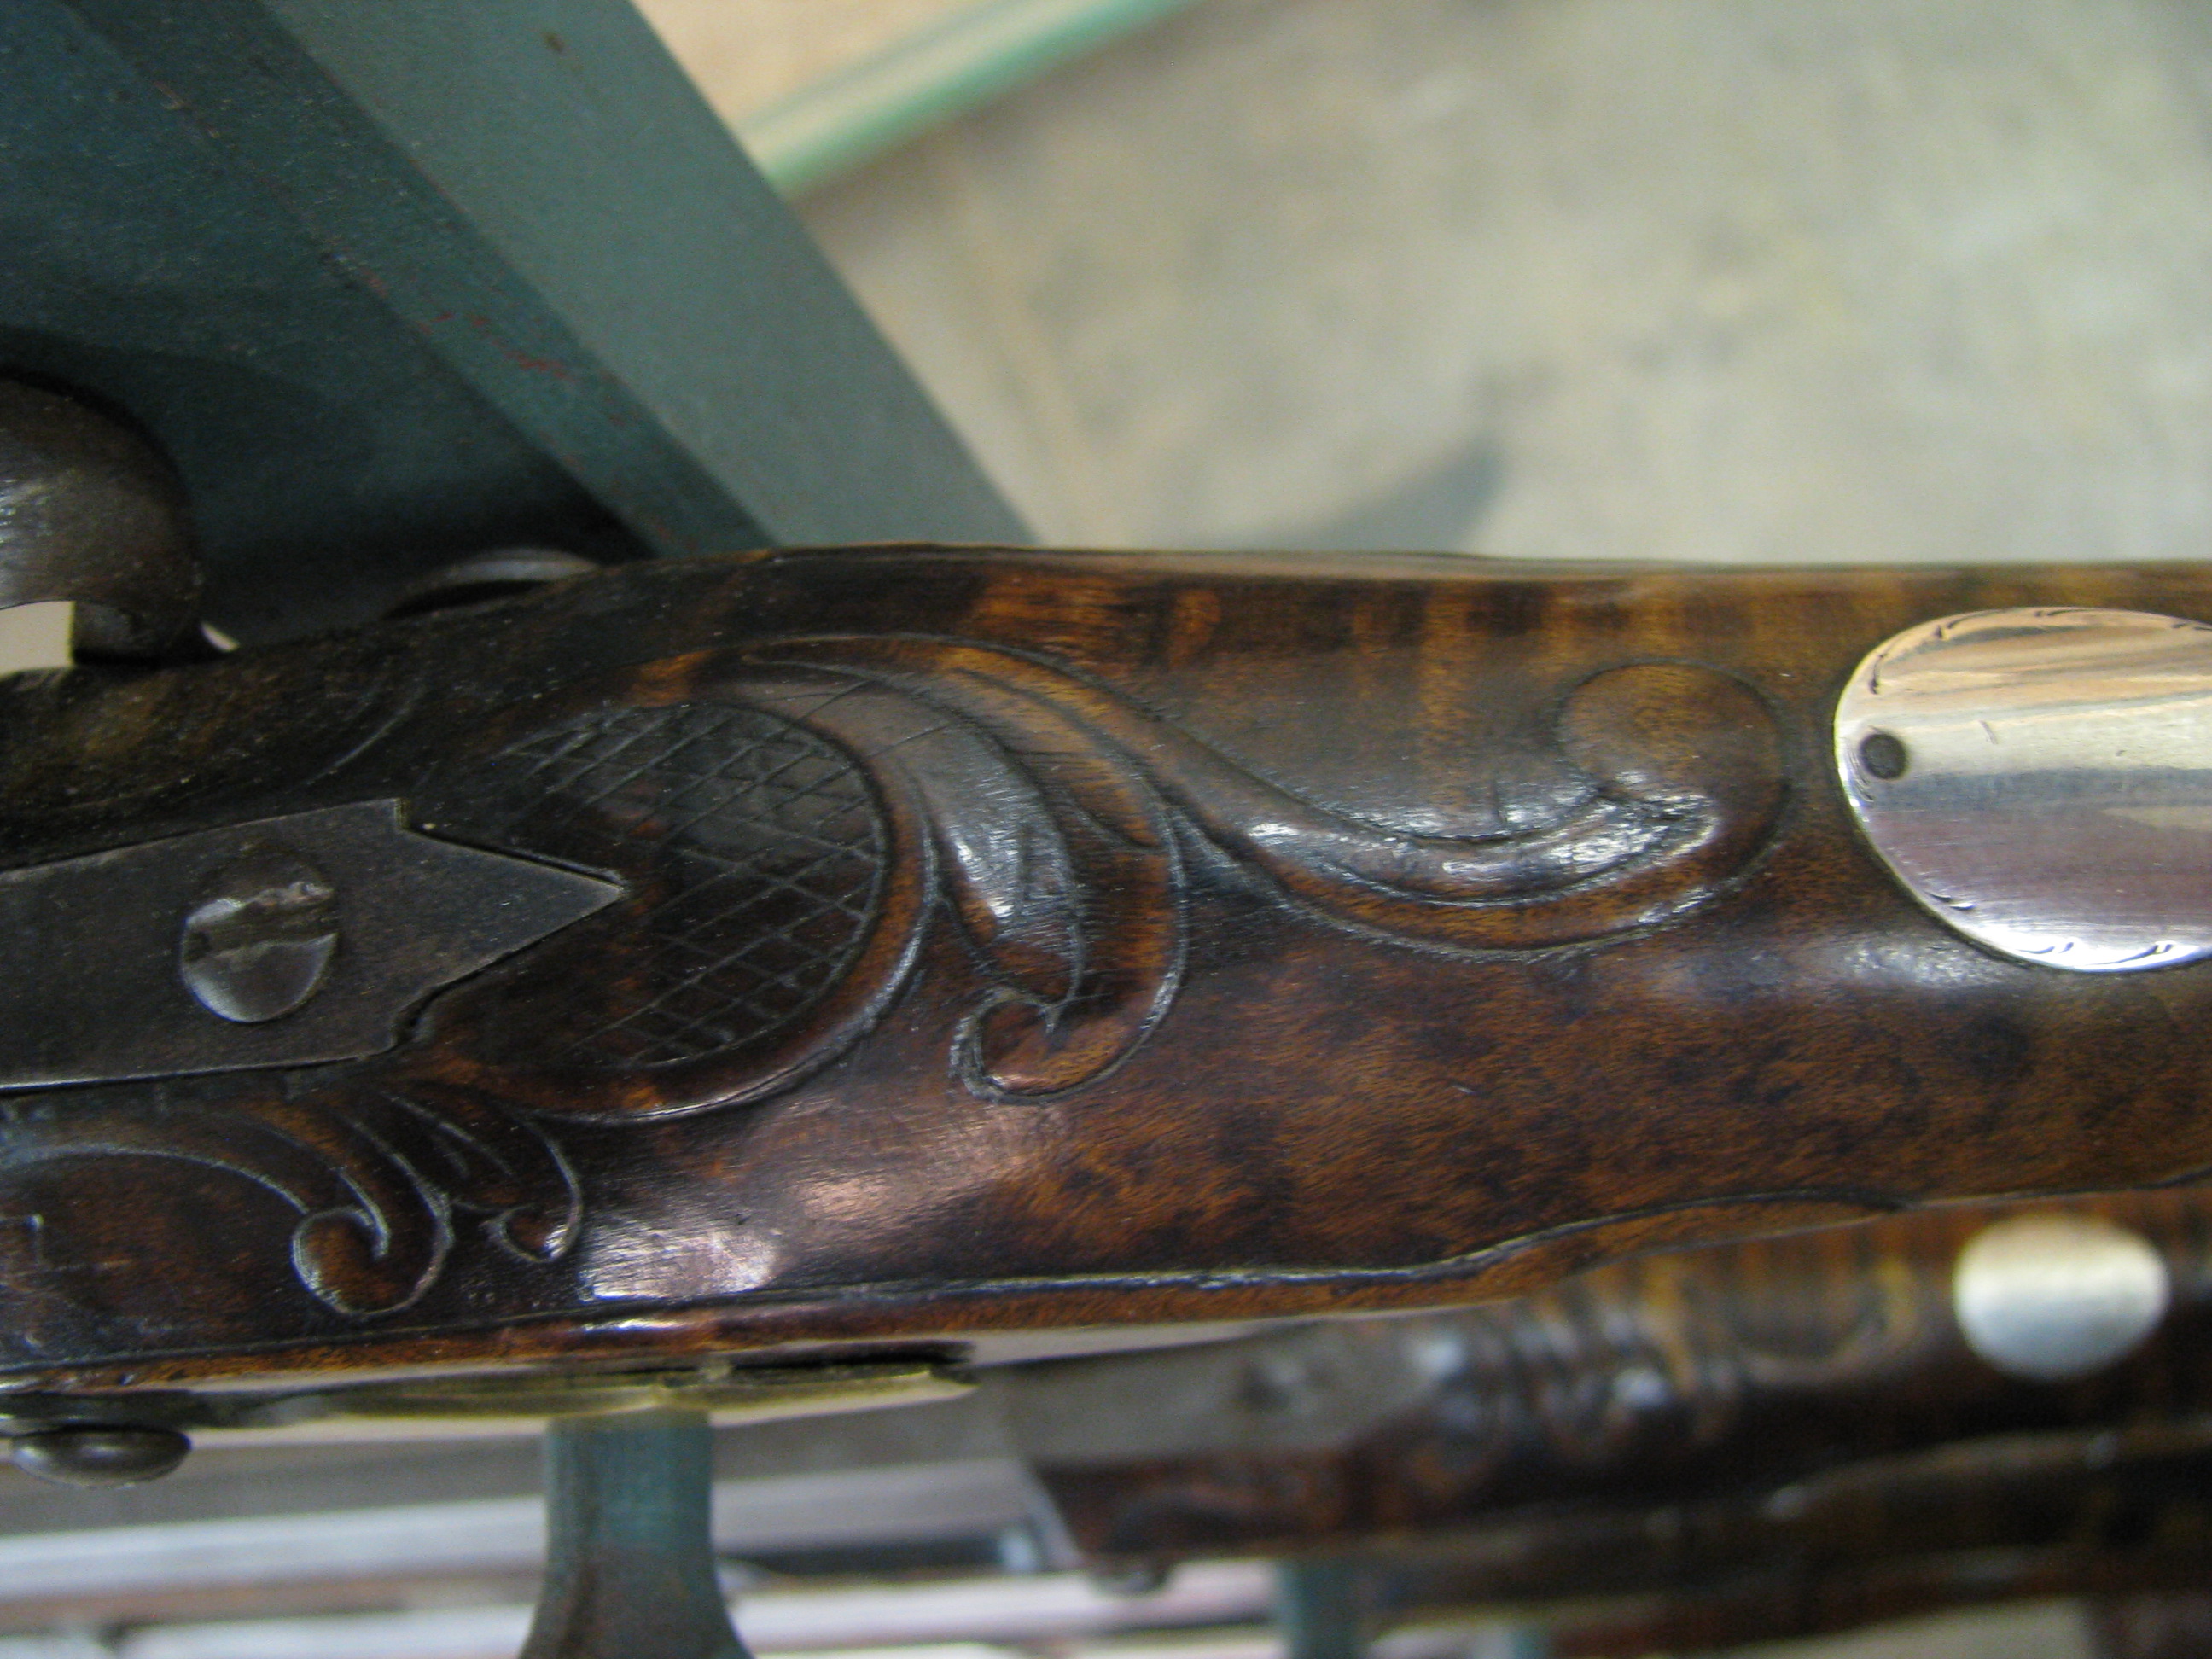
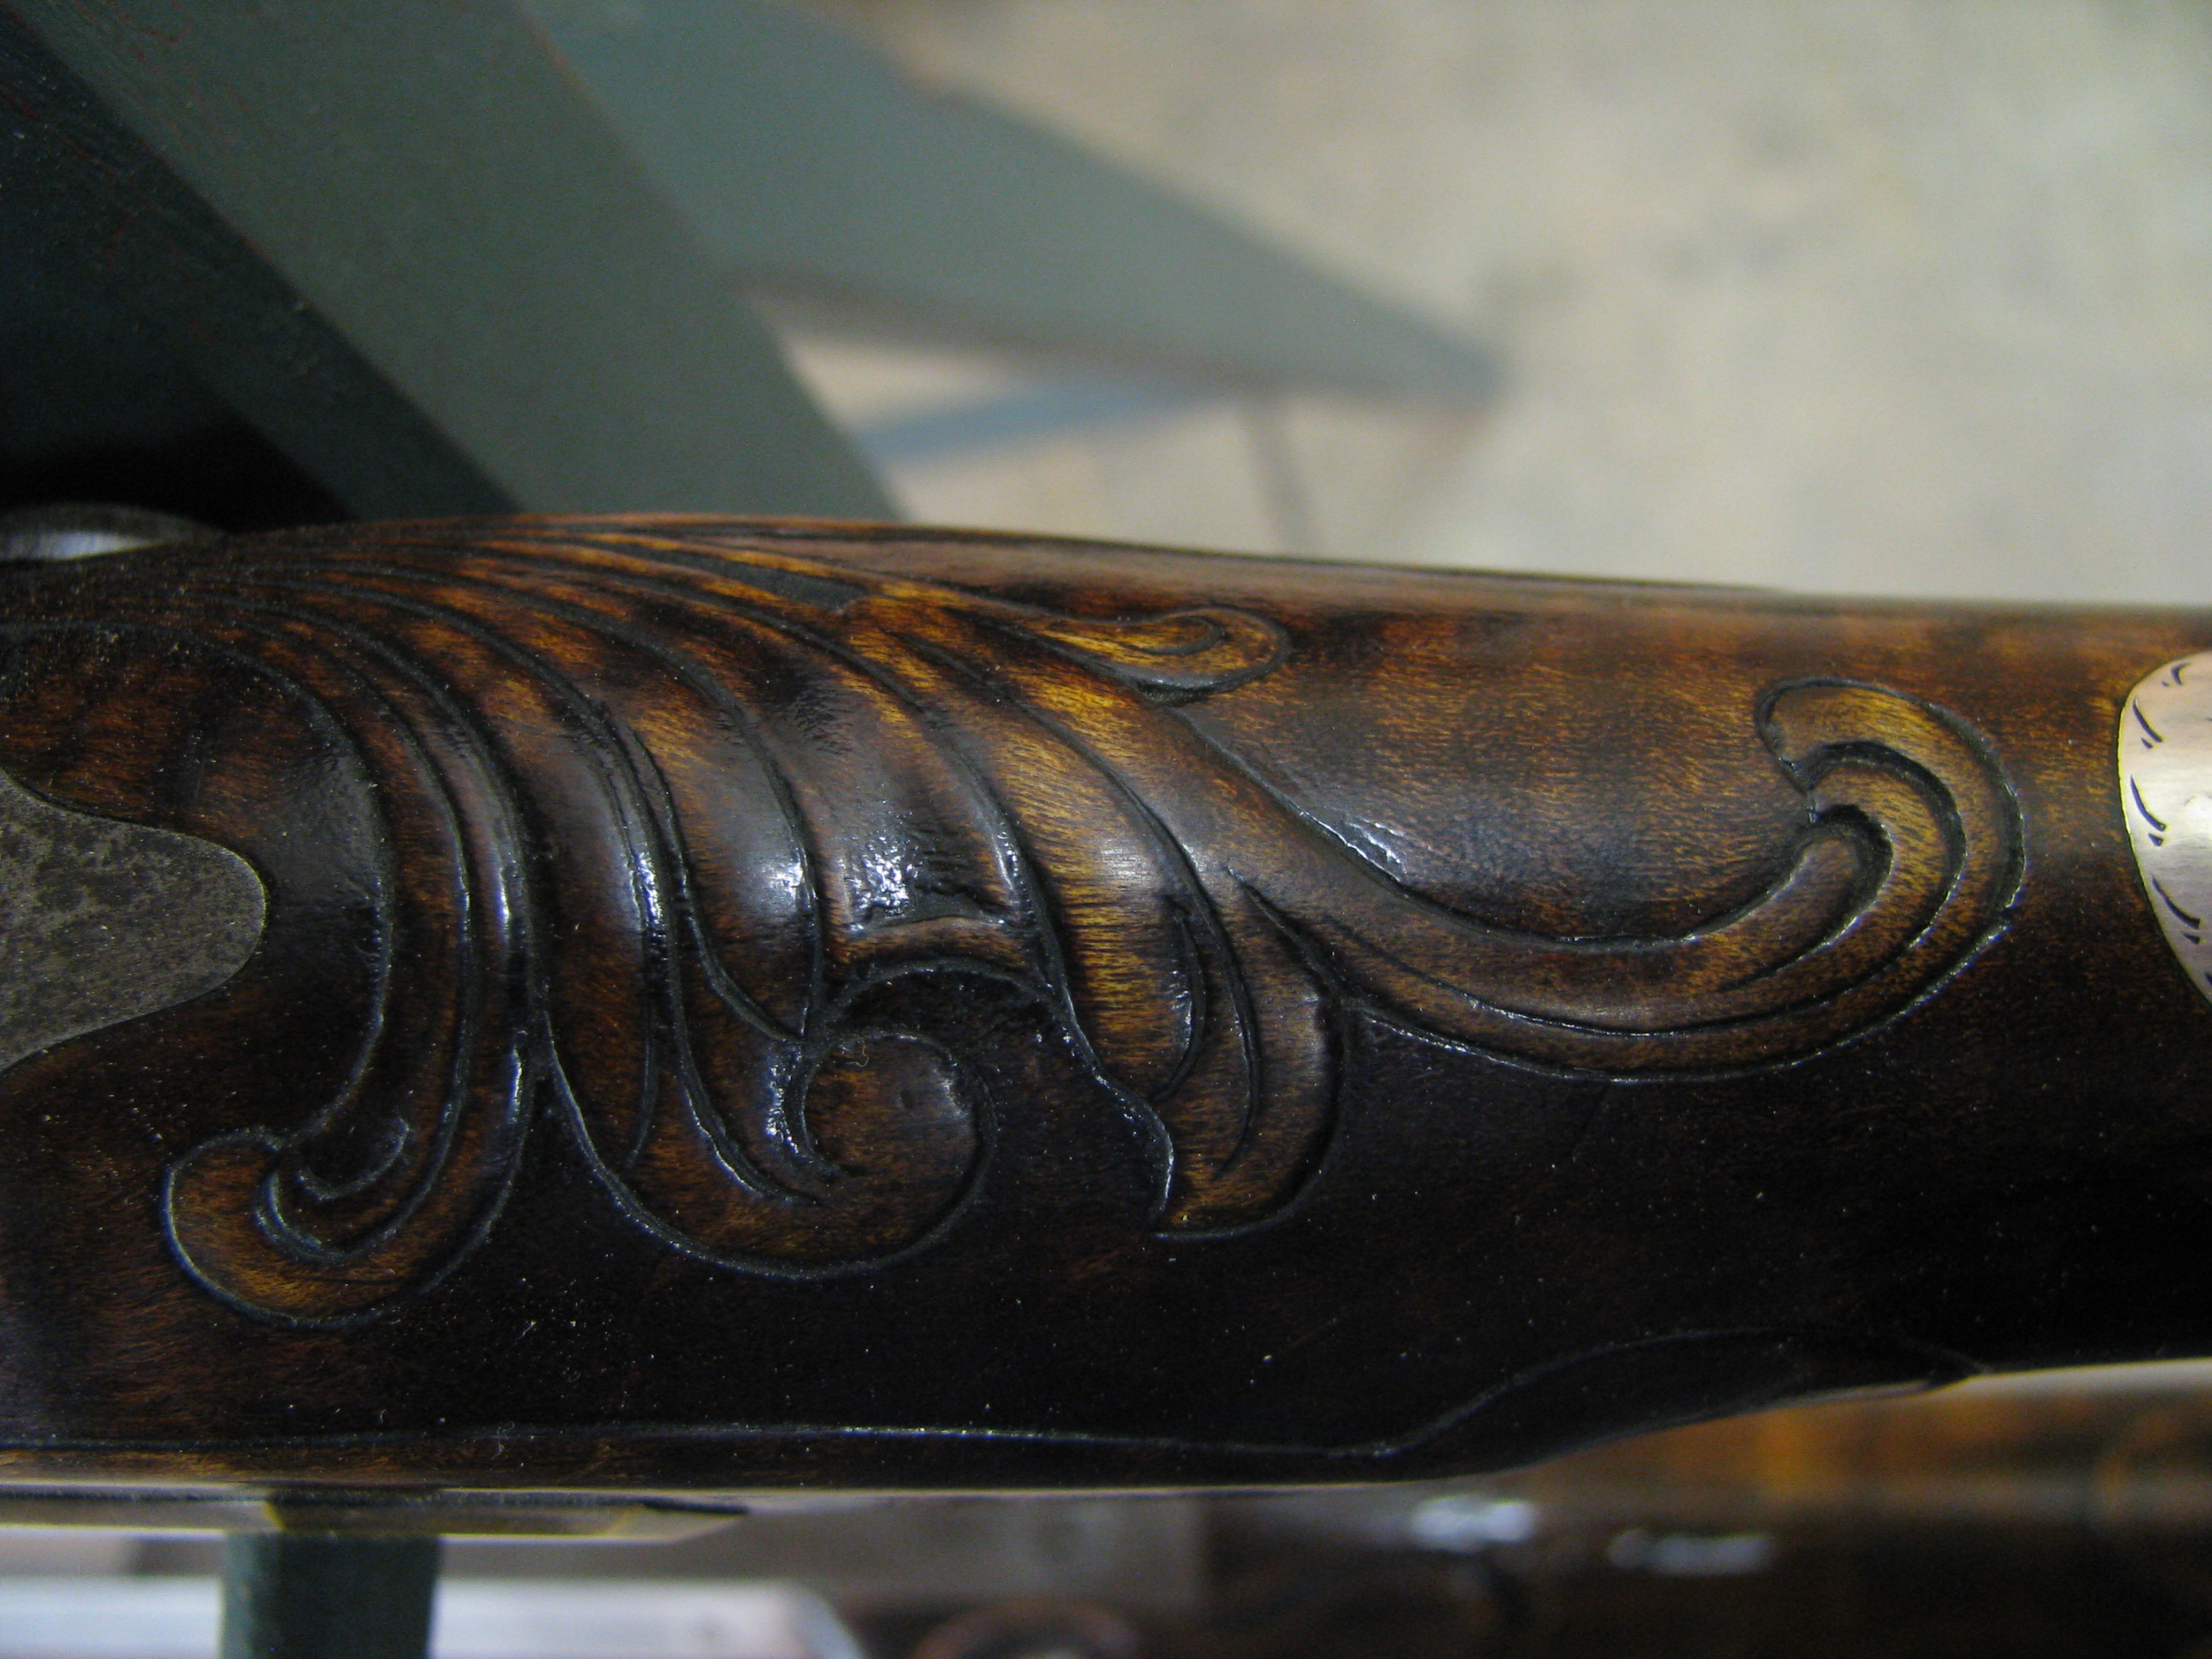
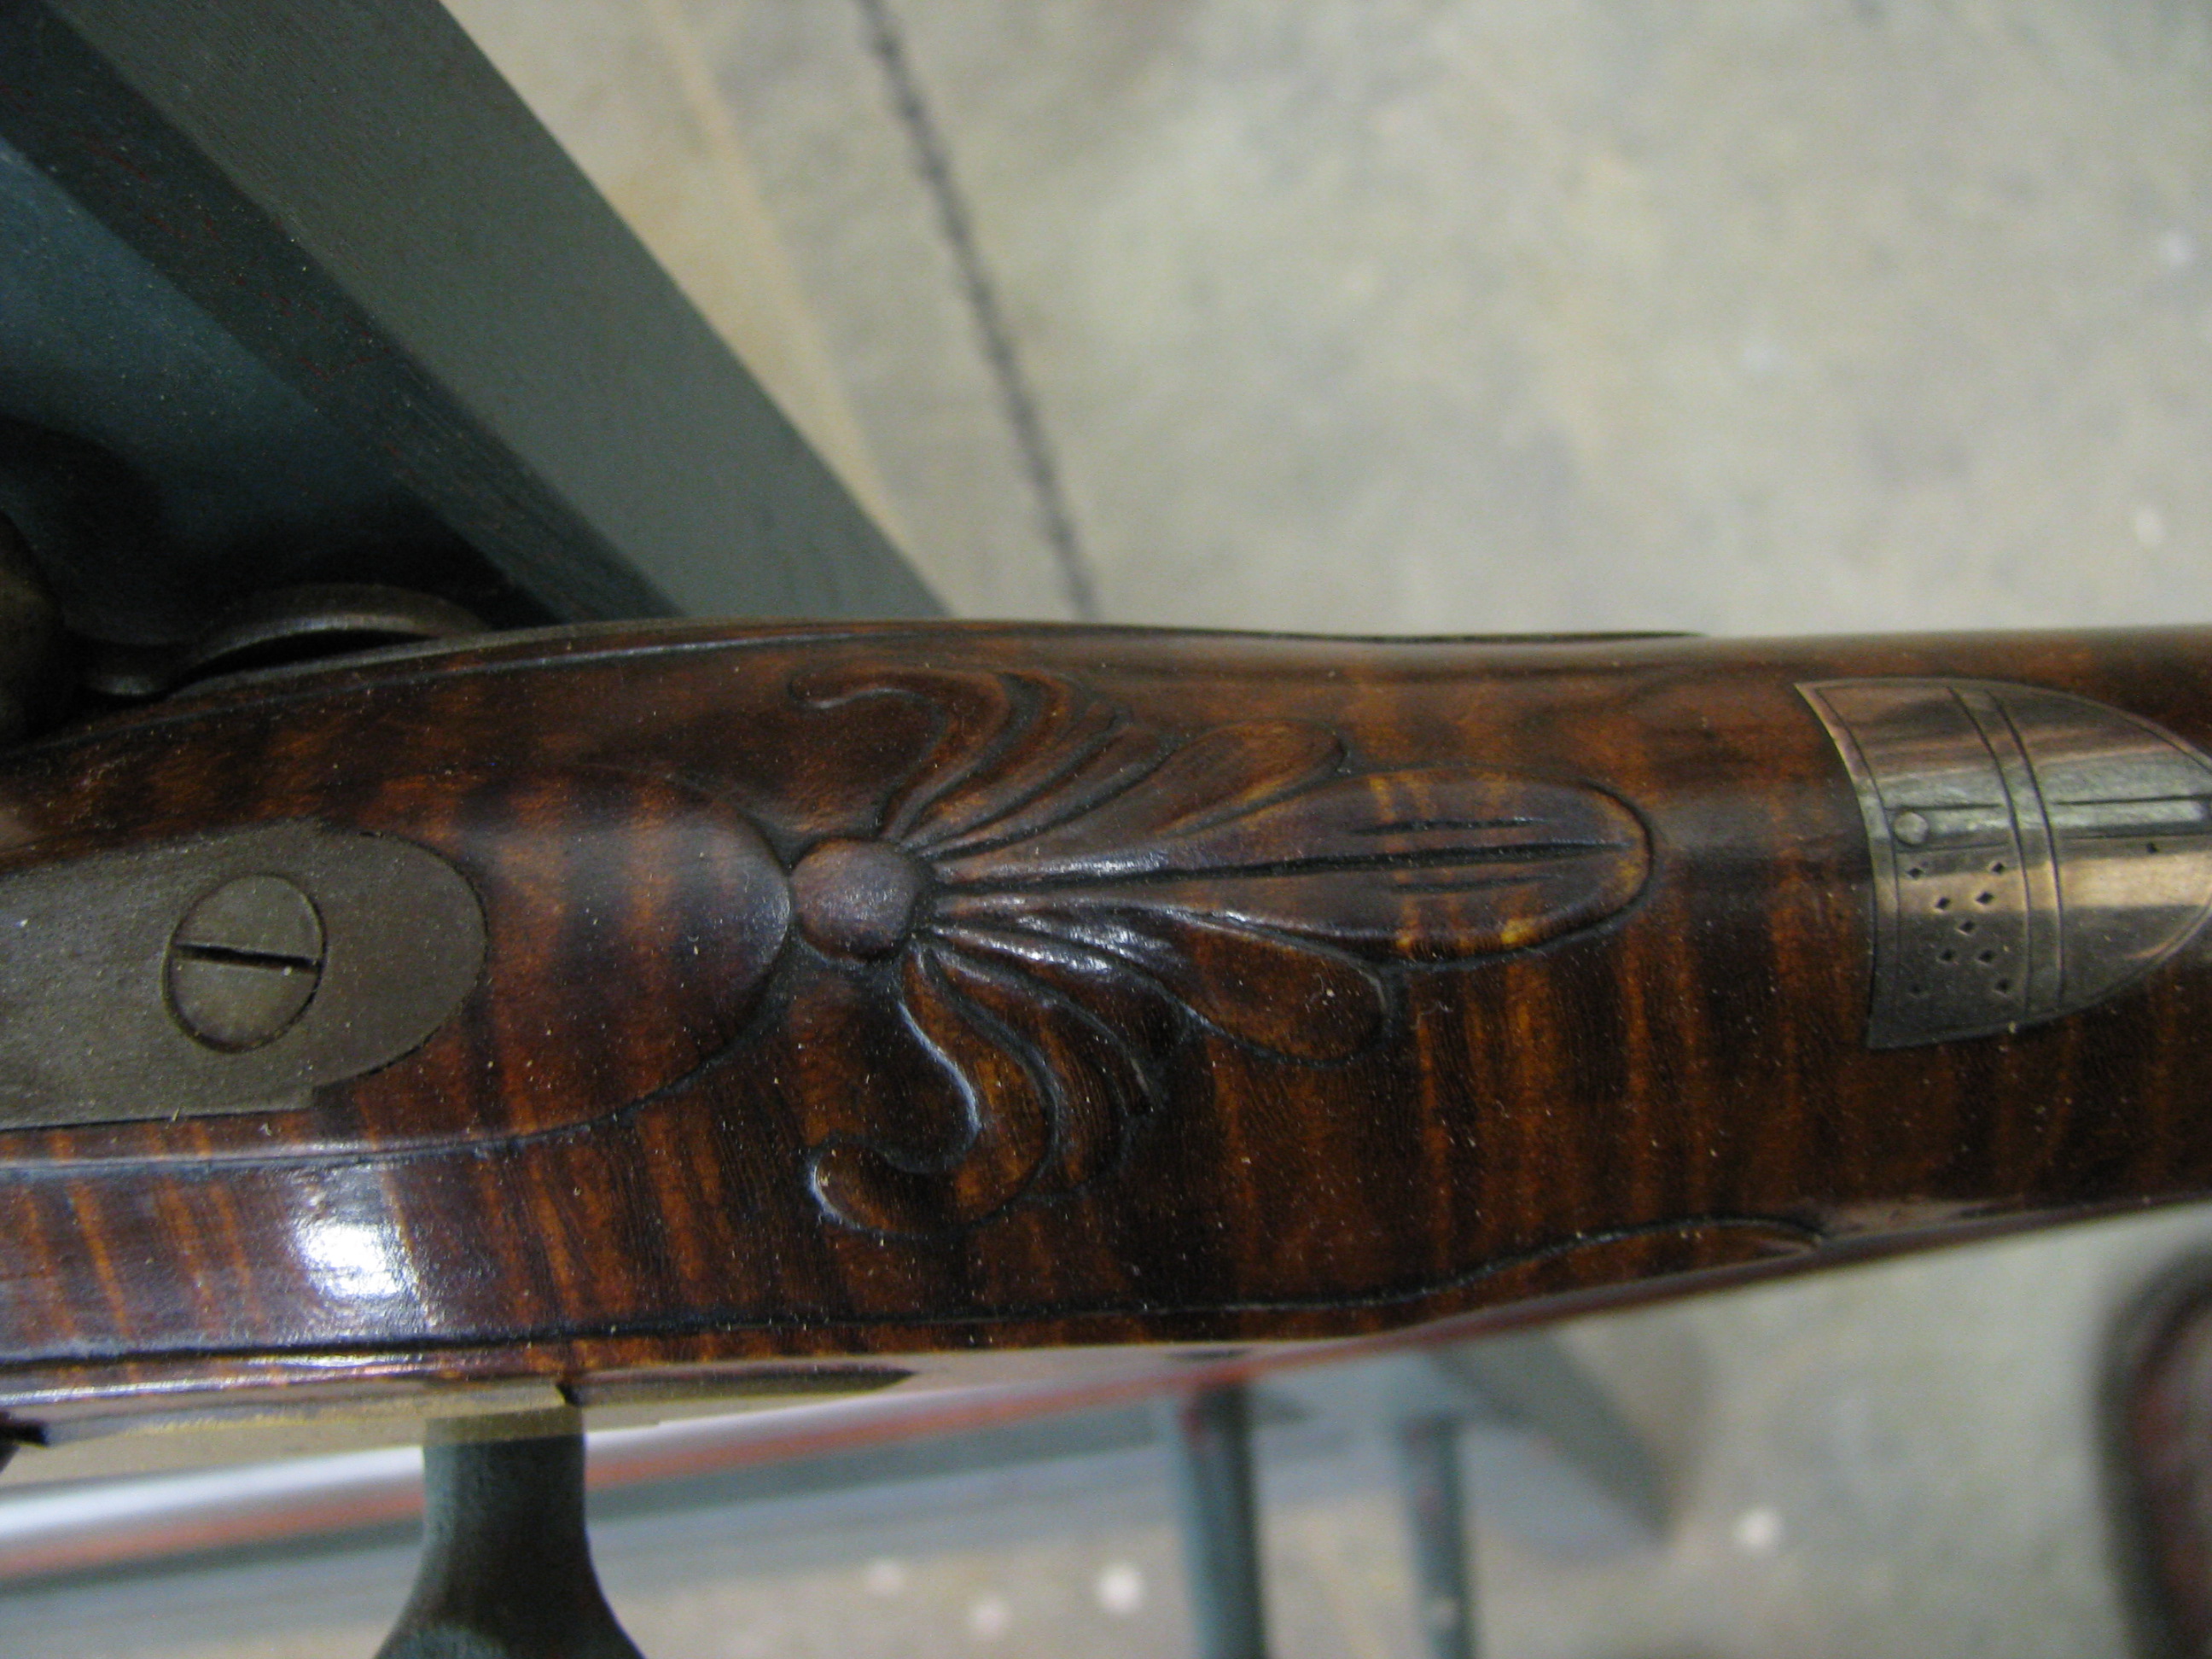
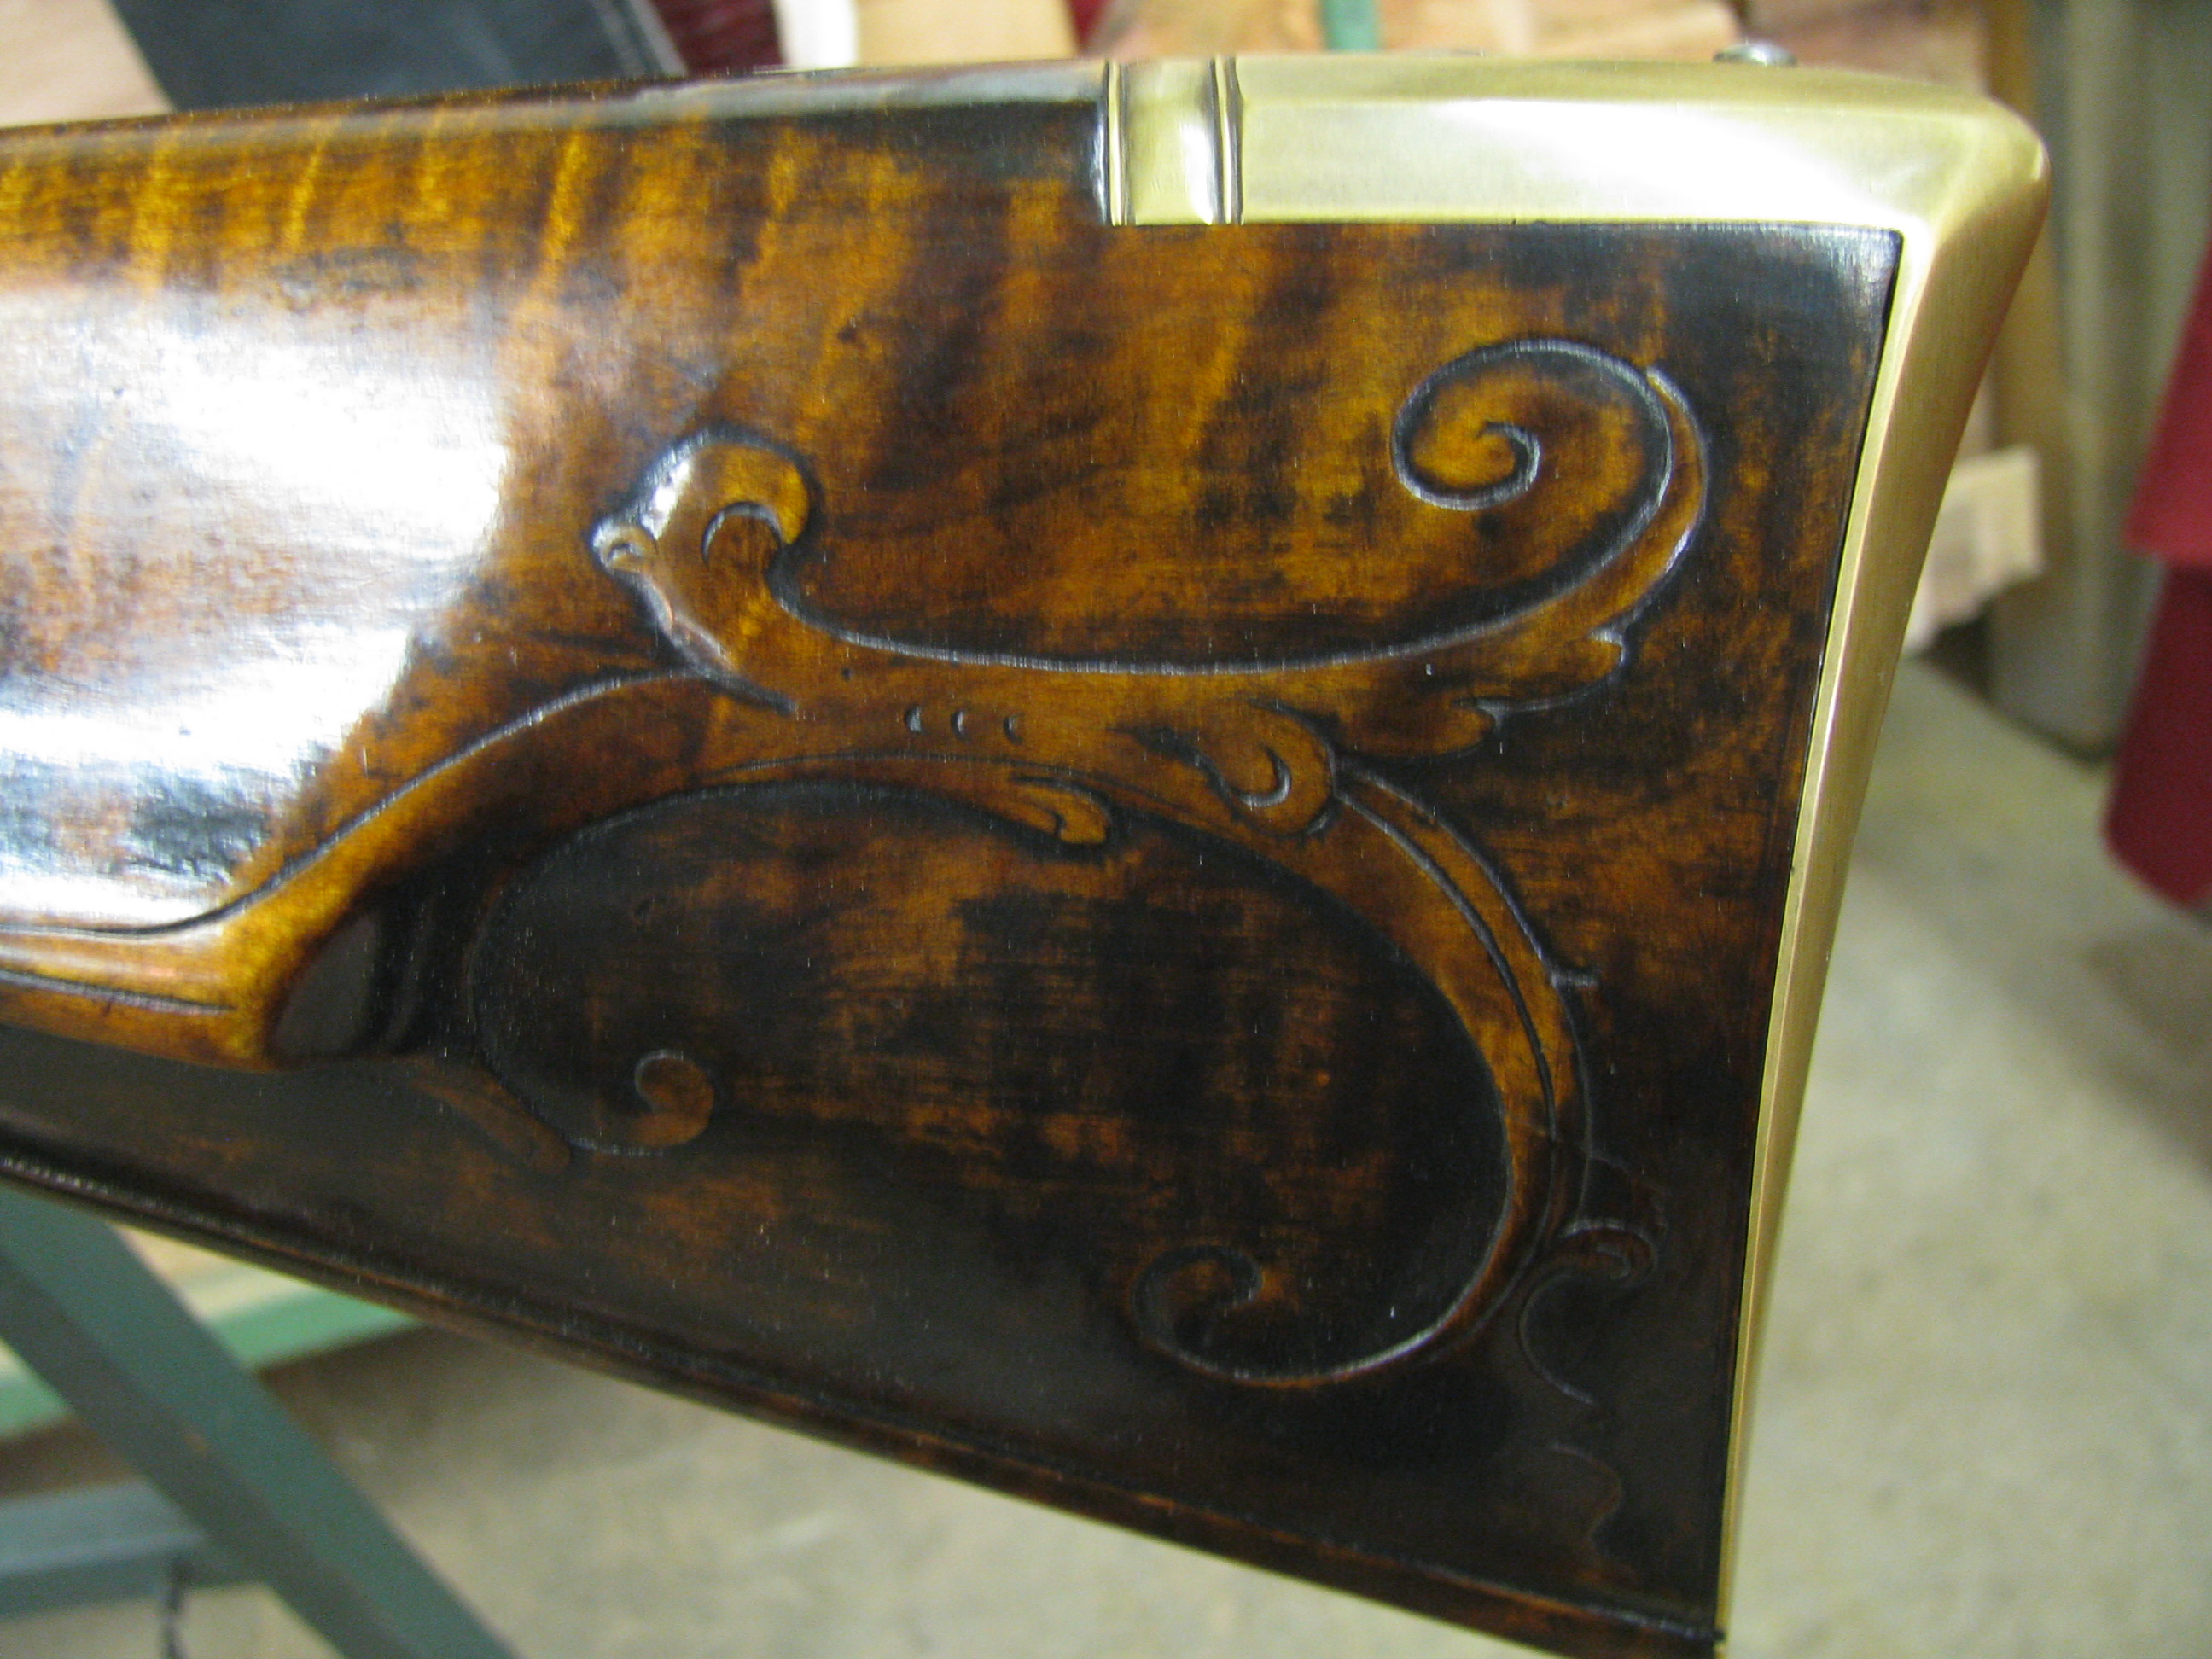
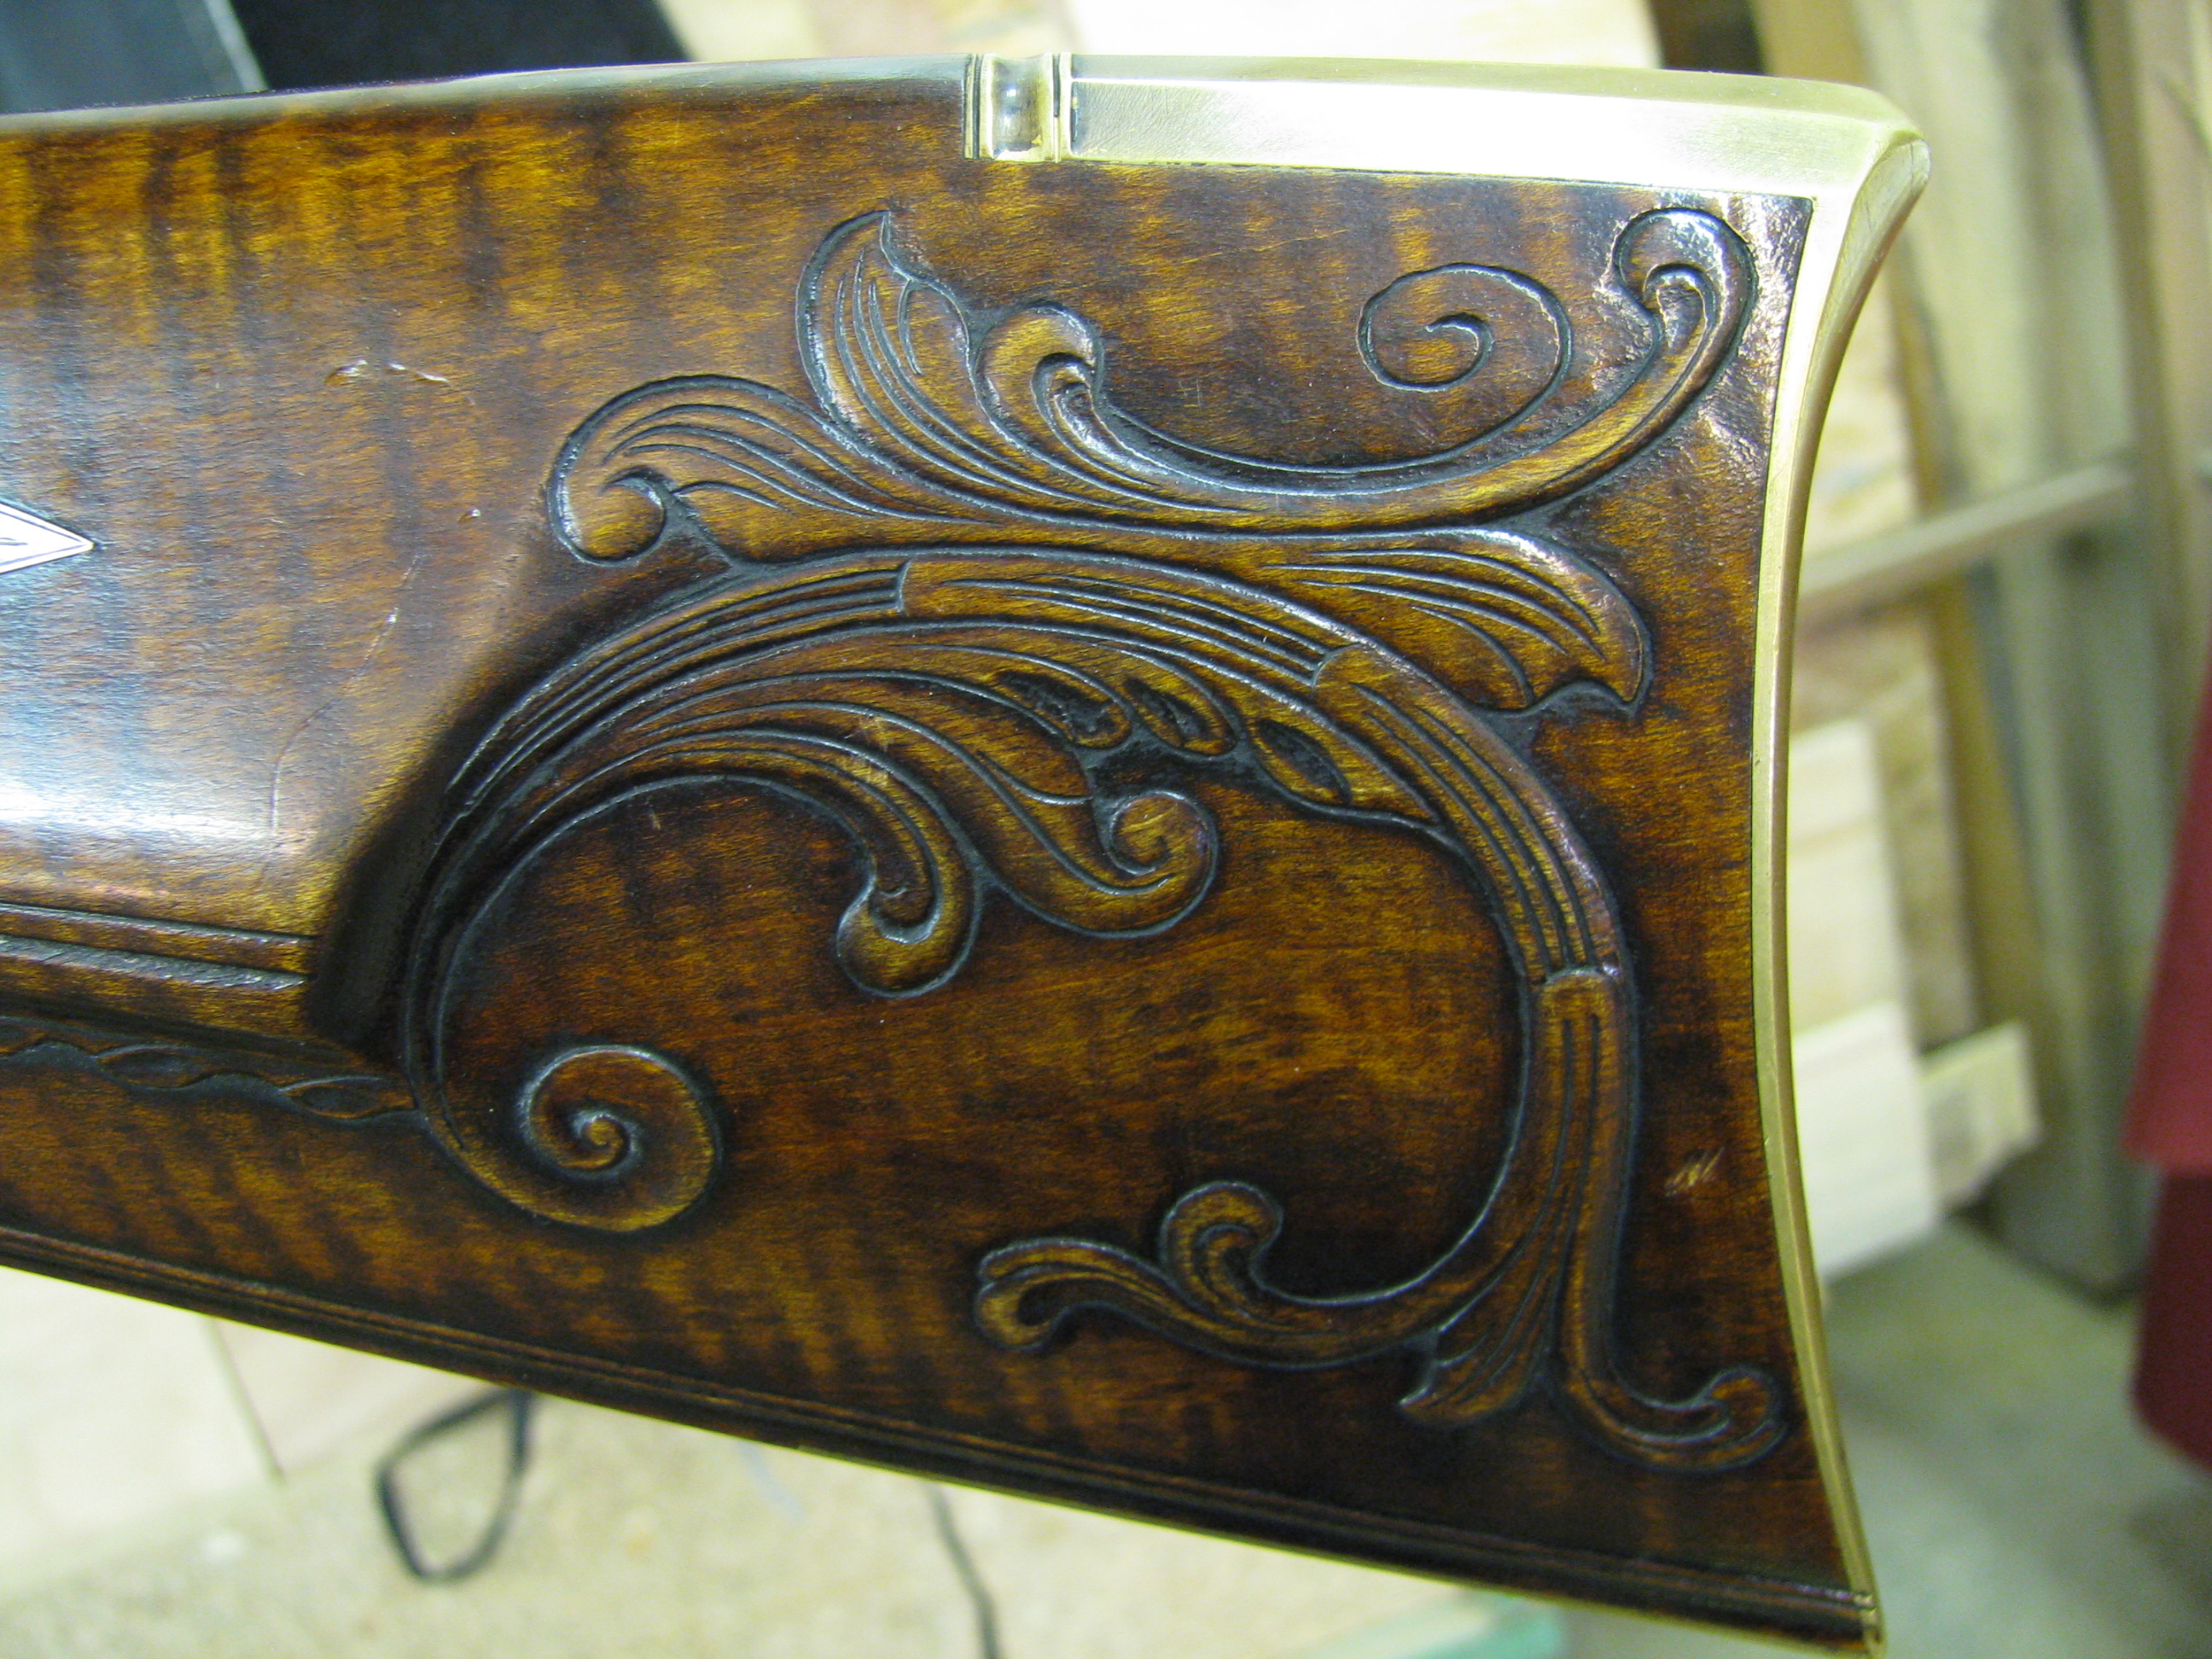
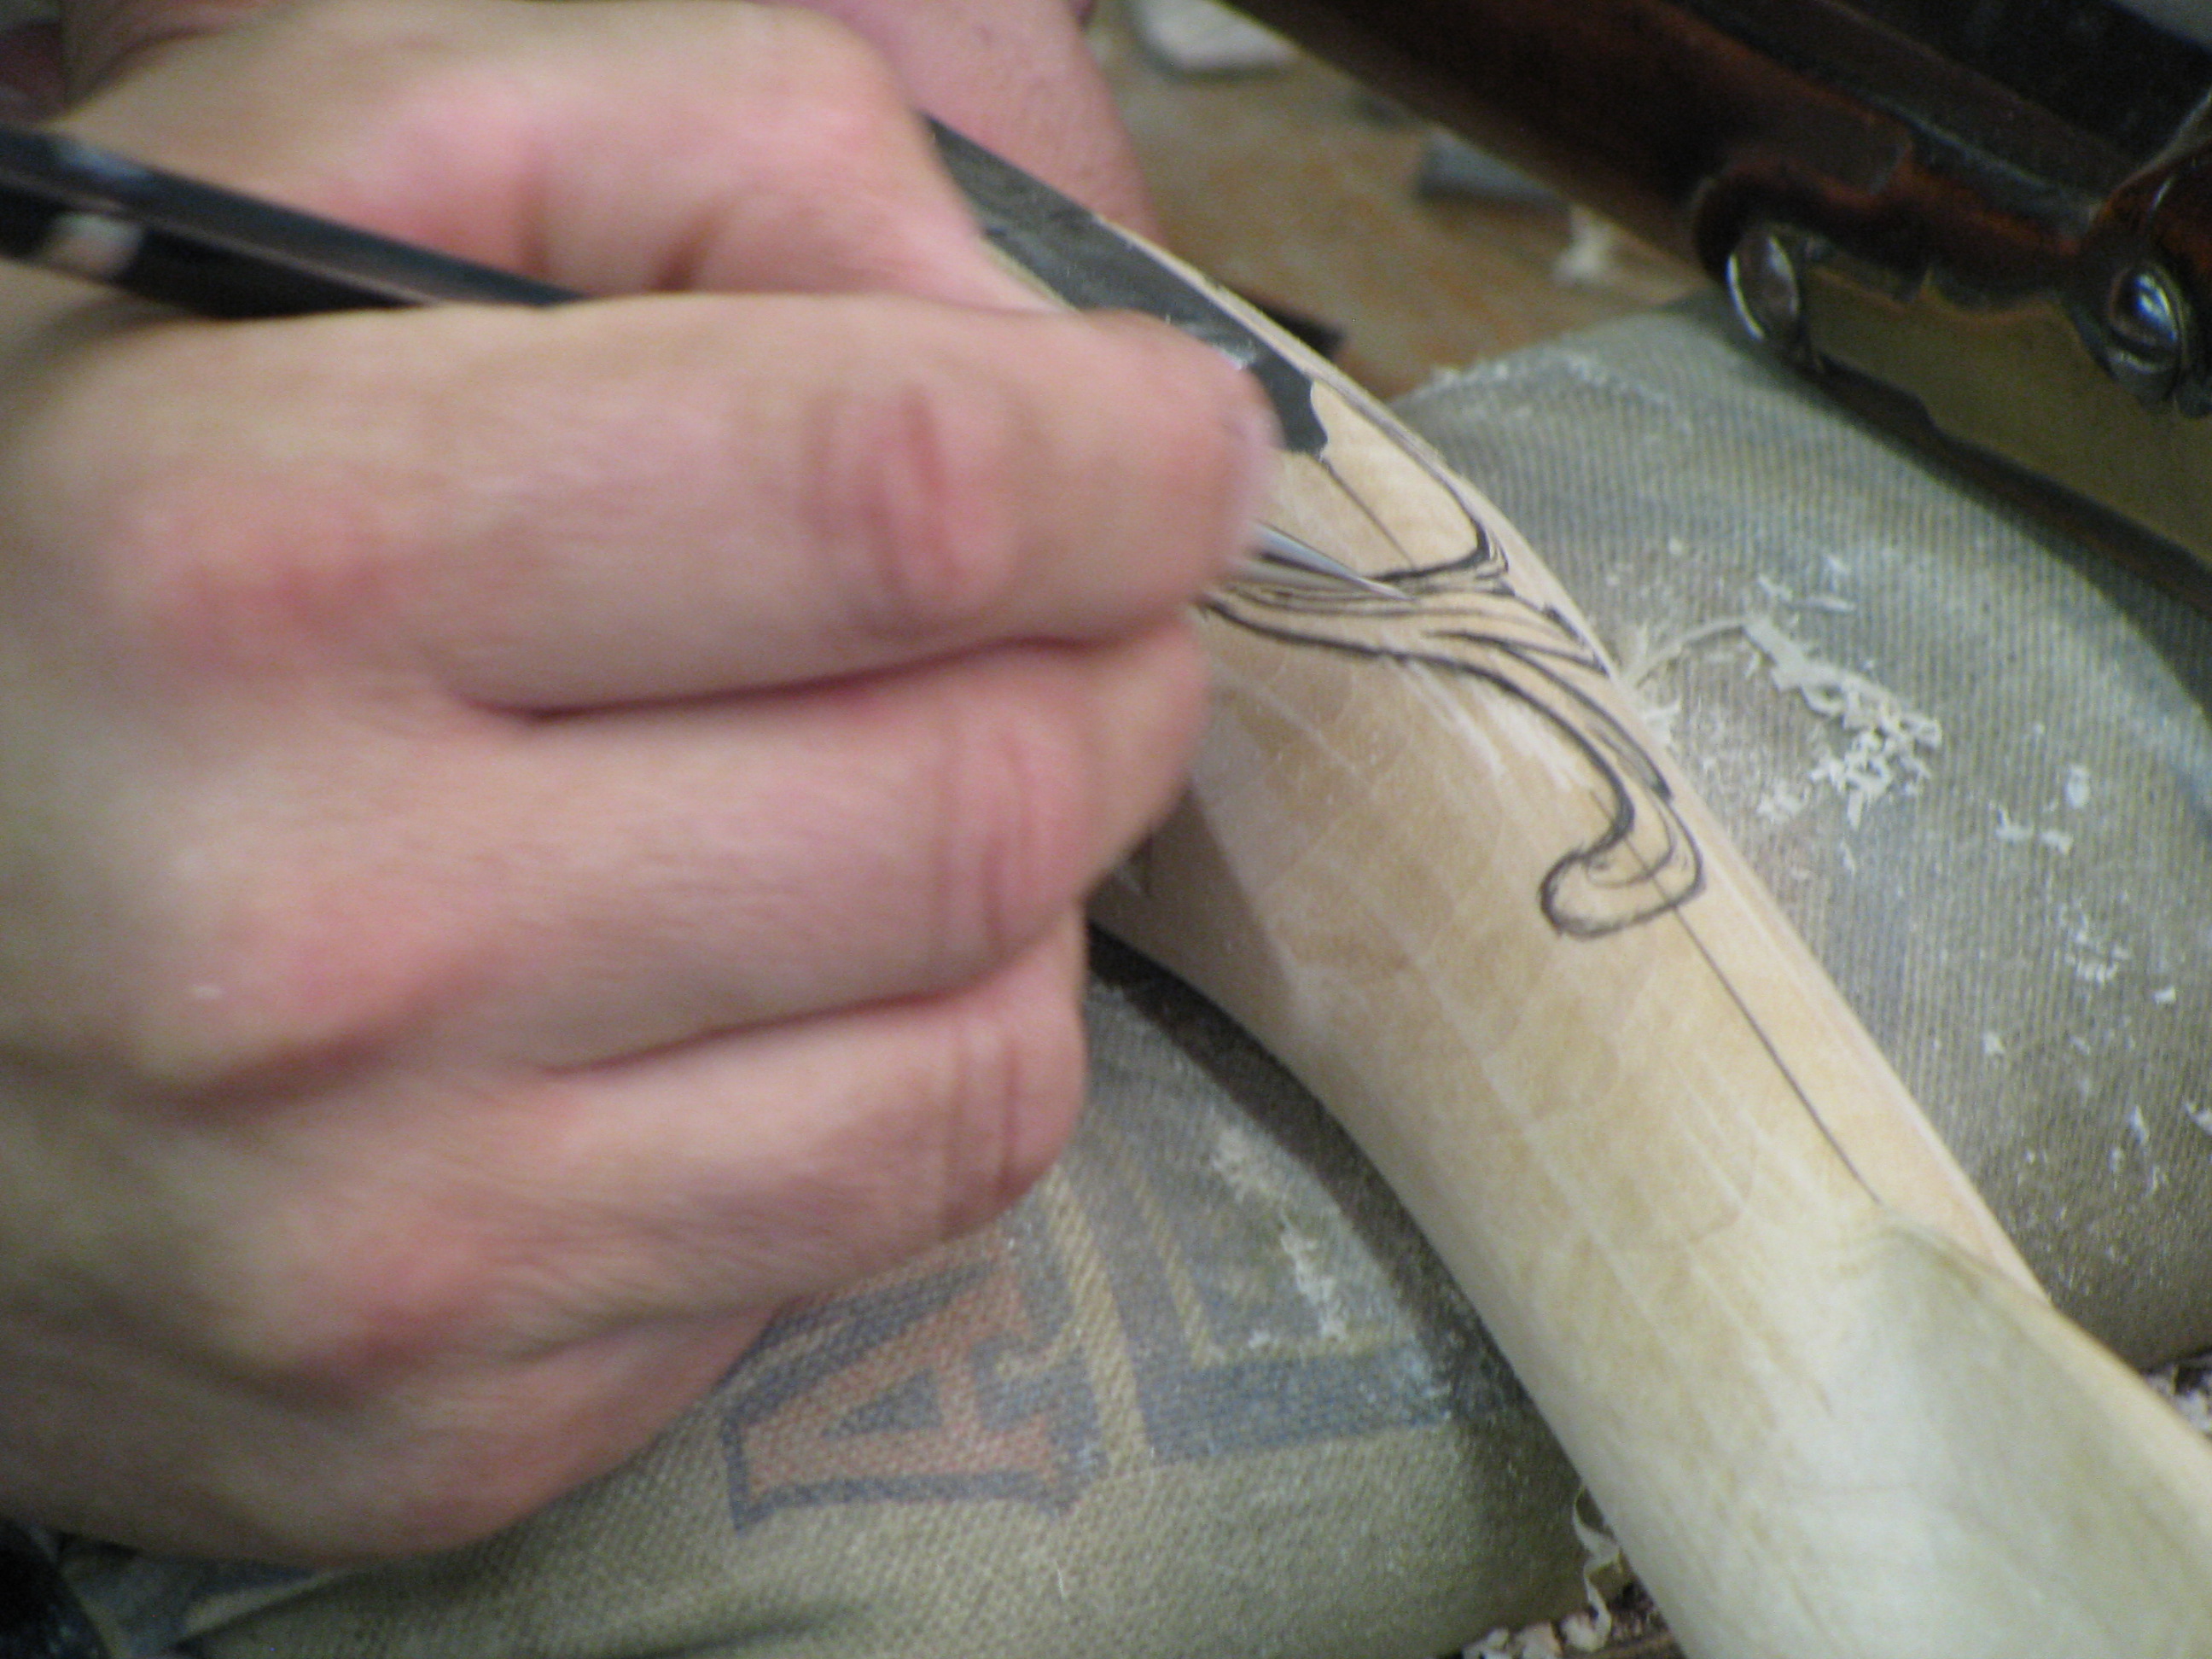
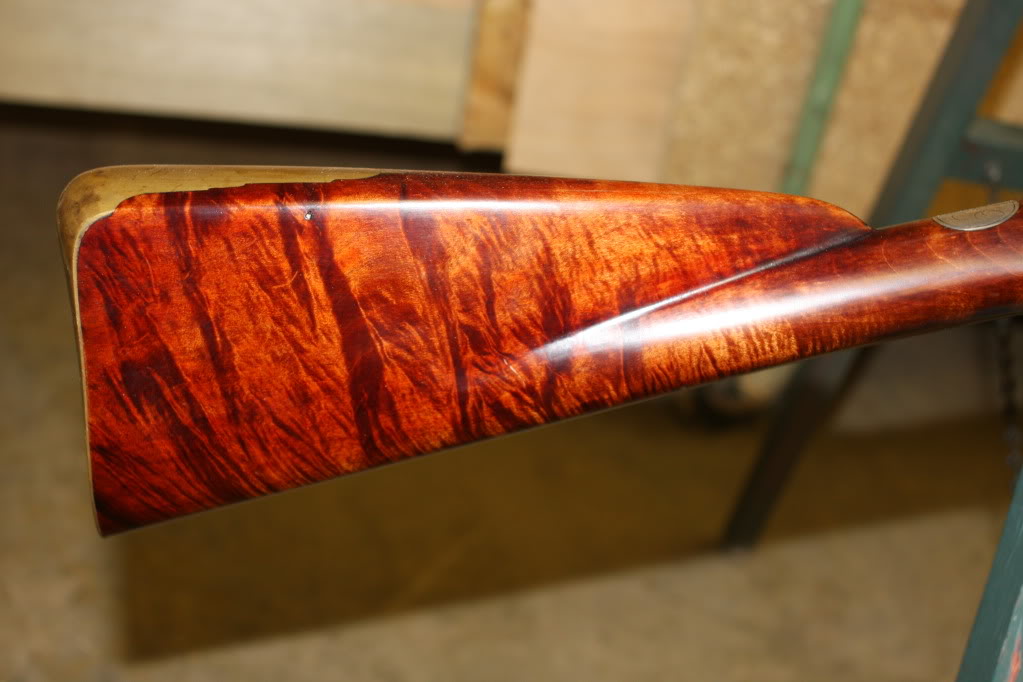
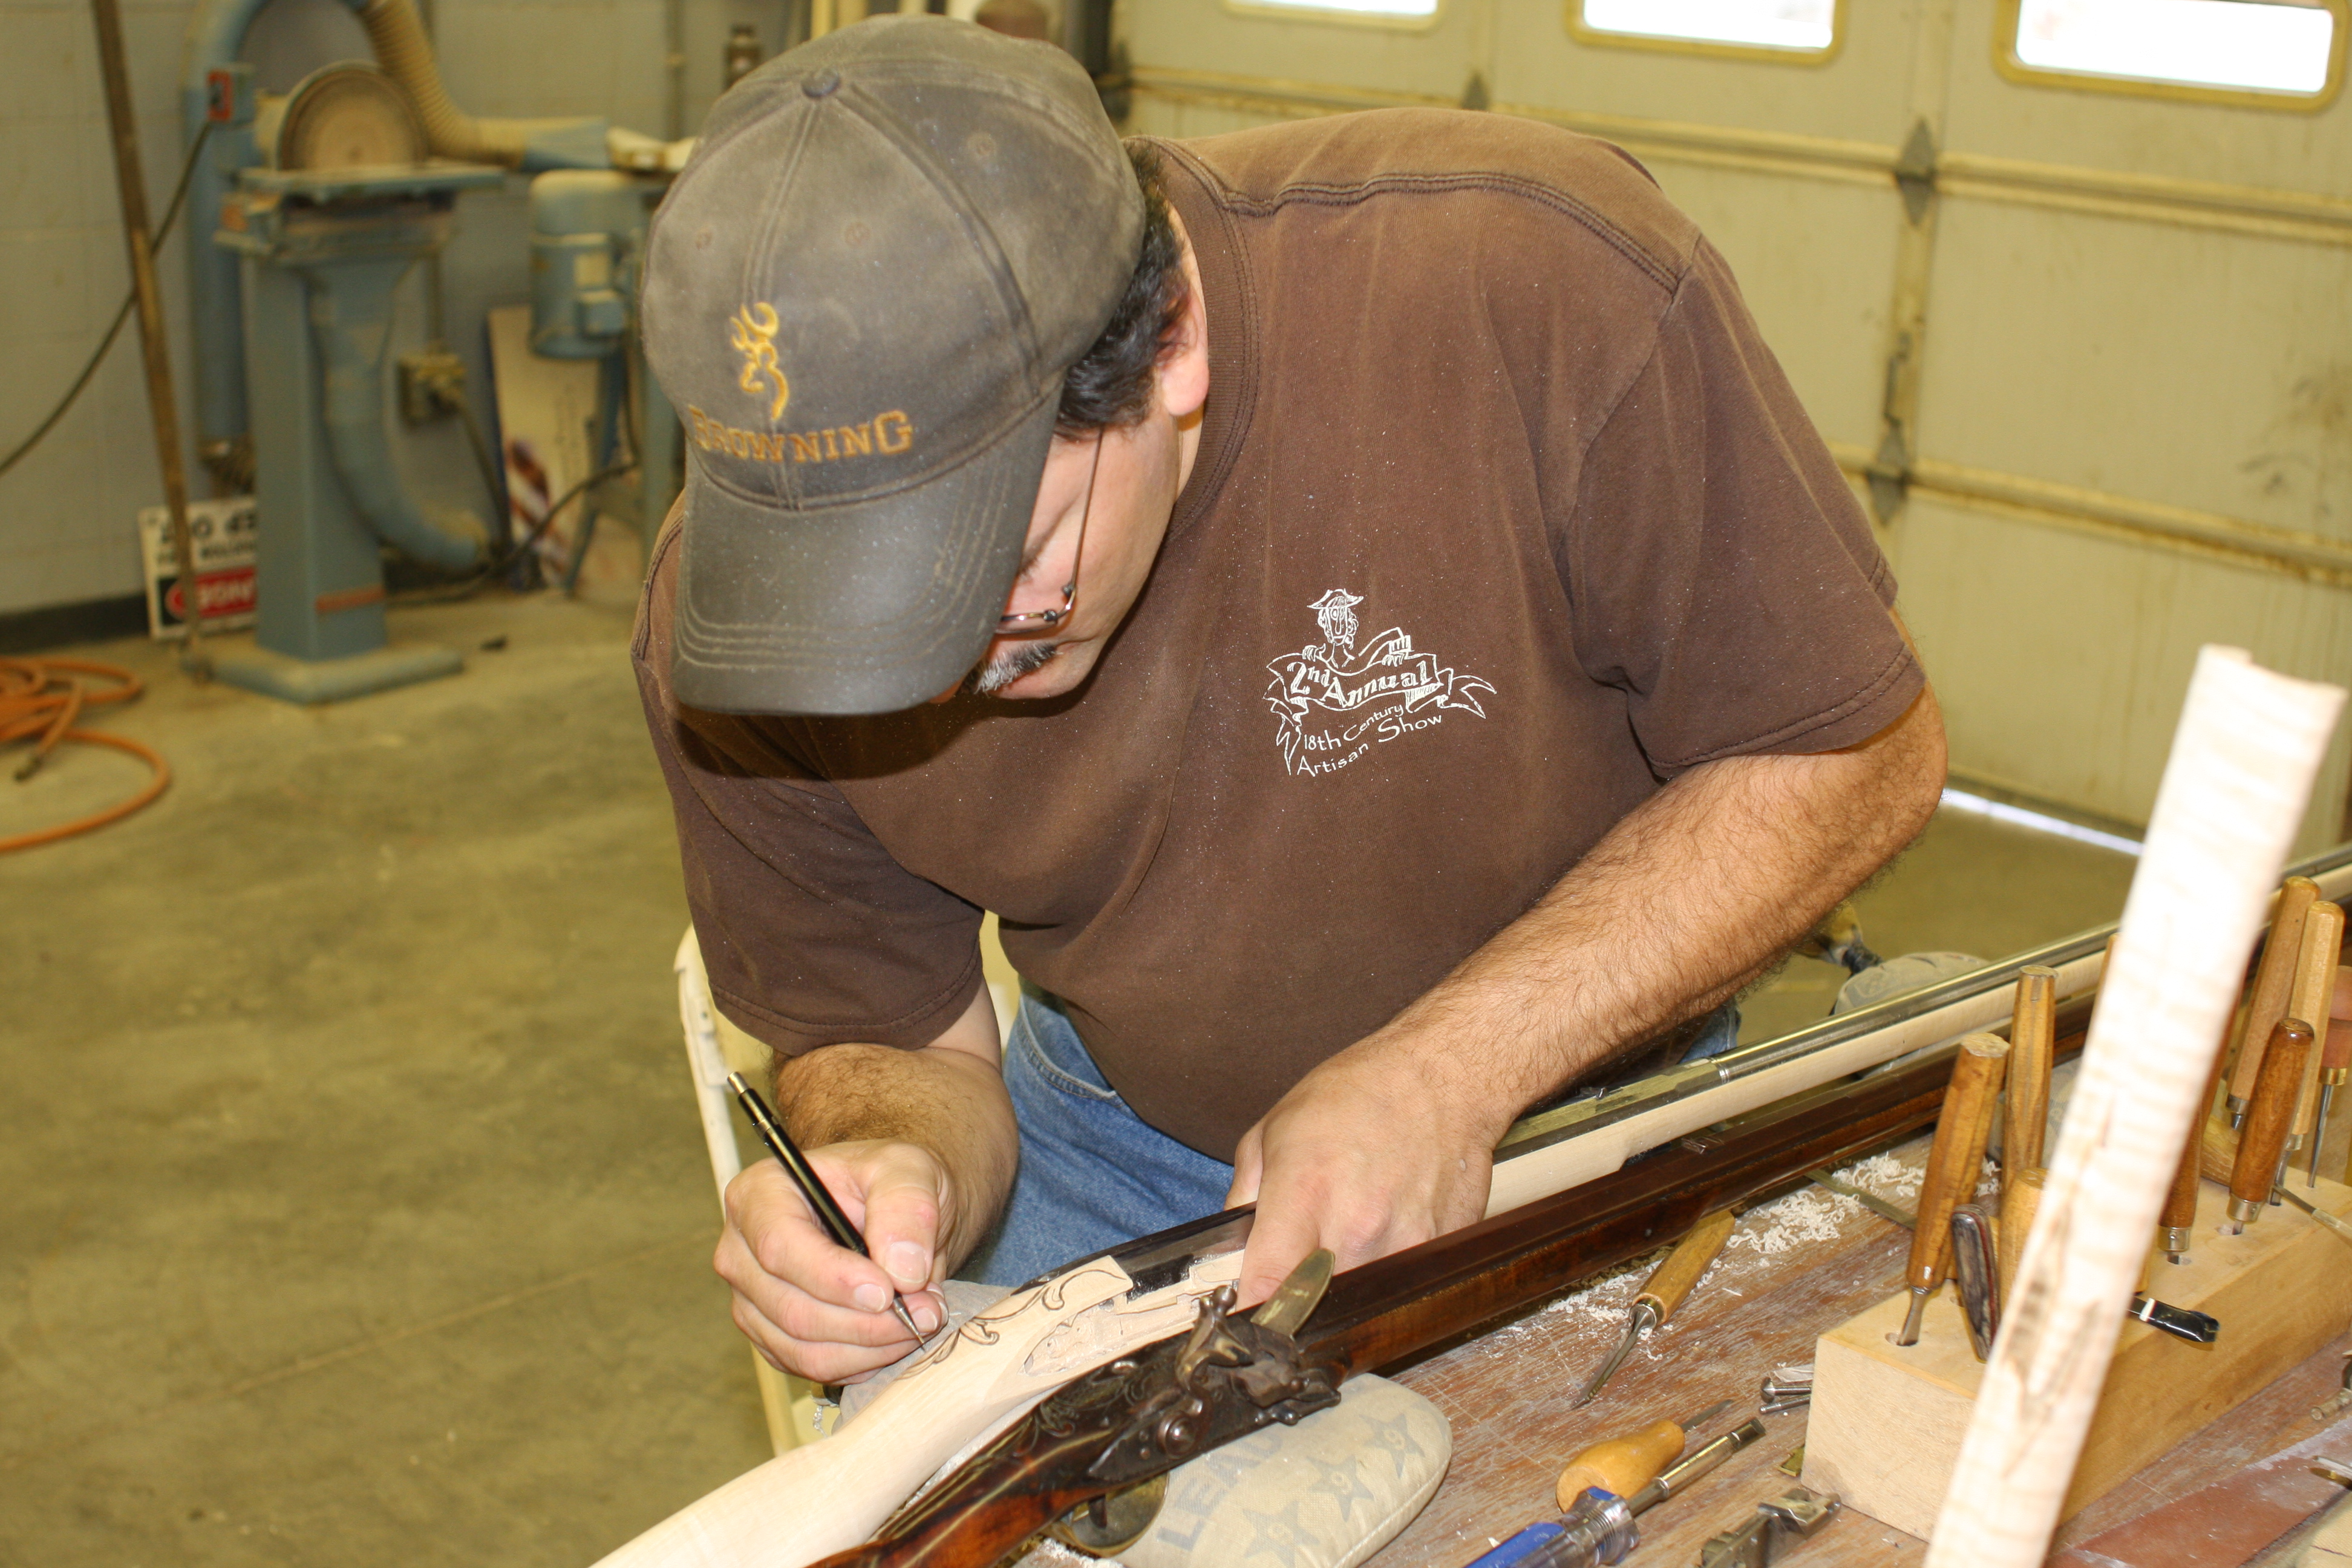
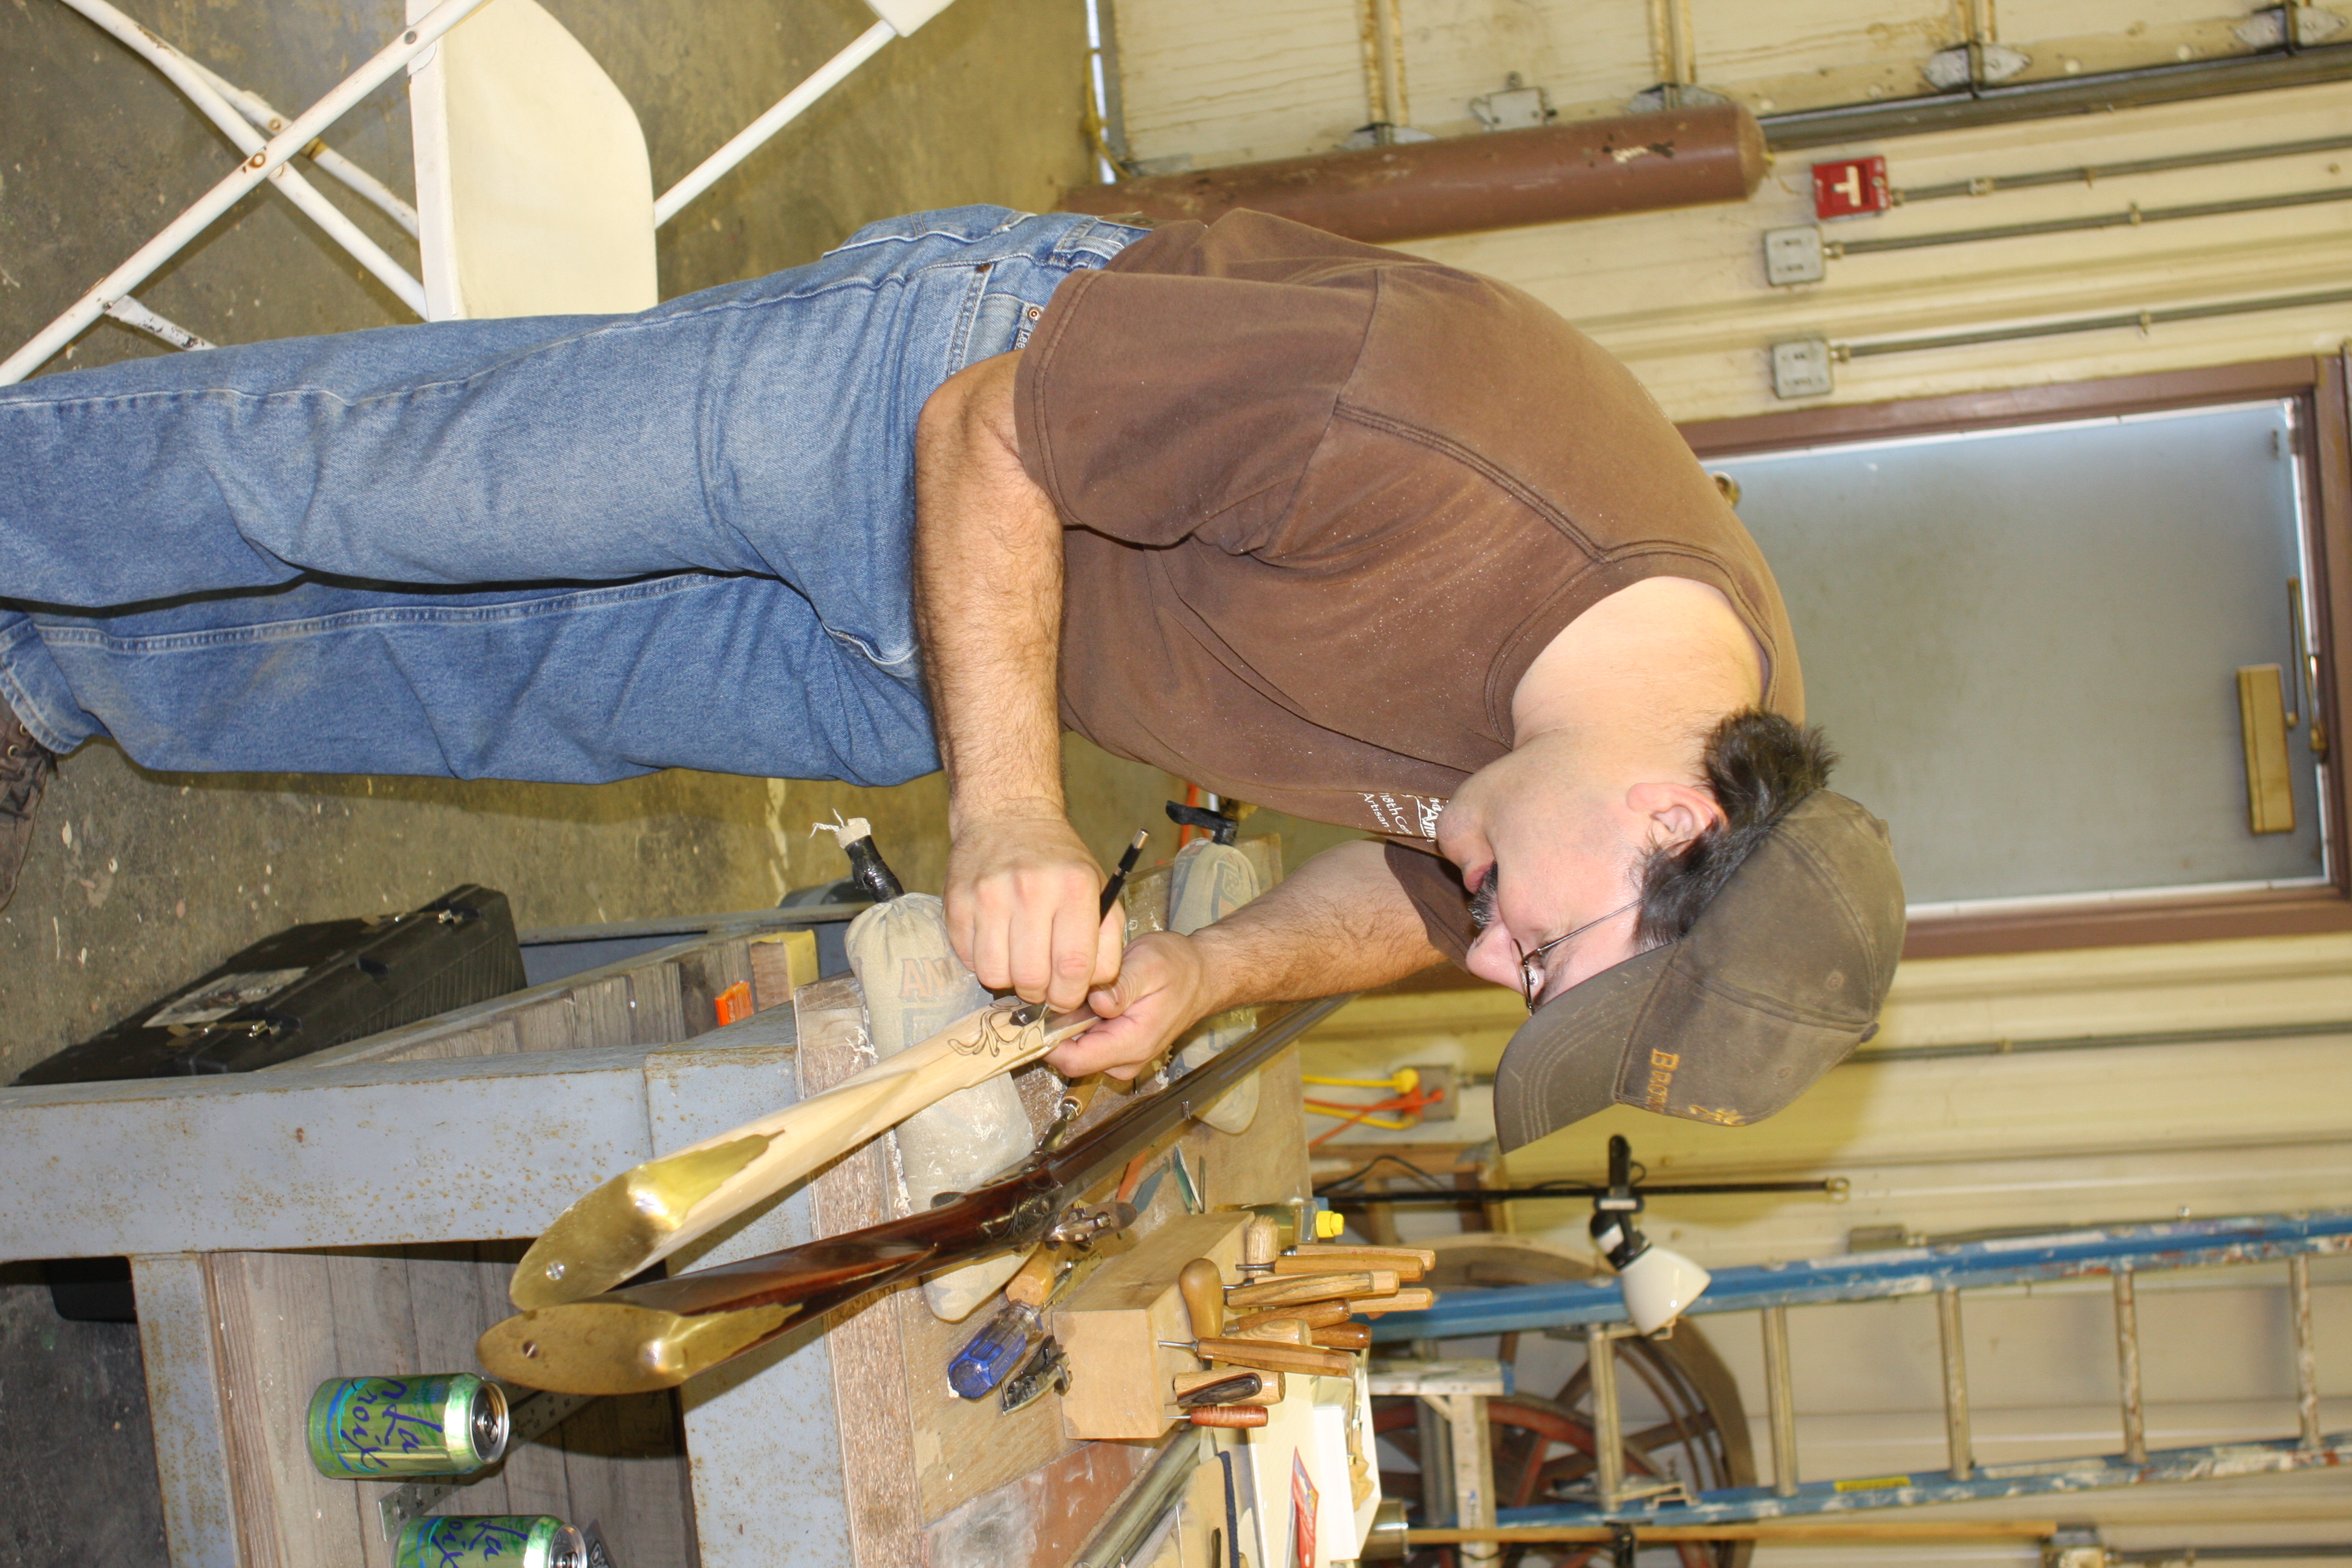
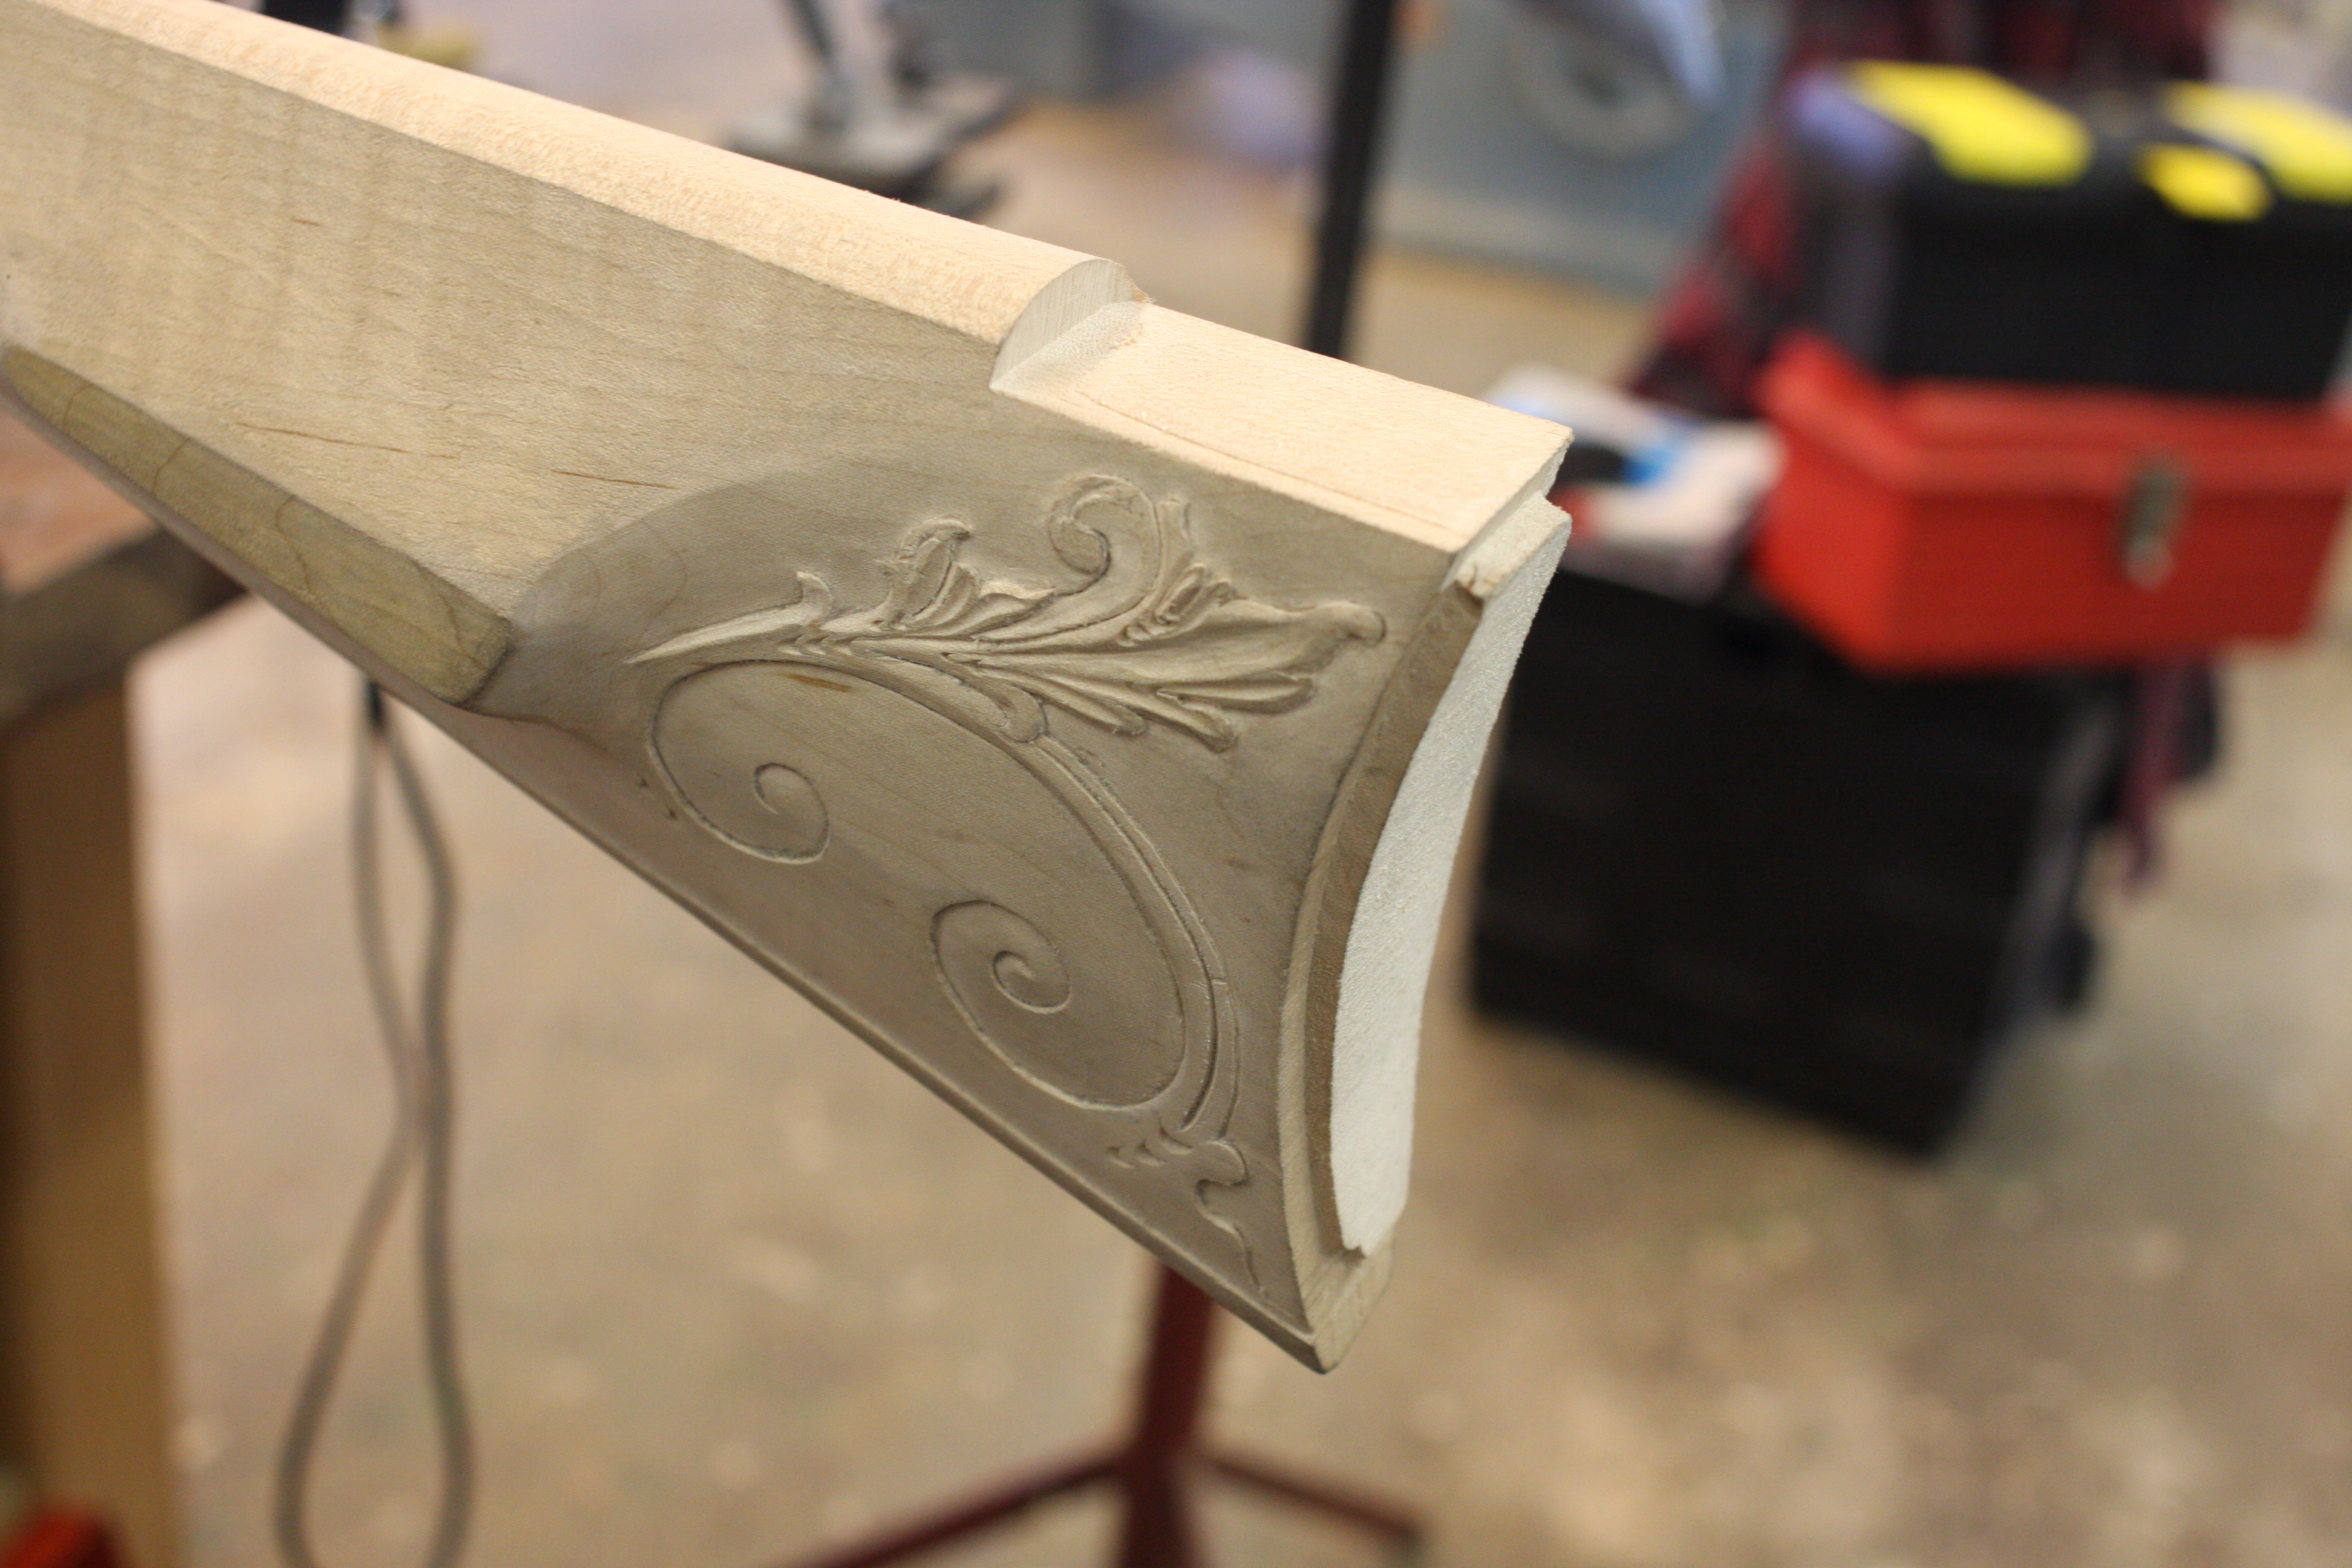
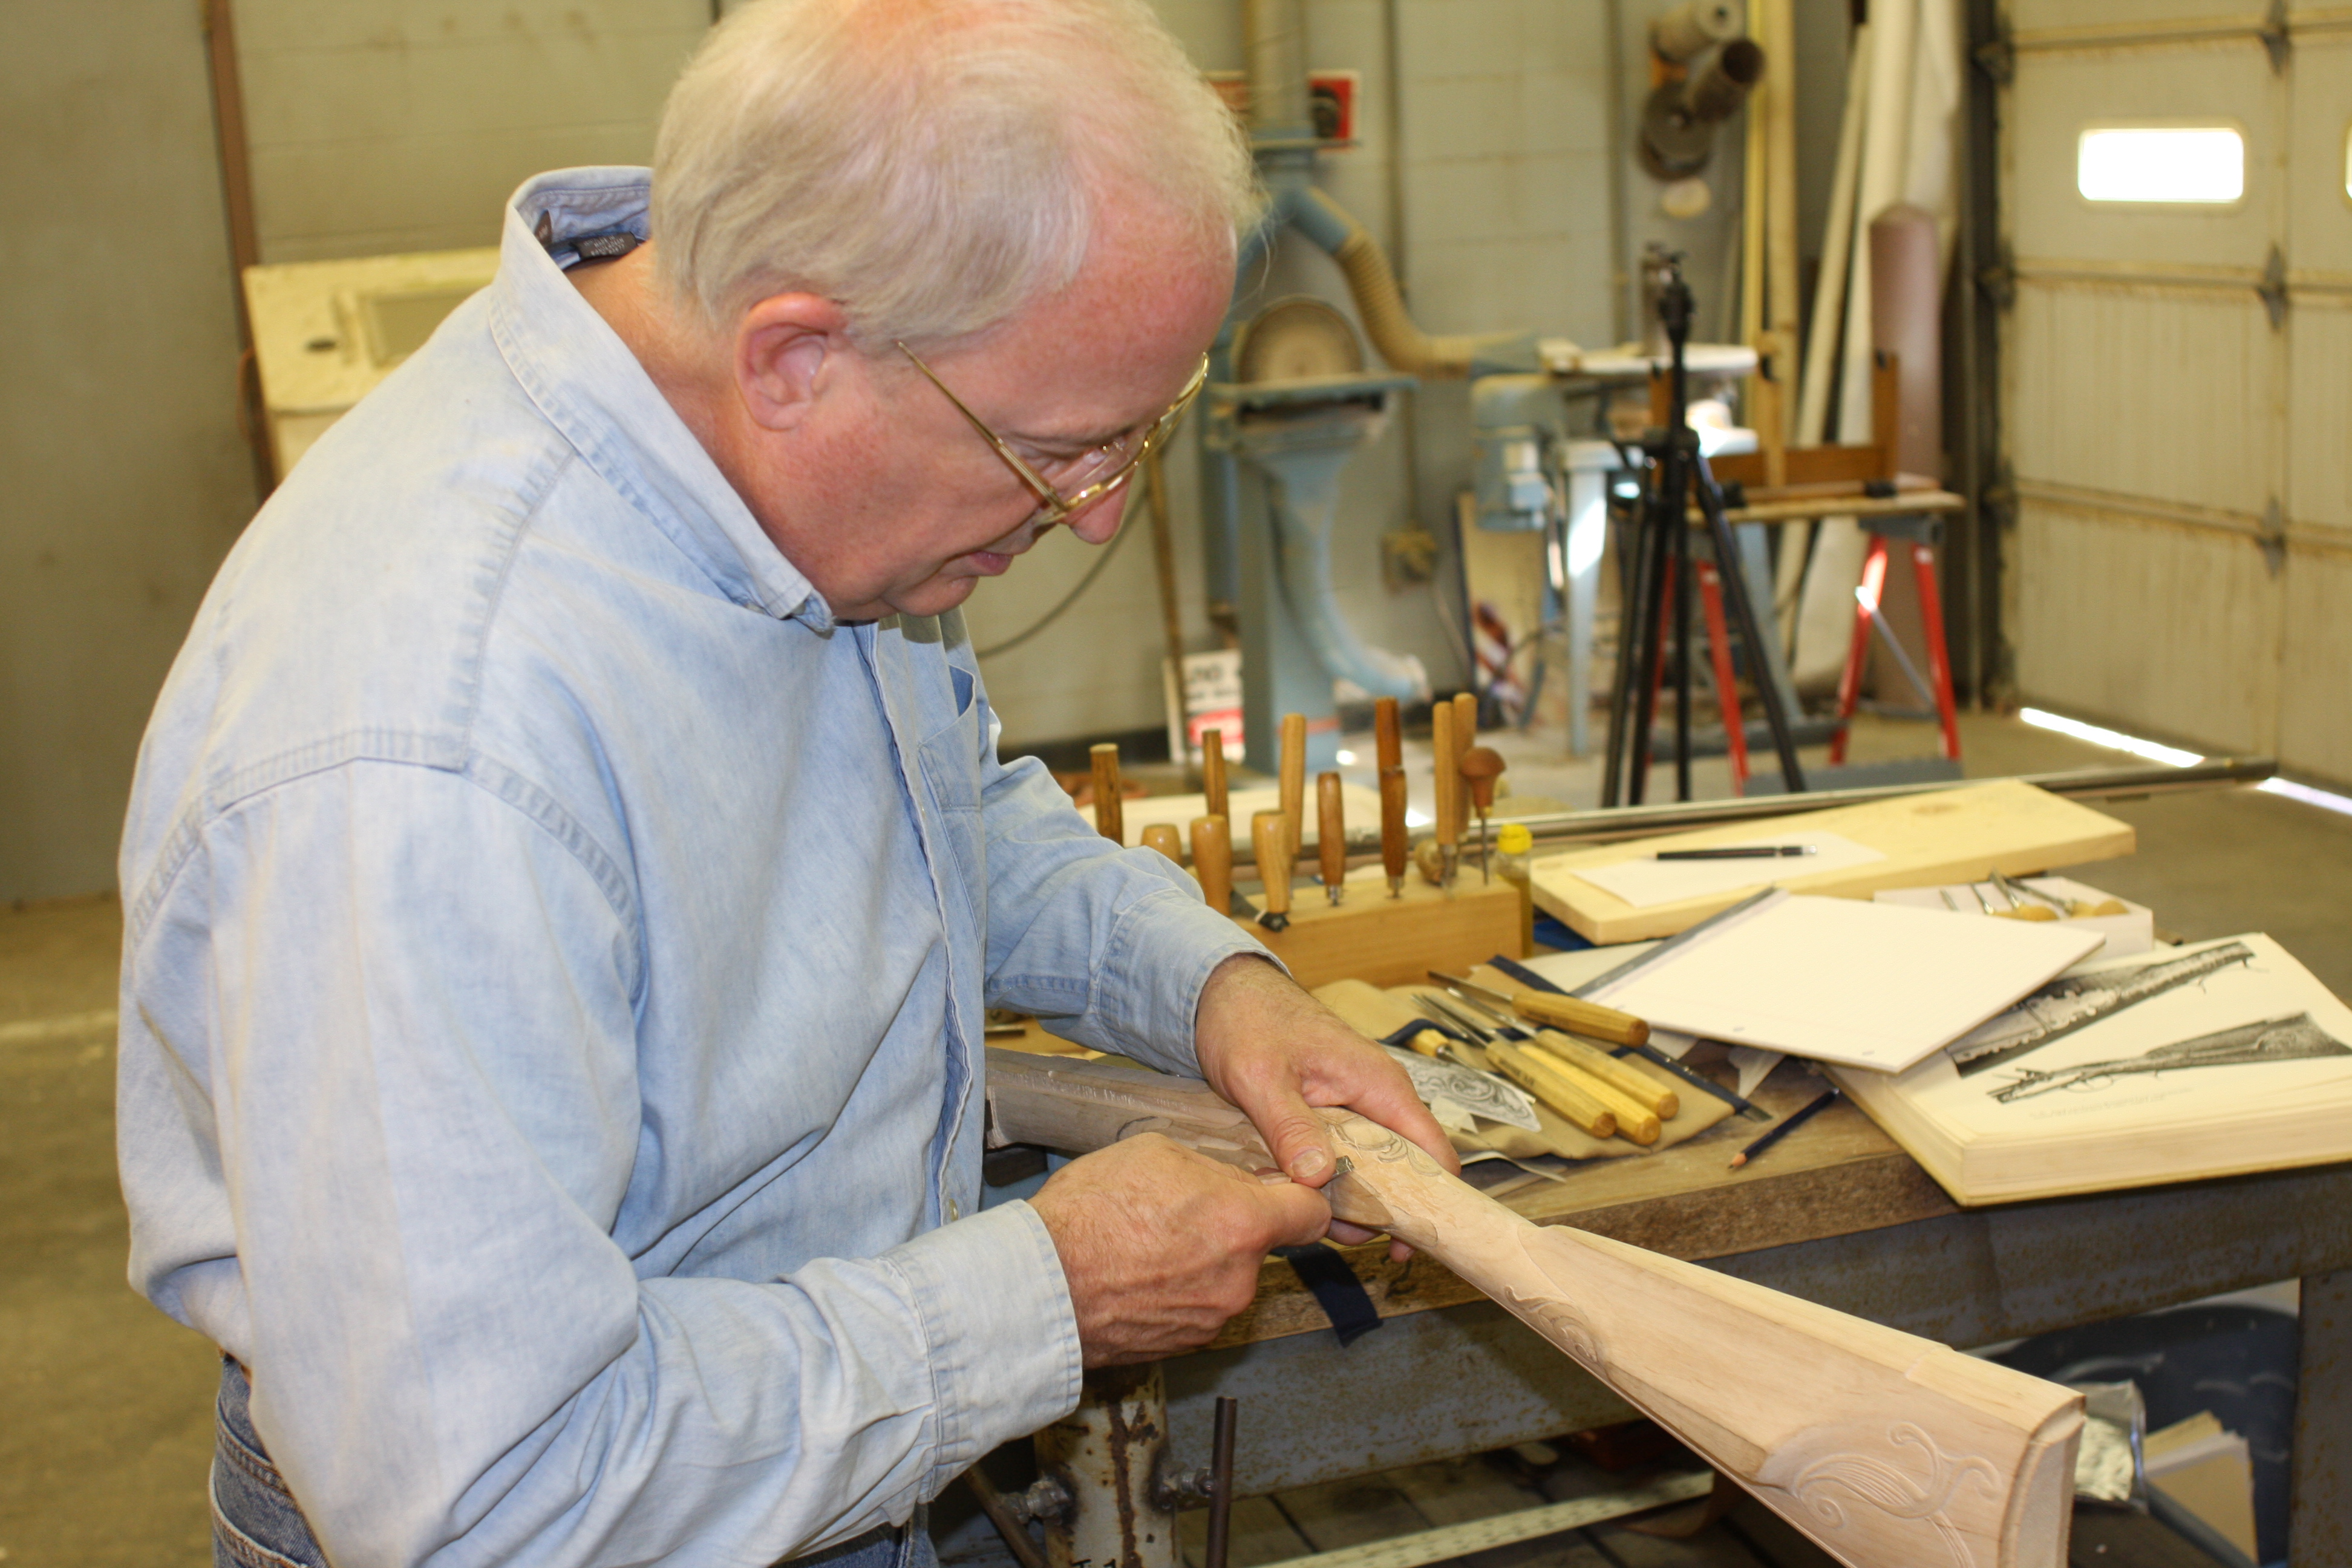
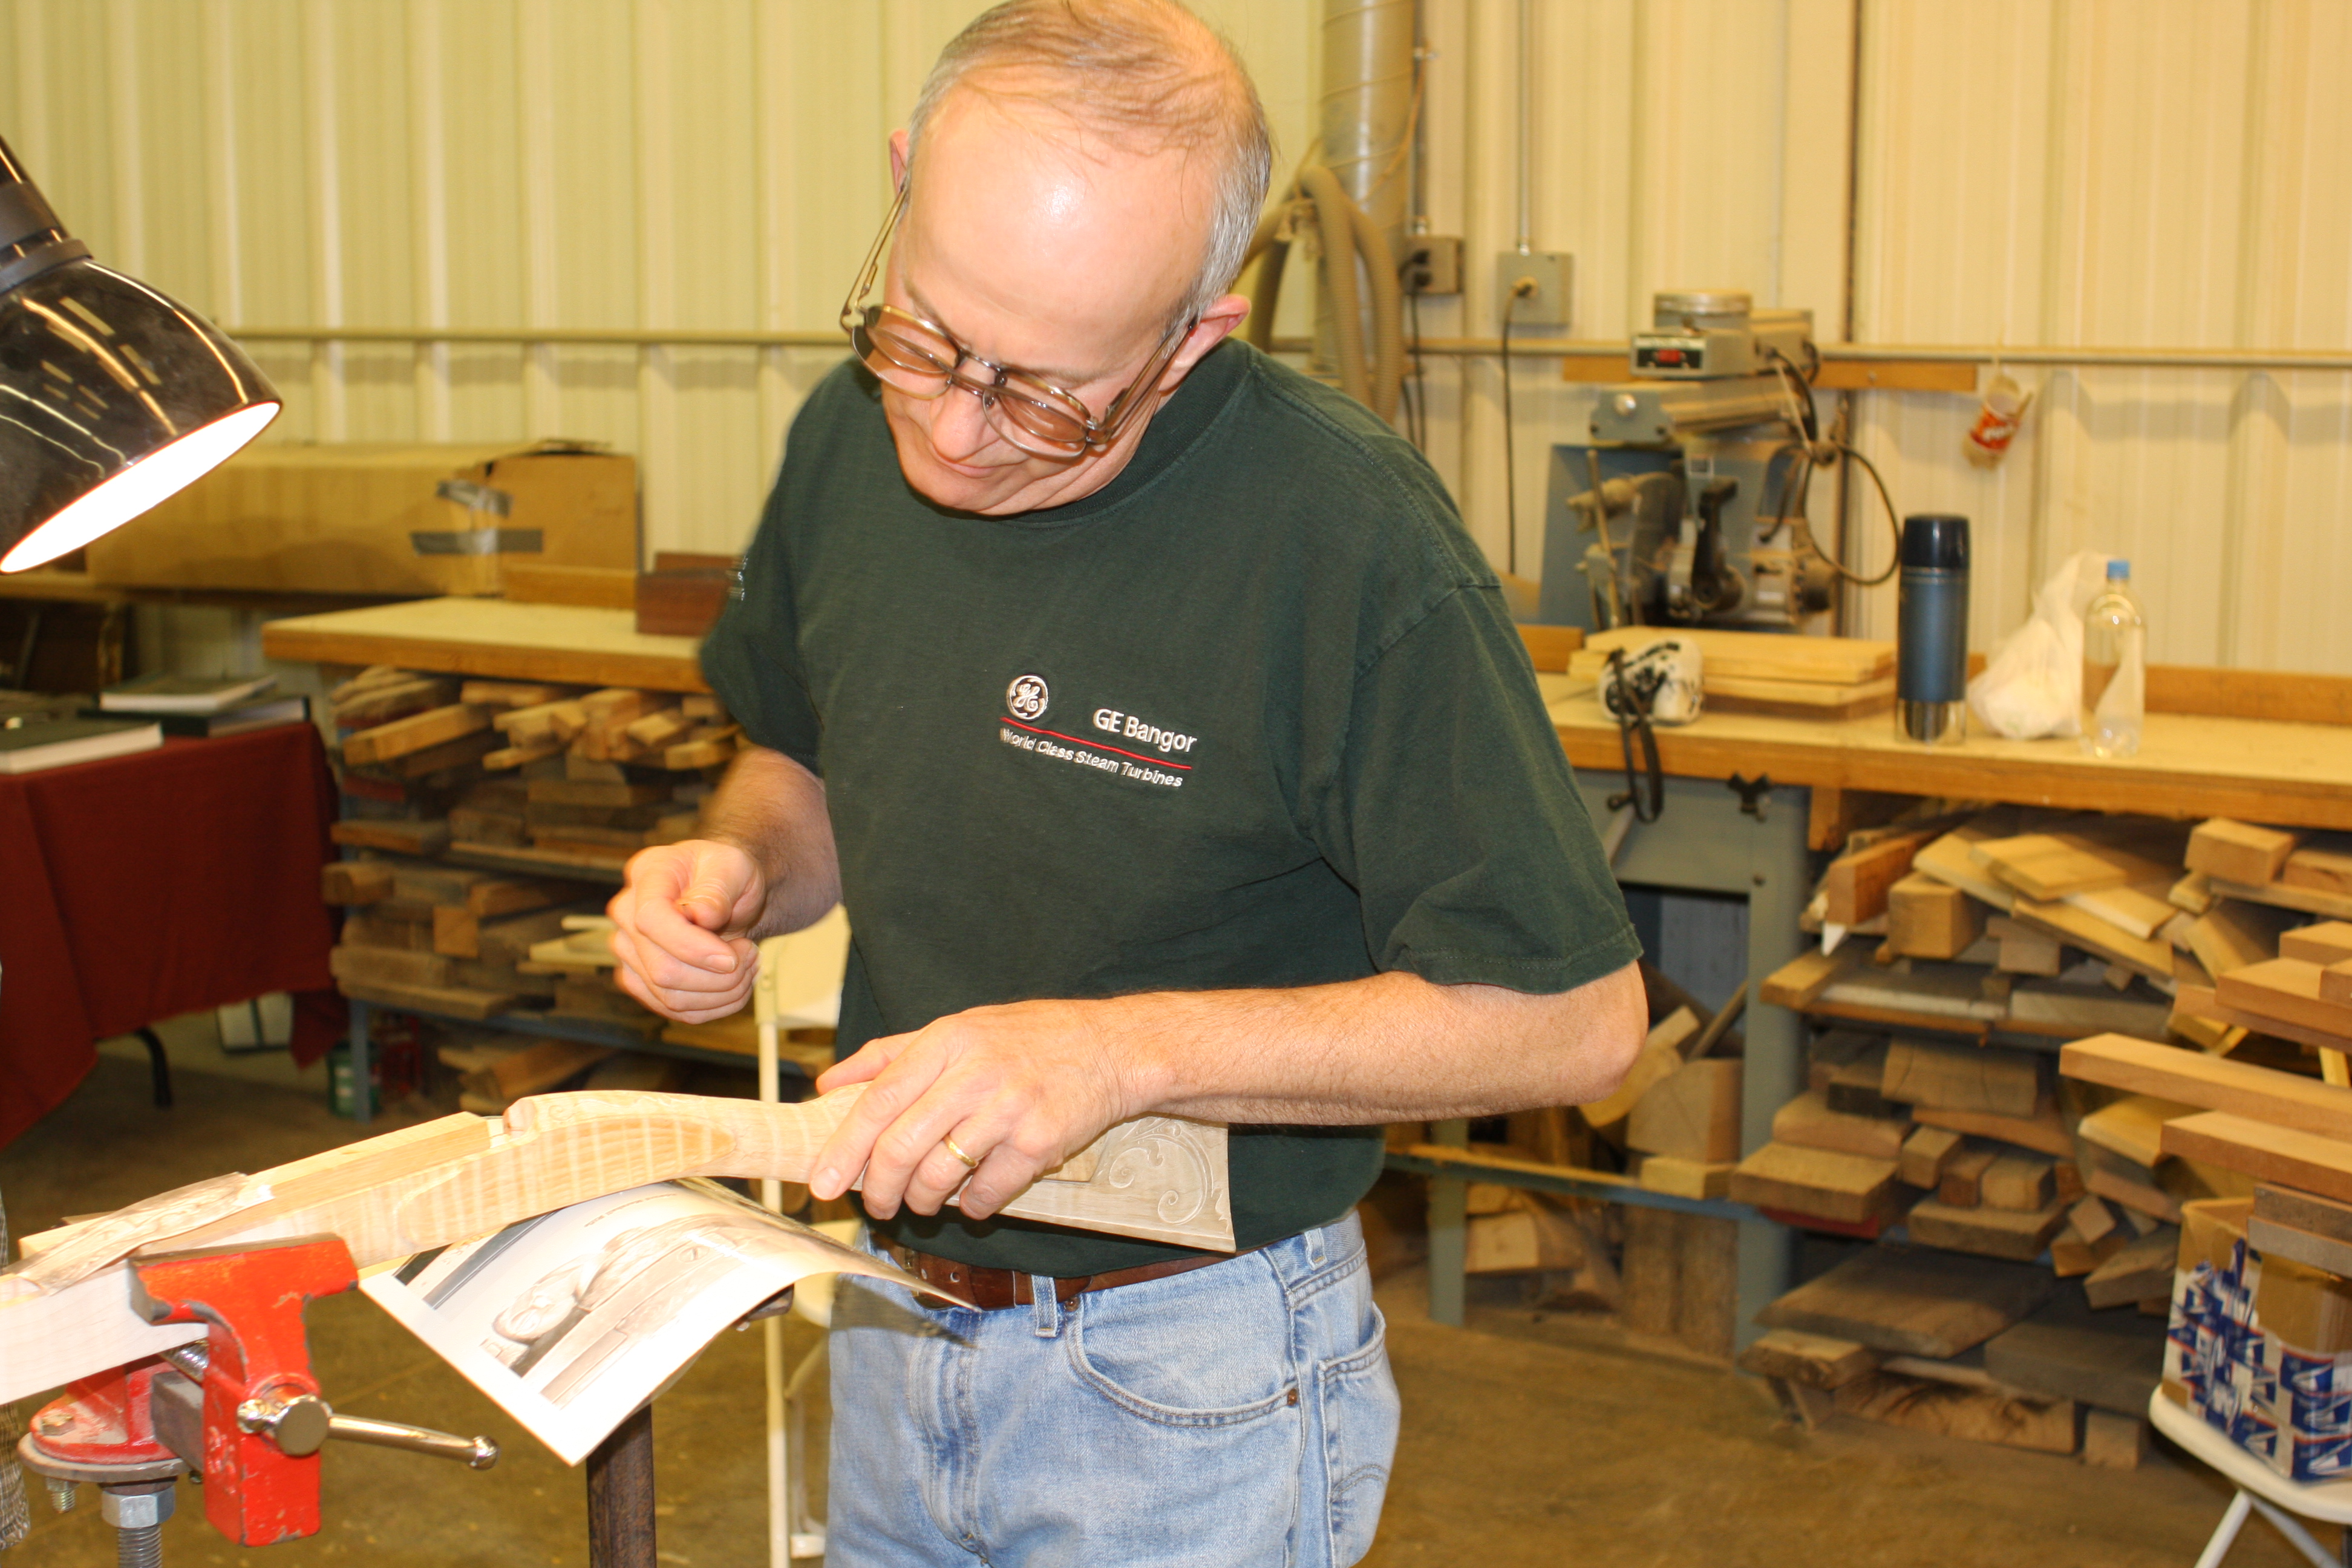
    The barrel was shortened to 32 inches as stock proportions were considered. Considerable wood was removed to give the rifle much better lines.   Steve poured a very nice pewter nose cap. A removable aperture rear sight was used to help a pair of 70 year old eyes.

    Here you can see the .58 caliber hole and the crown Steve cut.
    Here you can see the .58 caliber hole and the crown Steve cut.
    Final shaping of cheek piece
    Final shaping of cheek piece  (Photo S Chapman)
    Lock installed, wrist shaped
    Lock installed, wrist shaped  (Photo S Chapman)
    Barrel Lugs
    Barrel Lugs  (Photo S Chapman)

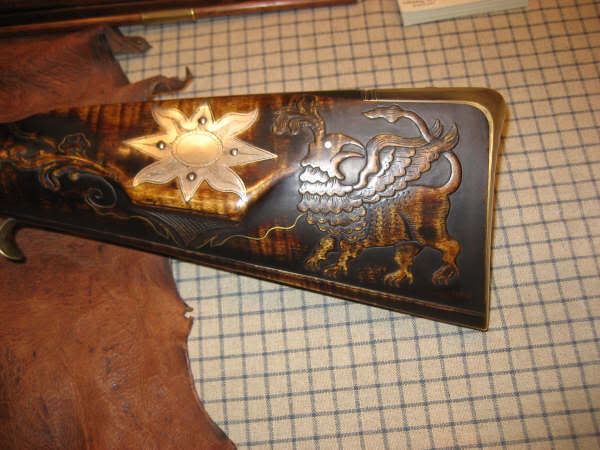
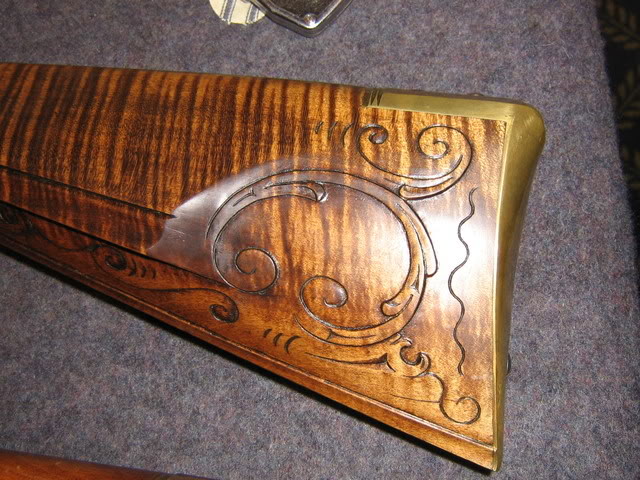
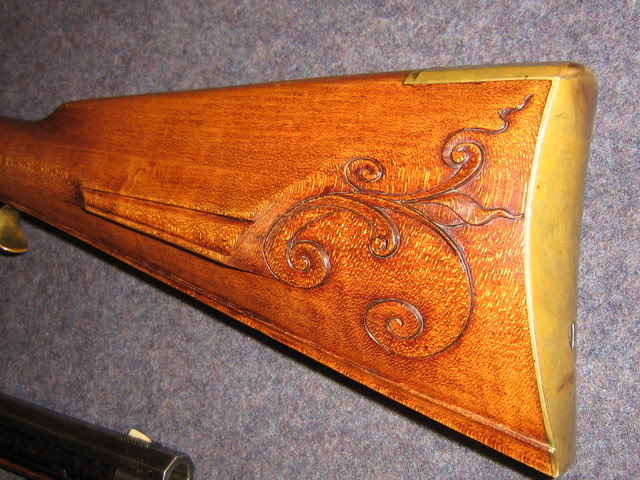
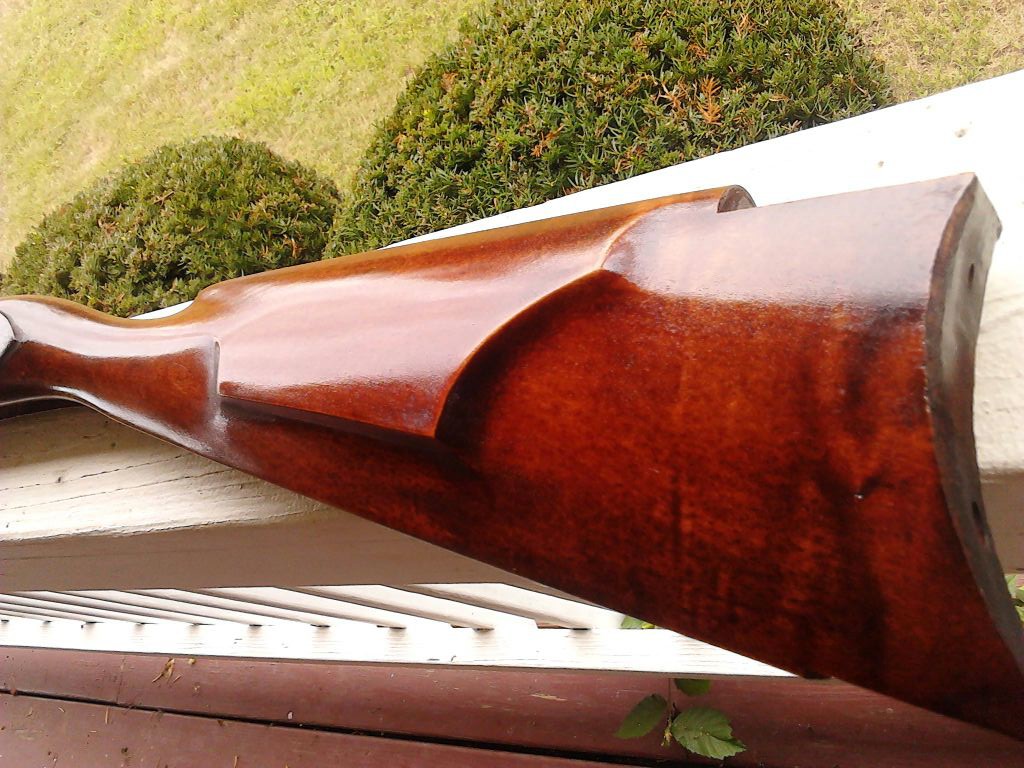
    The finish used on the stock was a mixture of stains that Steve likes, and I like the way the stock turned out. I didn’t quiz Steve on the exact mixture, but I know that it was a mixture of Homer Dangler’s stains.

    Cheek piece
    Cheek piece  (Photo S Chapman)
    Pewter nose cap
    Pewter nose cap  (Photo S Chapman)
    Forearm and nose cap
    Forearm and nose cap  (Photo L Pletcher)
    Lock area
    Lock area  (Photo L Pletcher)

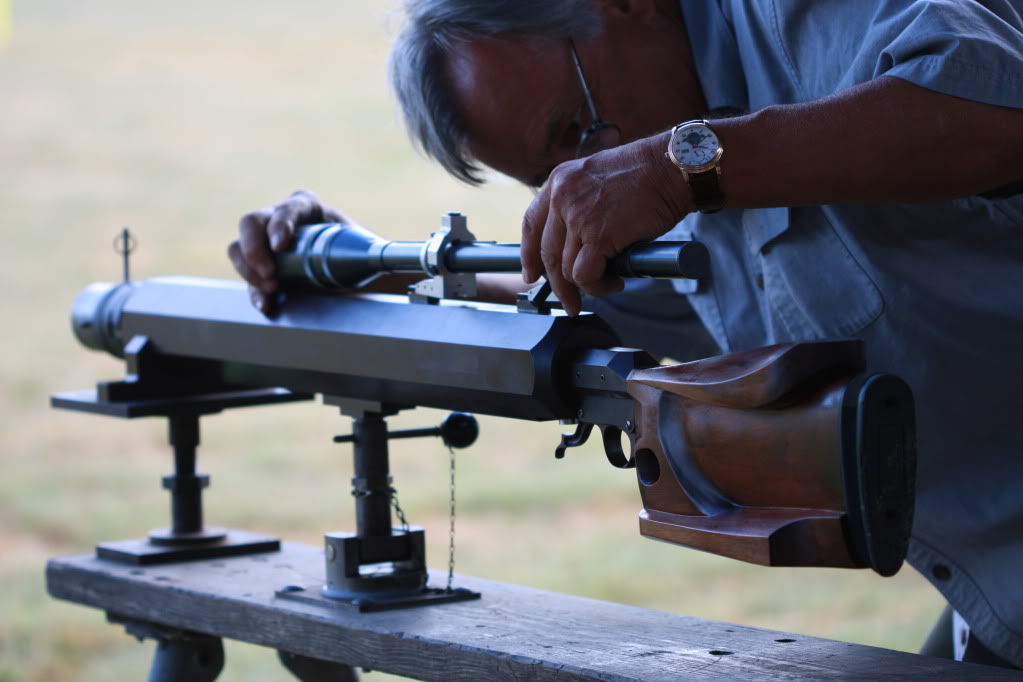
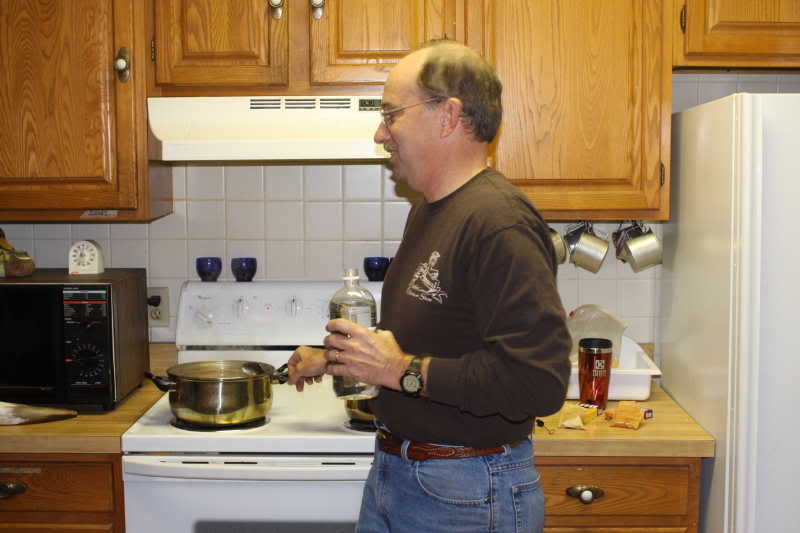
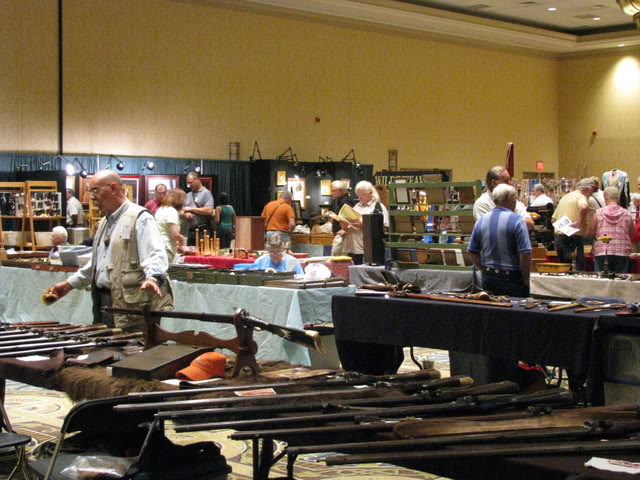
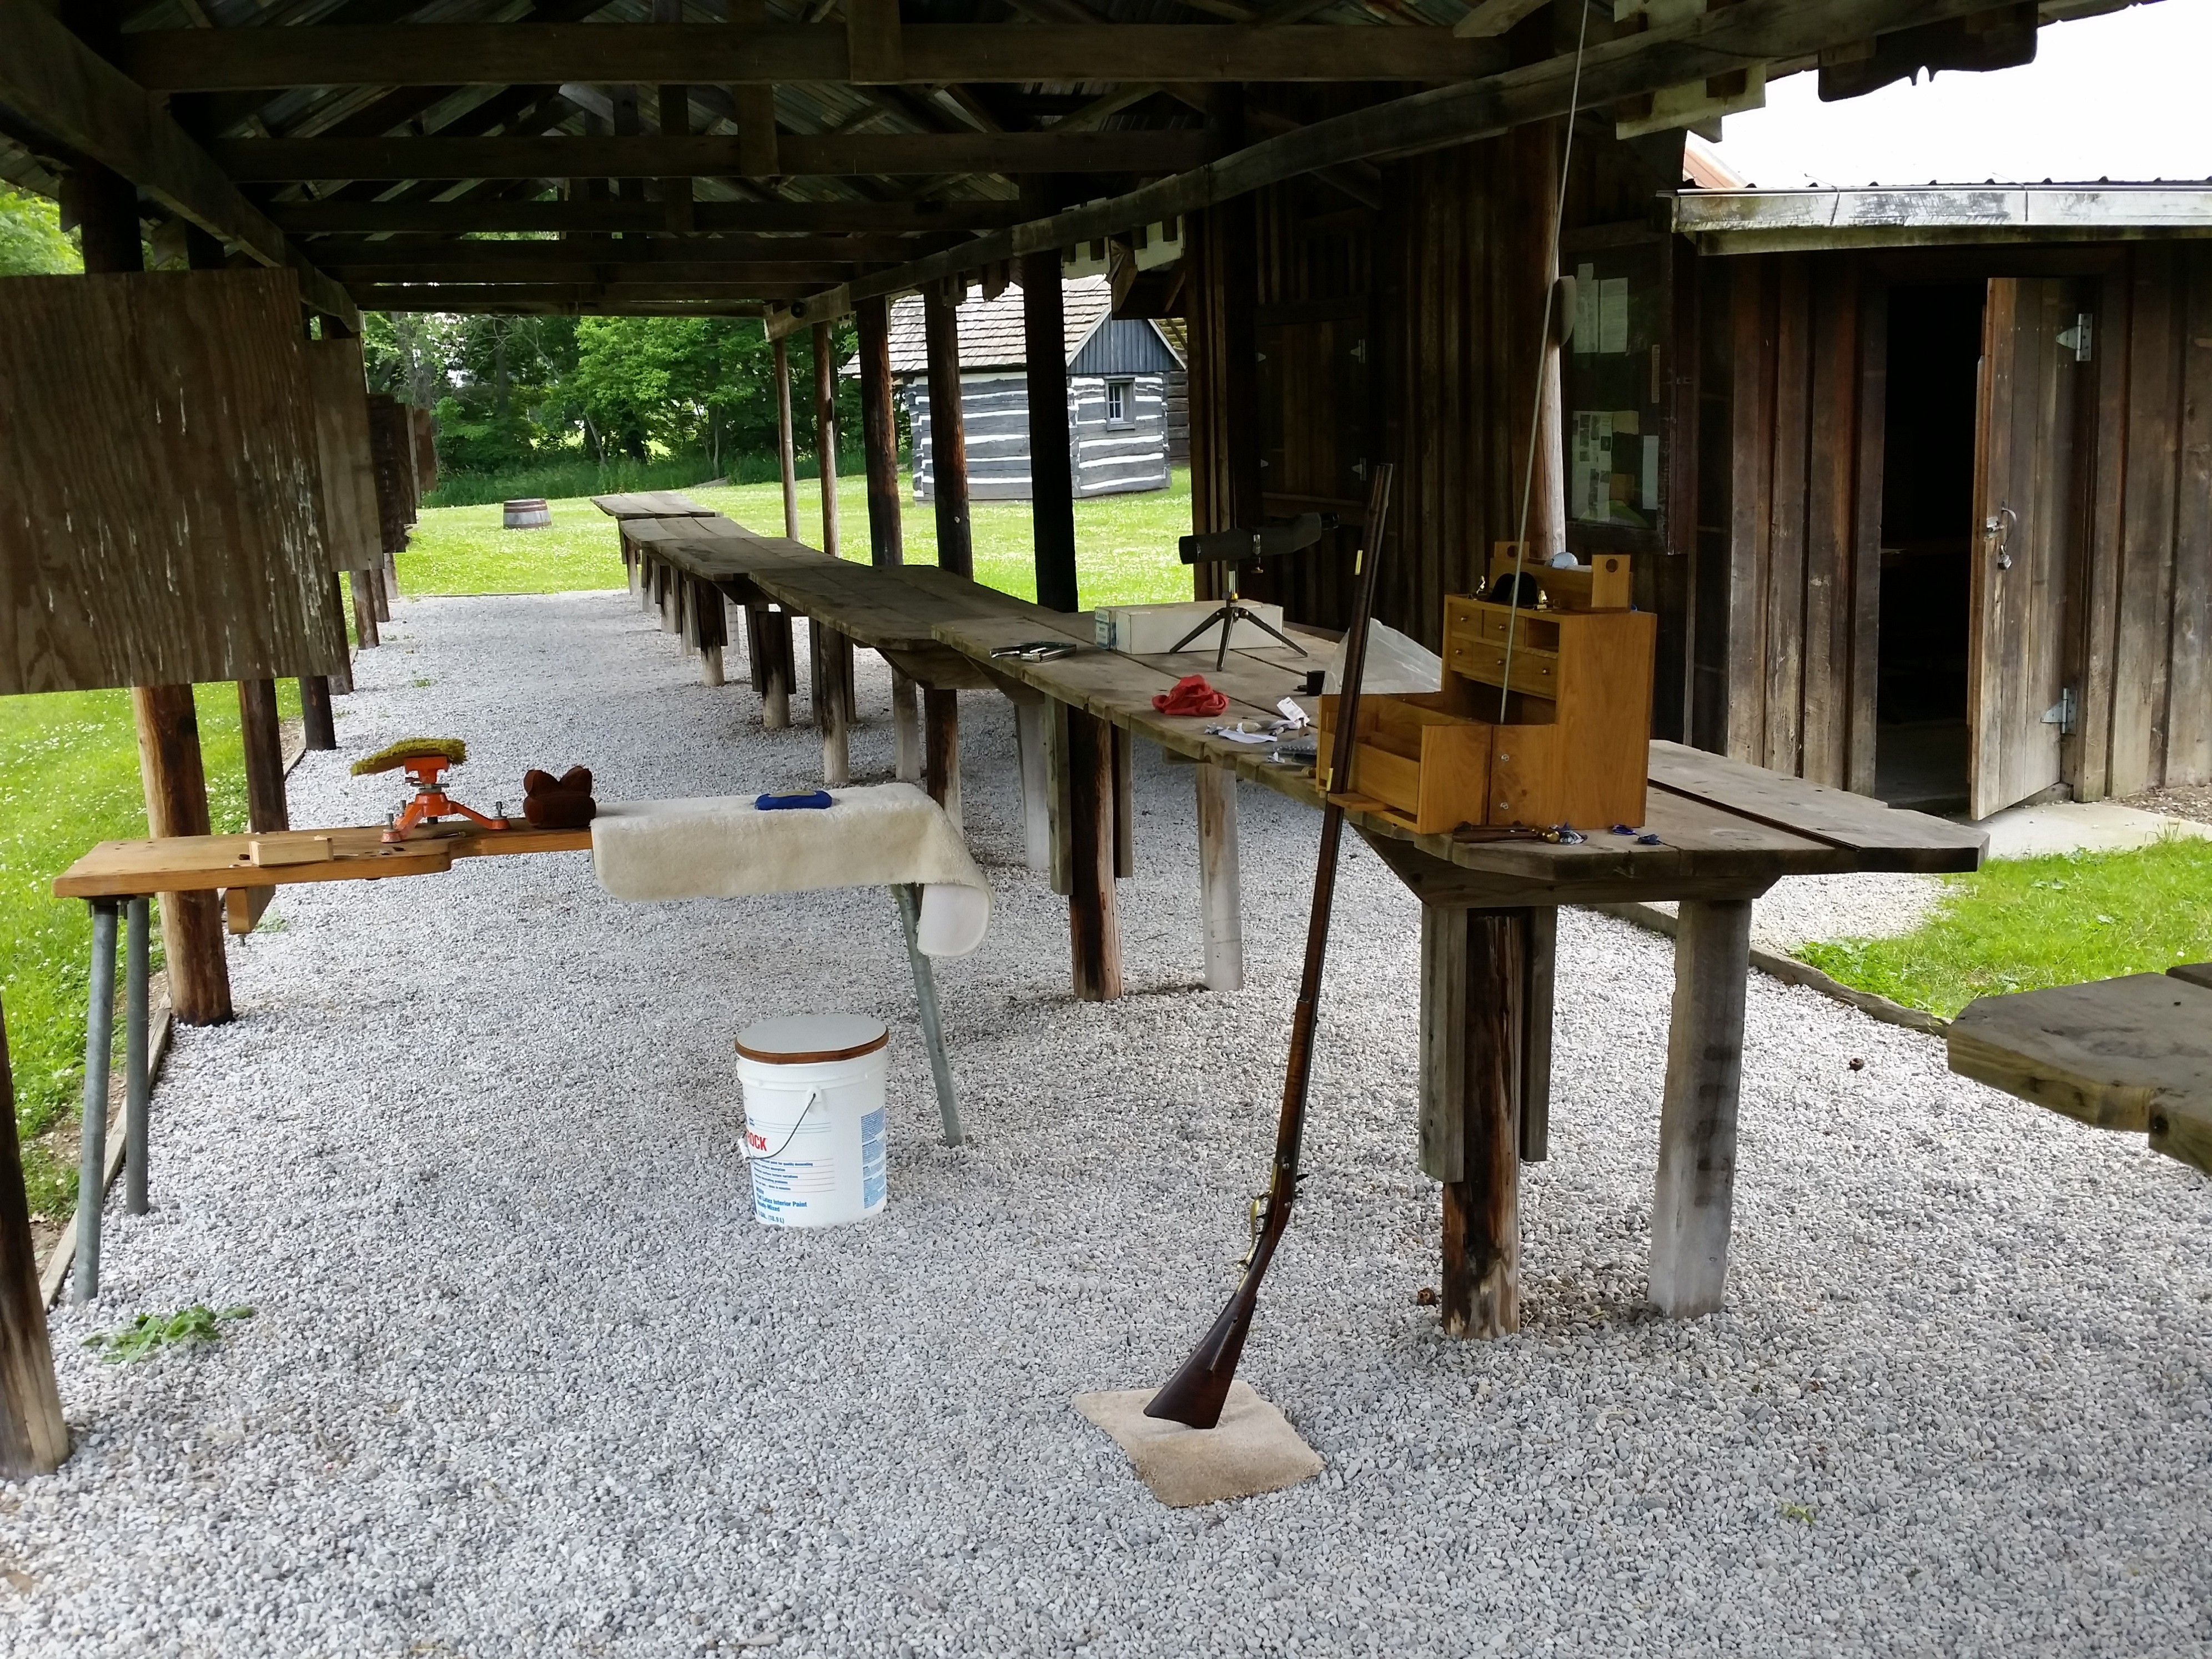
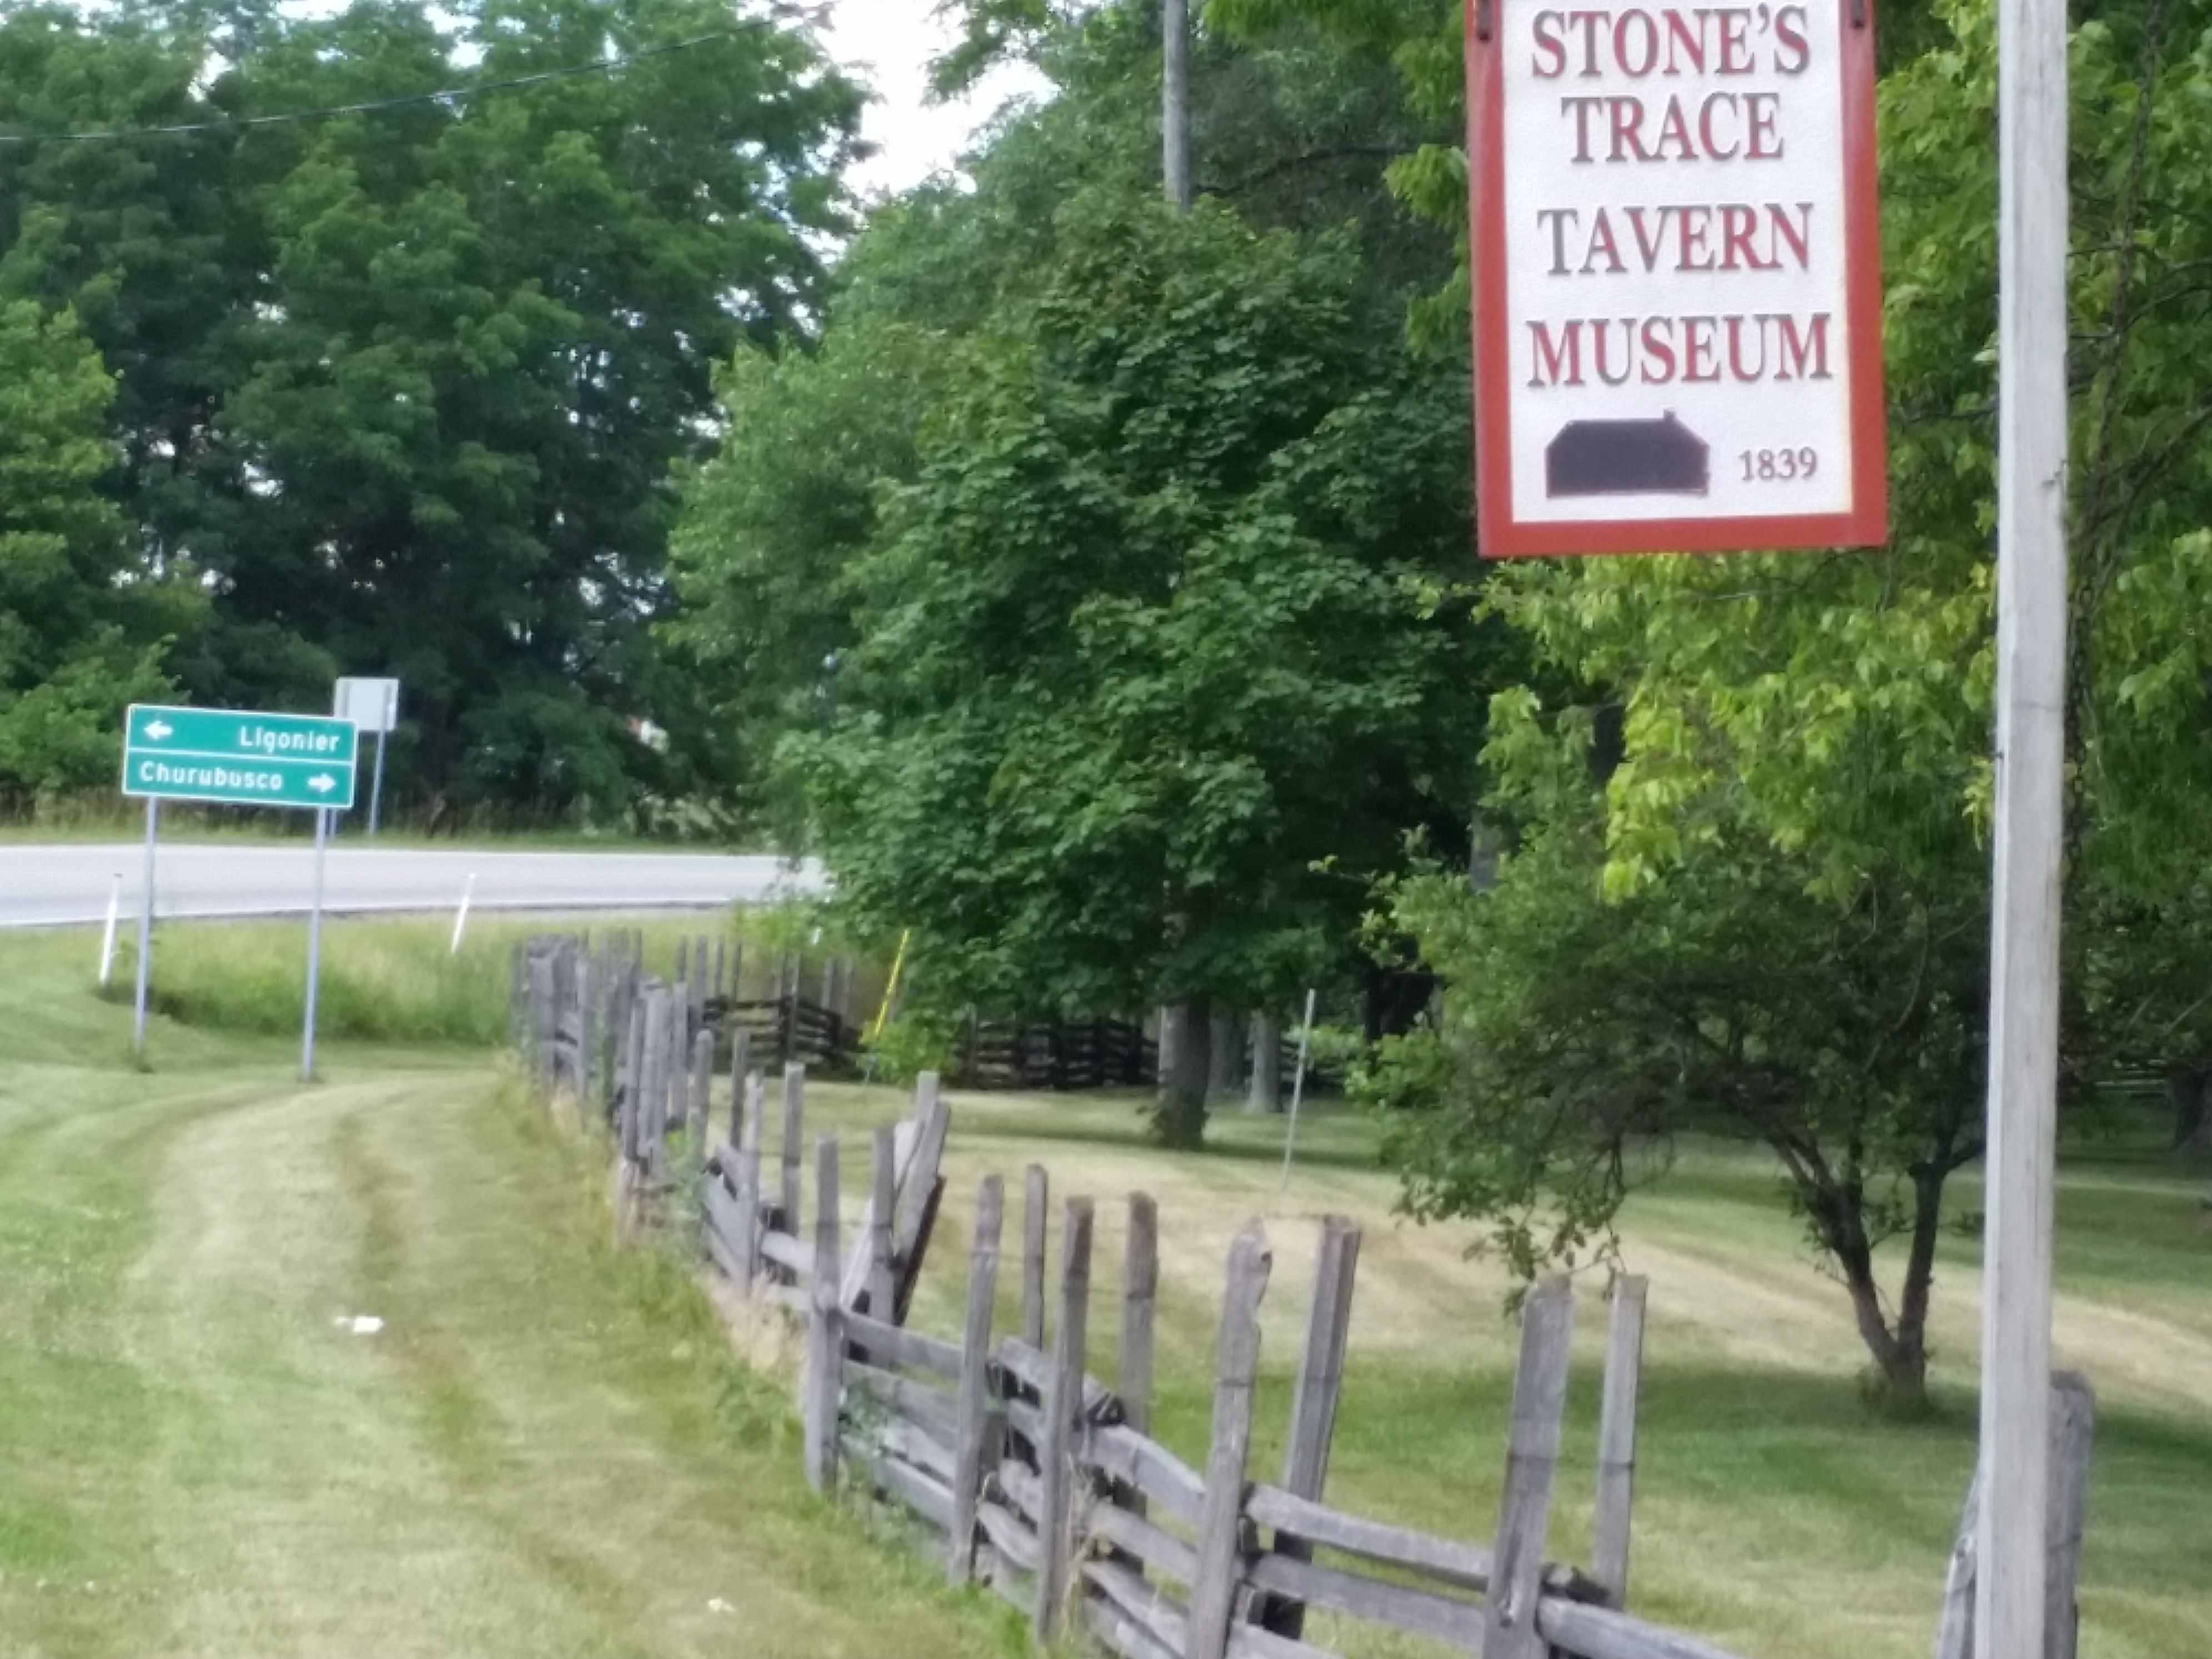
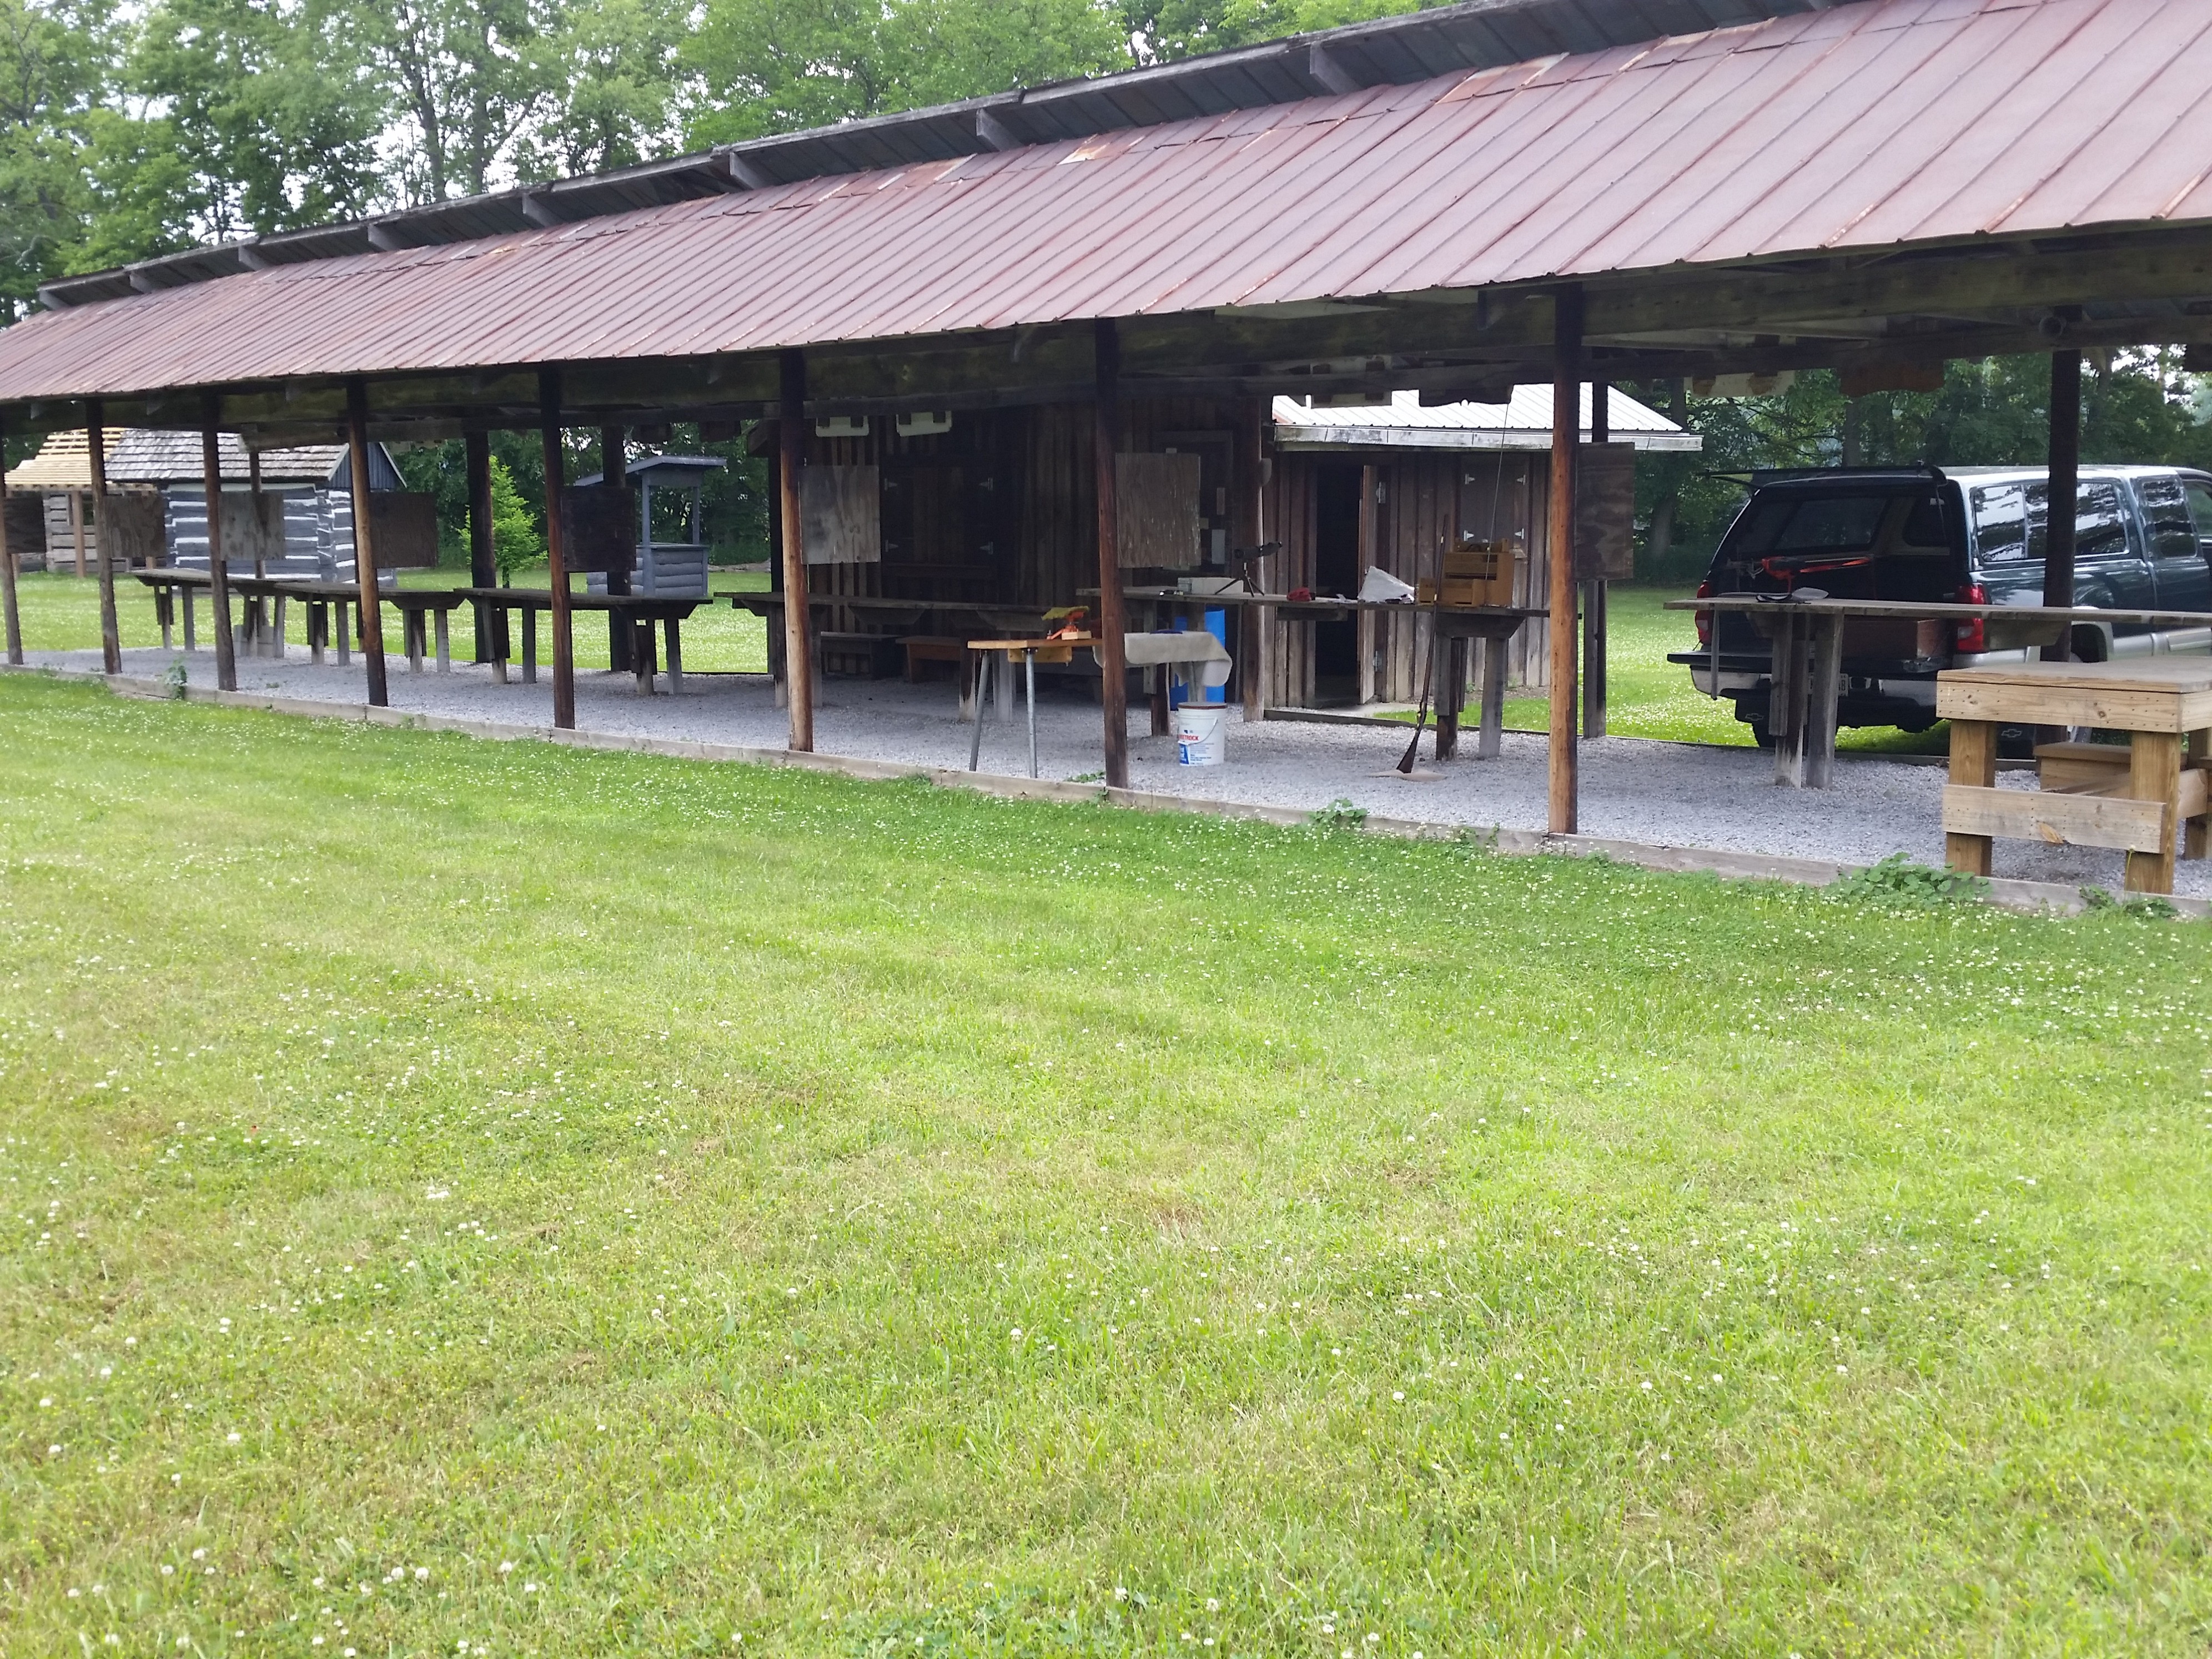
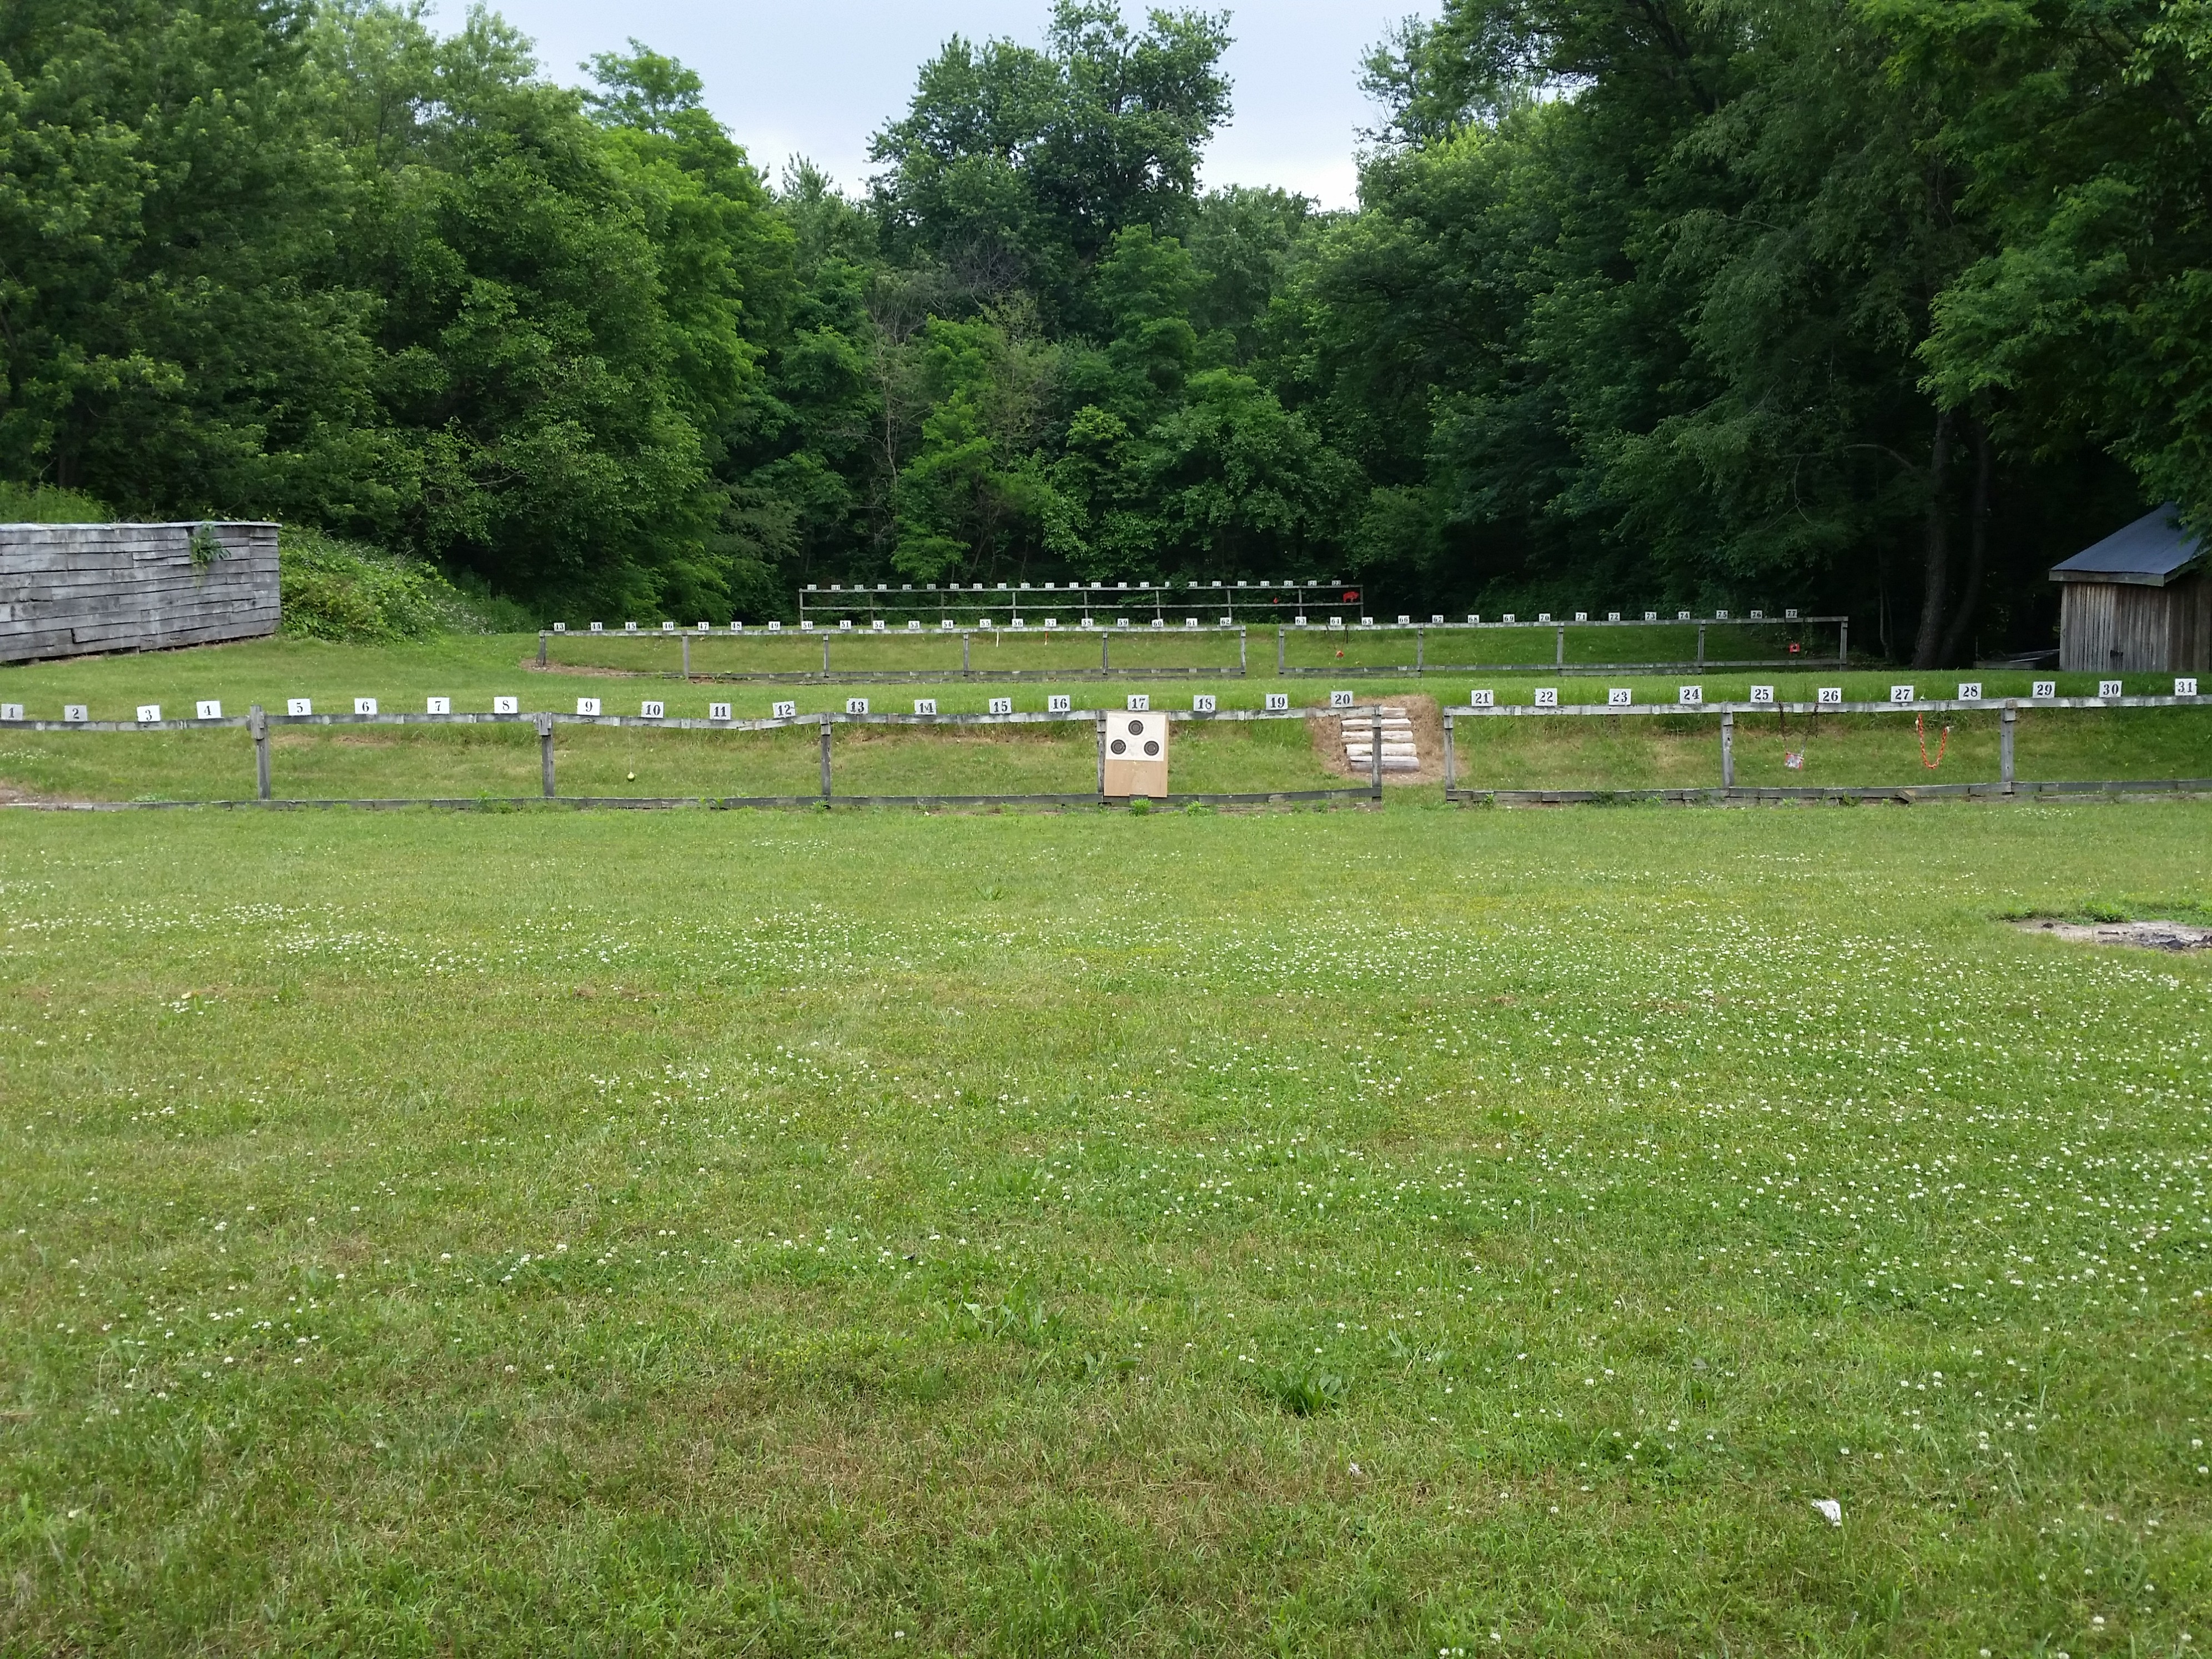
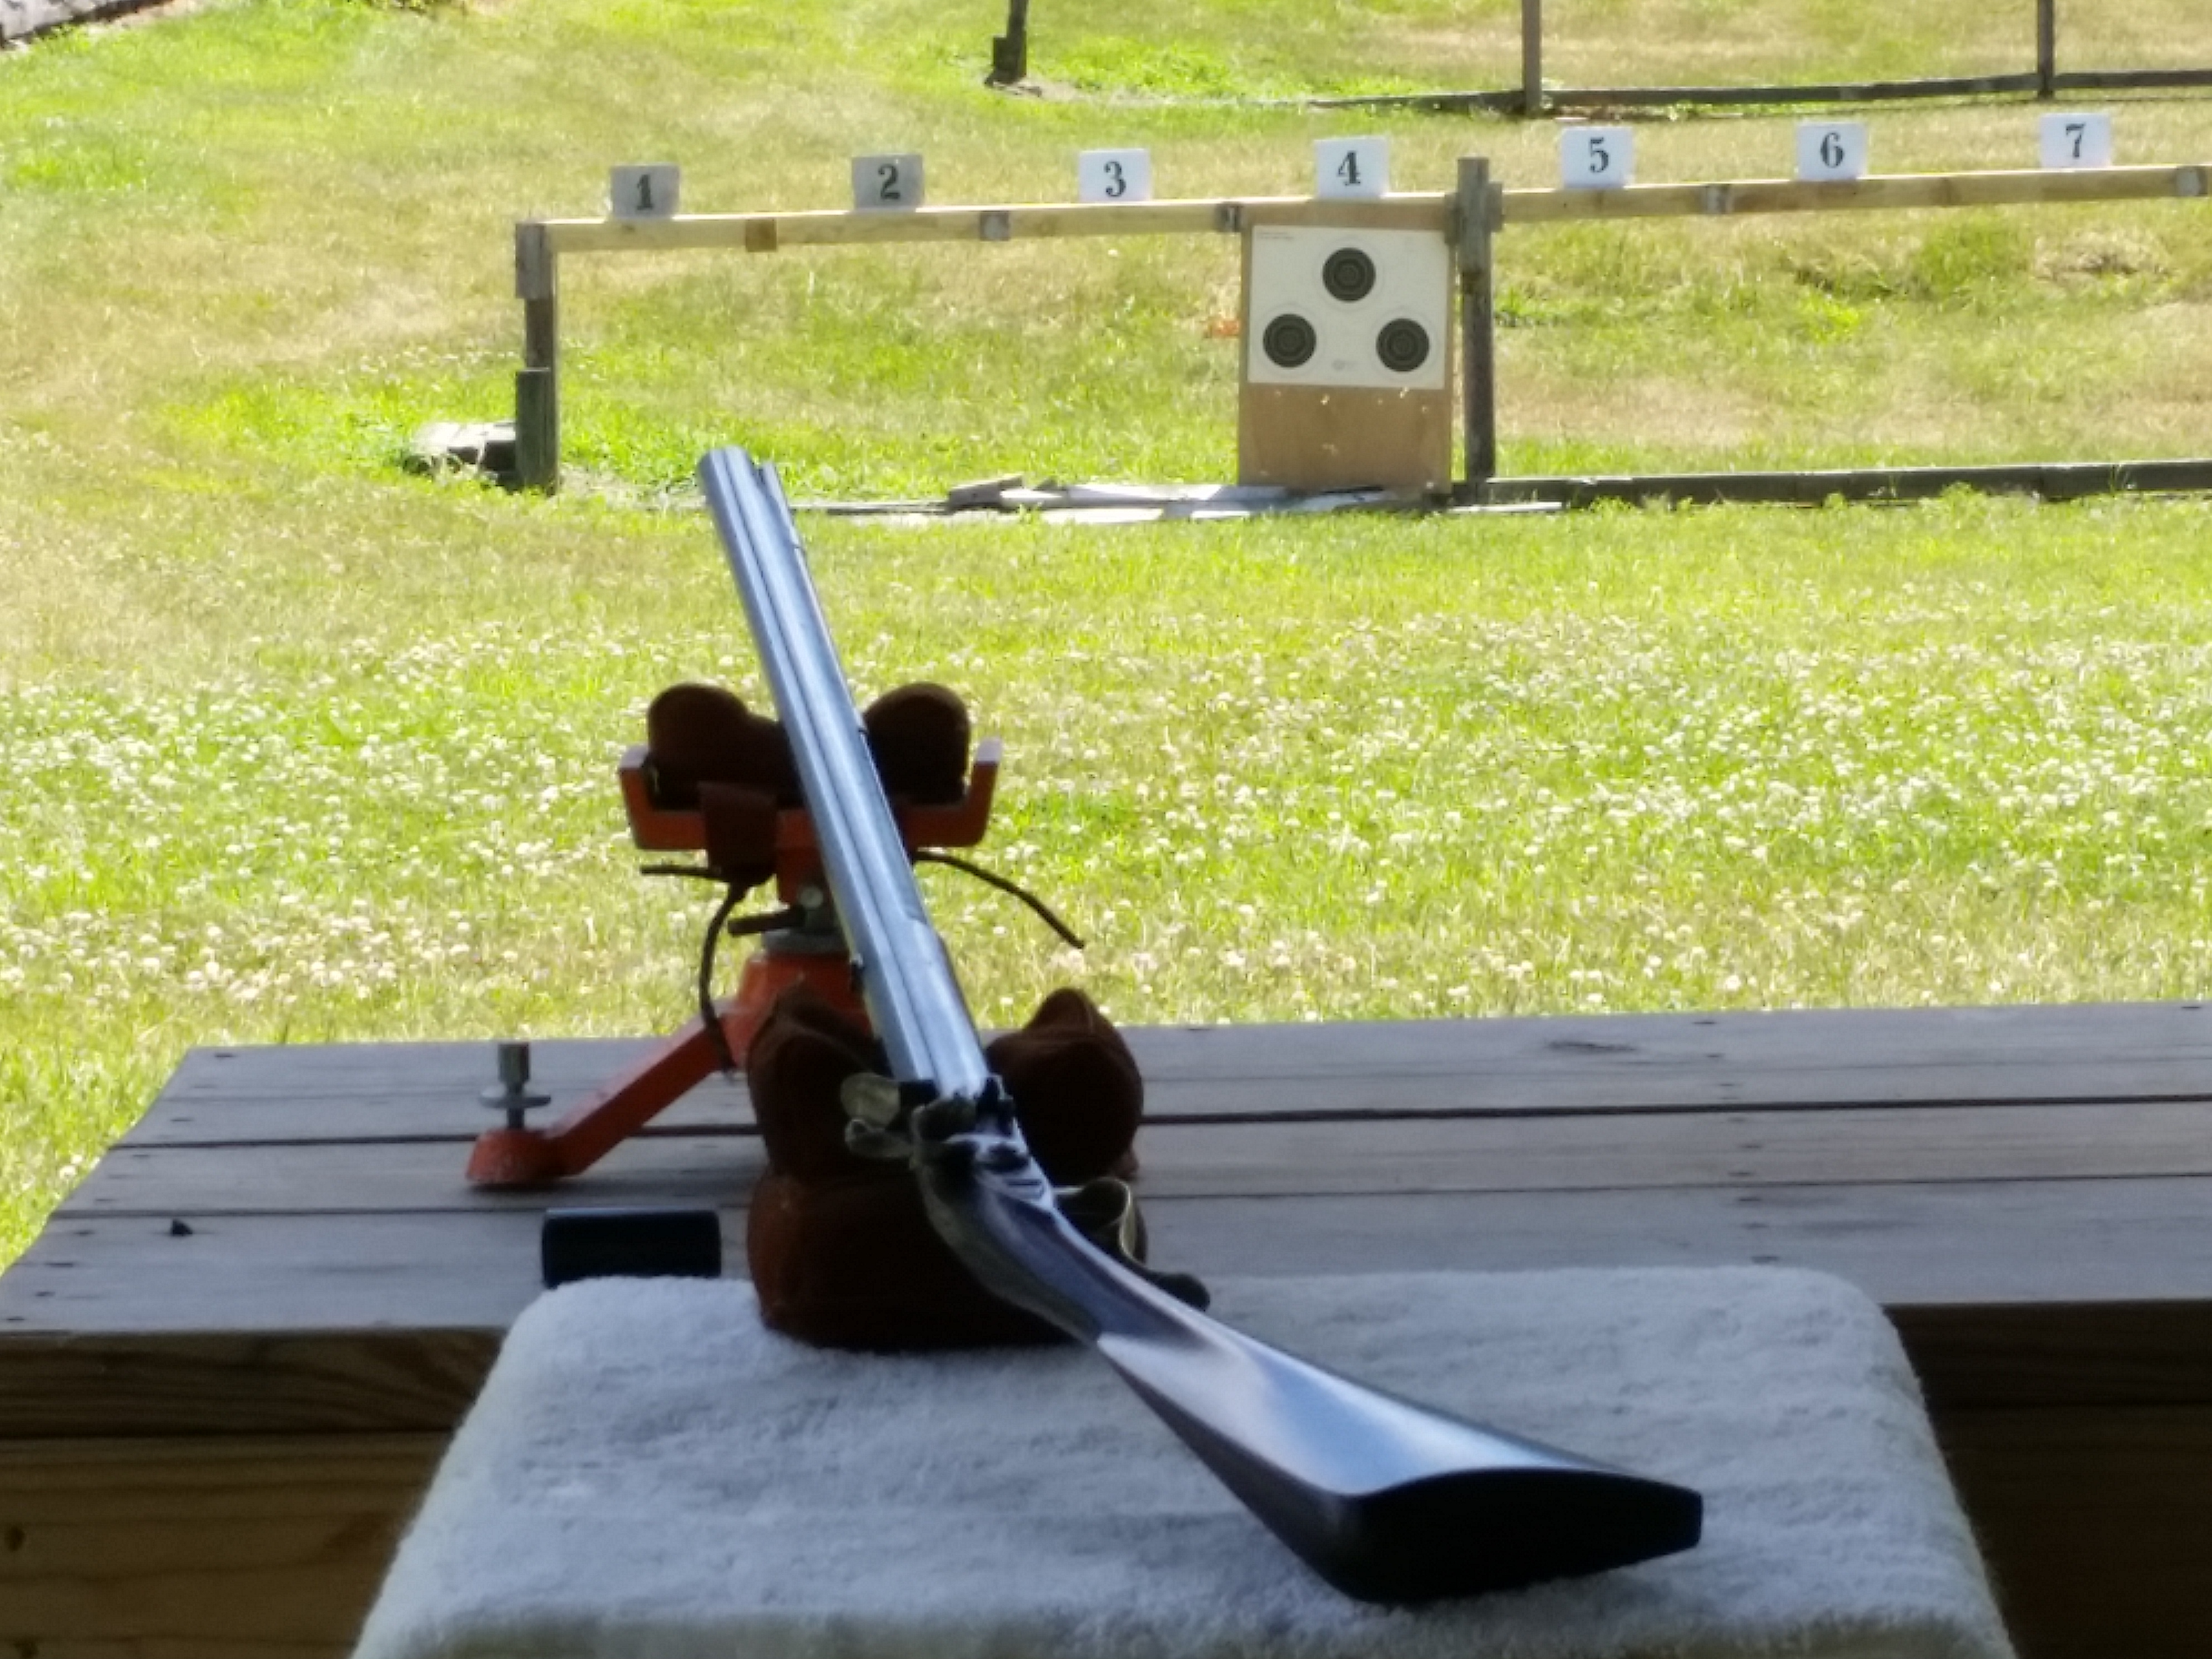
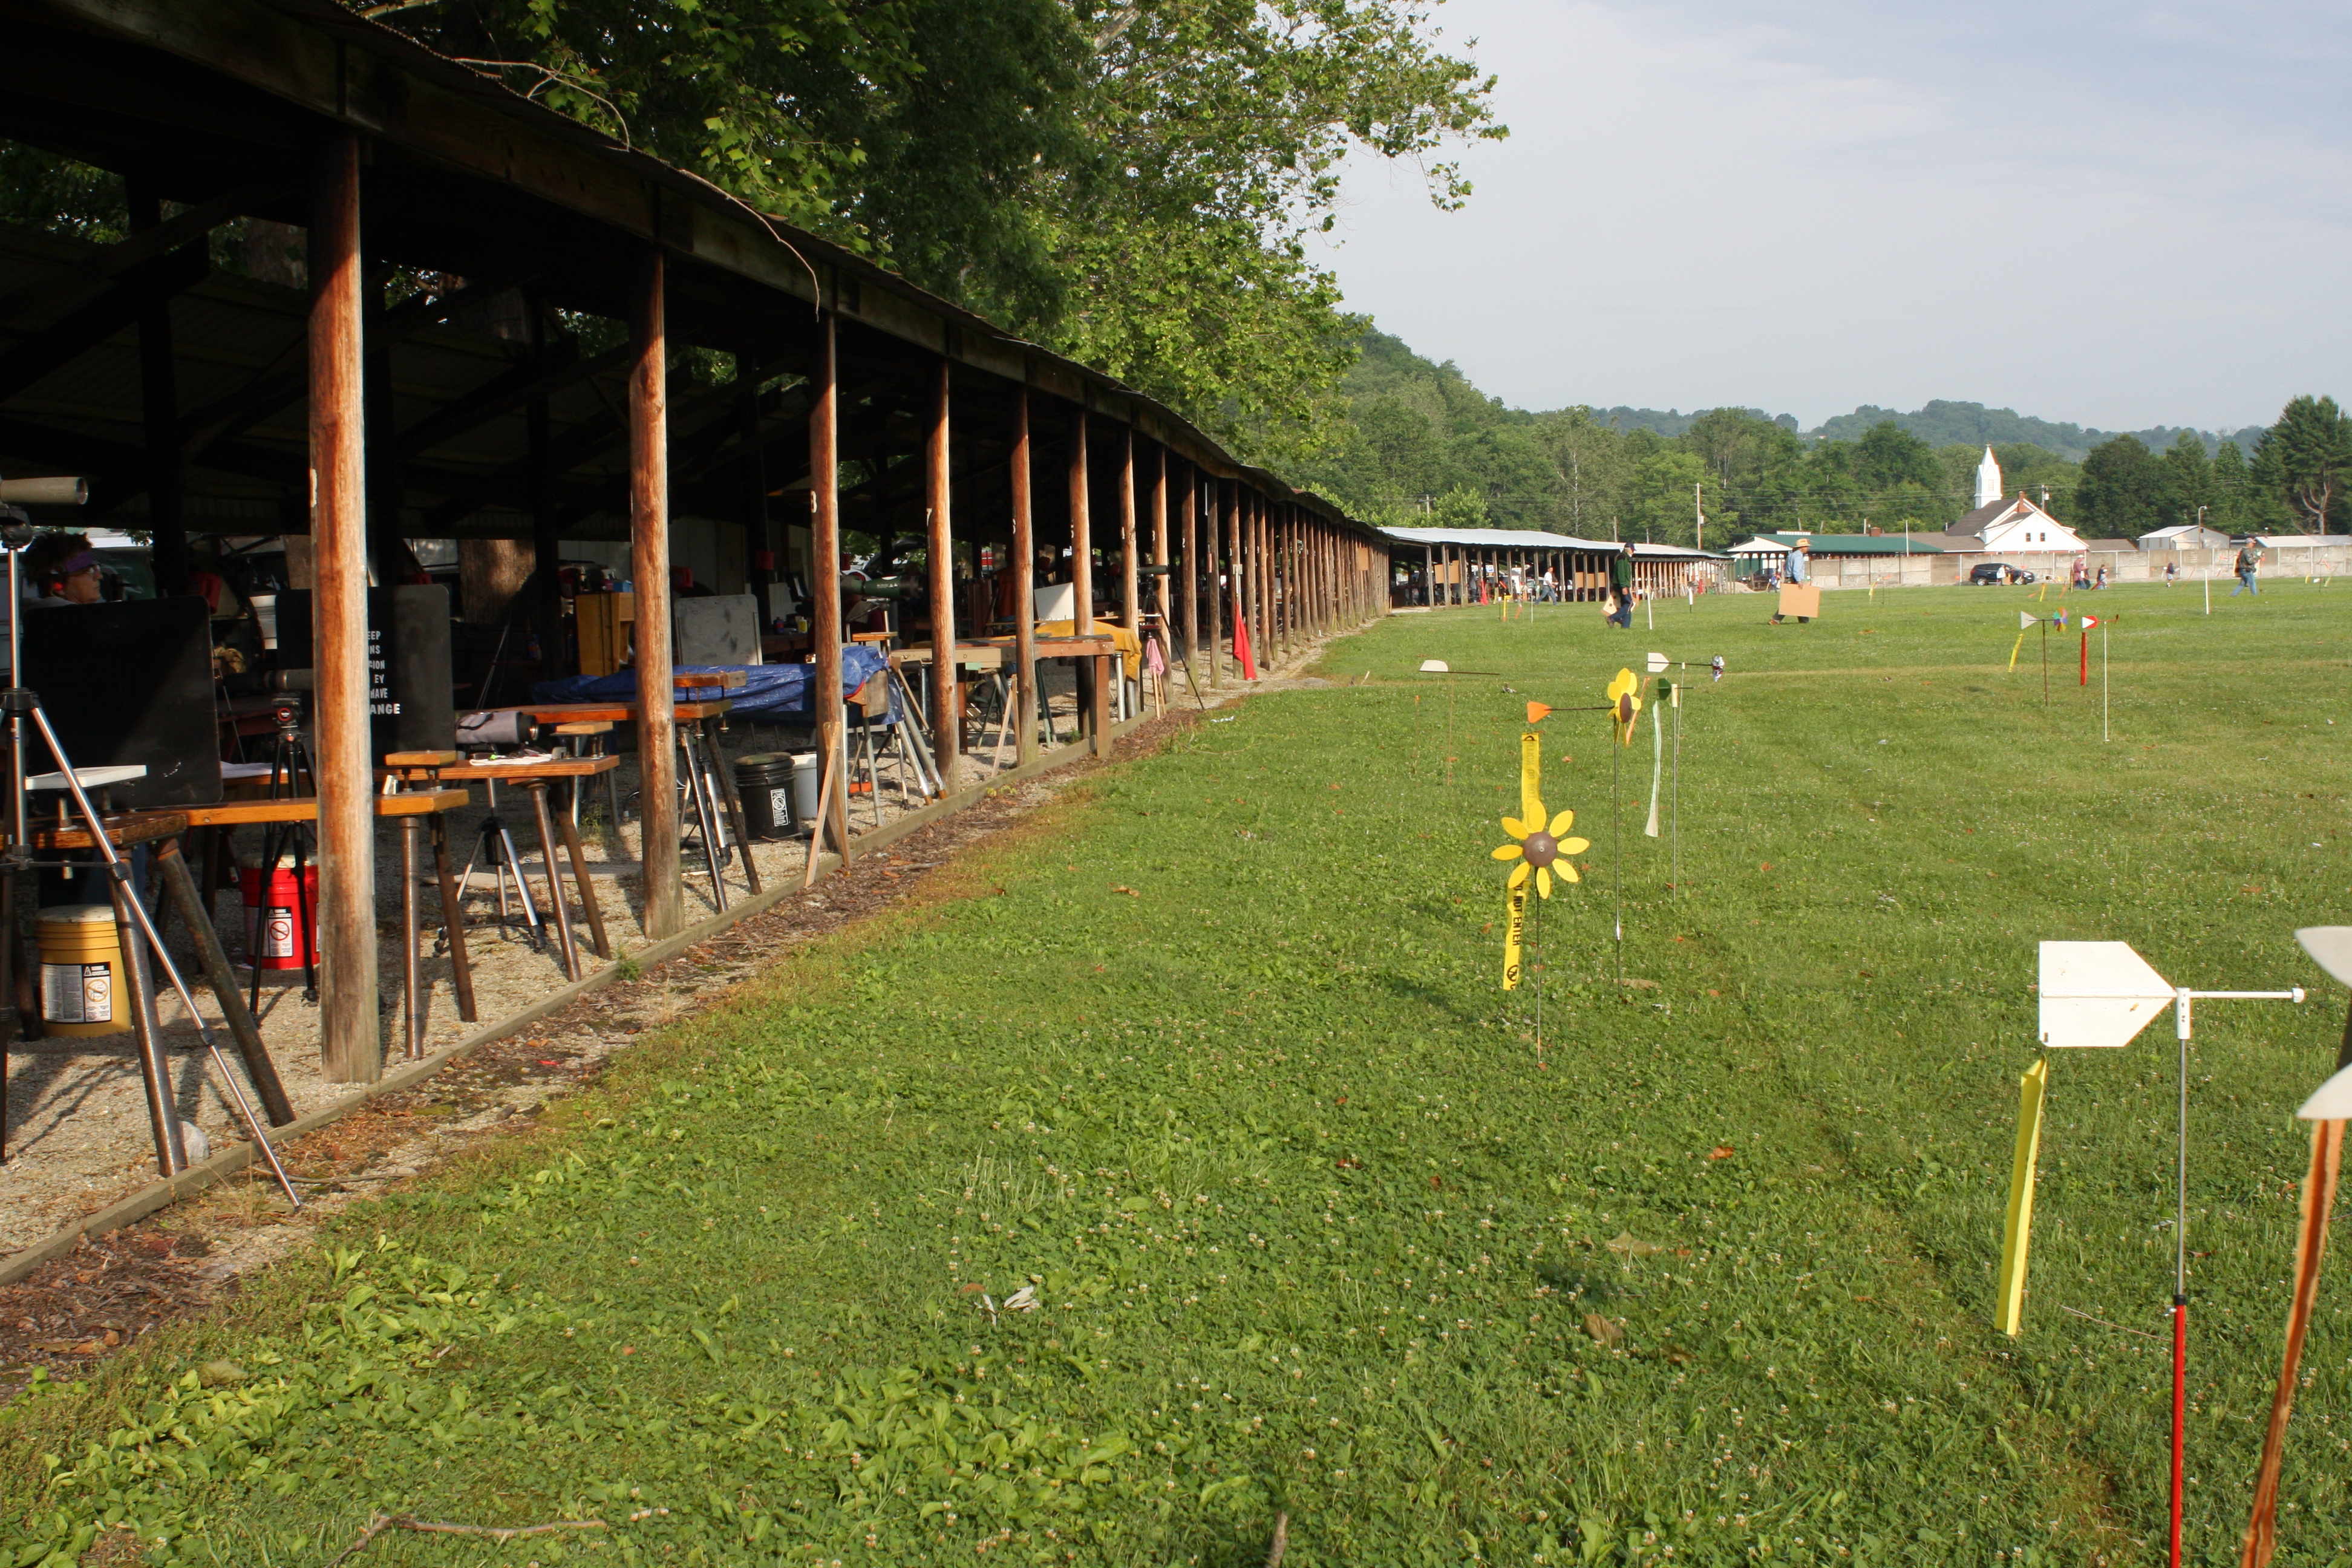
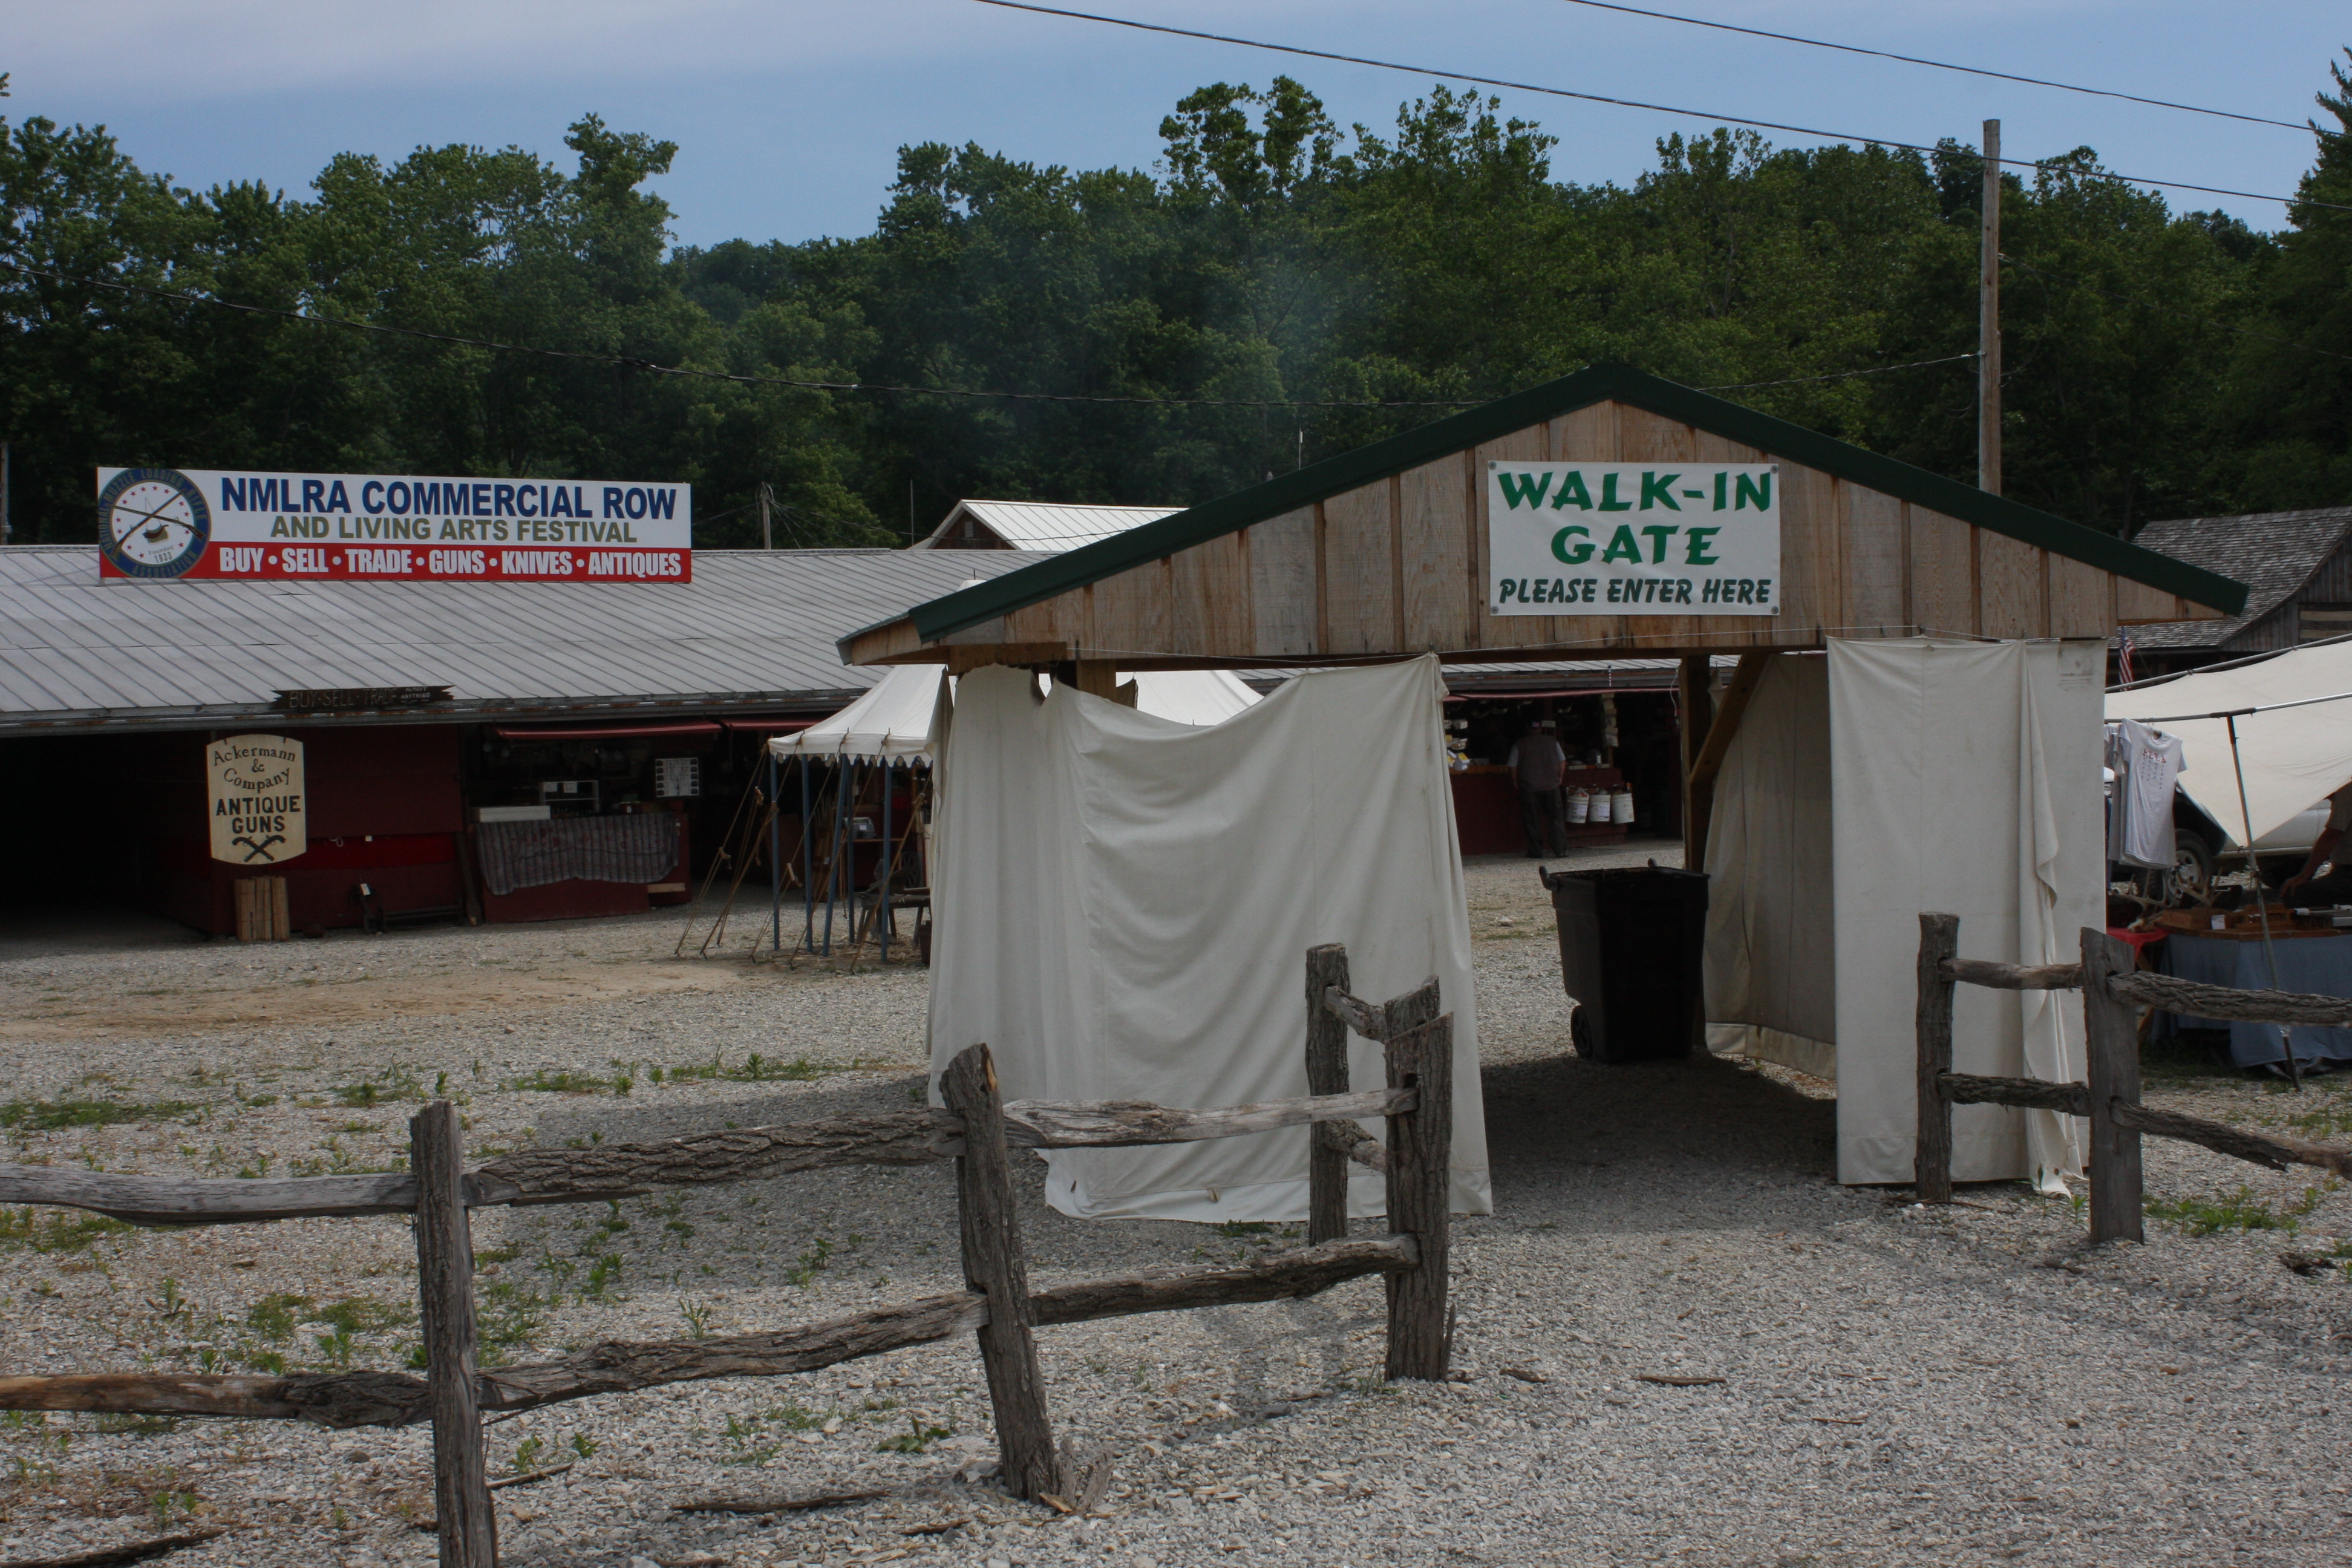
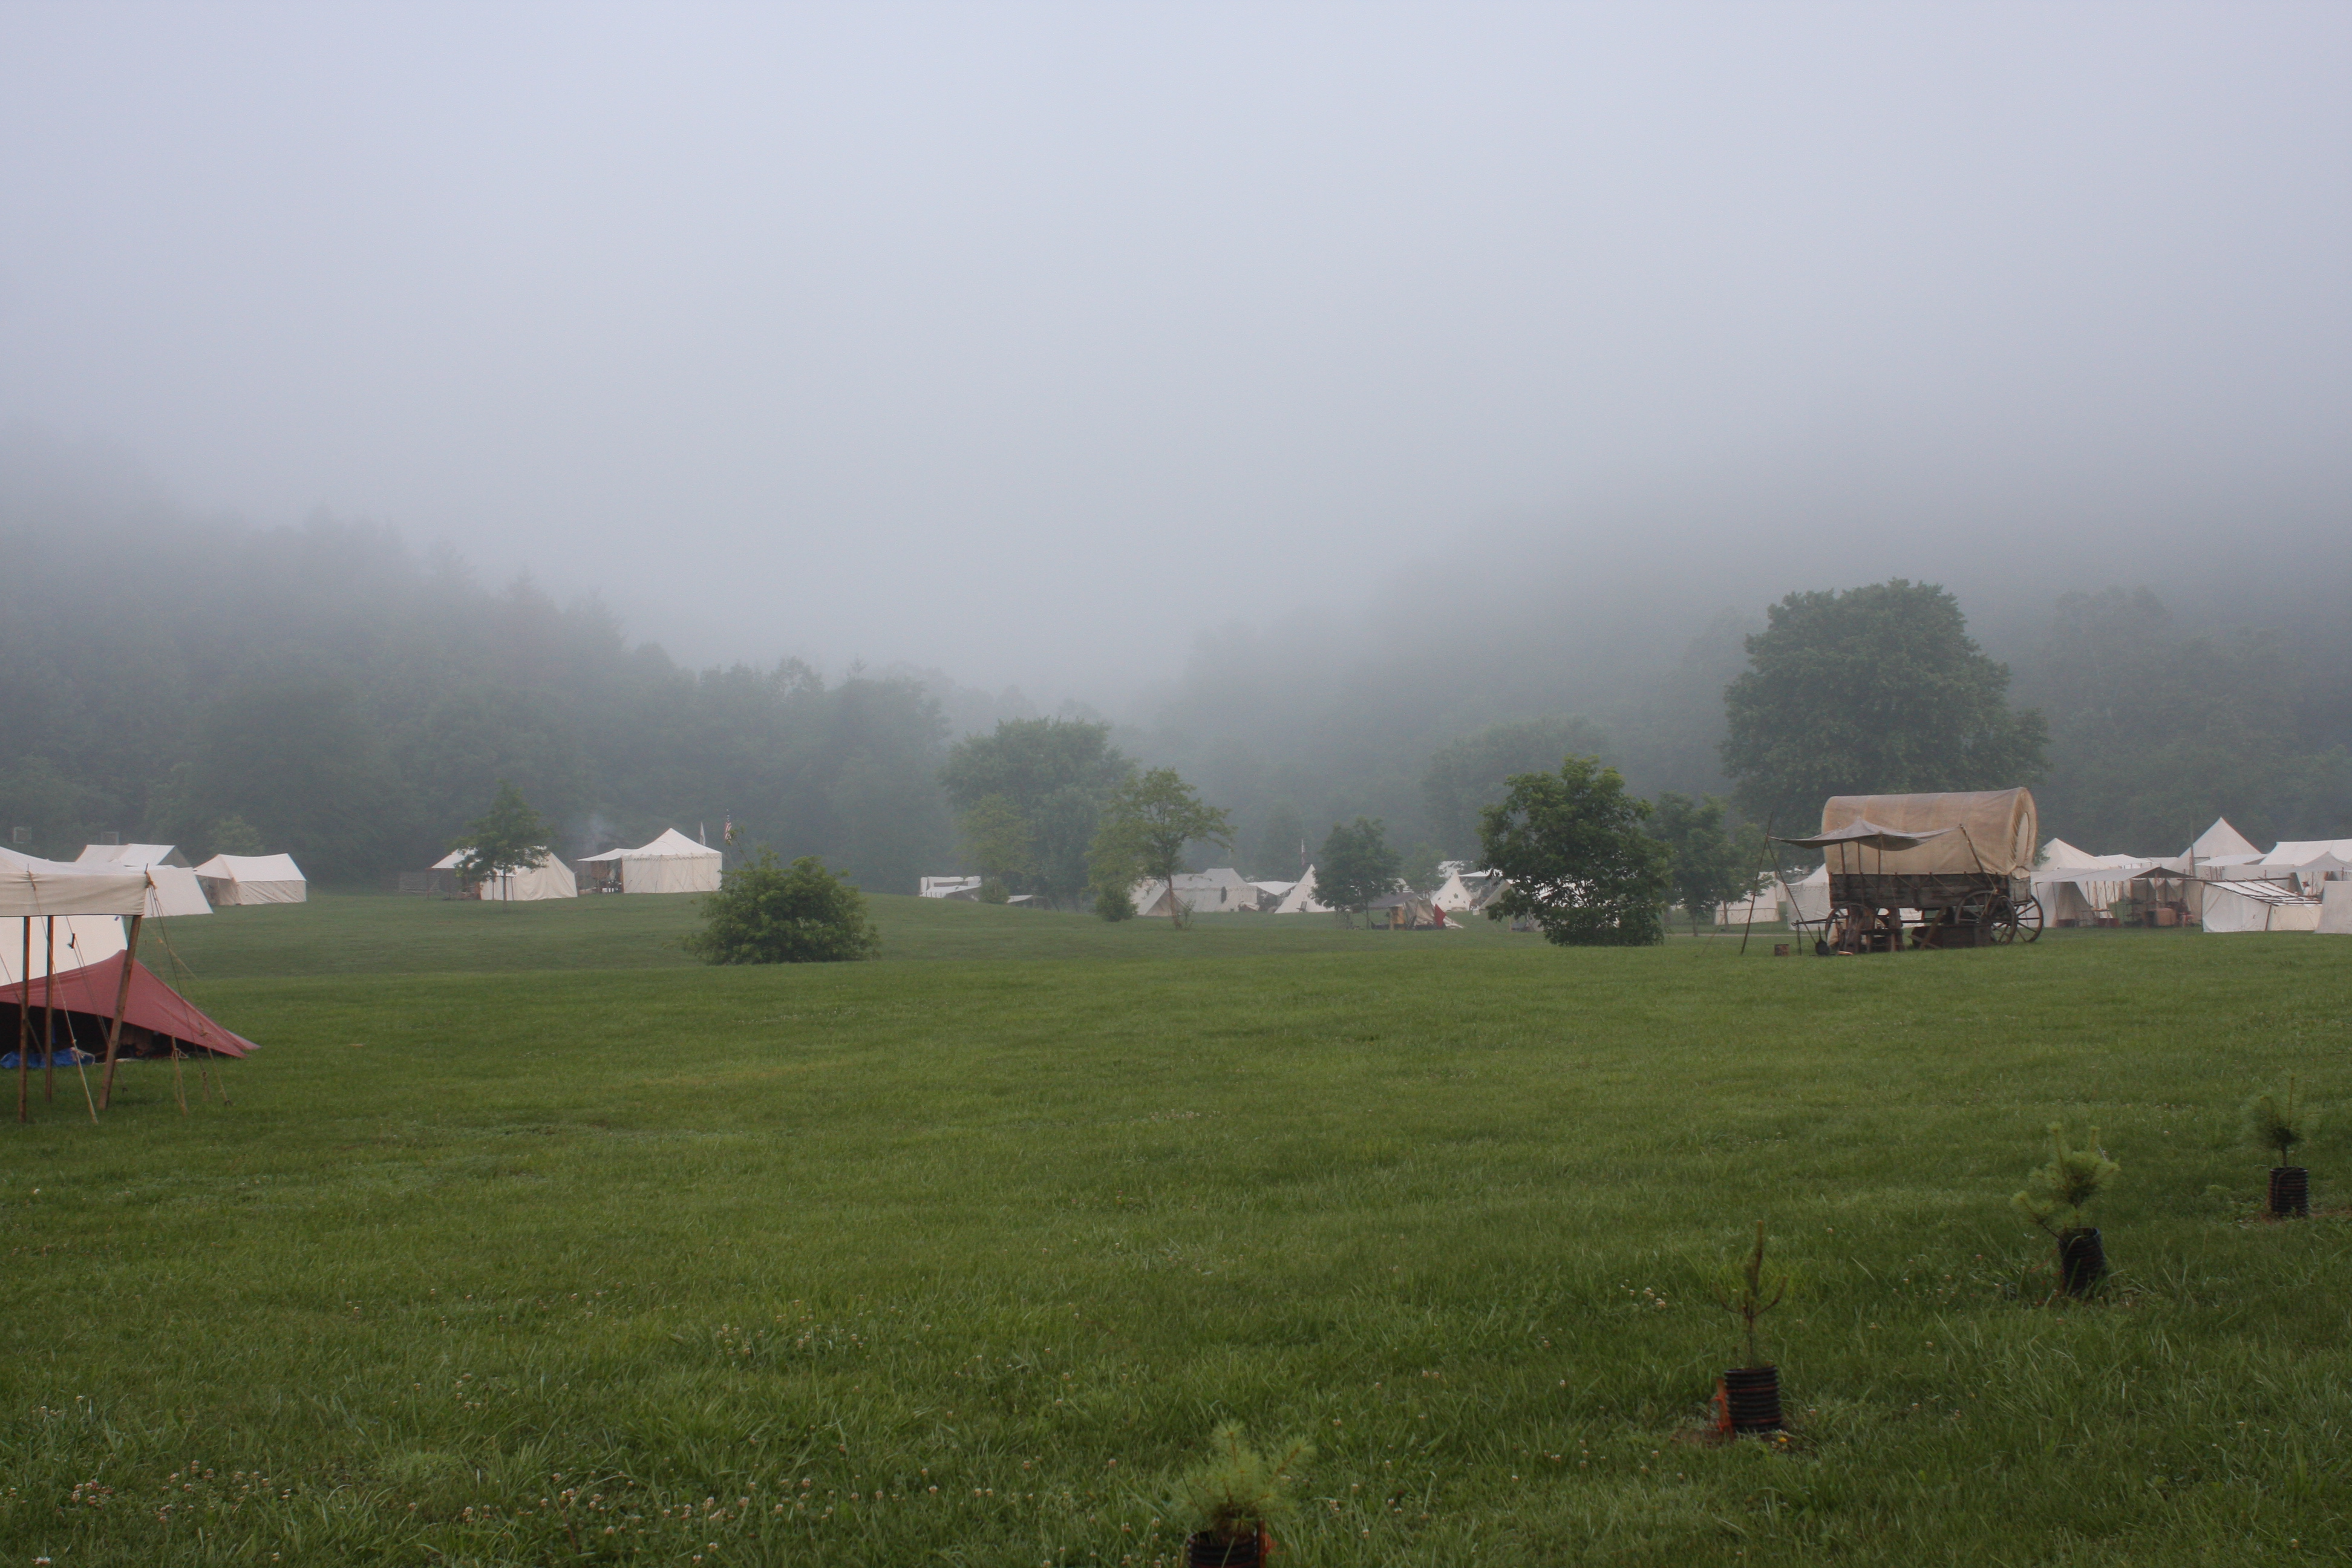
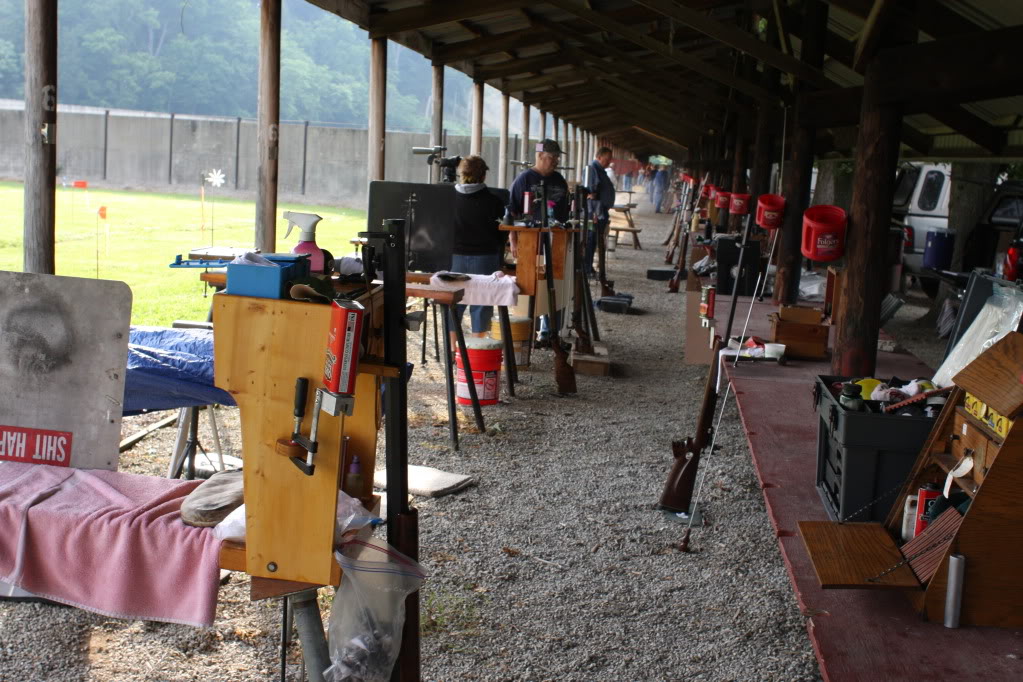
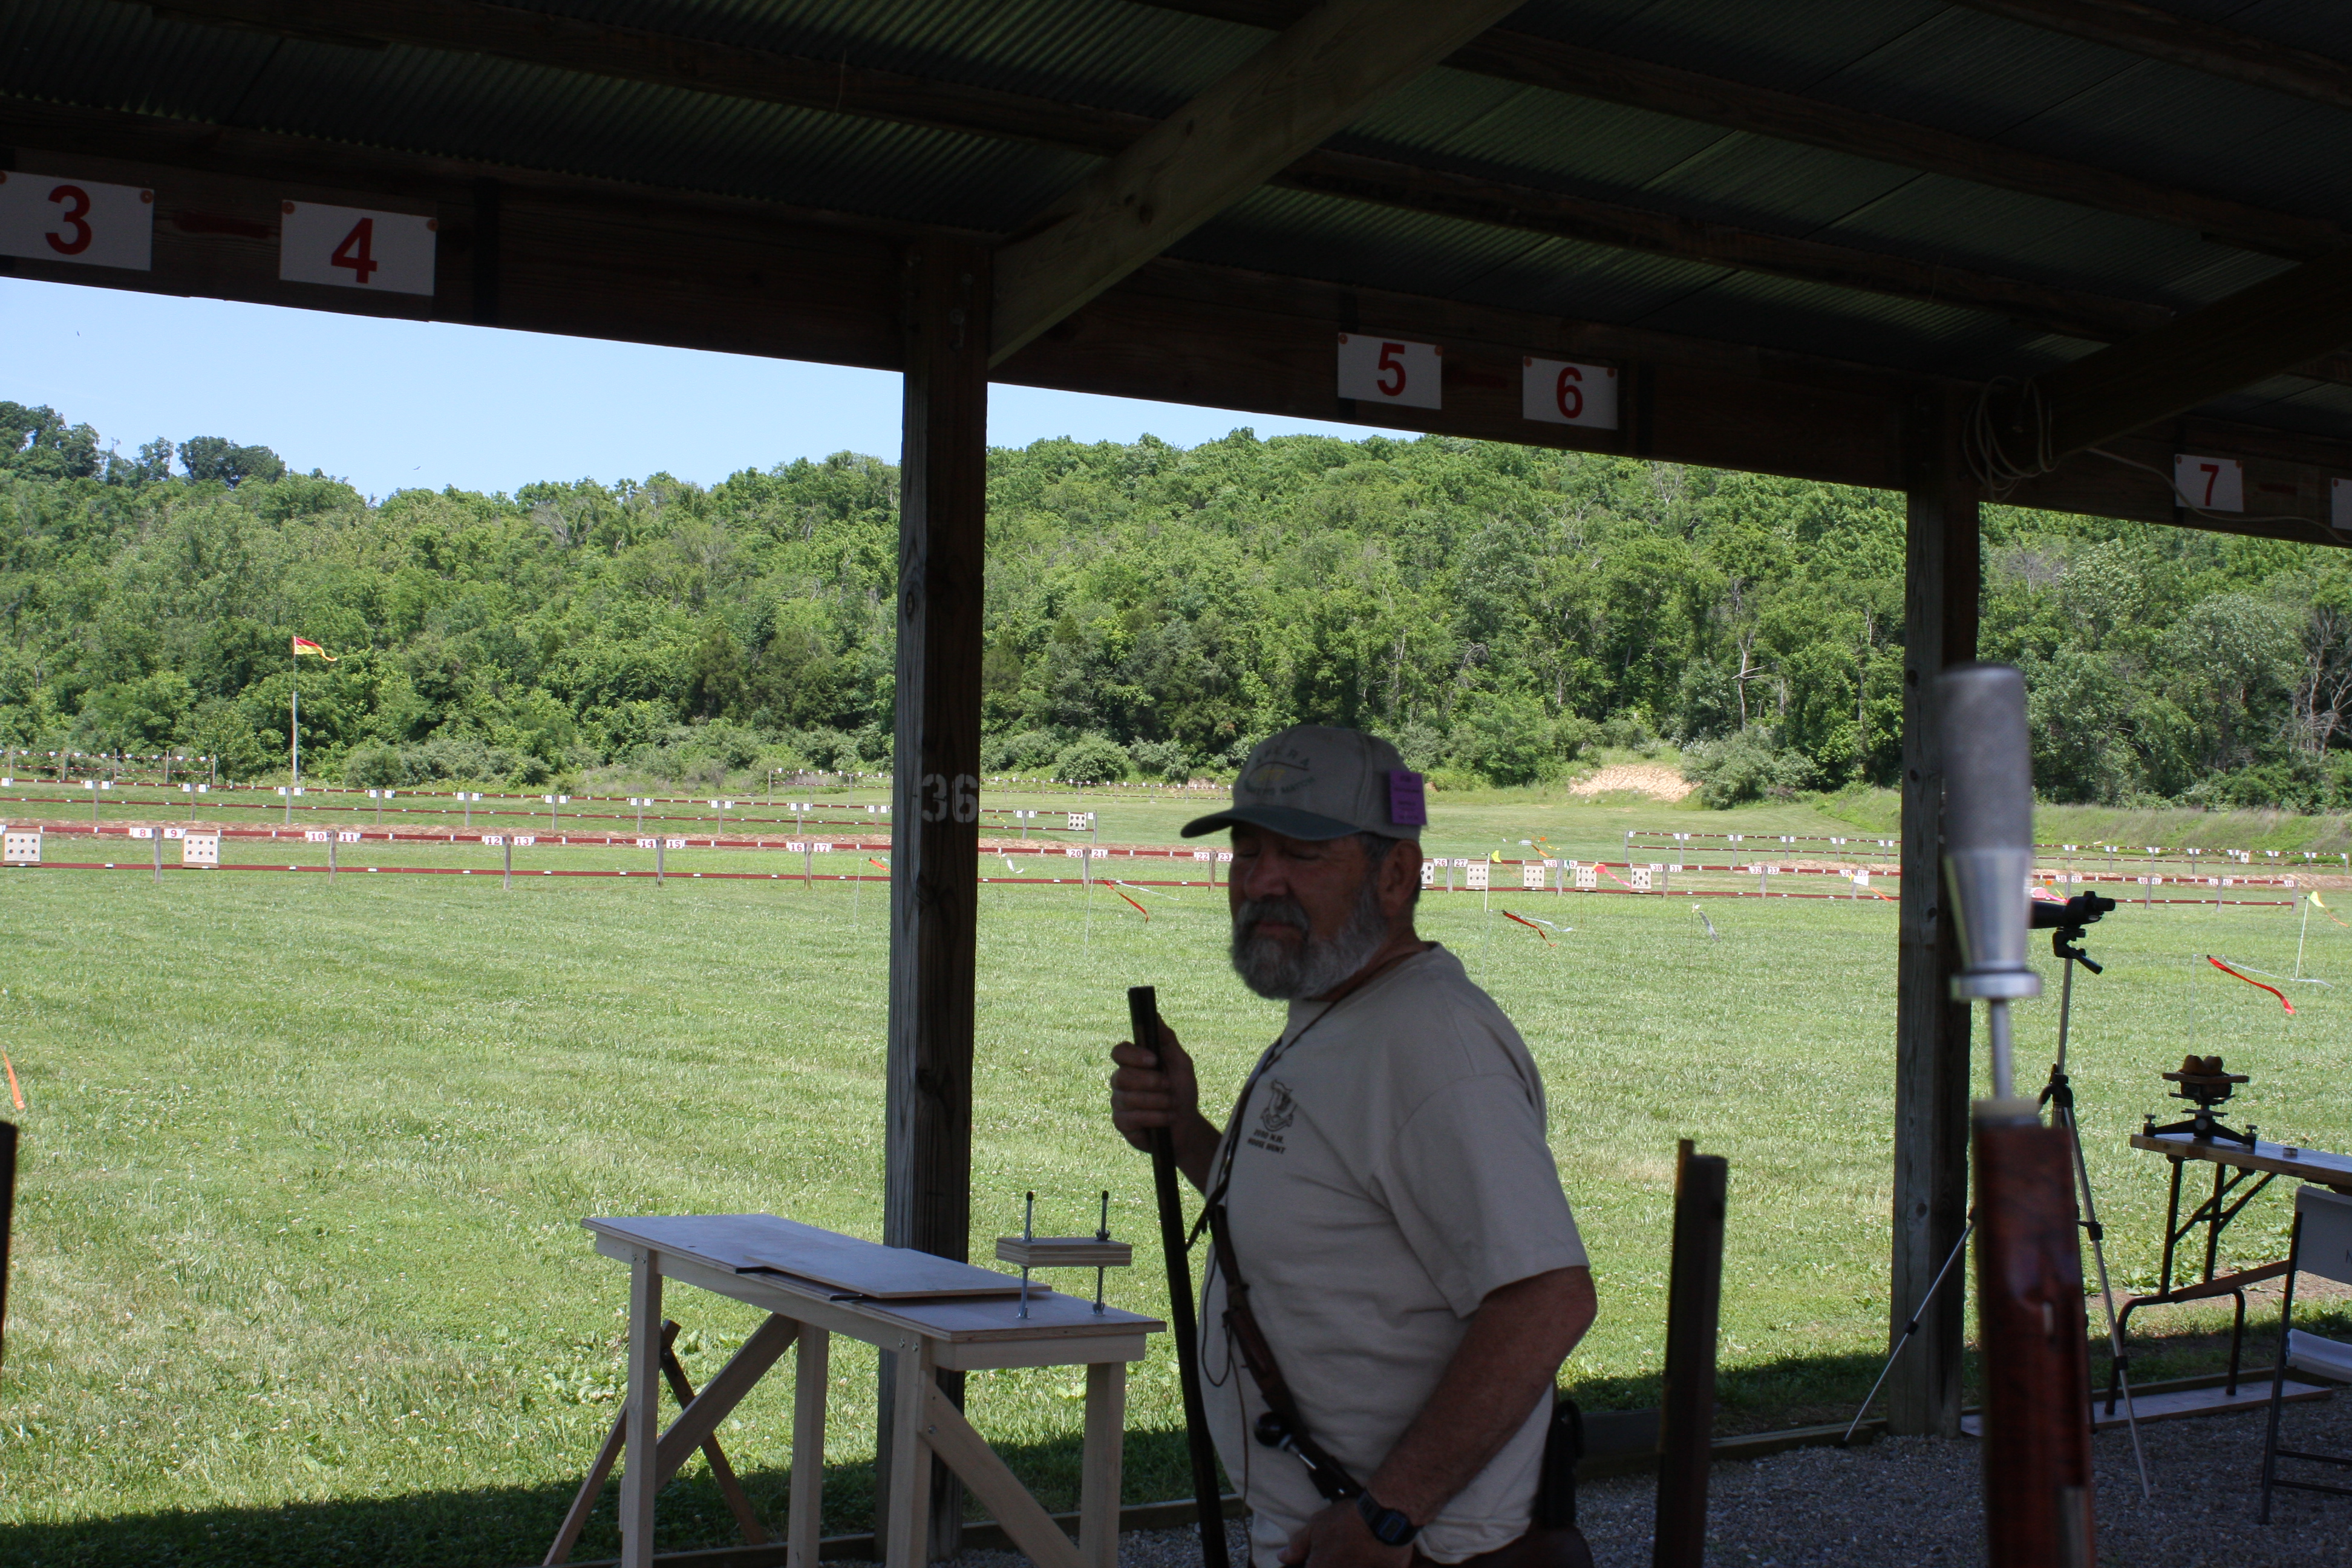
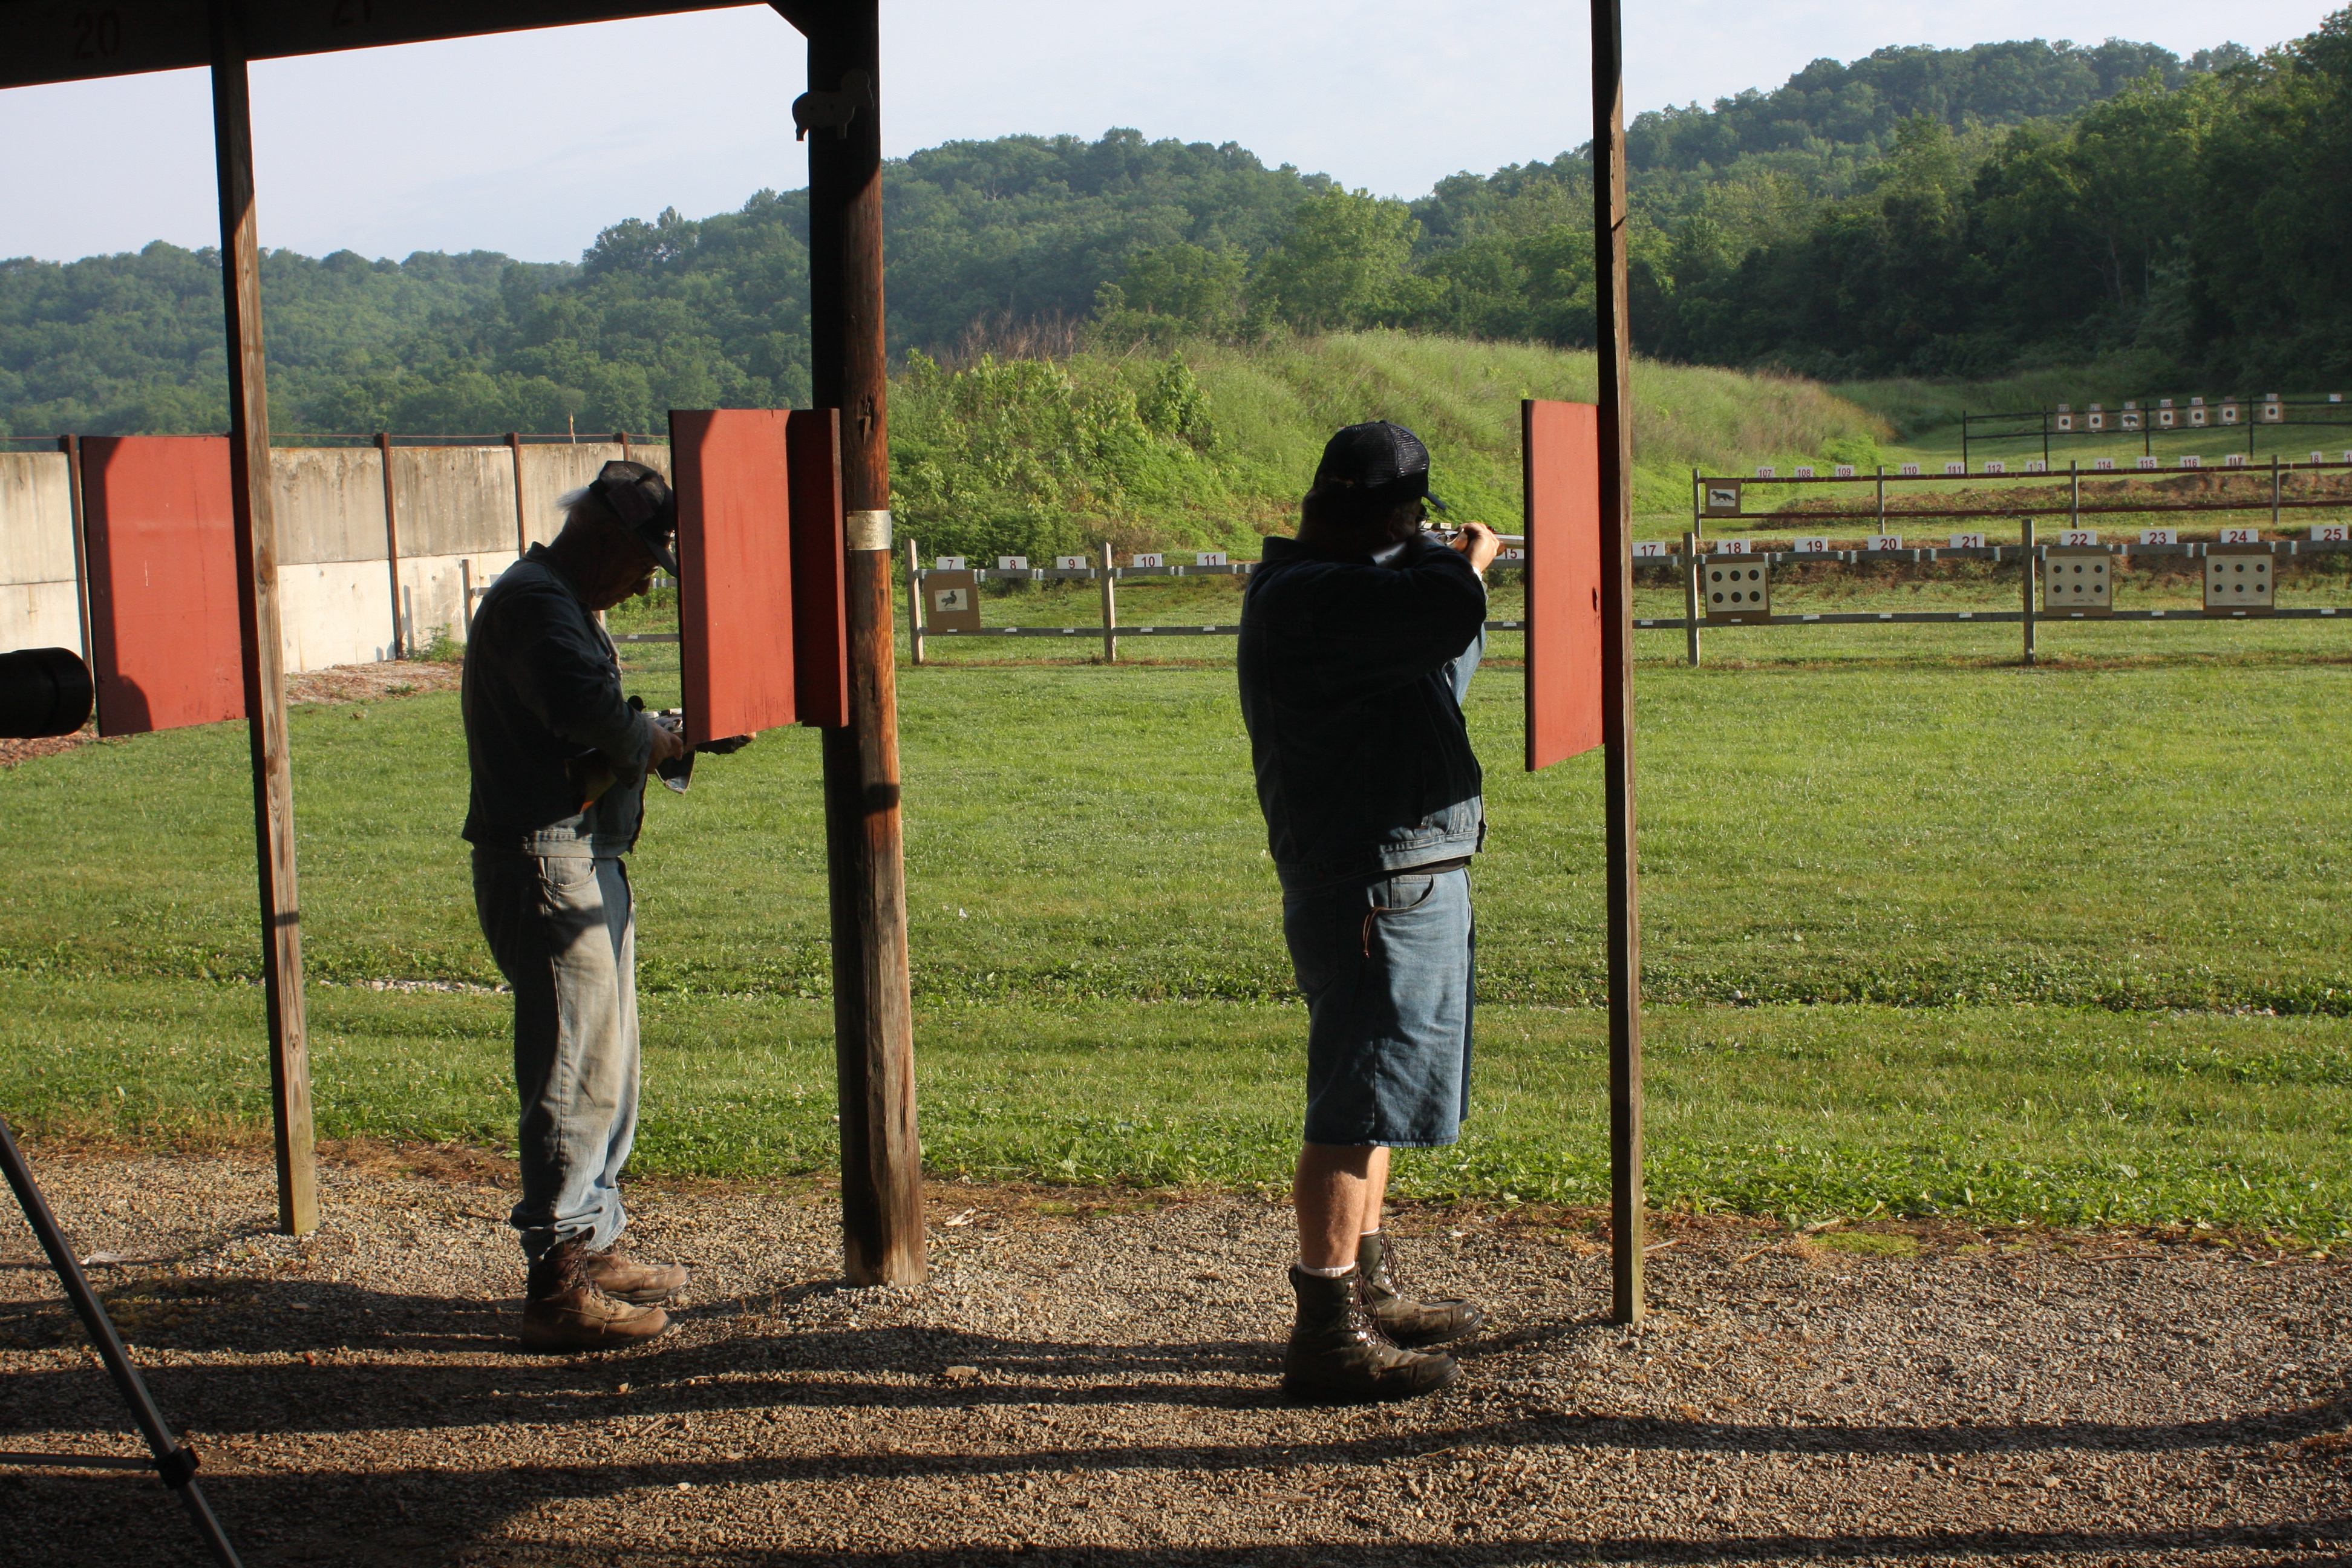
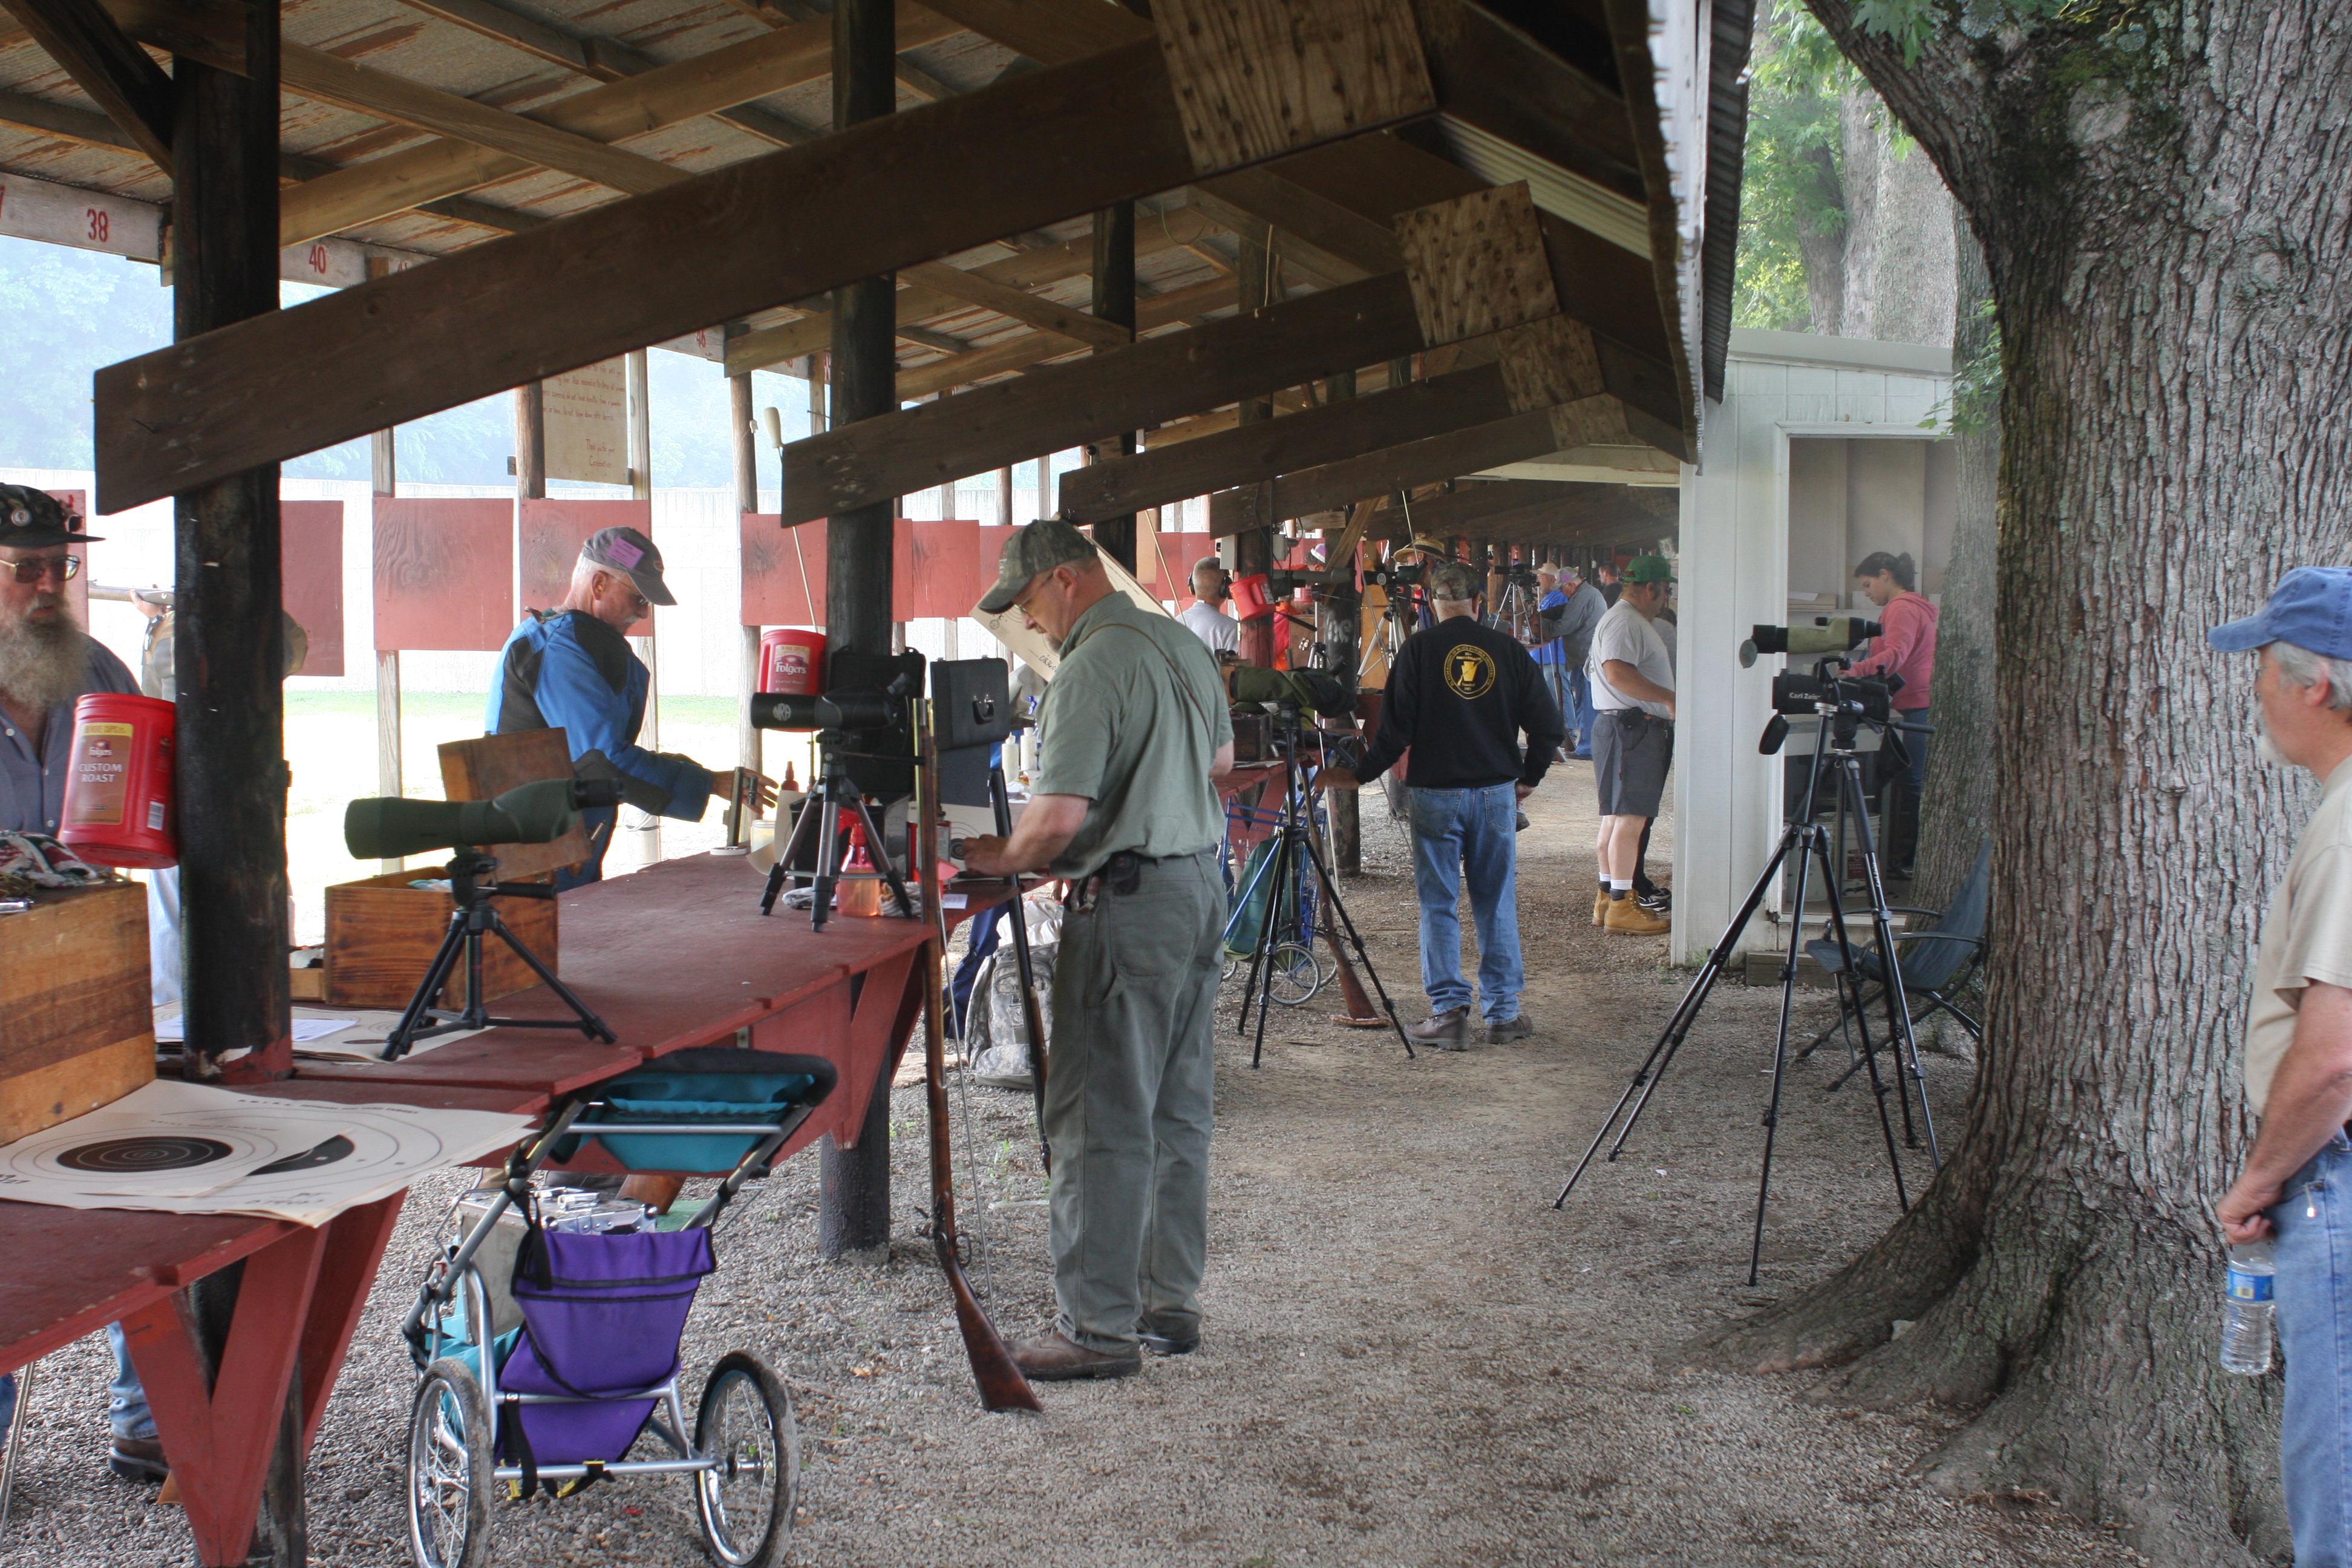
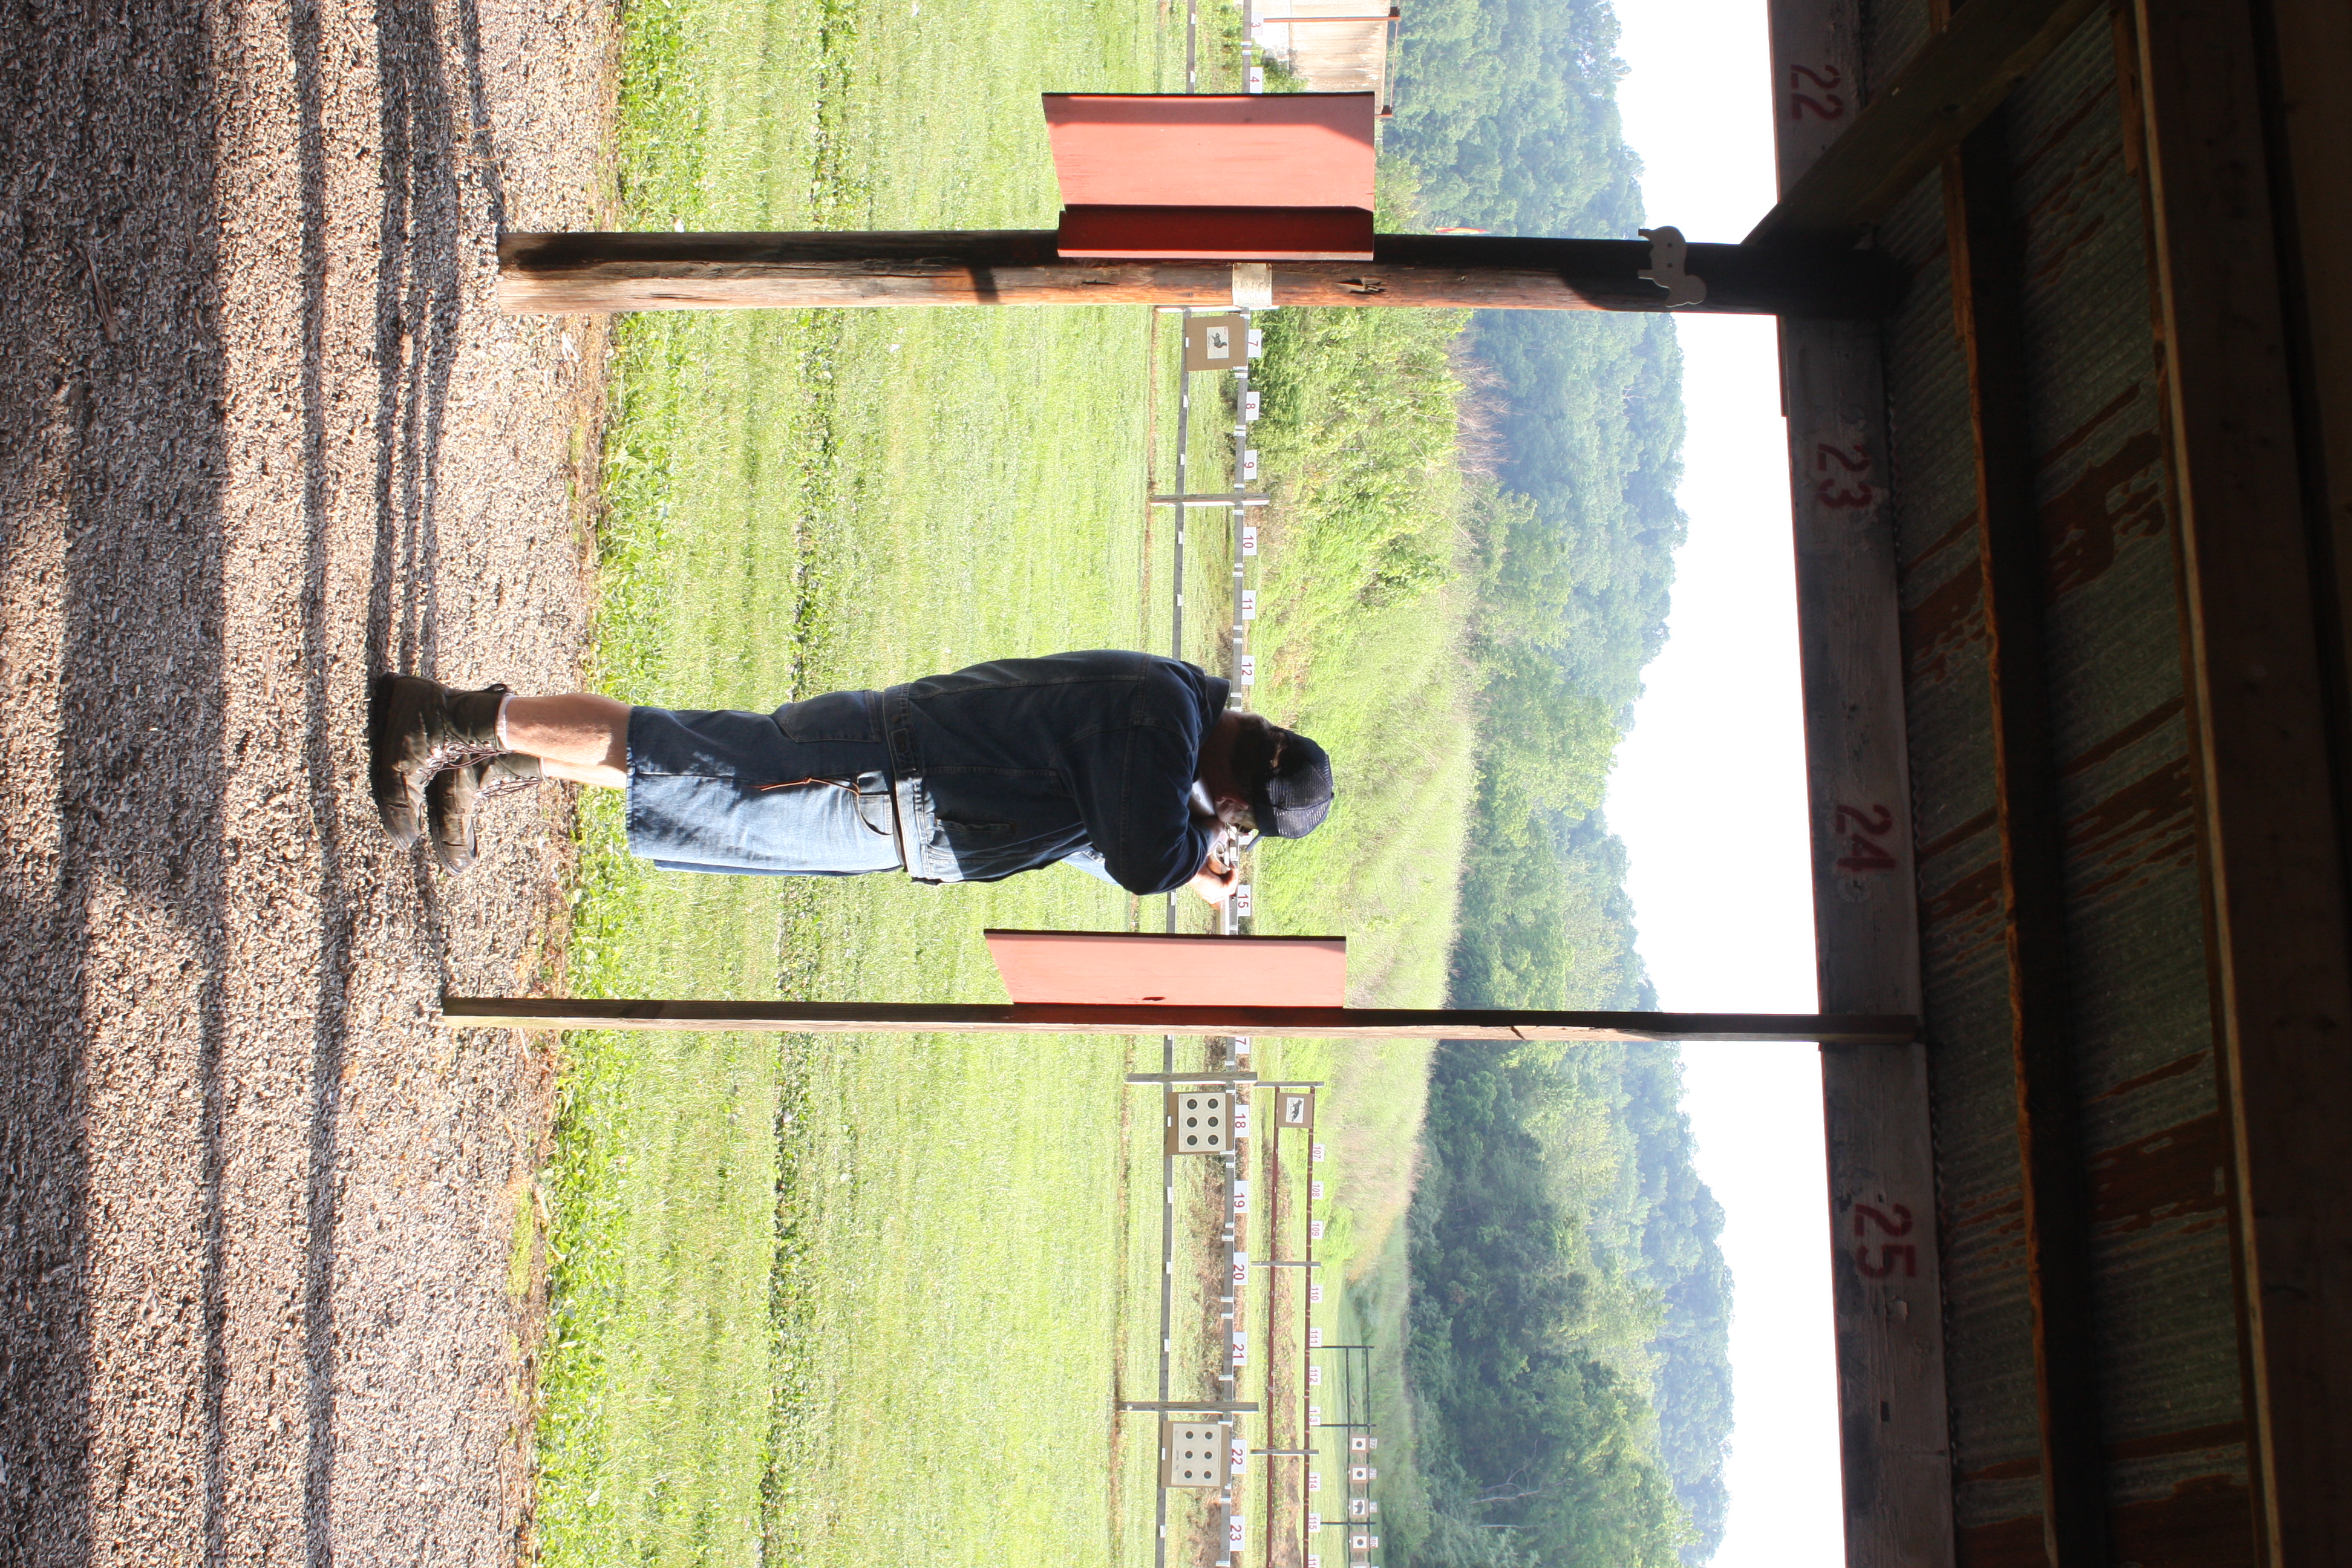
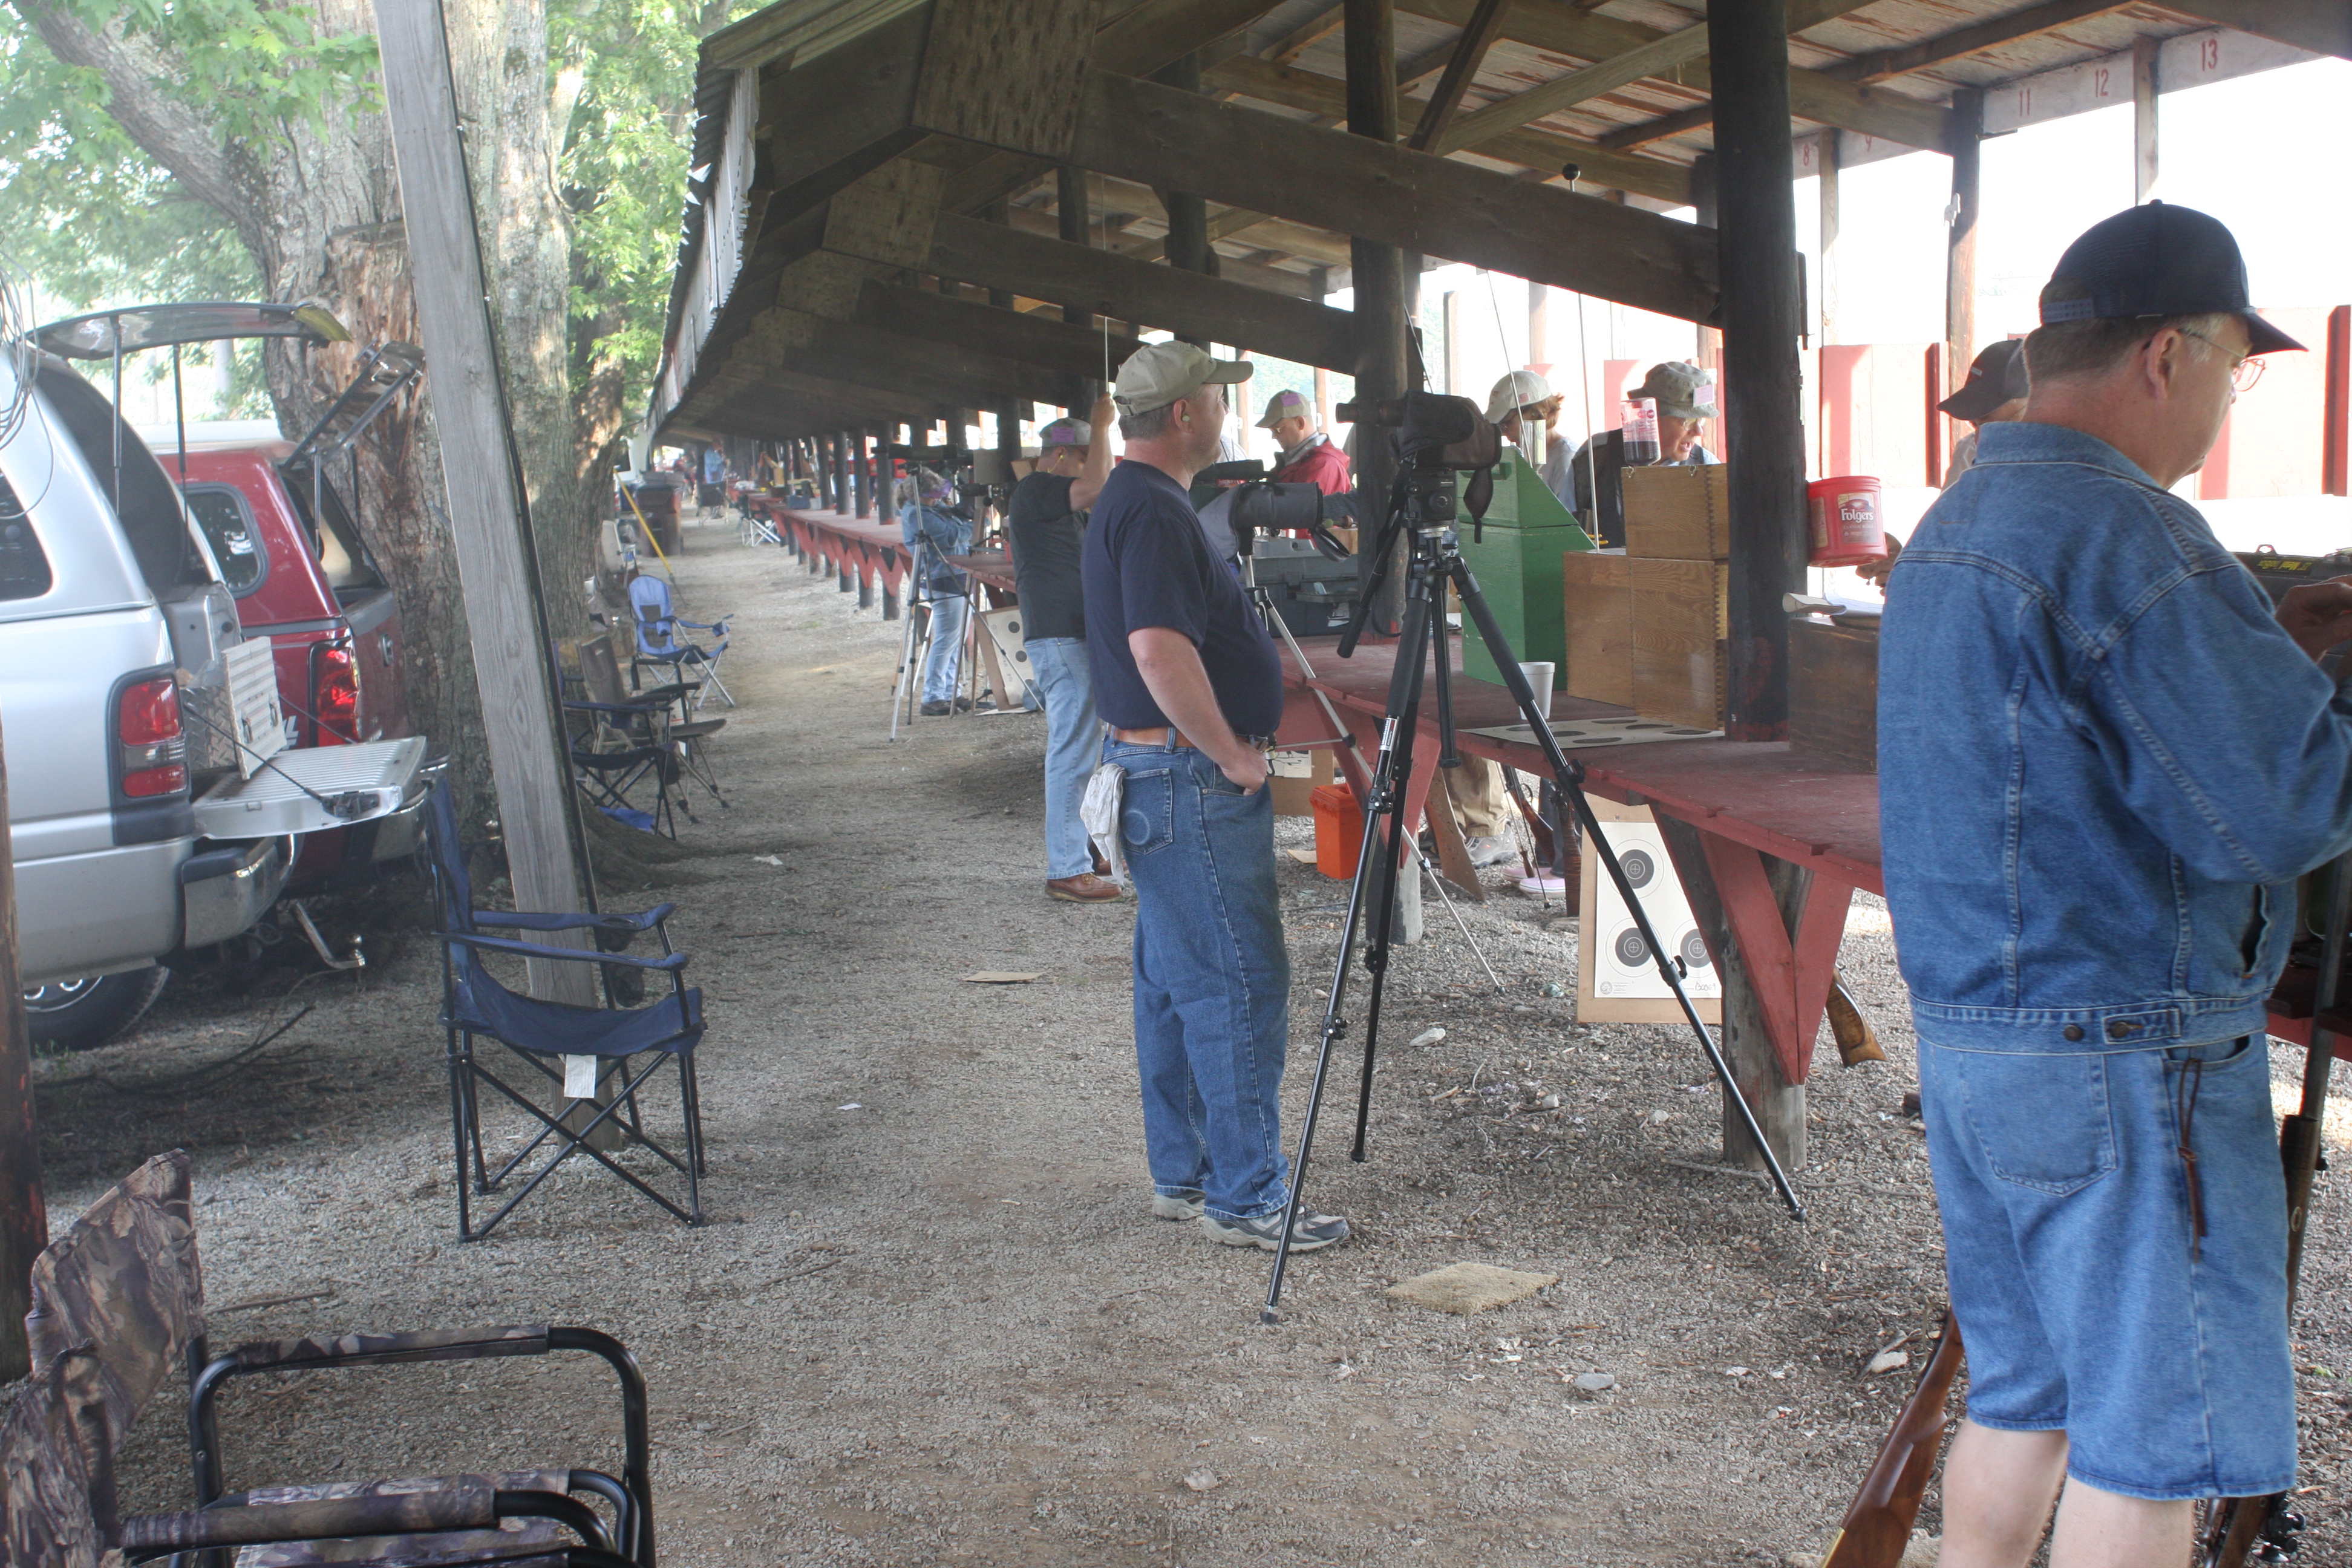
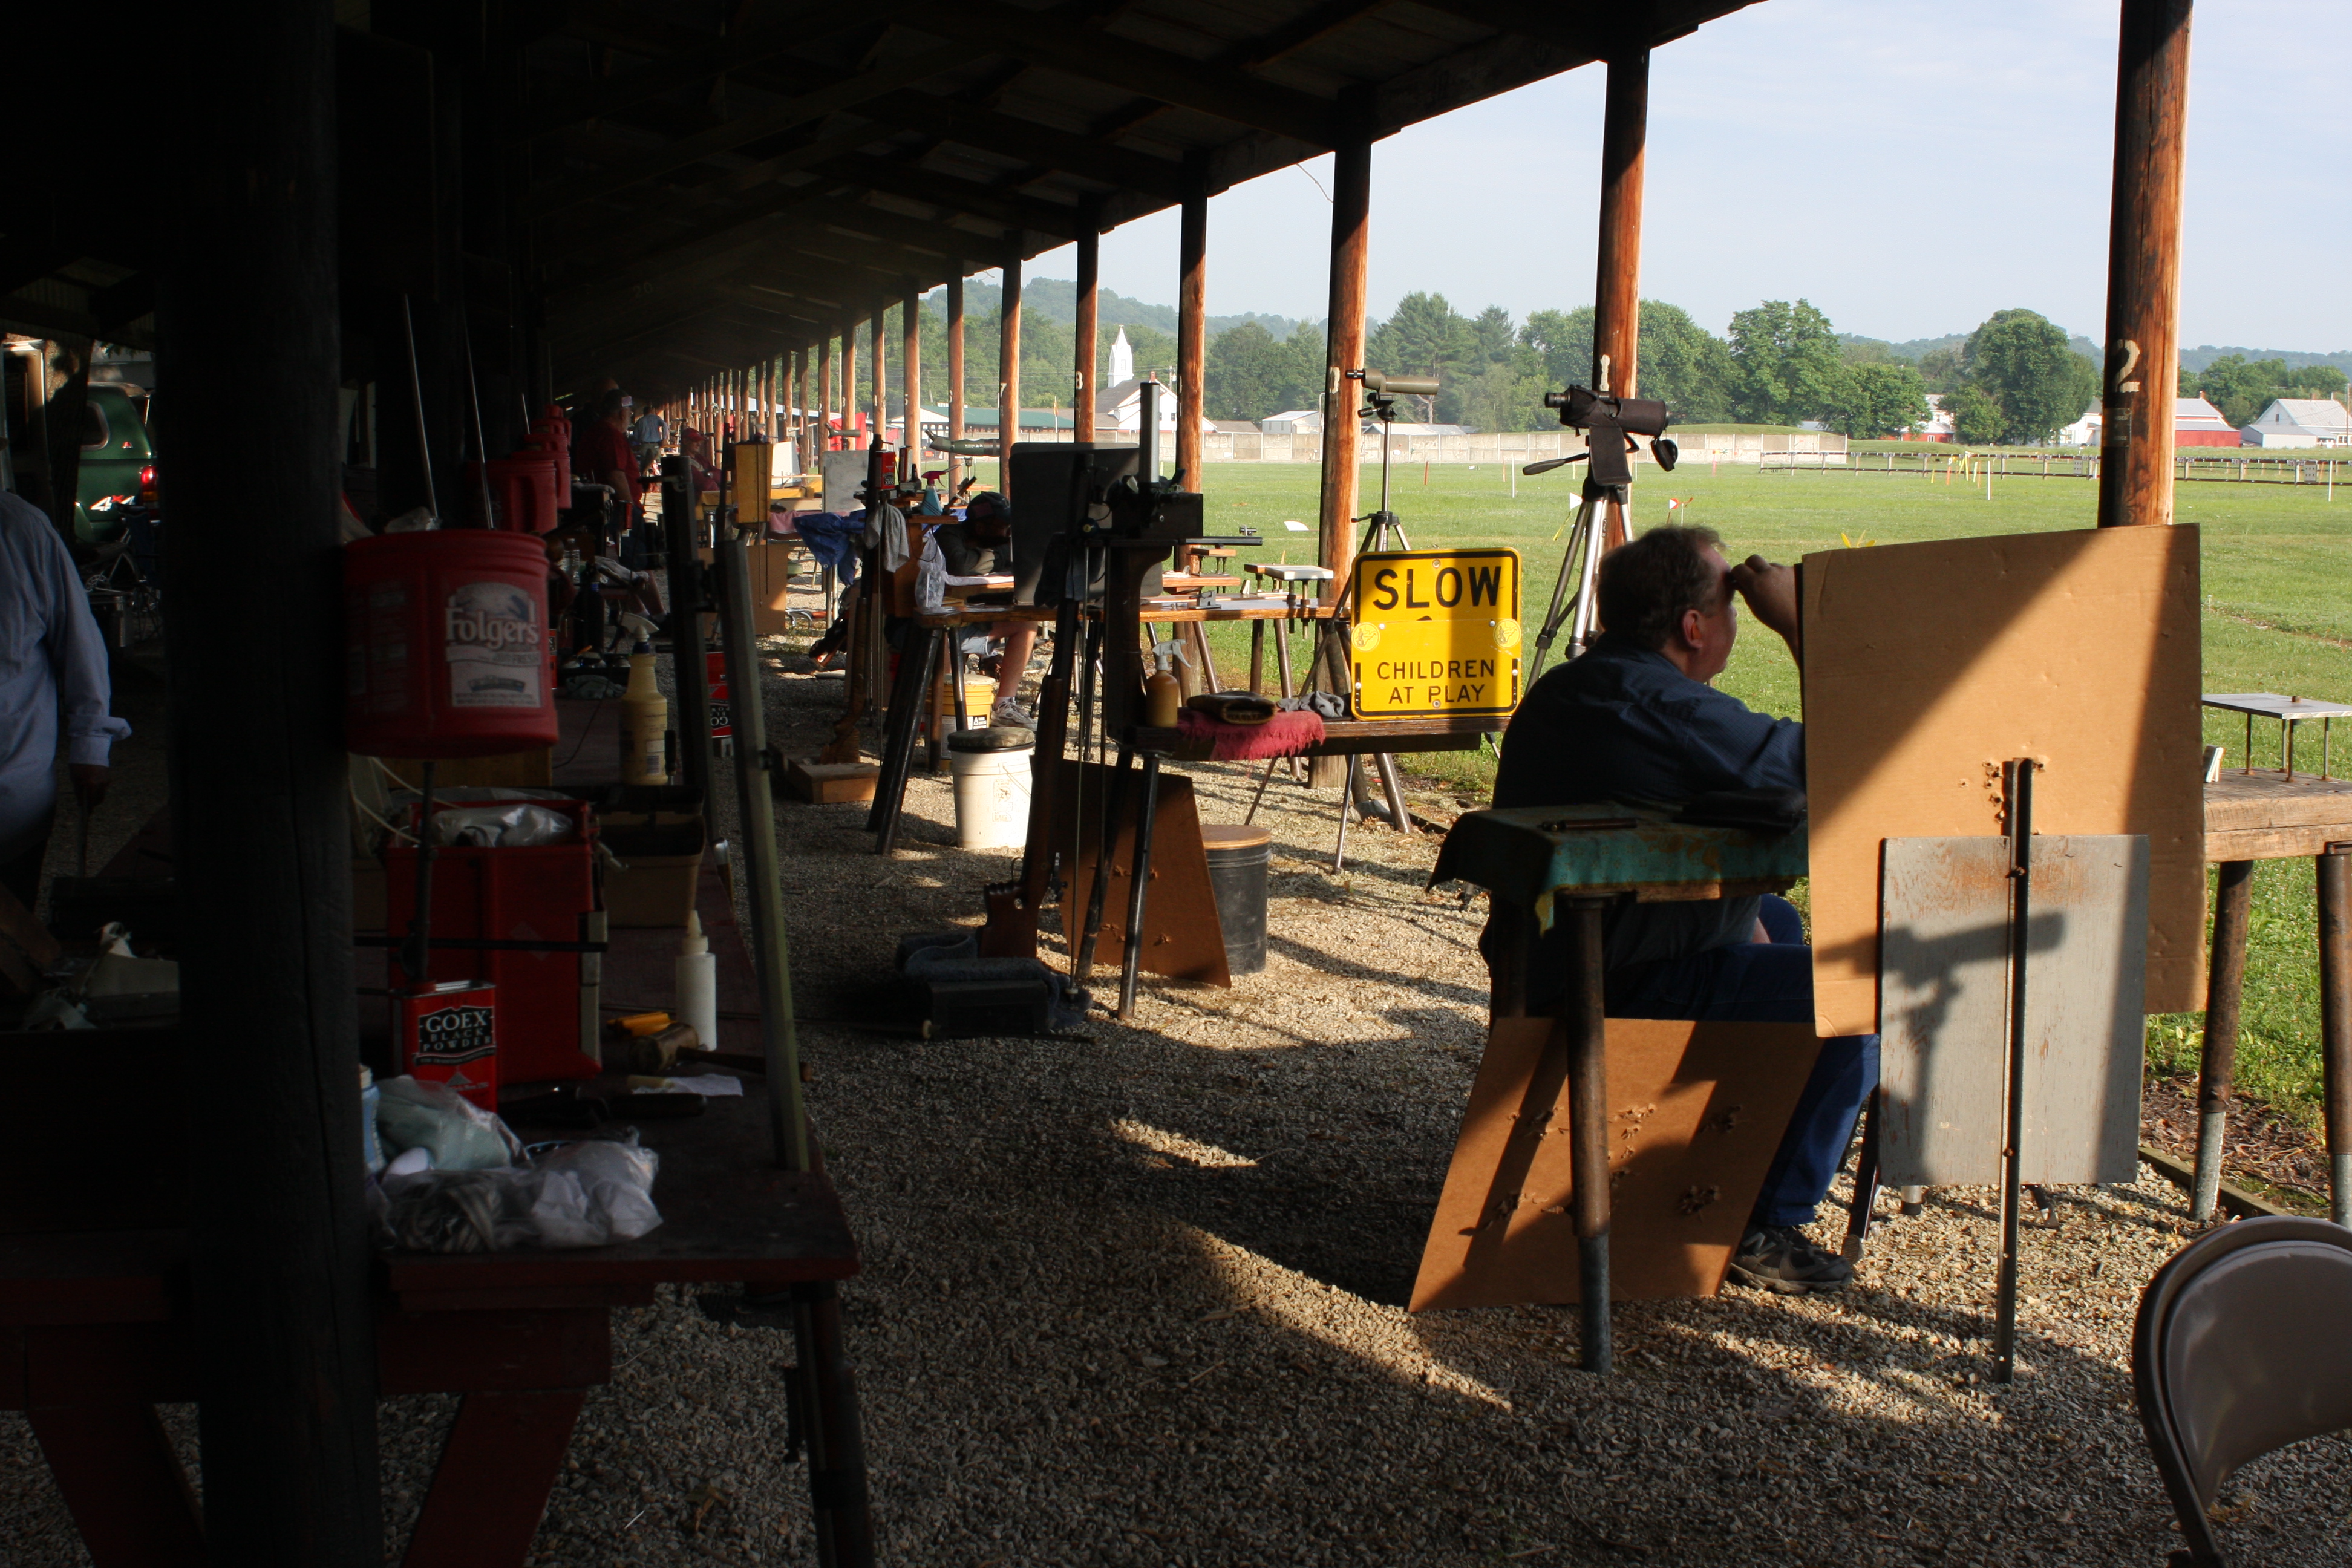
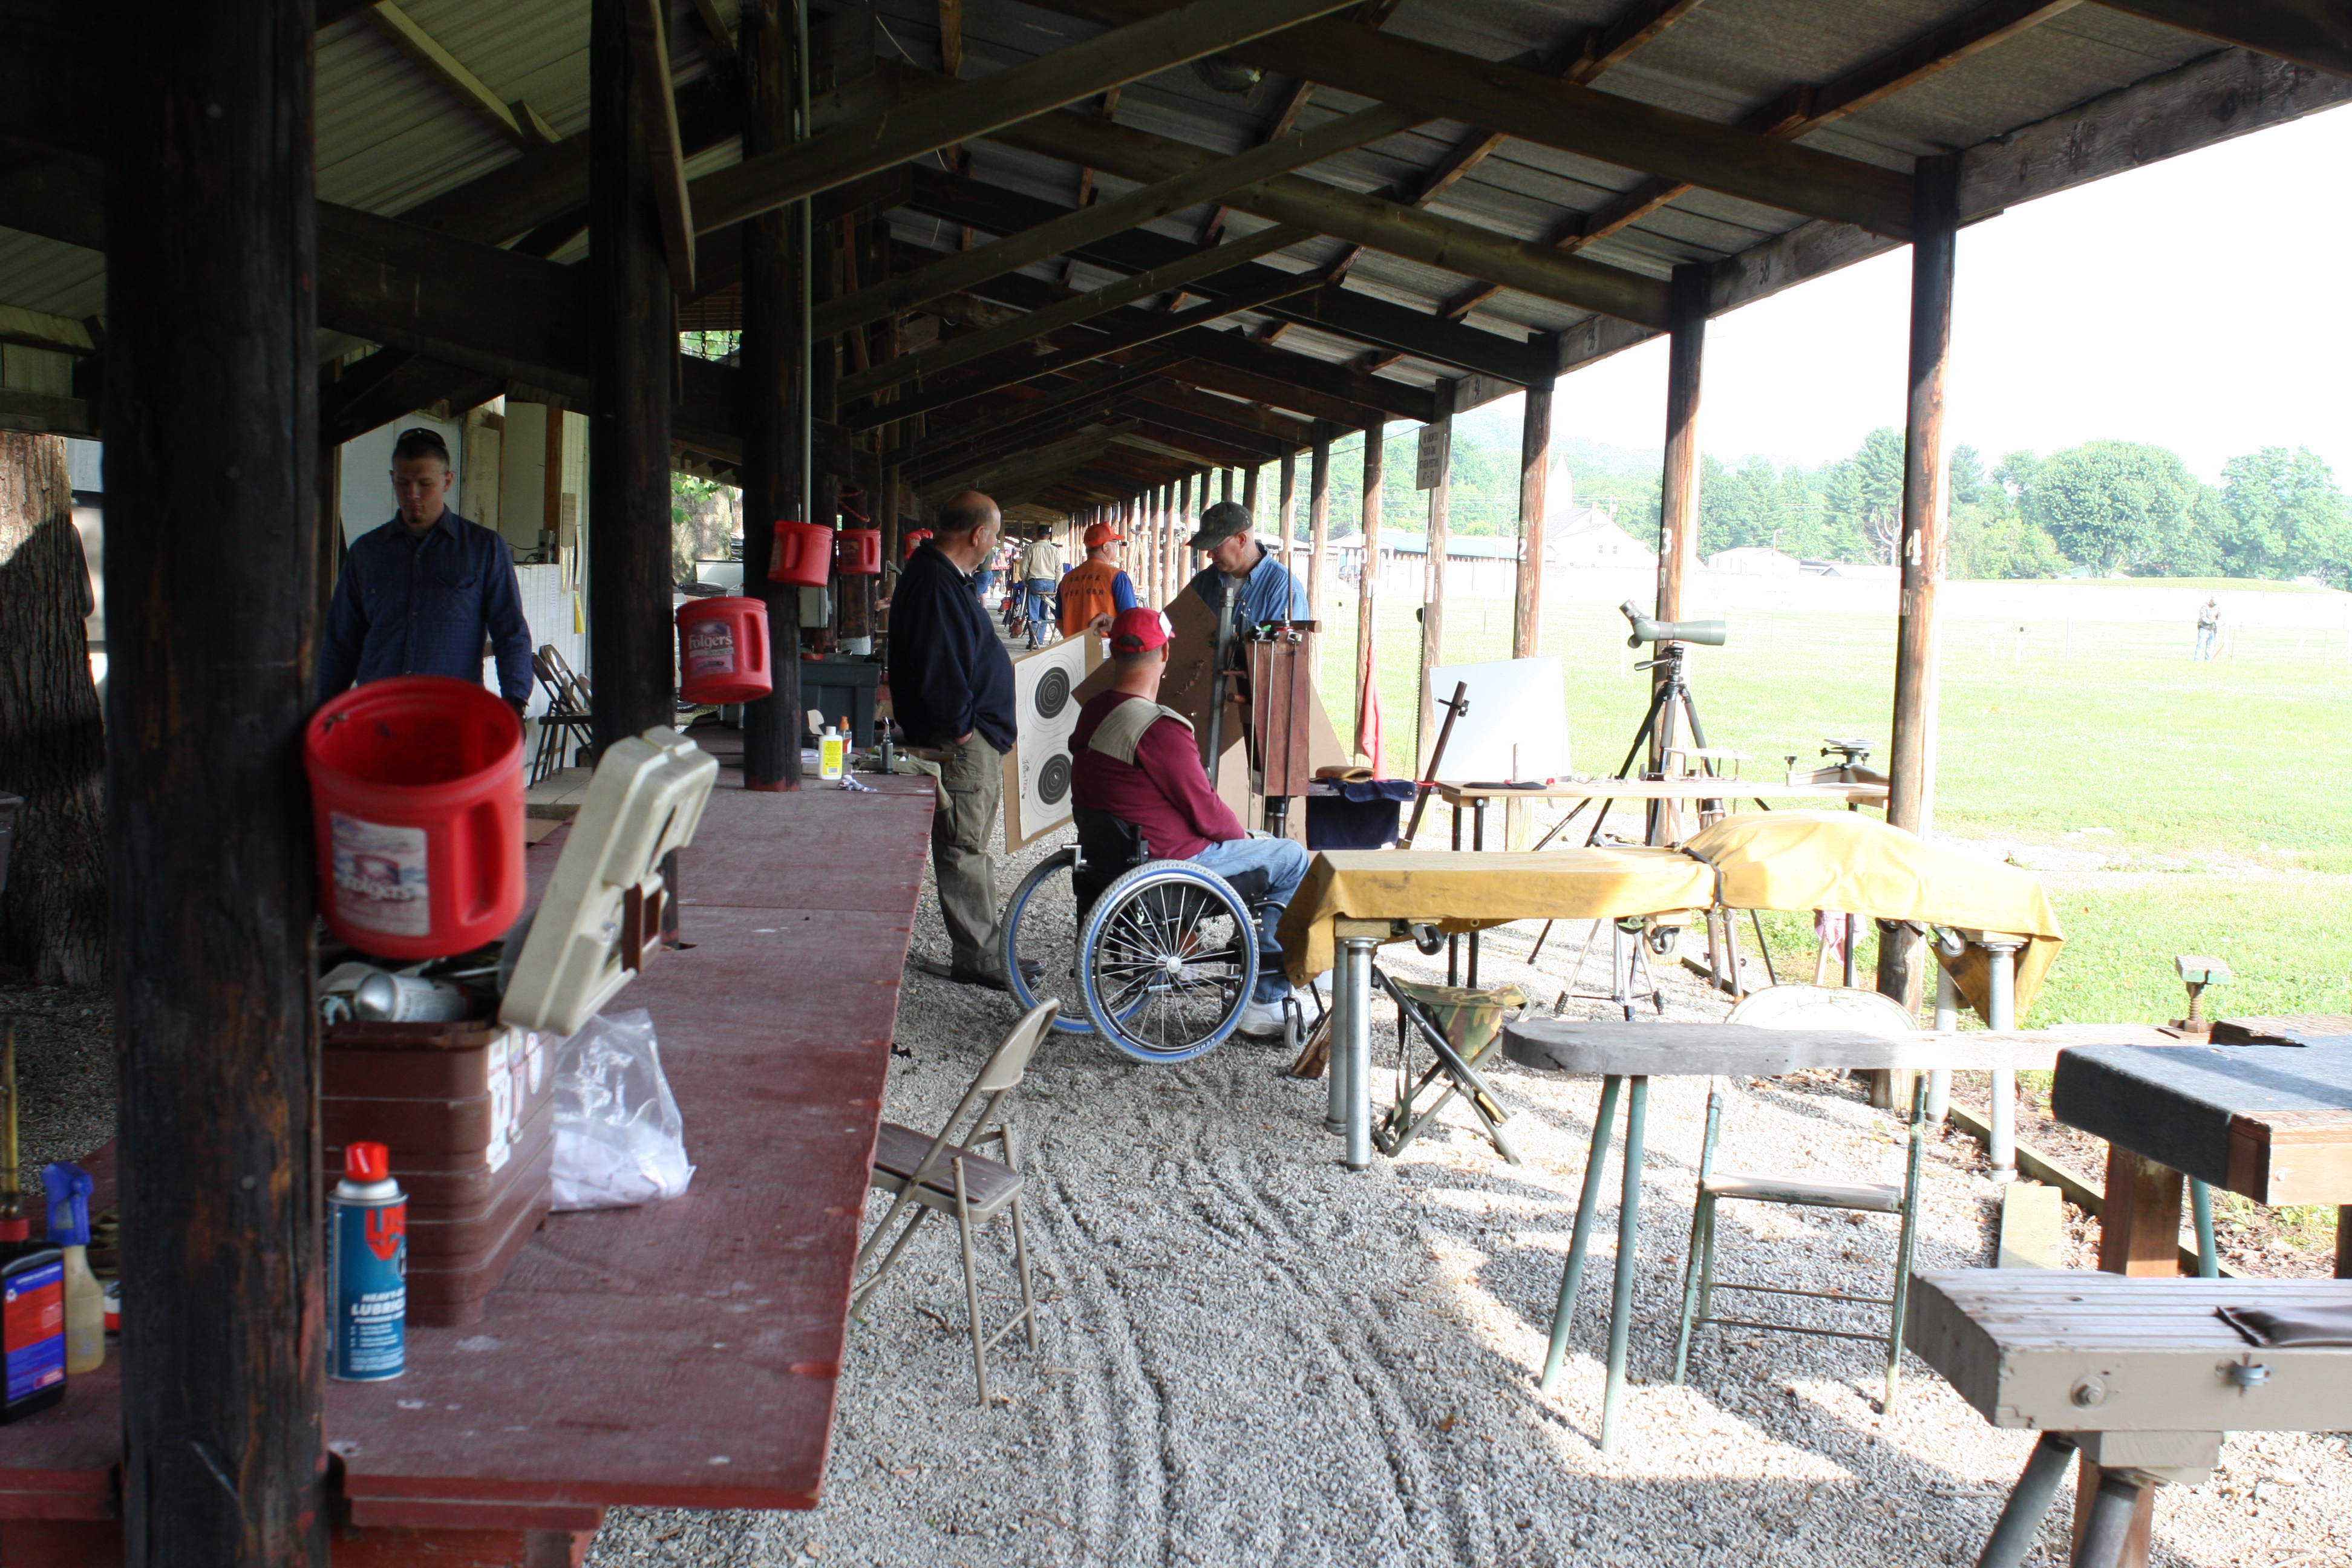
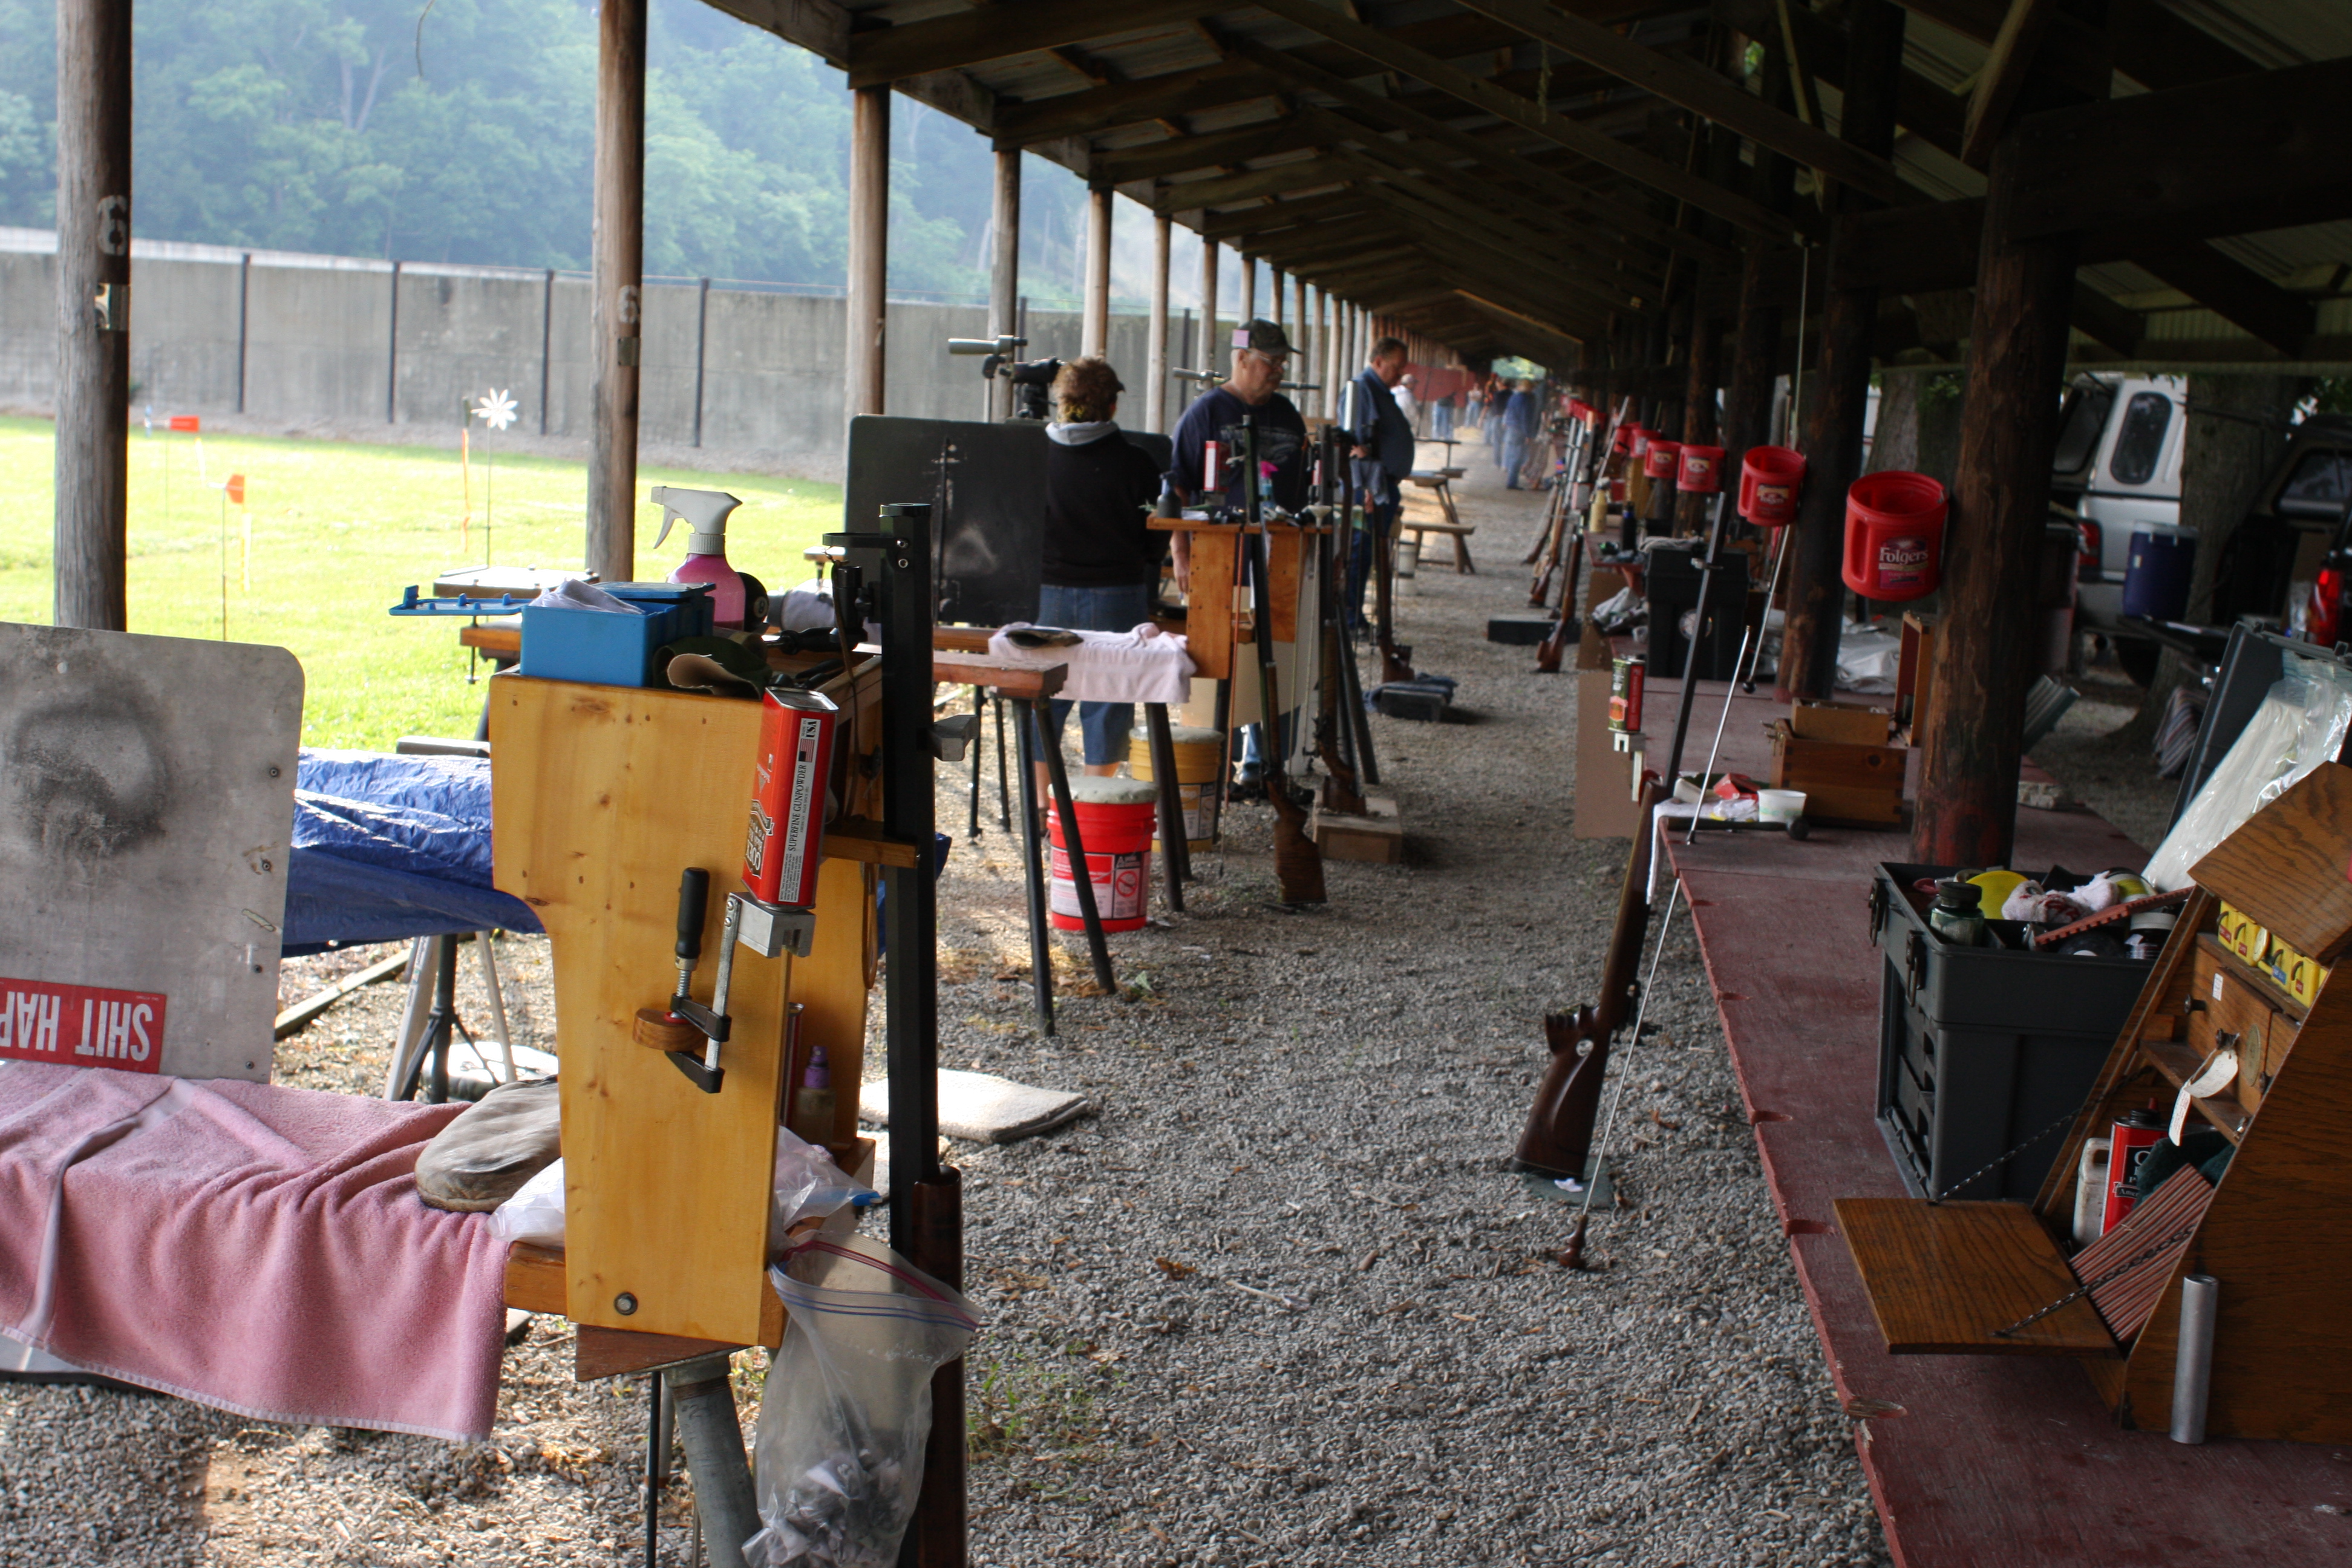
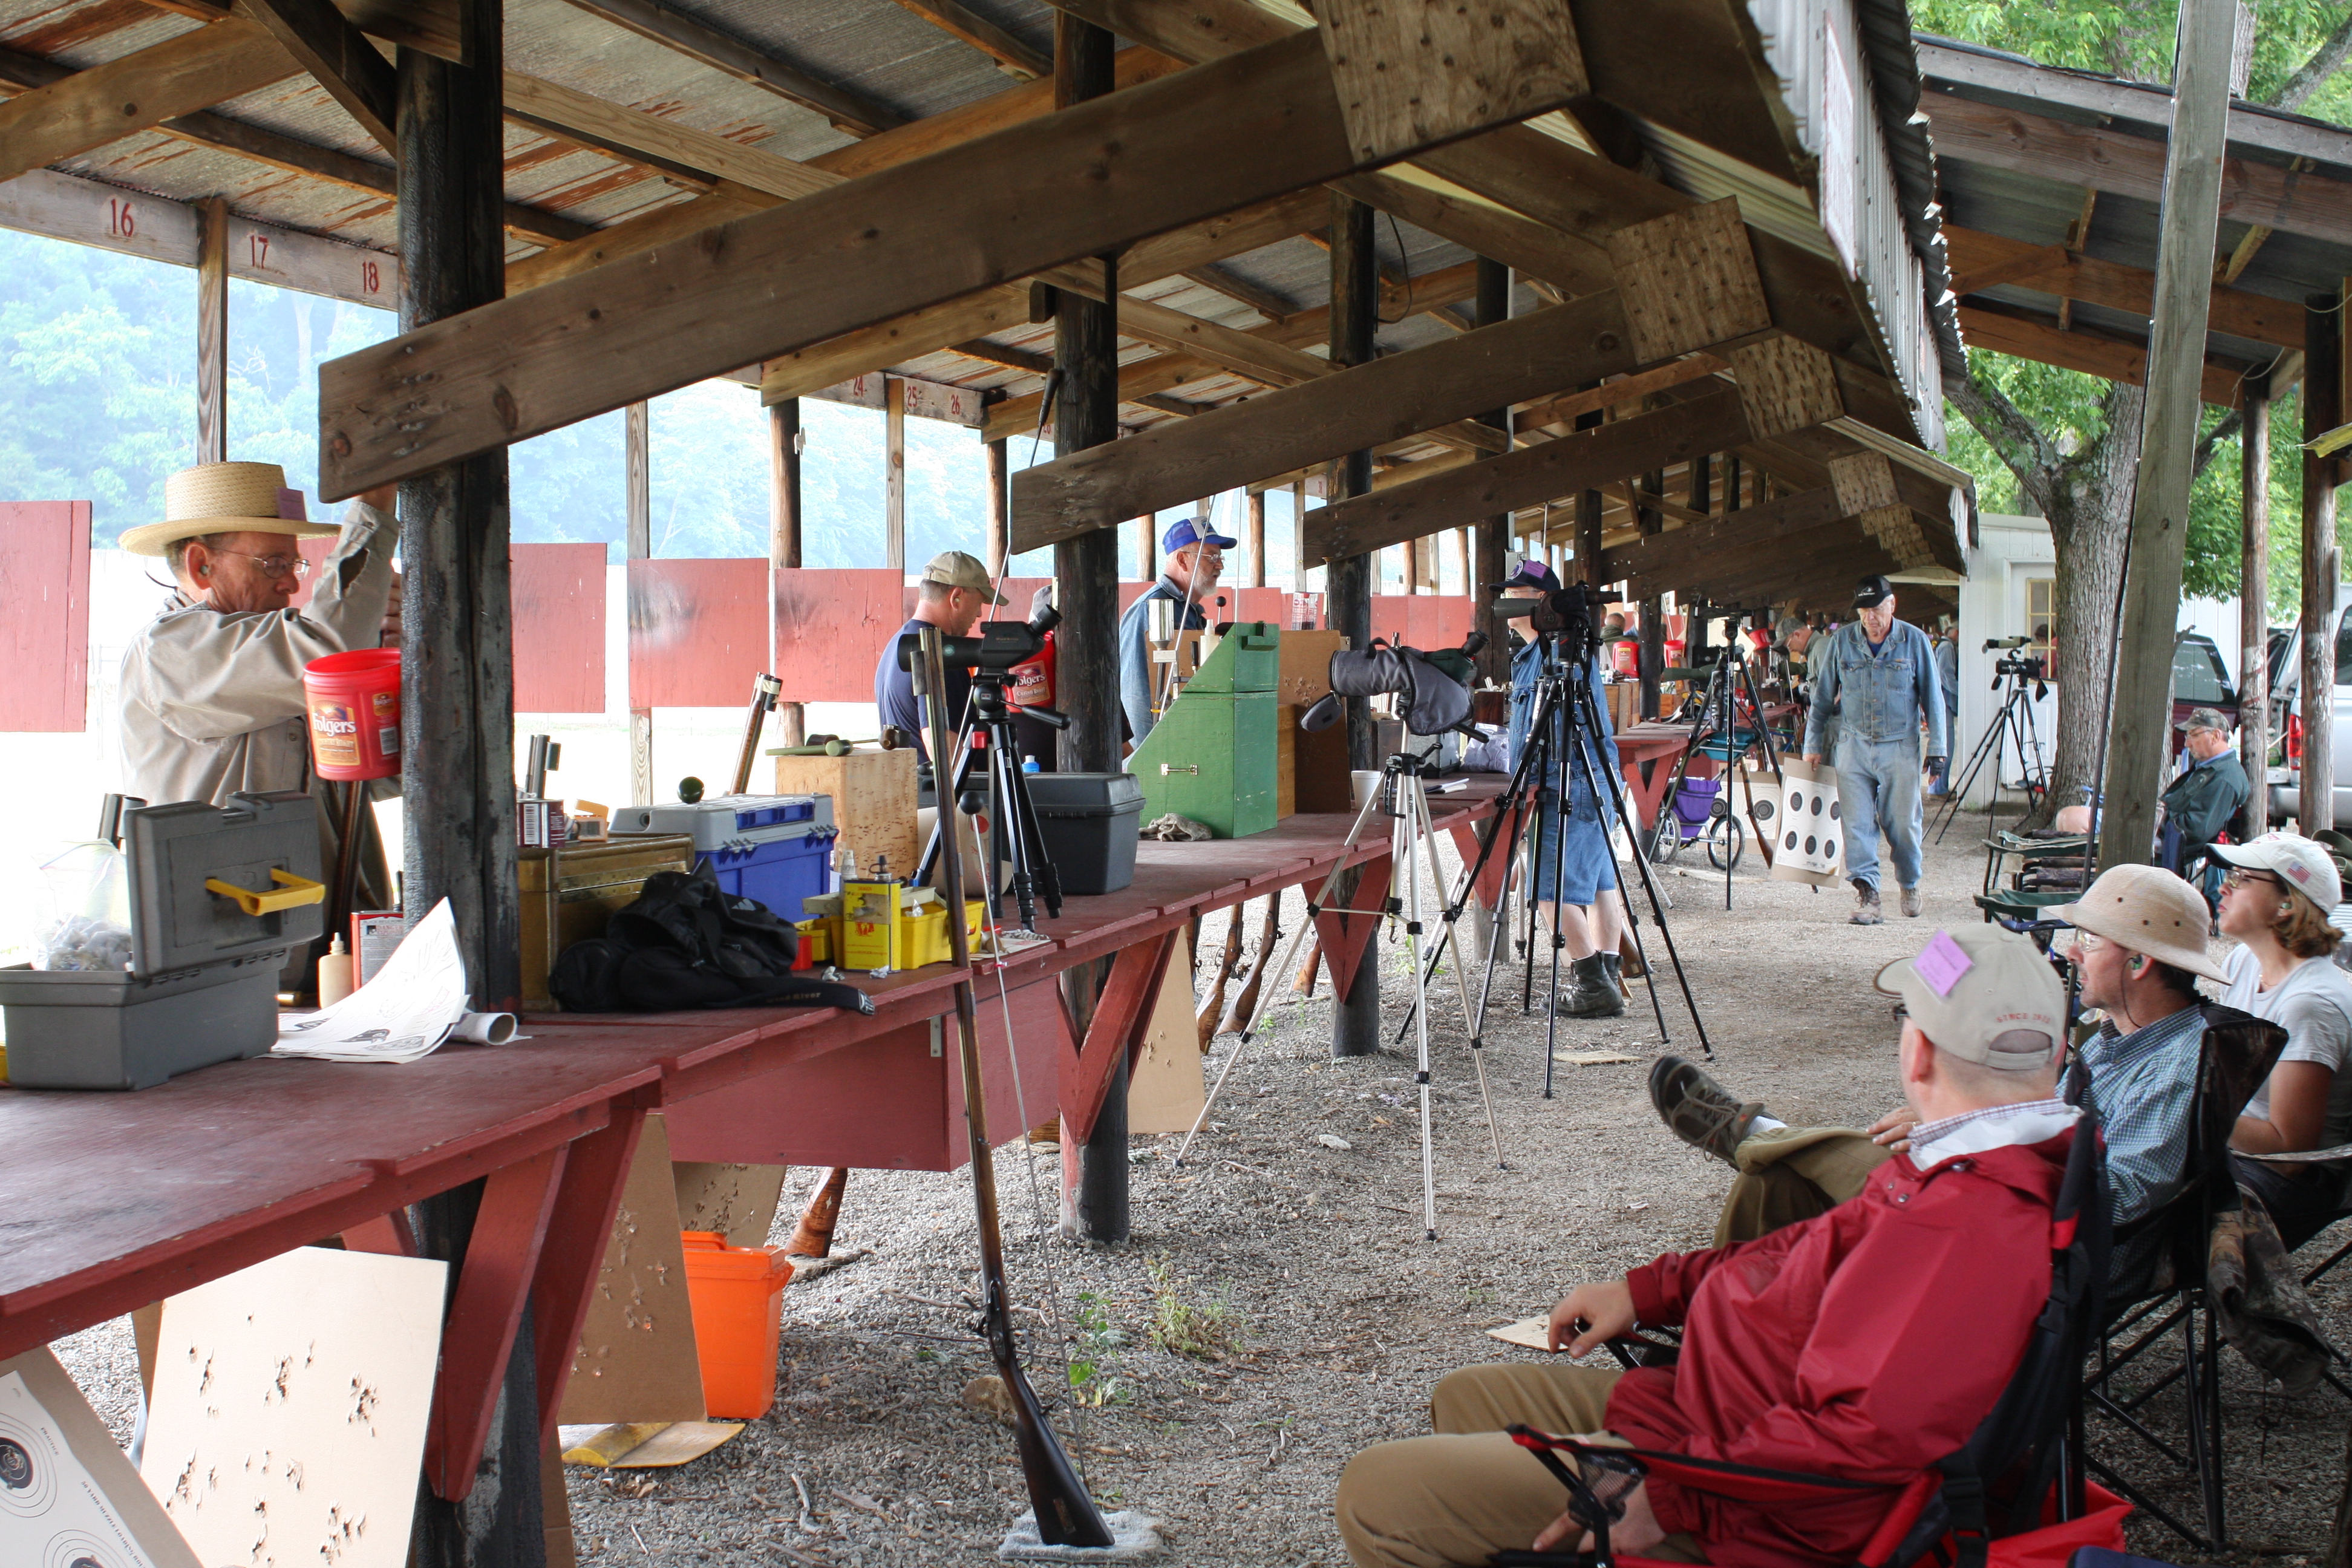
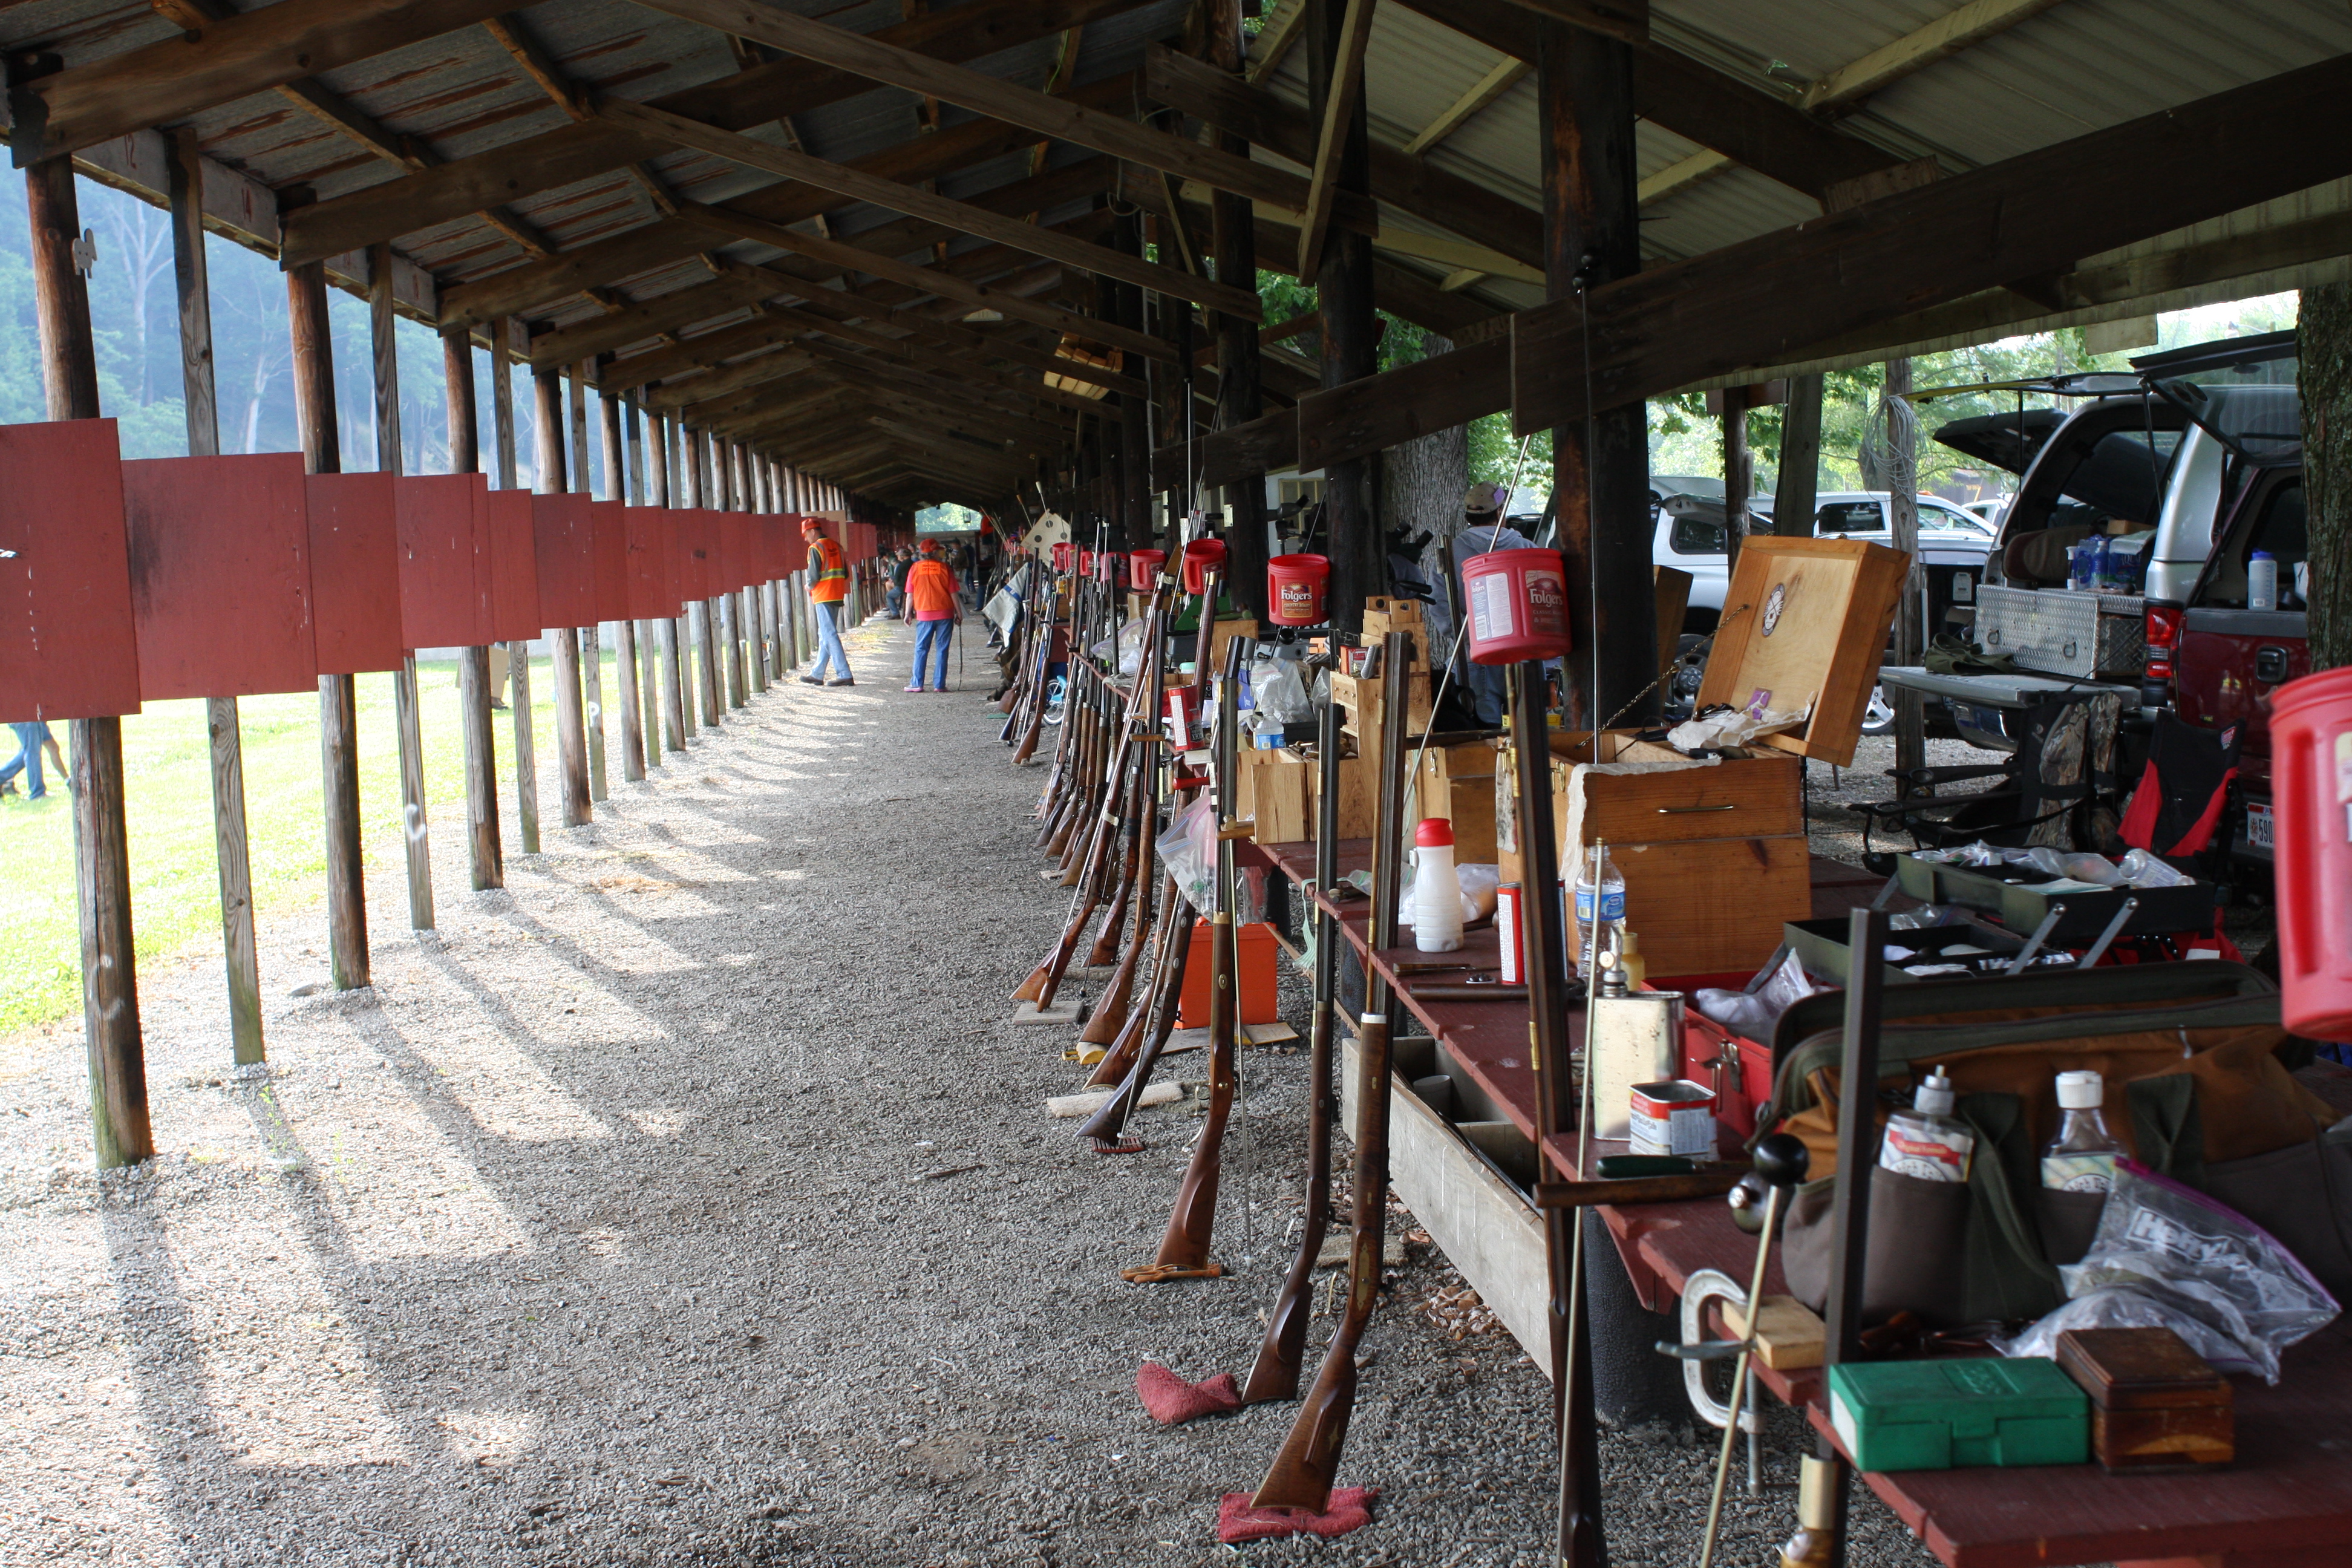
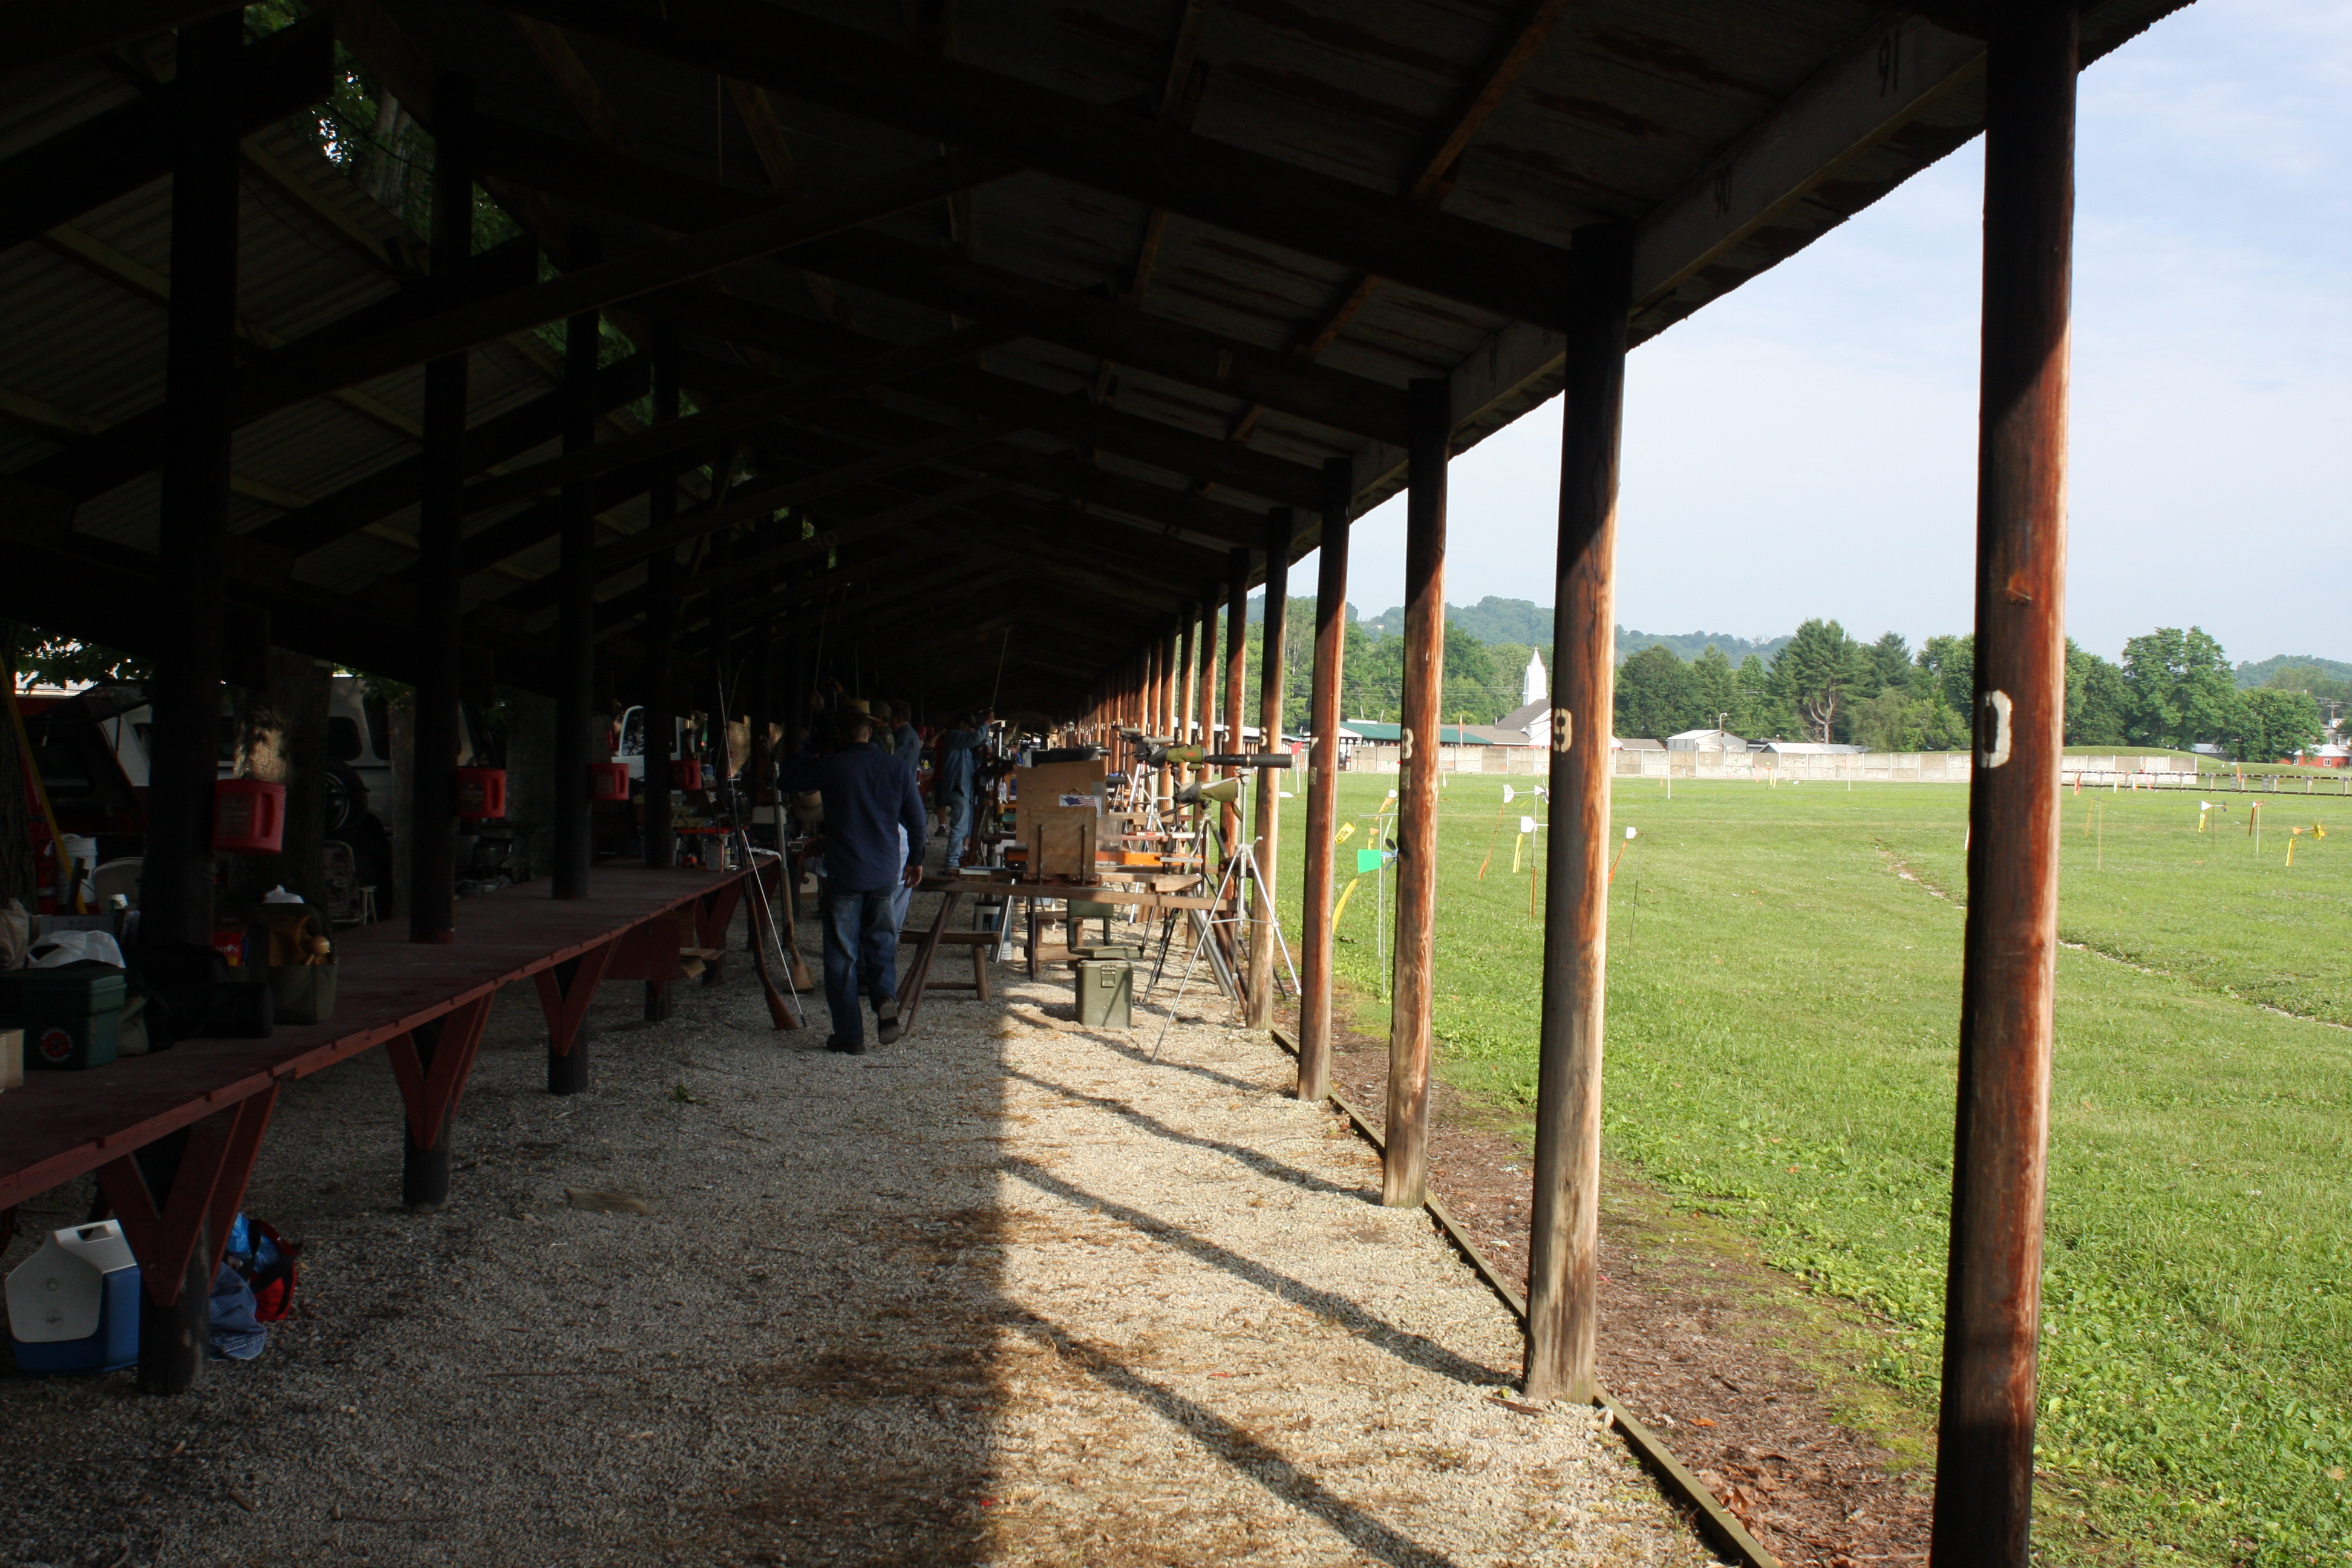
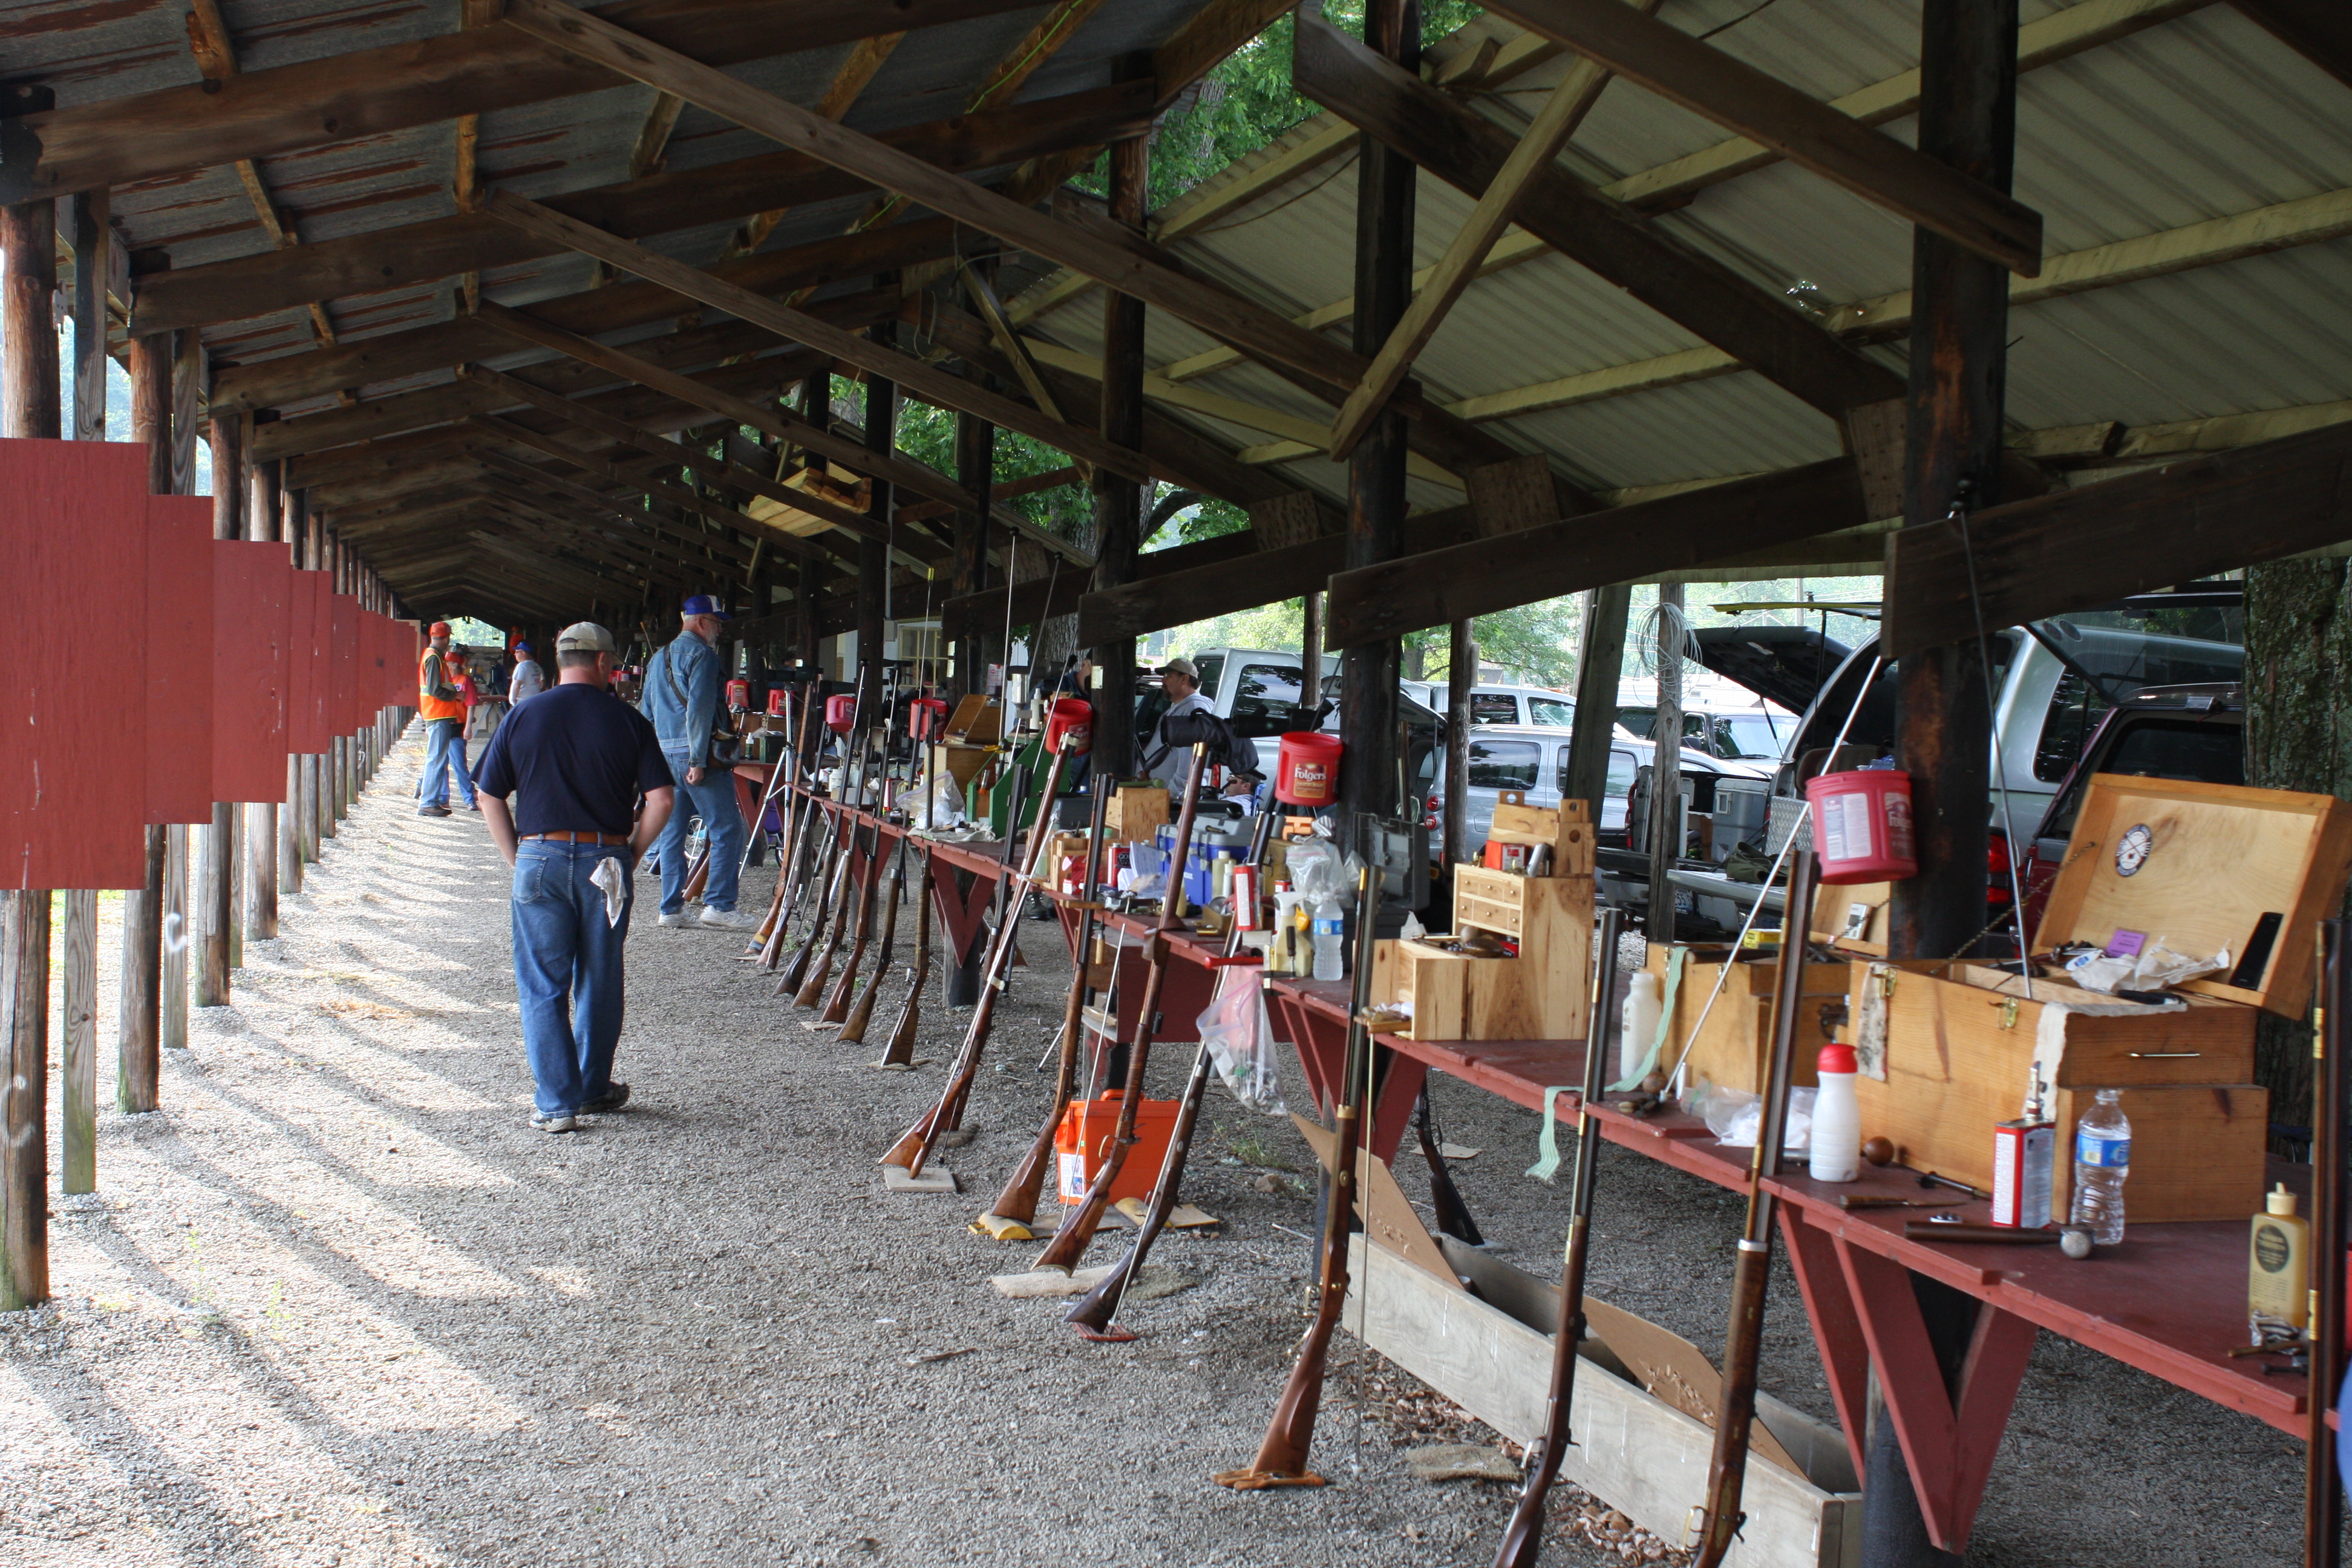
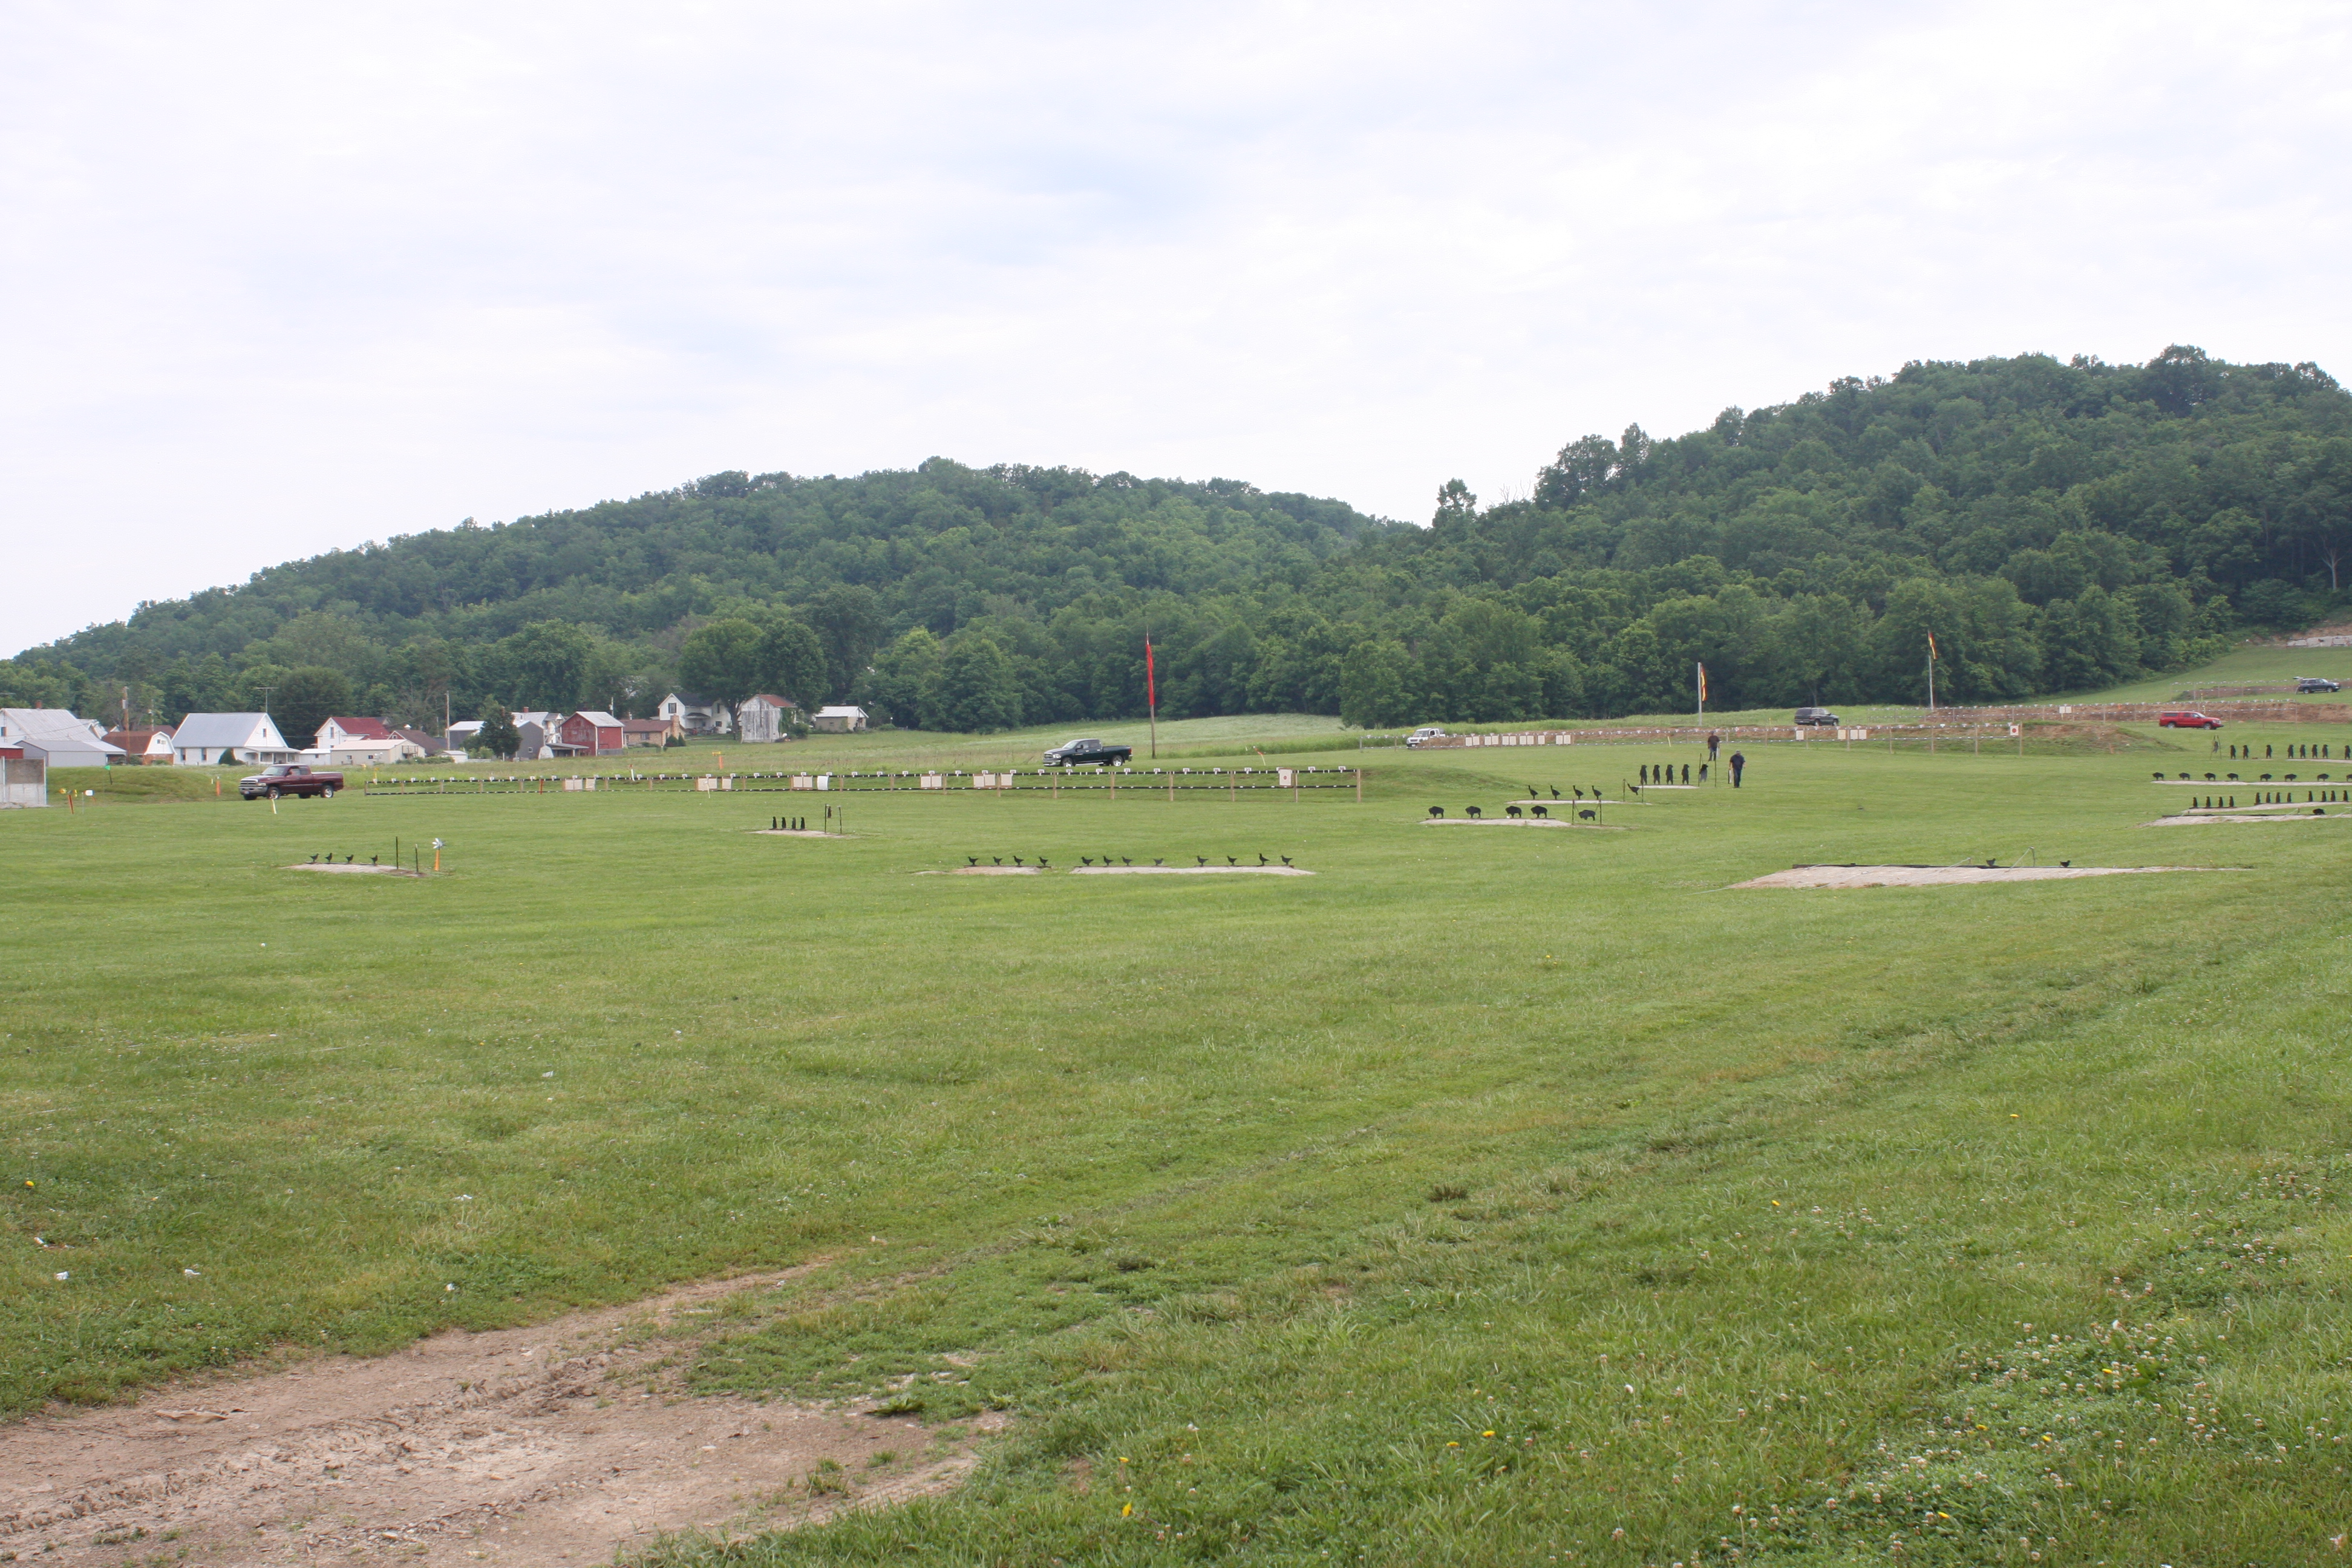
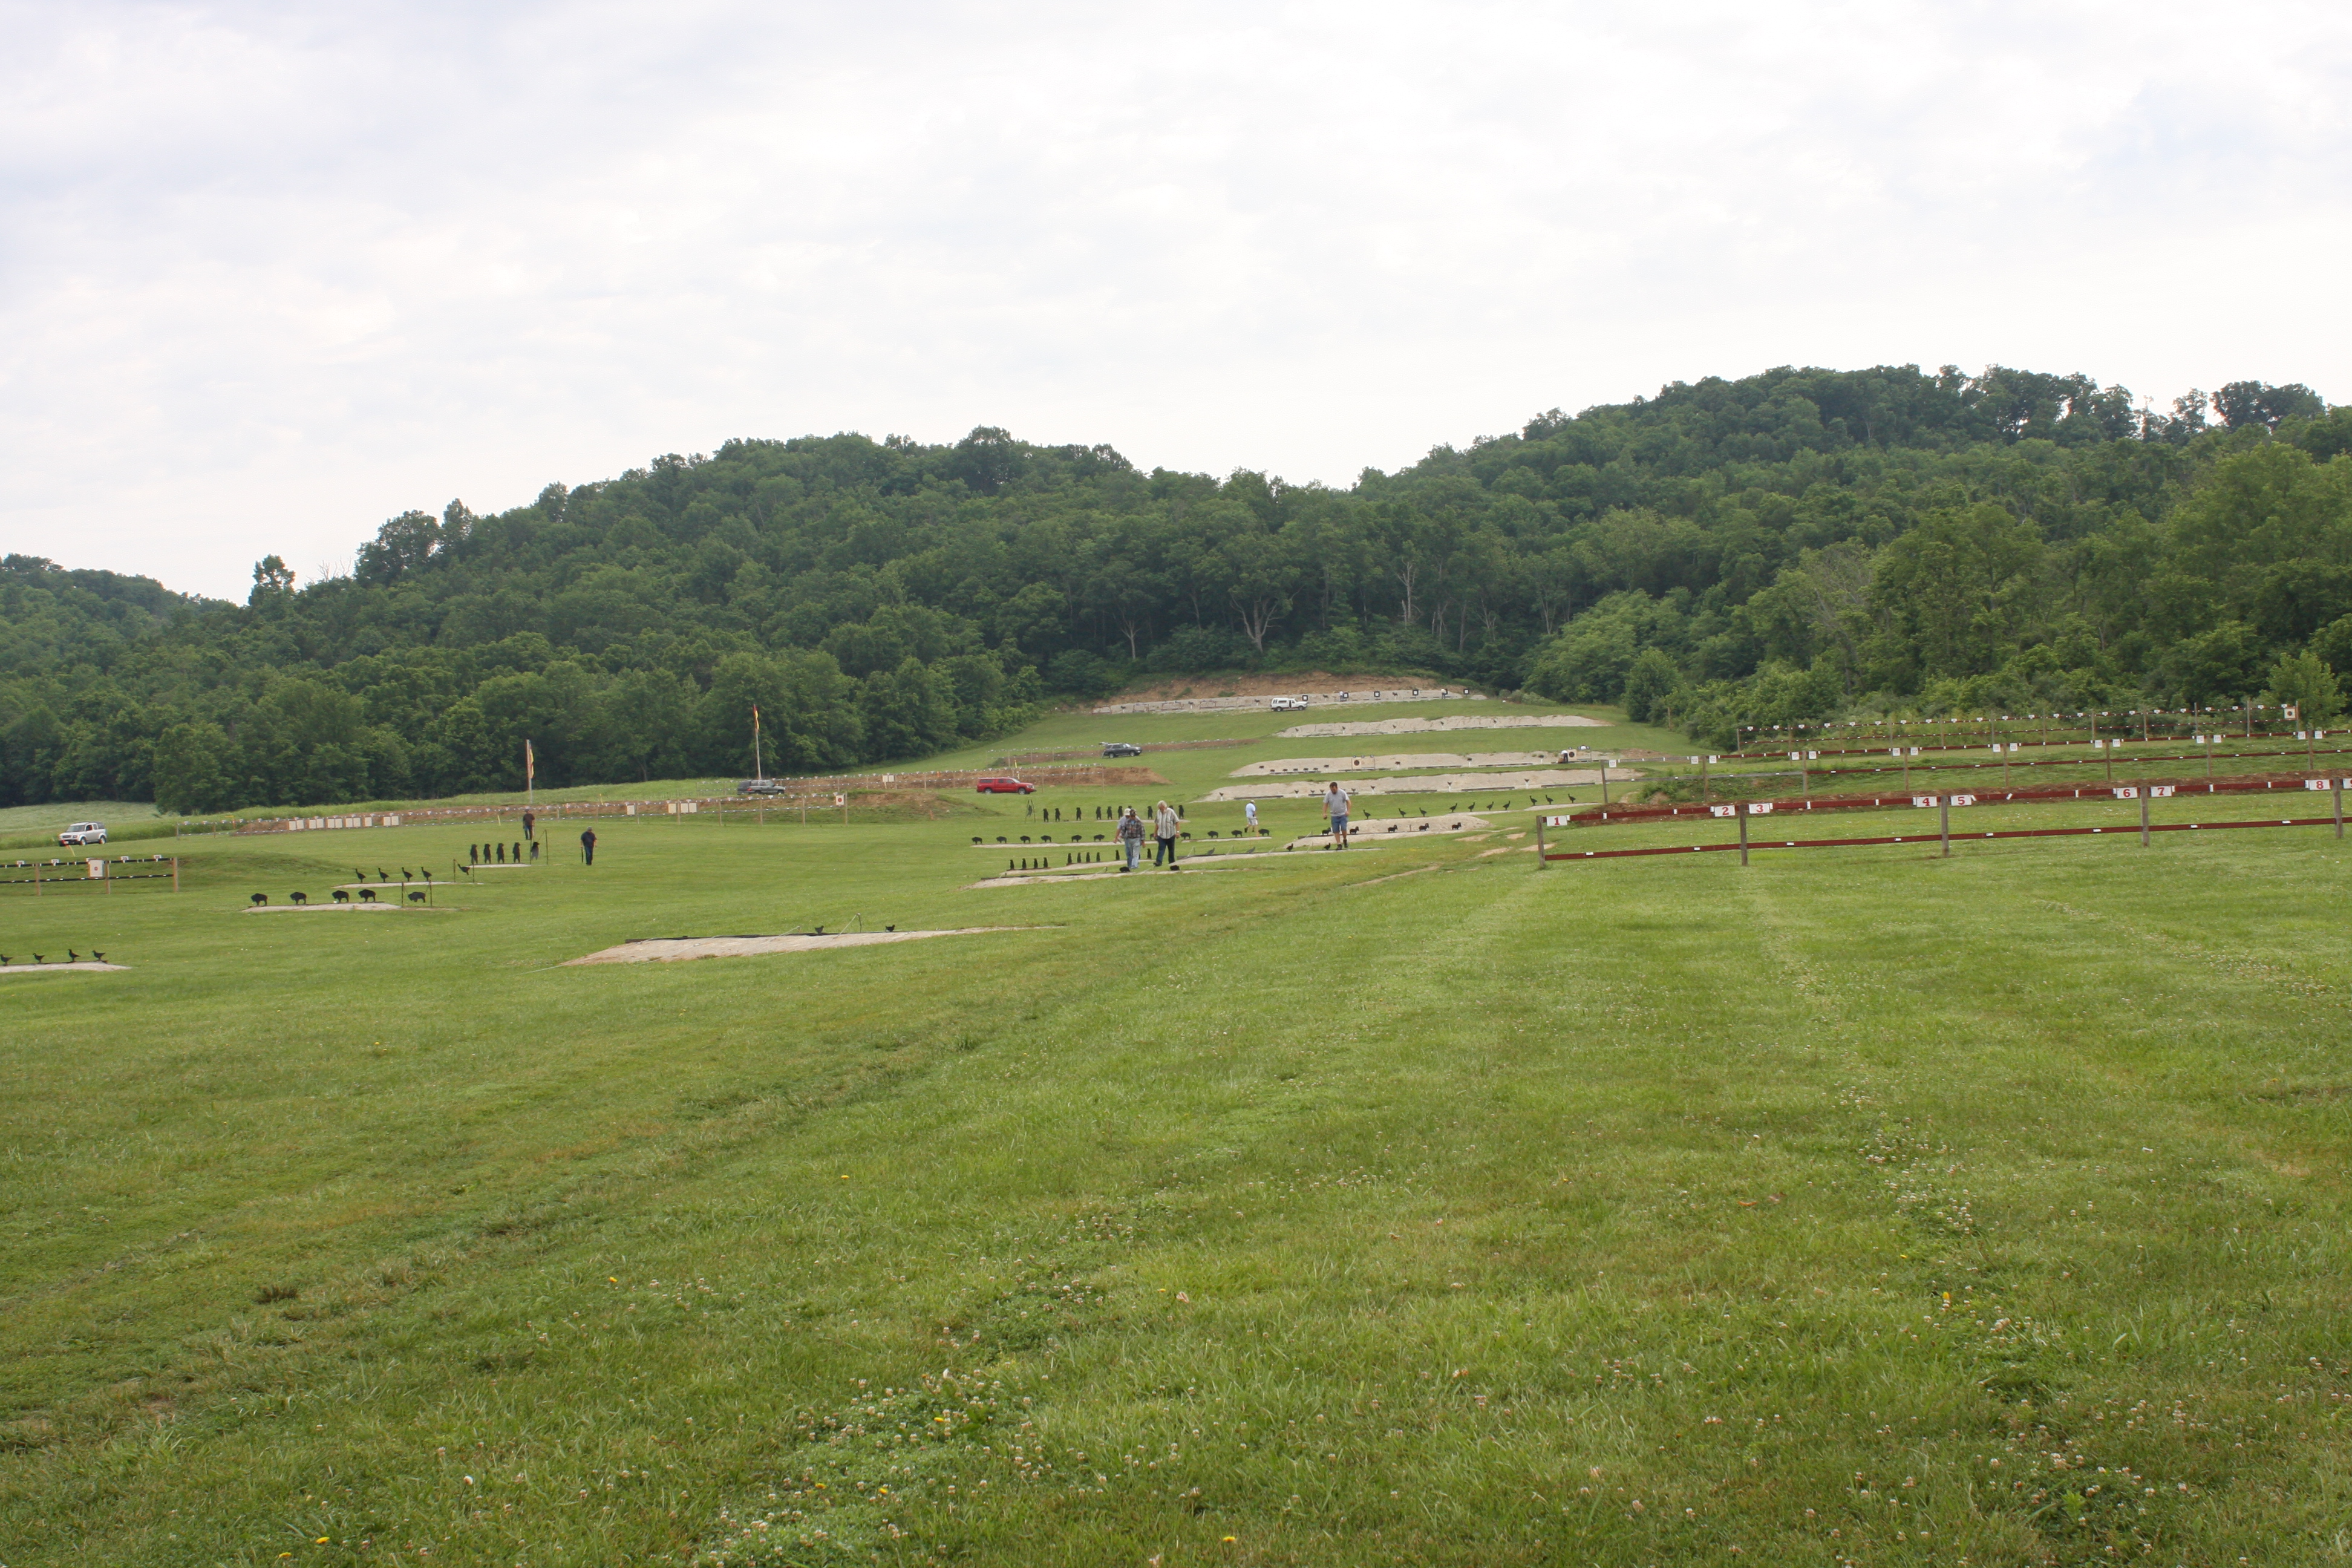
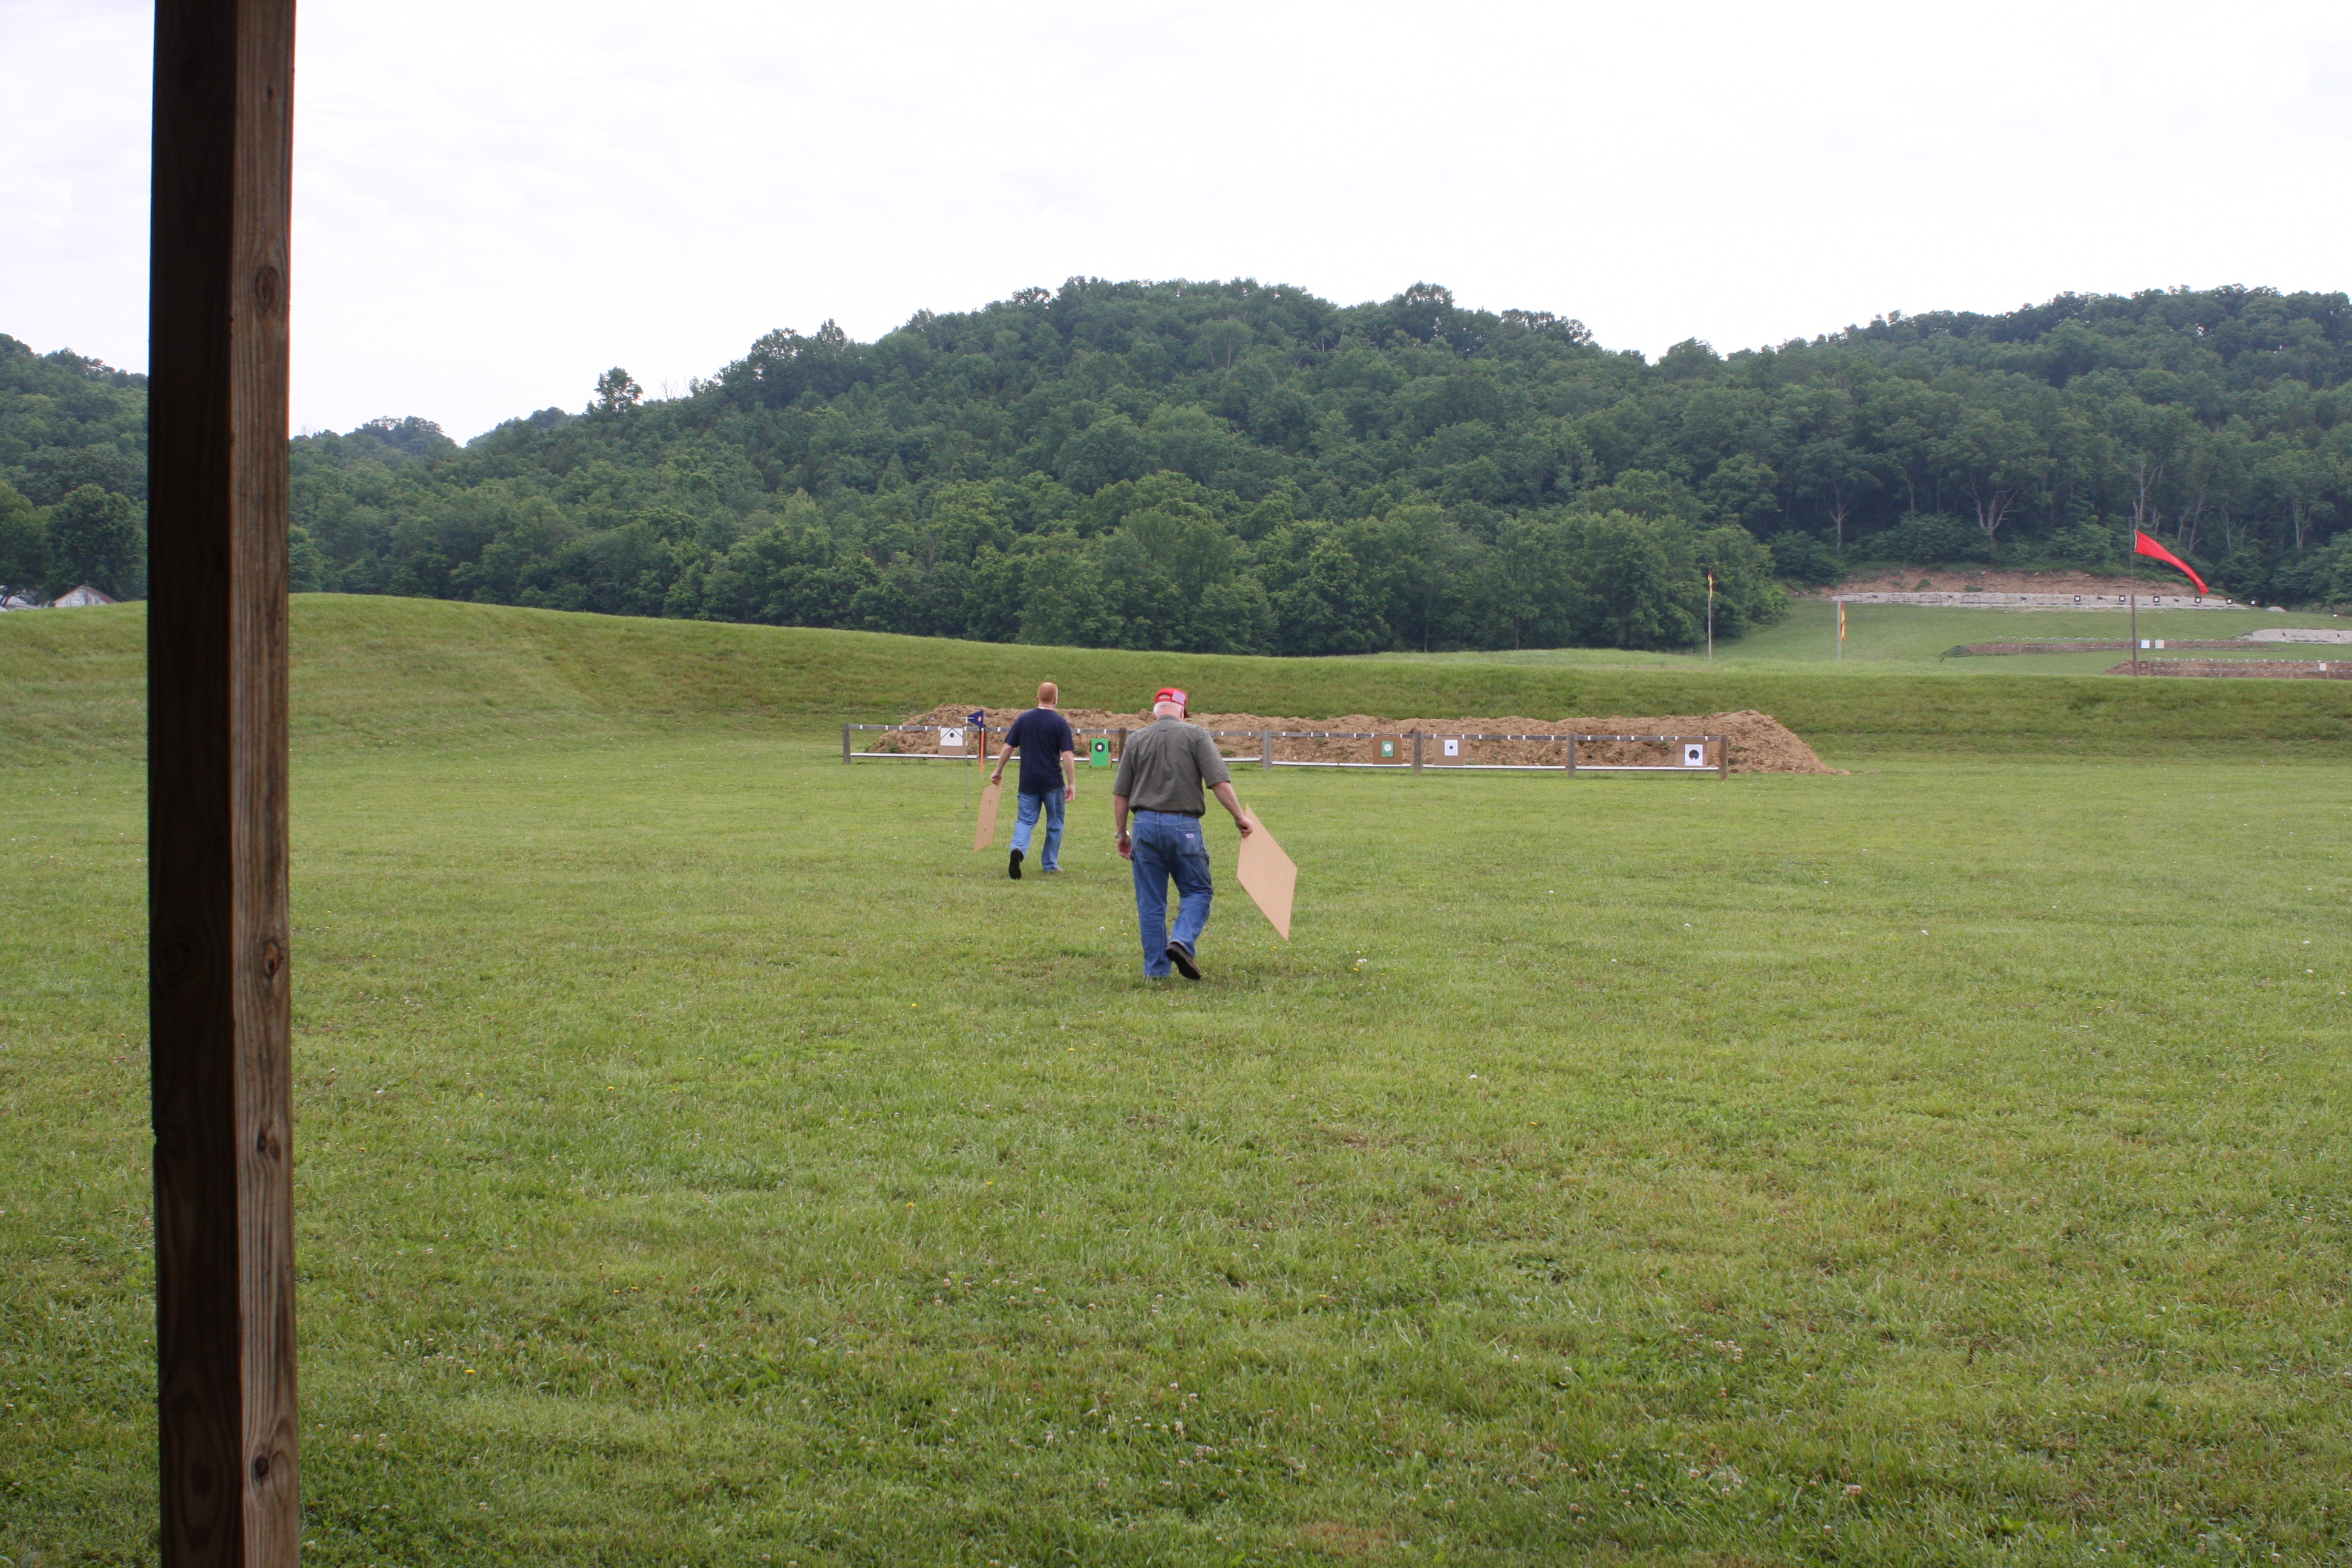
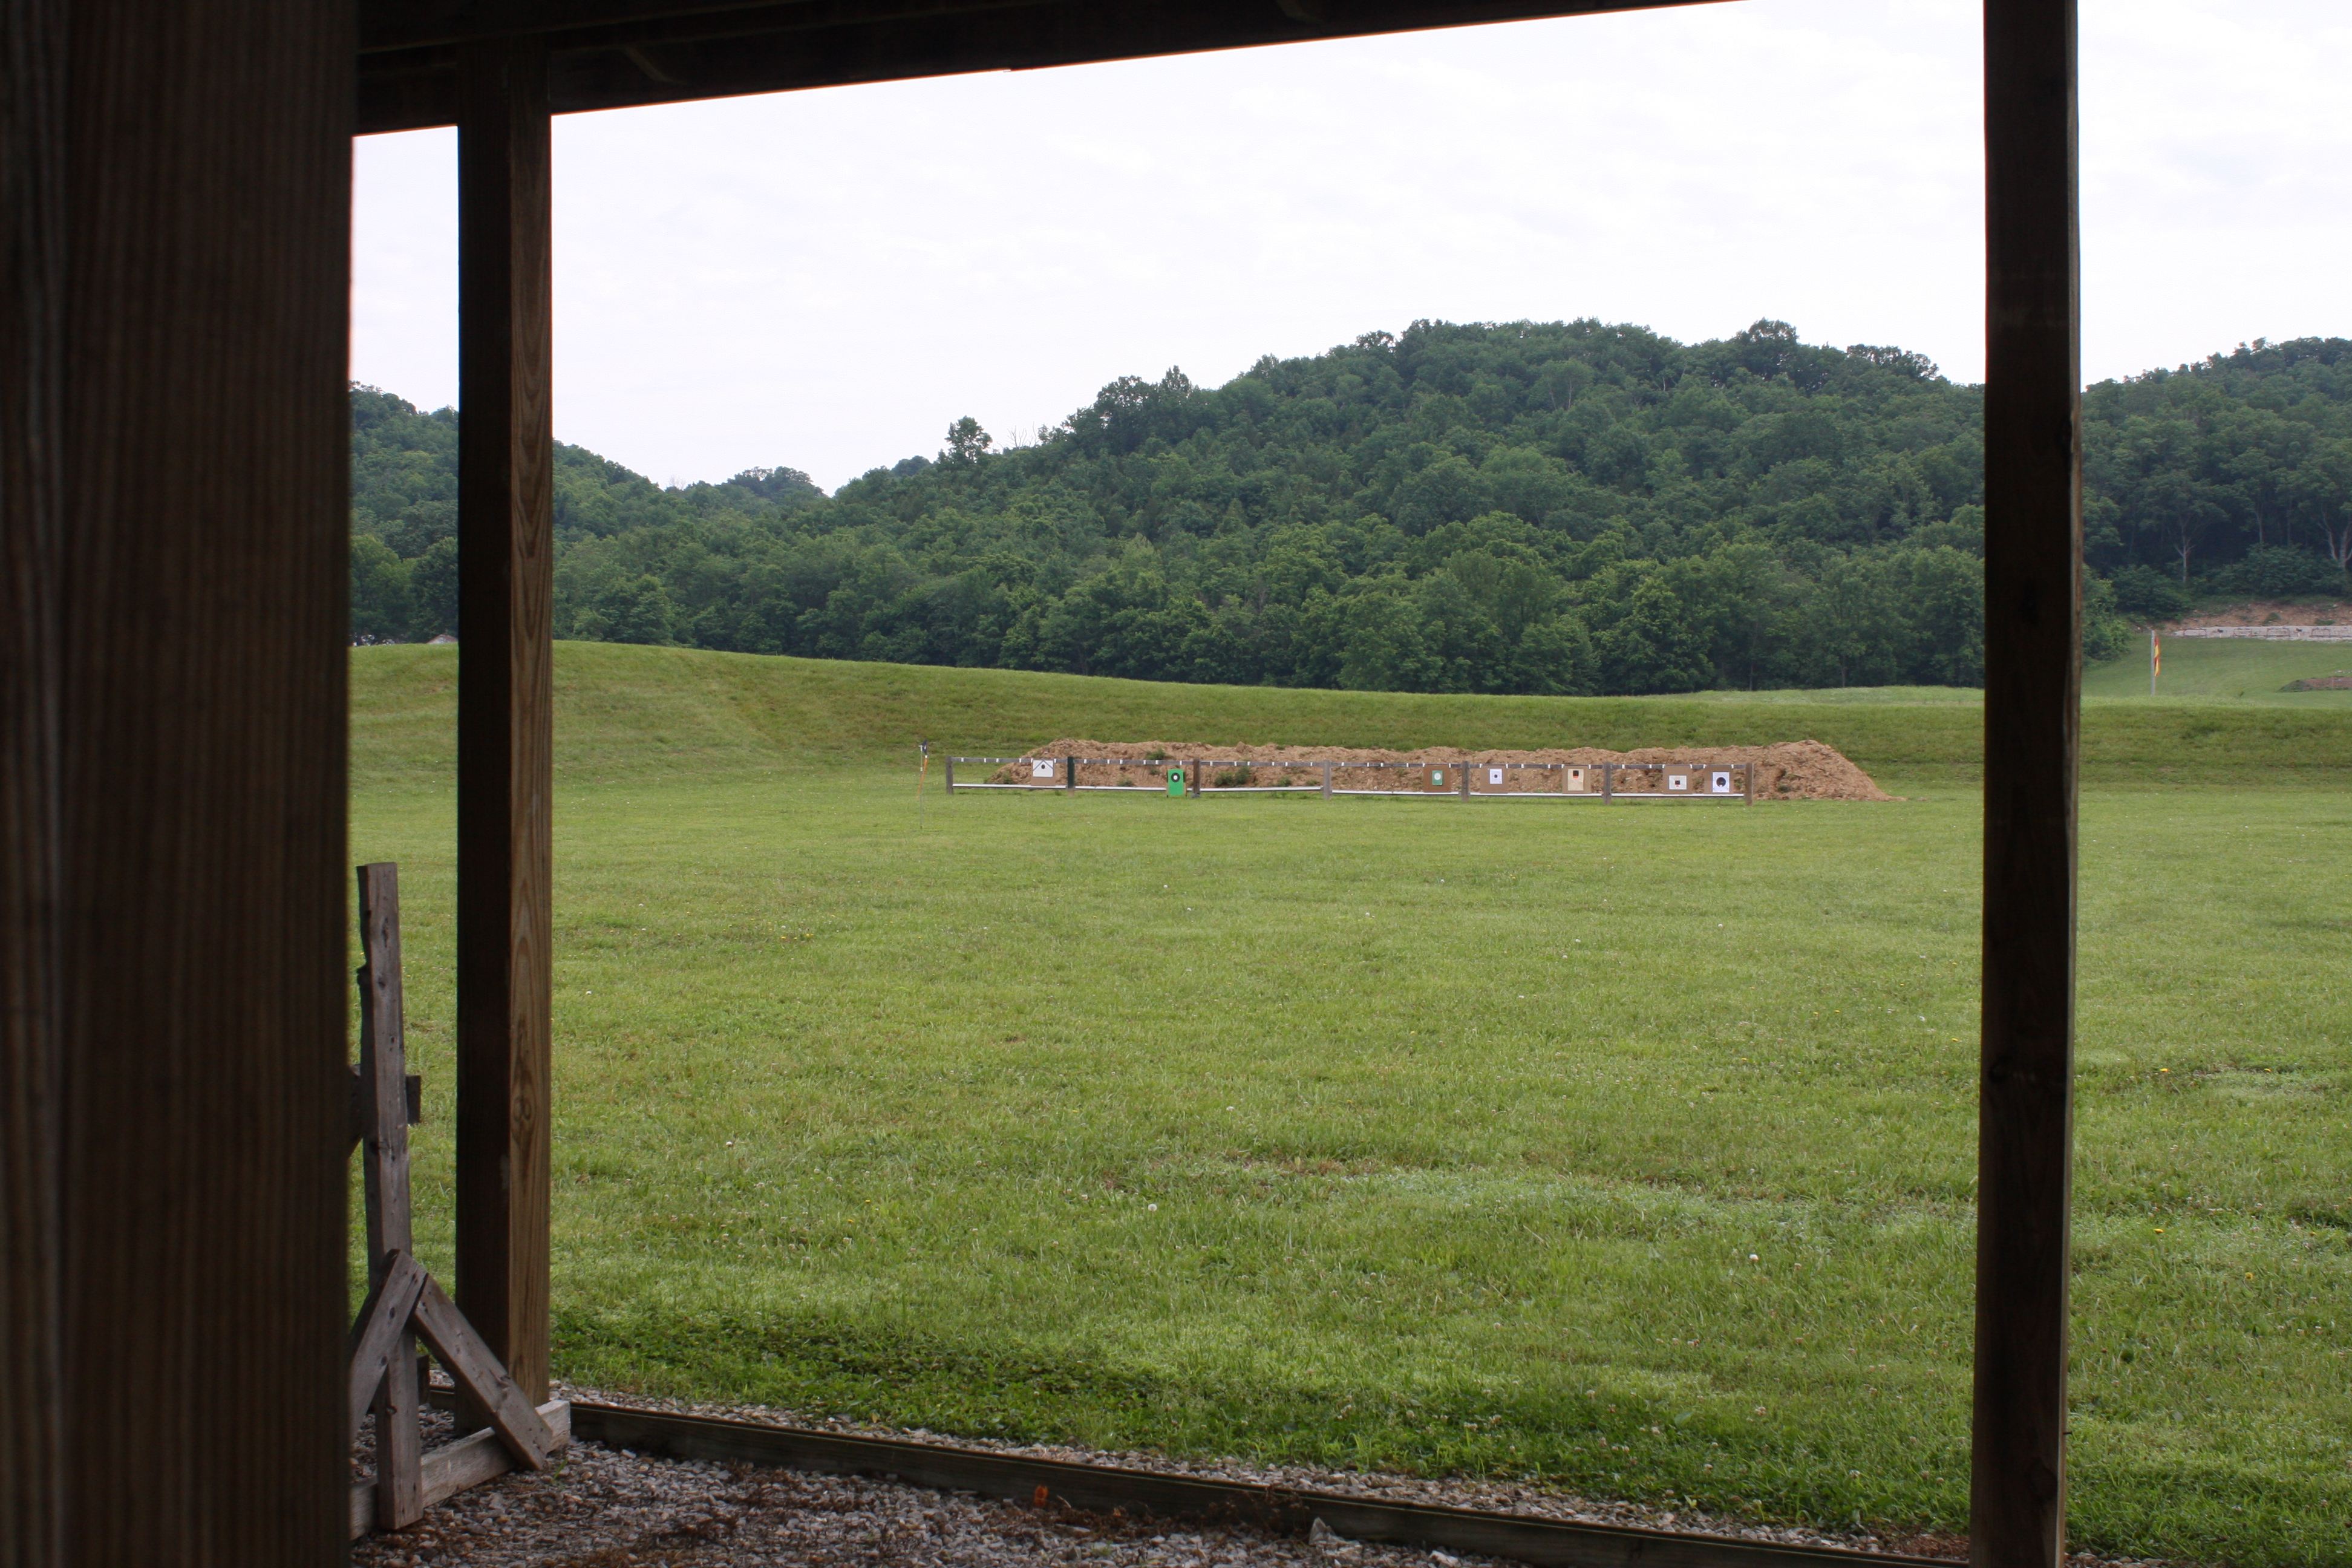
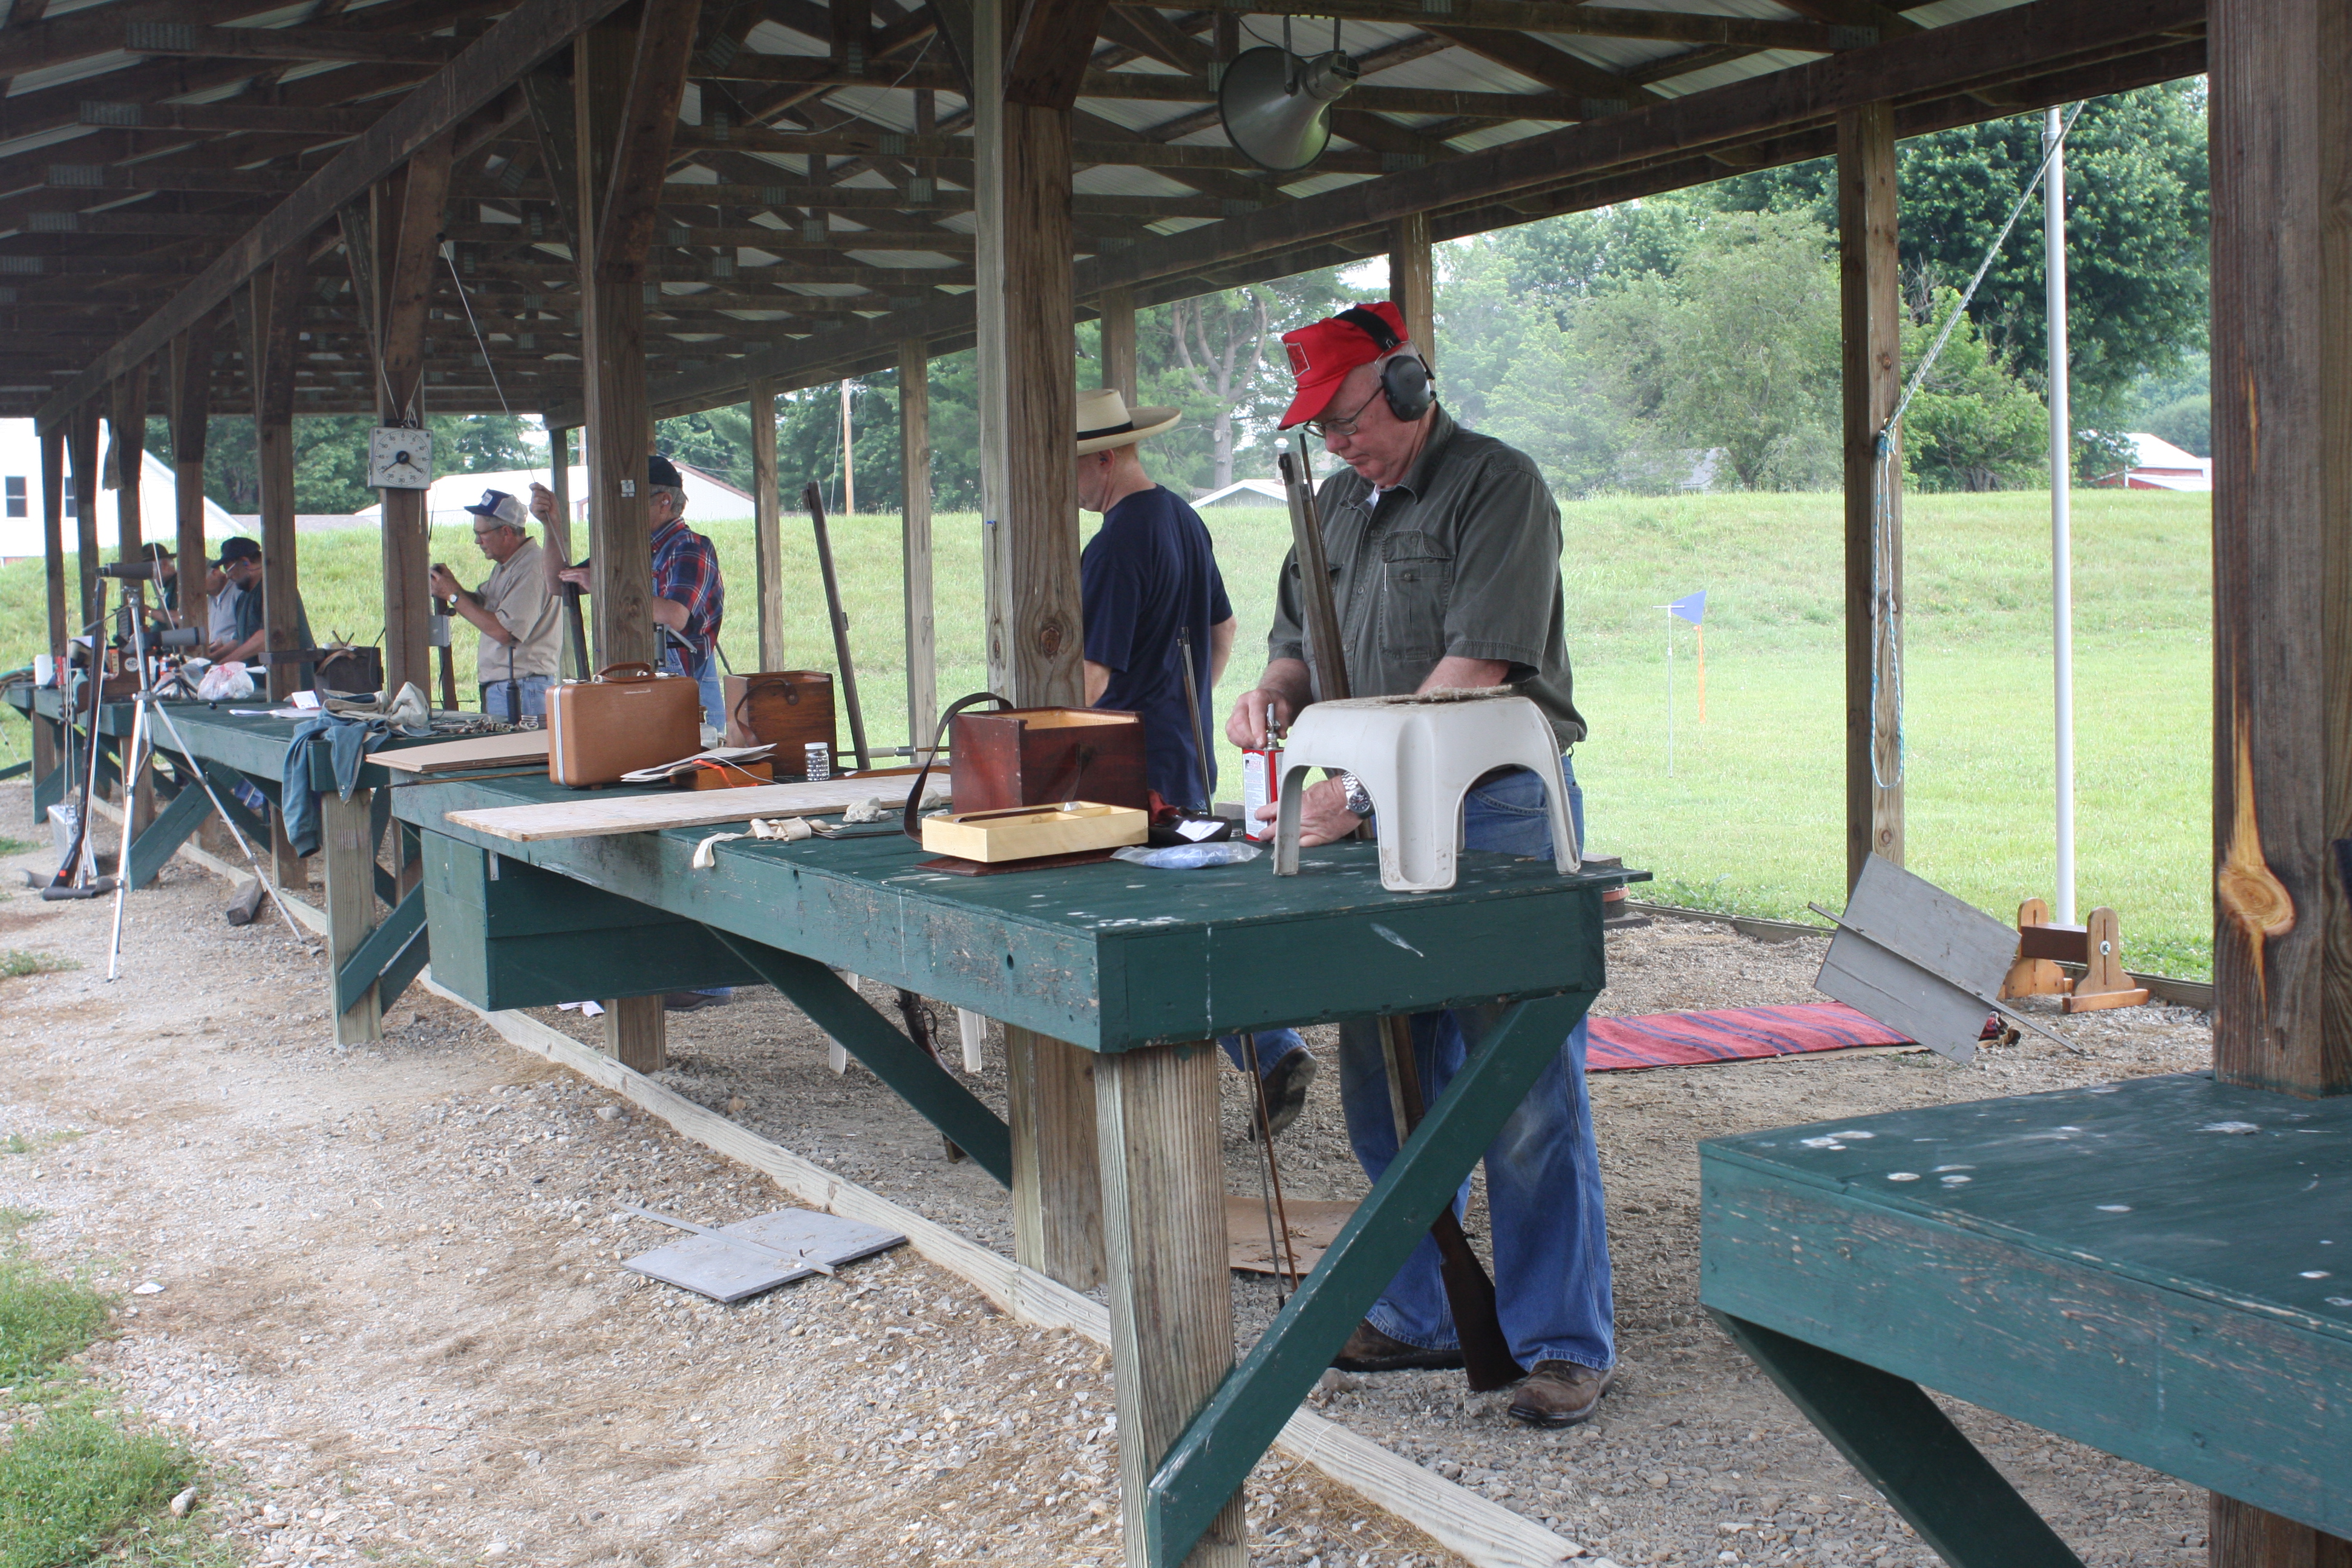
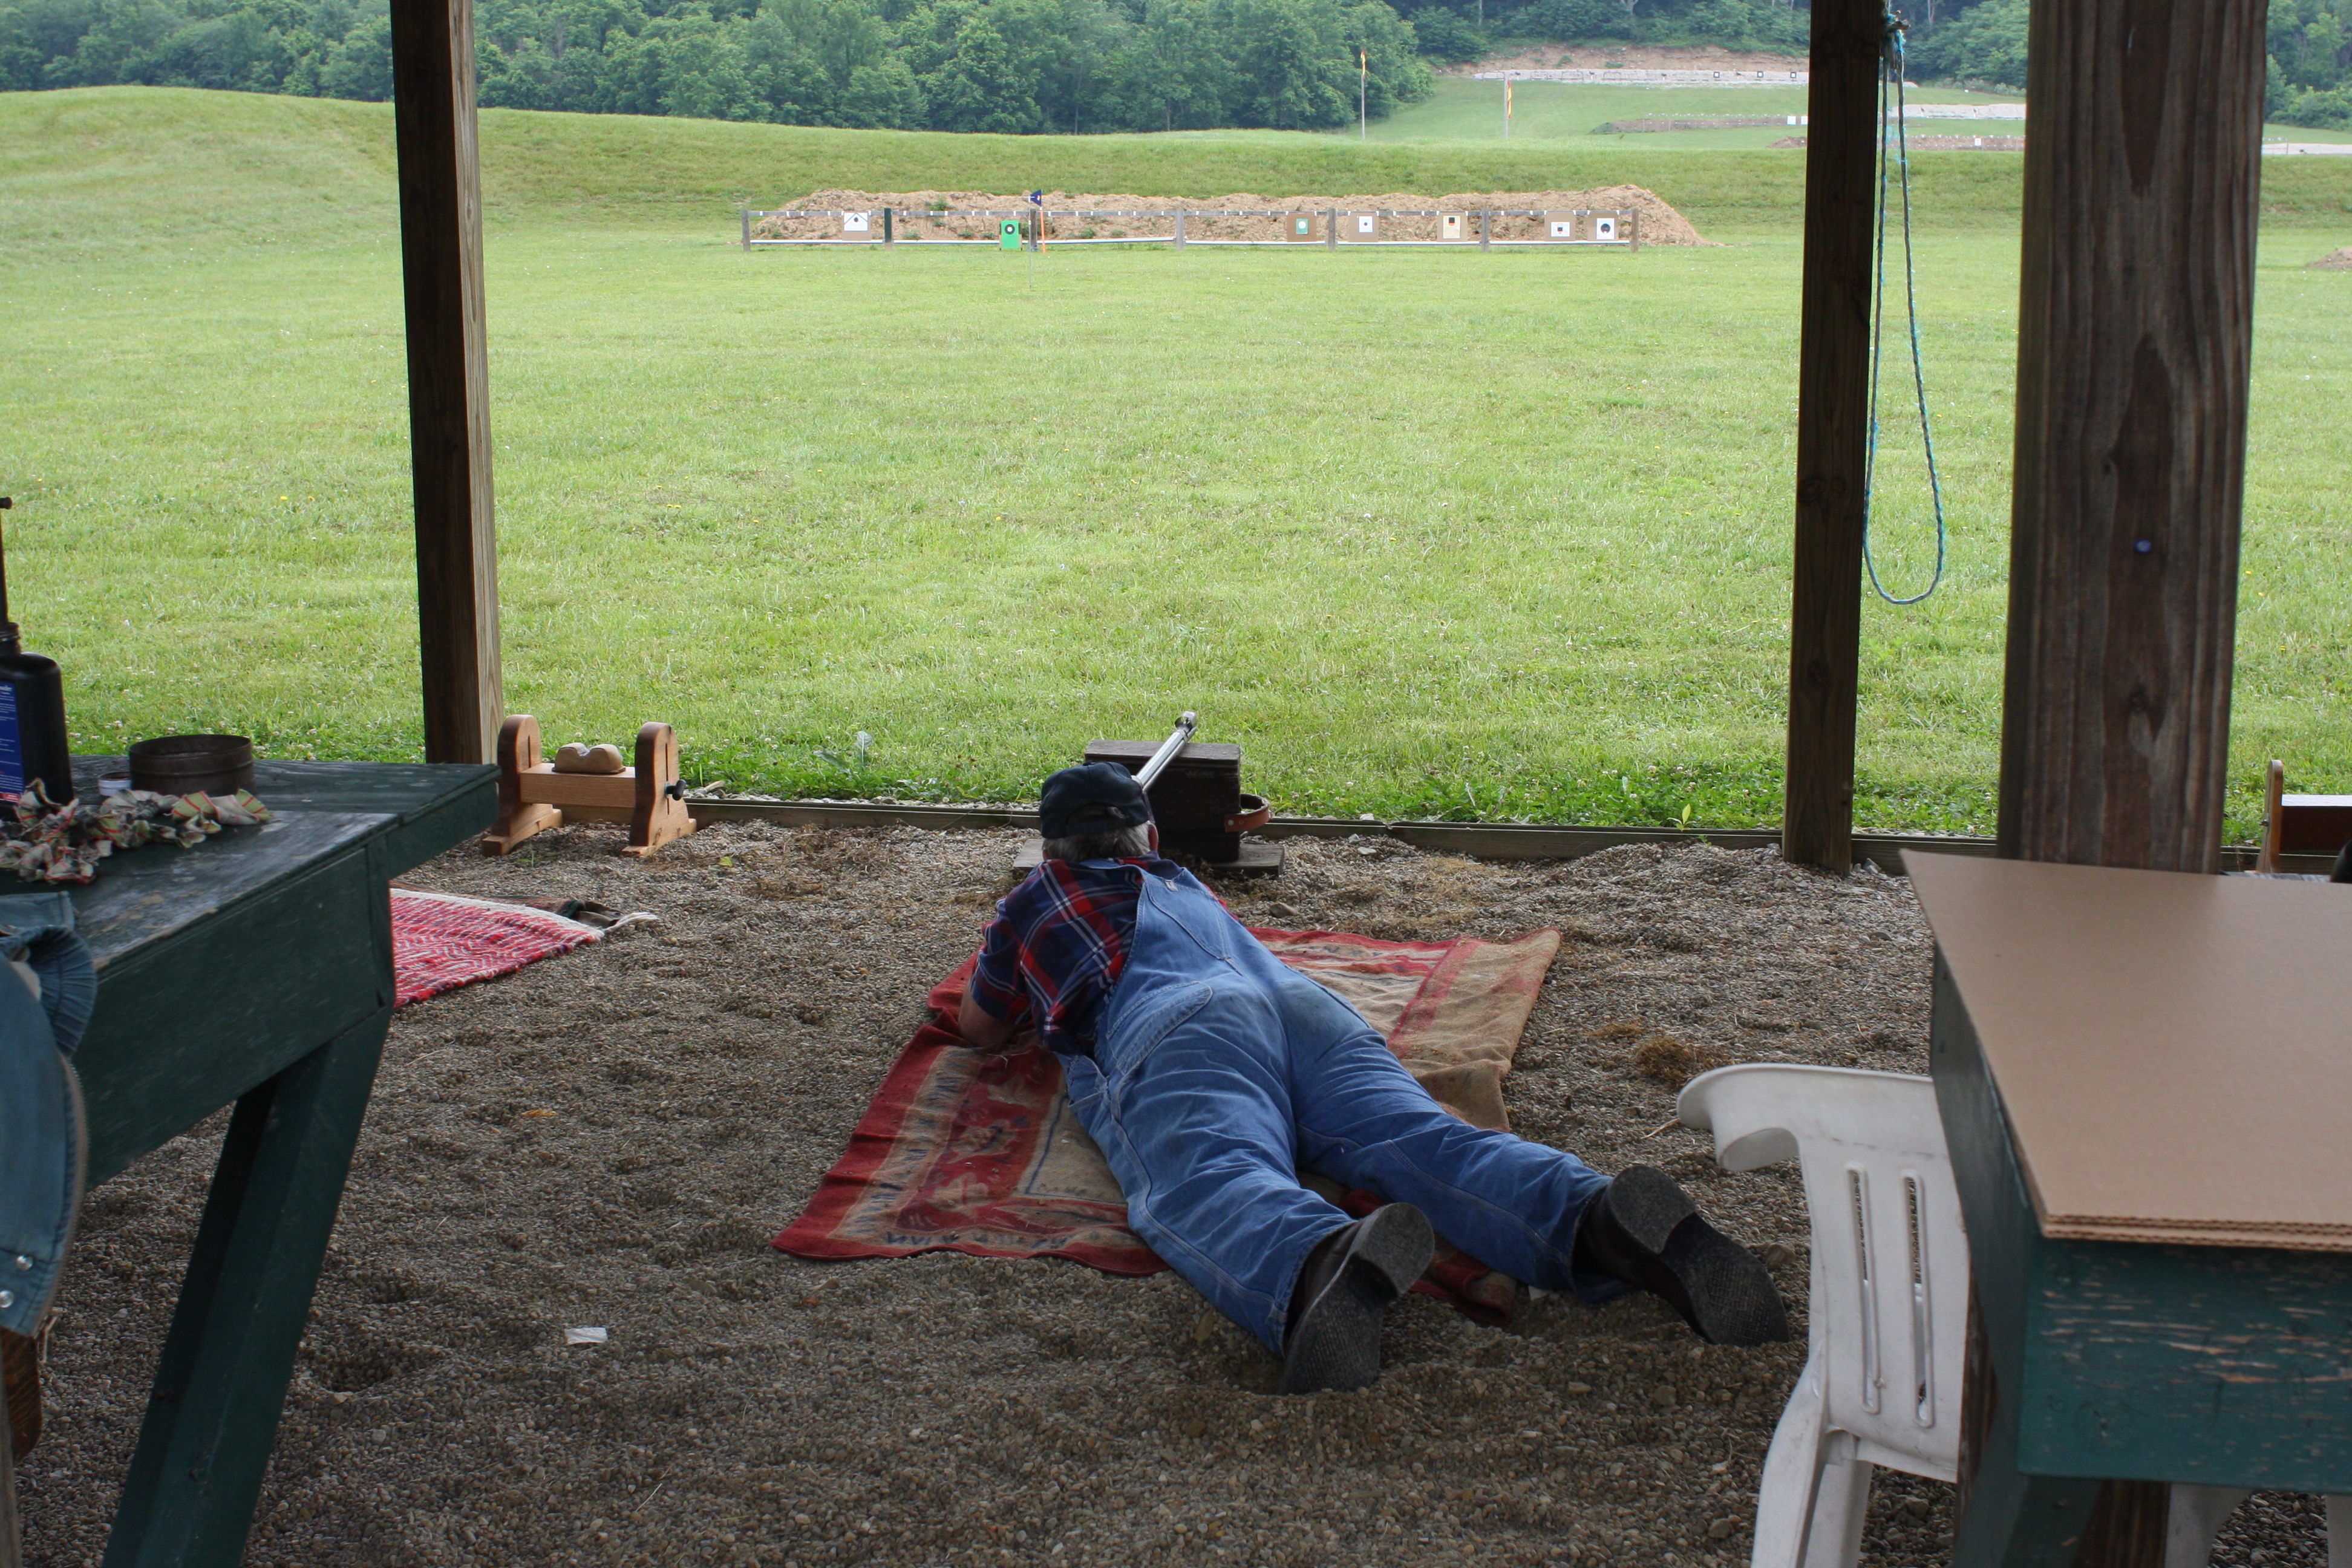
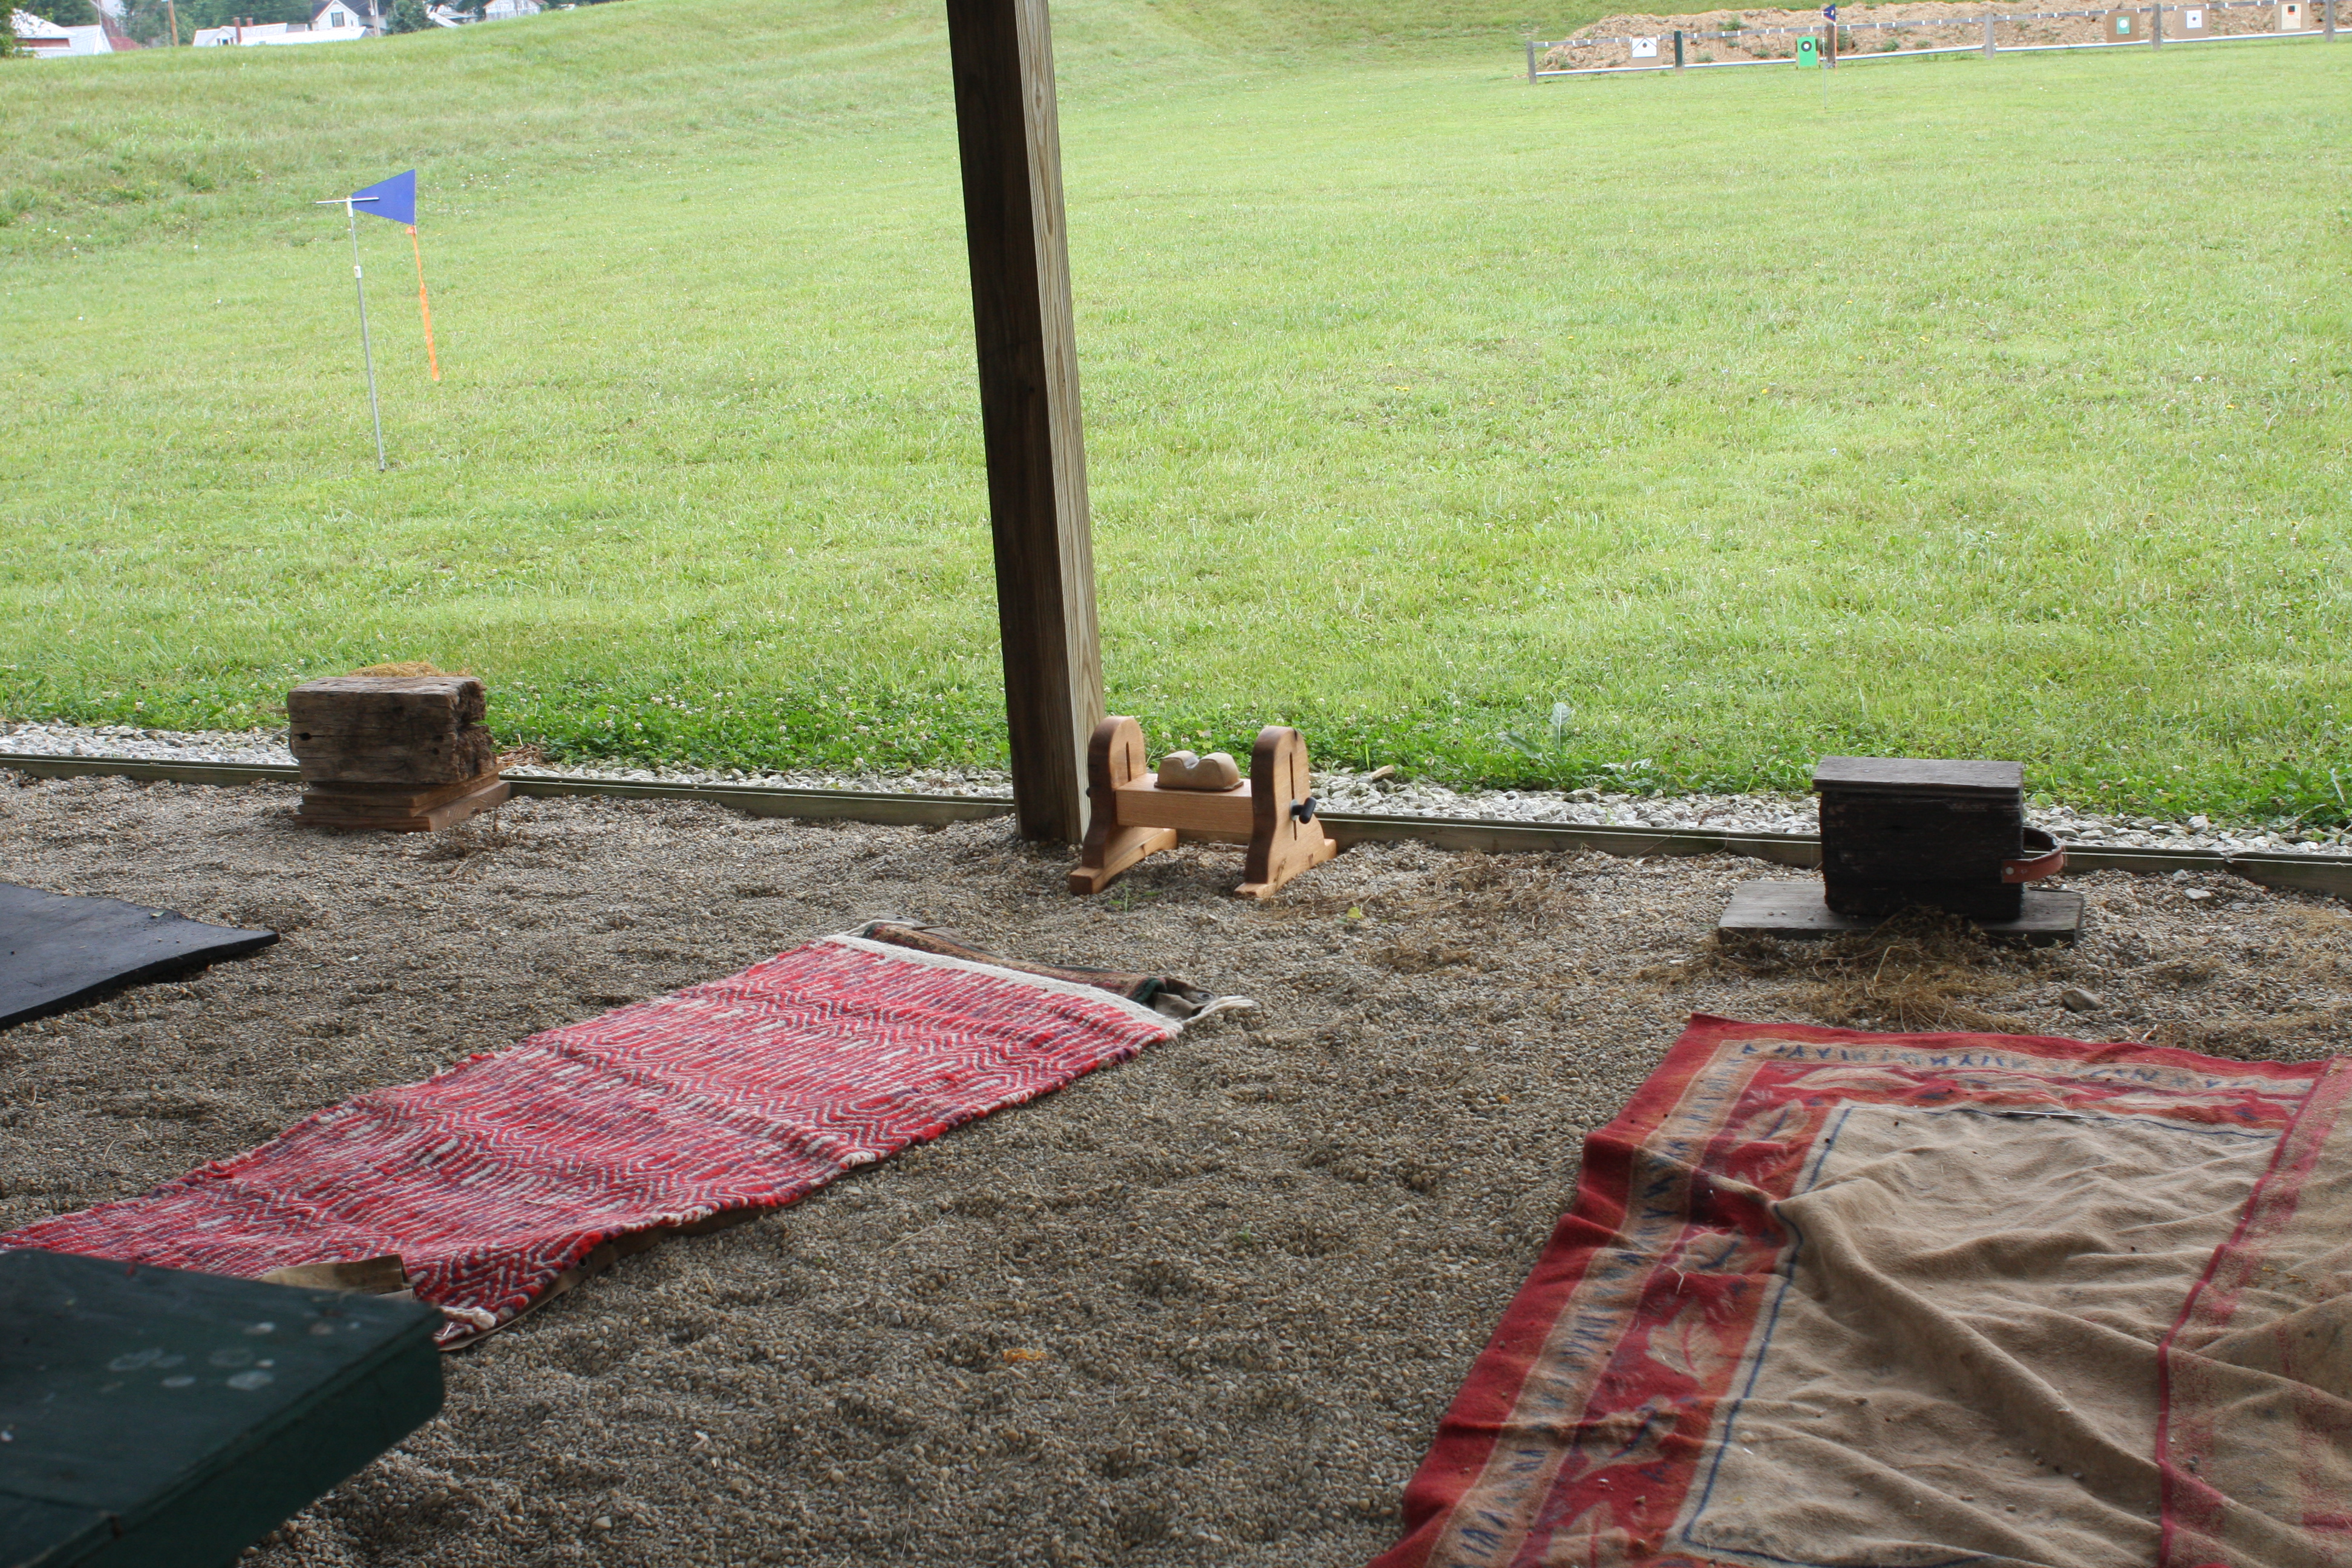
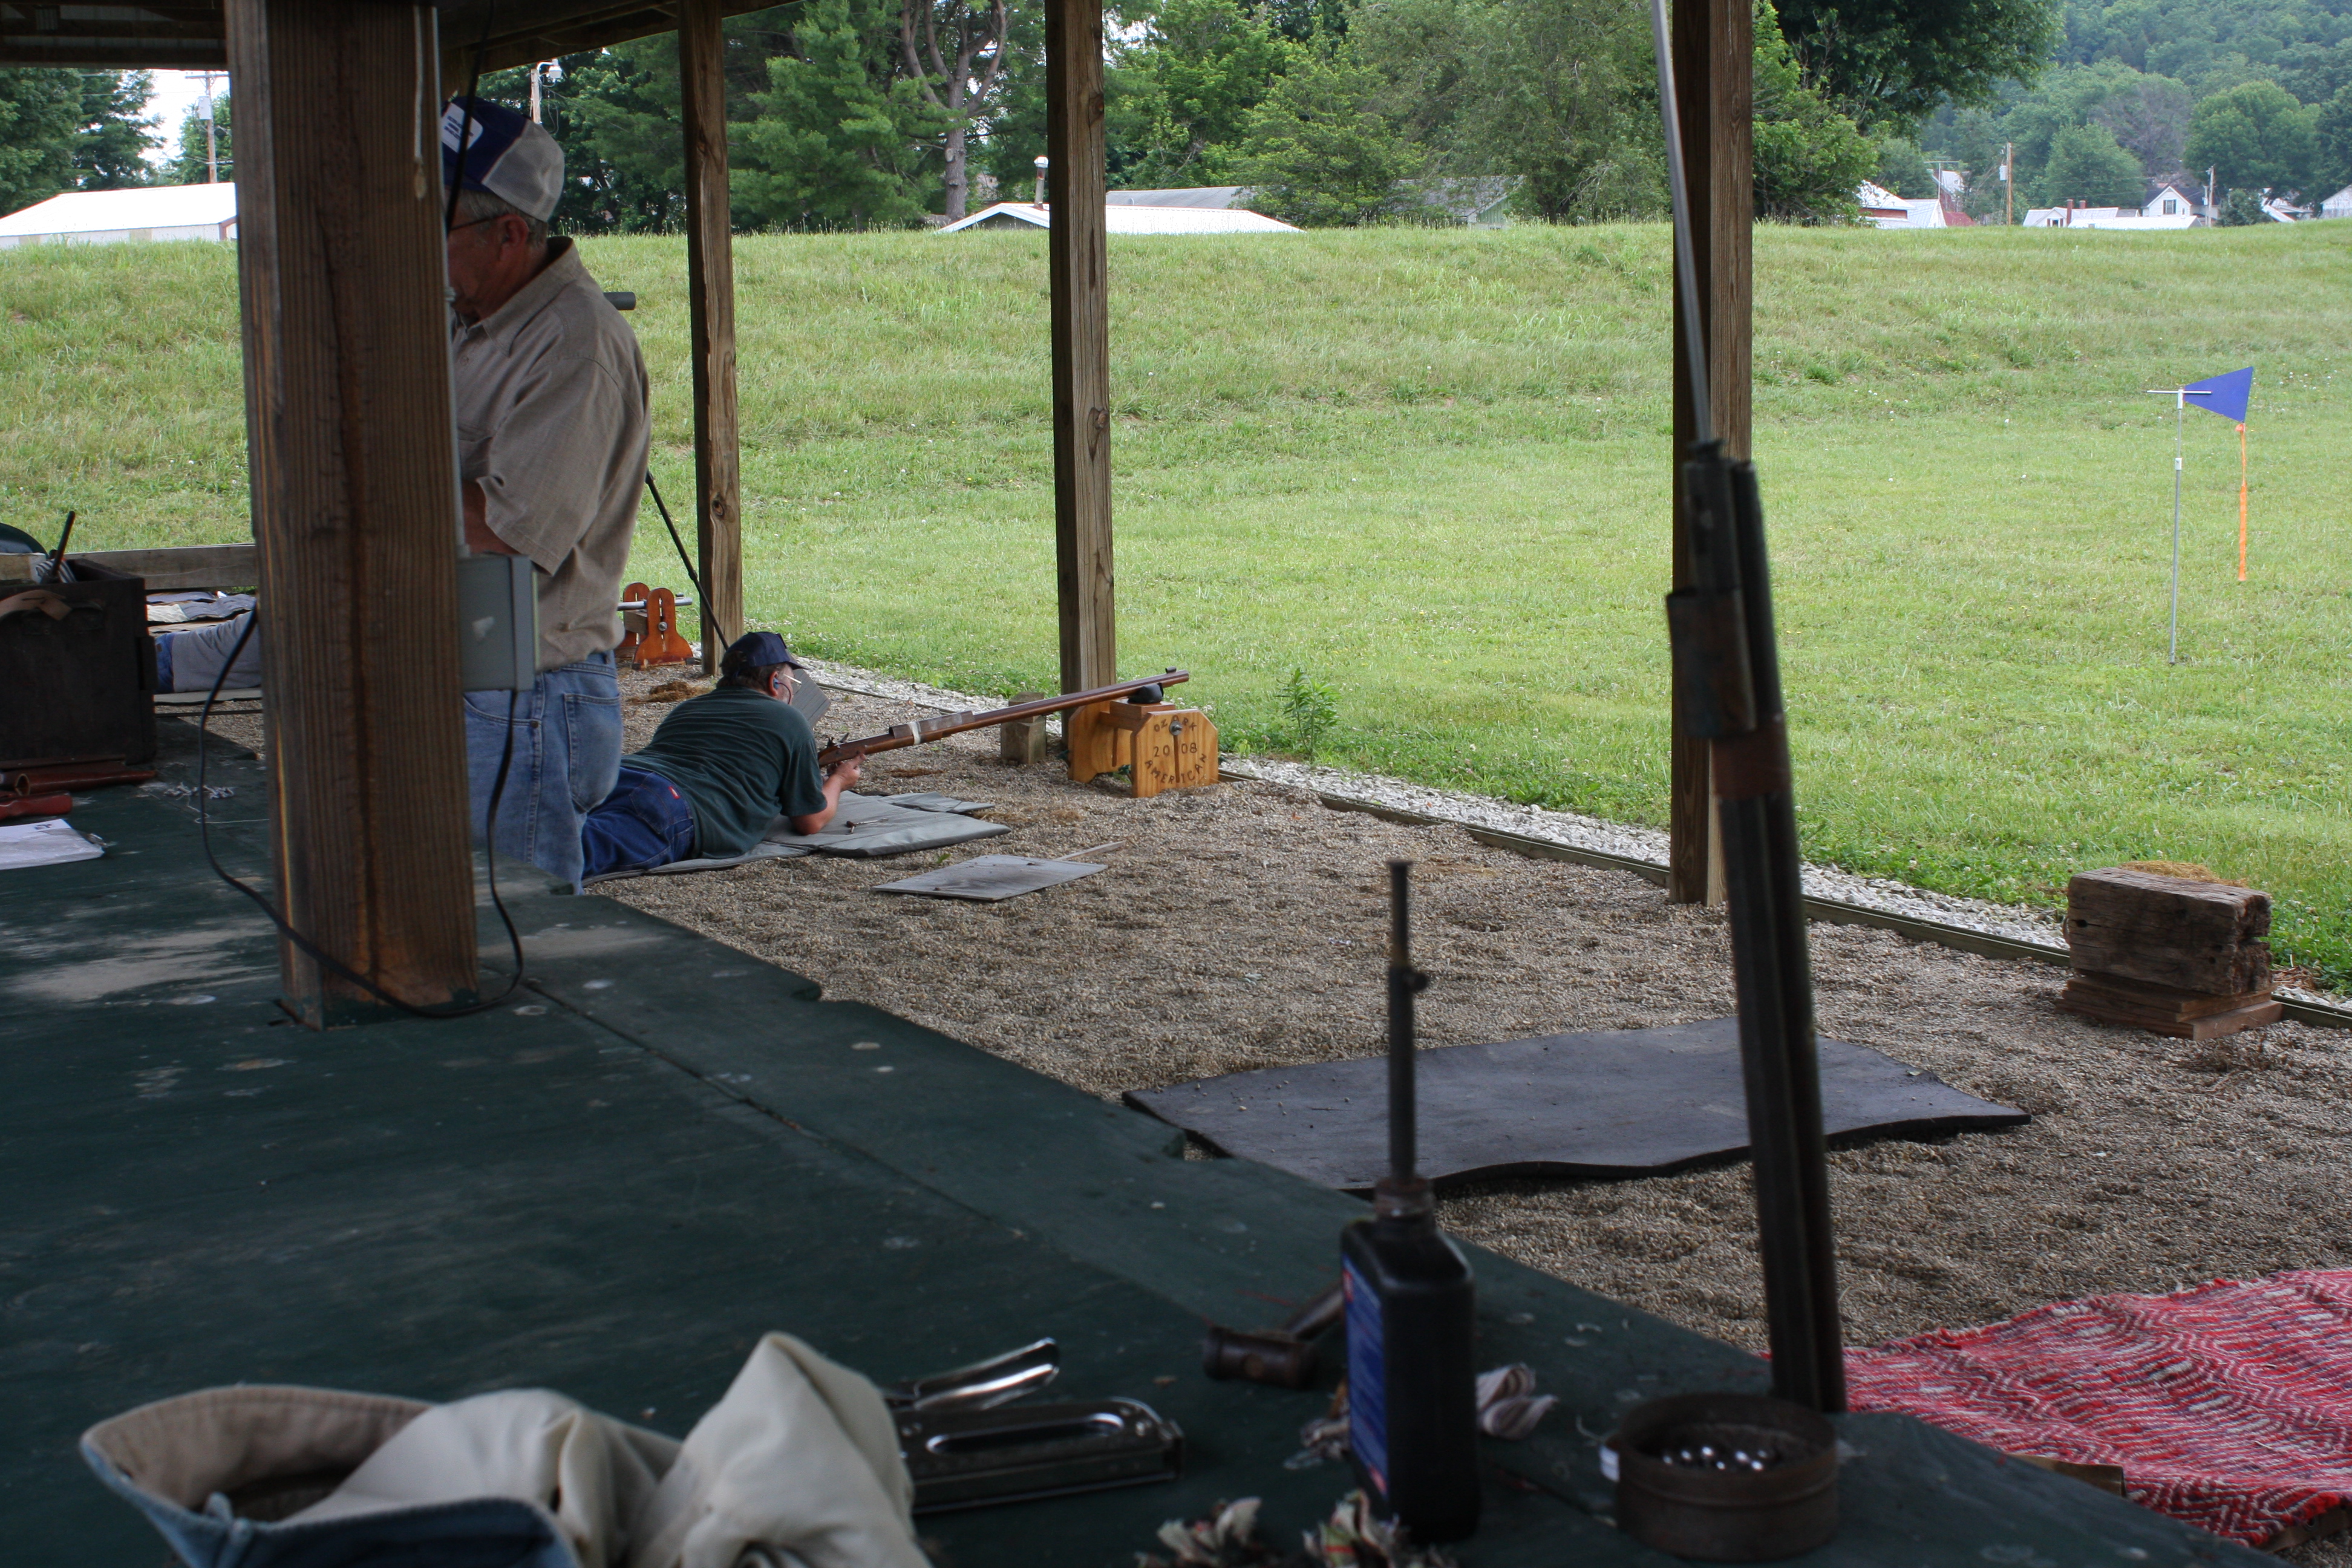
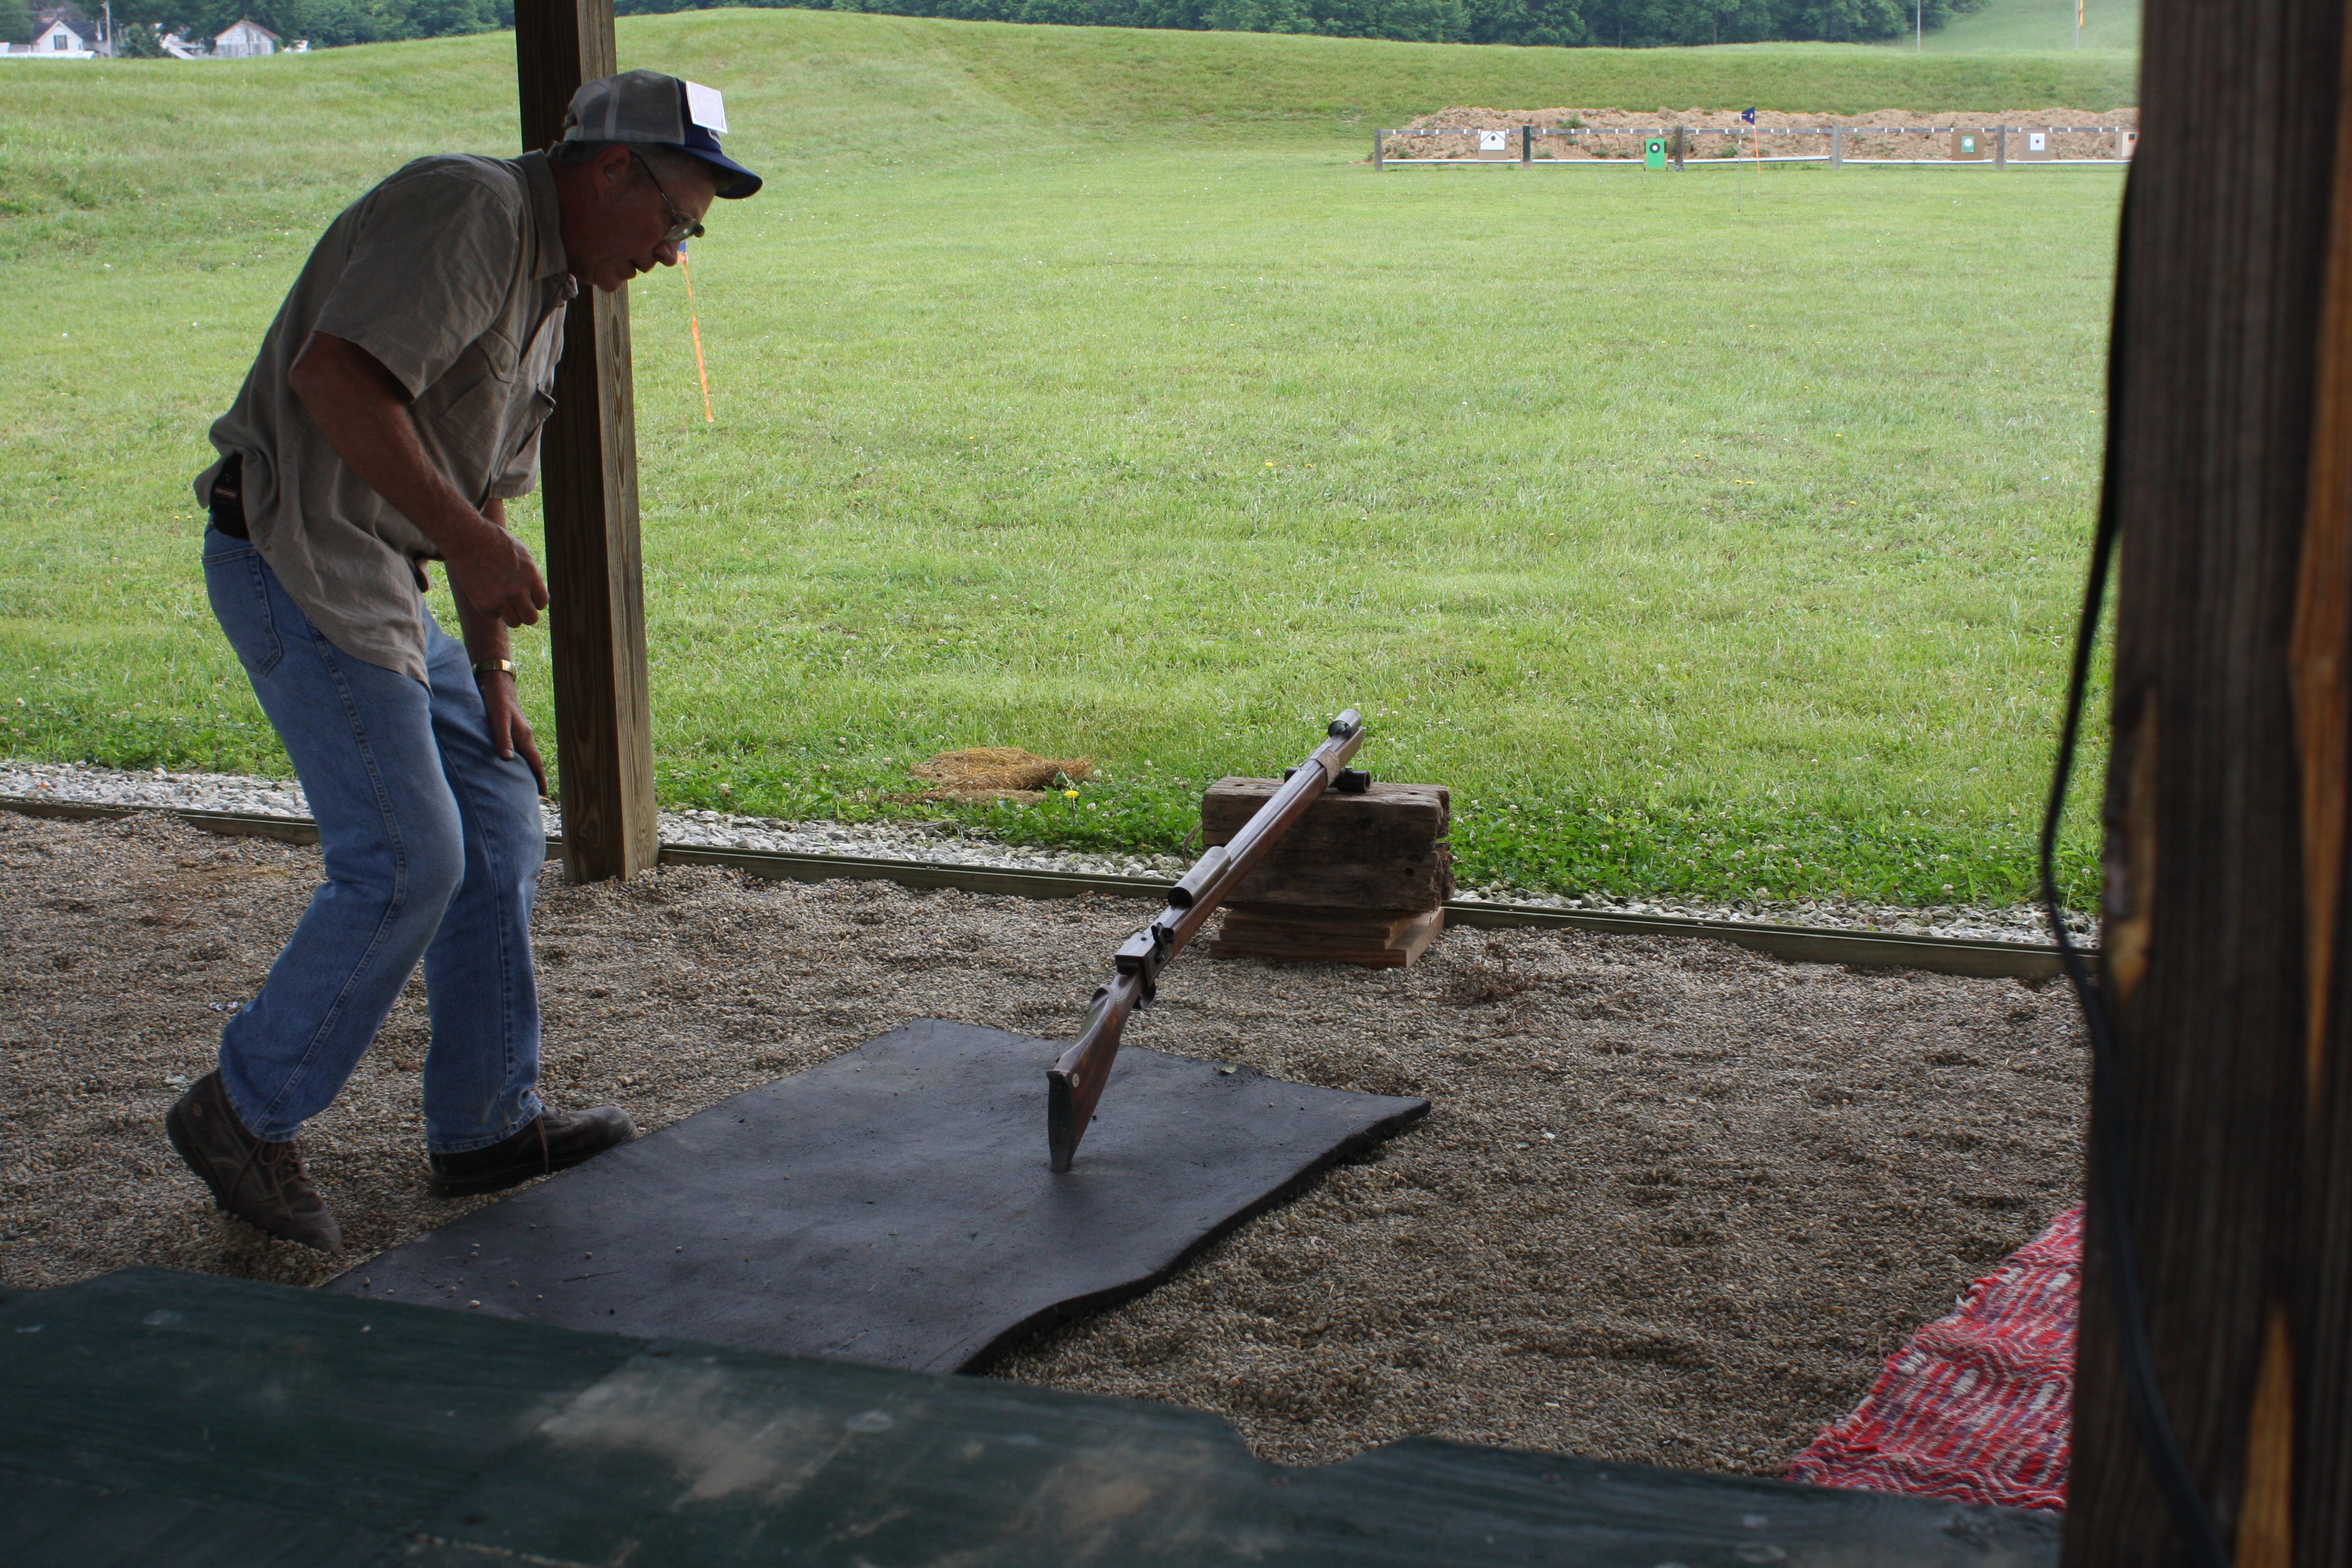
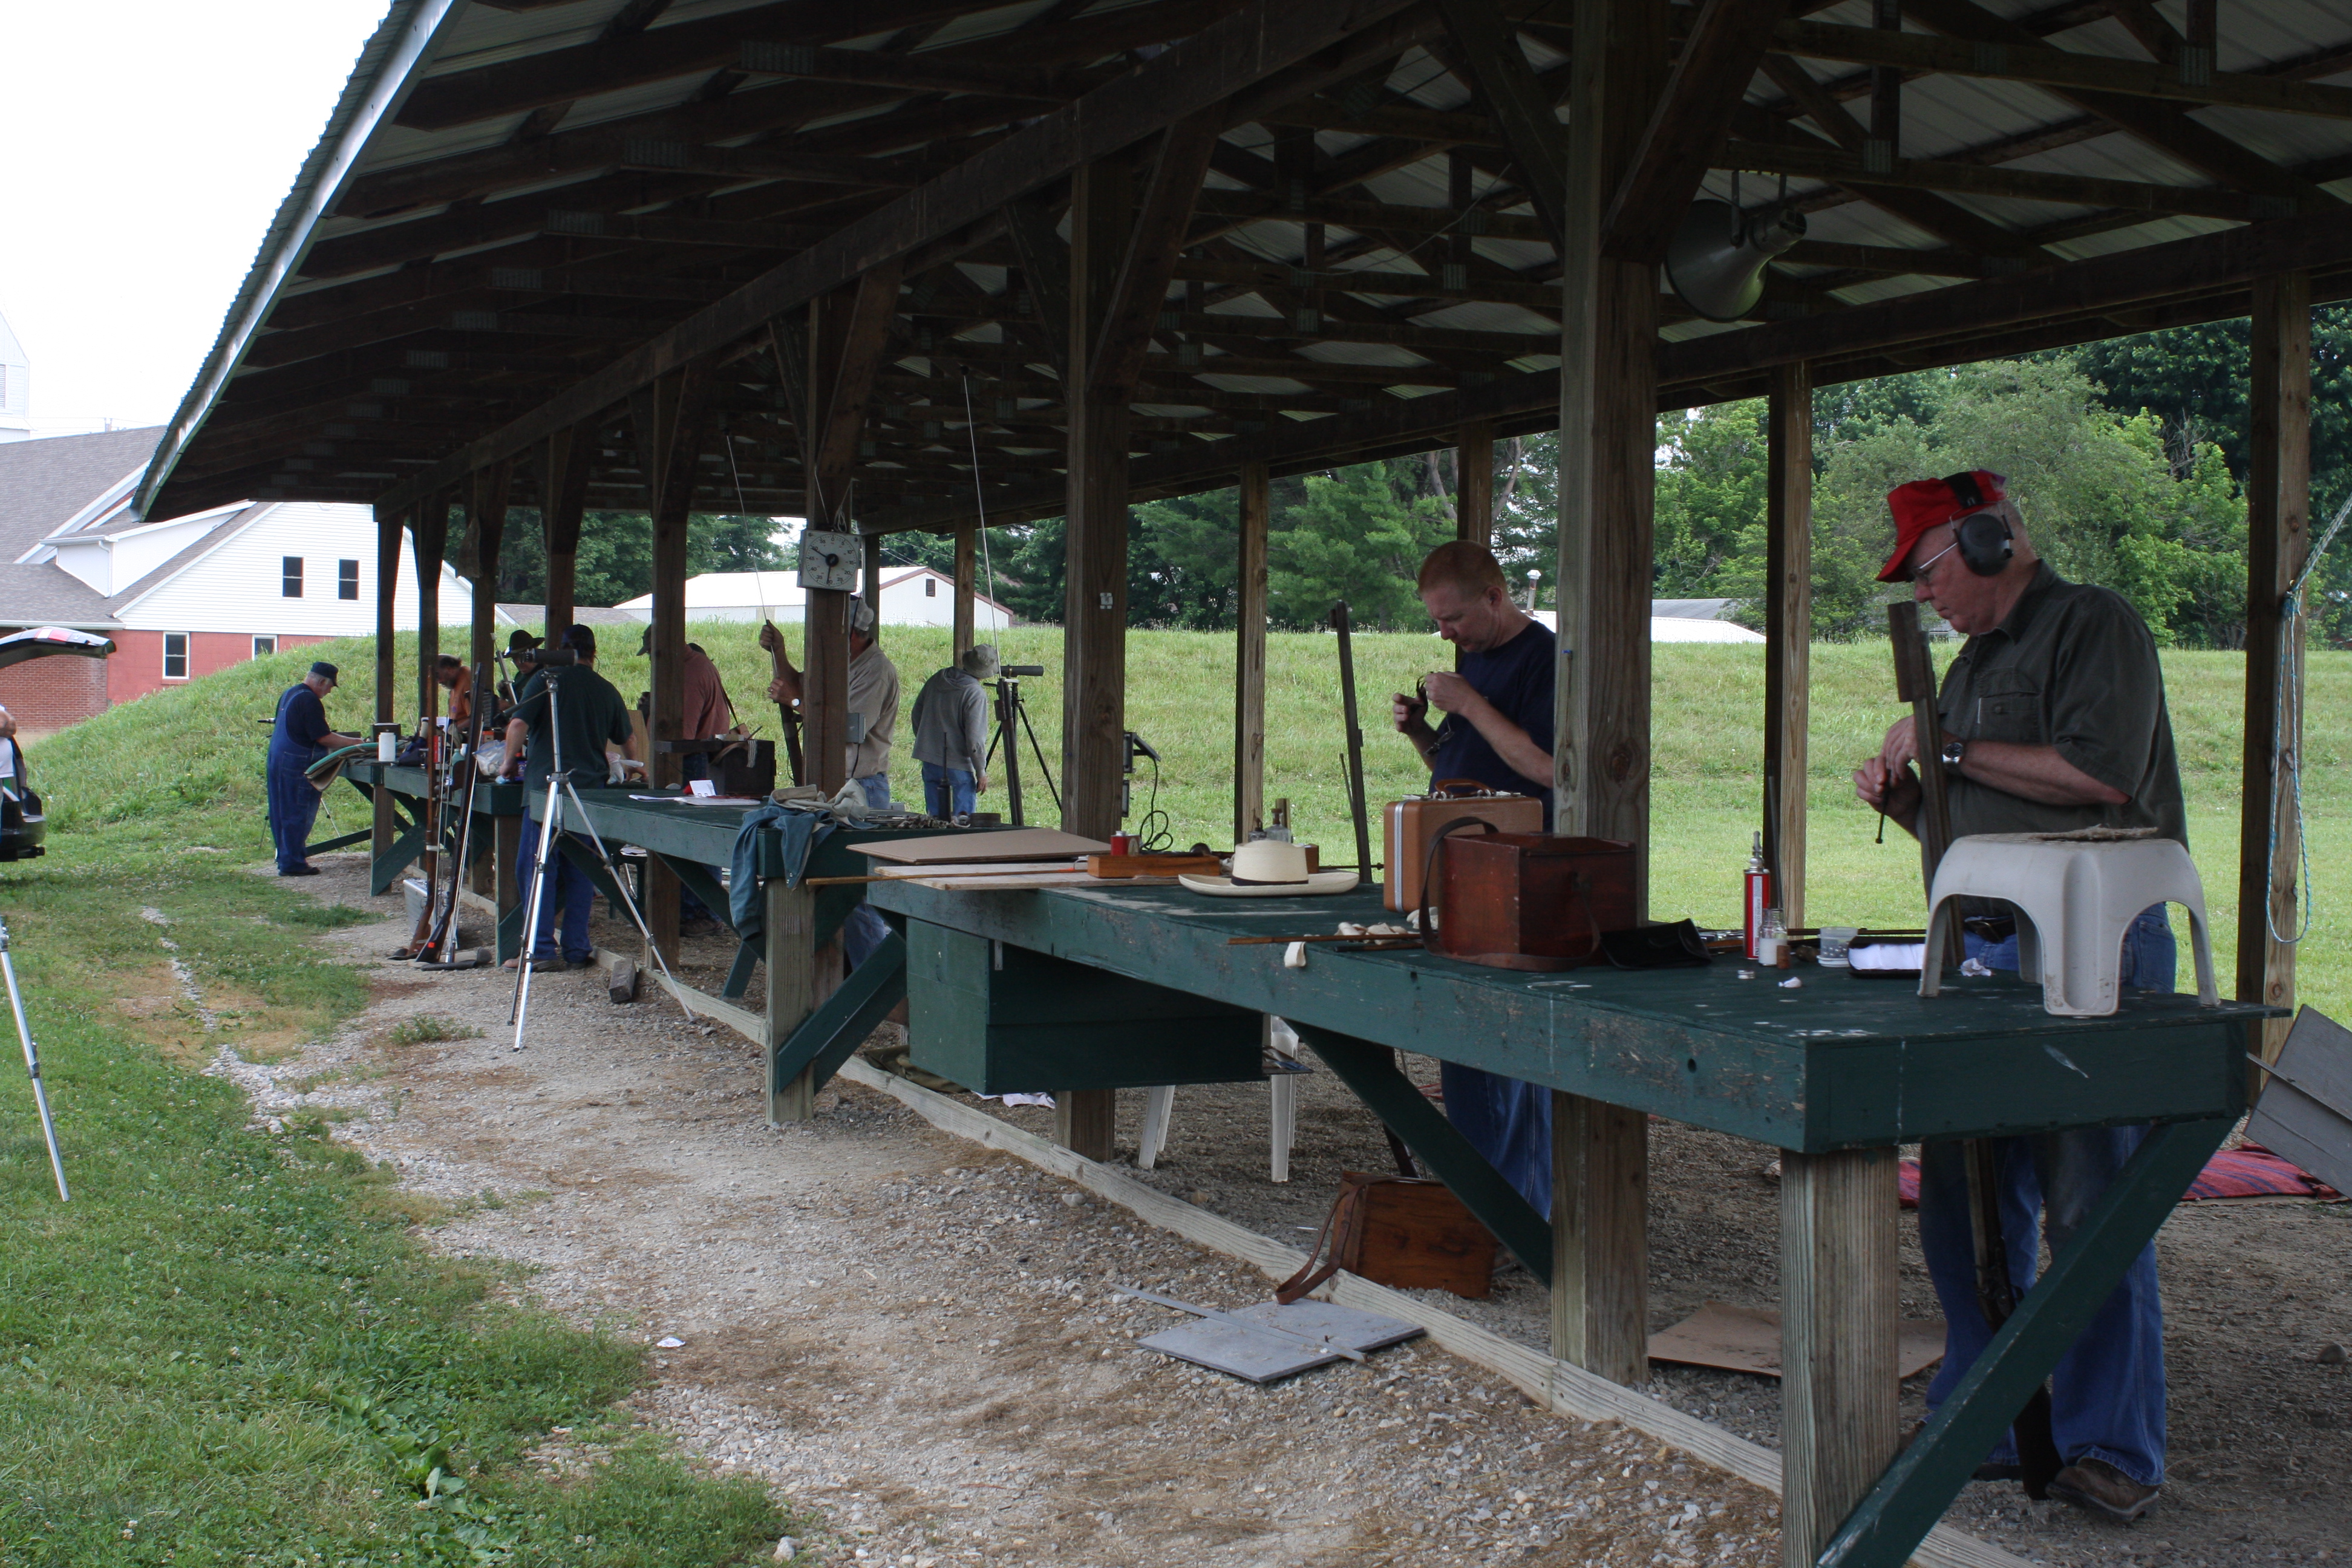
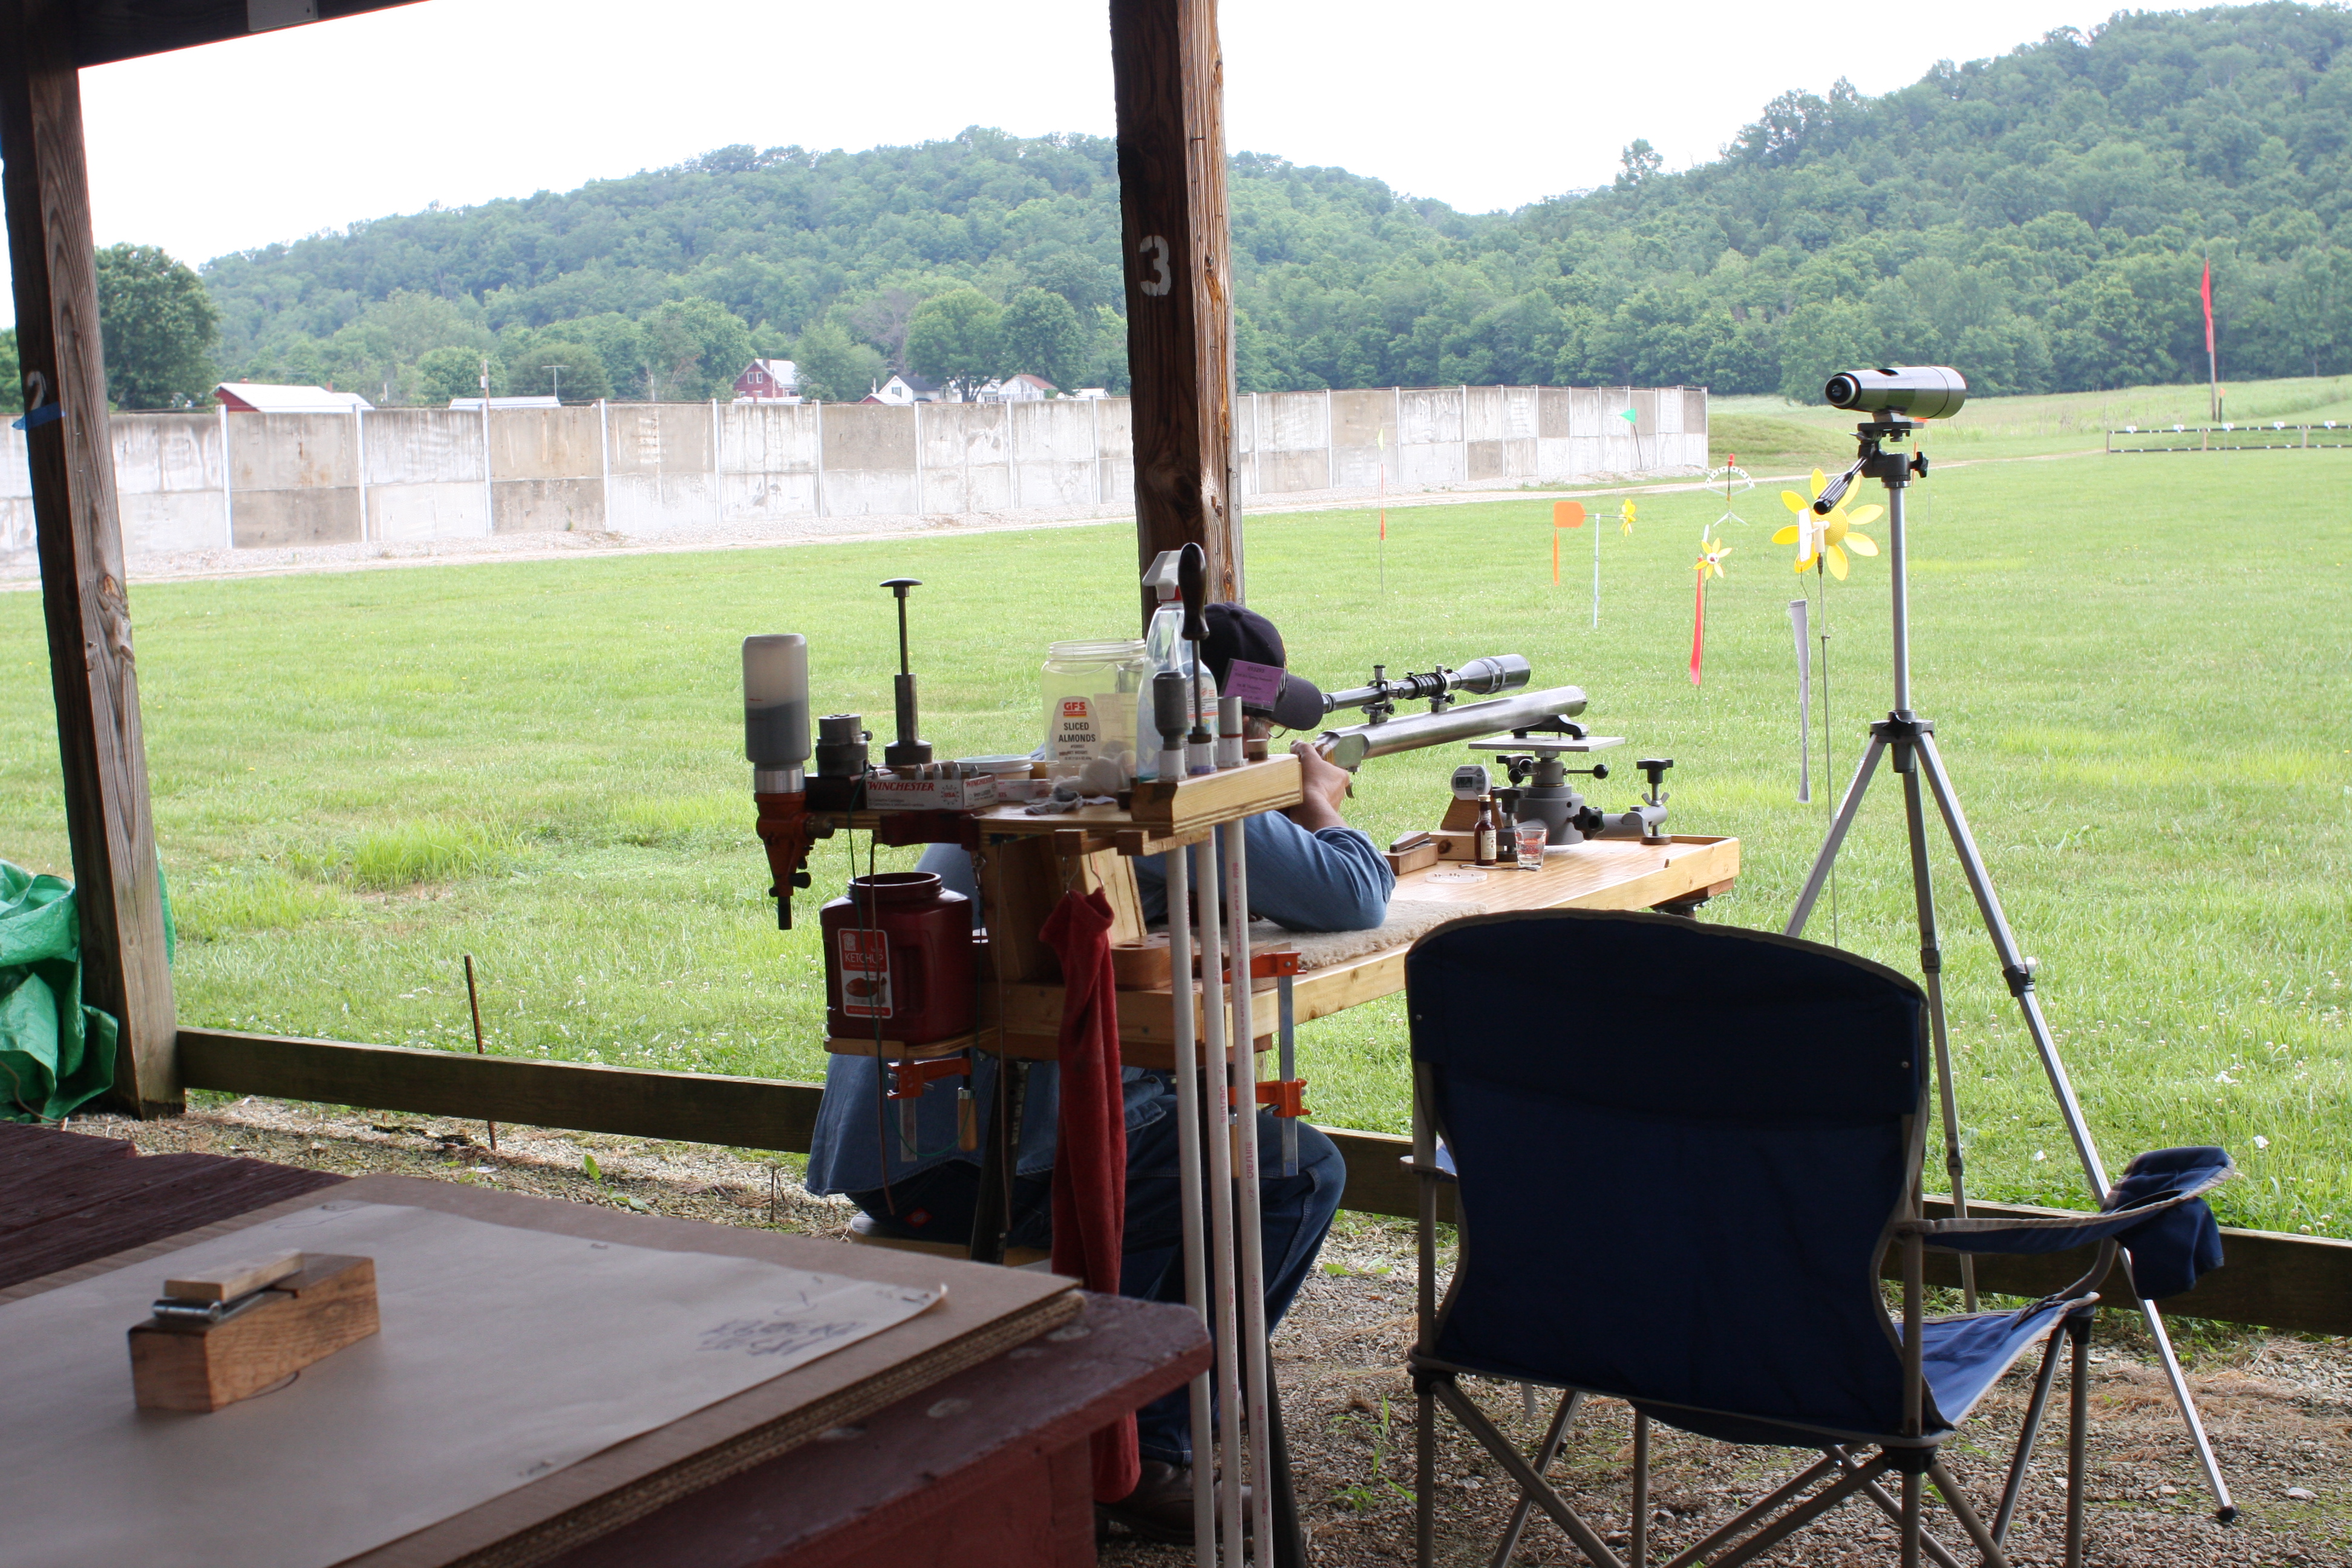
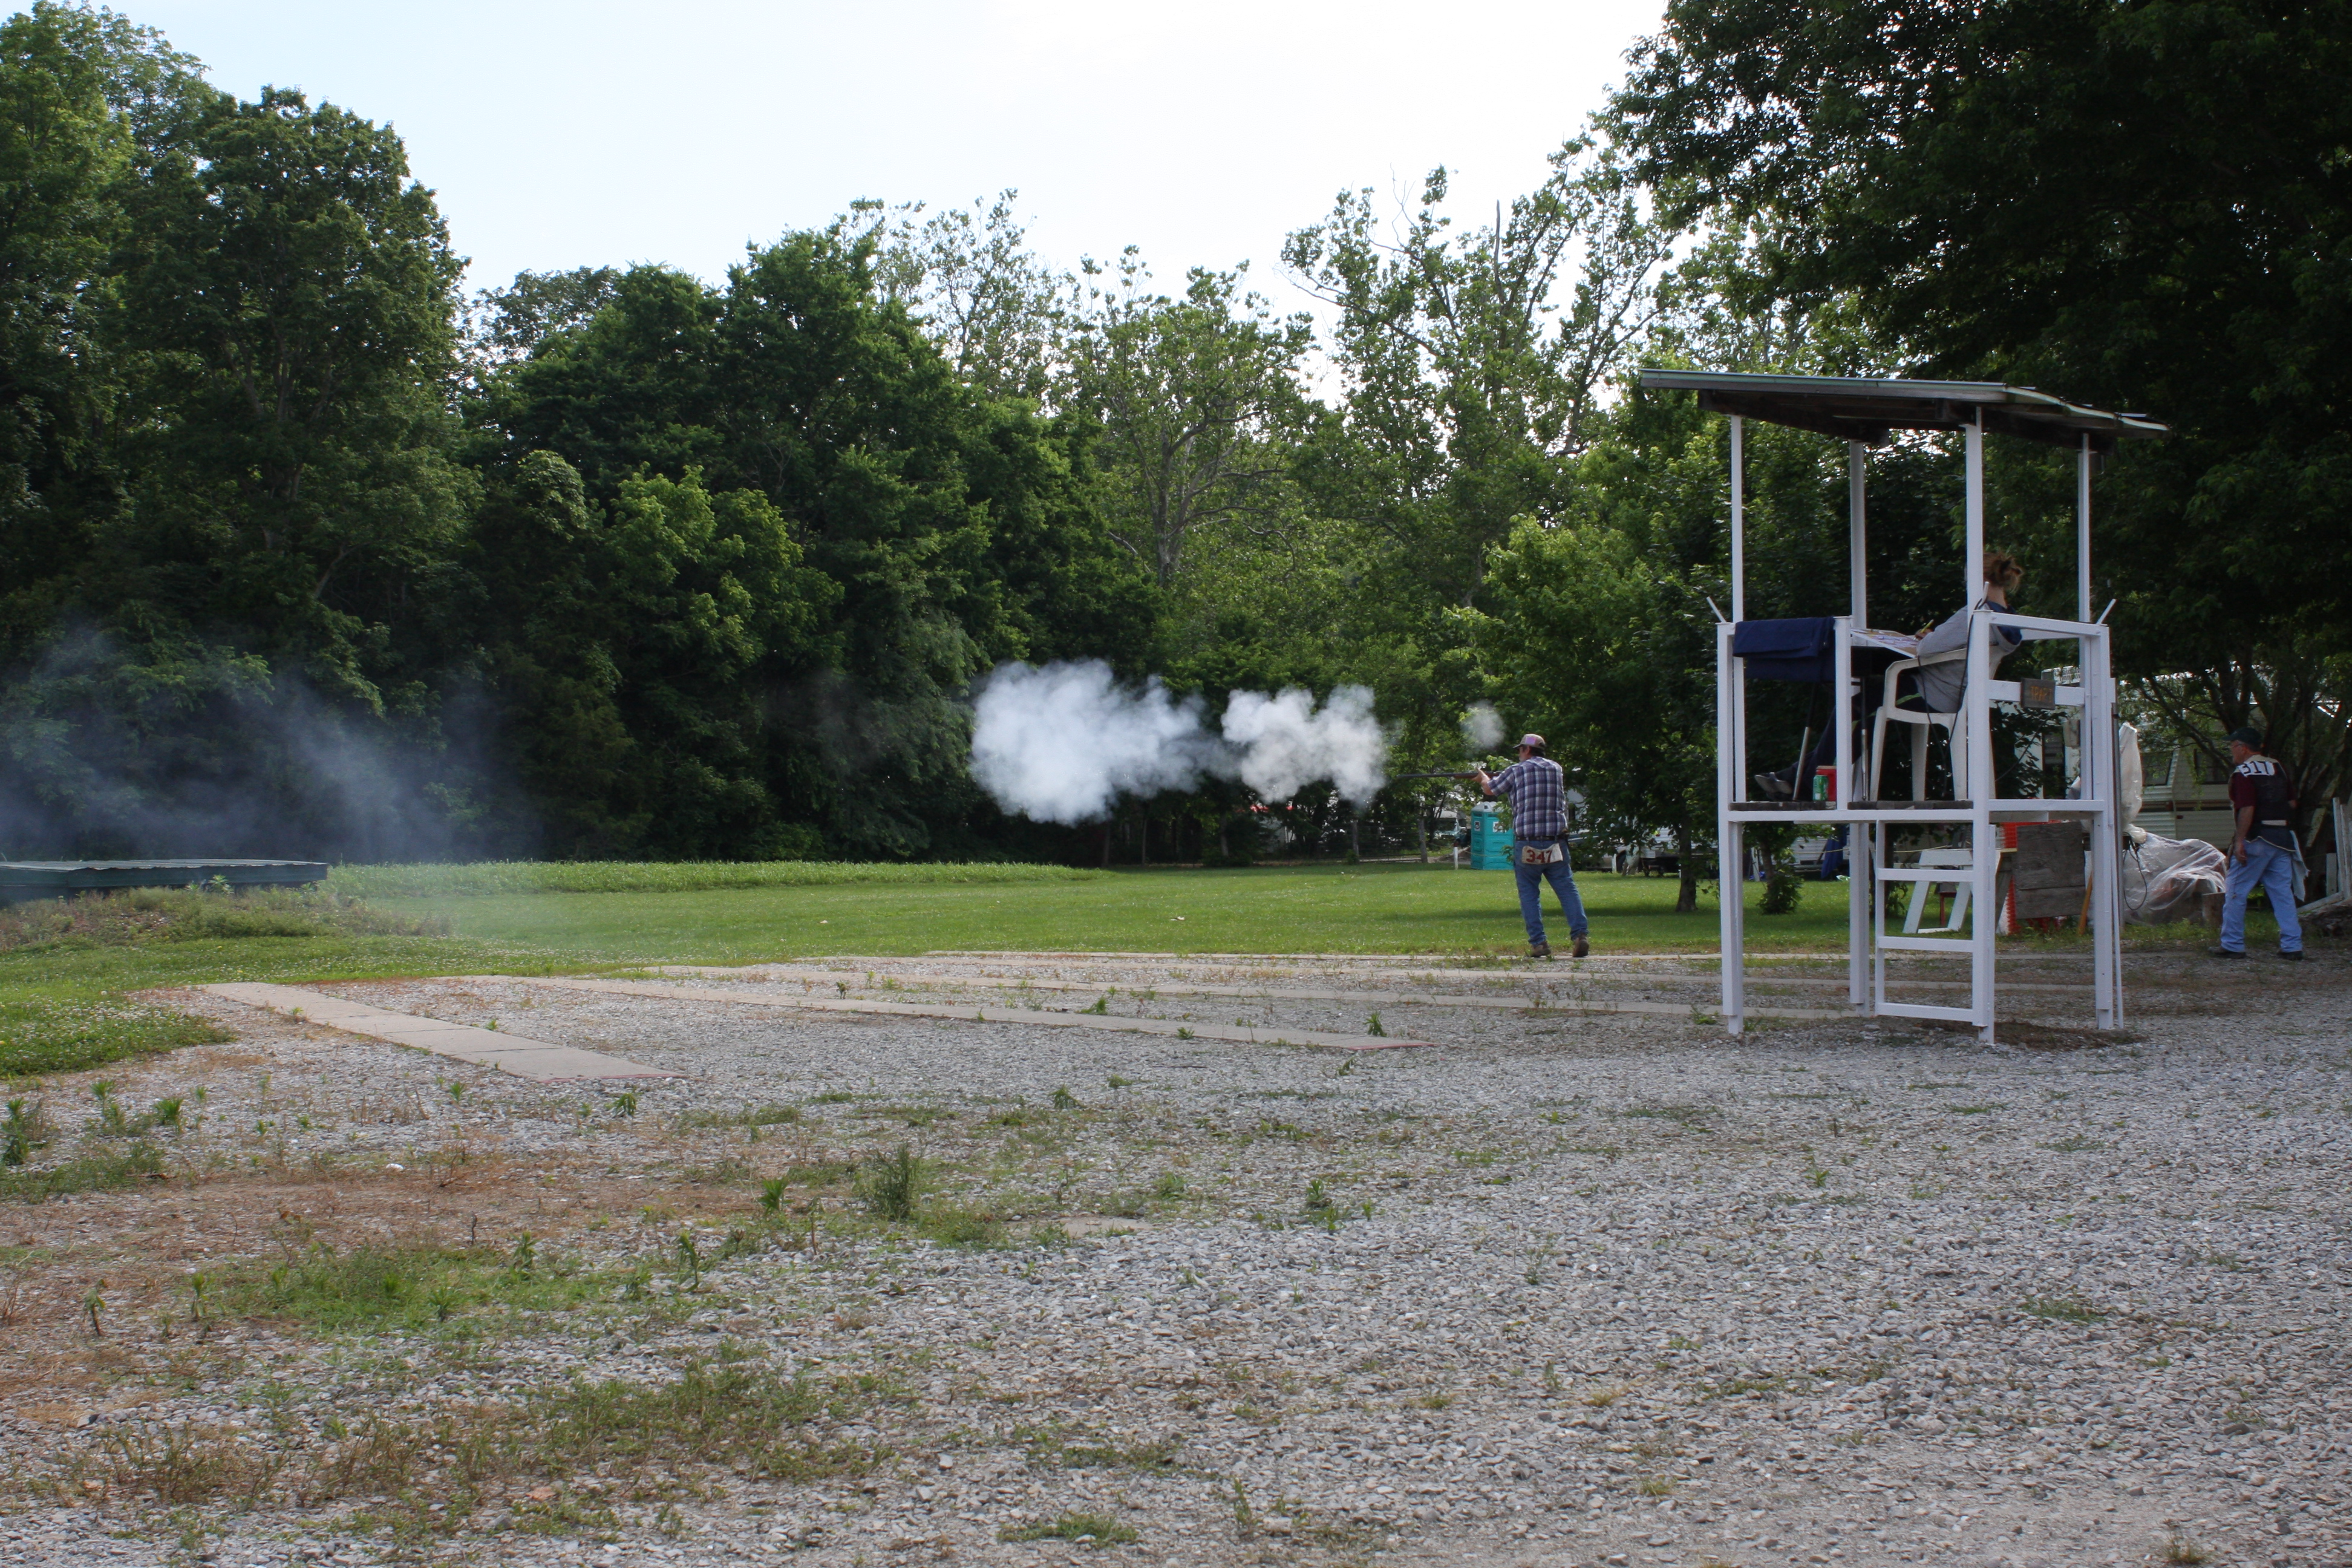
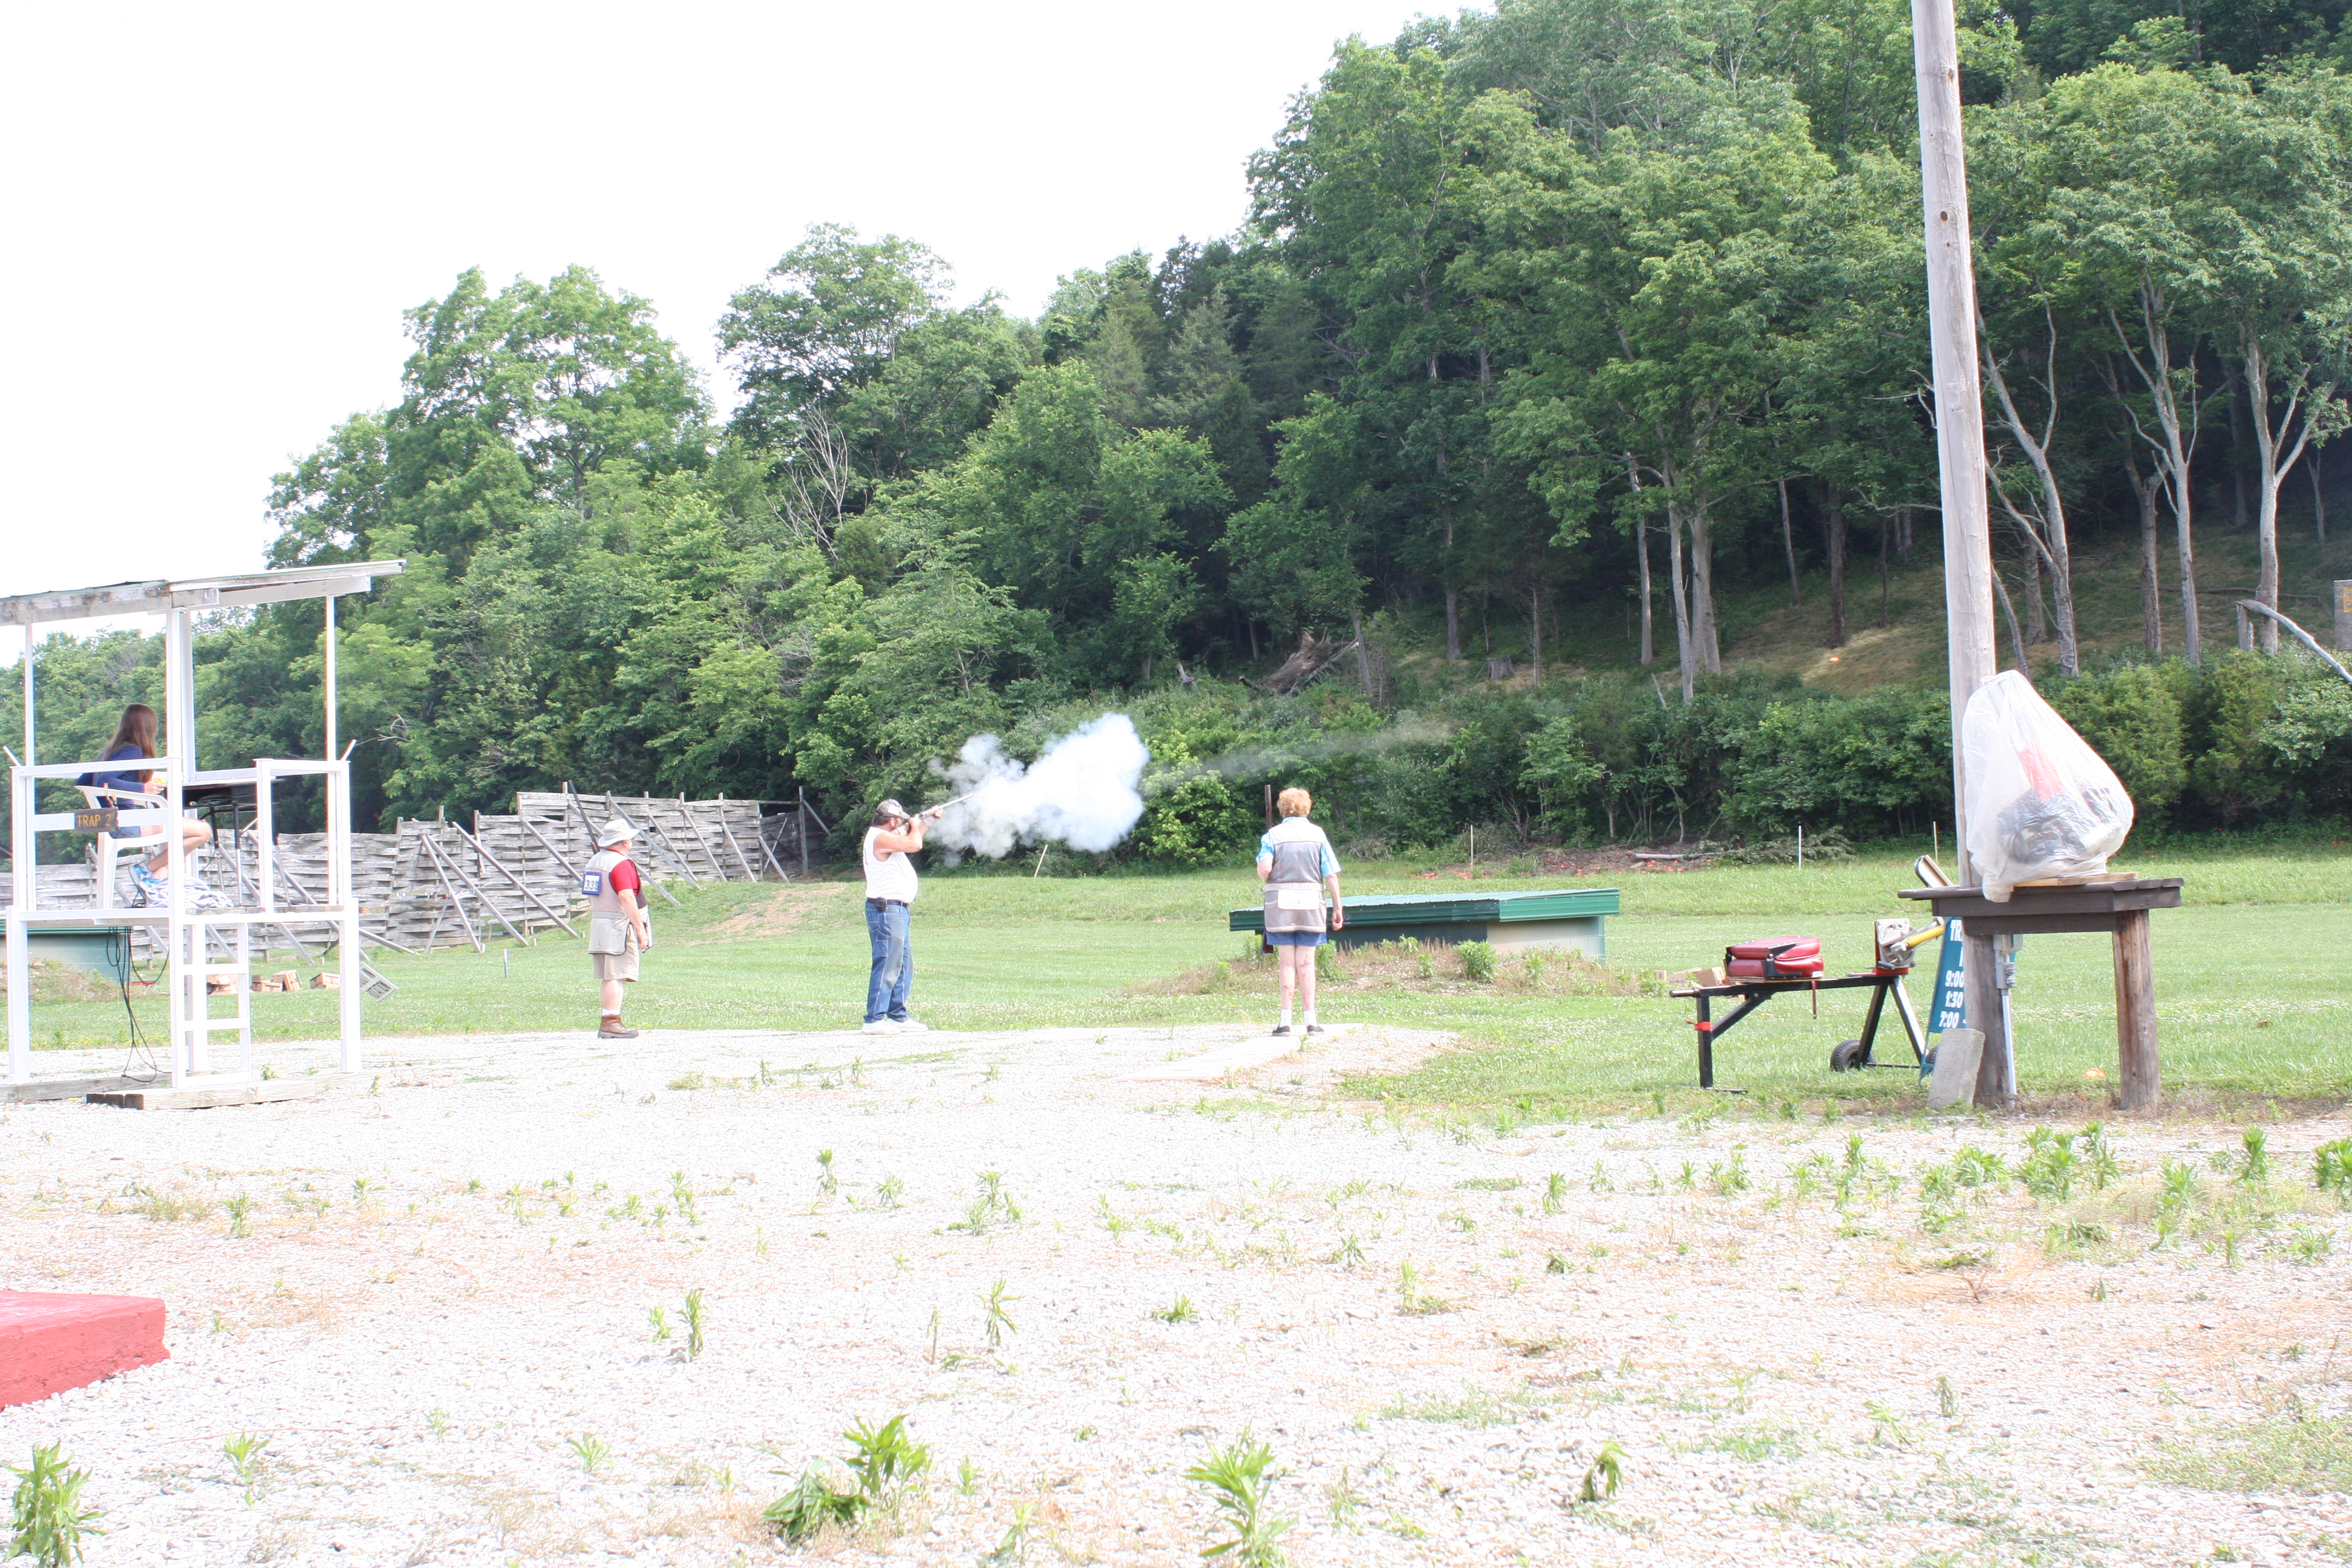
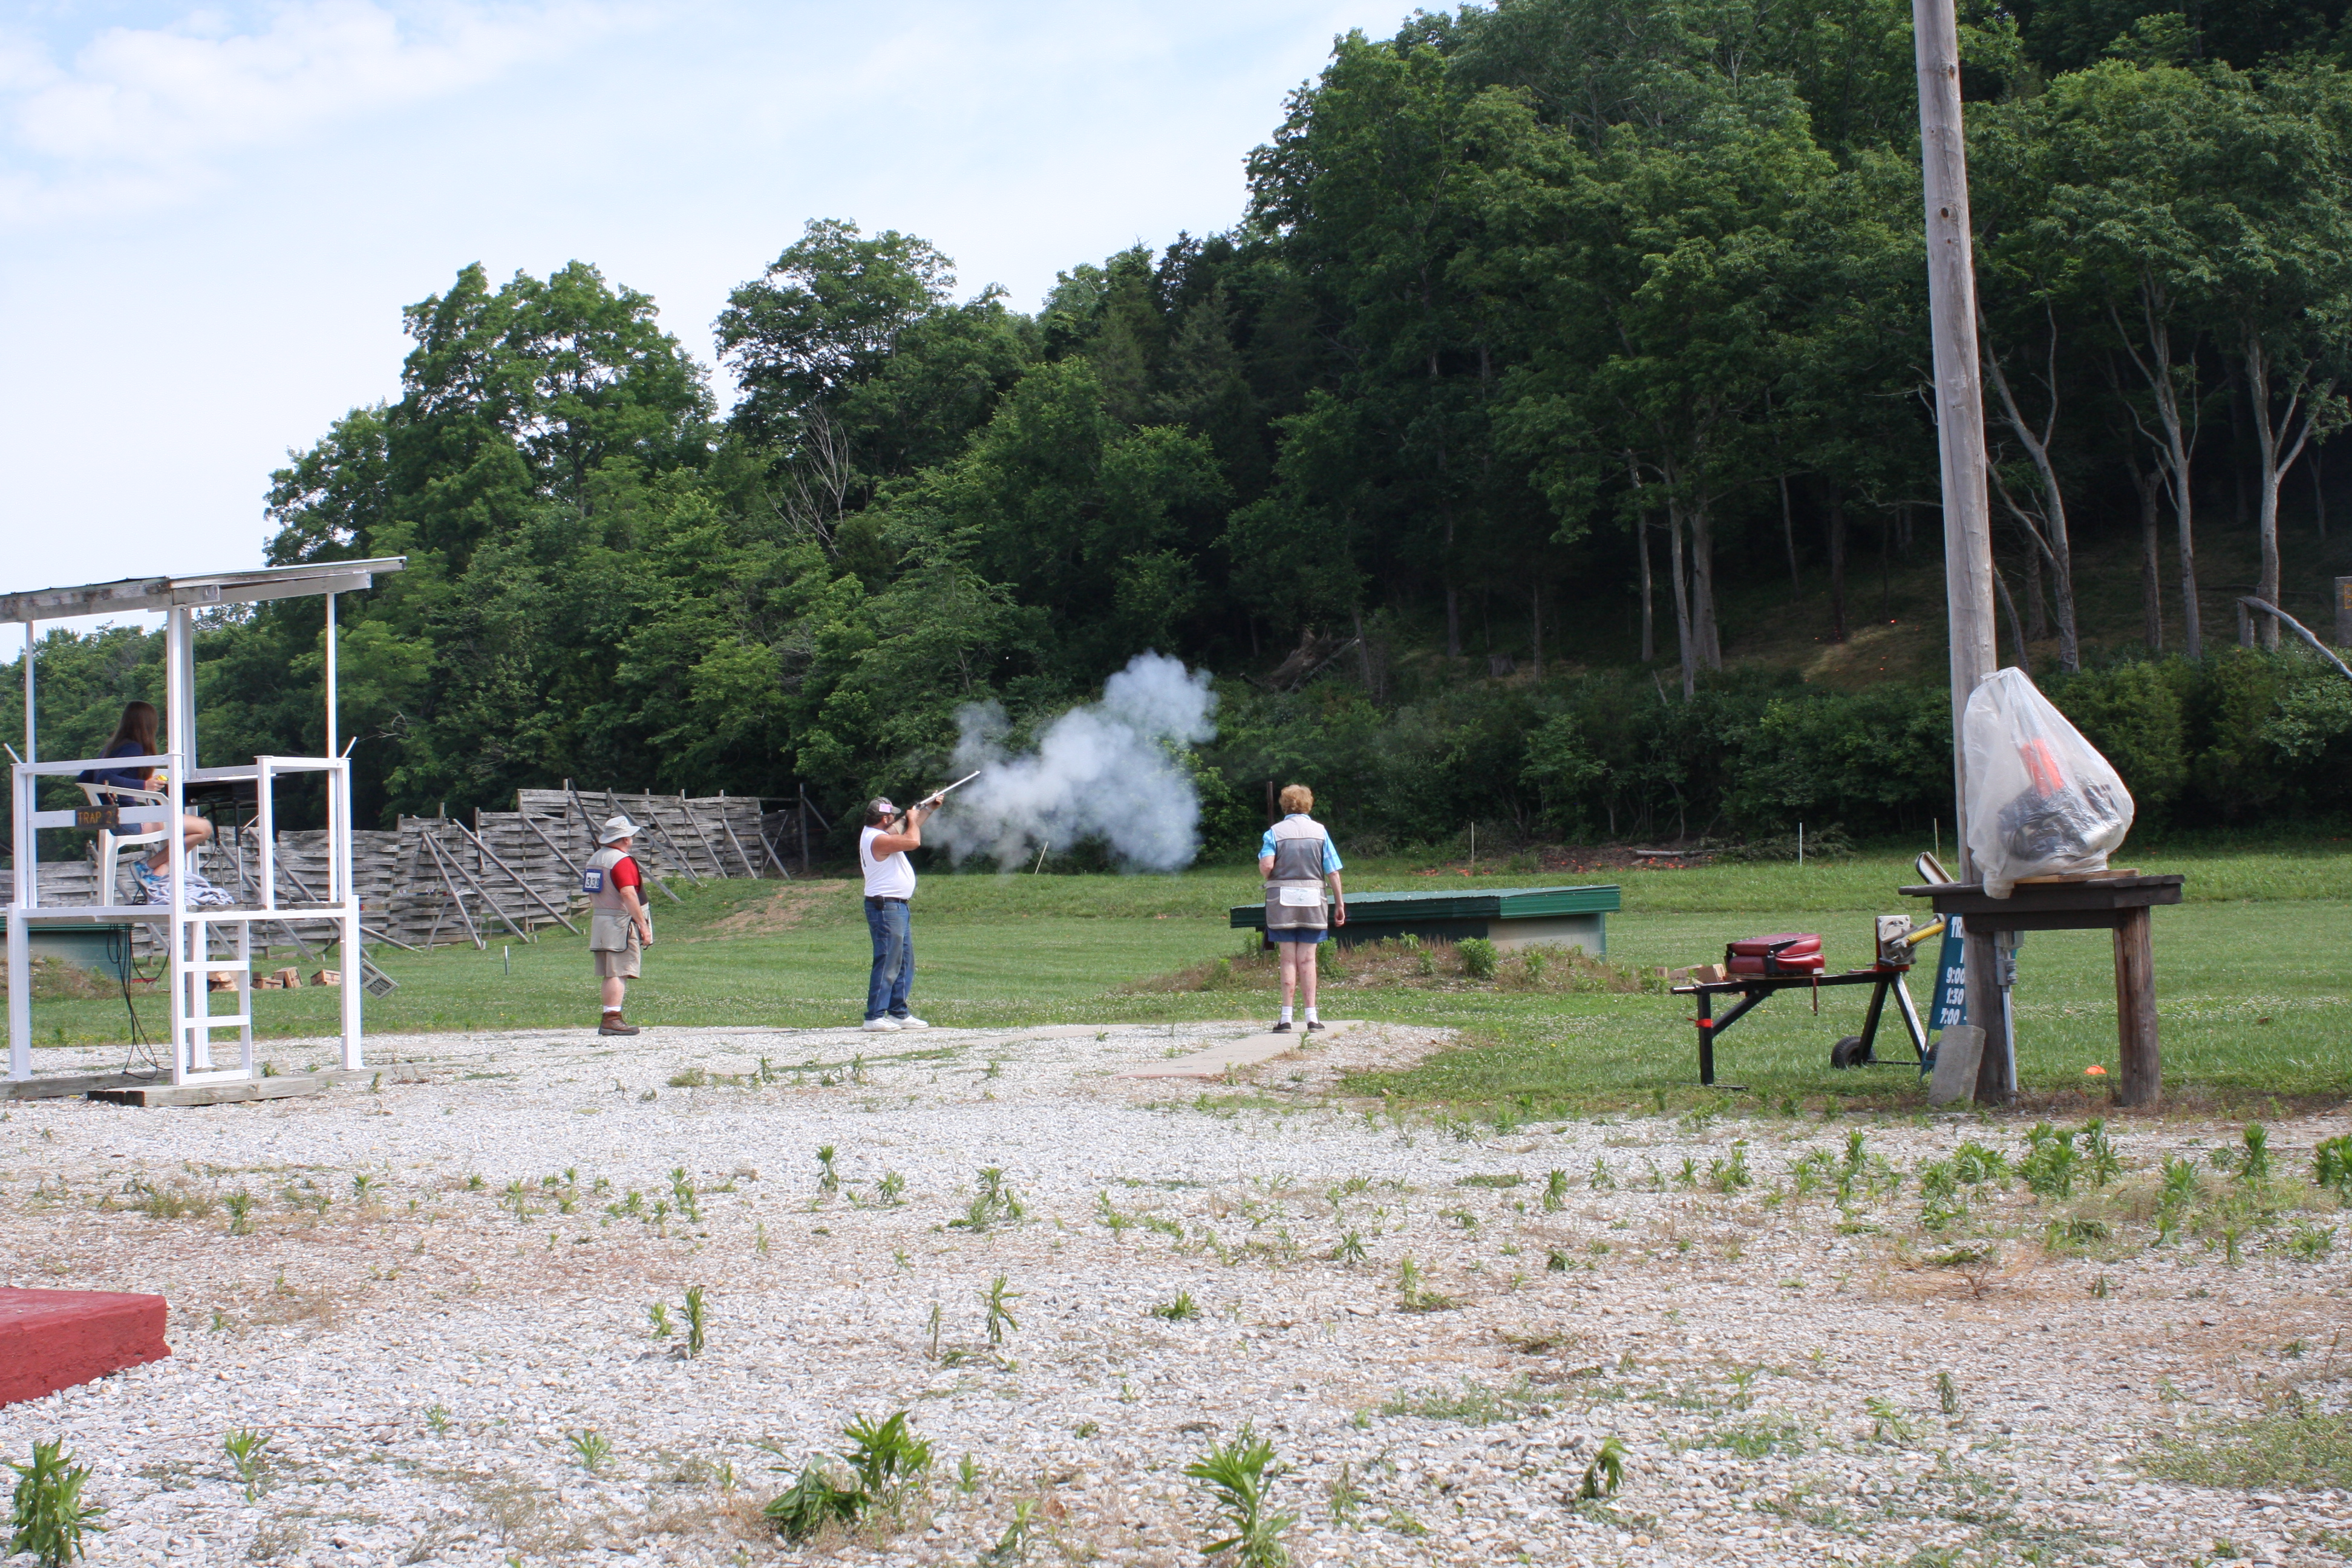
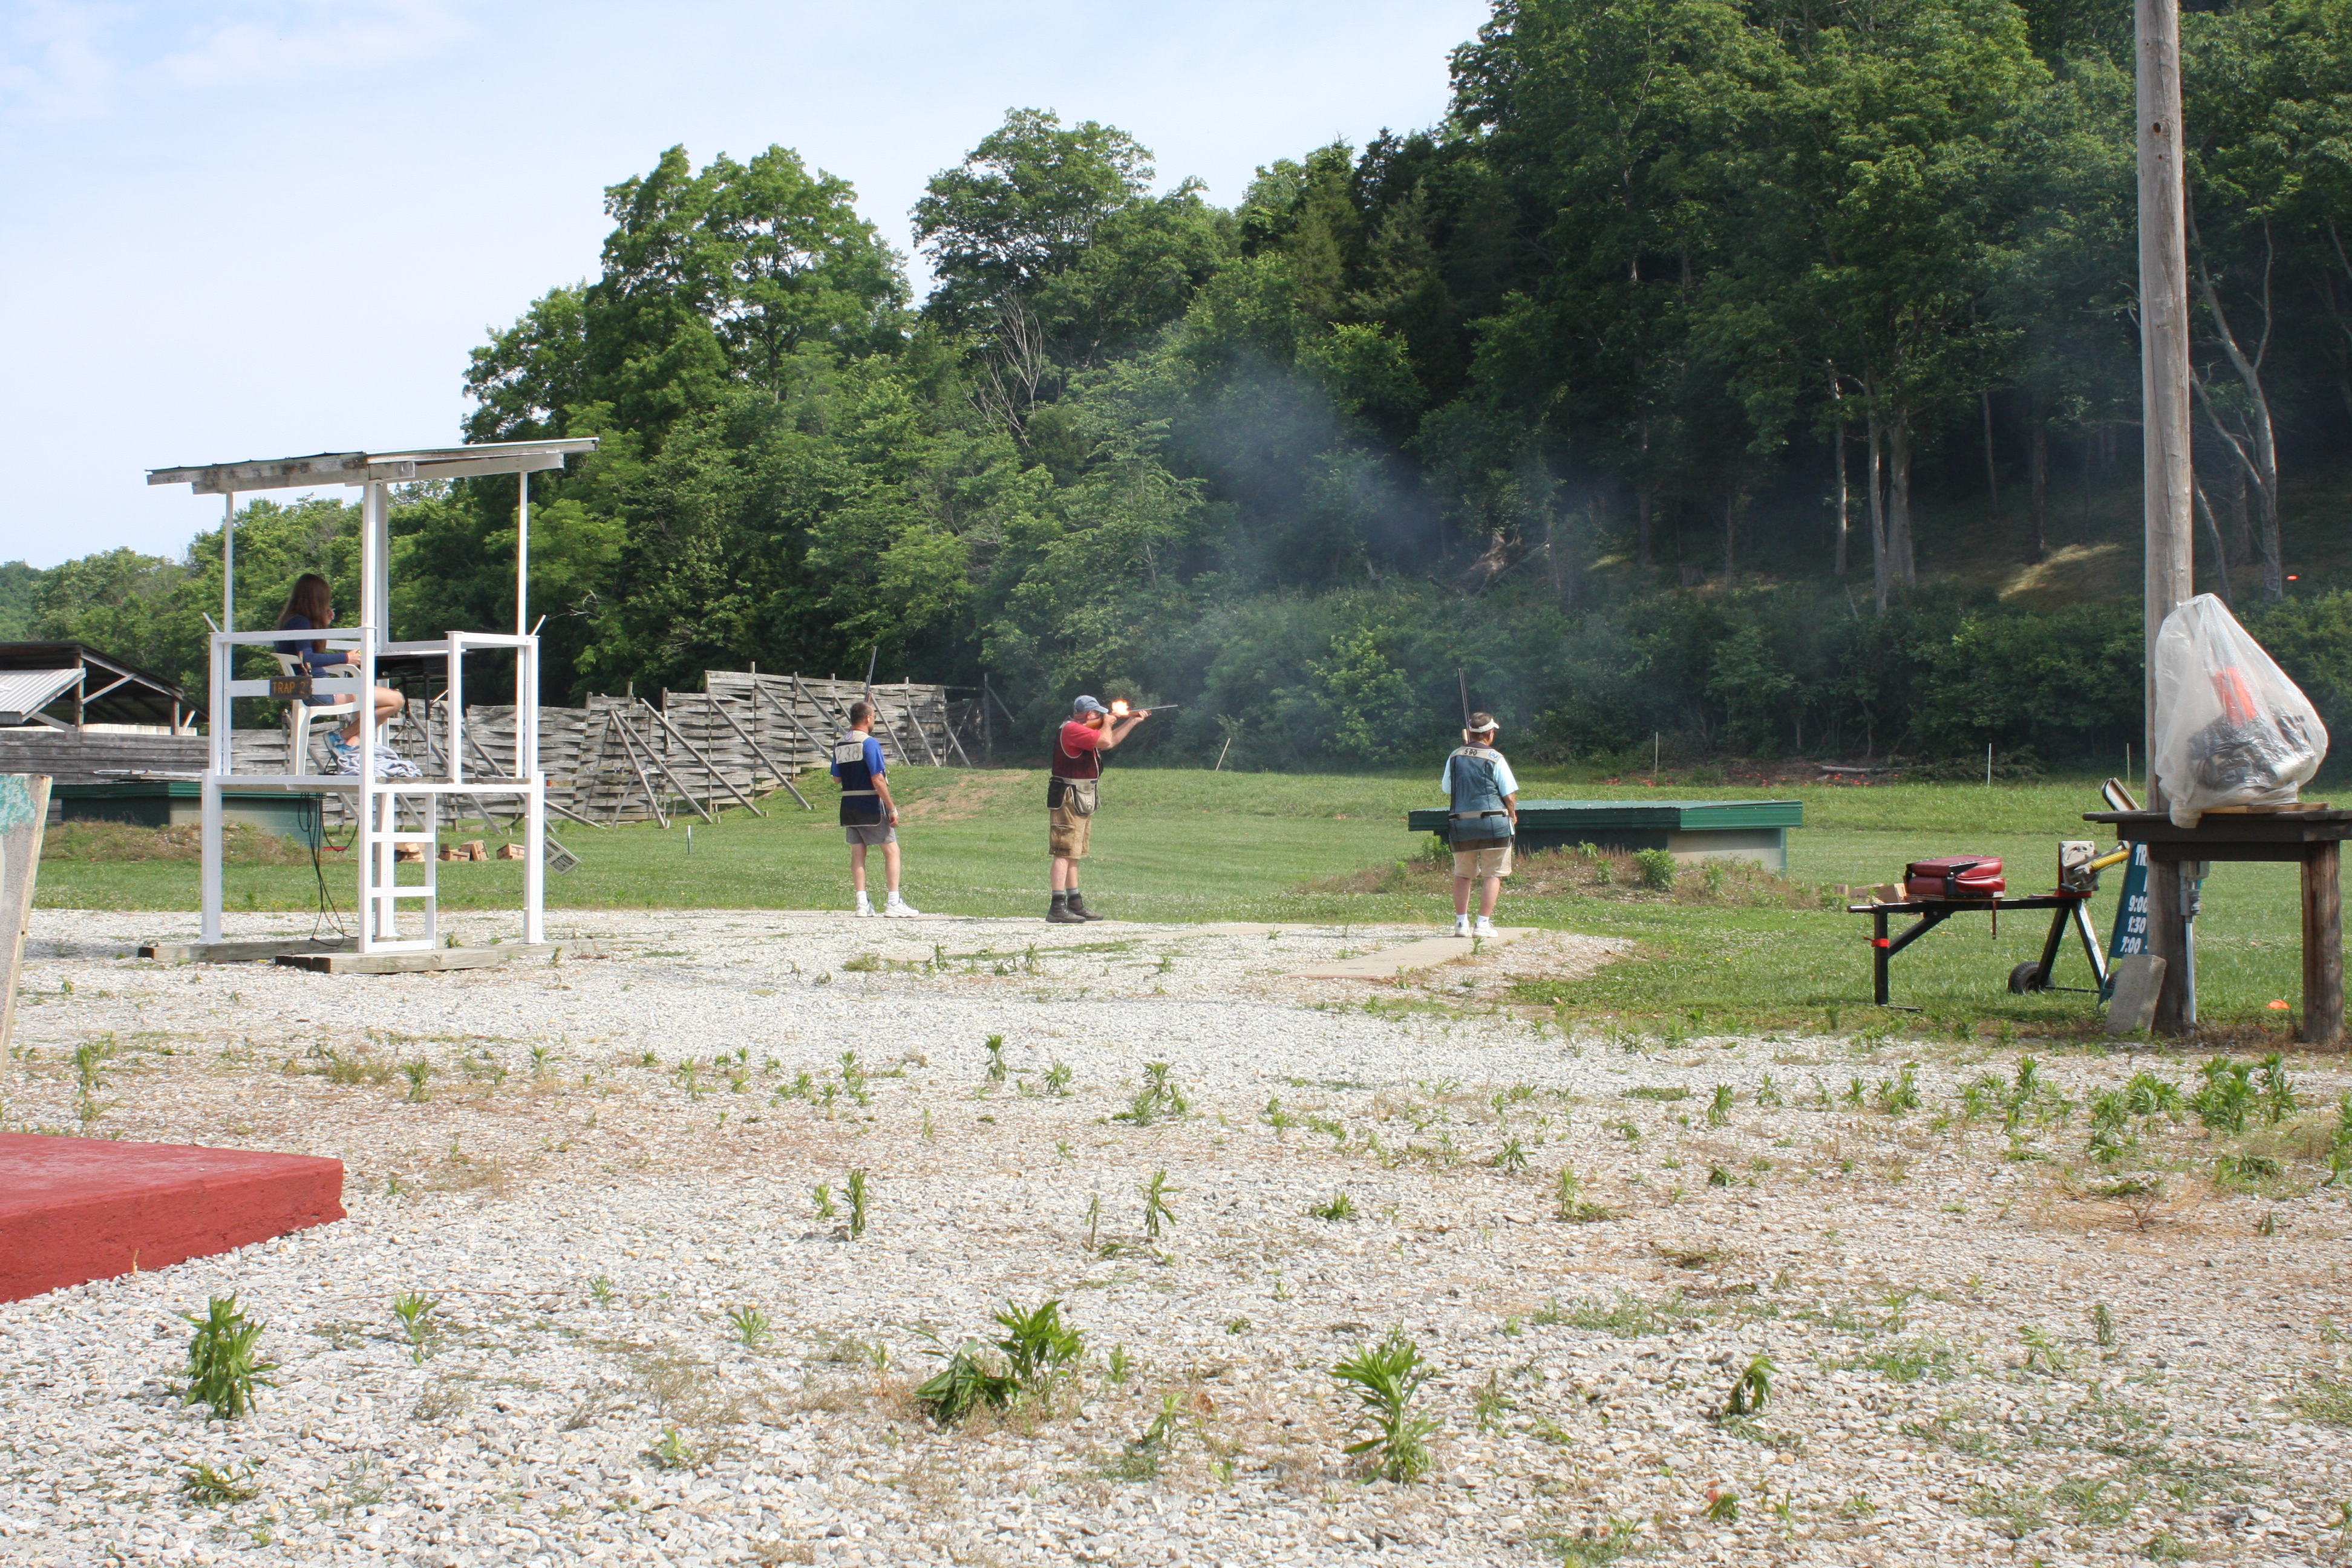
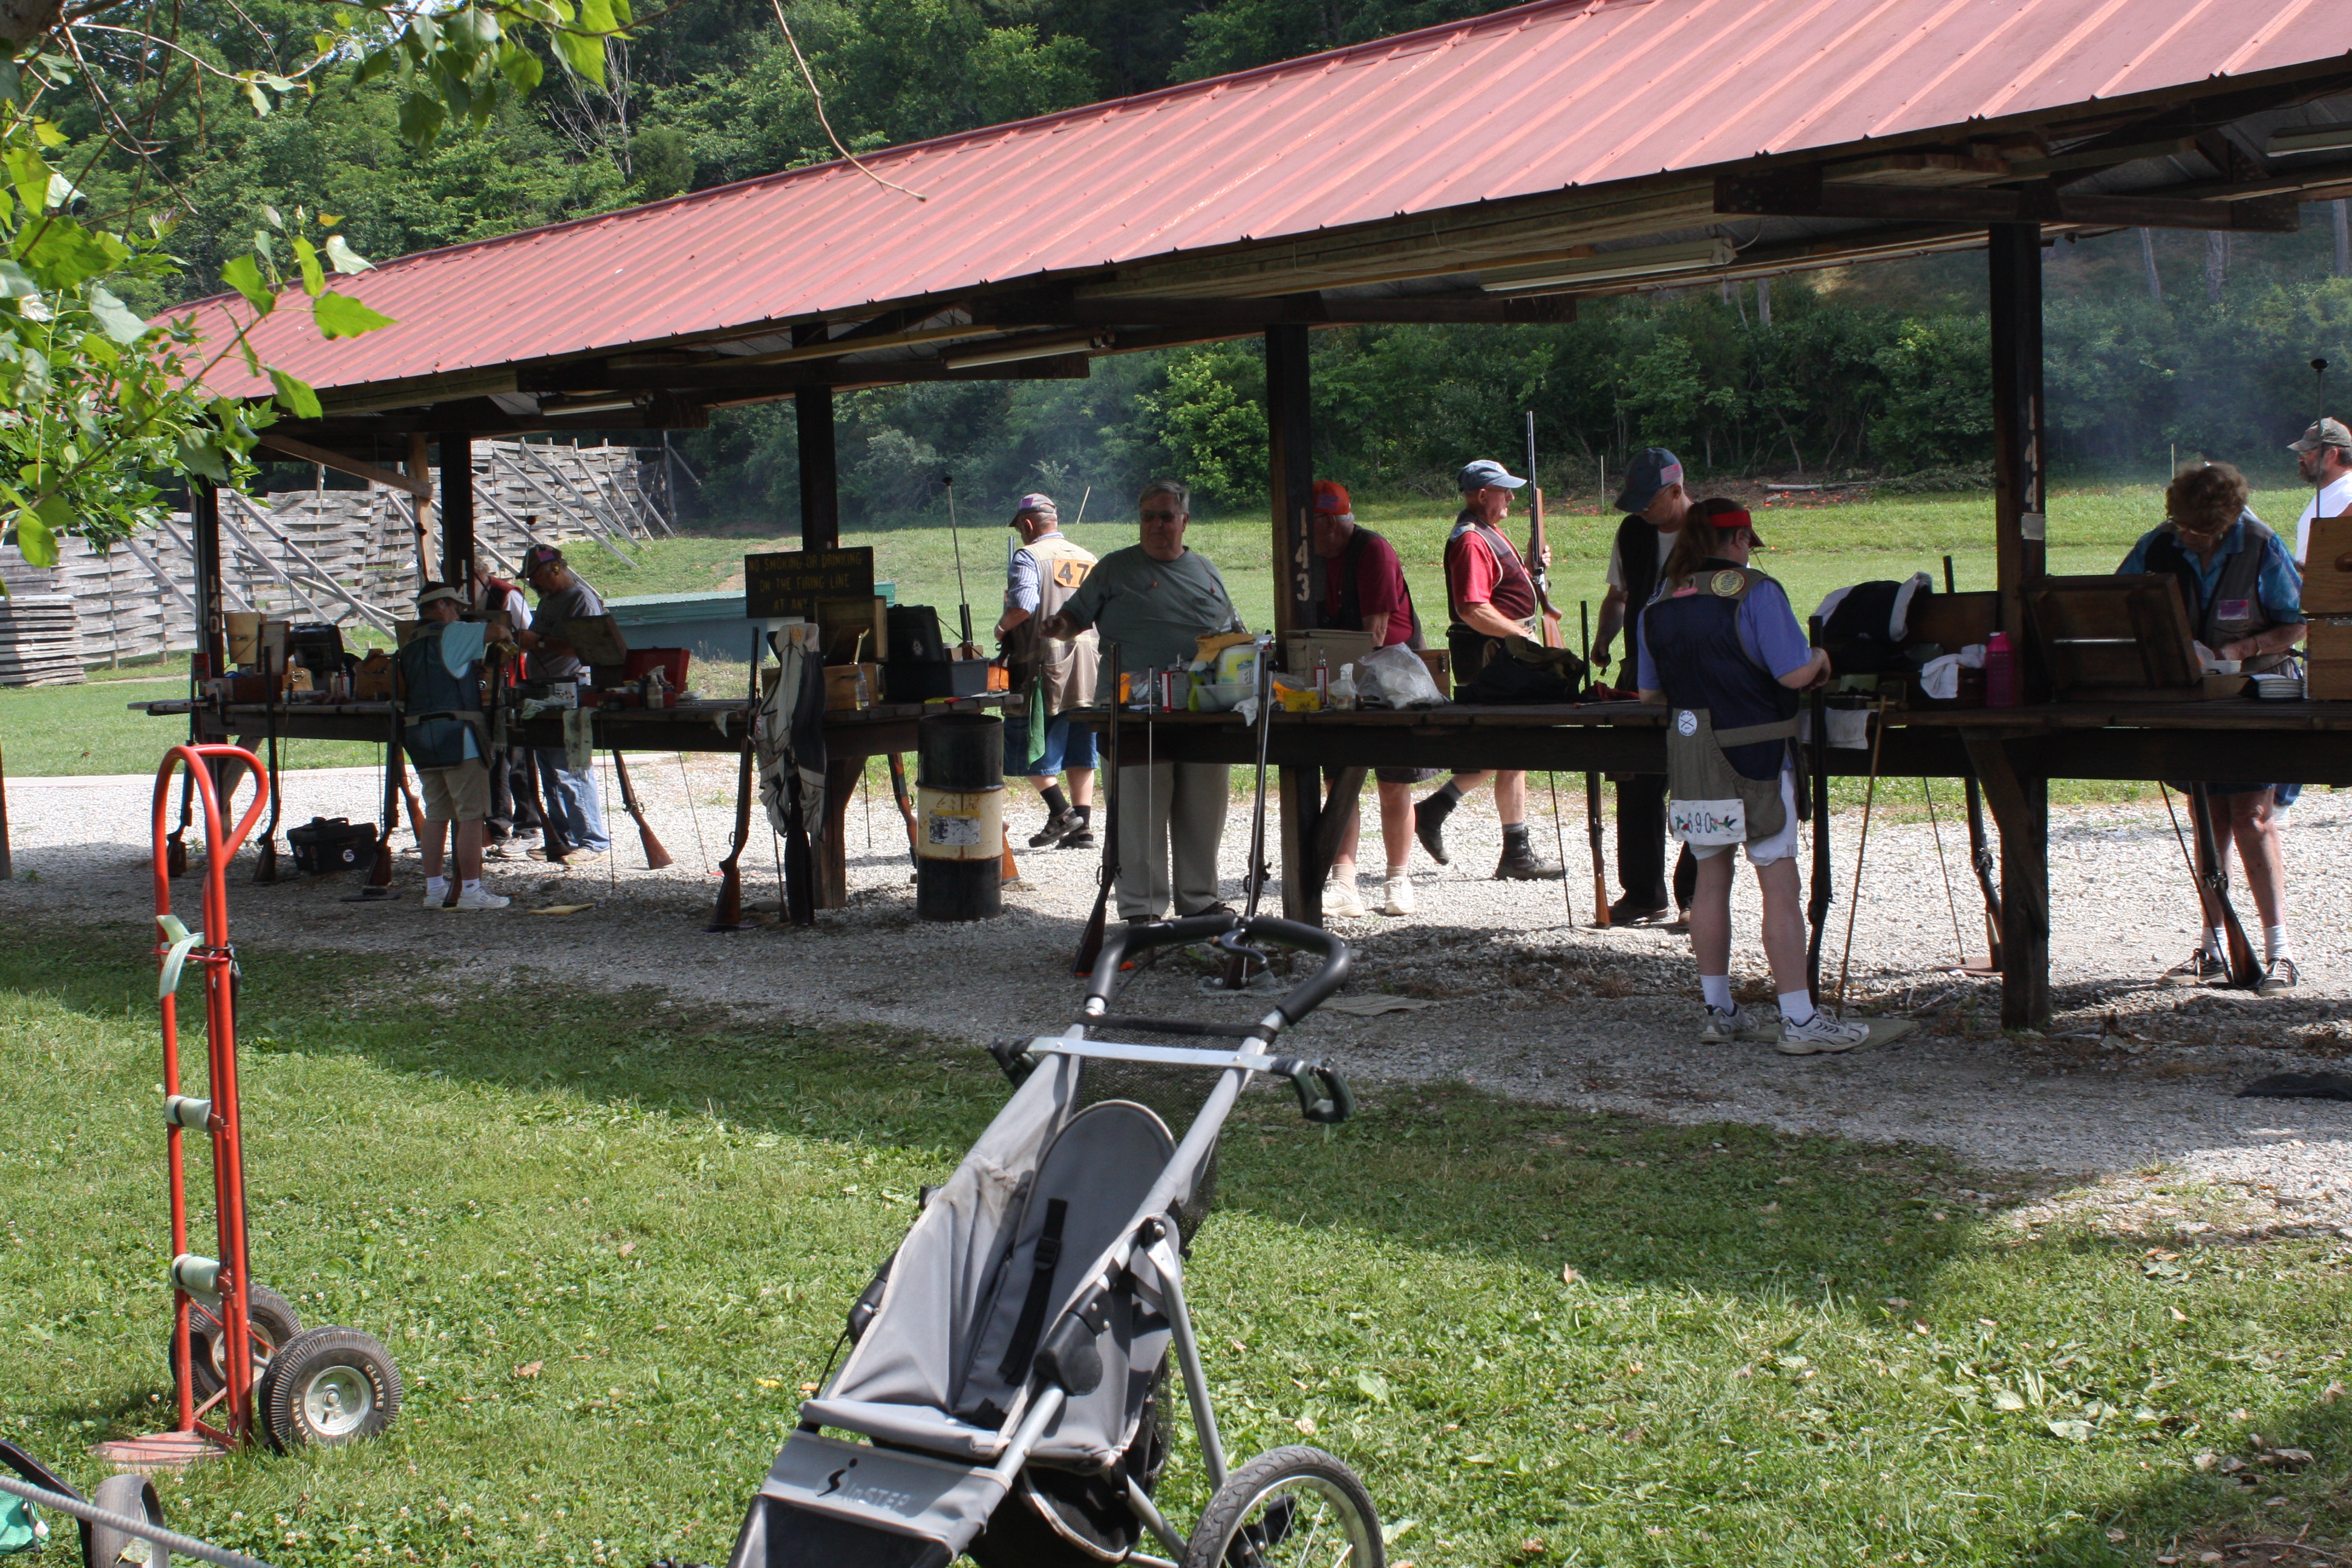
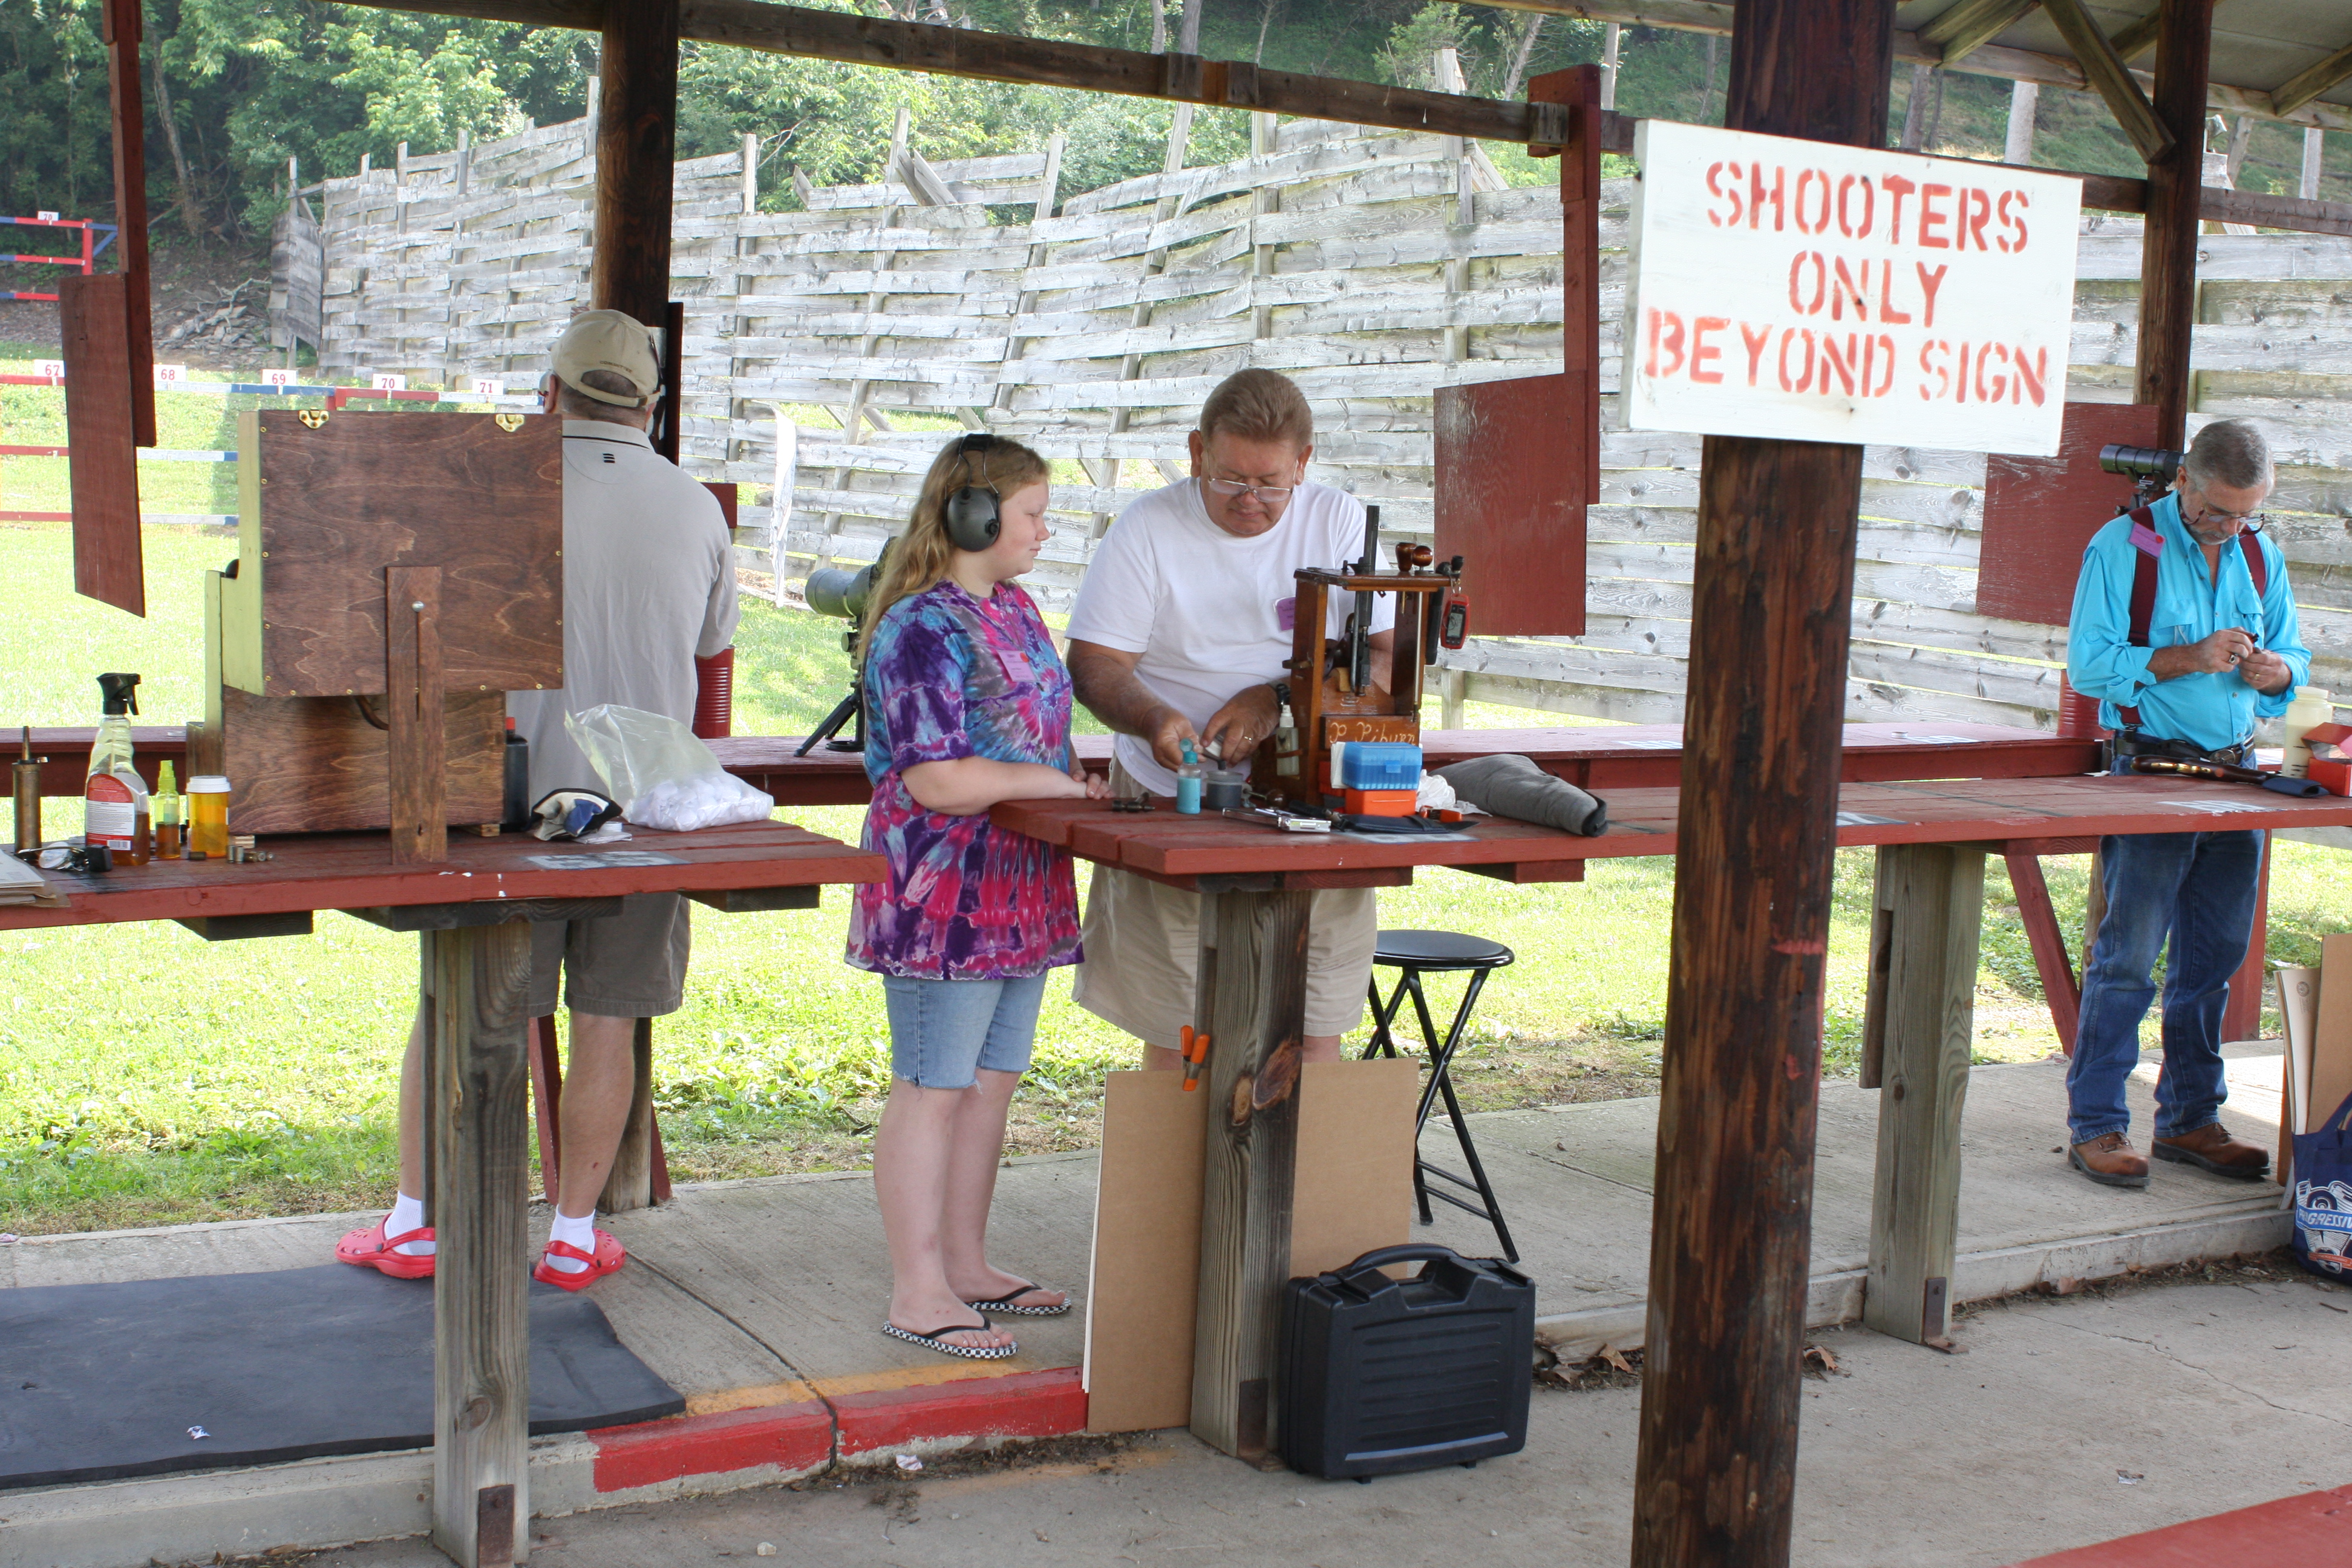
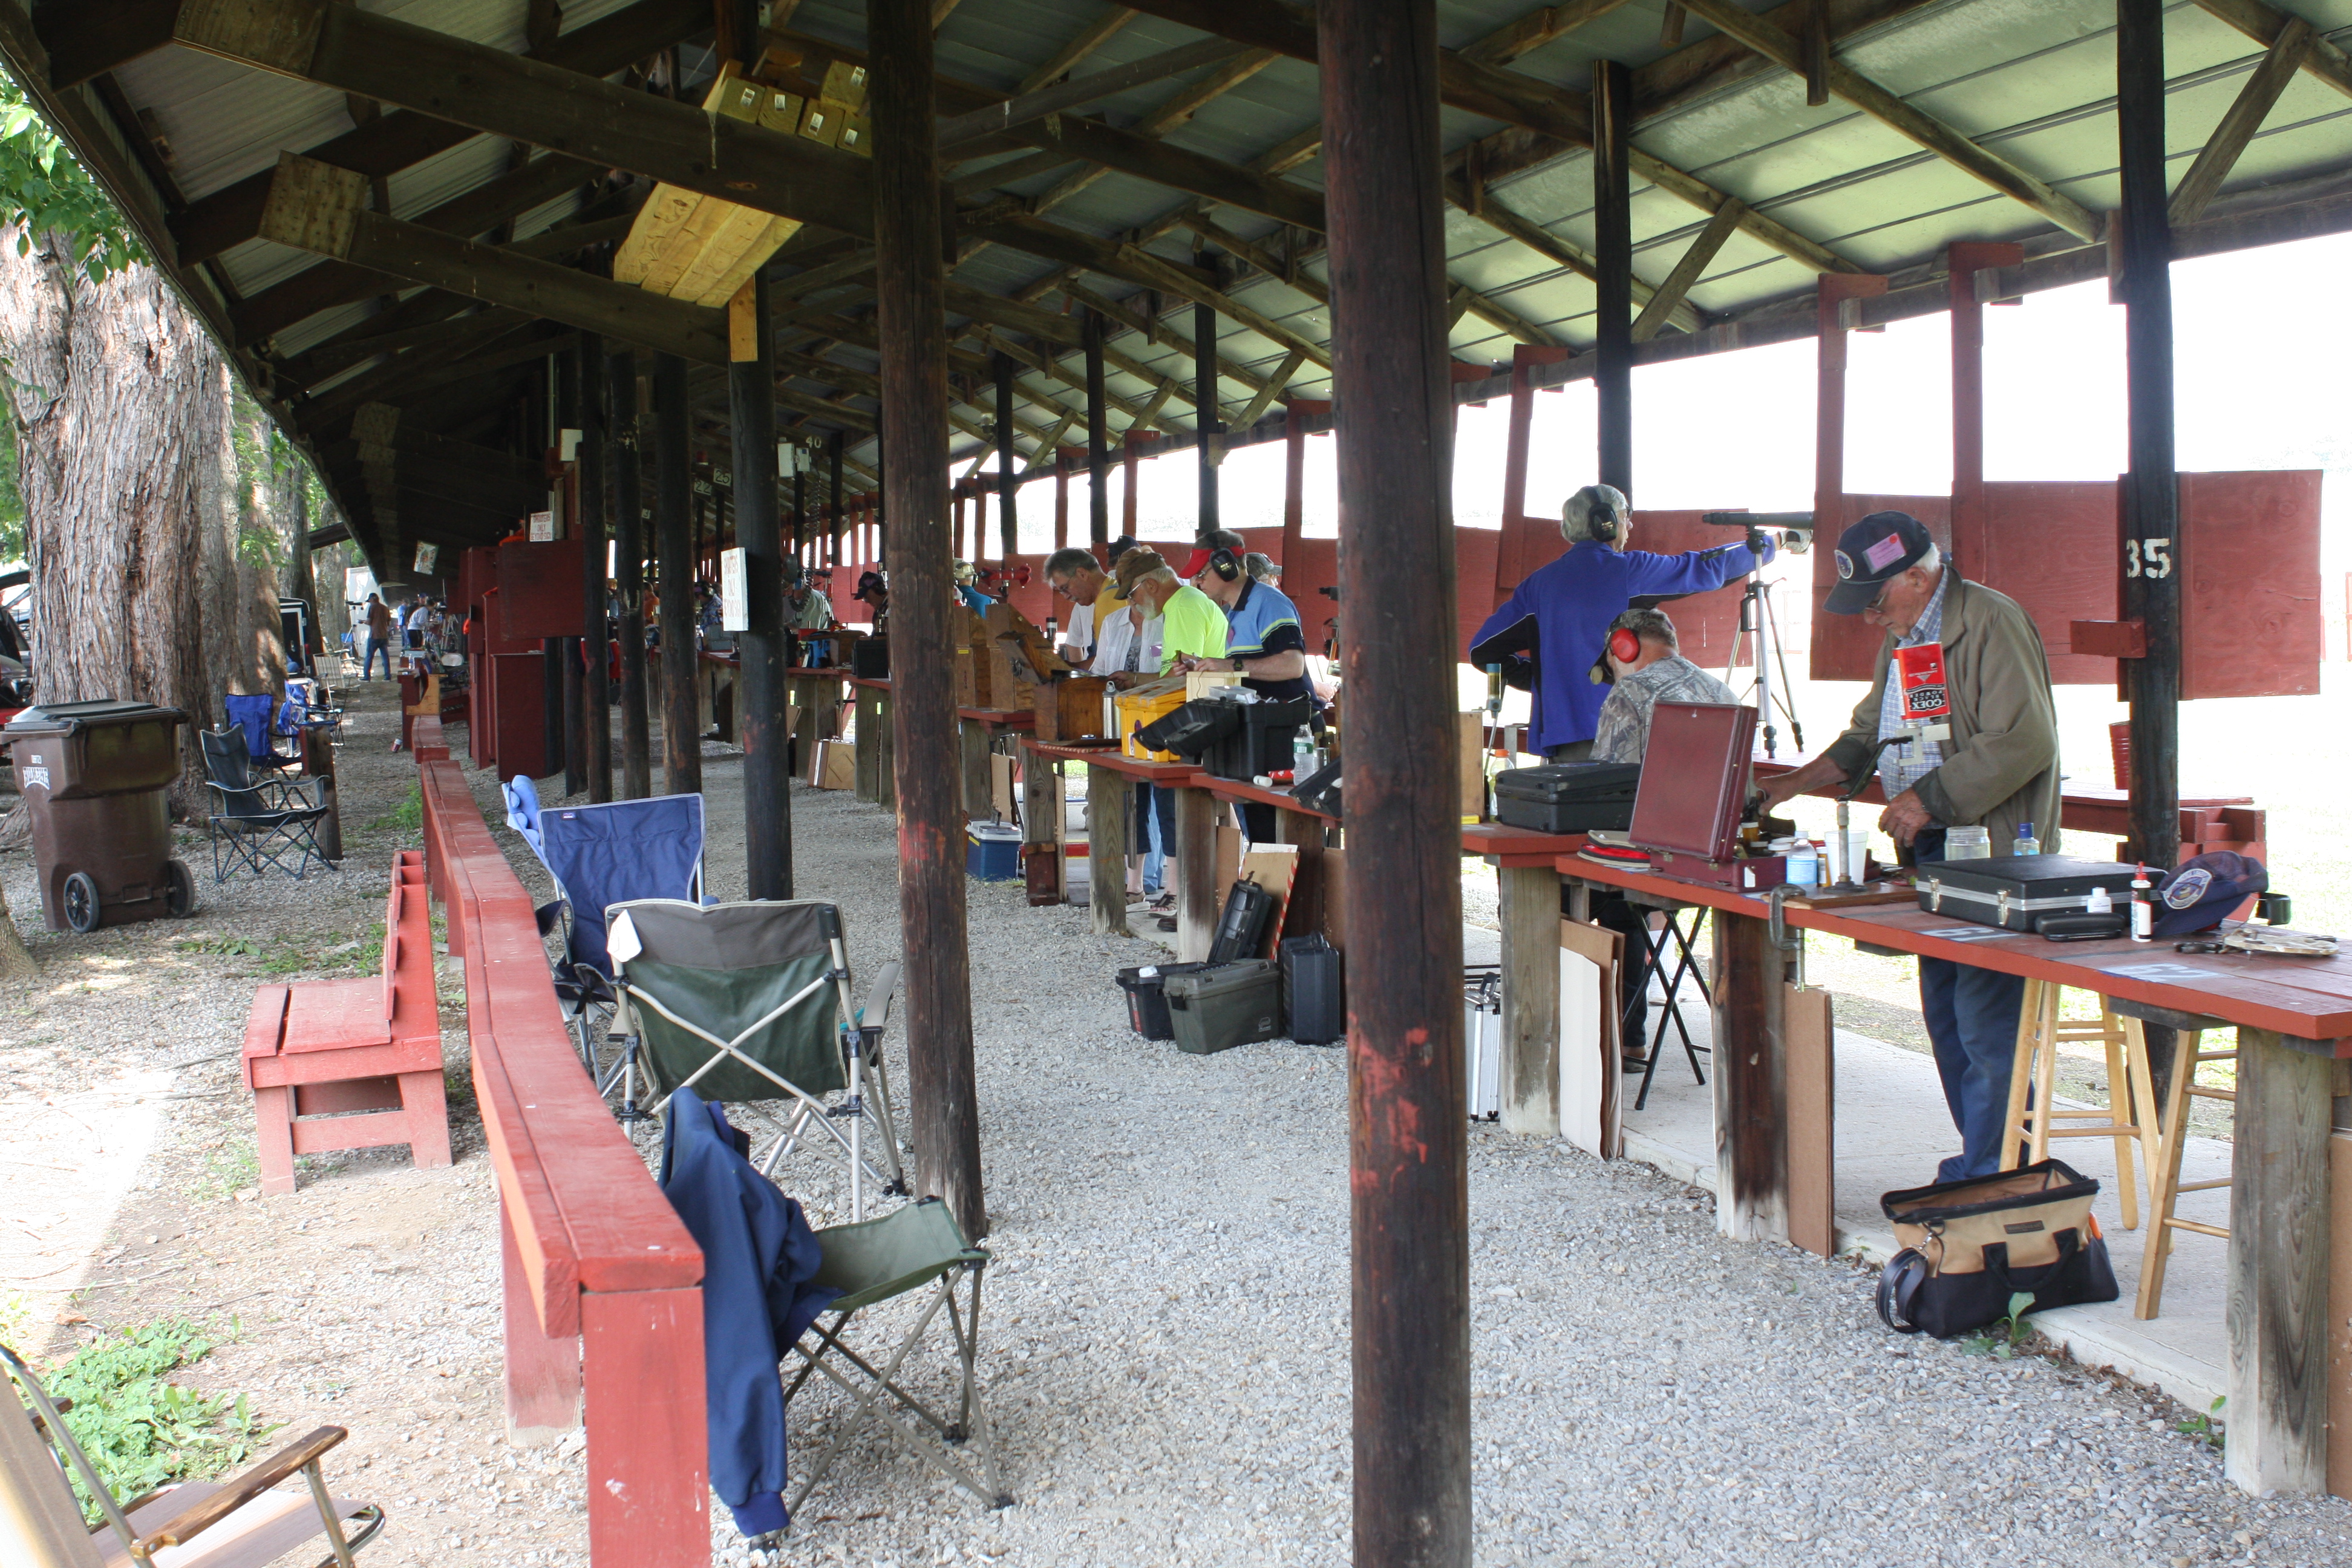
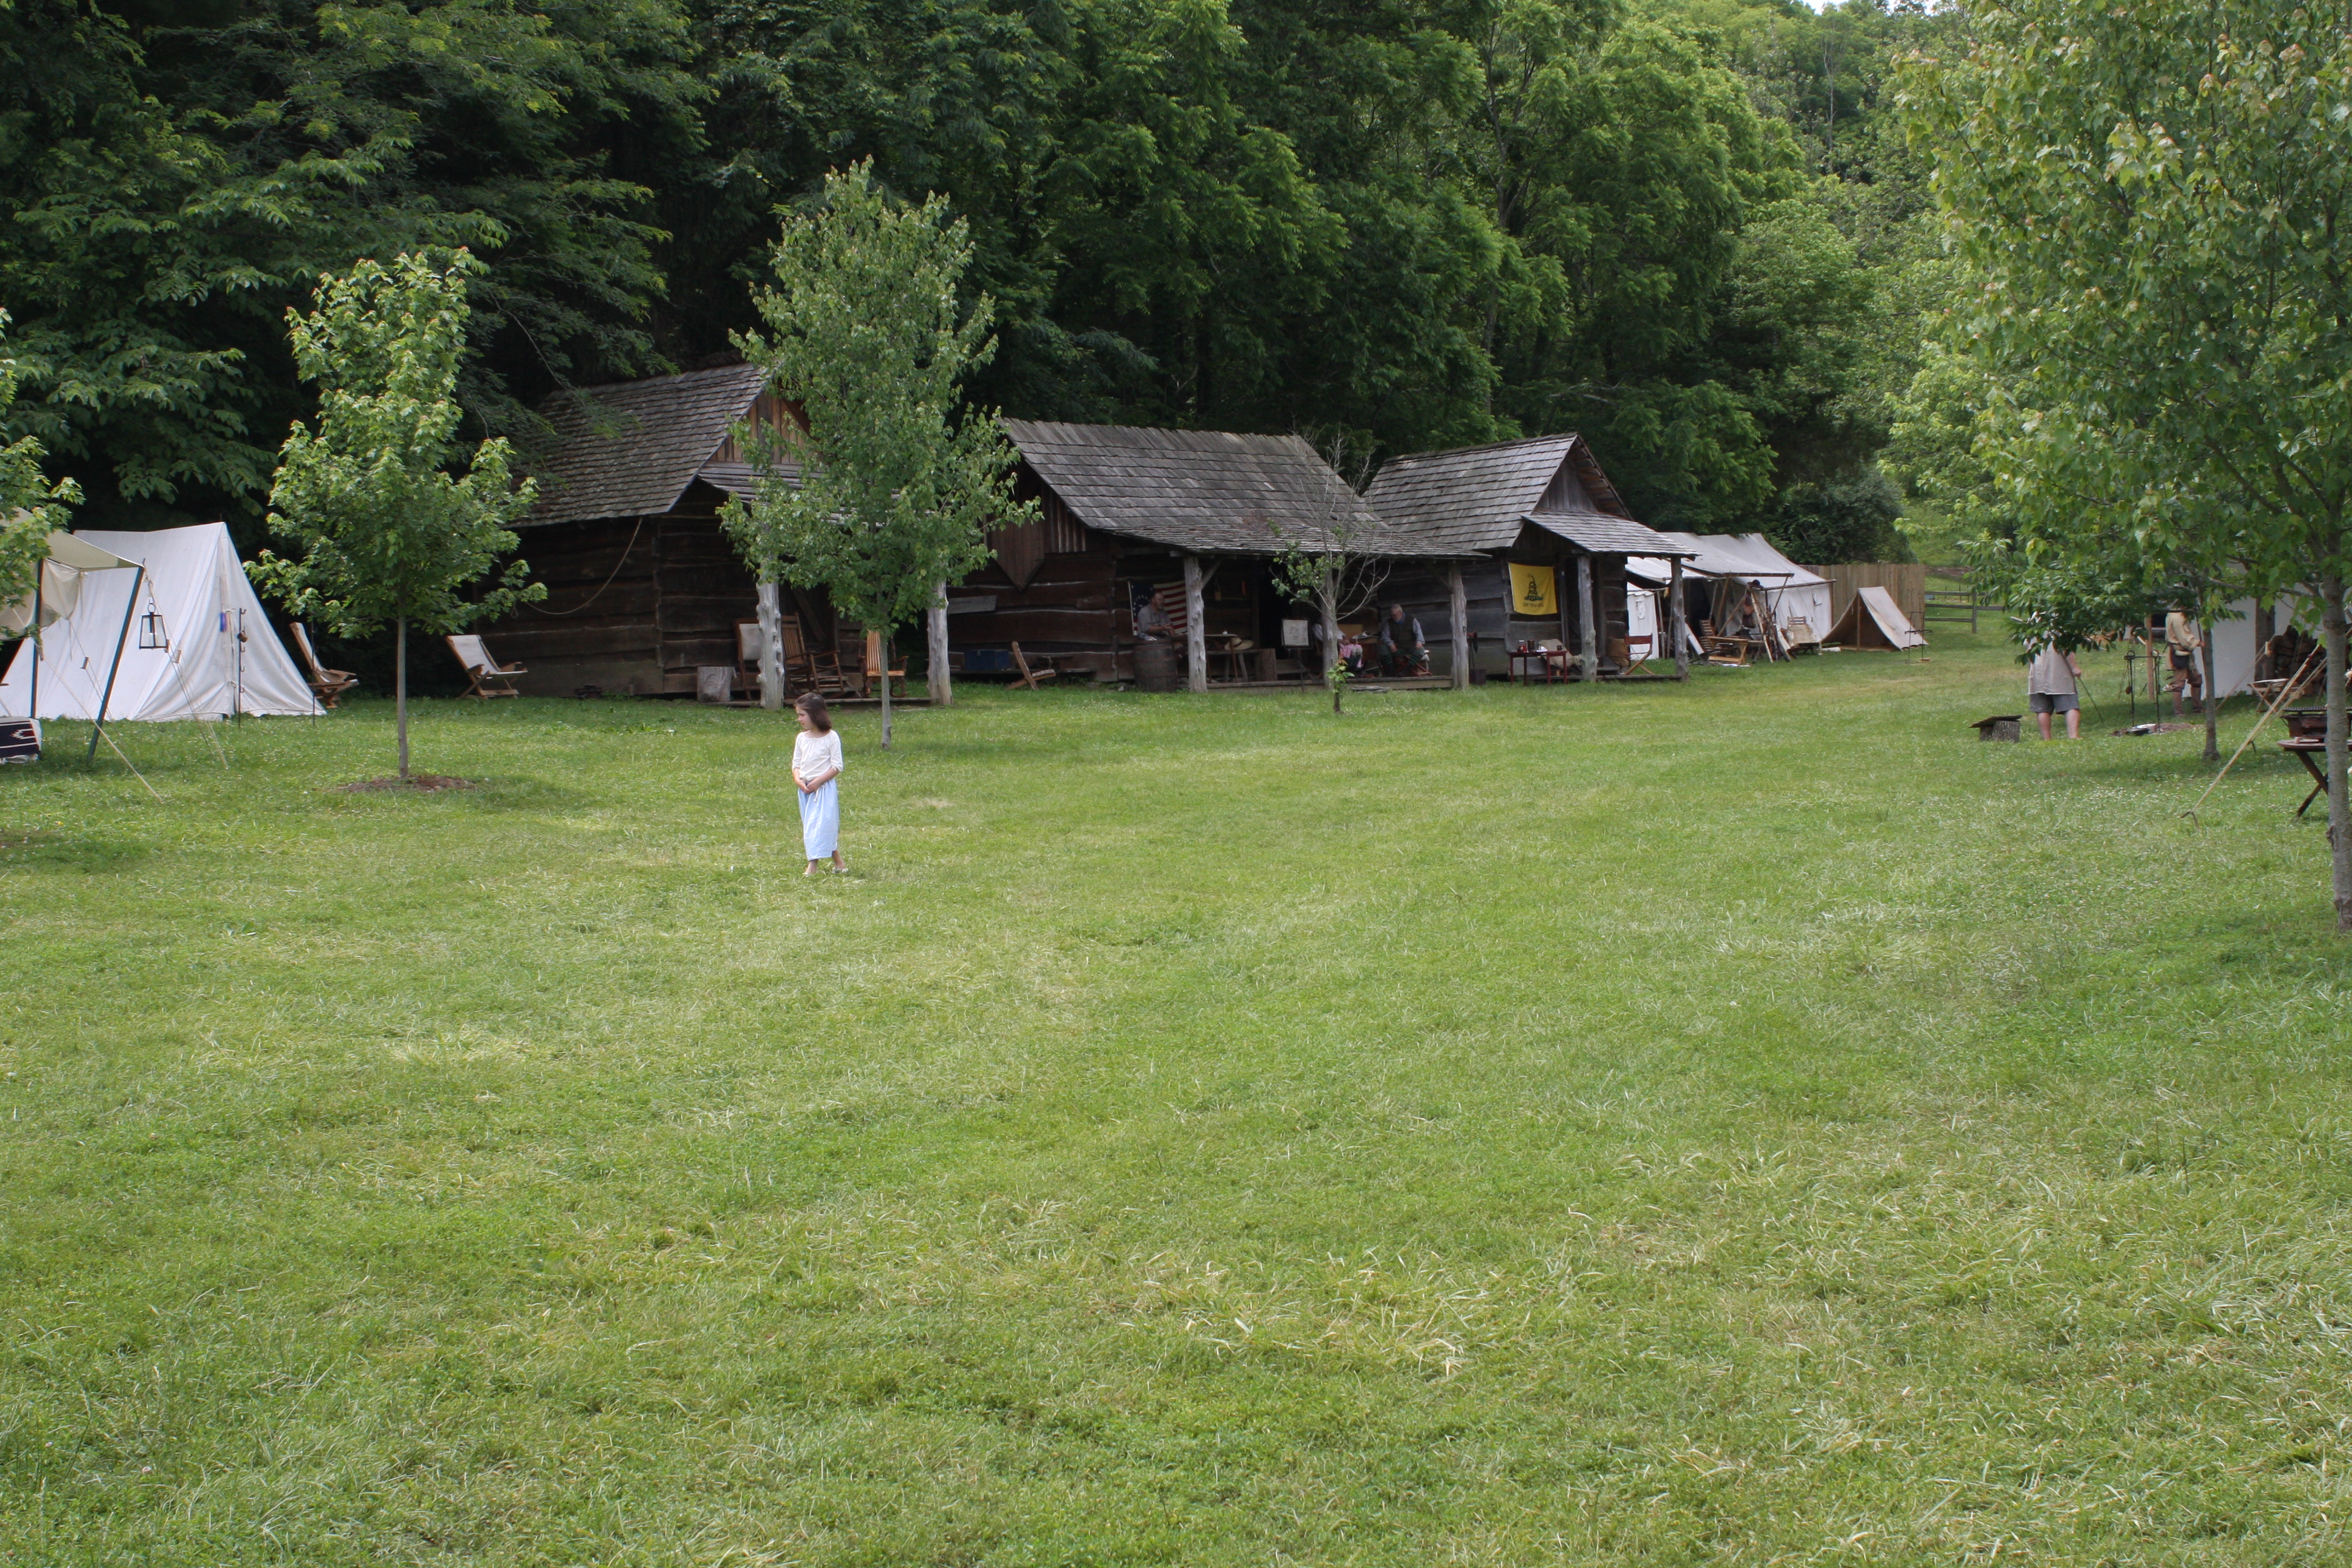
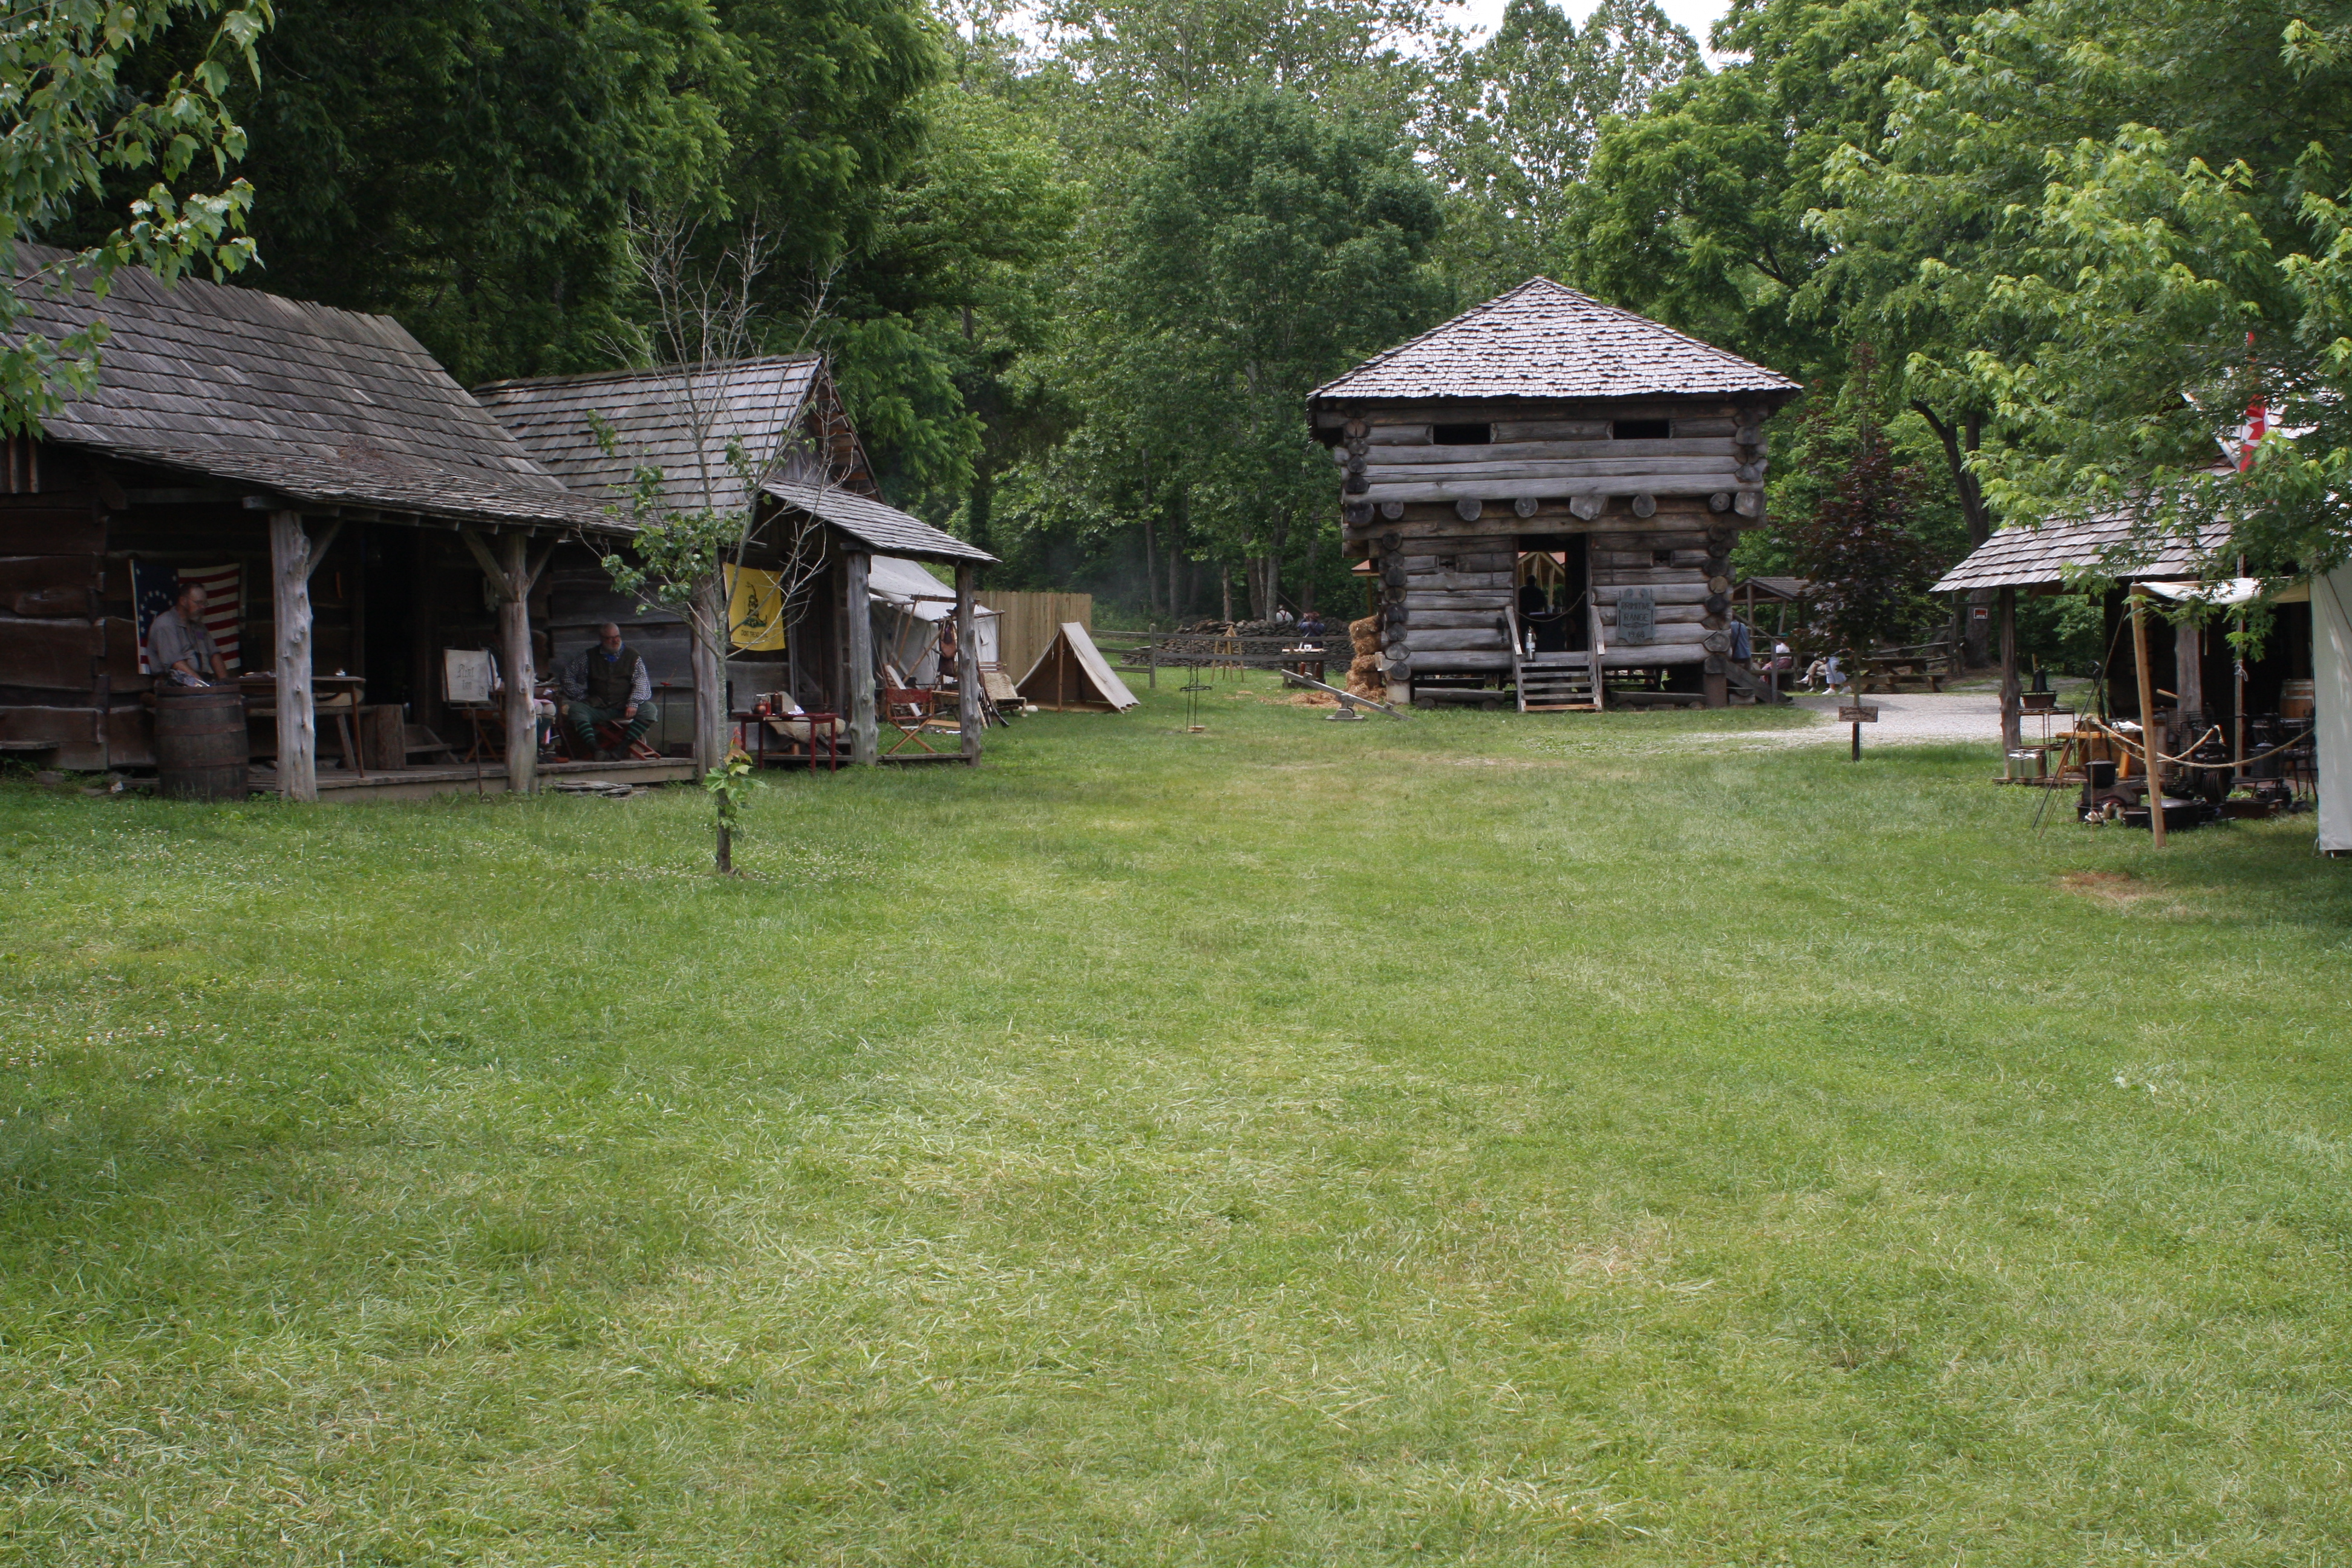
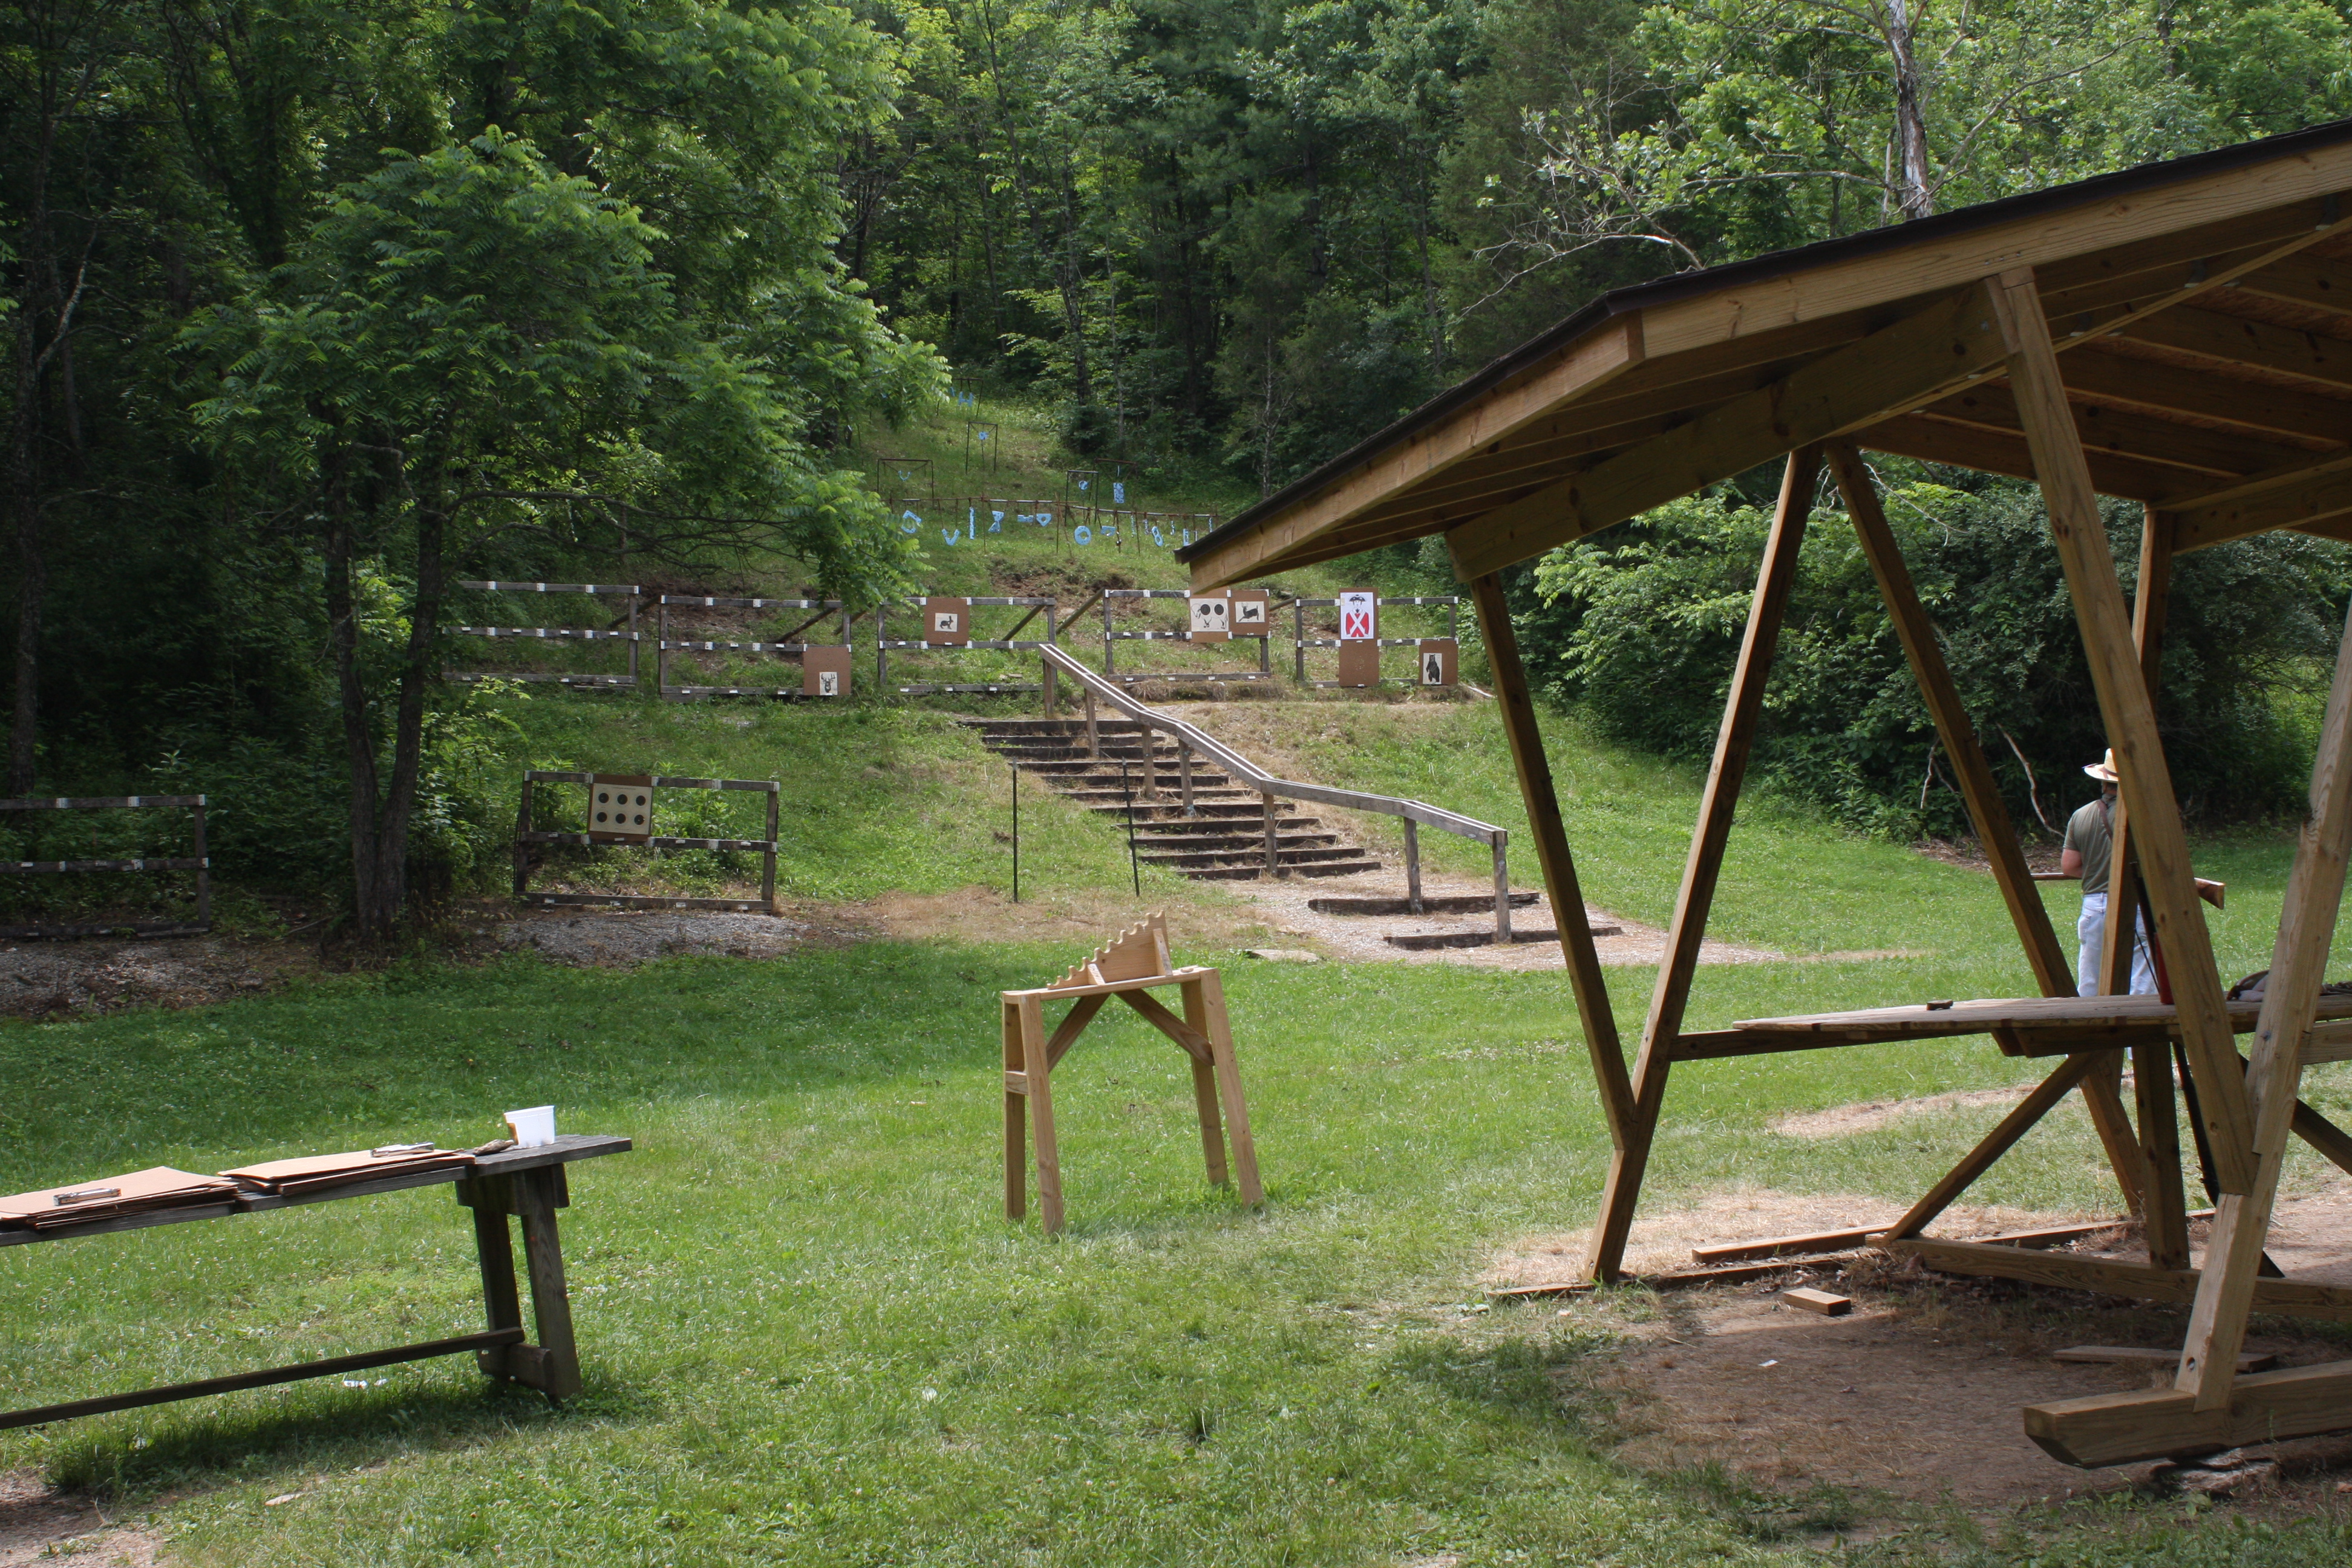
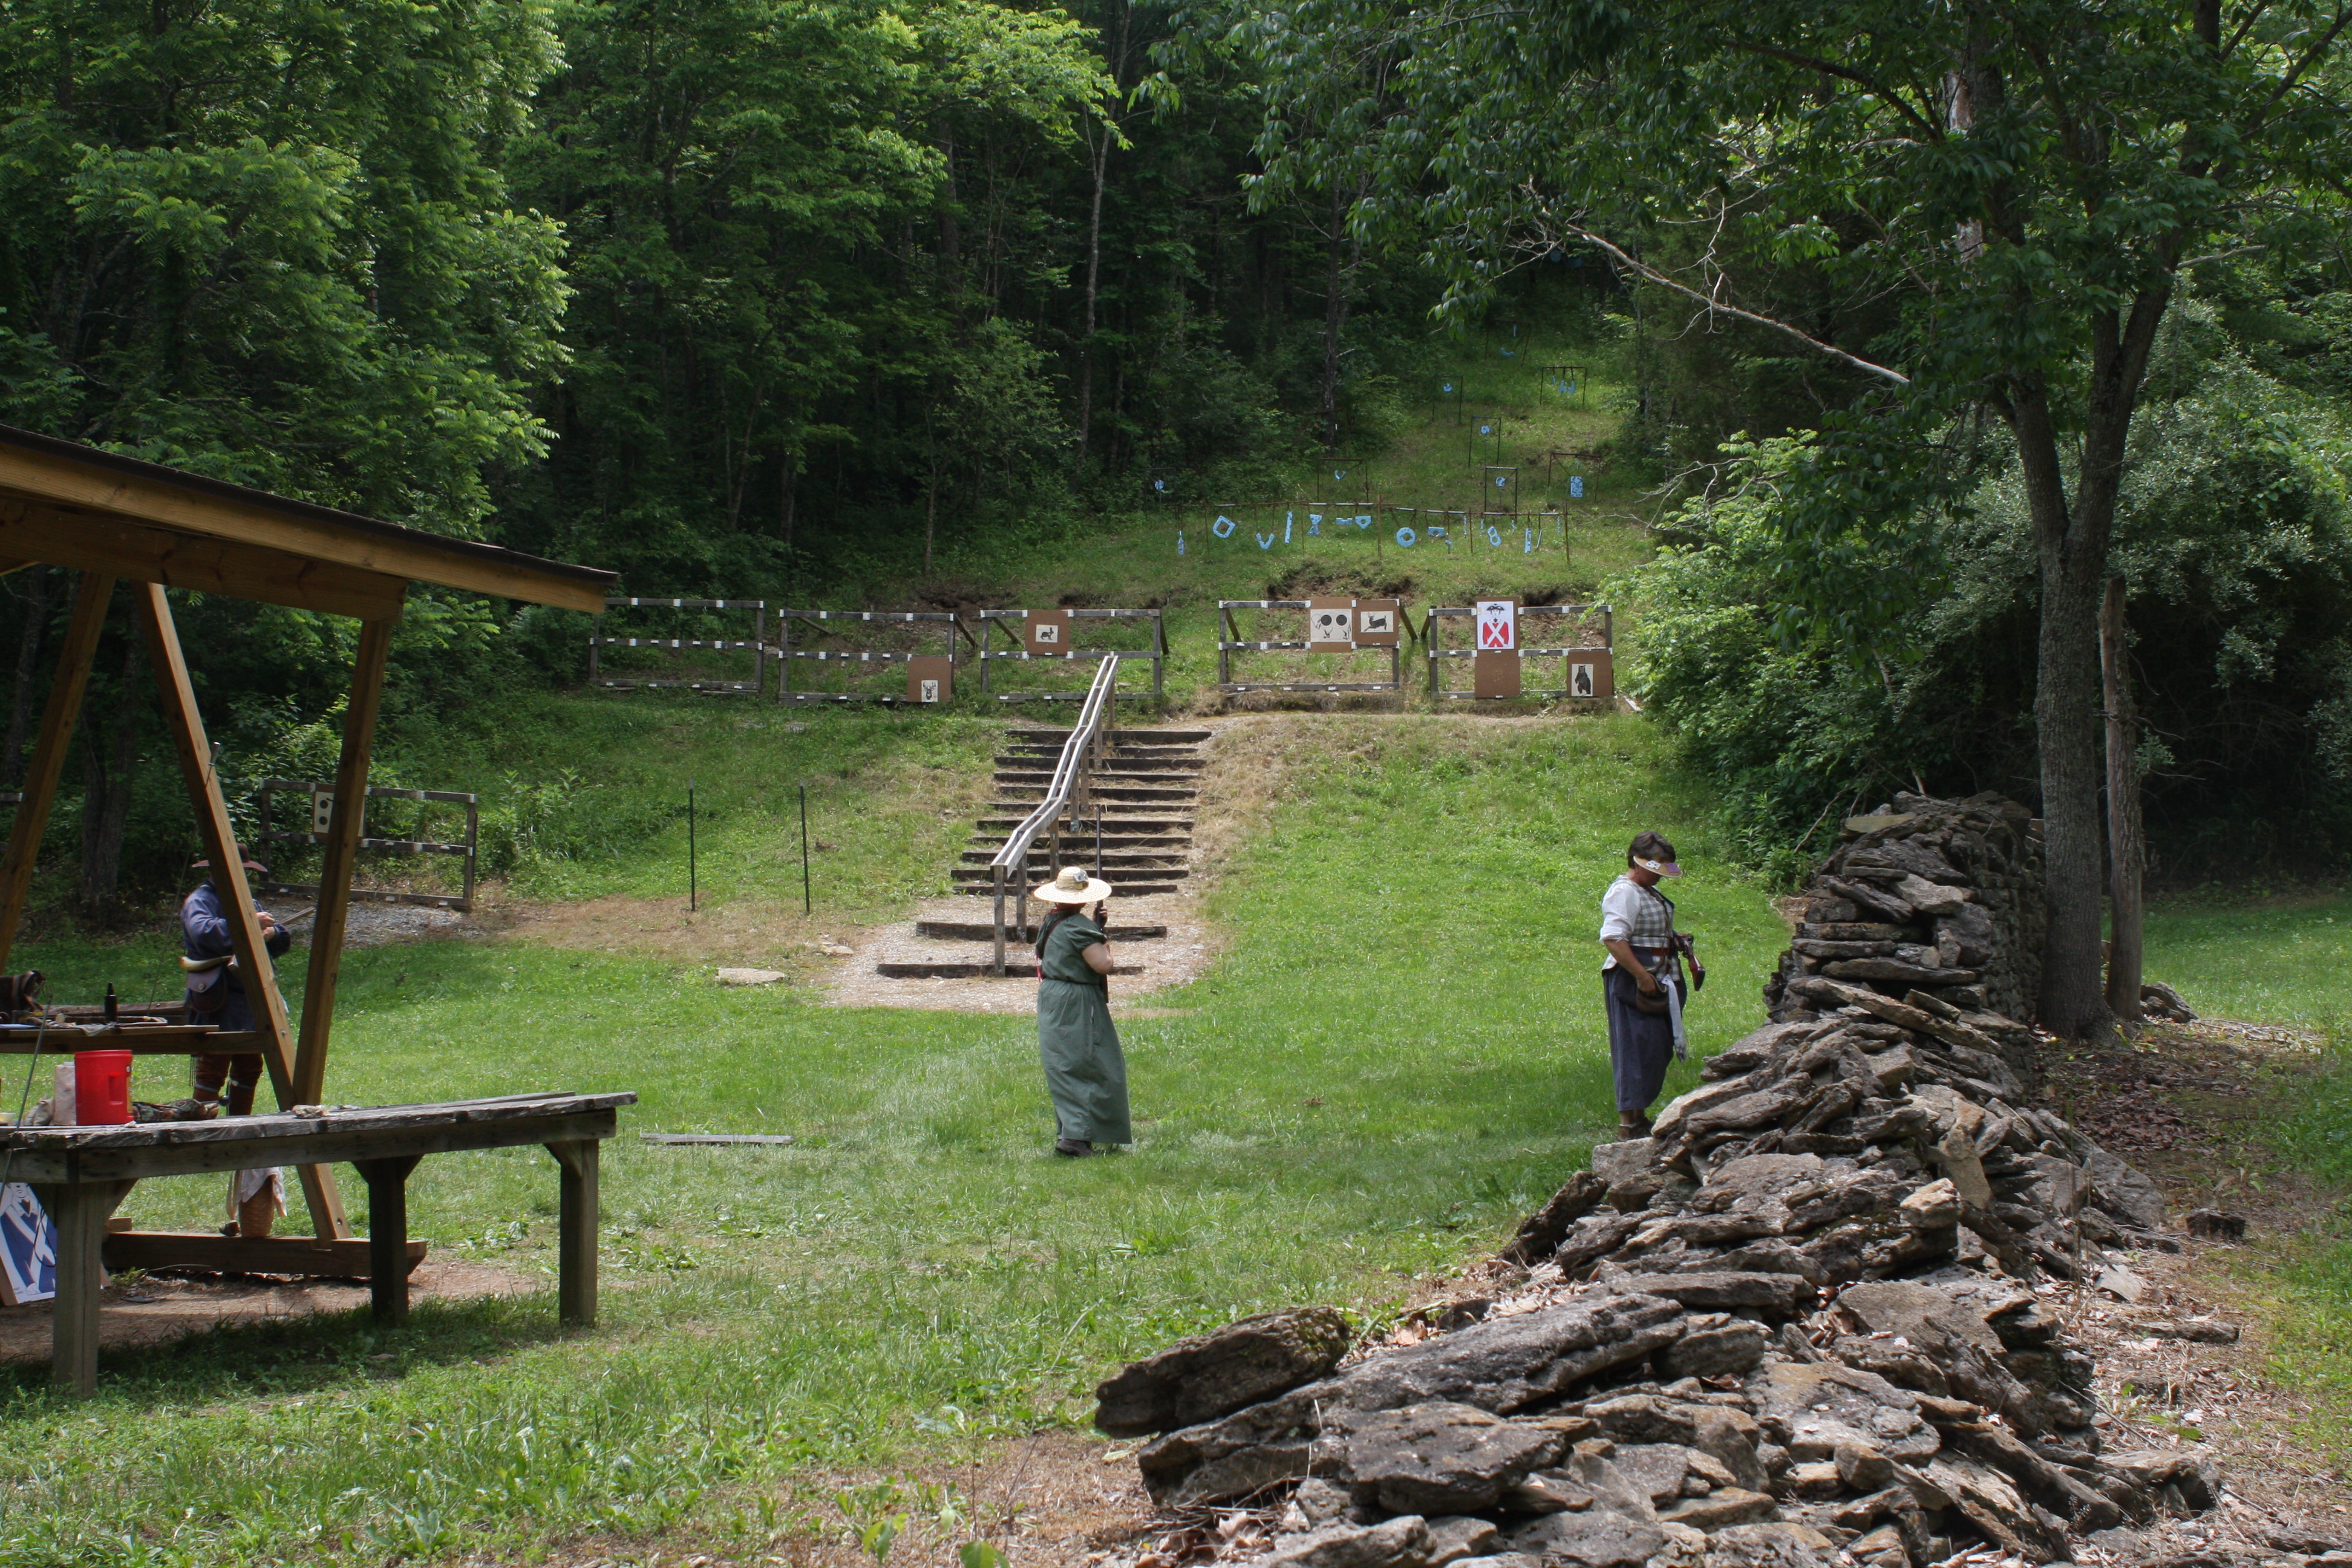
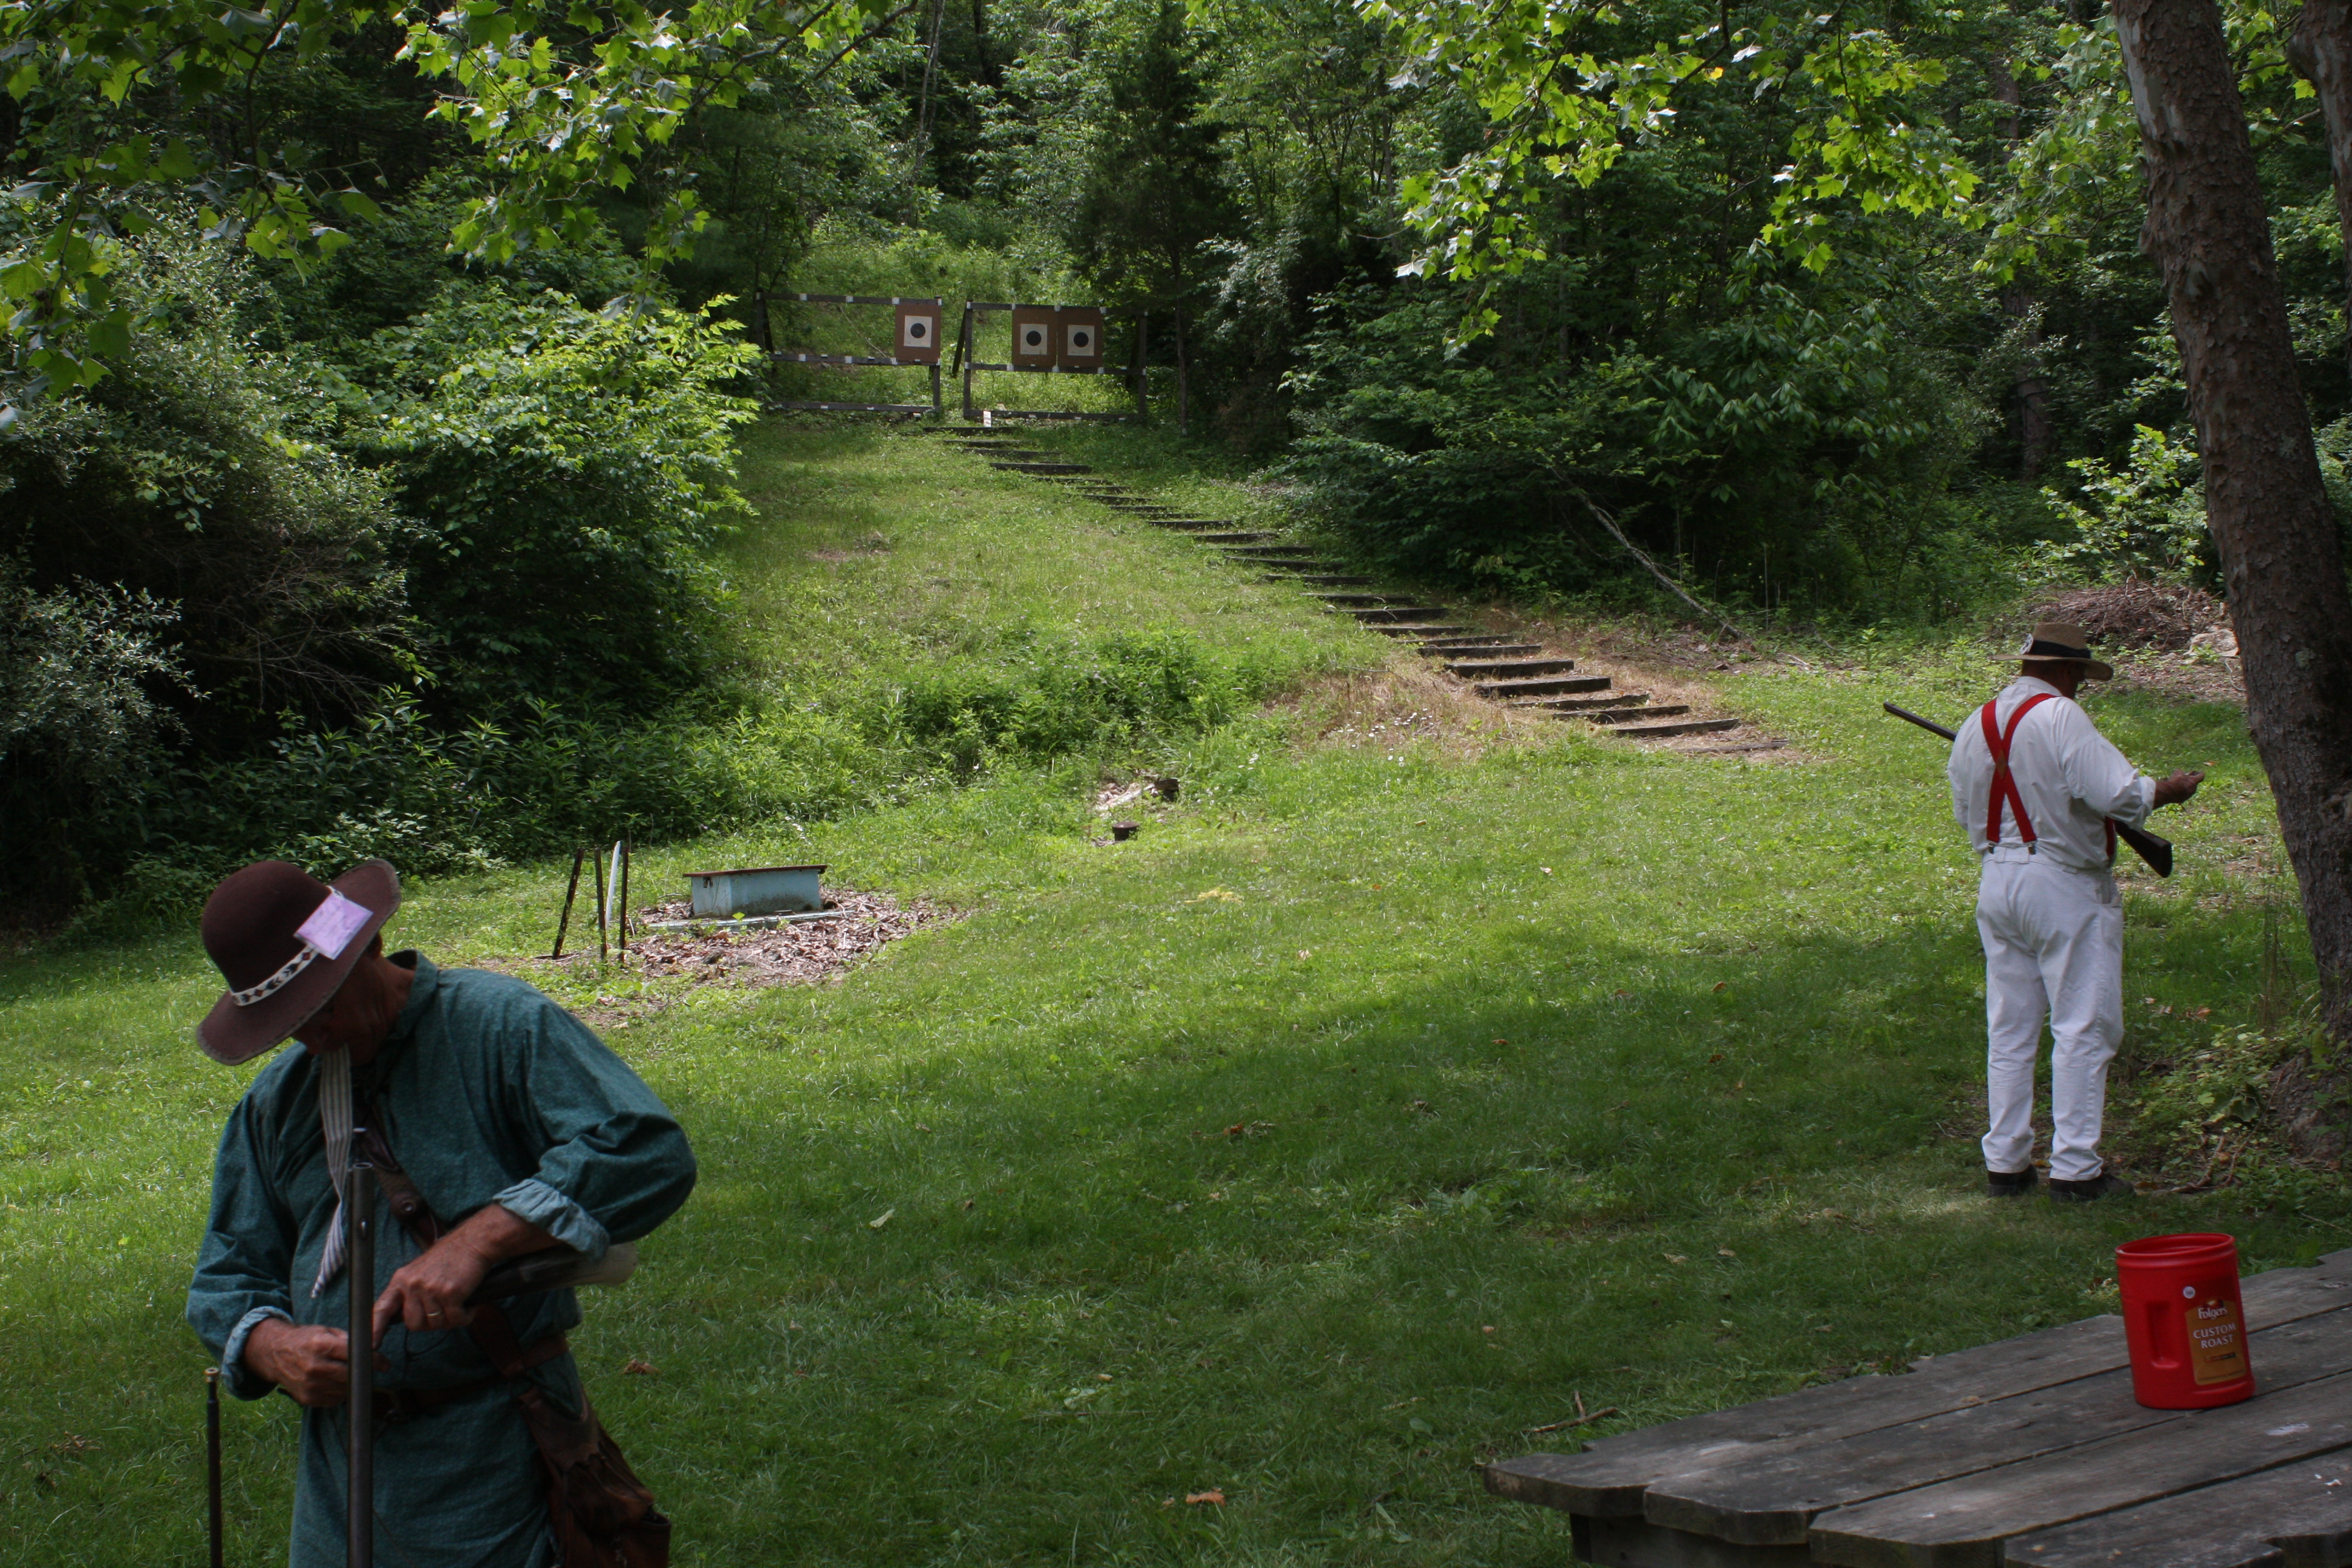
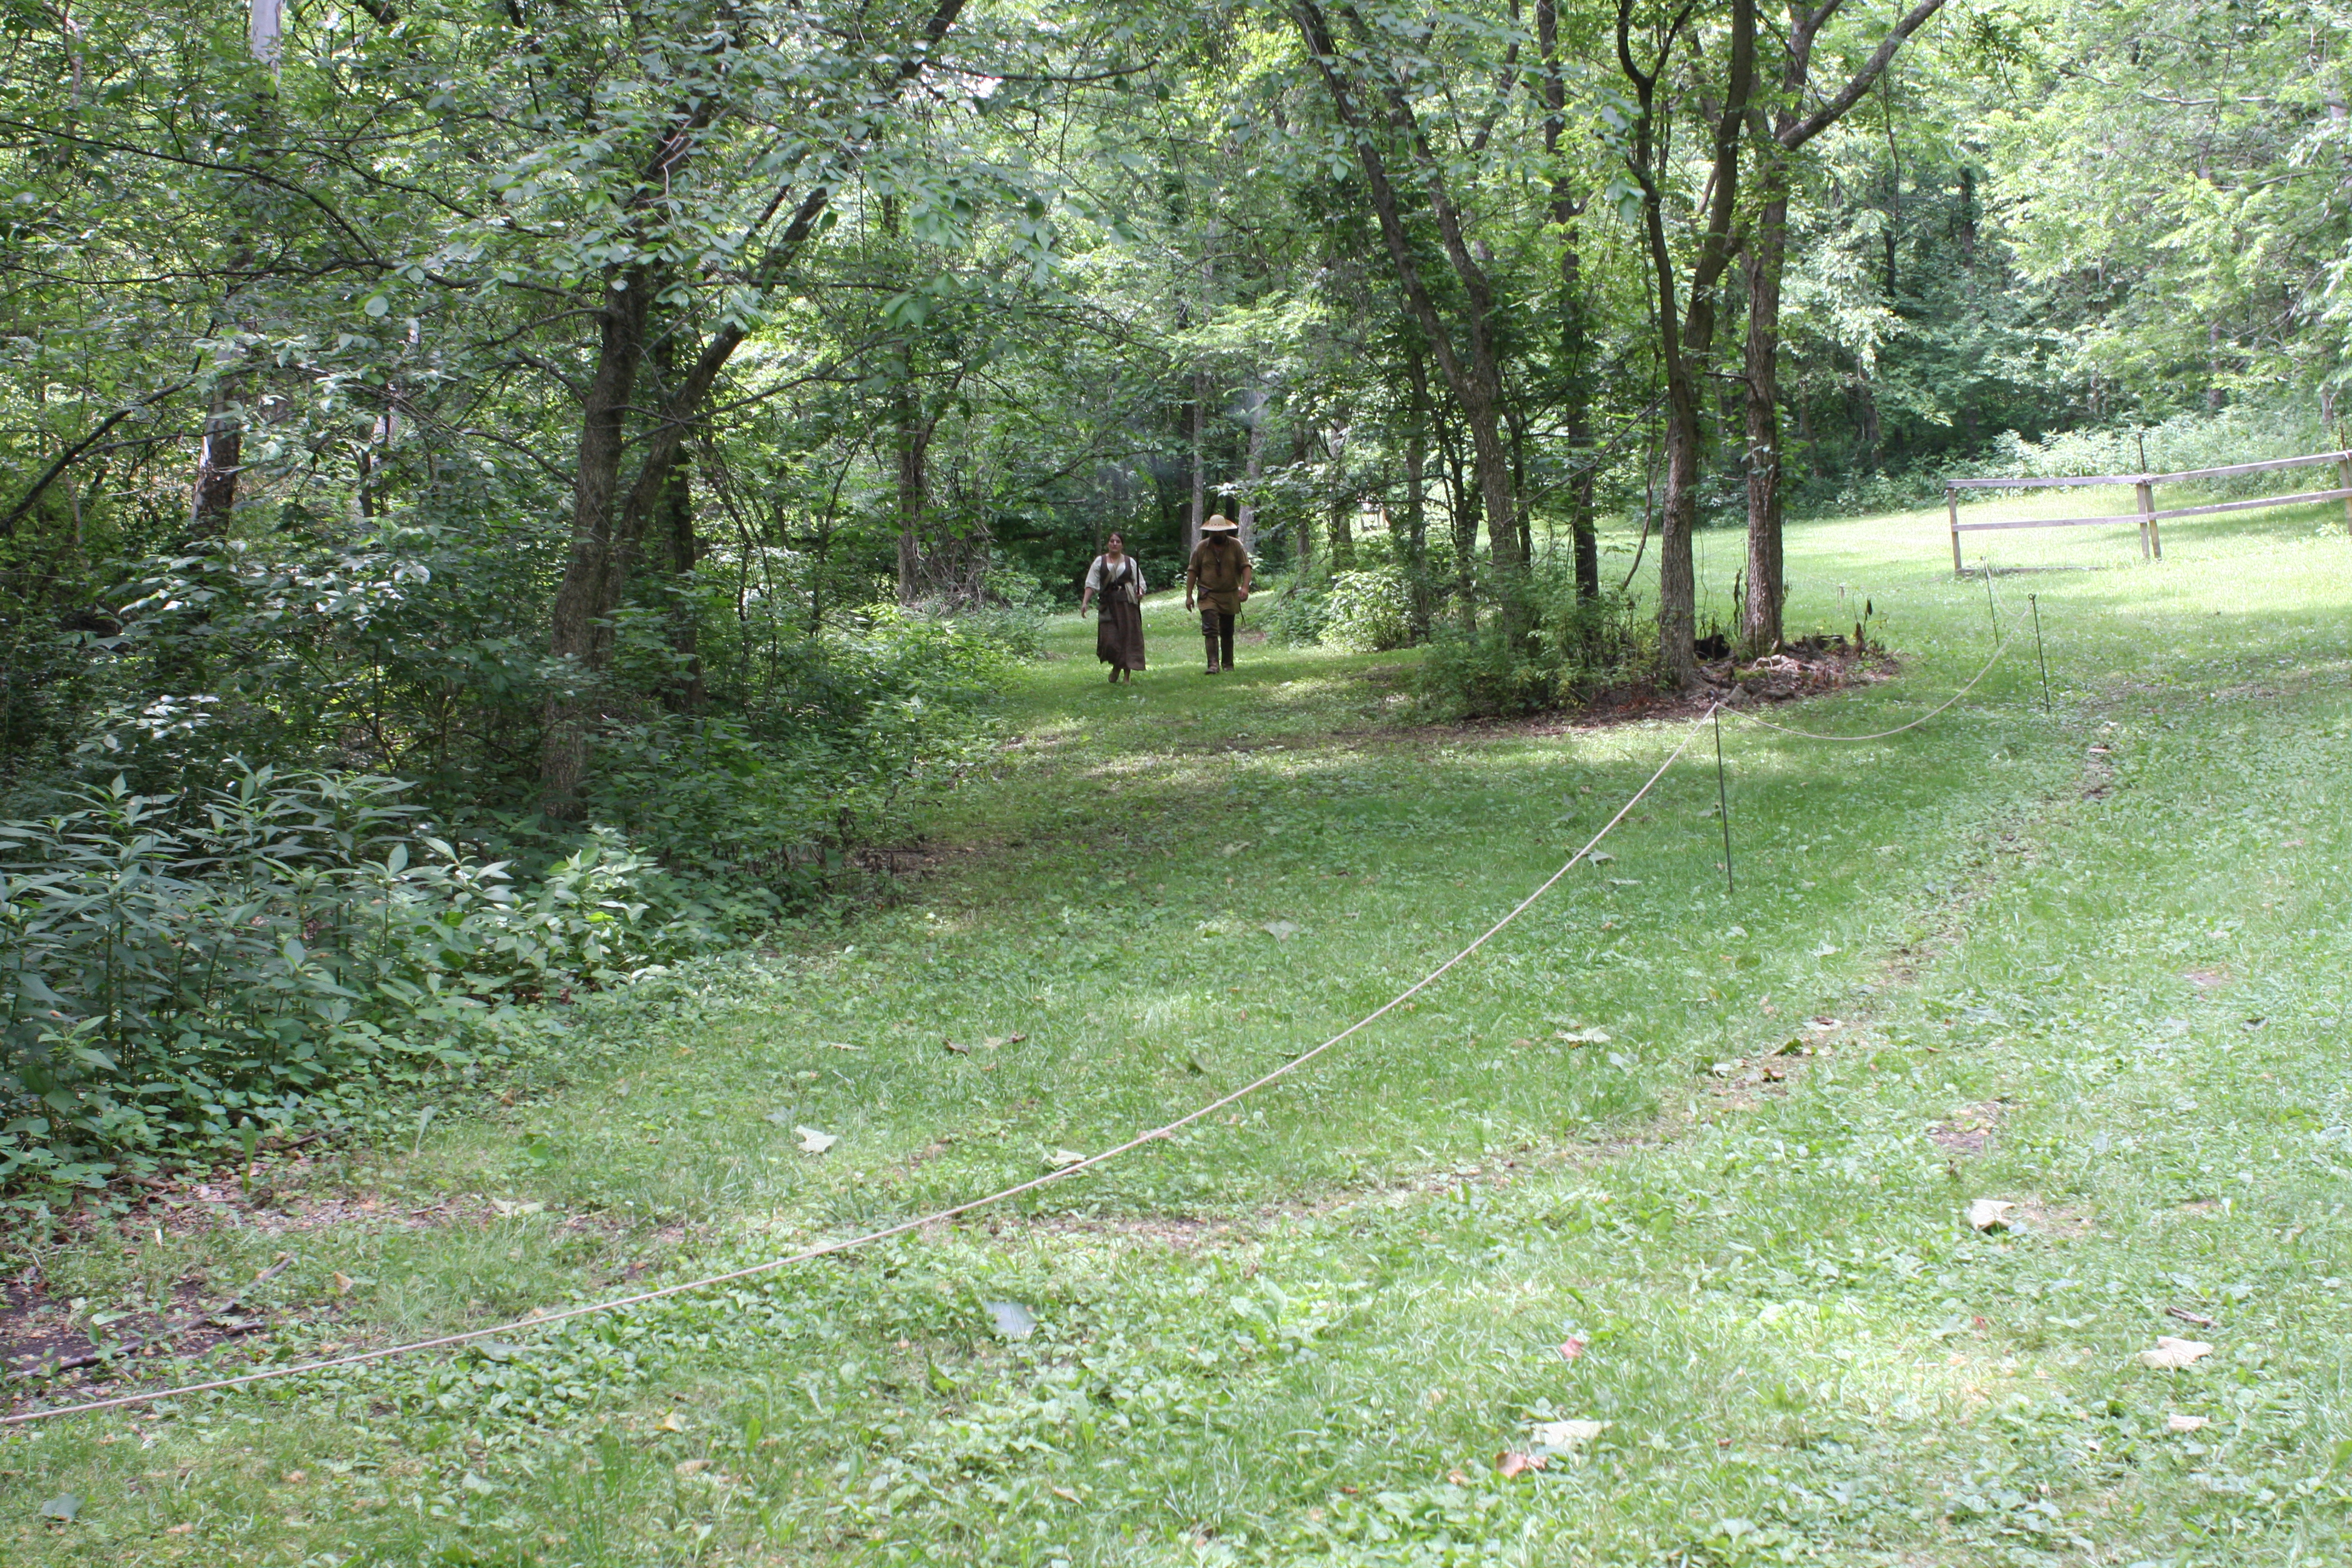
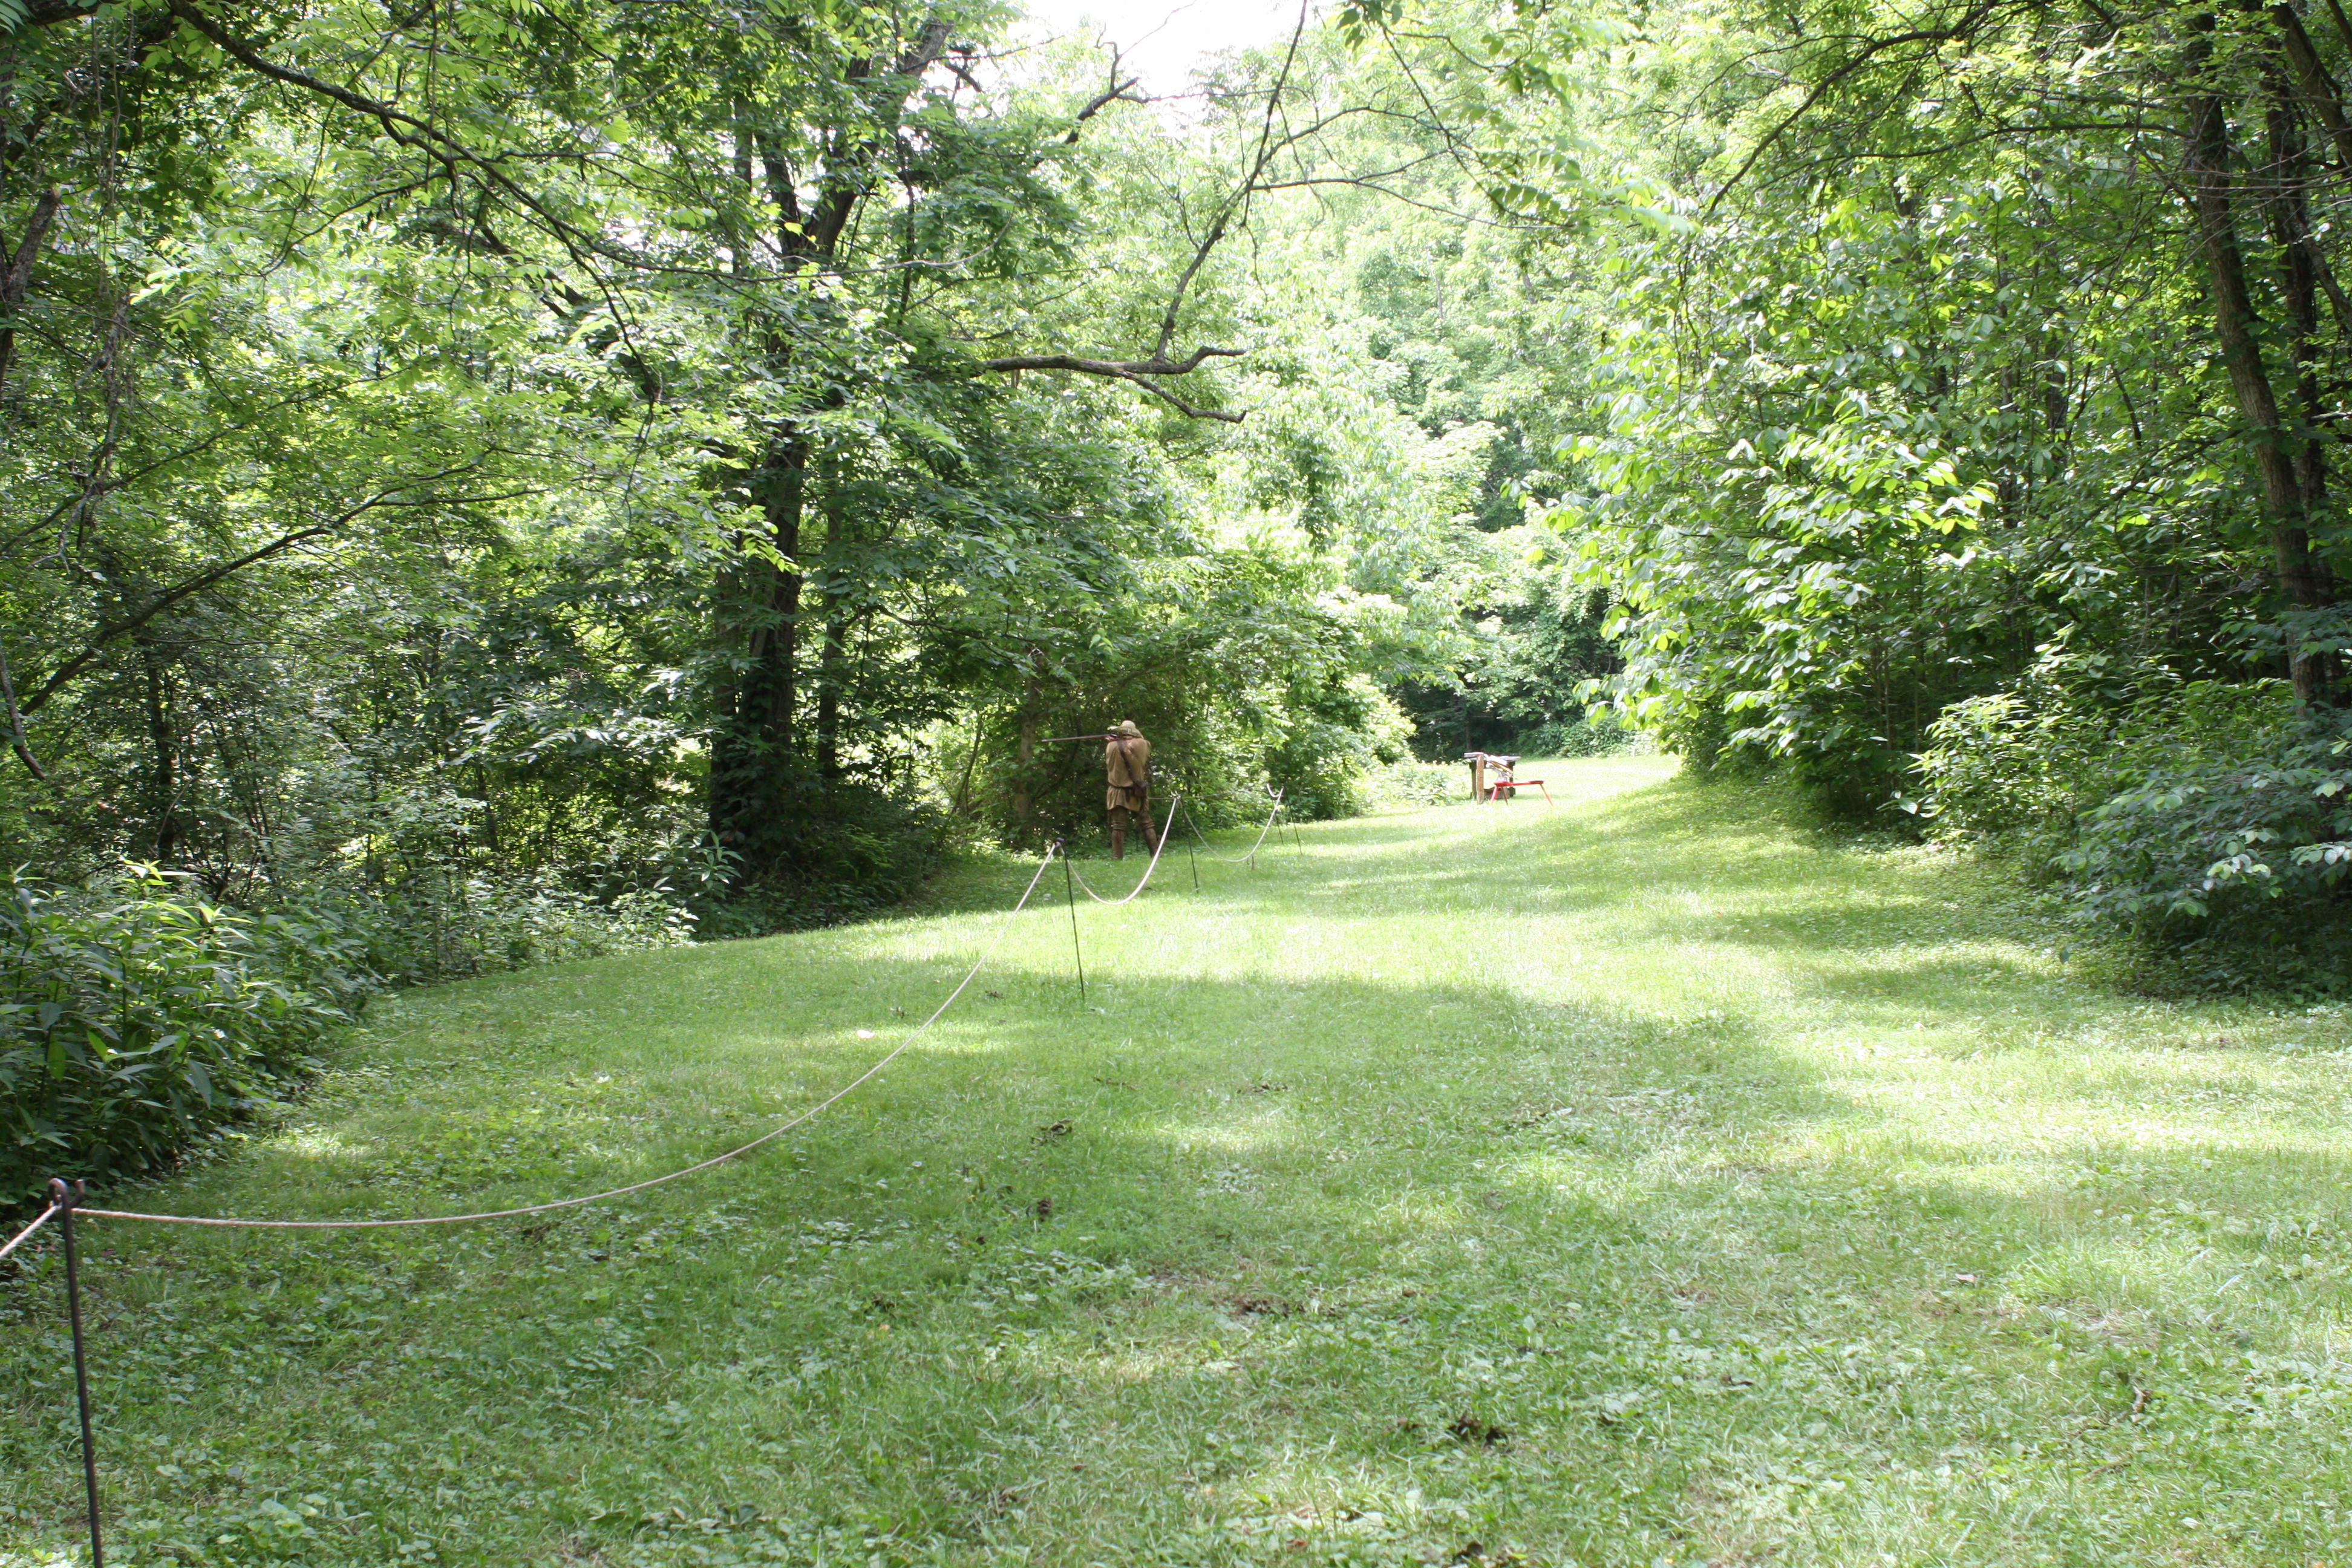
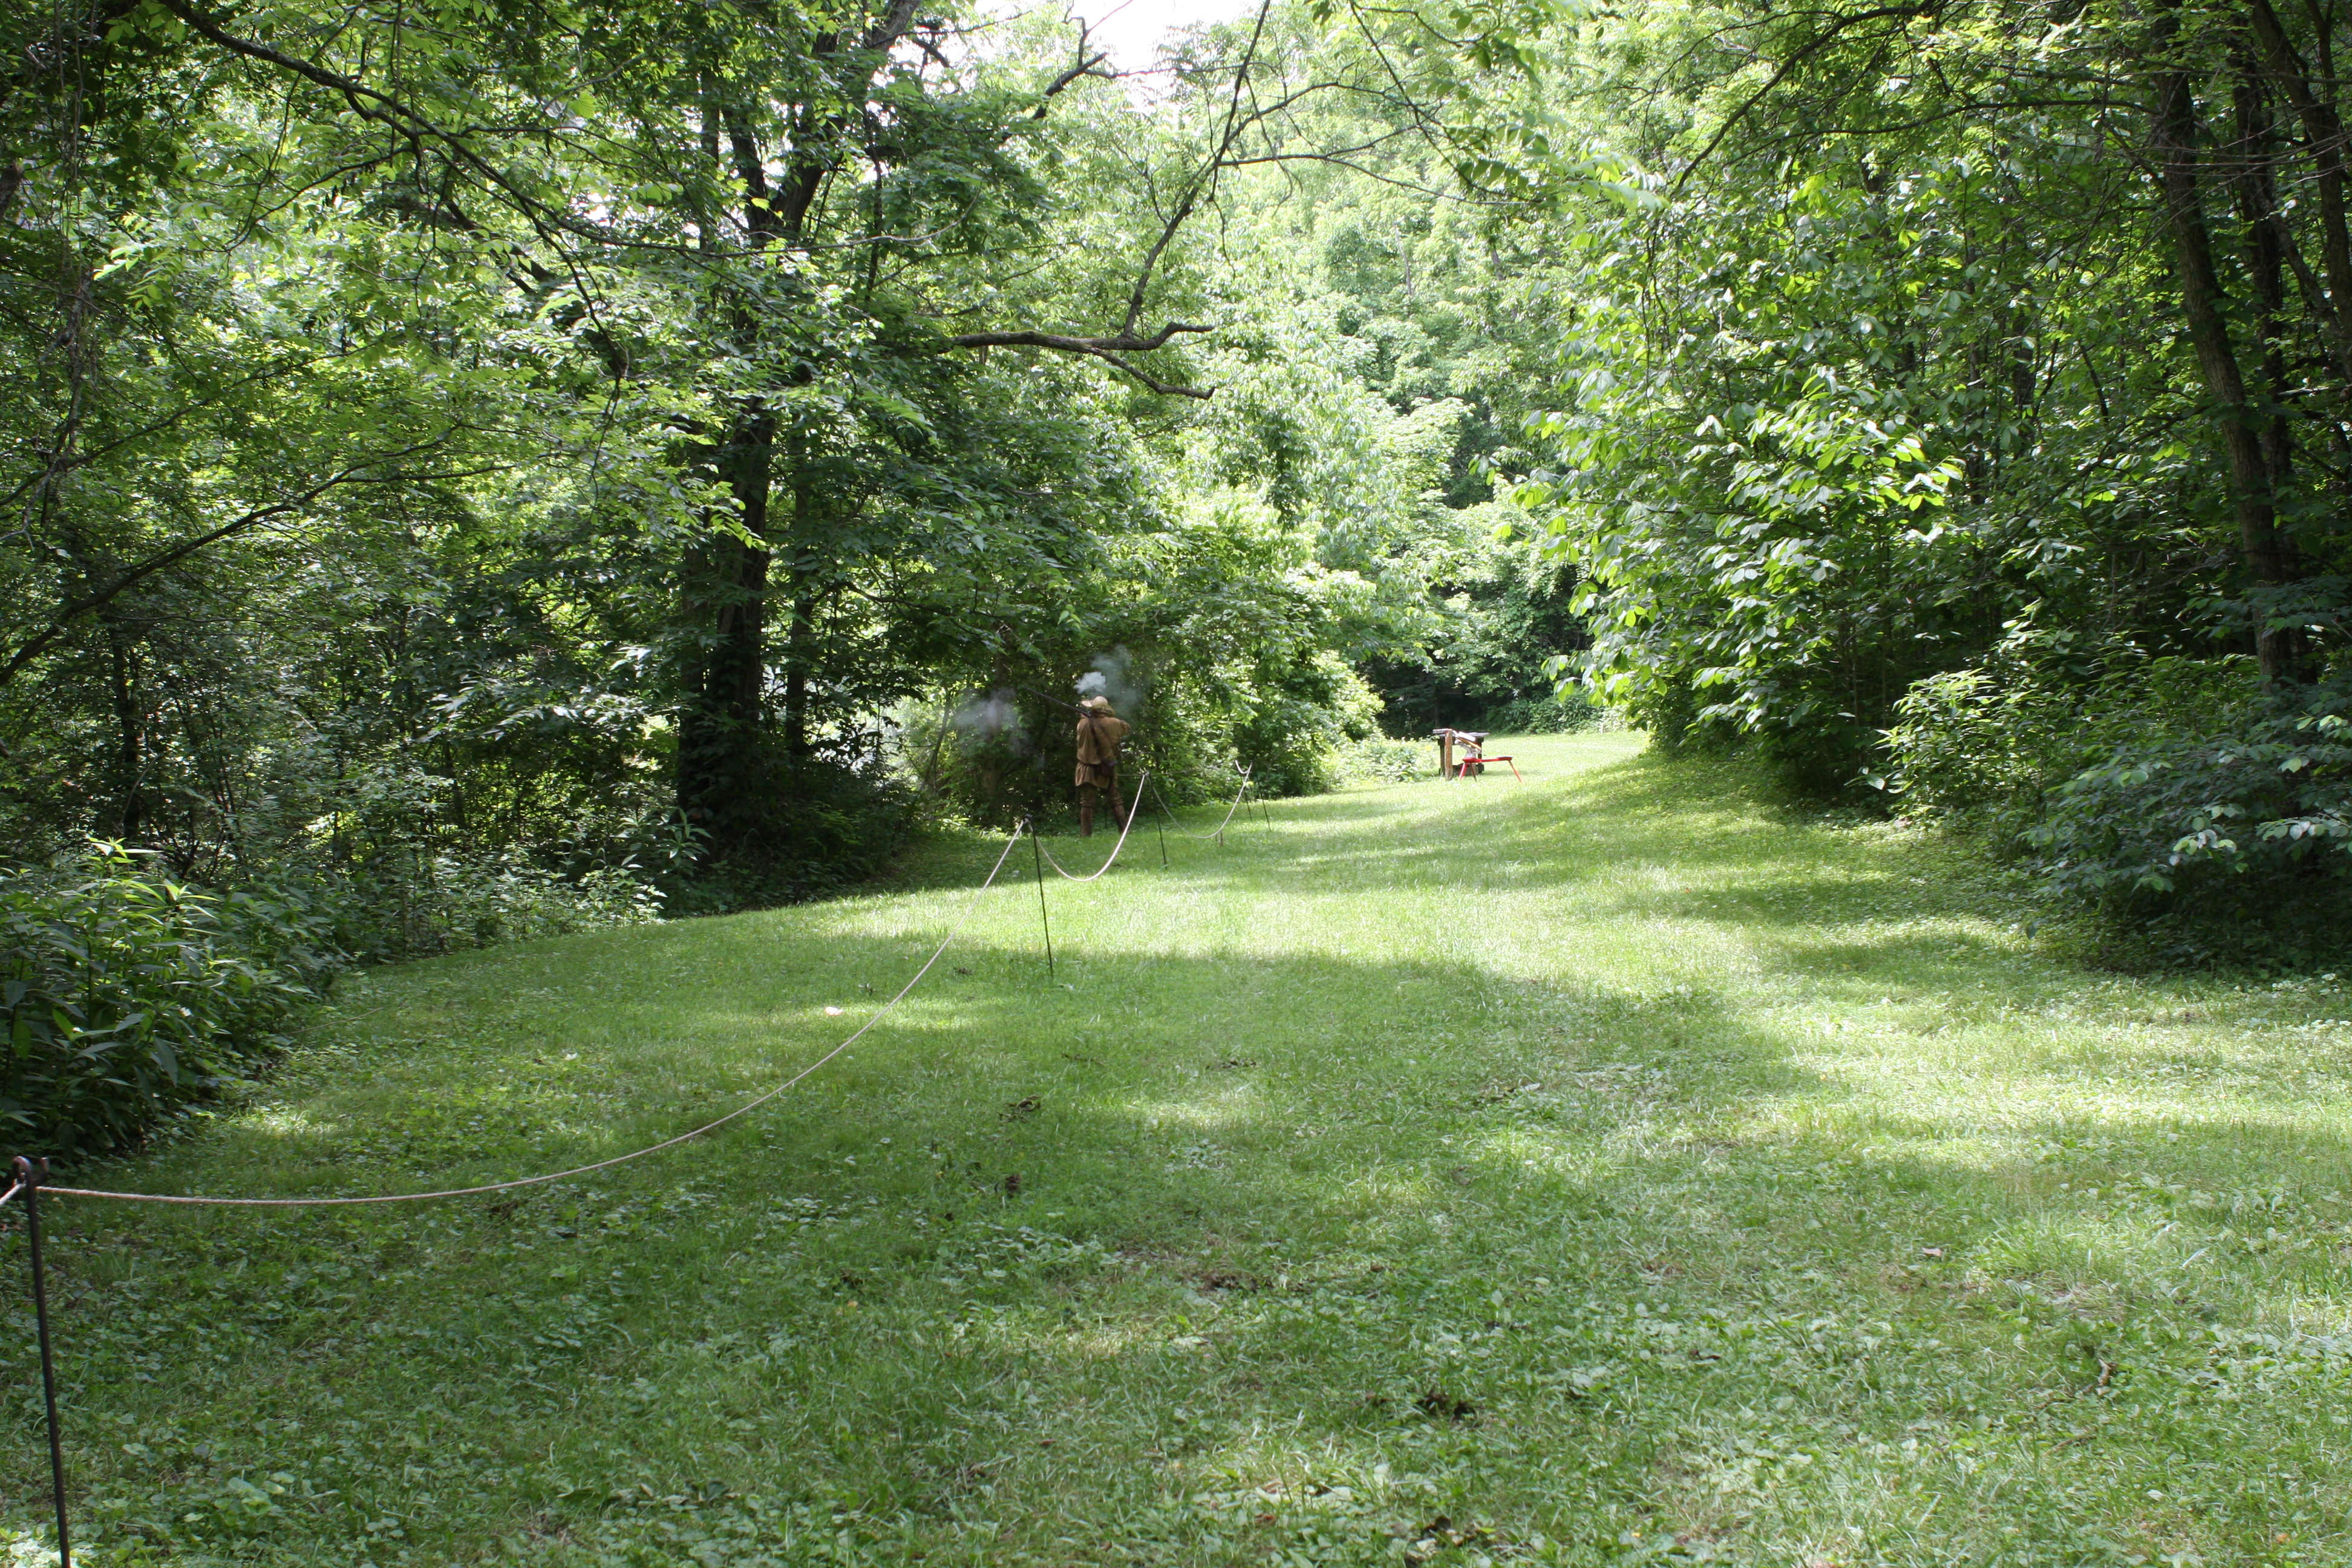
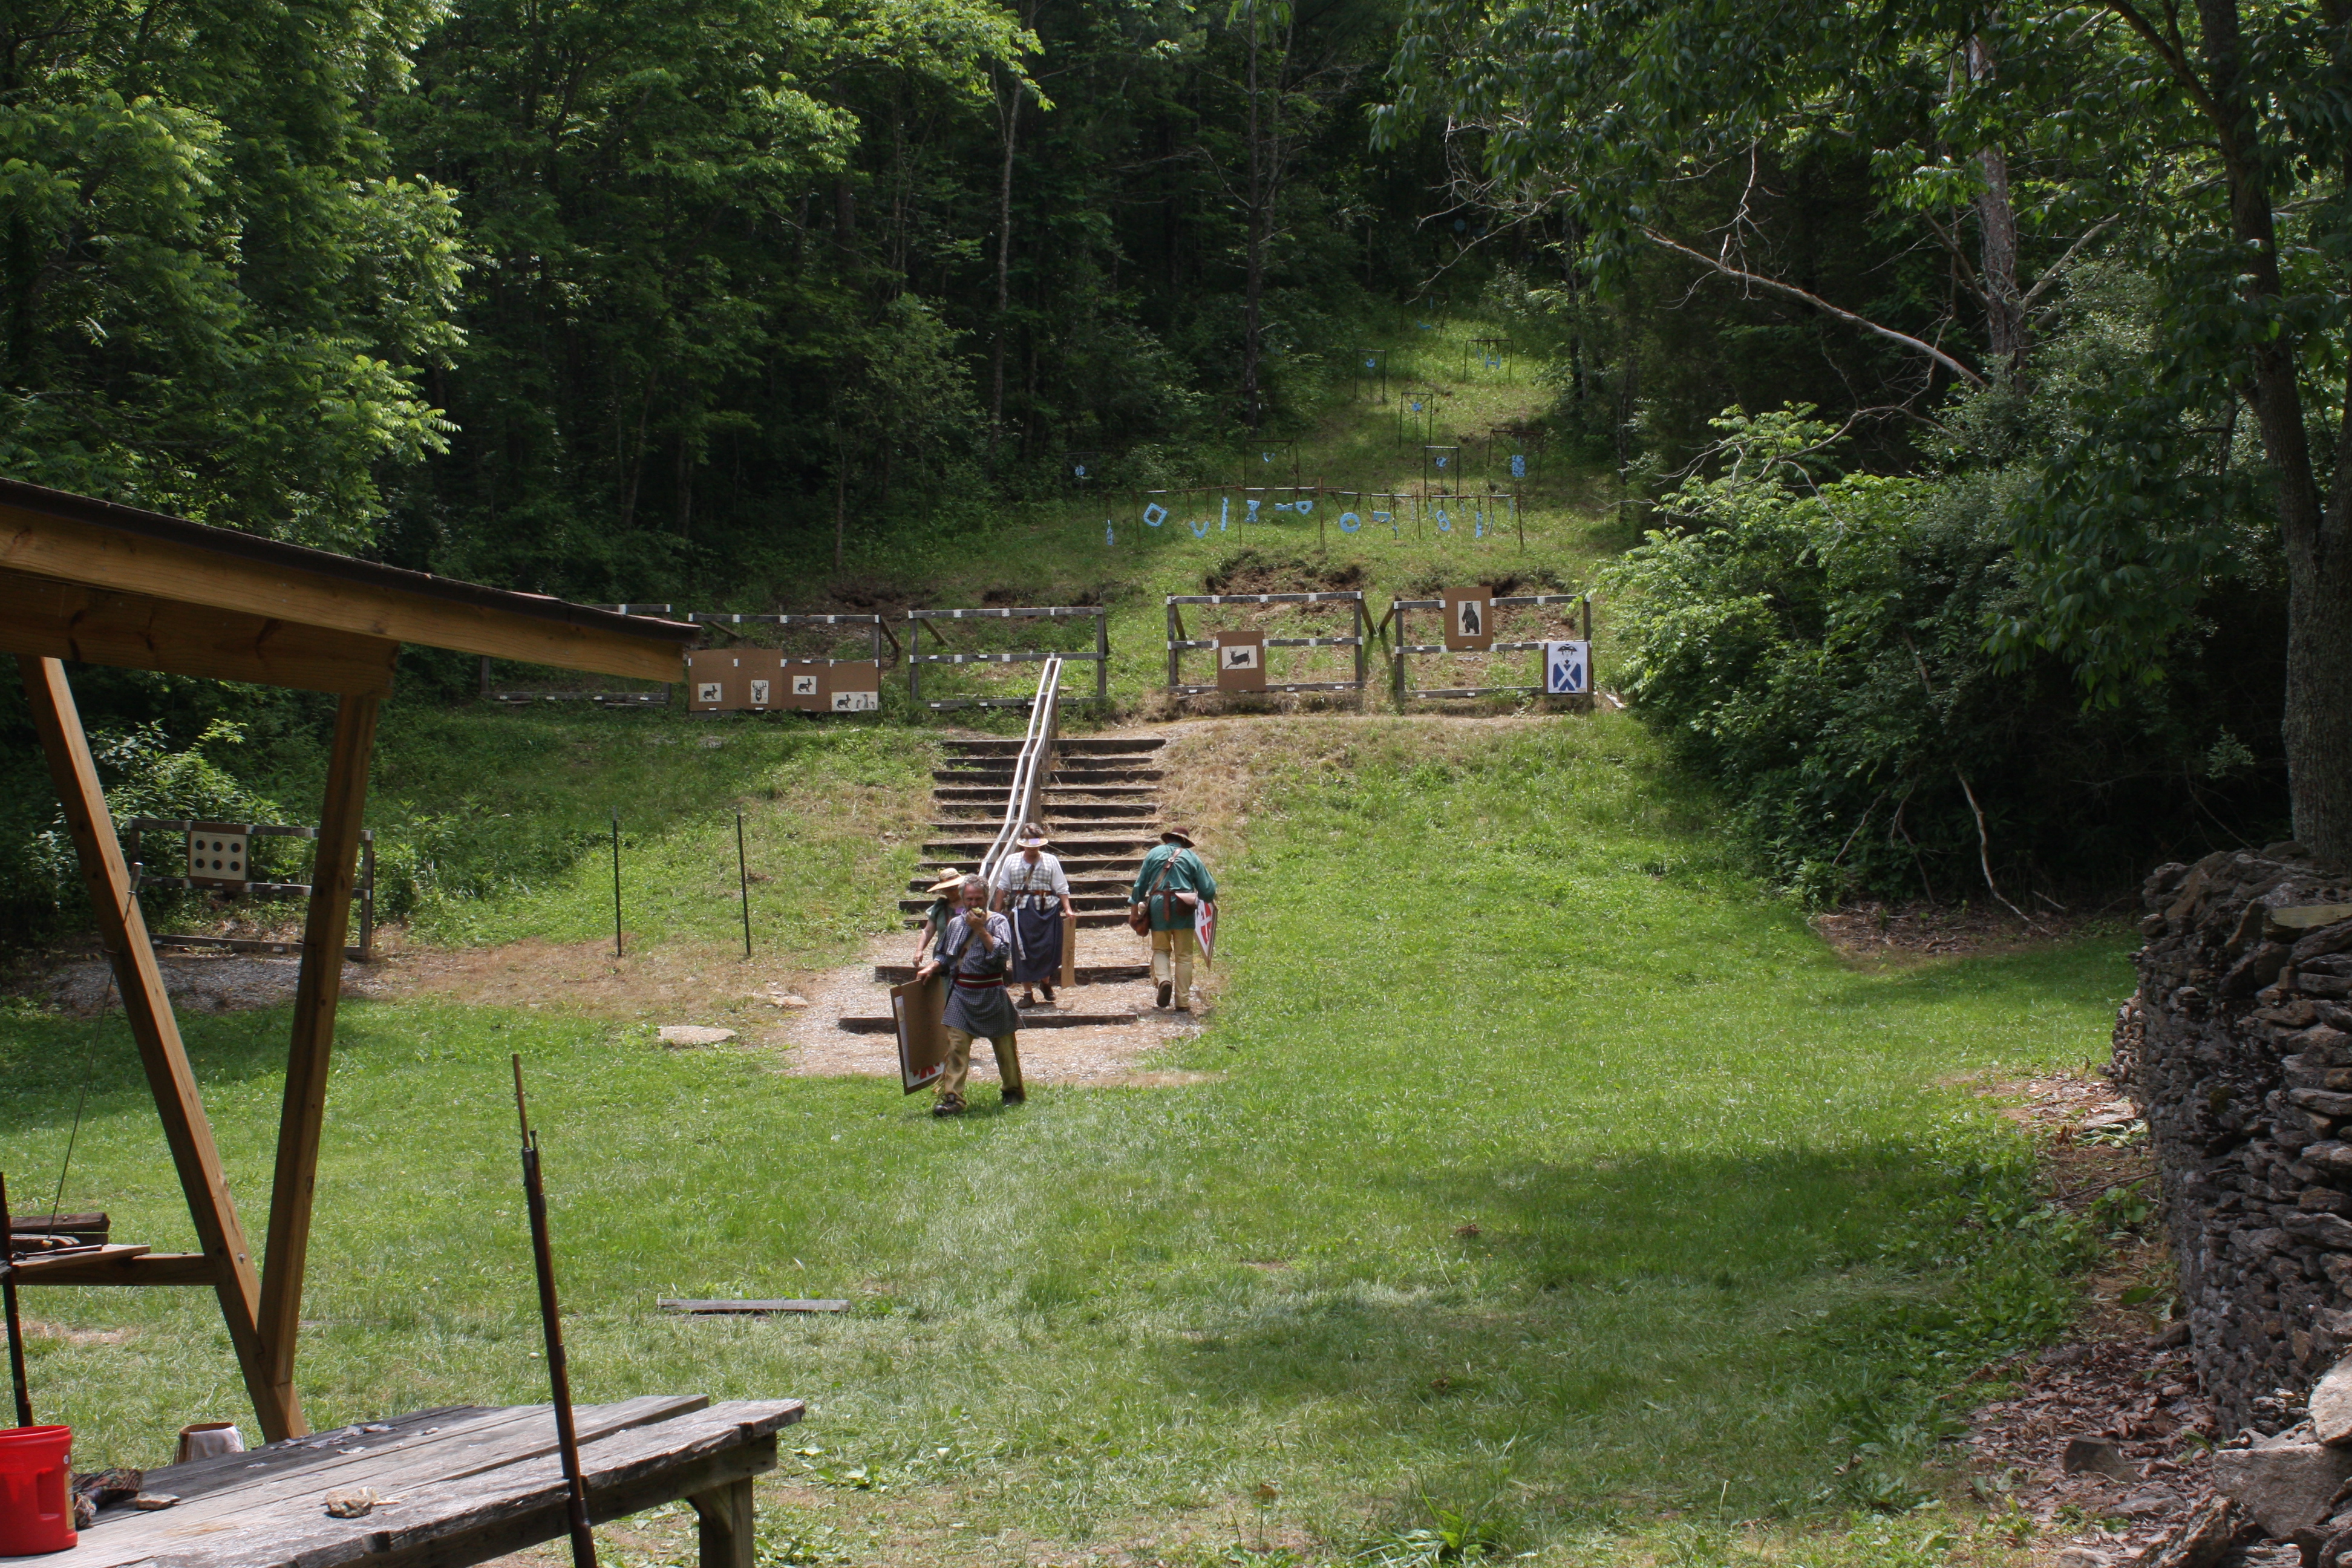
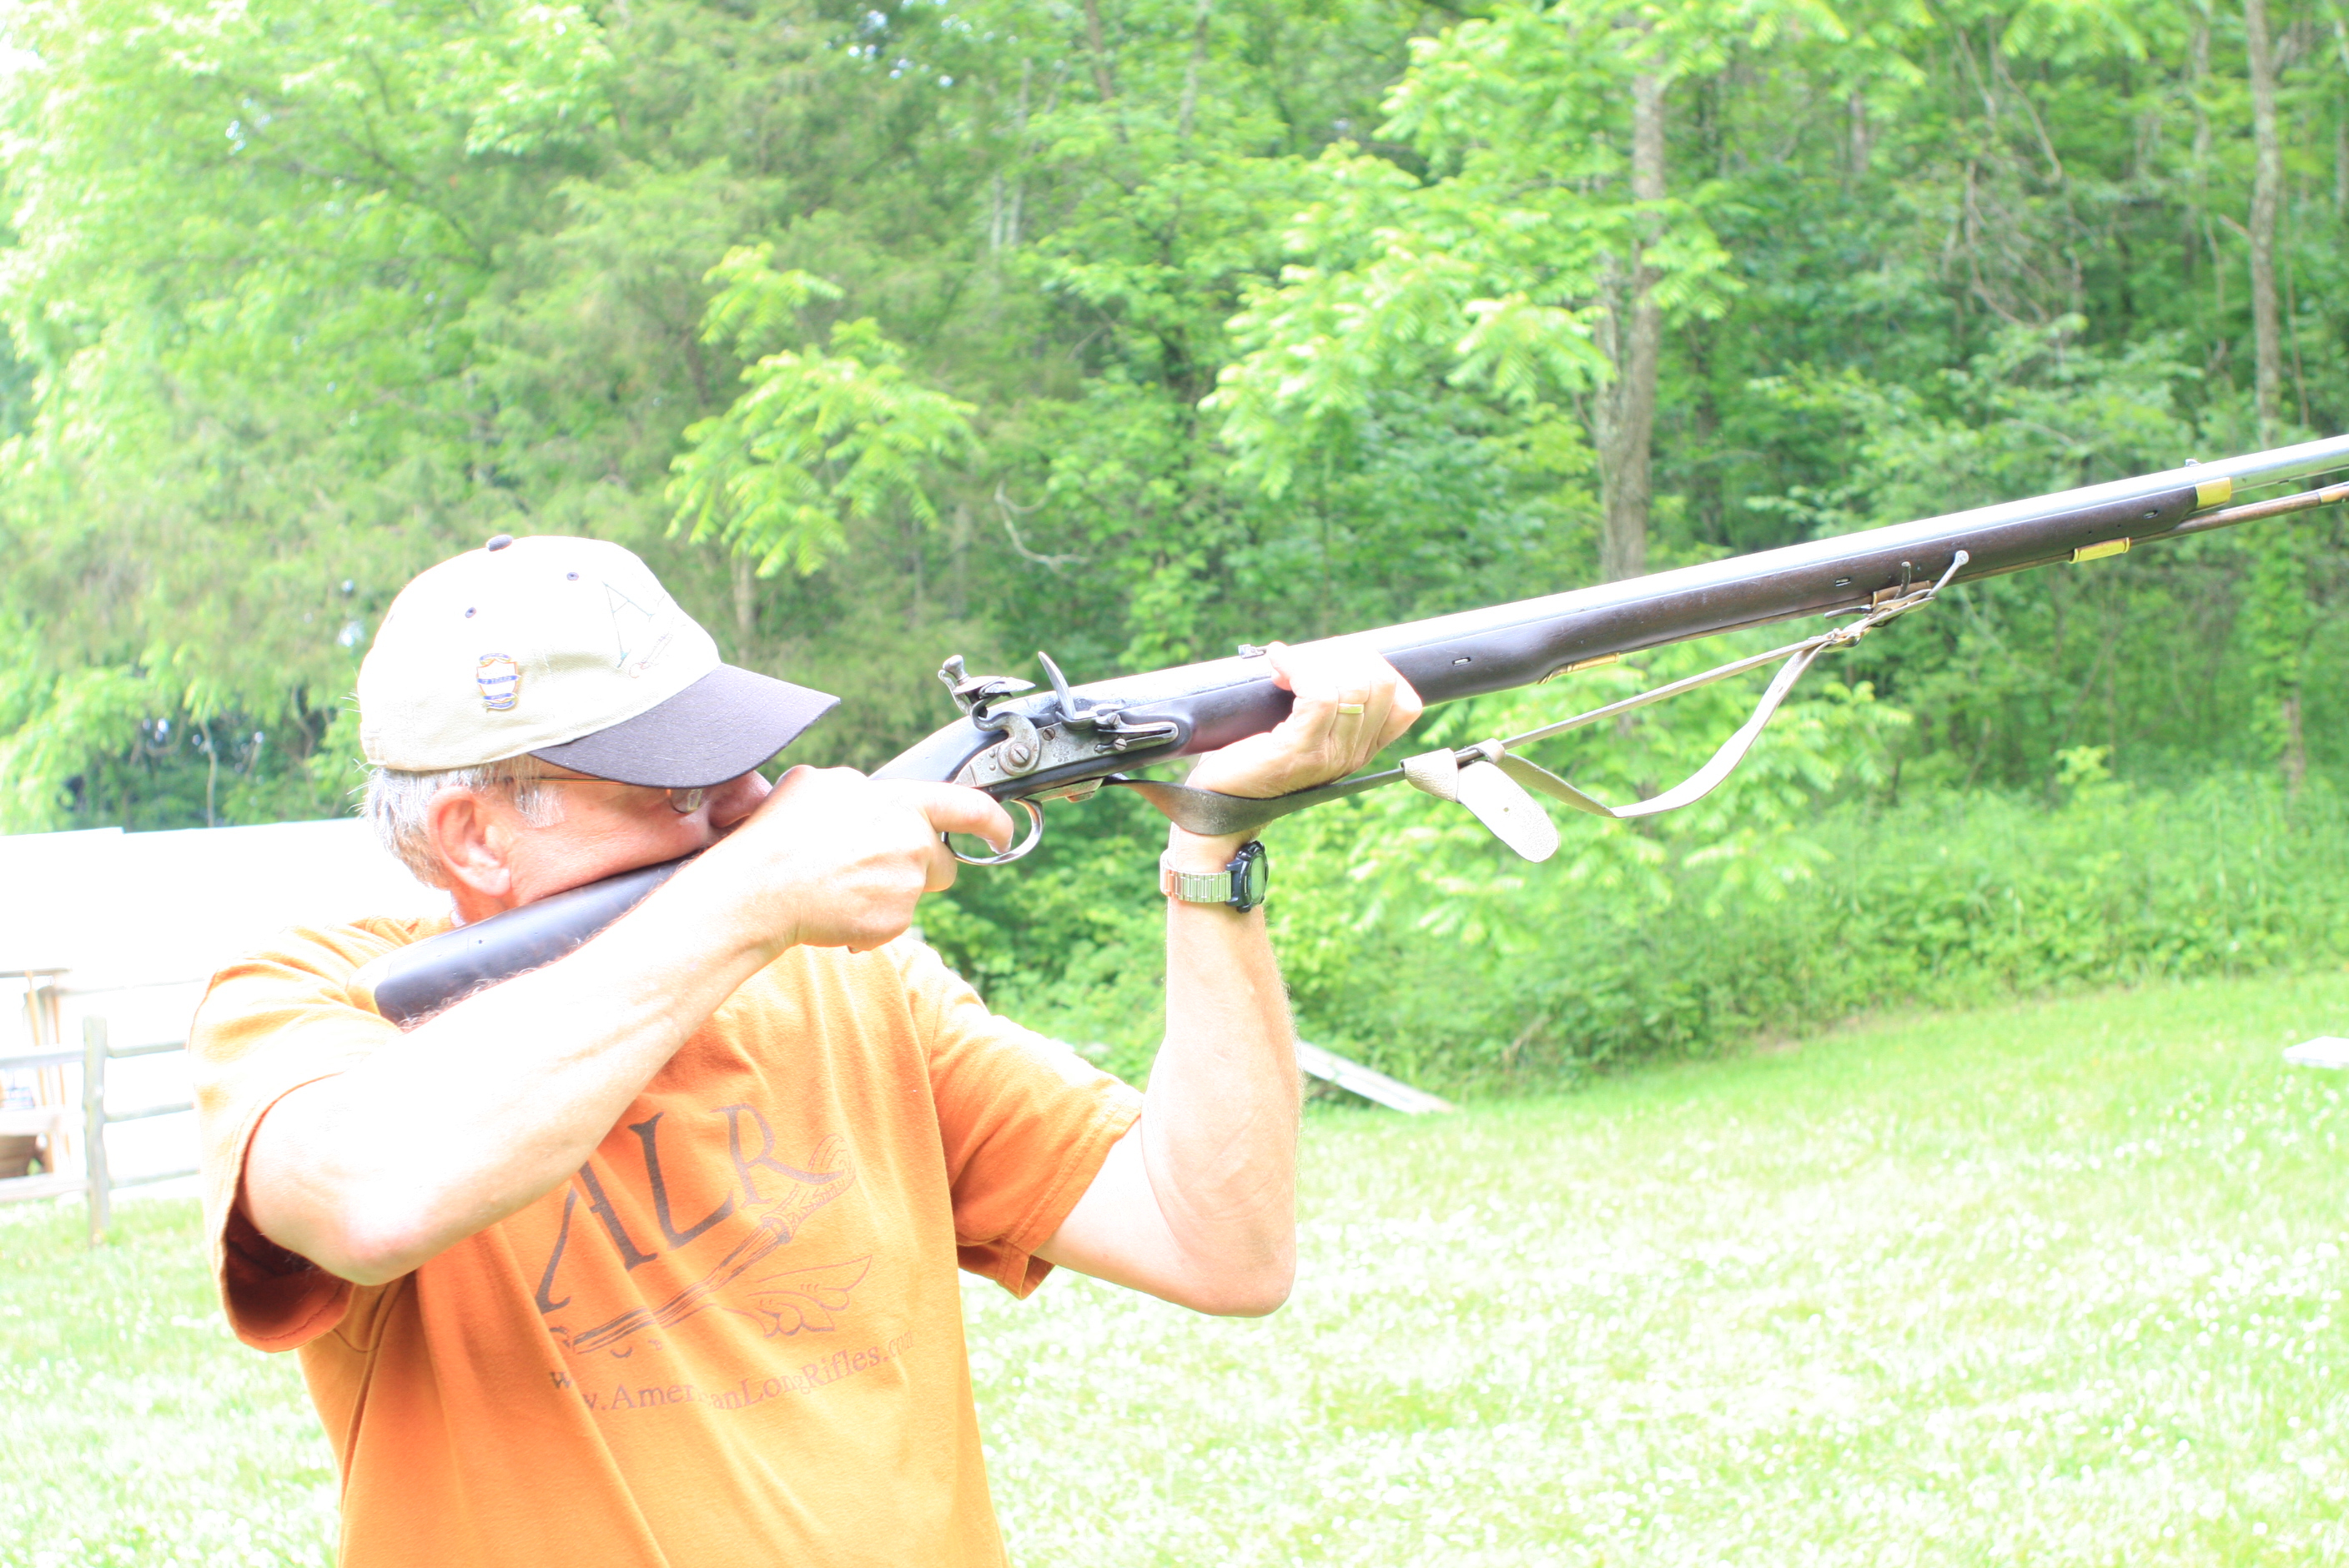
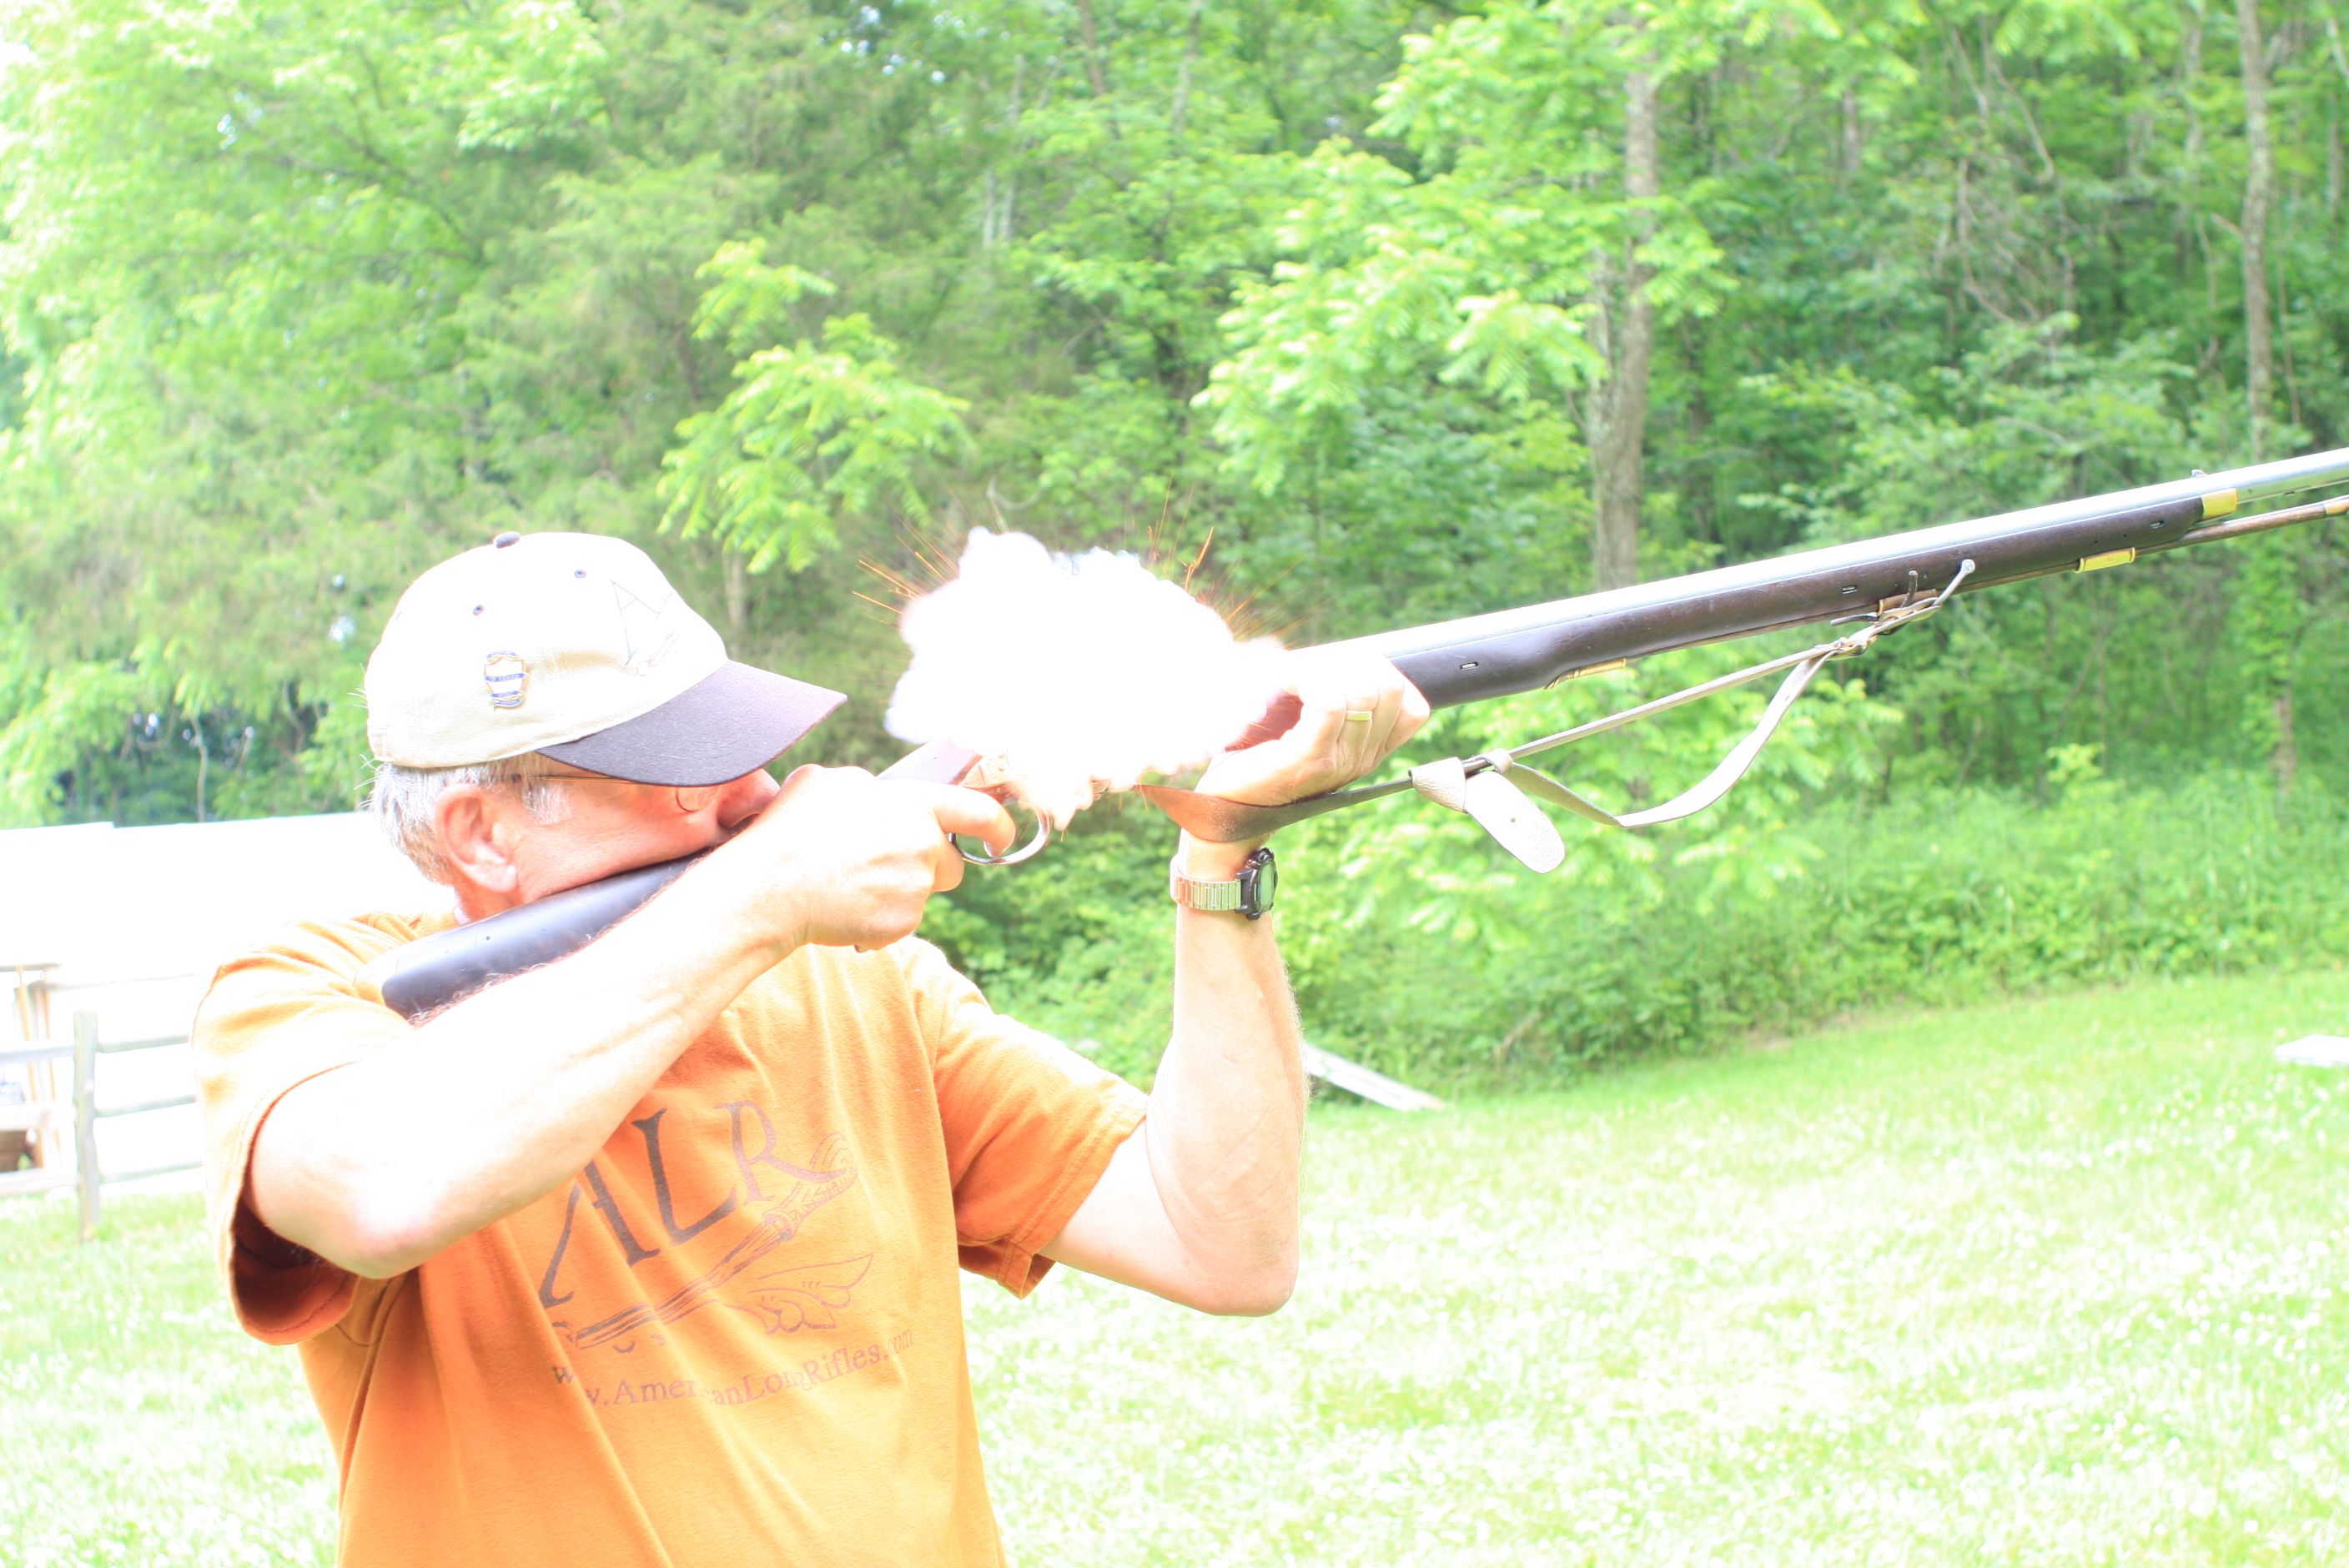
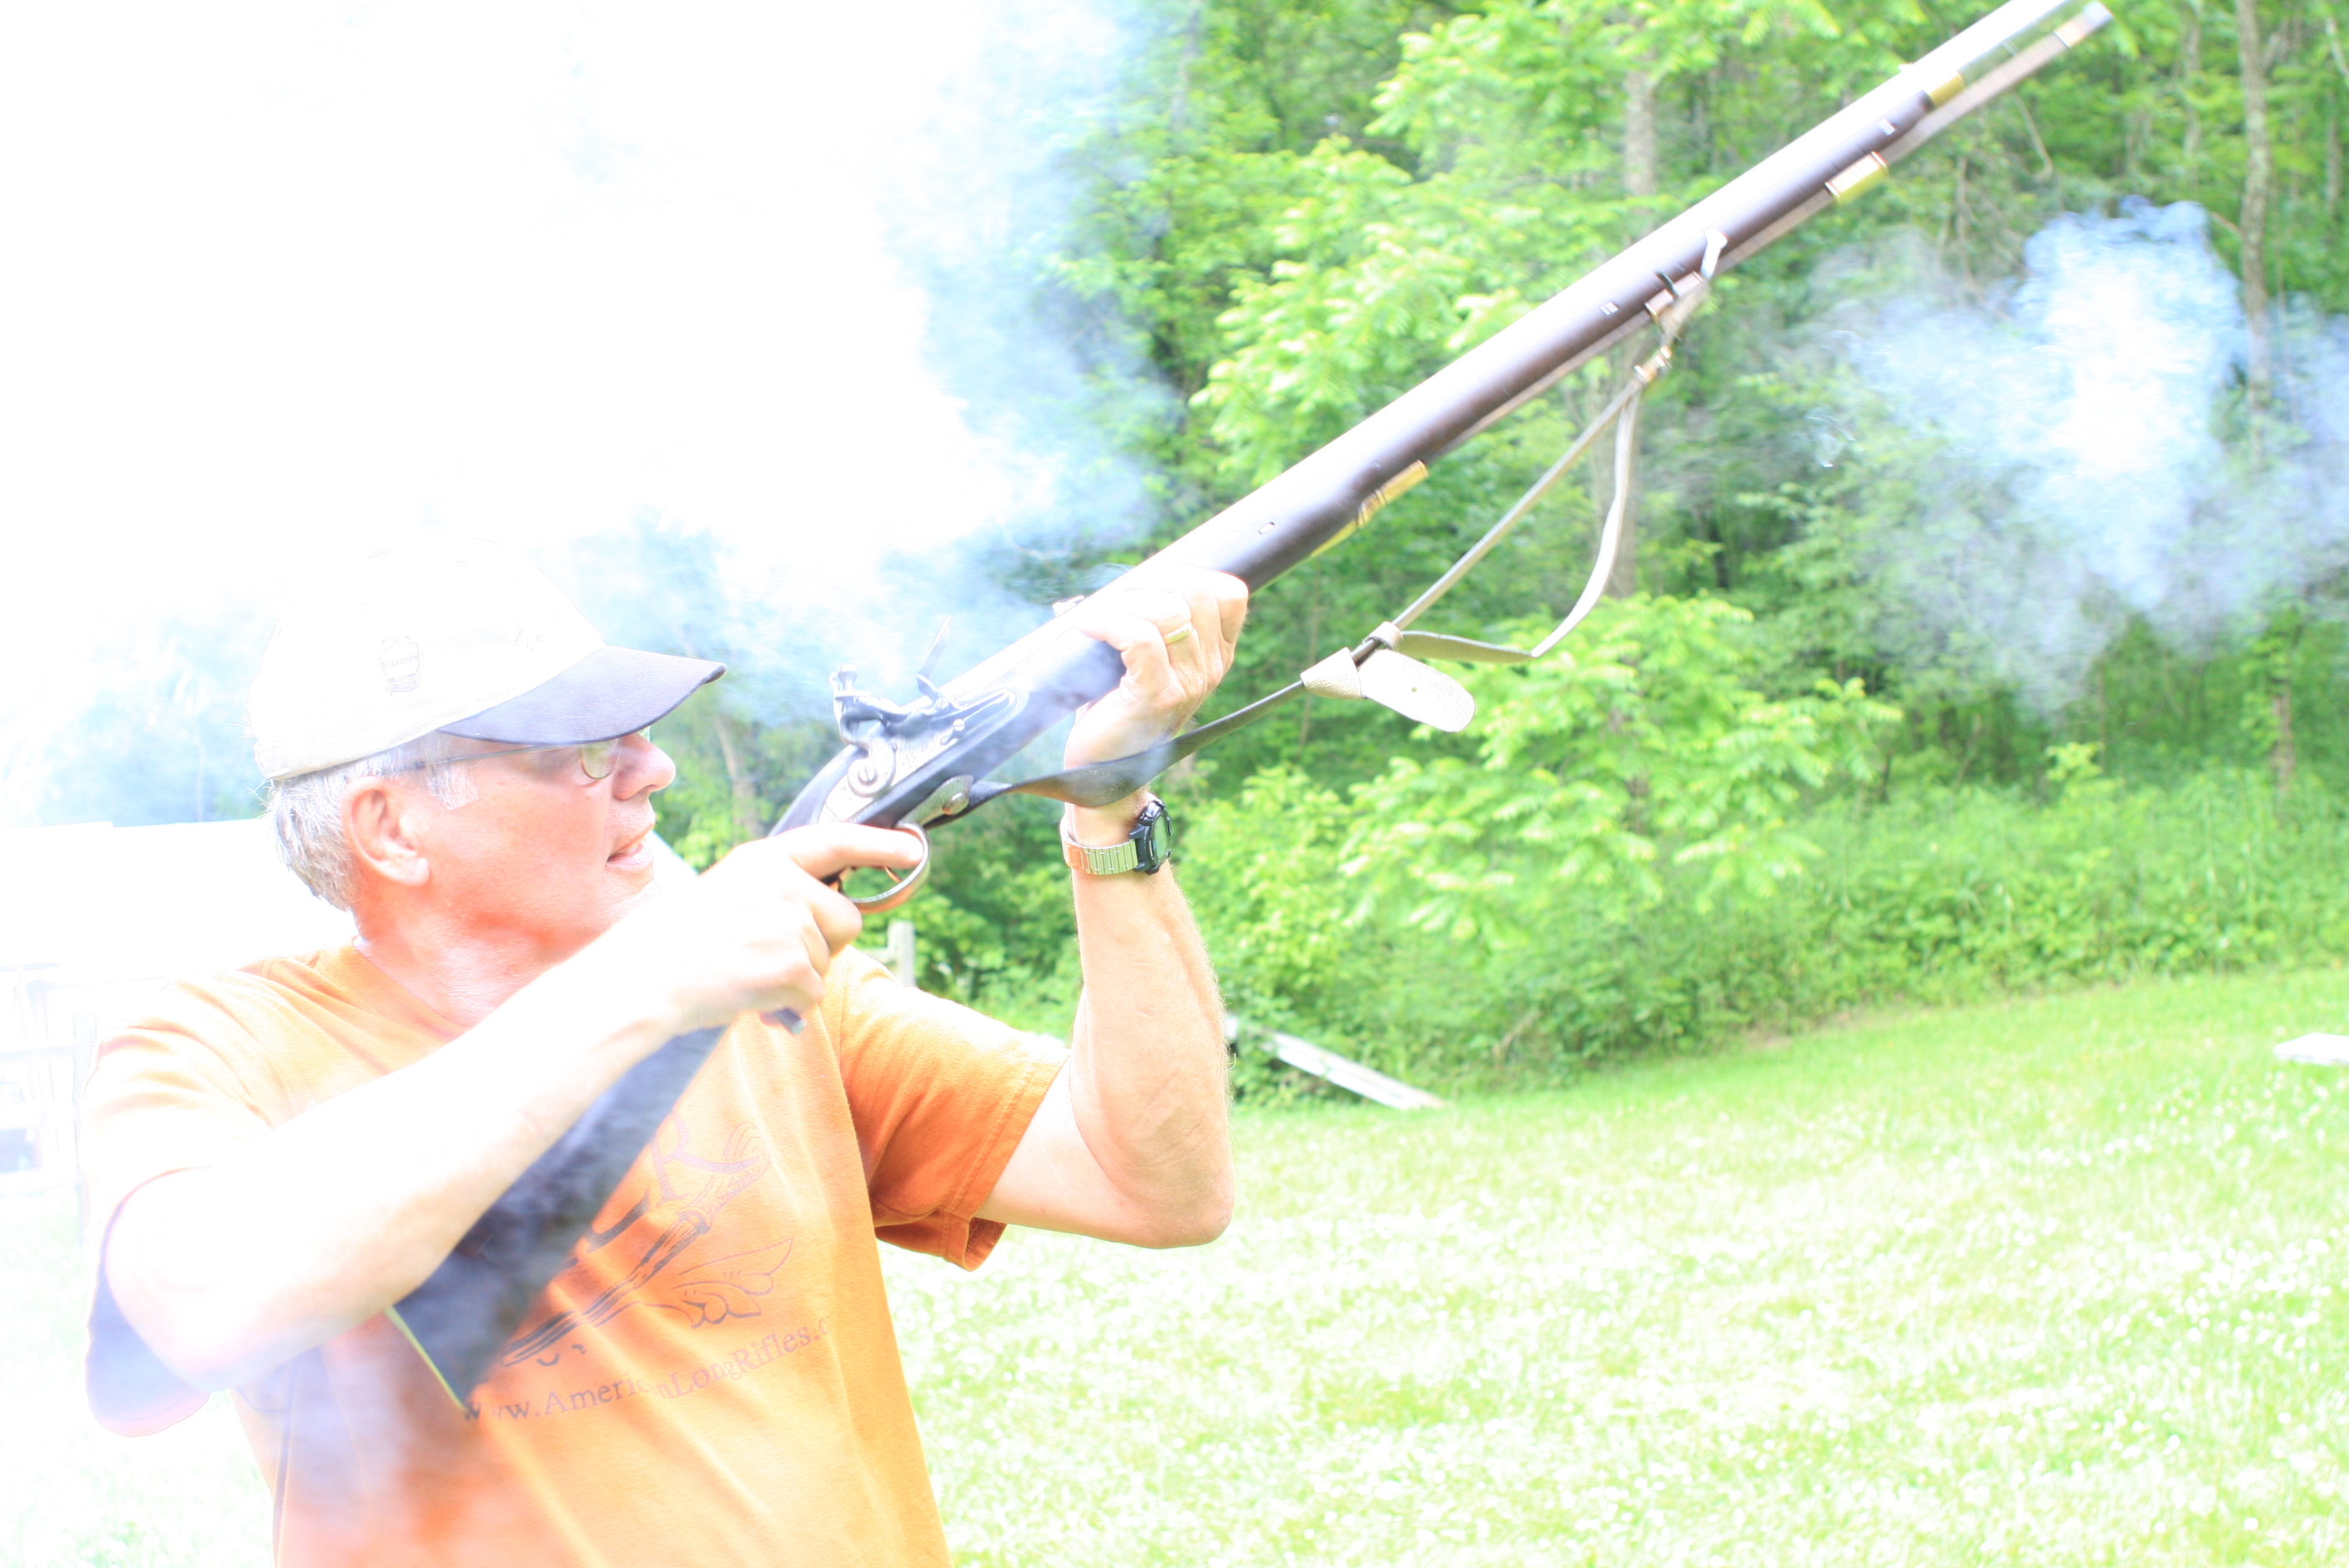
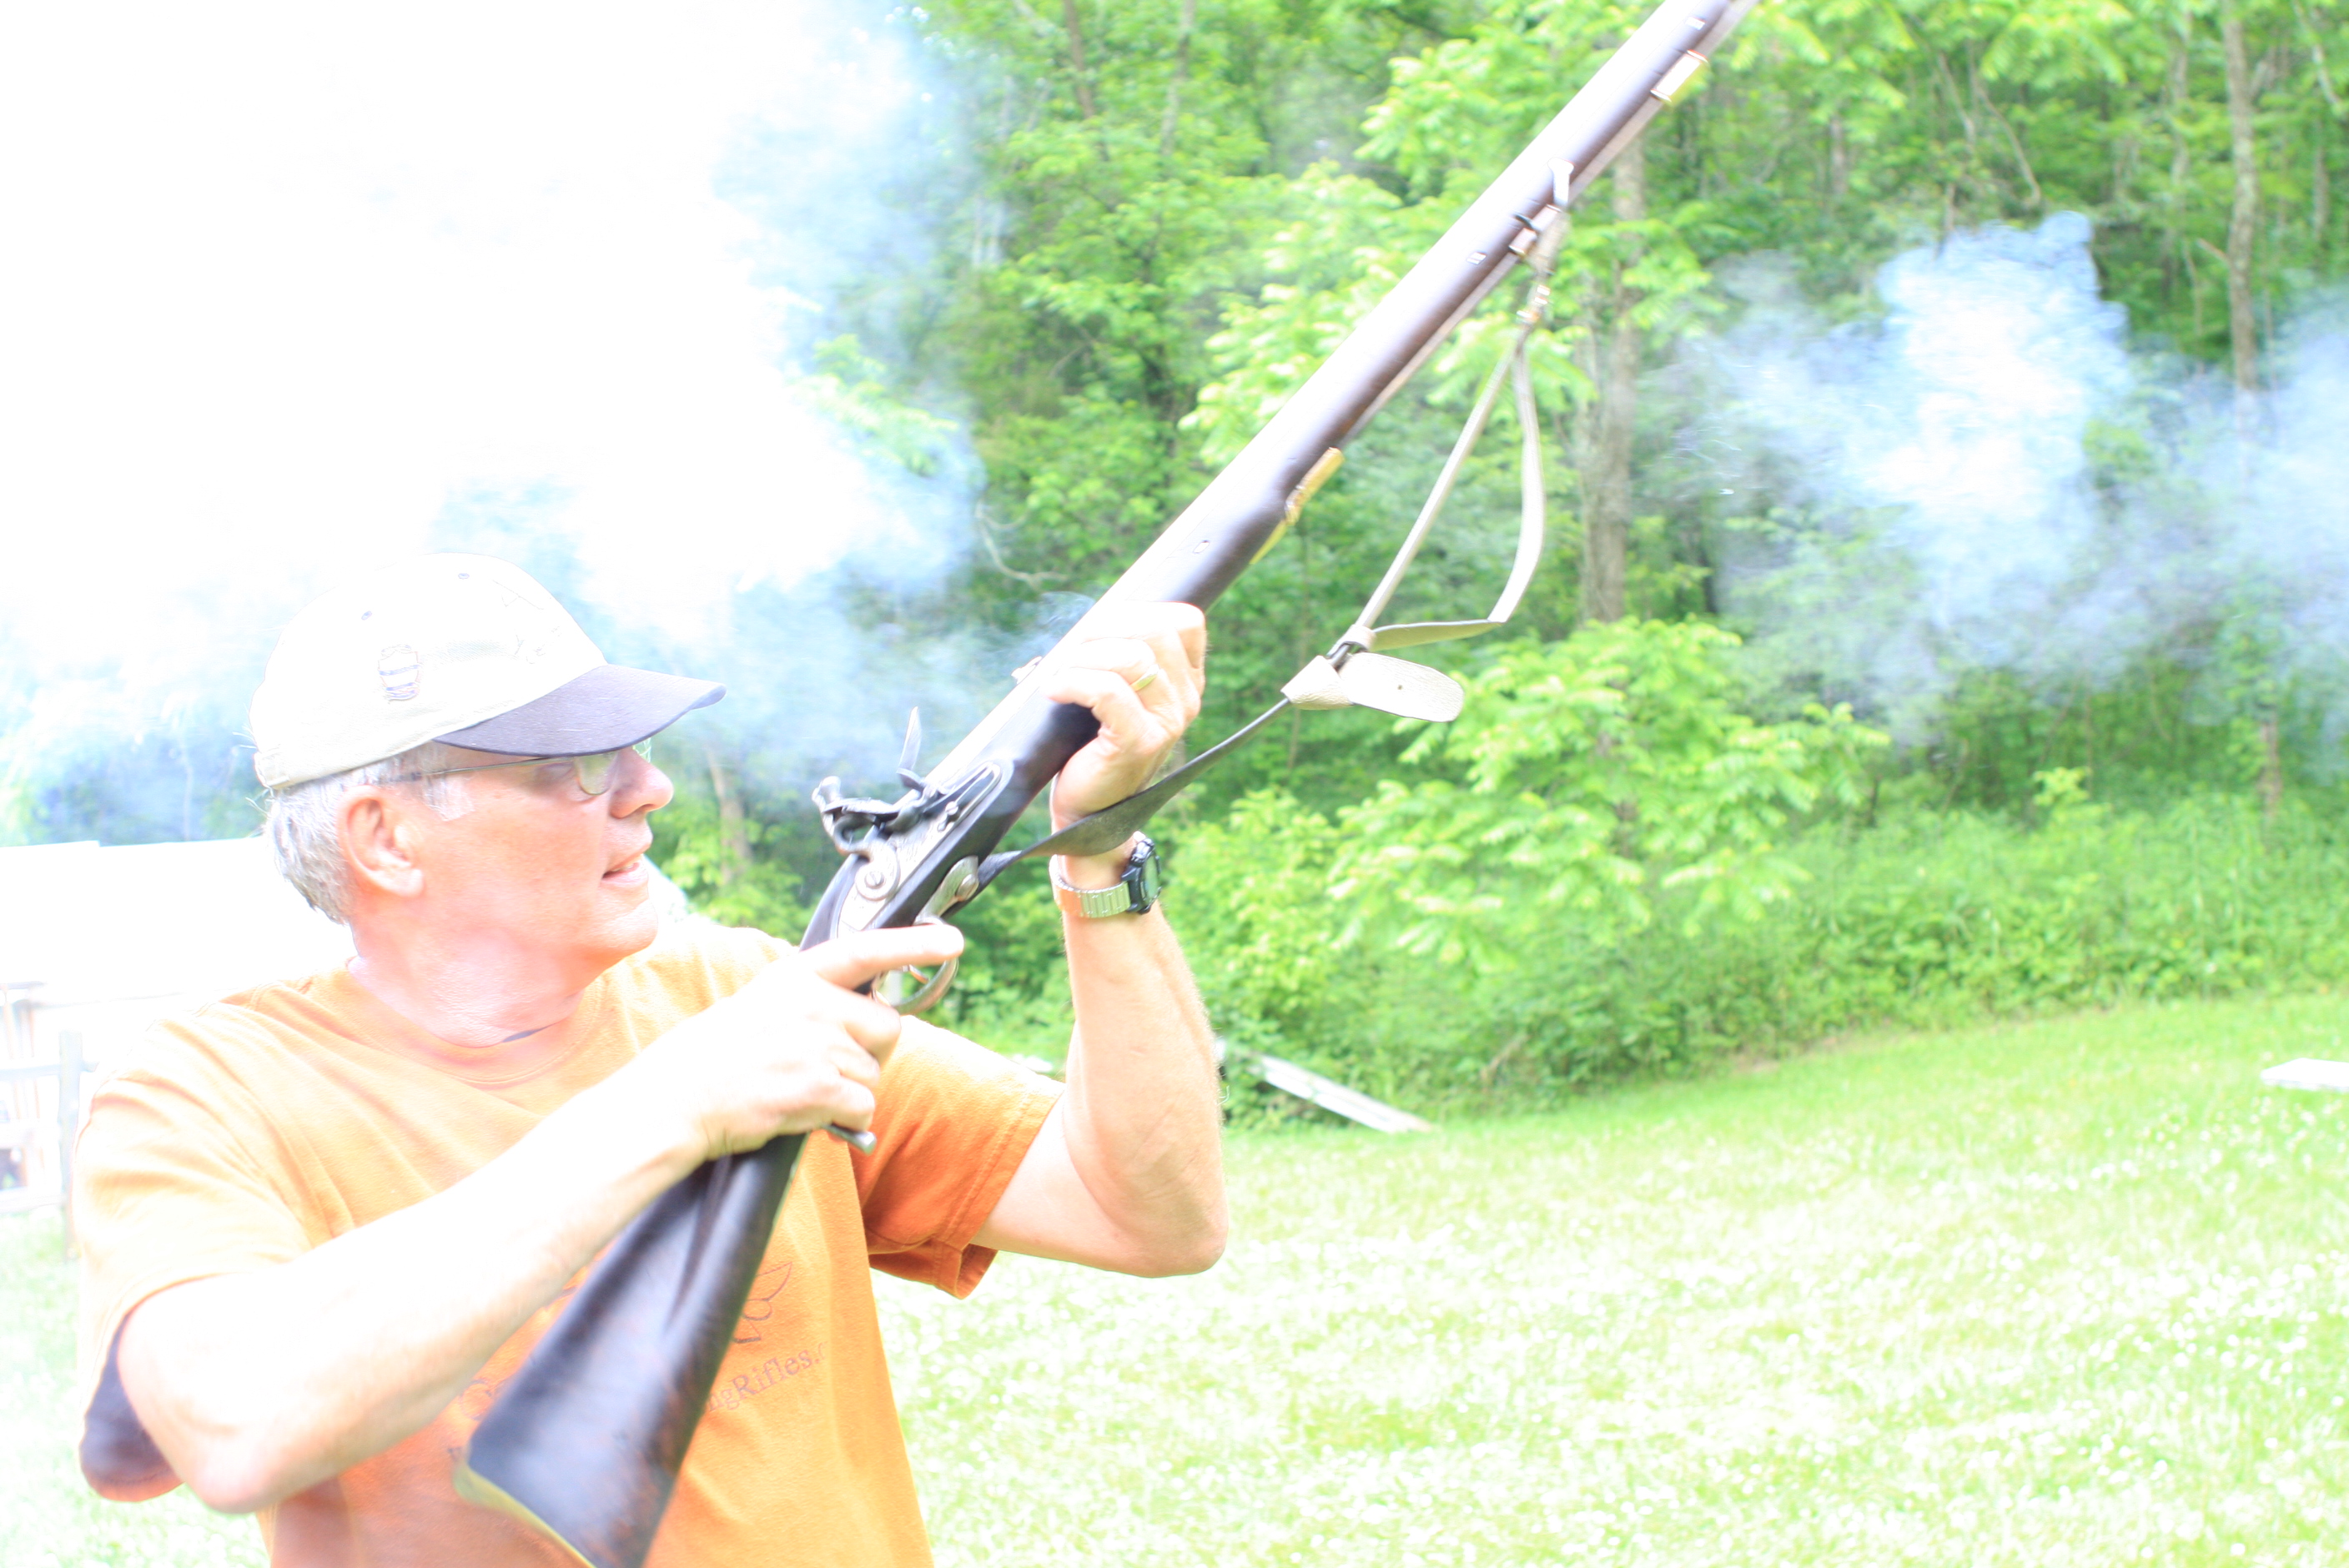
    When the rifle was finished, we went to the Stones Trace range to sight it in. With the rifle shooting to point of aim, we played with powder charges. A Swiss load of 90 grains of fffg gave us almost 1700 feet/second. I expect that a load of ffg may be found that will give similar velocities with less pressure. At this writing, I expect to experiment with different powder brands and grain sizes. Right now it is a potent rifle at both ends.

    20160921_103154

    Rifle by the hearth (Stones Trace Historical Society
    Rifle by the hearth Stones Trace Historical Society  (Photo L Pletcher)

    As we finished up our chronograph session, Steve said, “ Since this gun puts the ball at the top of the front blade, you could head shoot squirrels with it, or bark them.”

    I said, “Well maybe not with 90 gr. of Swiss fffg.”

    “Yah,” Steve said. “Wonder what it would do with a squib load, like maybe 30 gr.”

    So, we chronographed a 30 gr. Swiss load of fffg. This load drove the 280 grain ball an average of 870 fps. Maybe we need to think lower for a squib. On a whim, we also clocked a load of 30 gr of Goex. It averaged less than 500 fps. This does seem more squib-like.

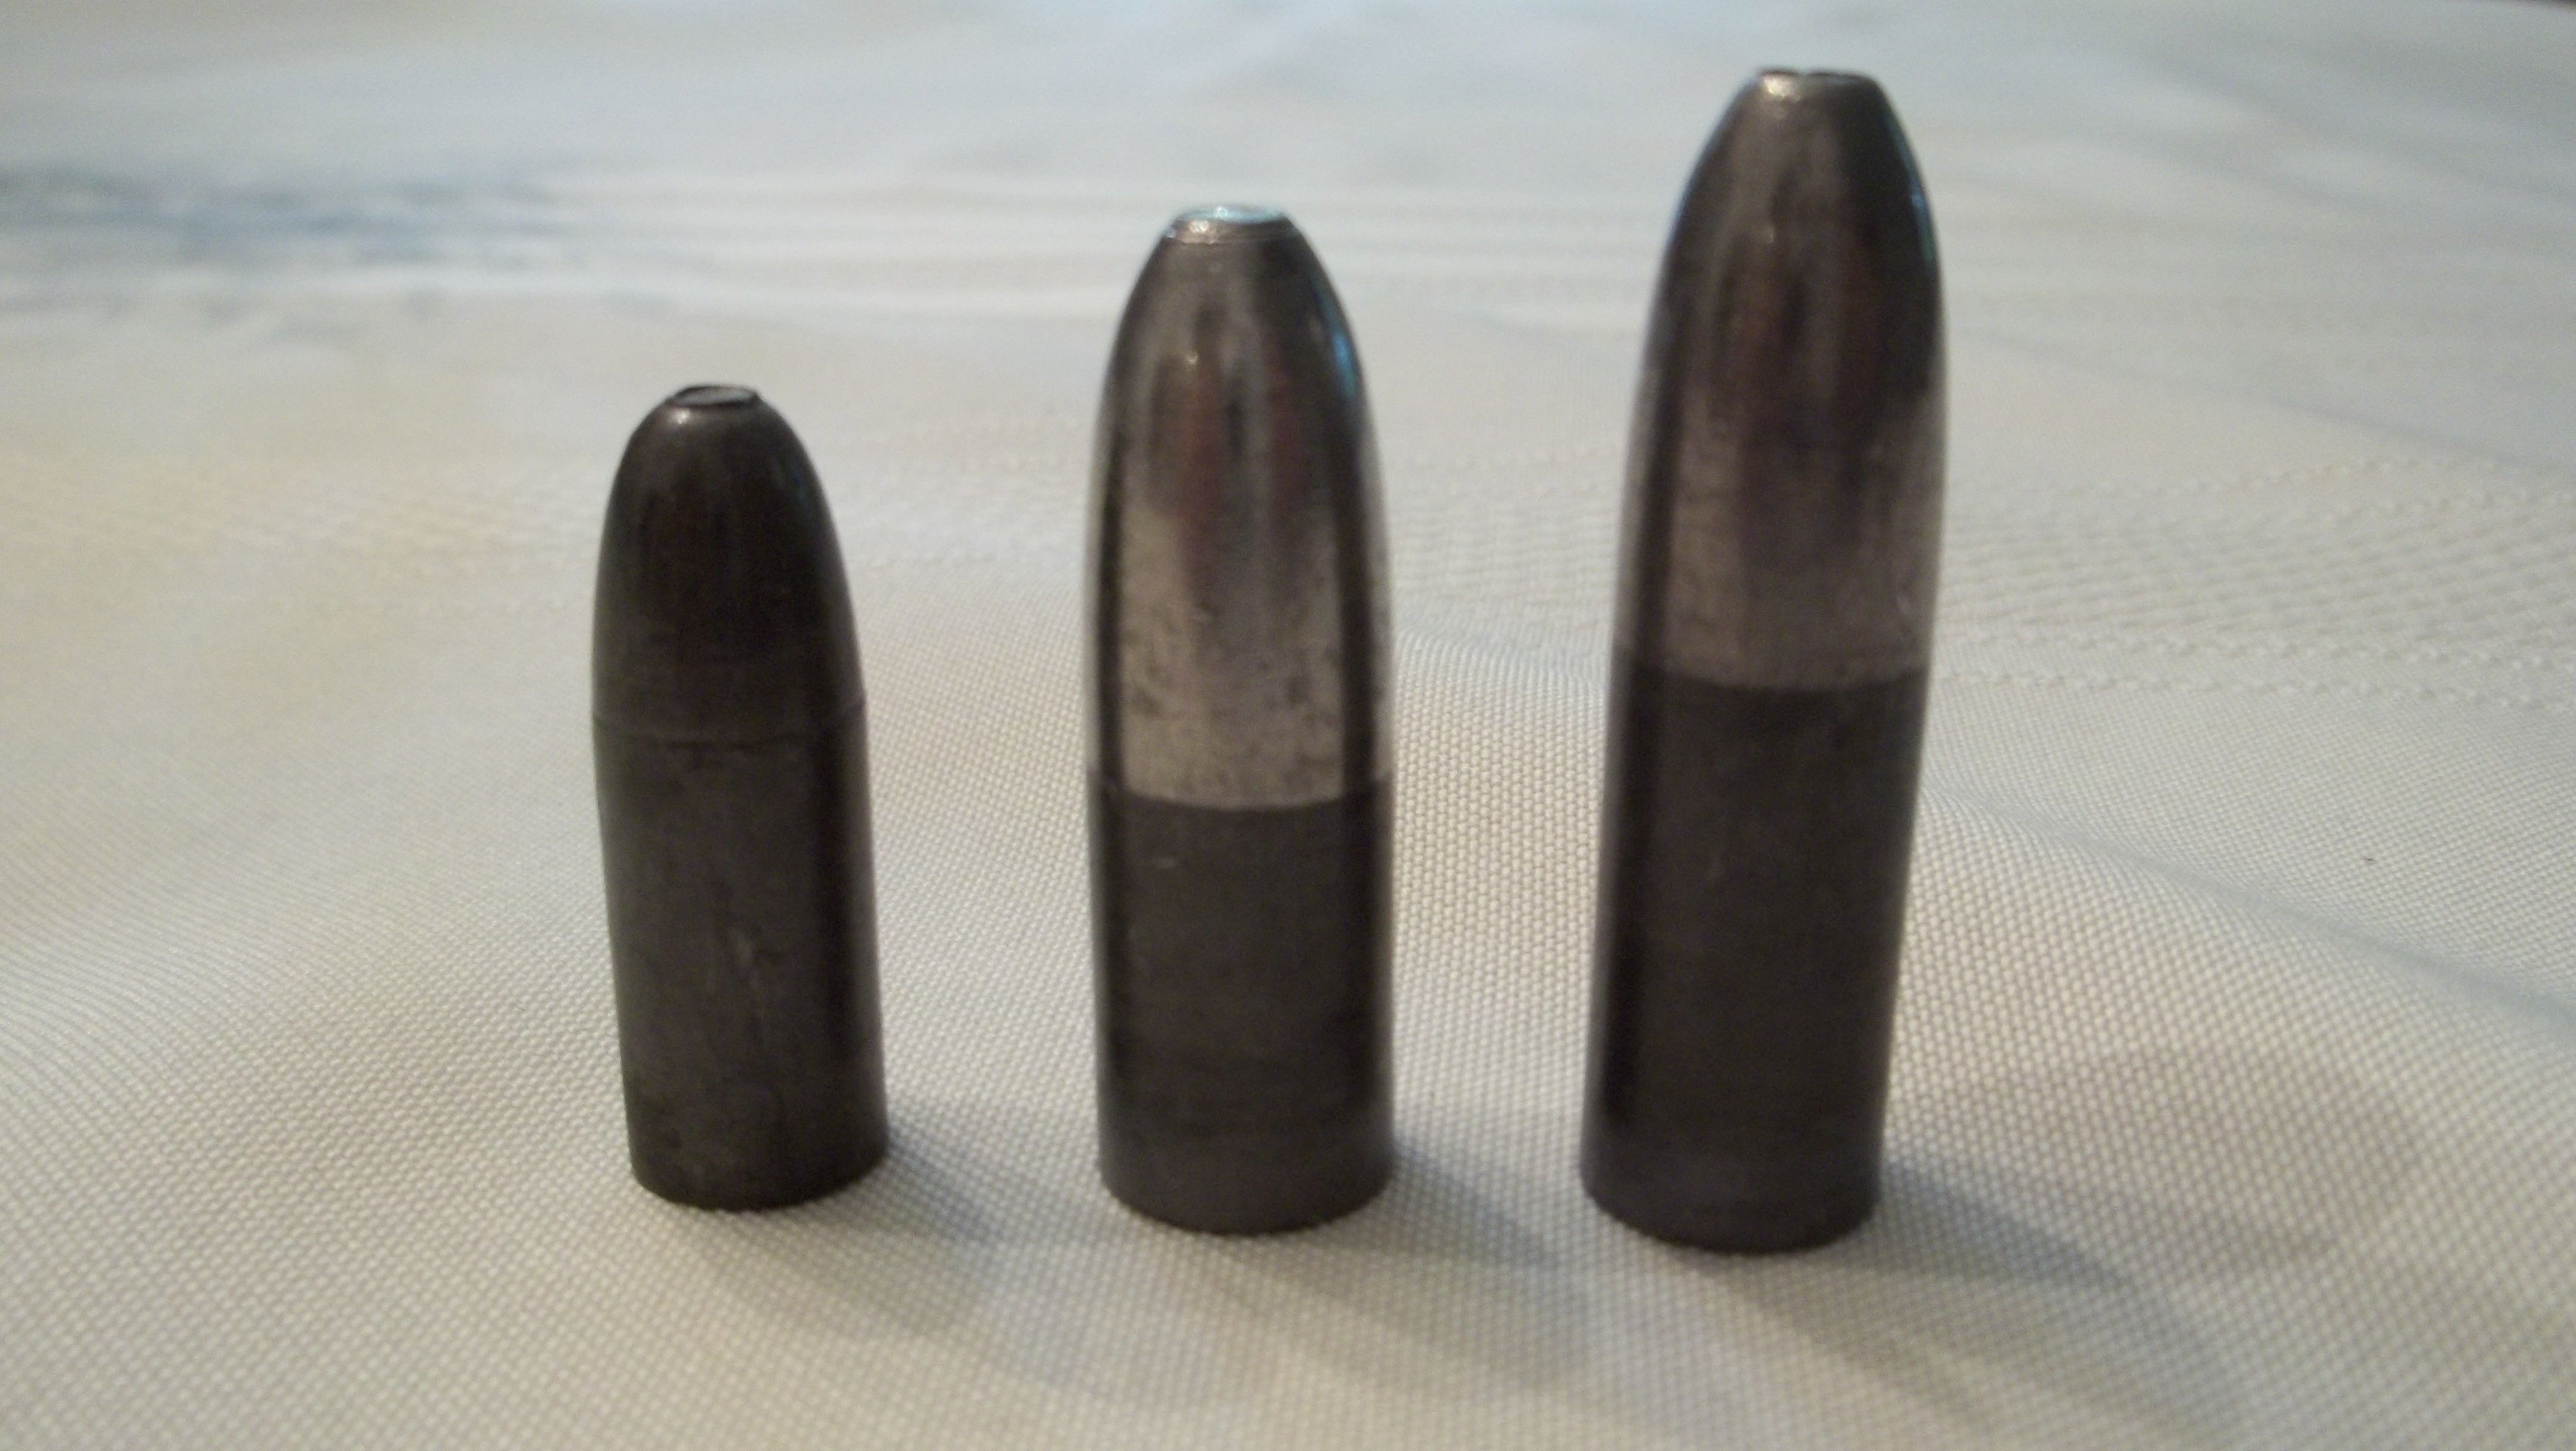
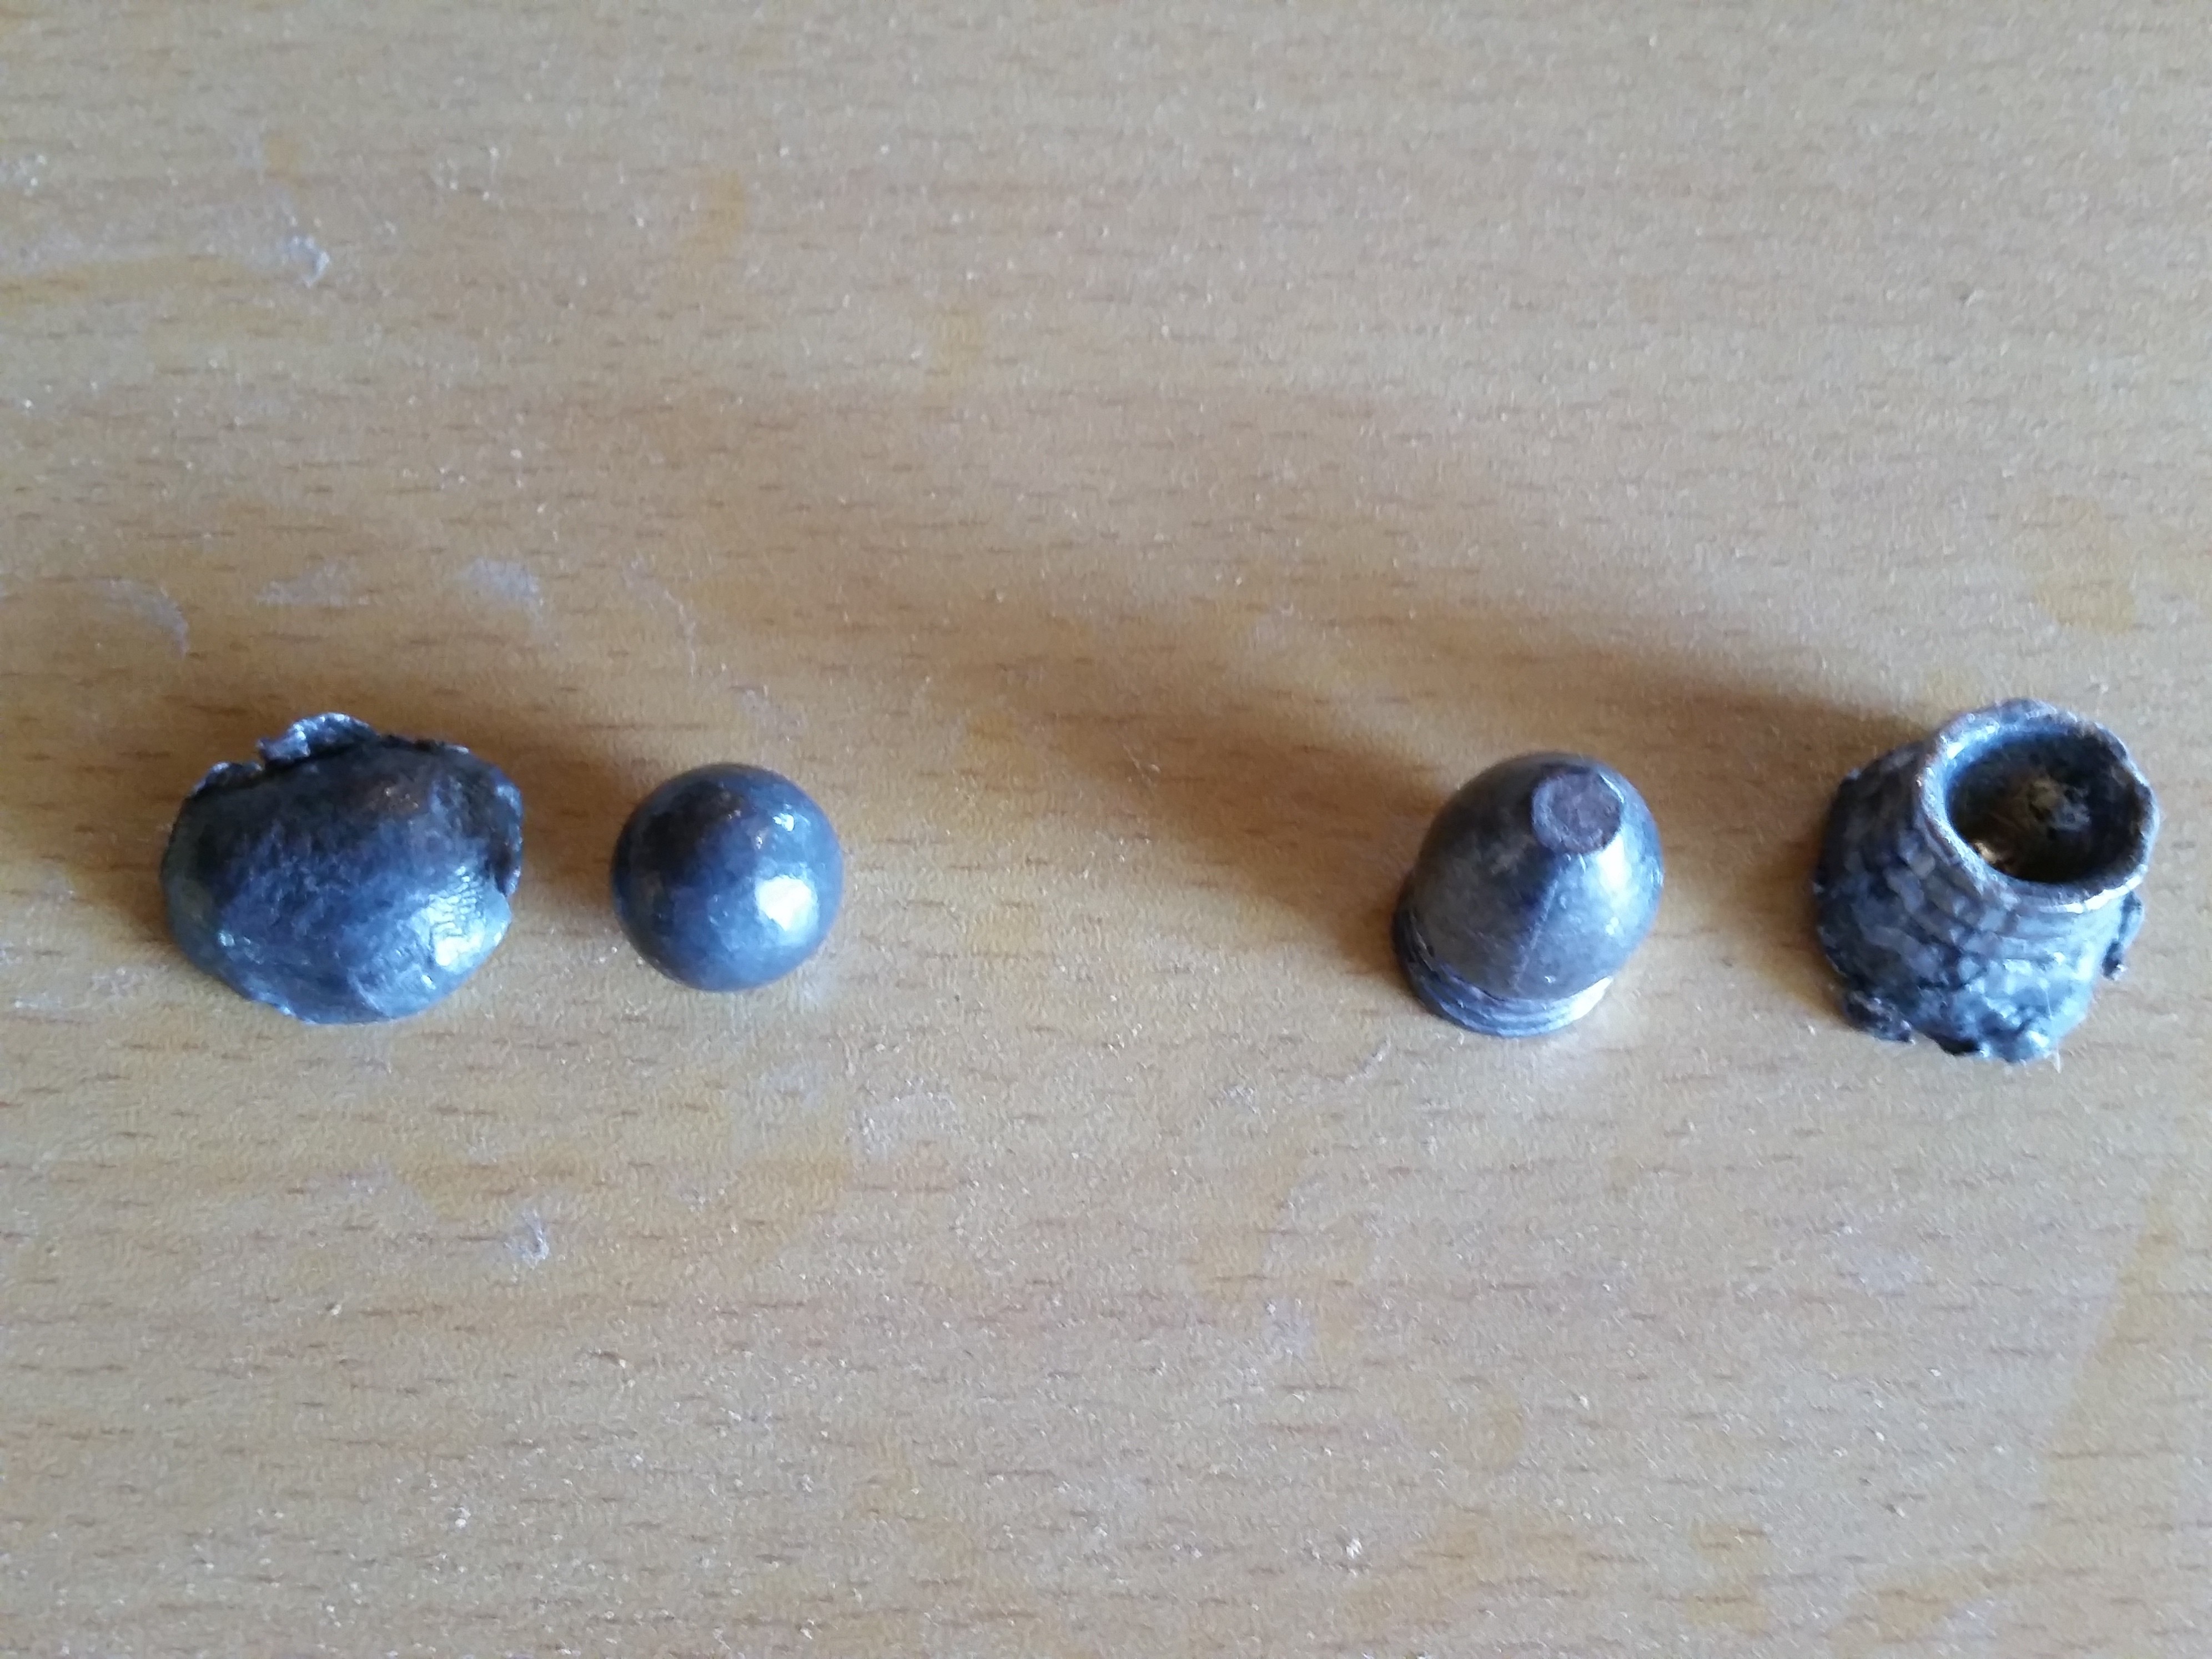
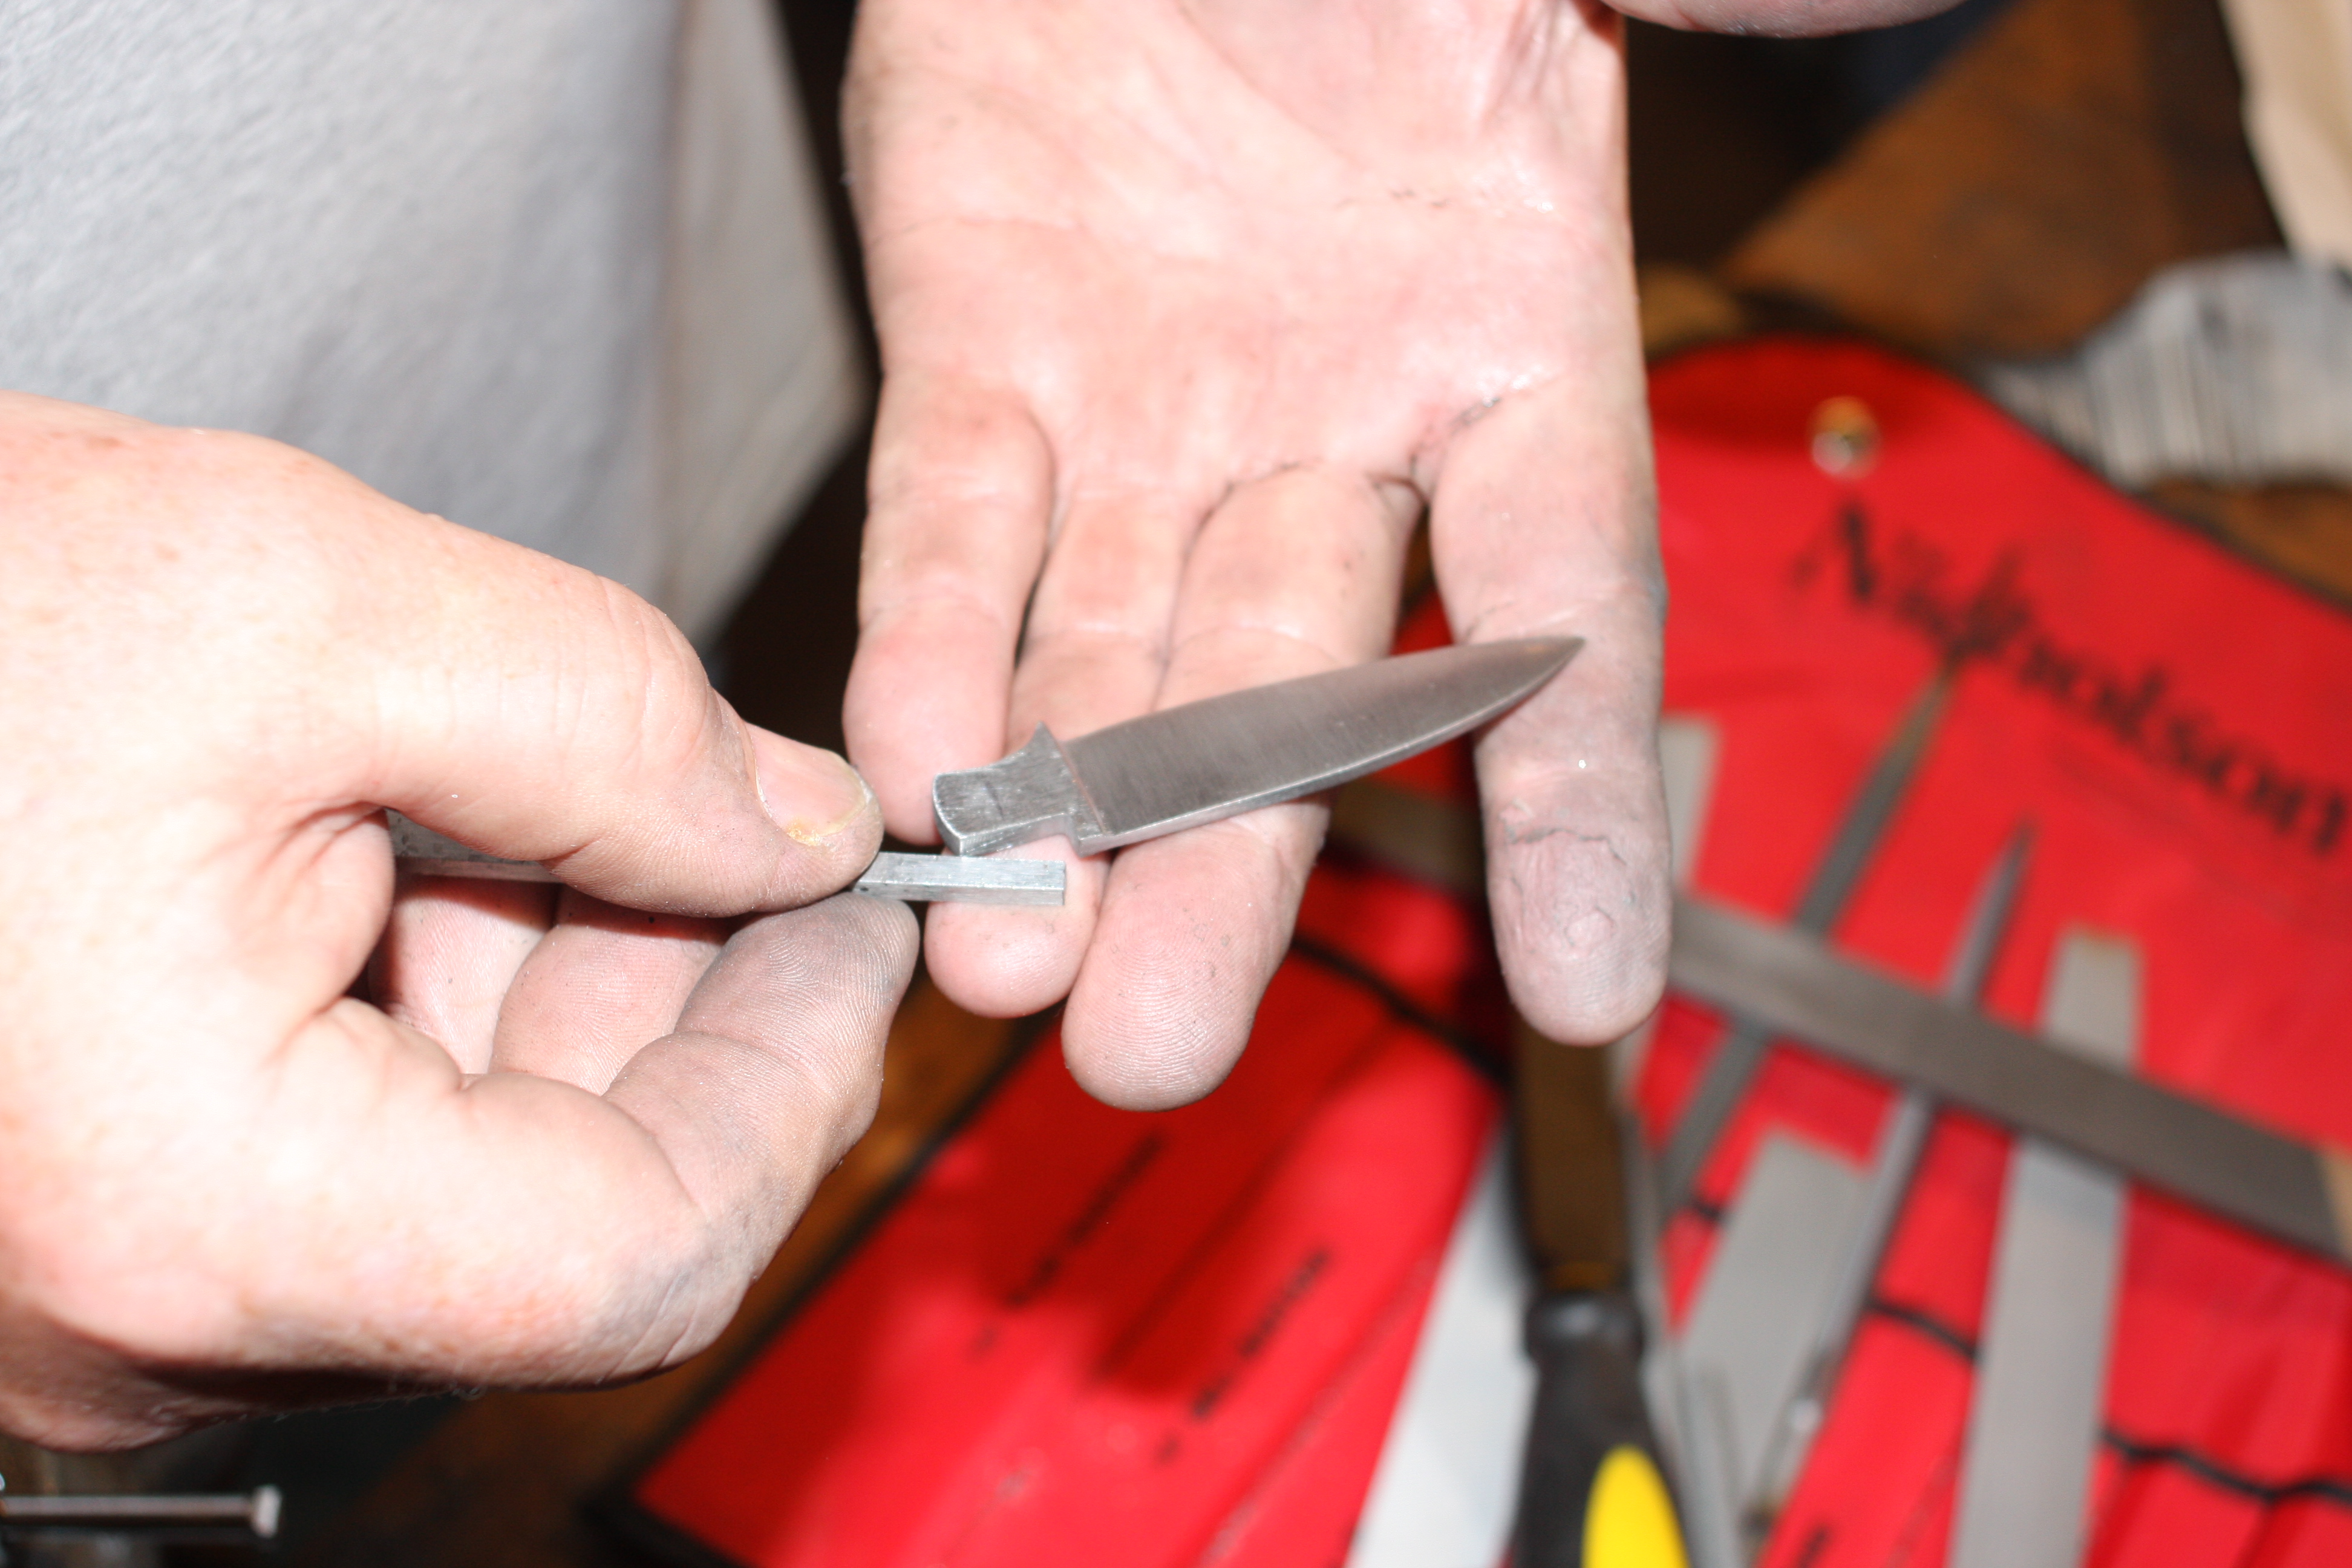
    As a side bar, my friend Rick in Colorado stocked a rifle with the other .58 barrel that I mentioned at the beginning of this post. Rick wanted to recover a ball to see how much it expanded. During my time visiting him, we filled a garbage can with water and fired a 90 gr ffg load down into the can. The garbage can split down the side, but we did recover the ball. We taped the can together as best we could and fired a .58 cal. mini ball.  Below is a pic of the expanded ball with the mini ball before and after.  These rifles will make a big hole in about anything in North America. If my health and physical condition permitted, this would be the gun I’d use for elk.

    Left is the .570 ball before and after recovery. On right is a mini ball for comparison
    Left is the .570 ball before and after recovery. On right is a mini ball for comparison
    Rifle by the hearth
    Rifle by the hearth  (photo L Pletcher)

    Back here in Indiana, Steve and I will need to do some form of Rick’s water experiment. We haven’t decided what we want to destroy, but it will be something filled with water.

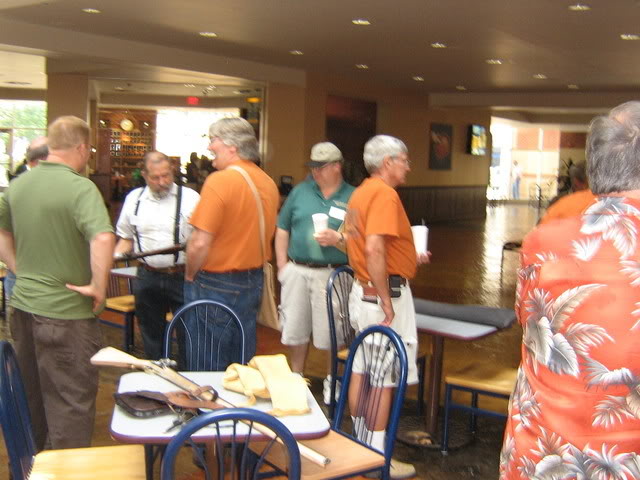
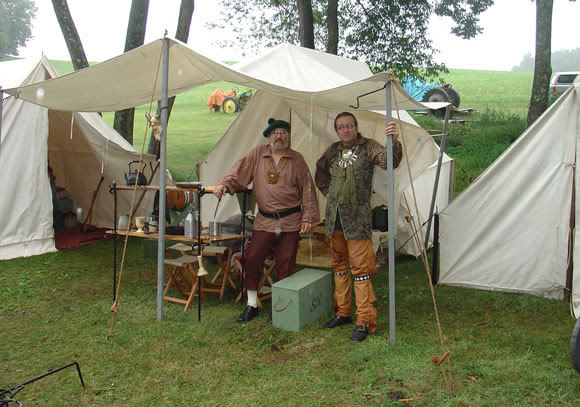
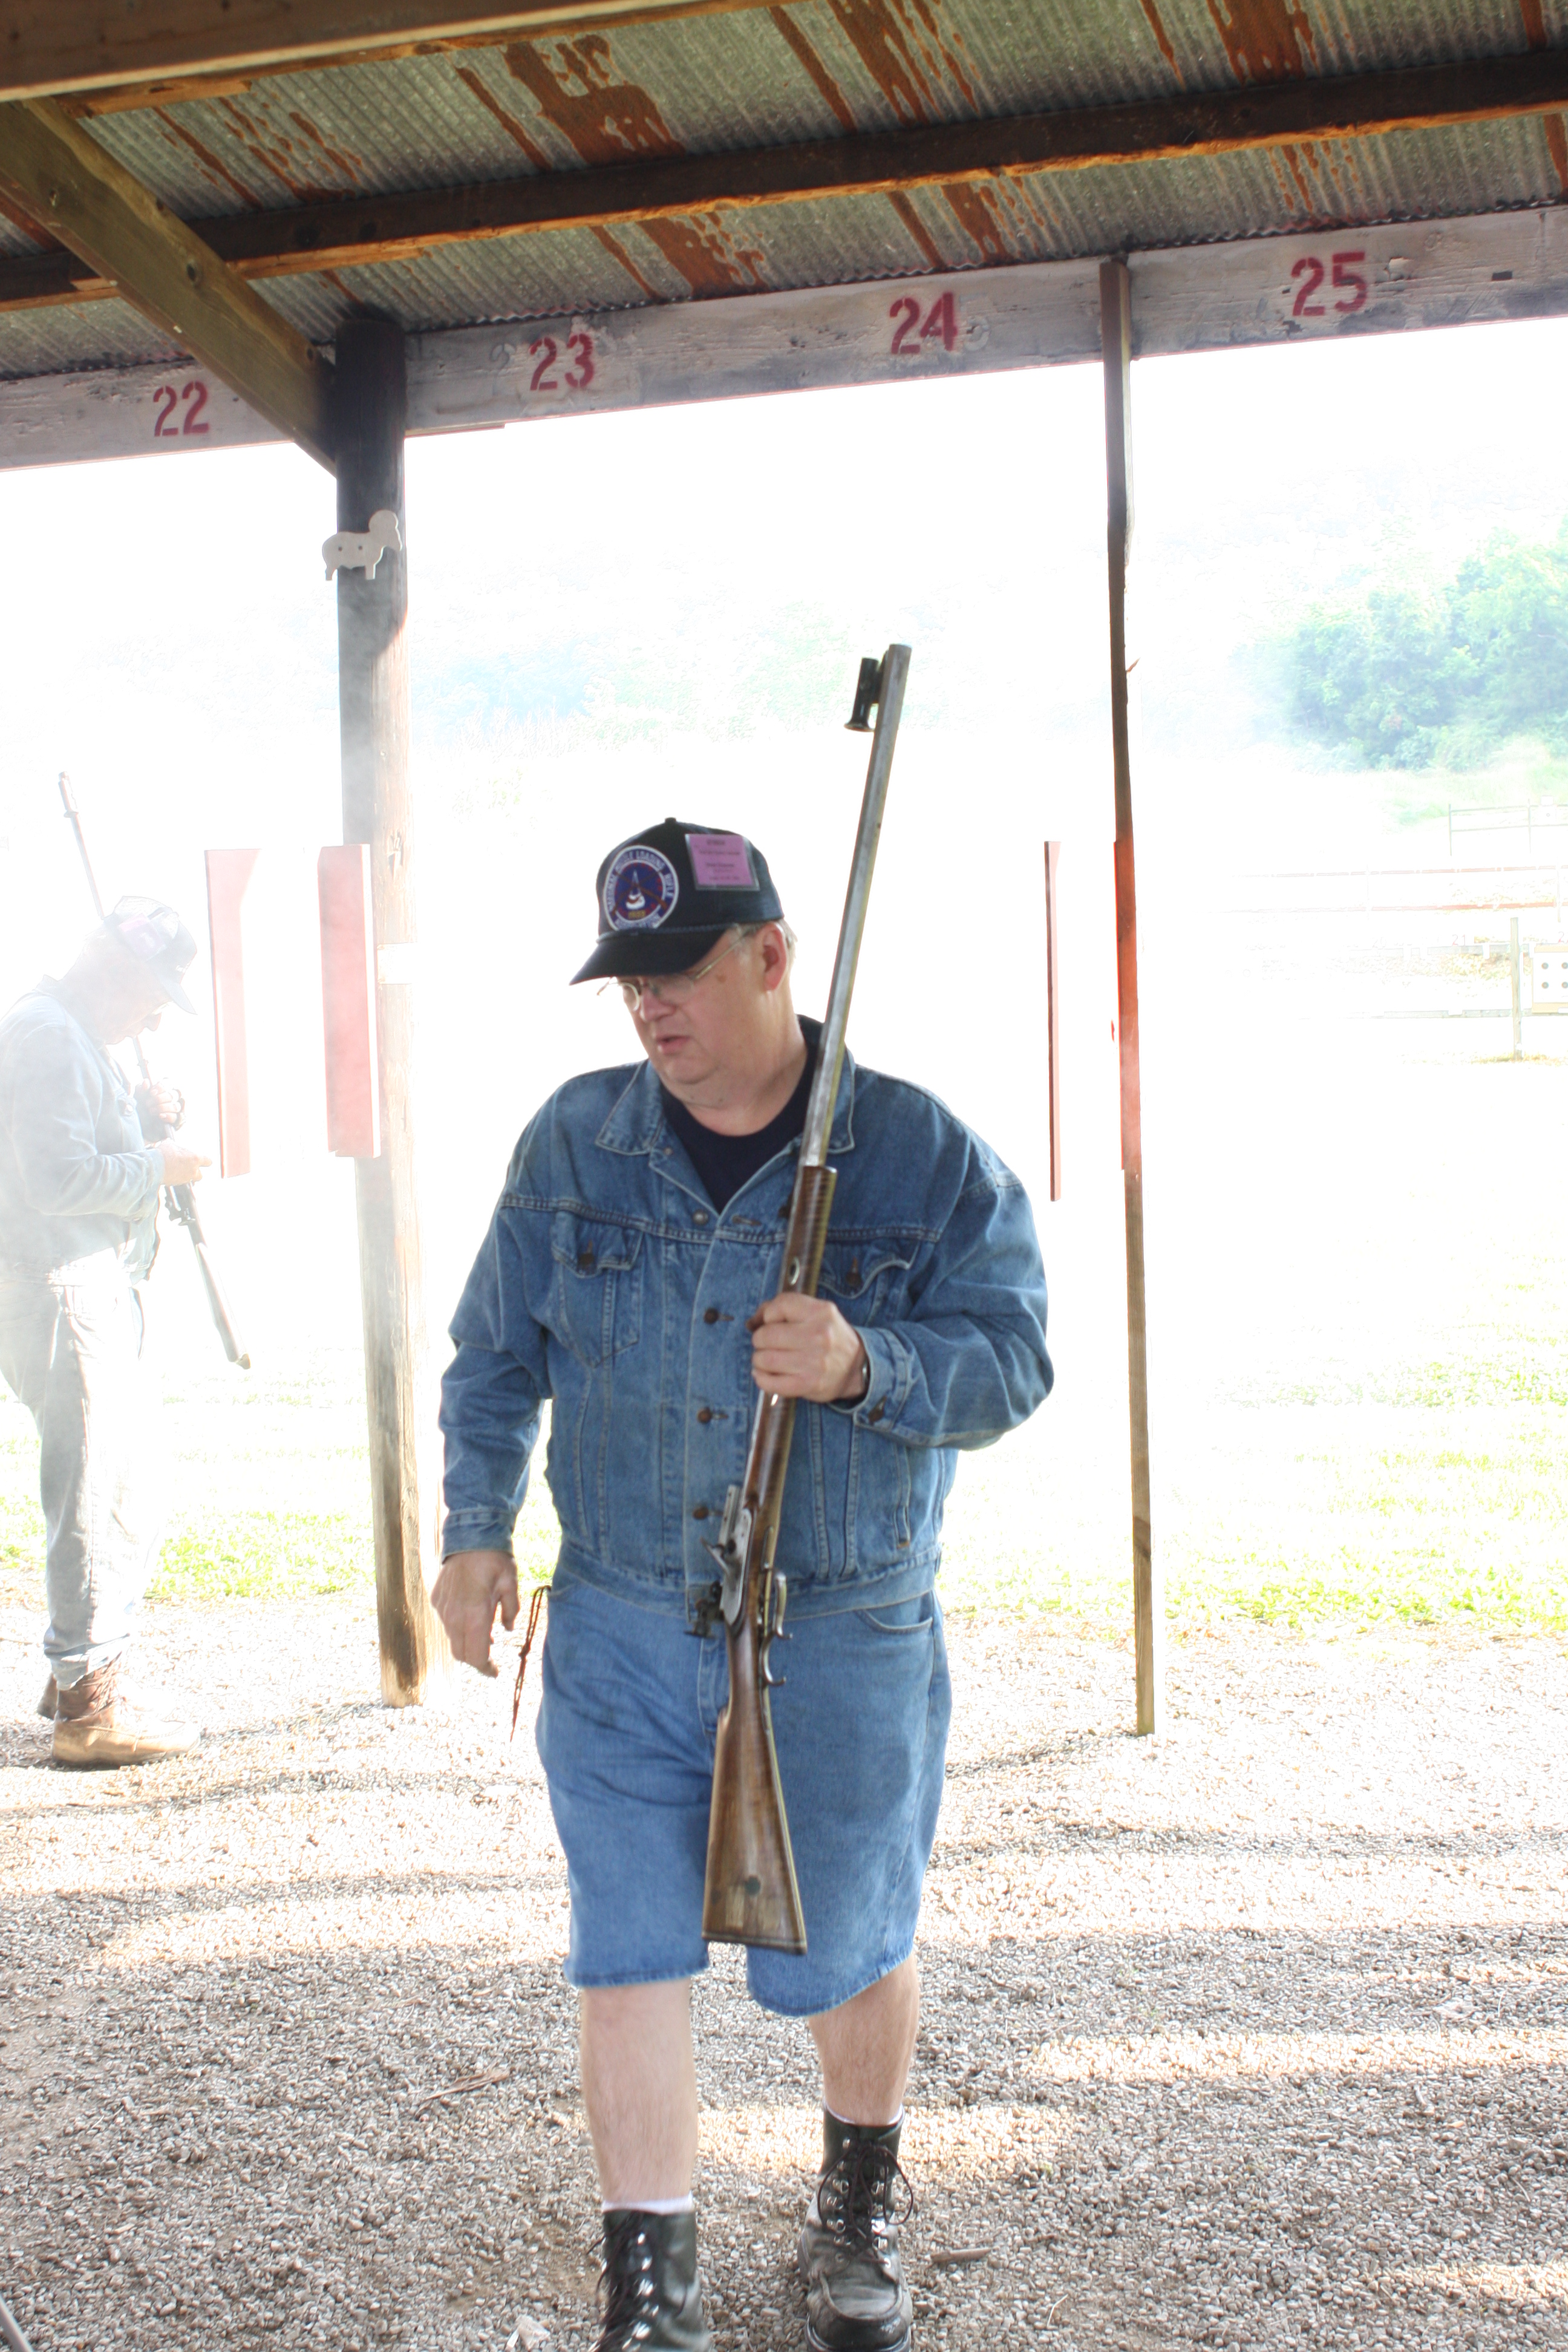
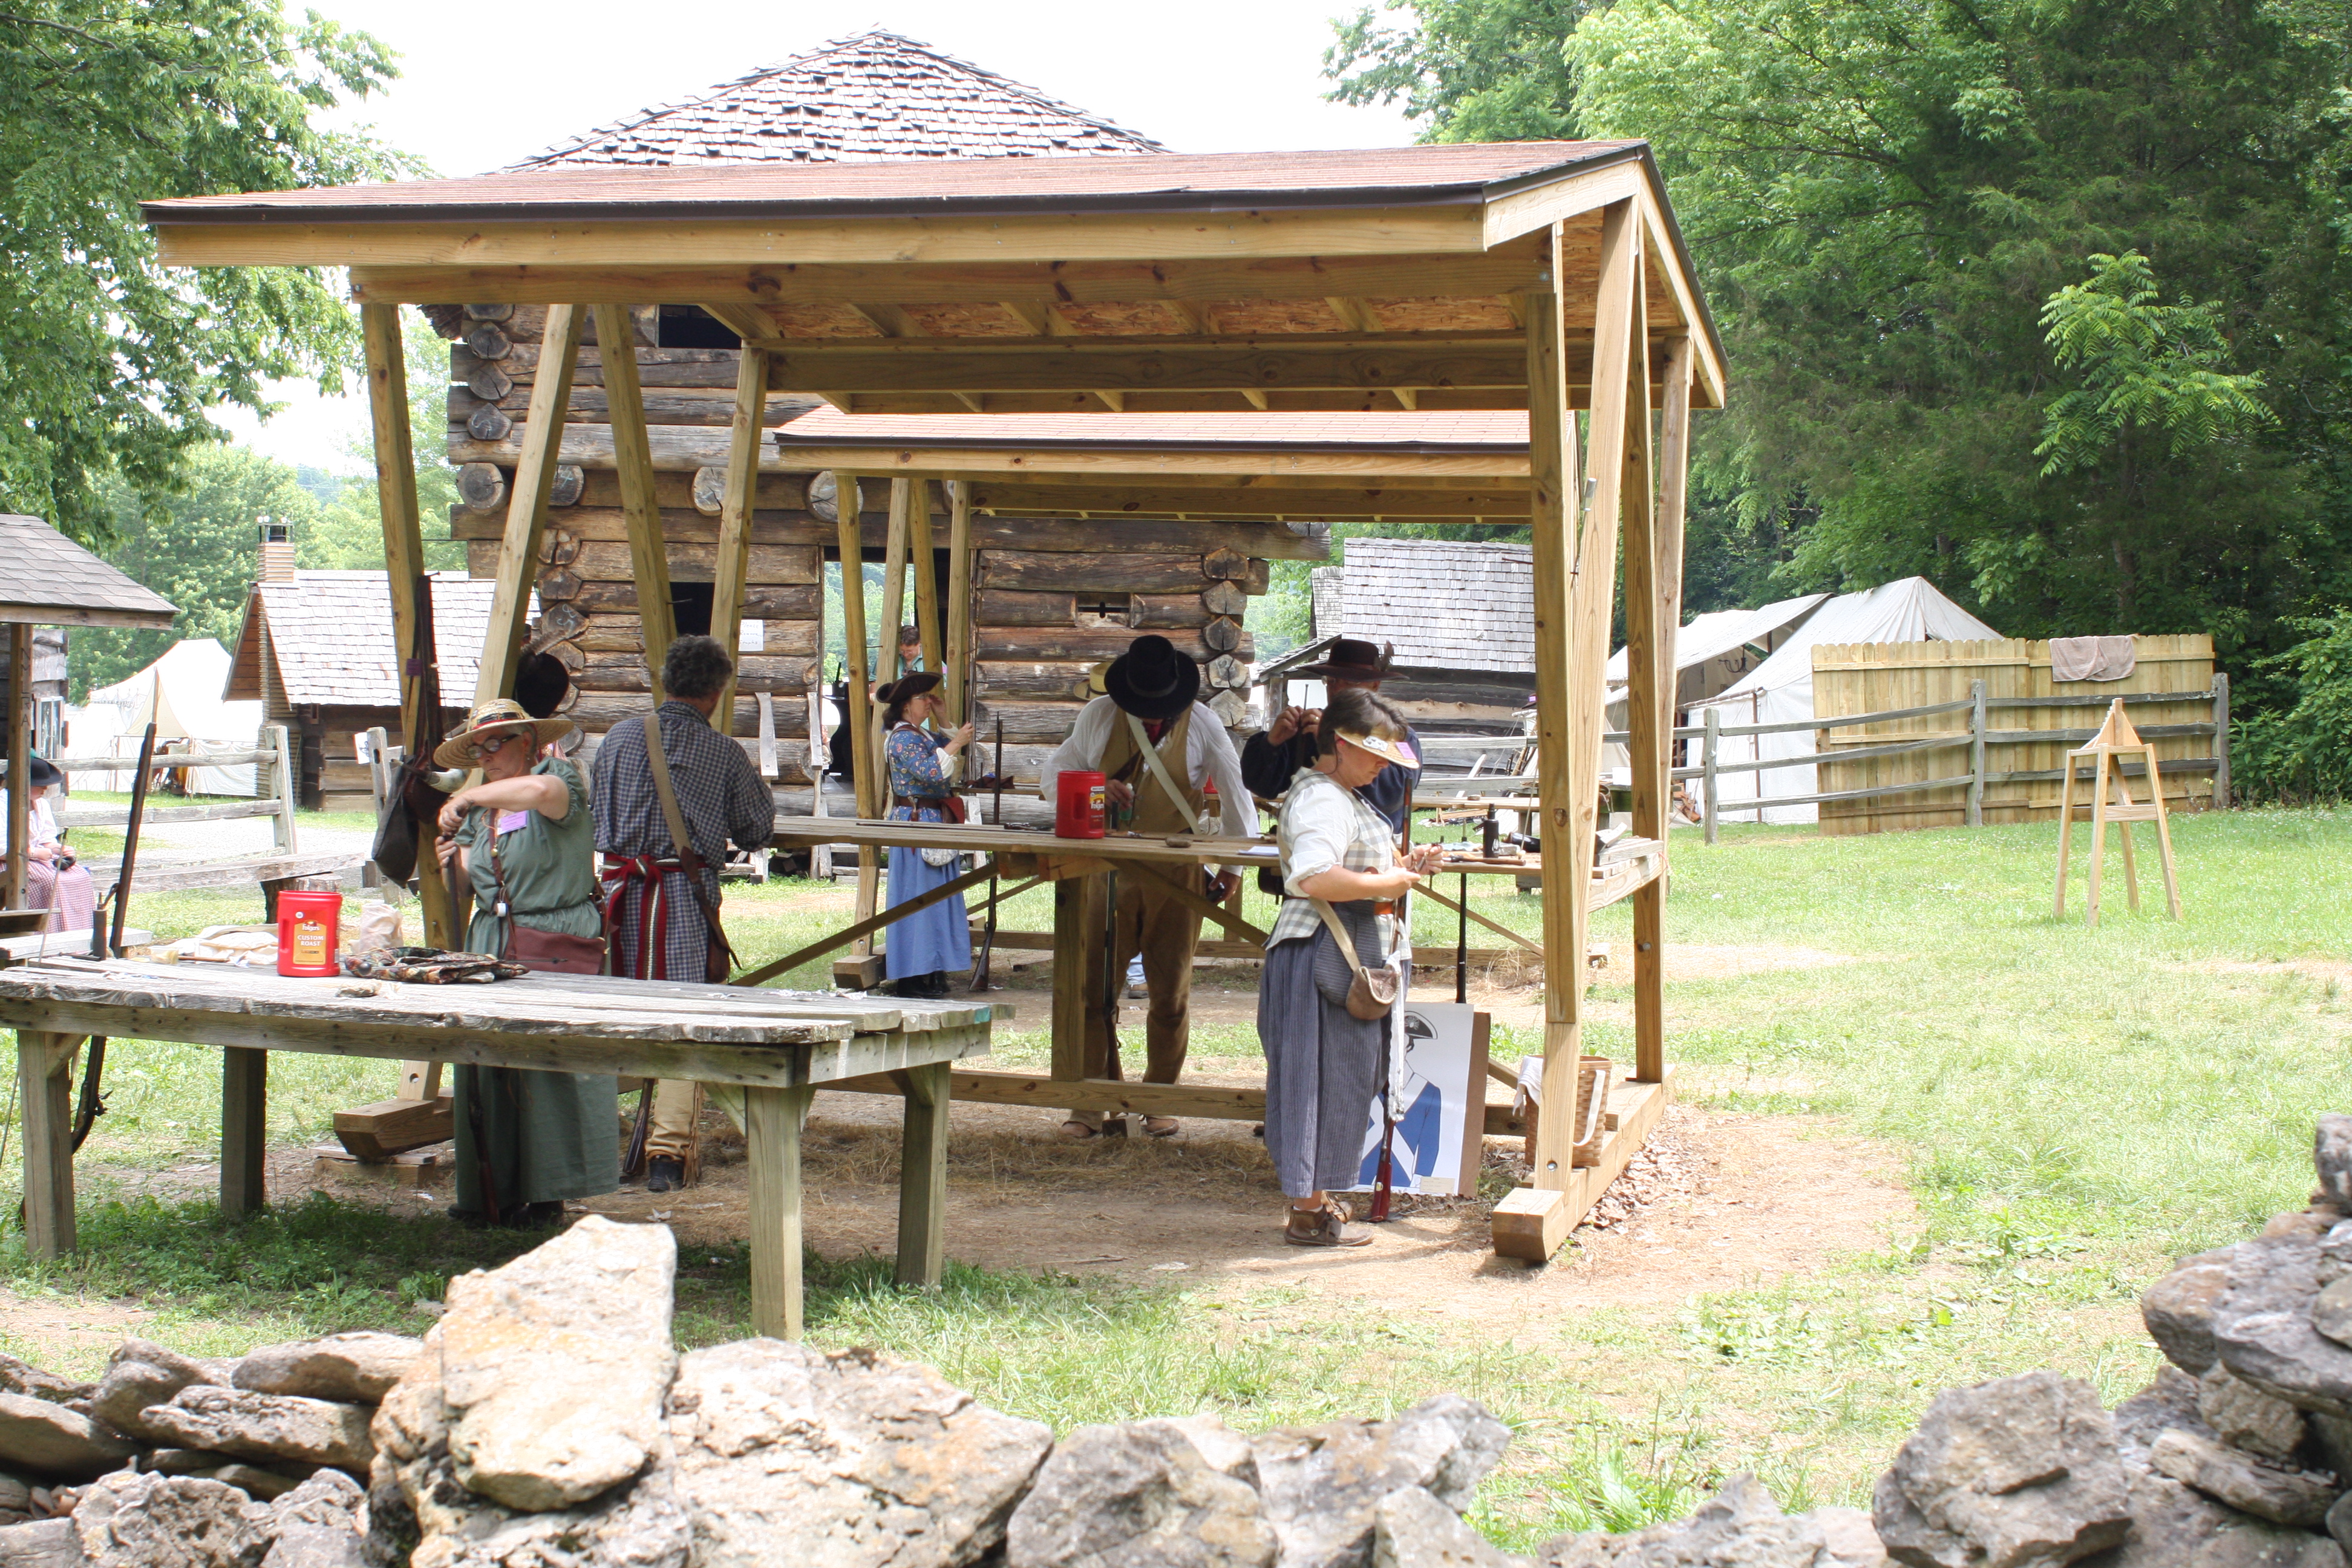
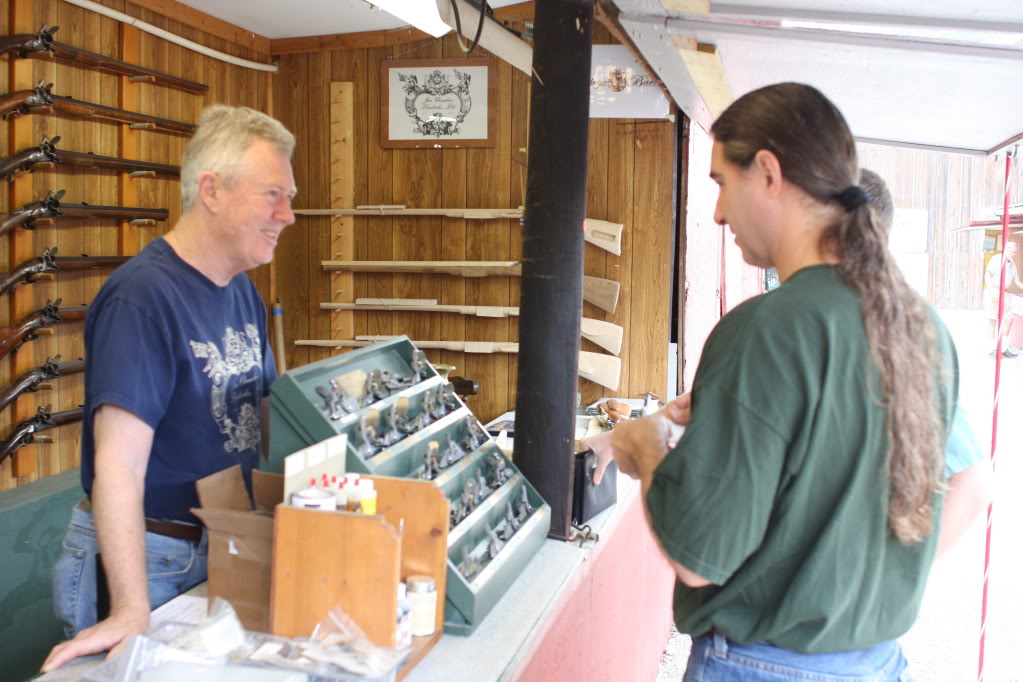
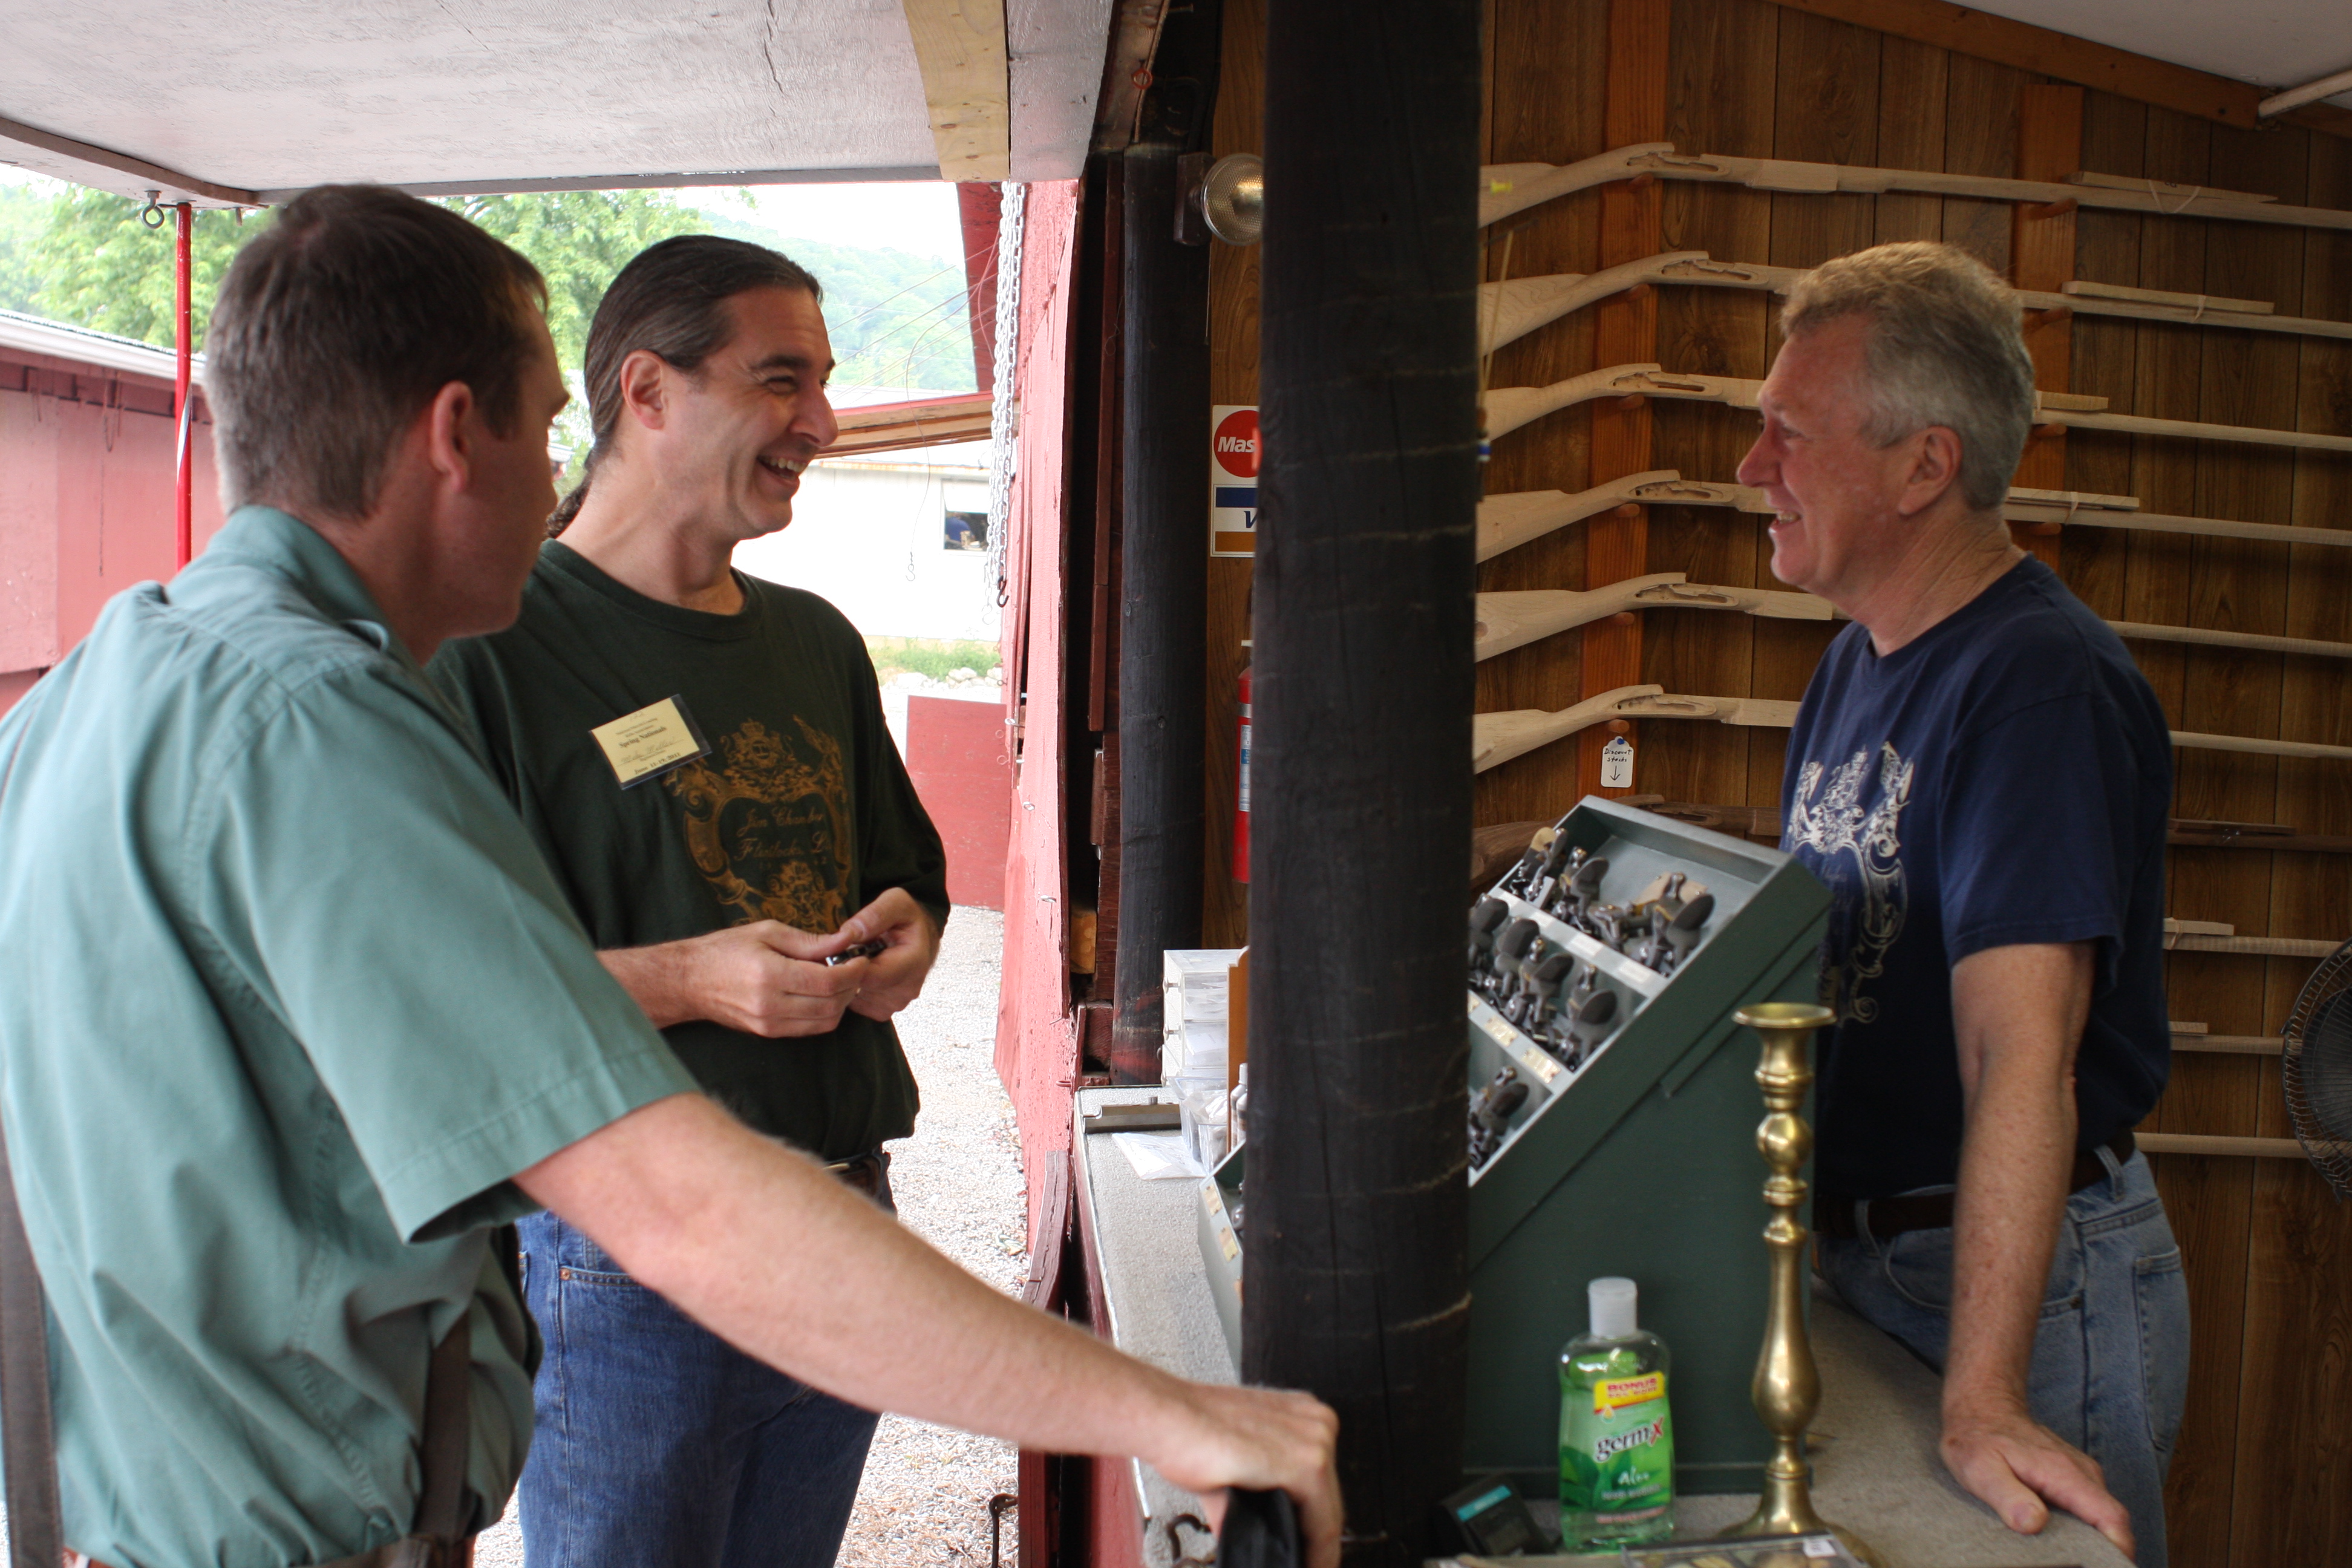
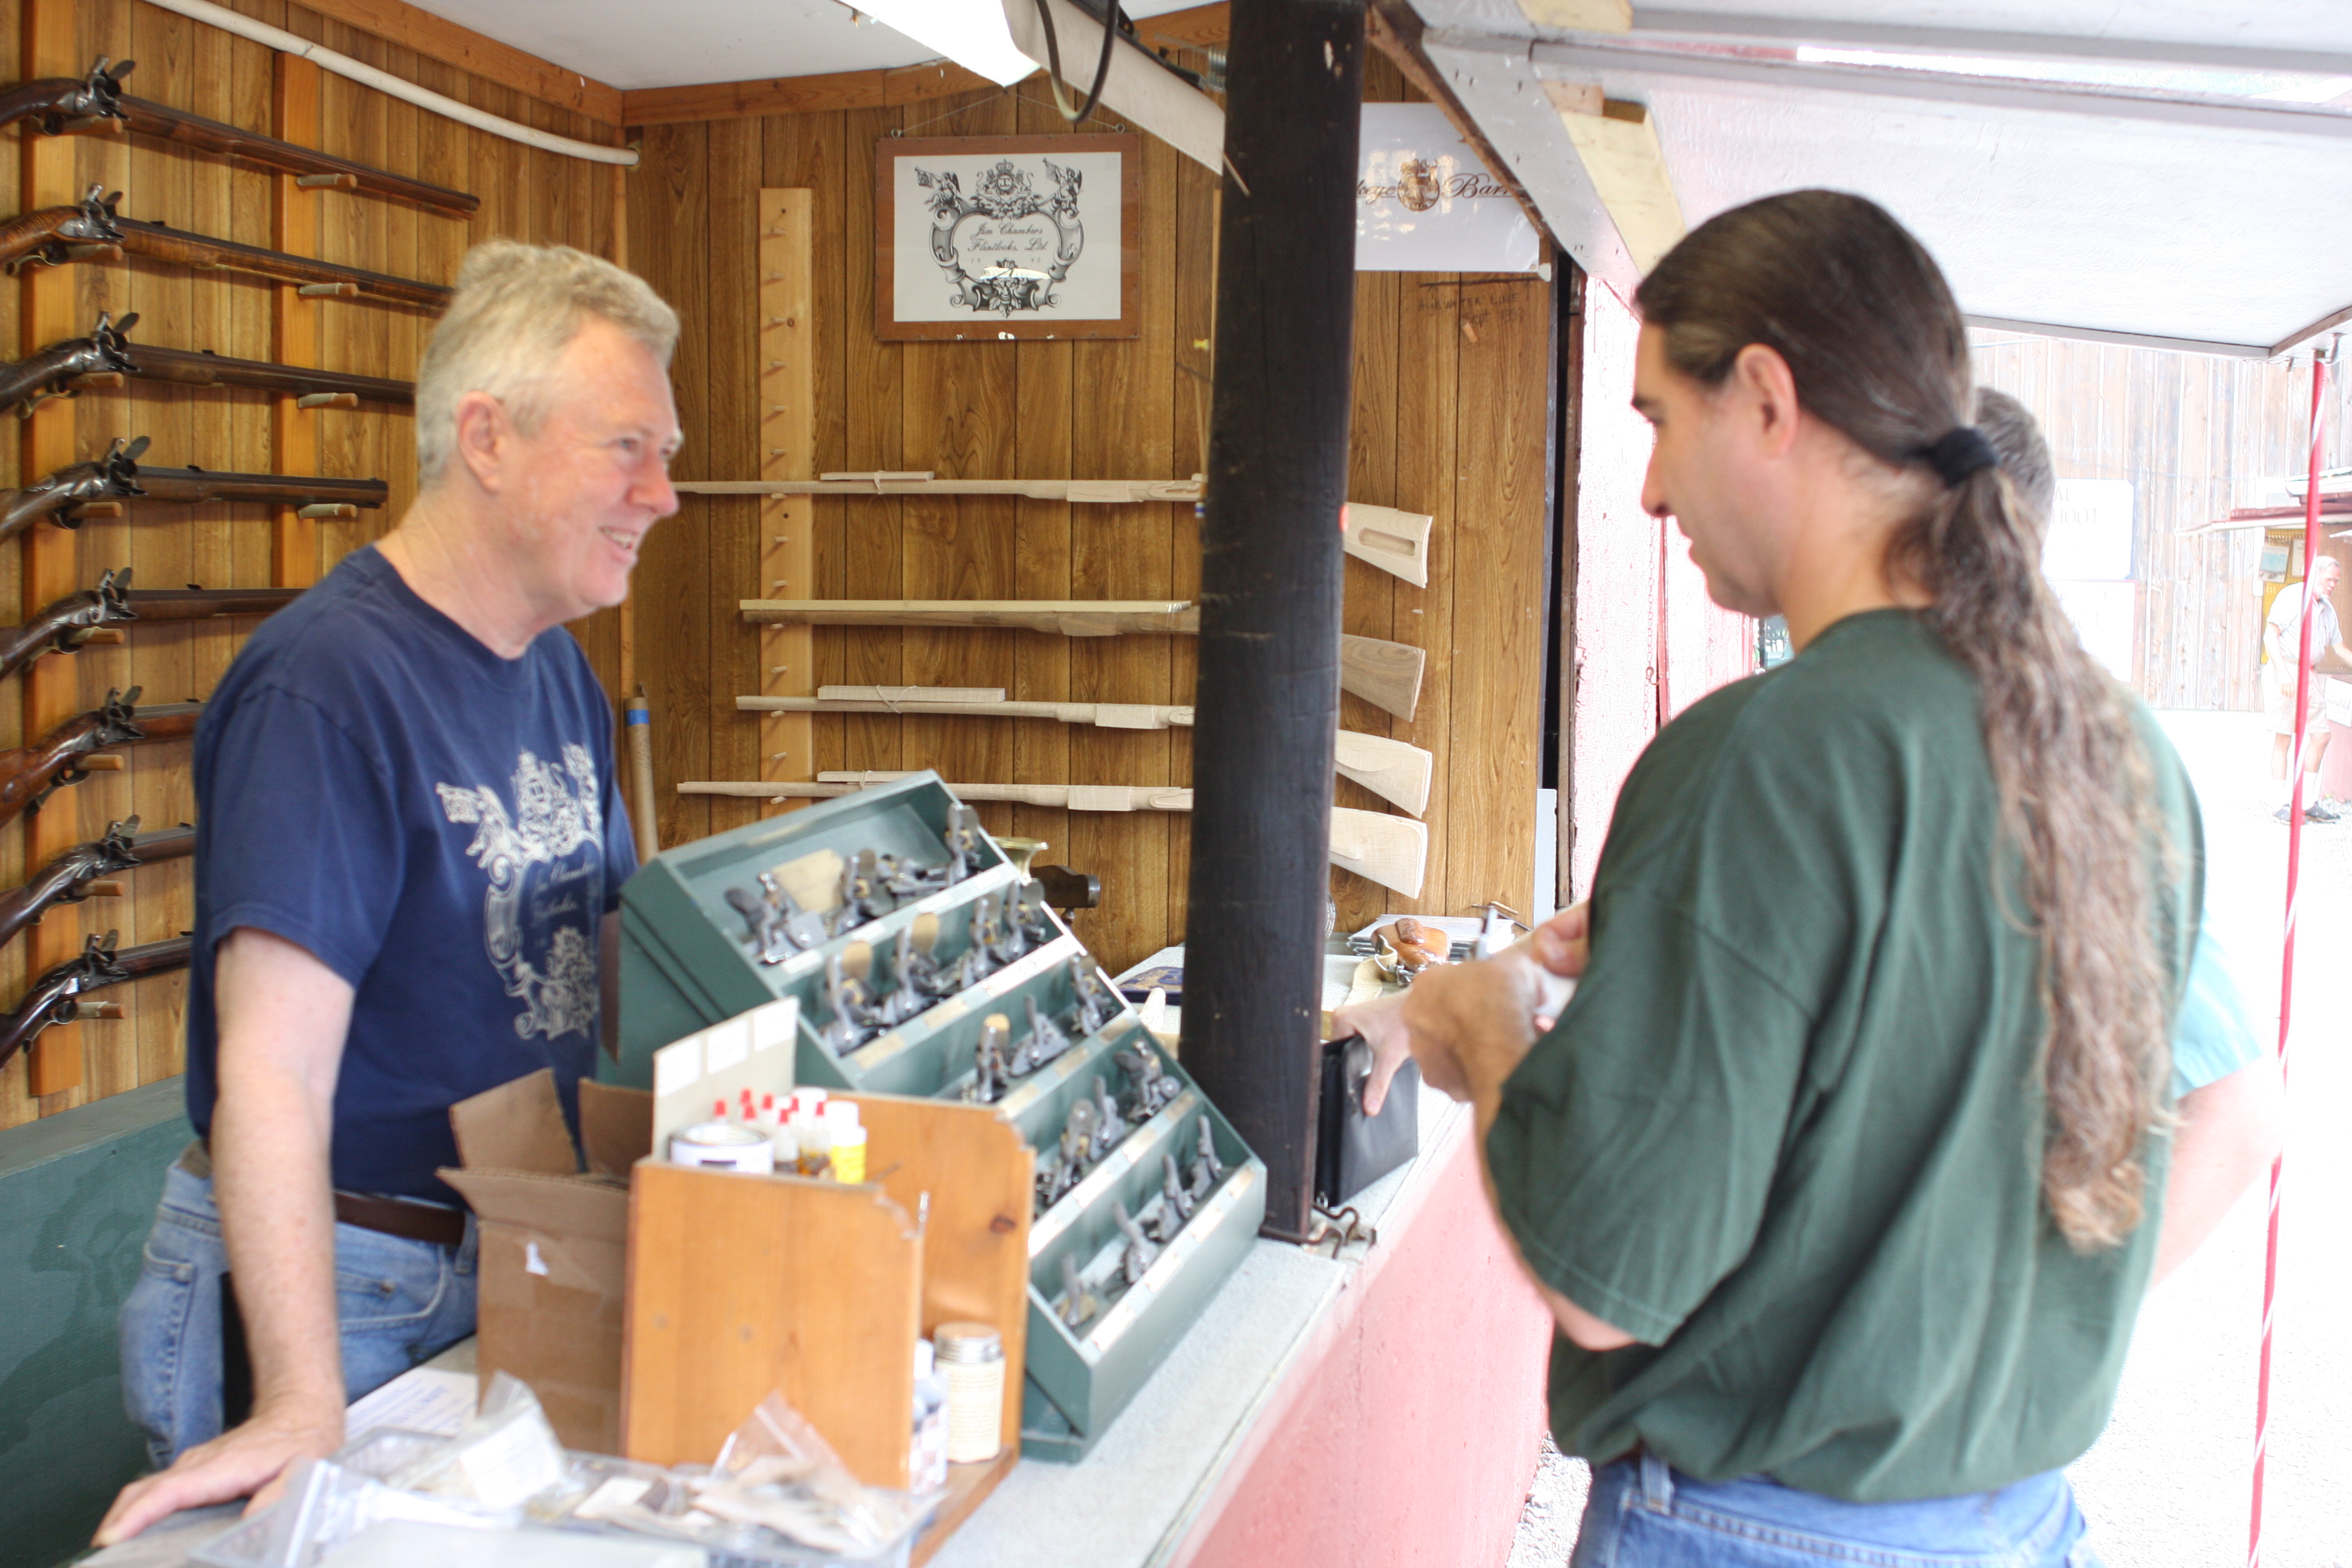
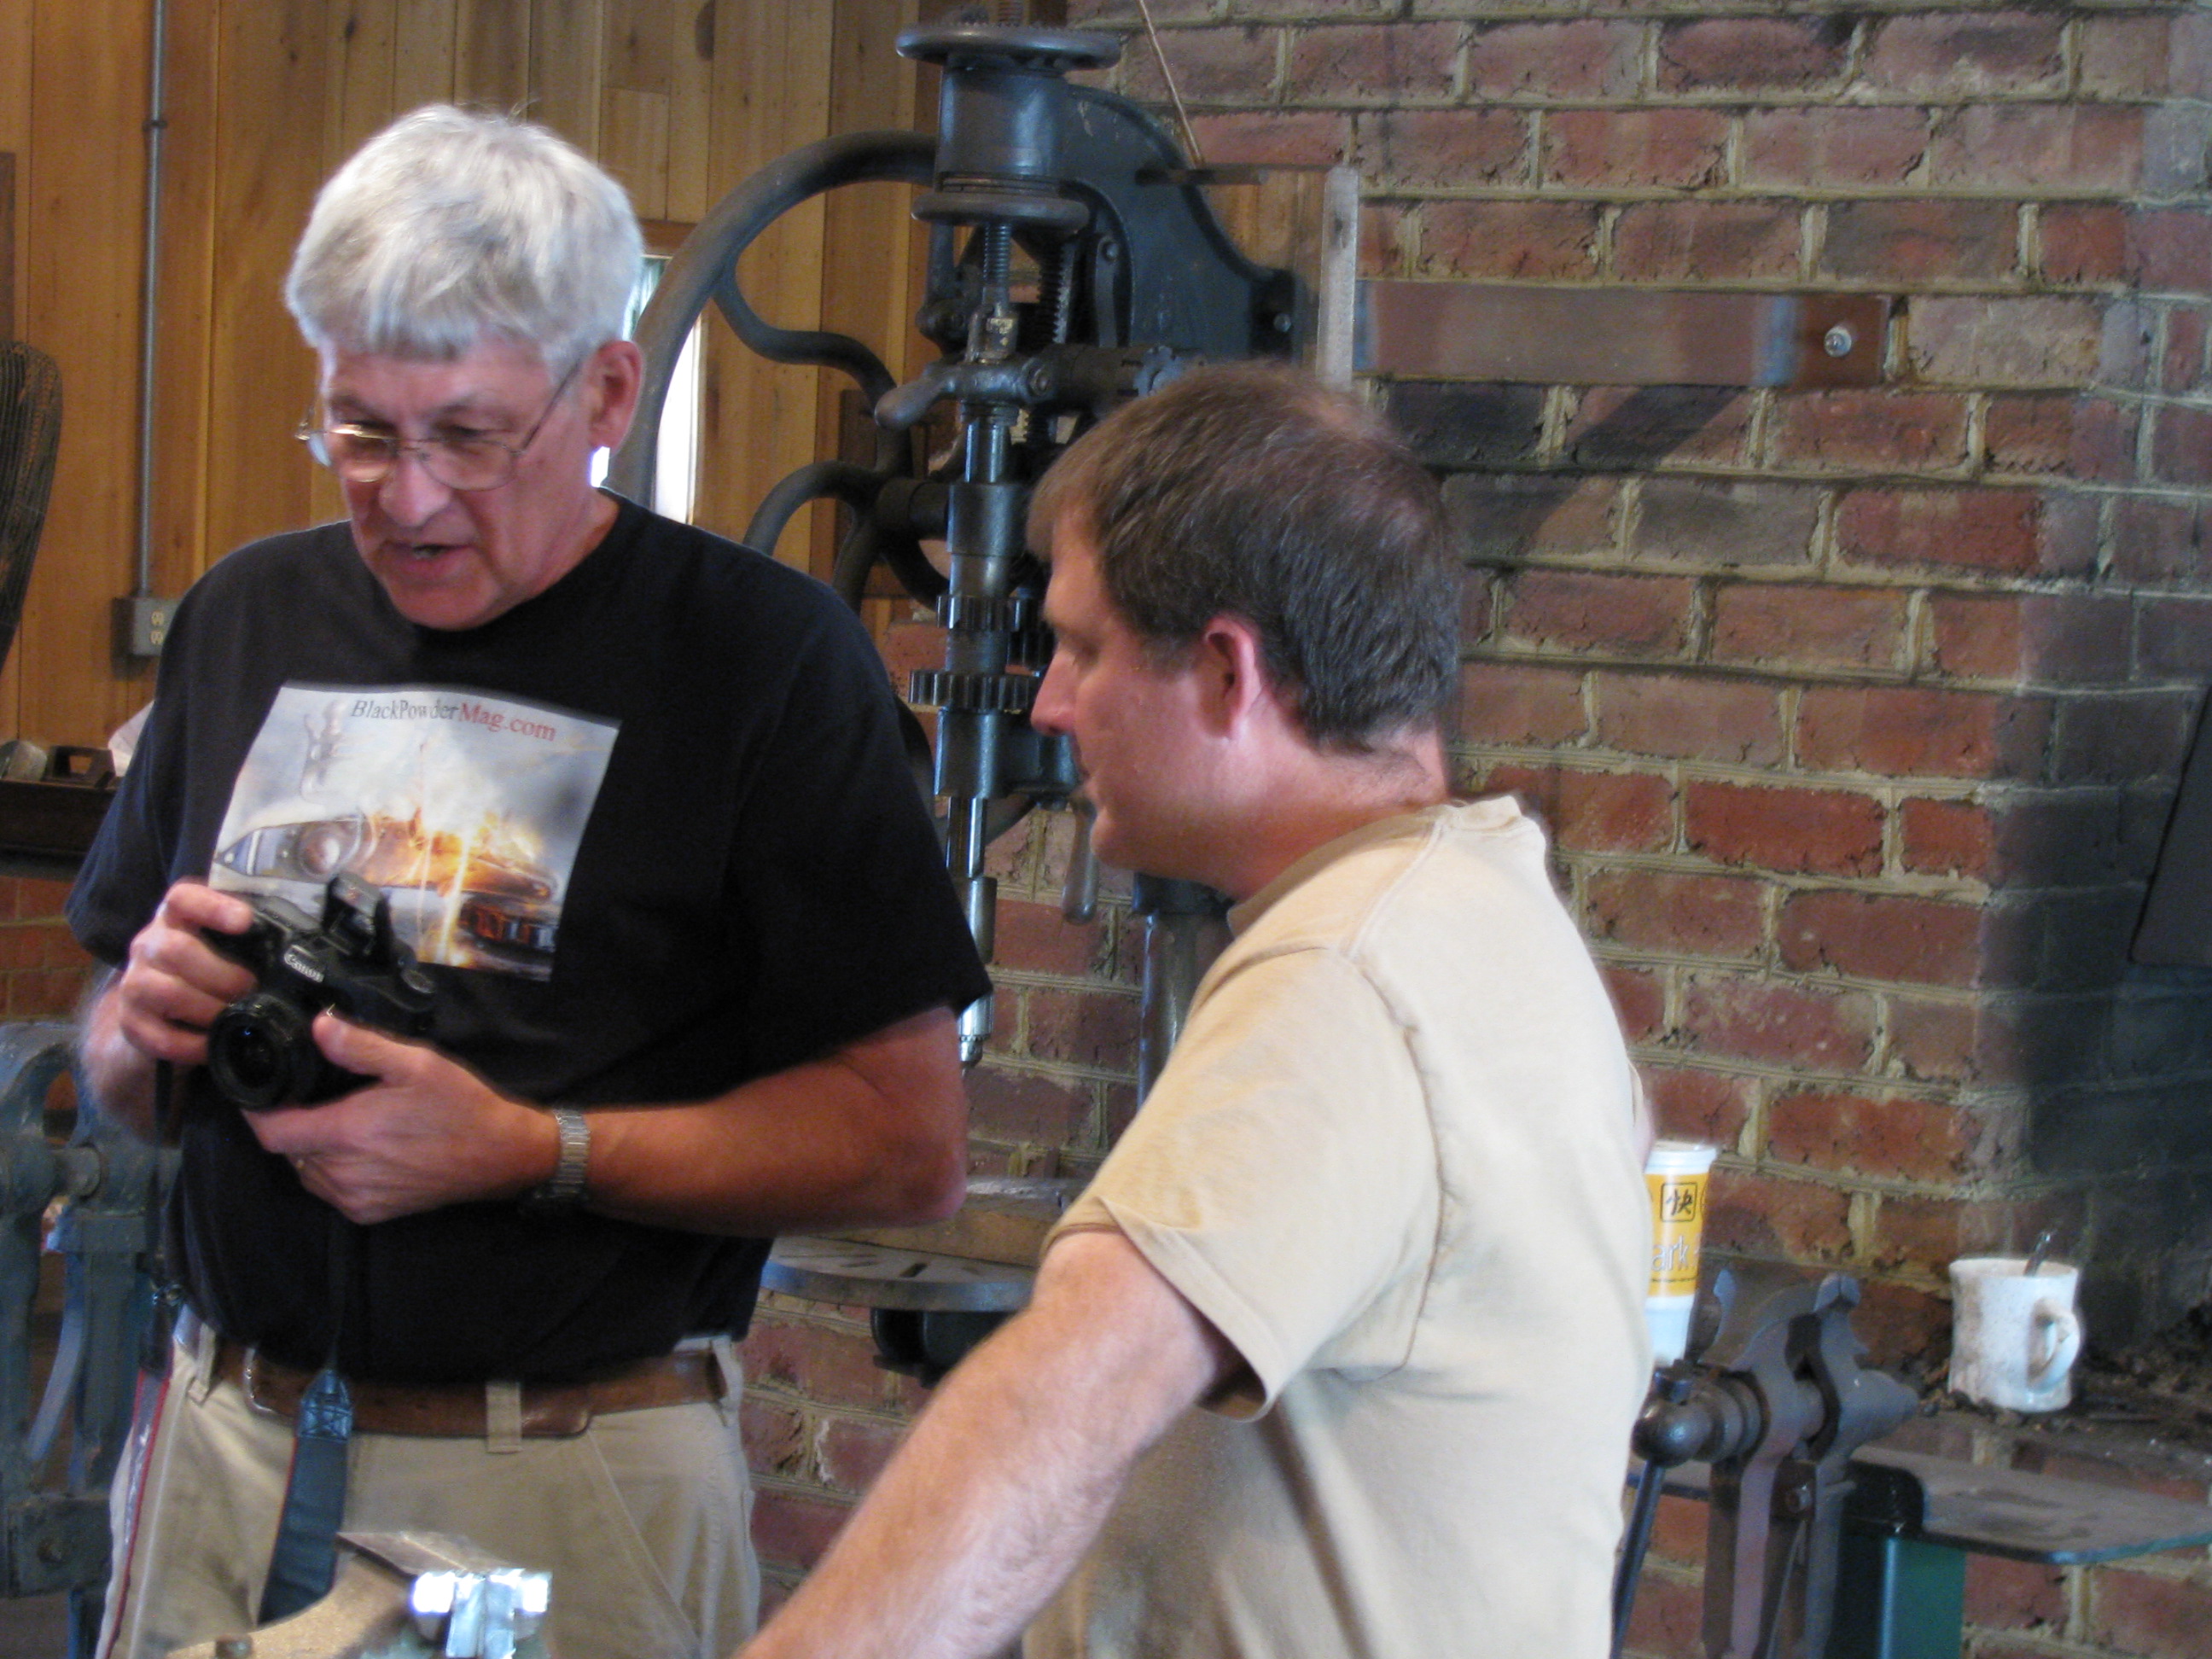
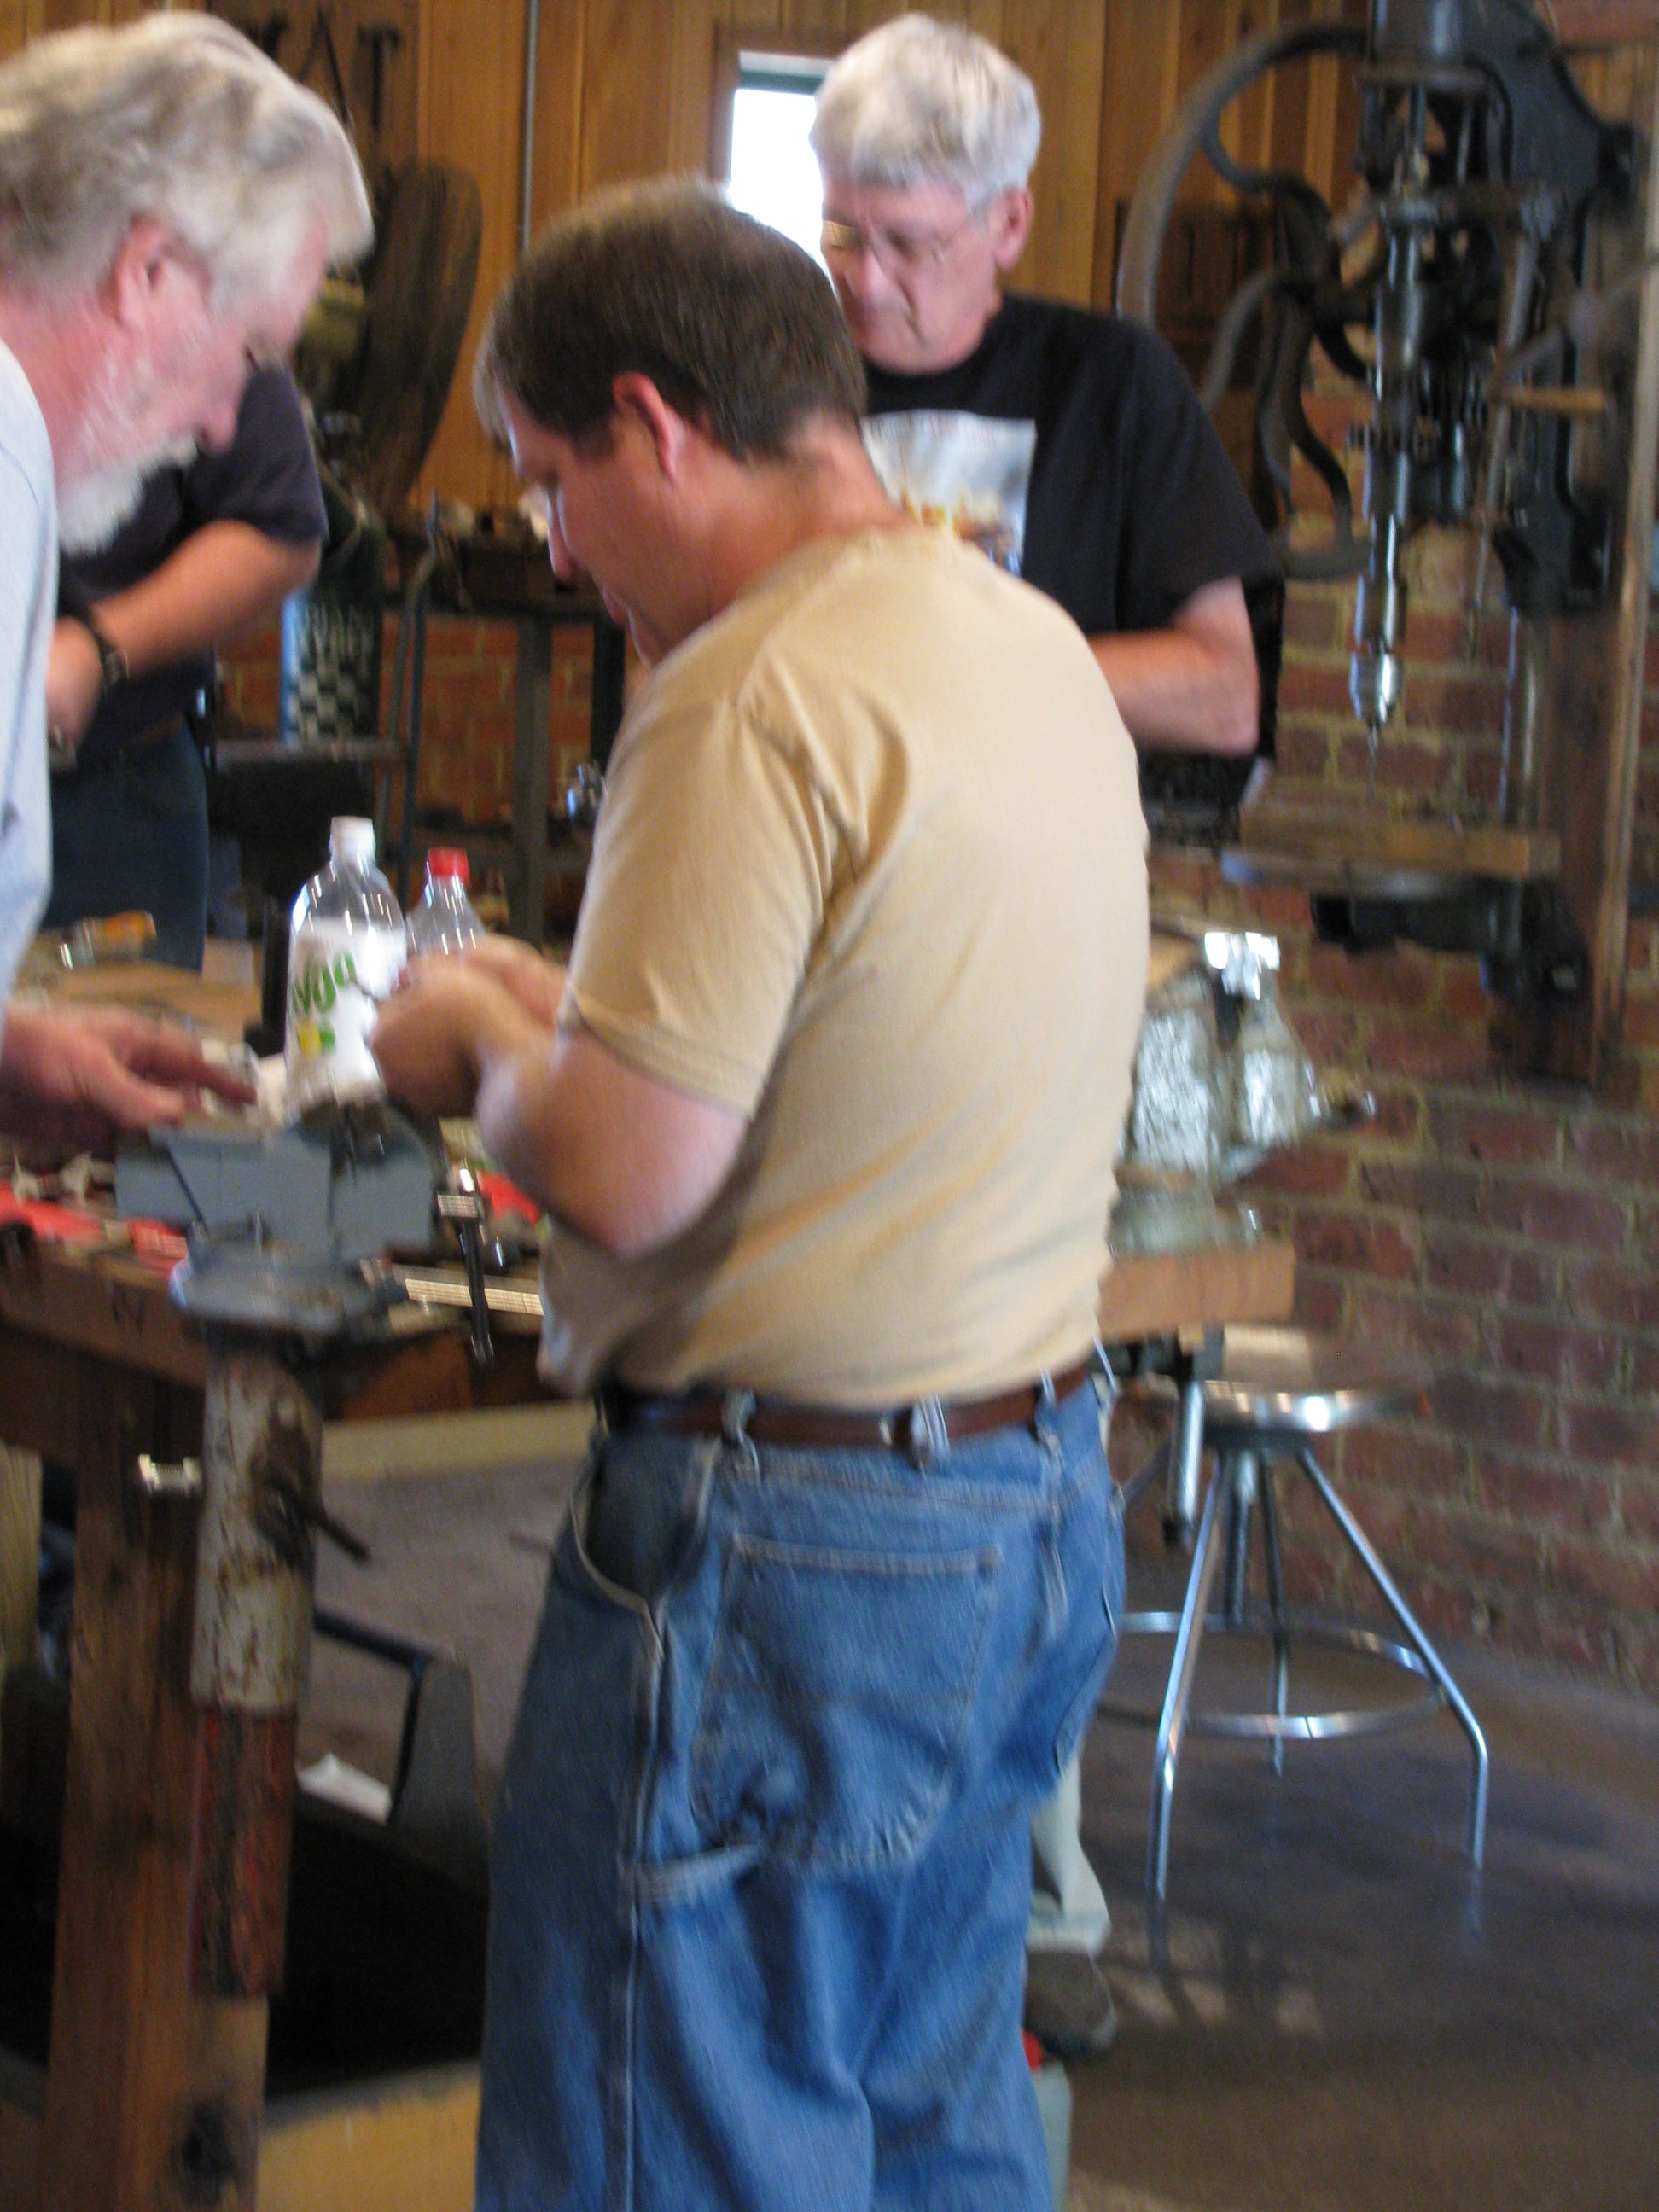
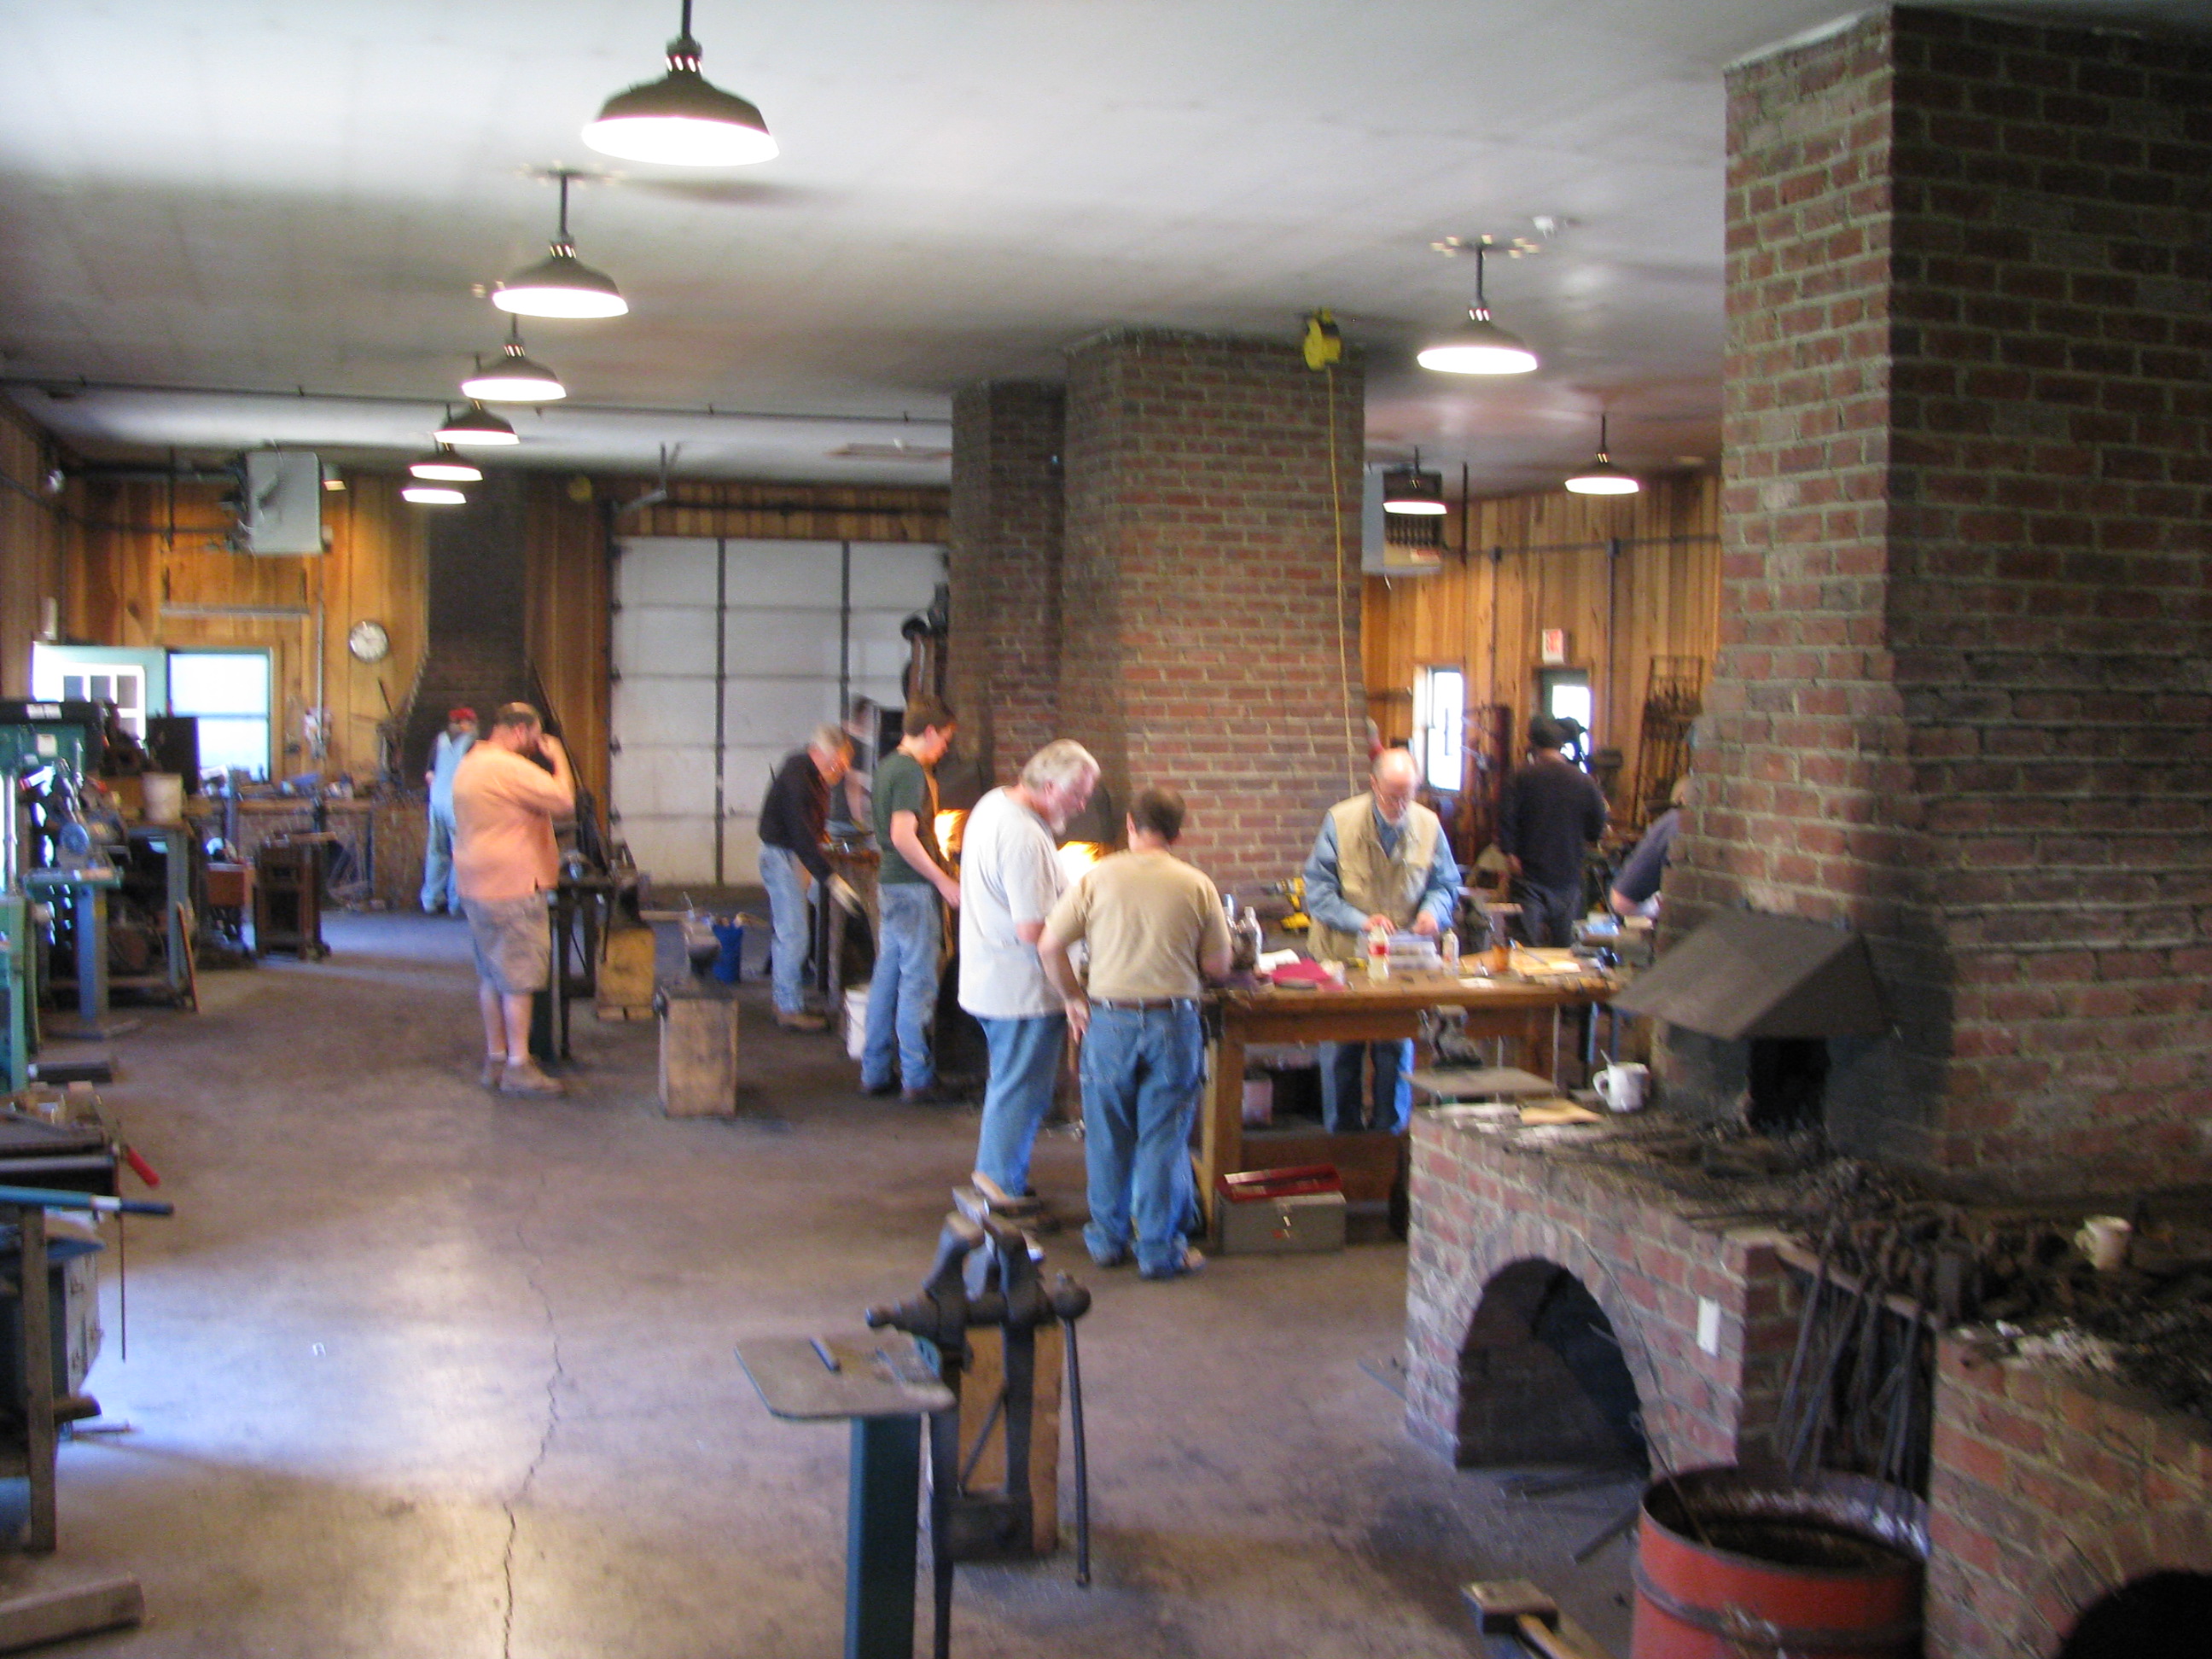
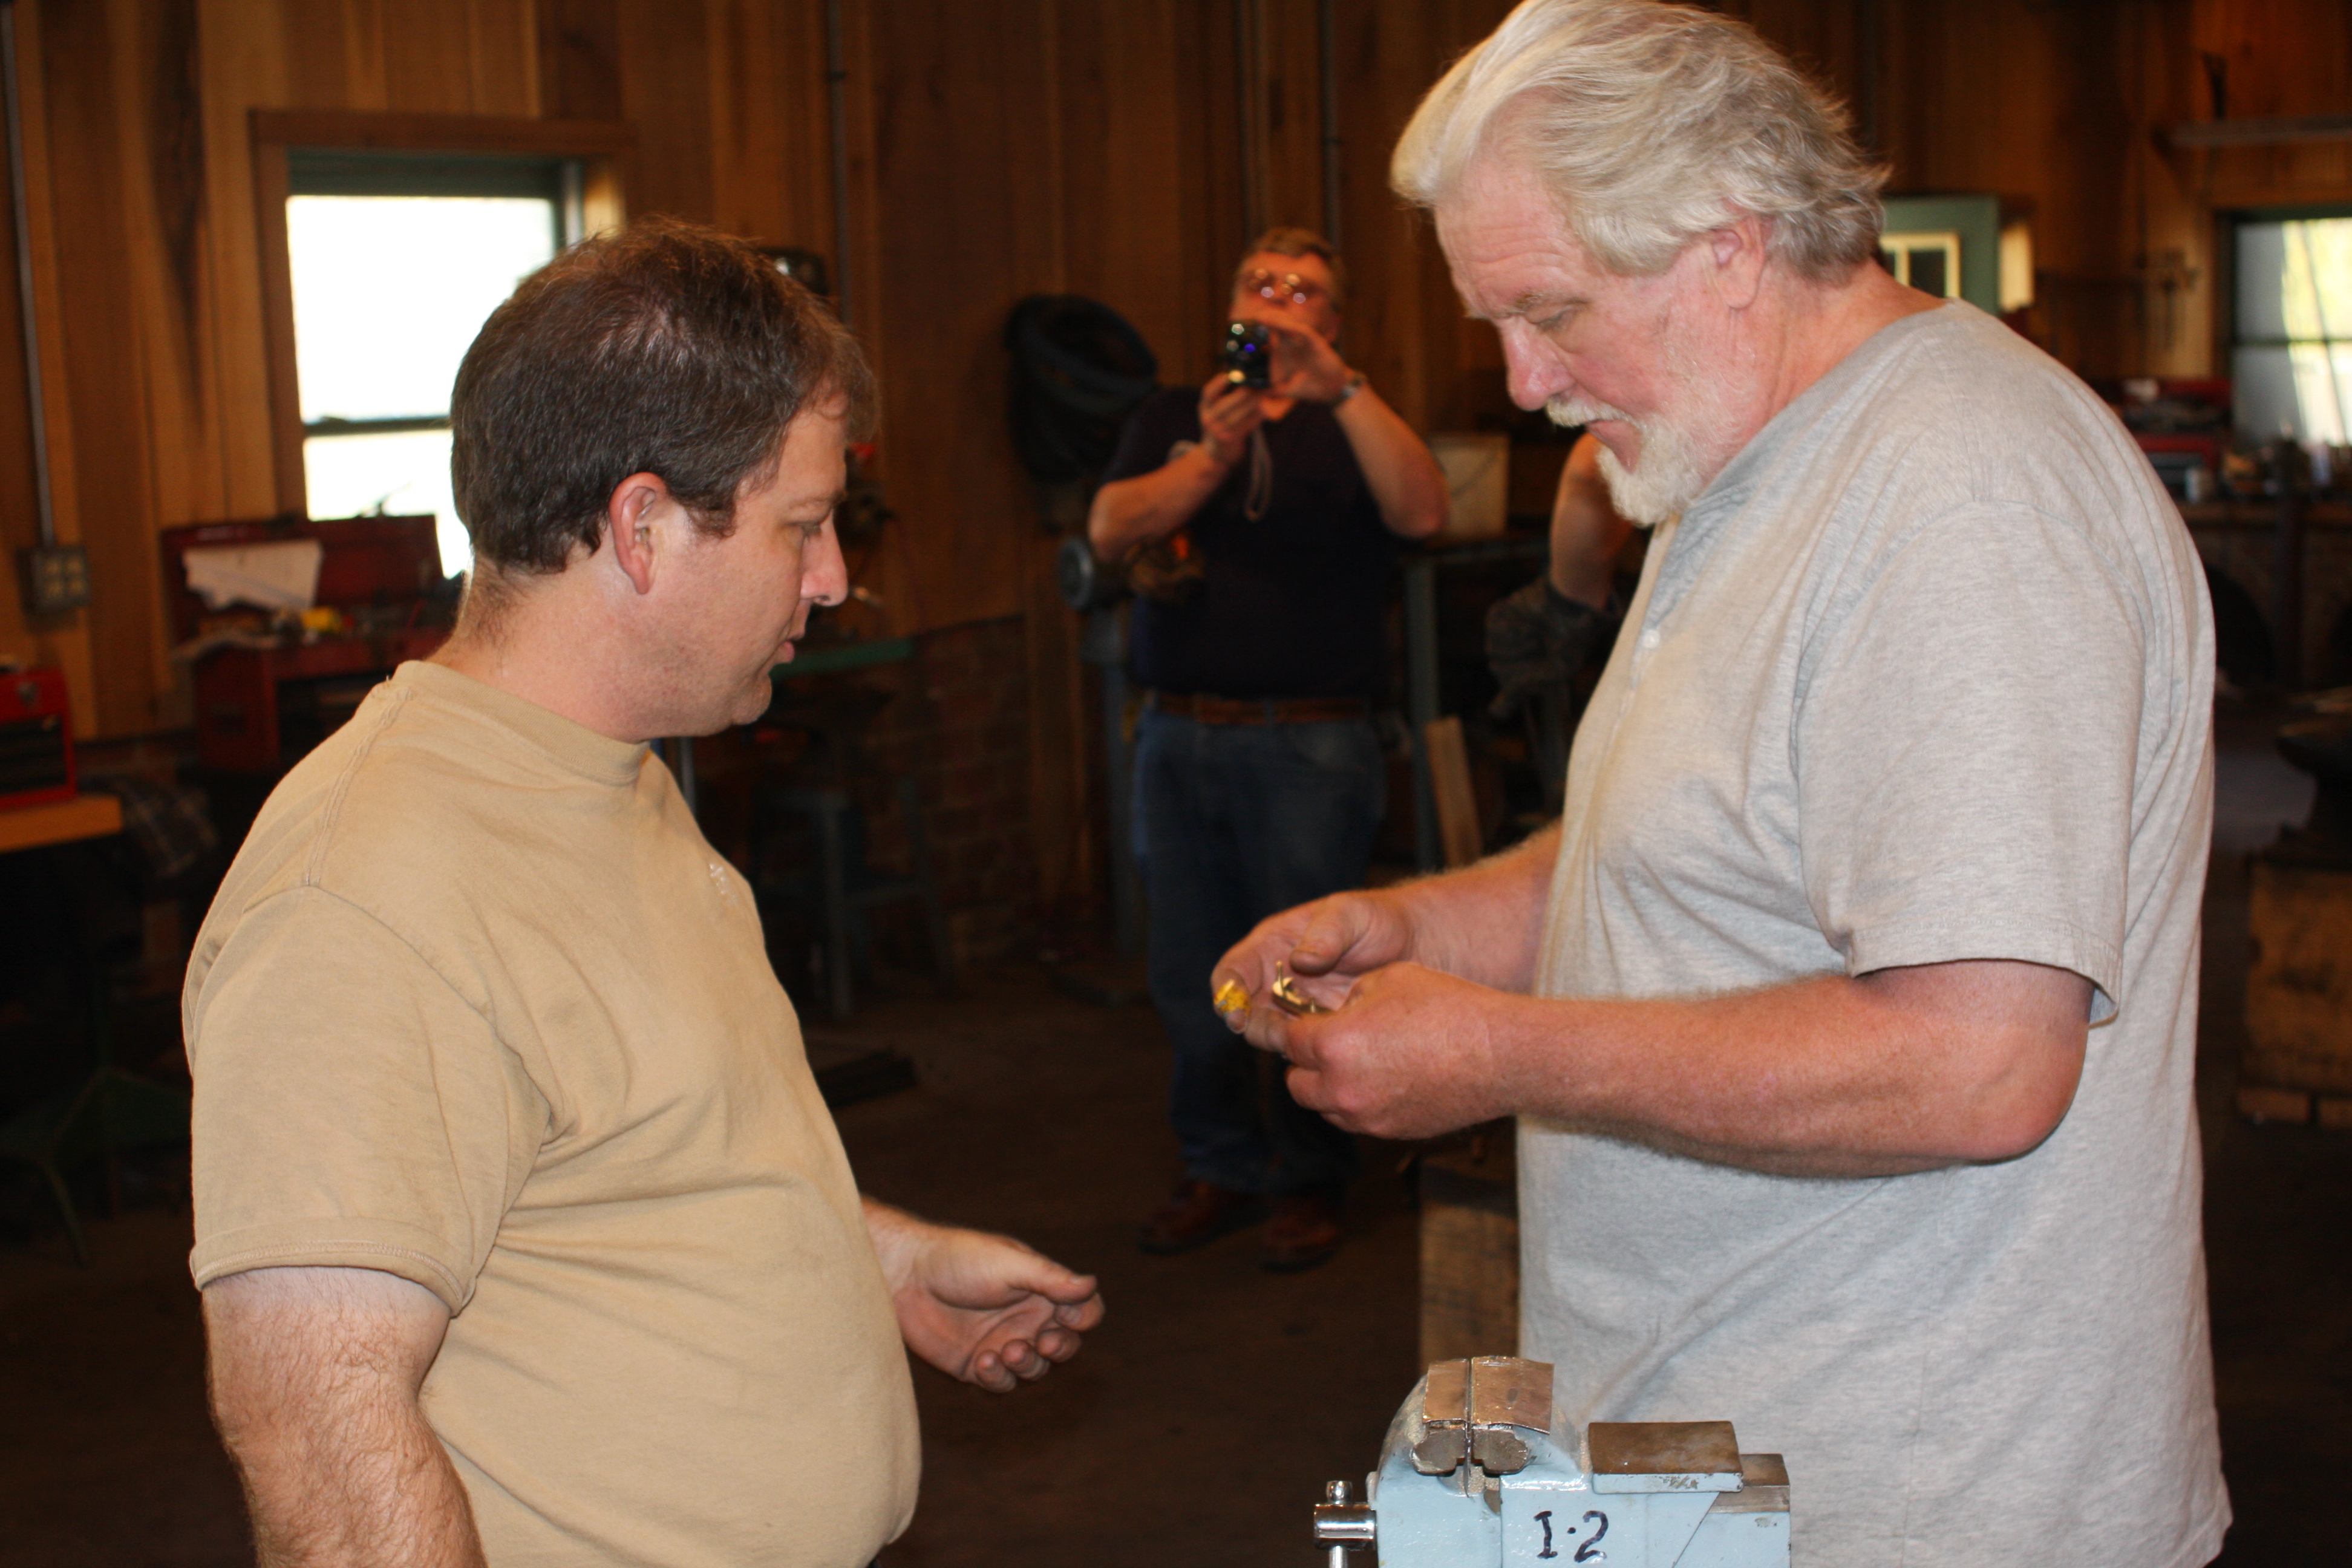
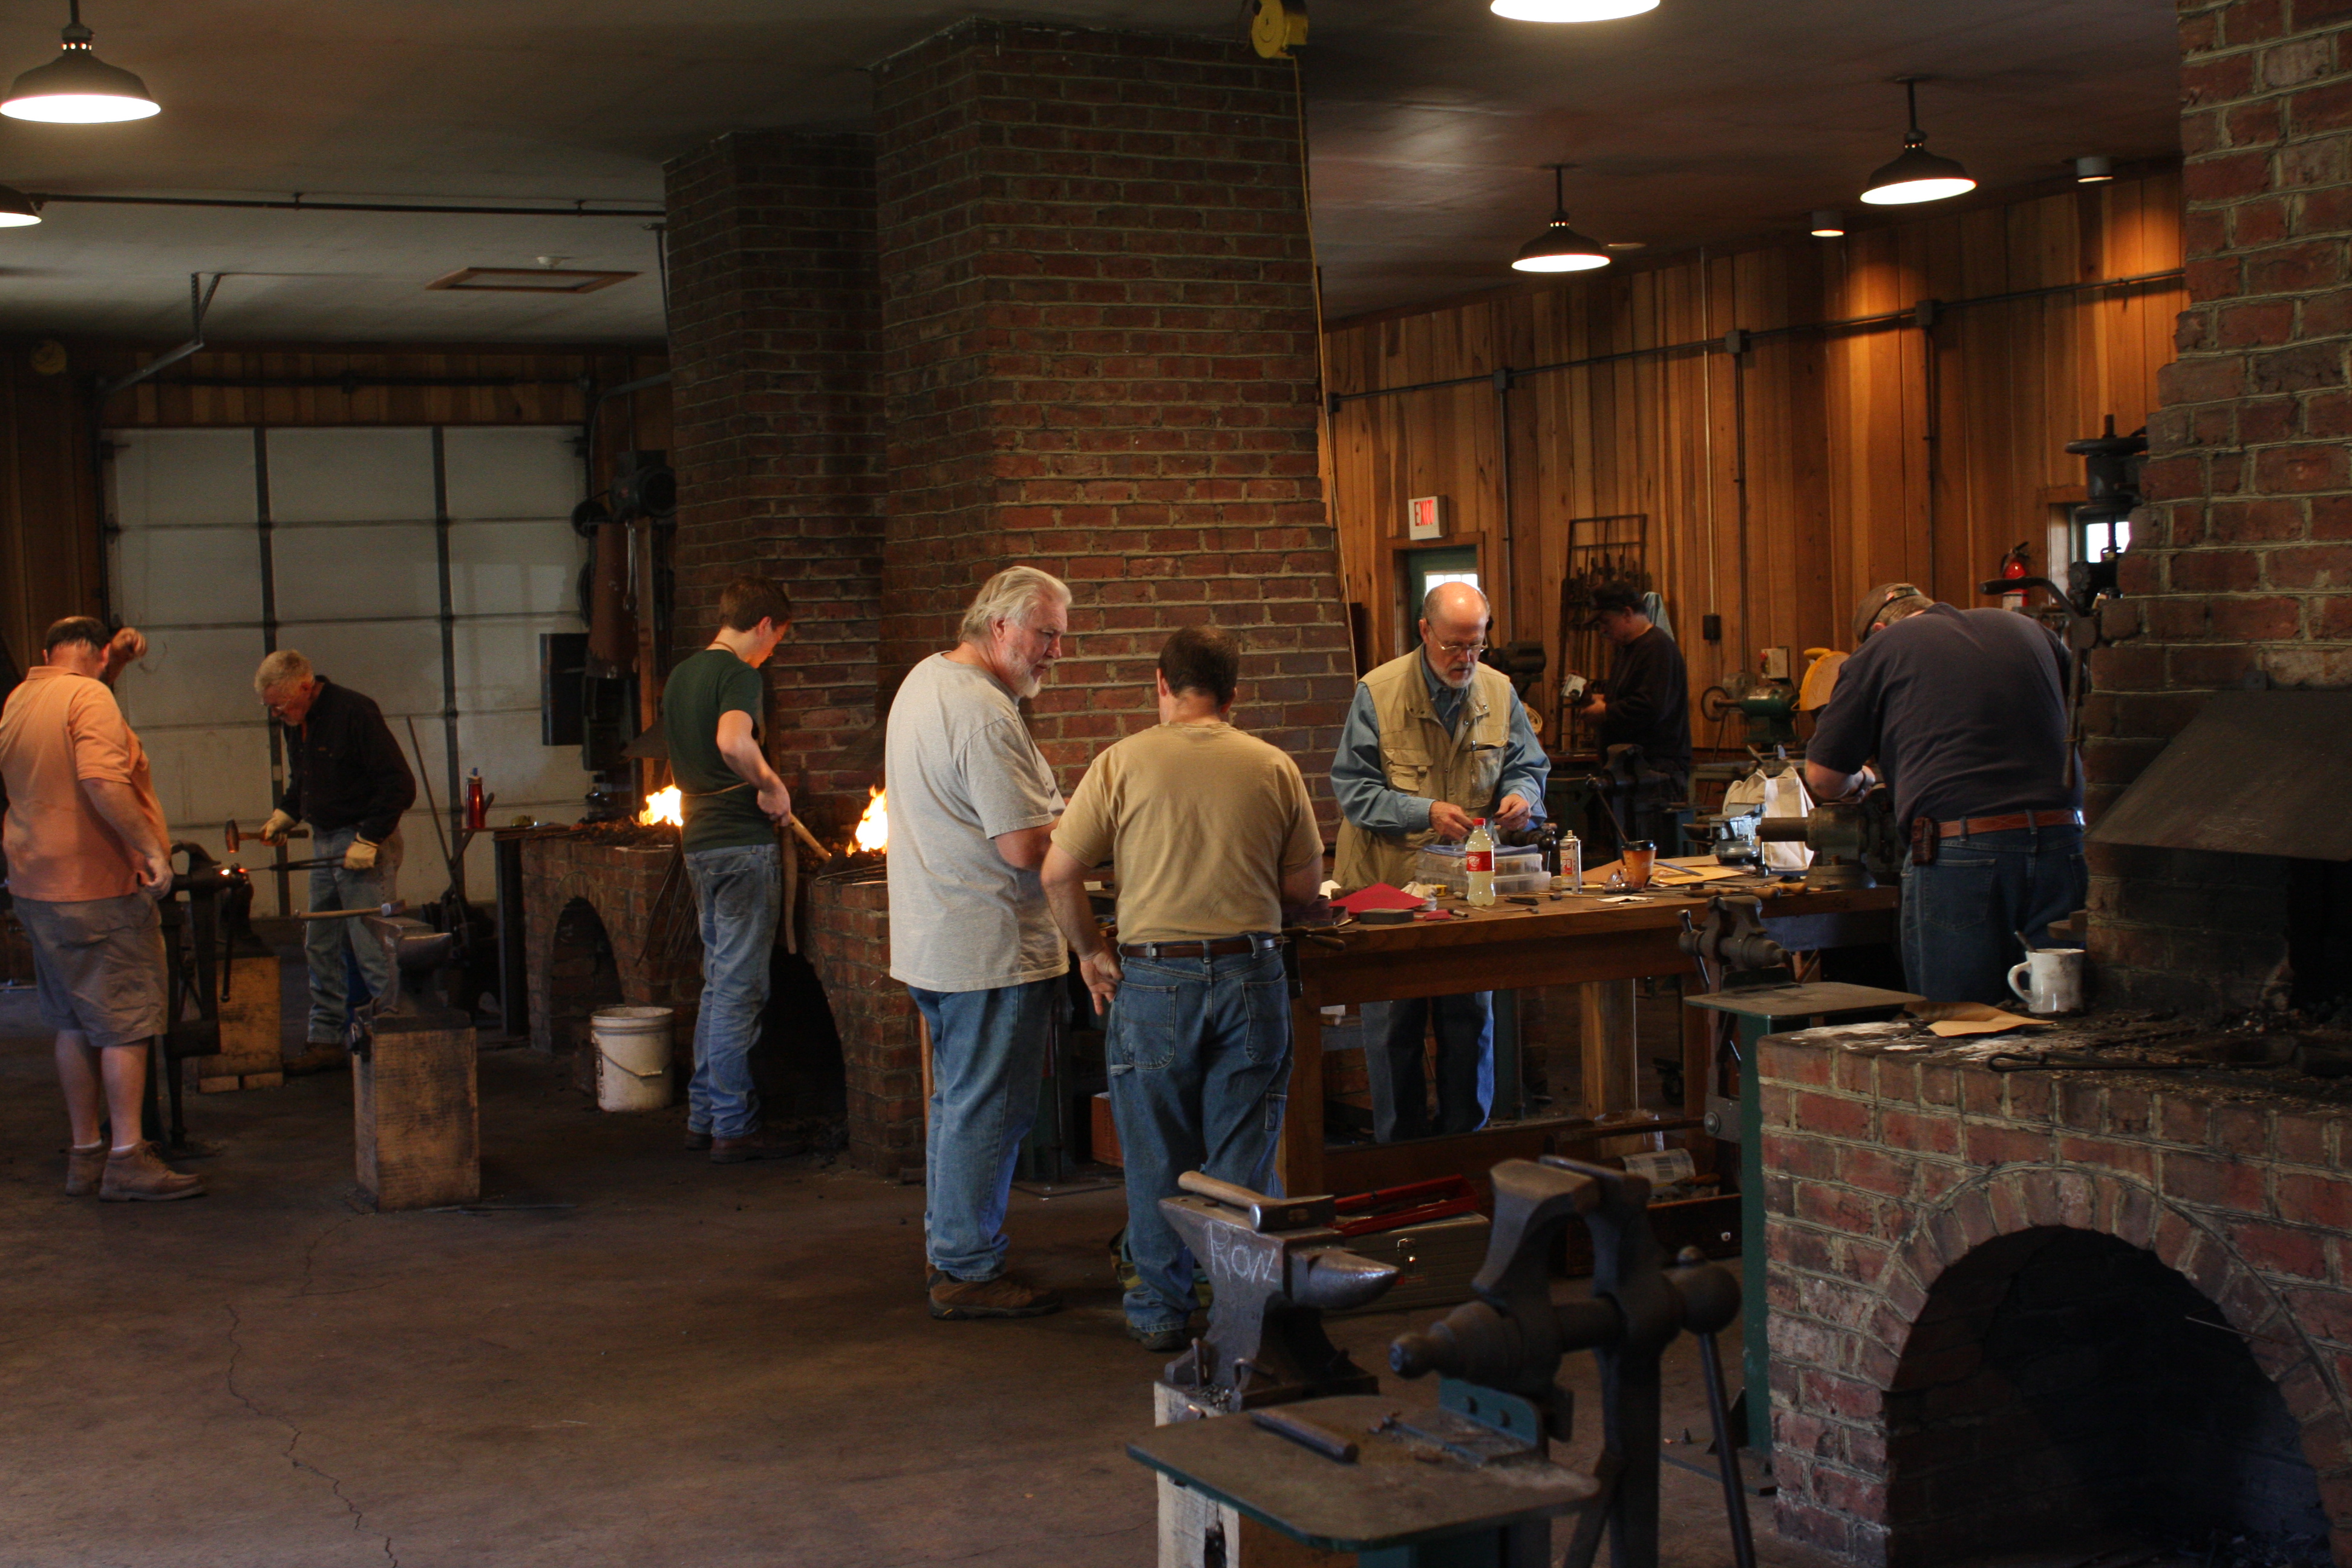
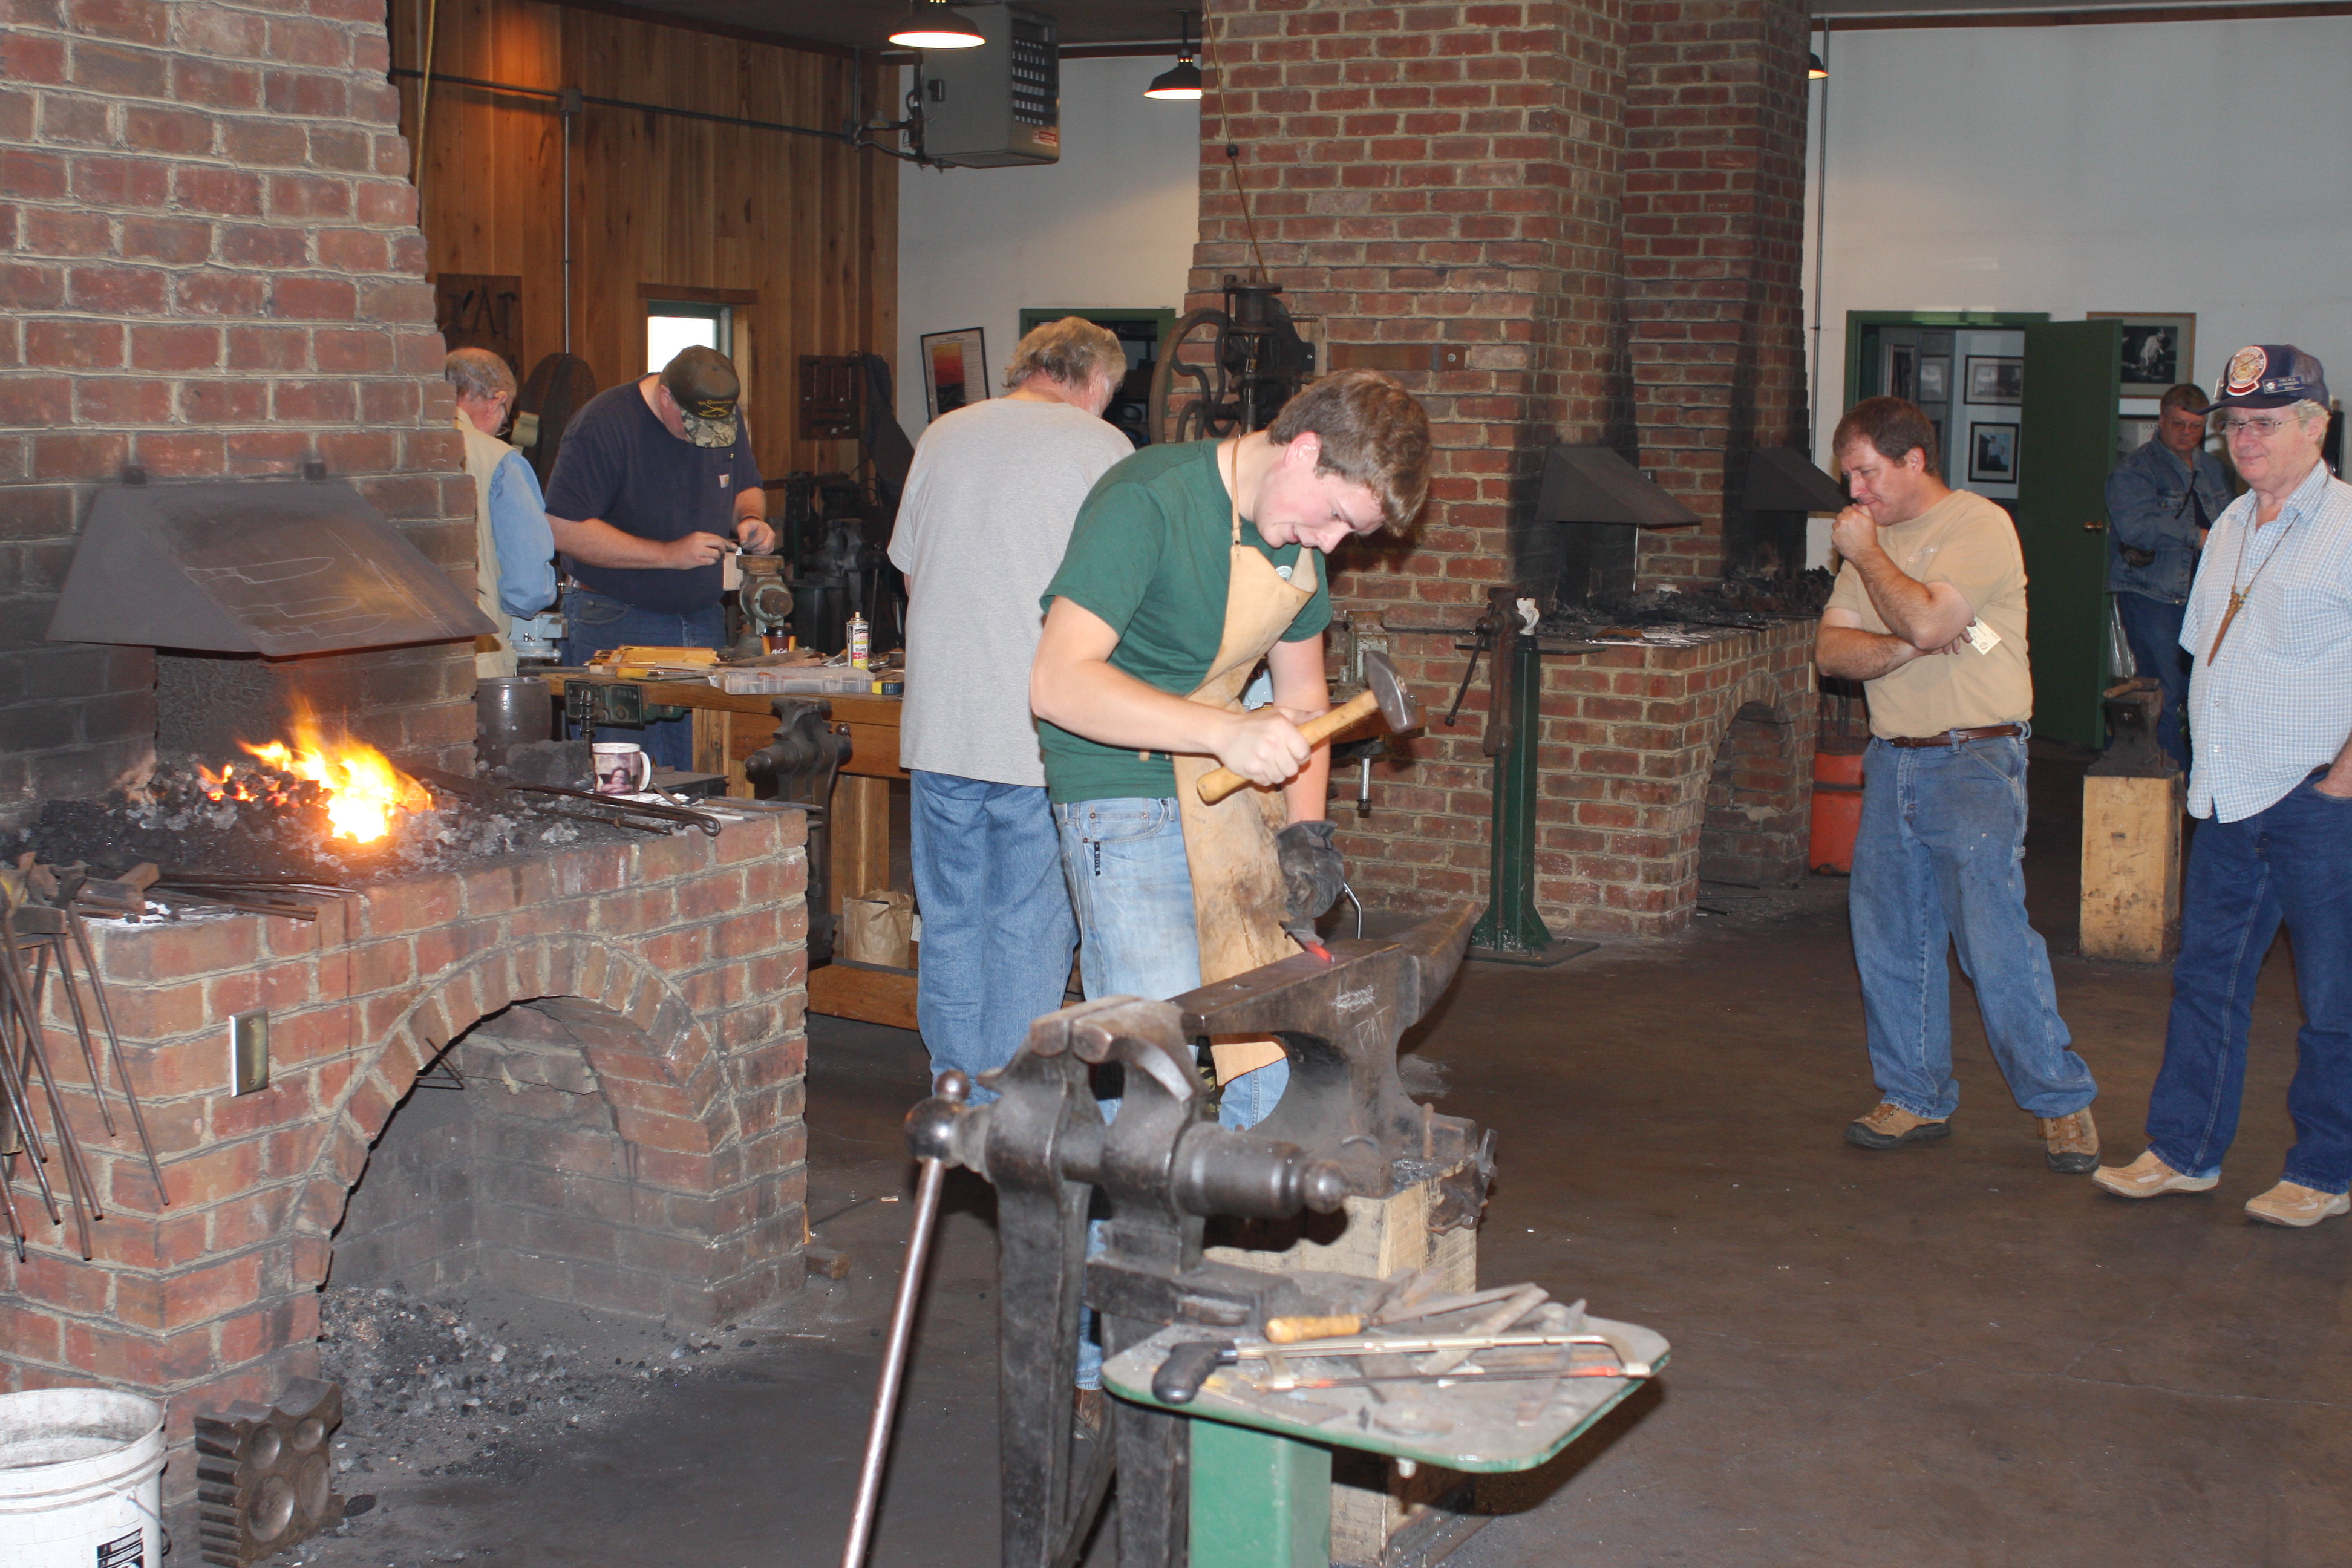
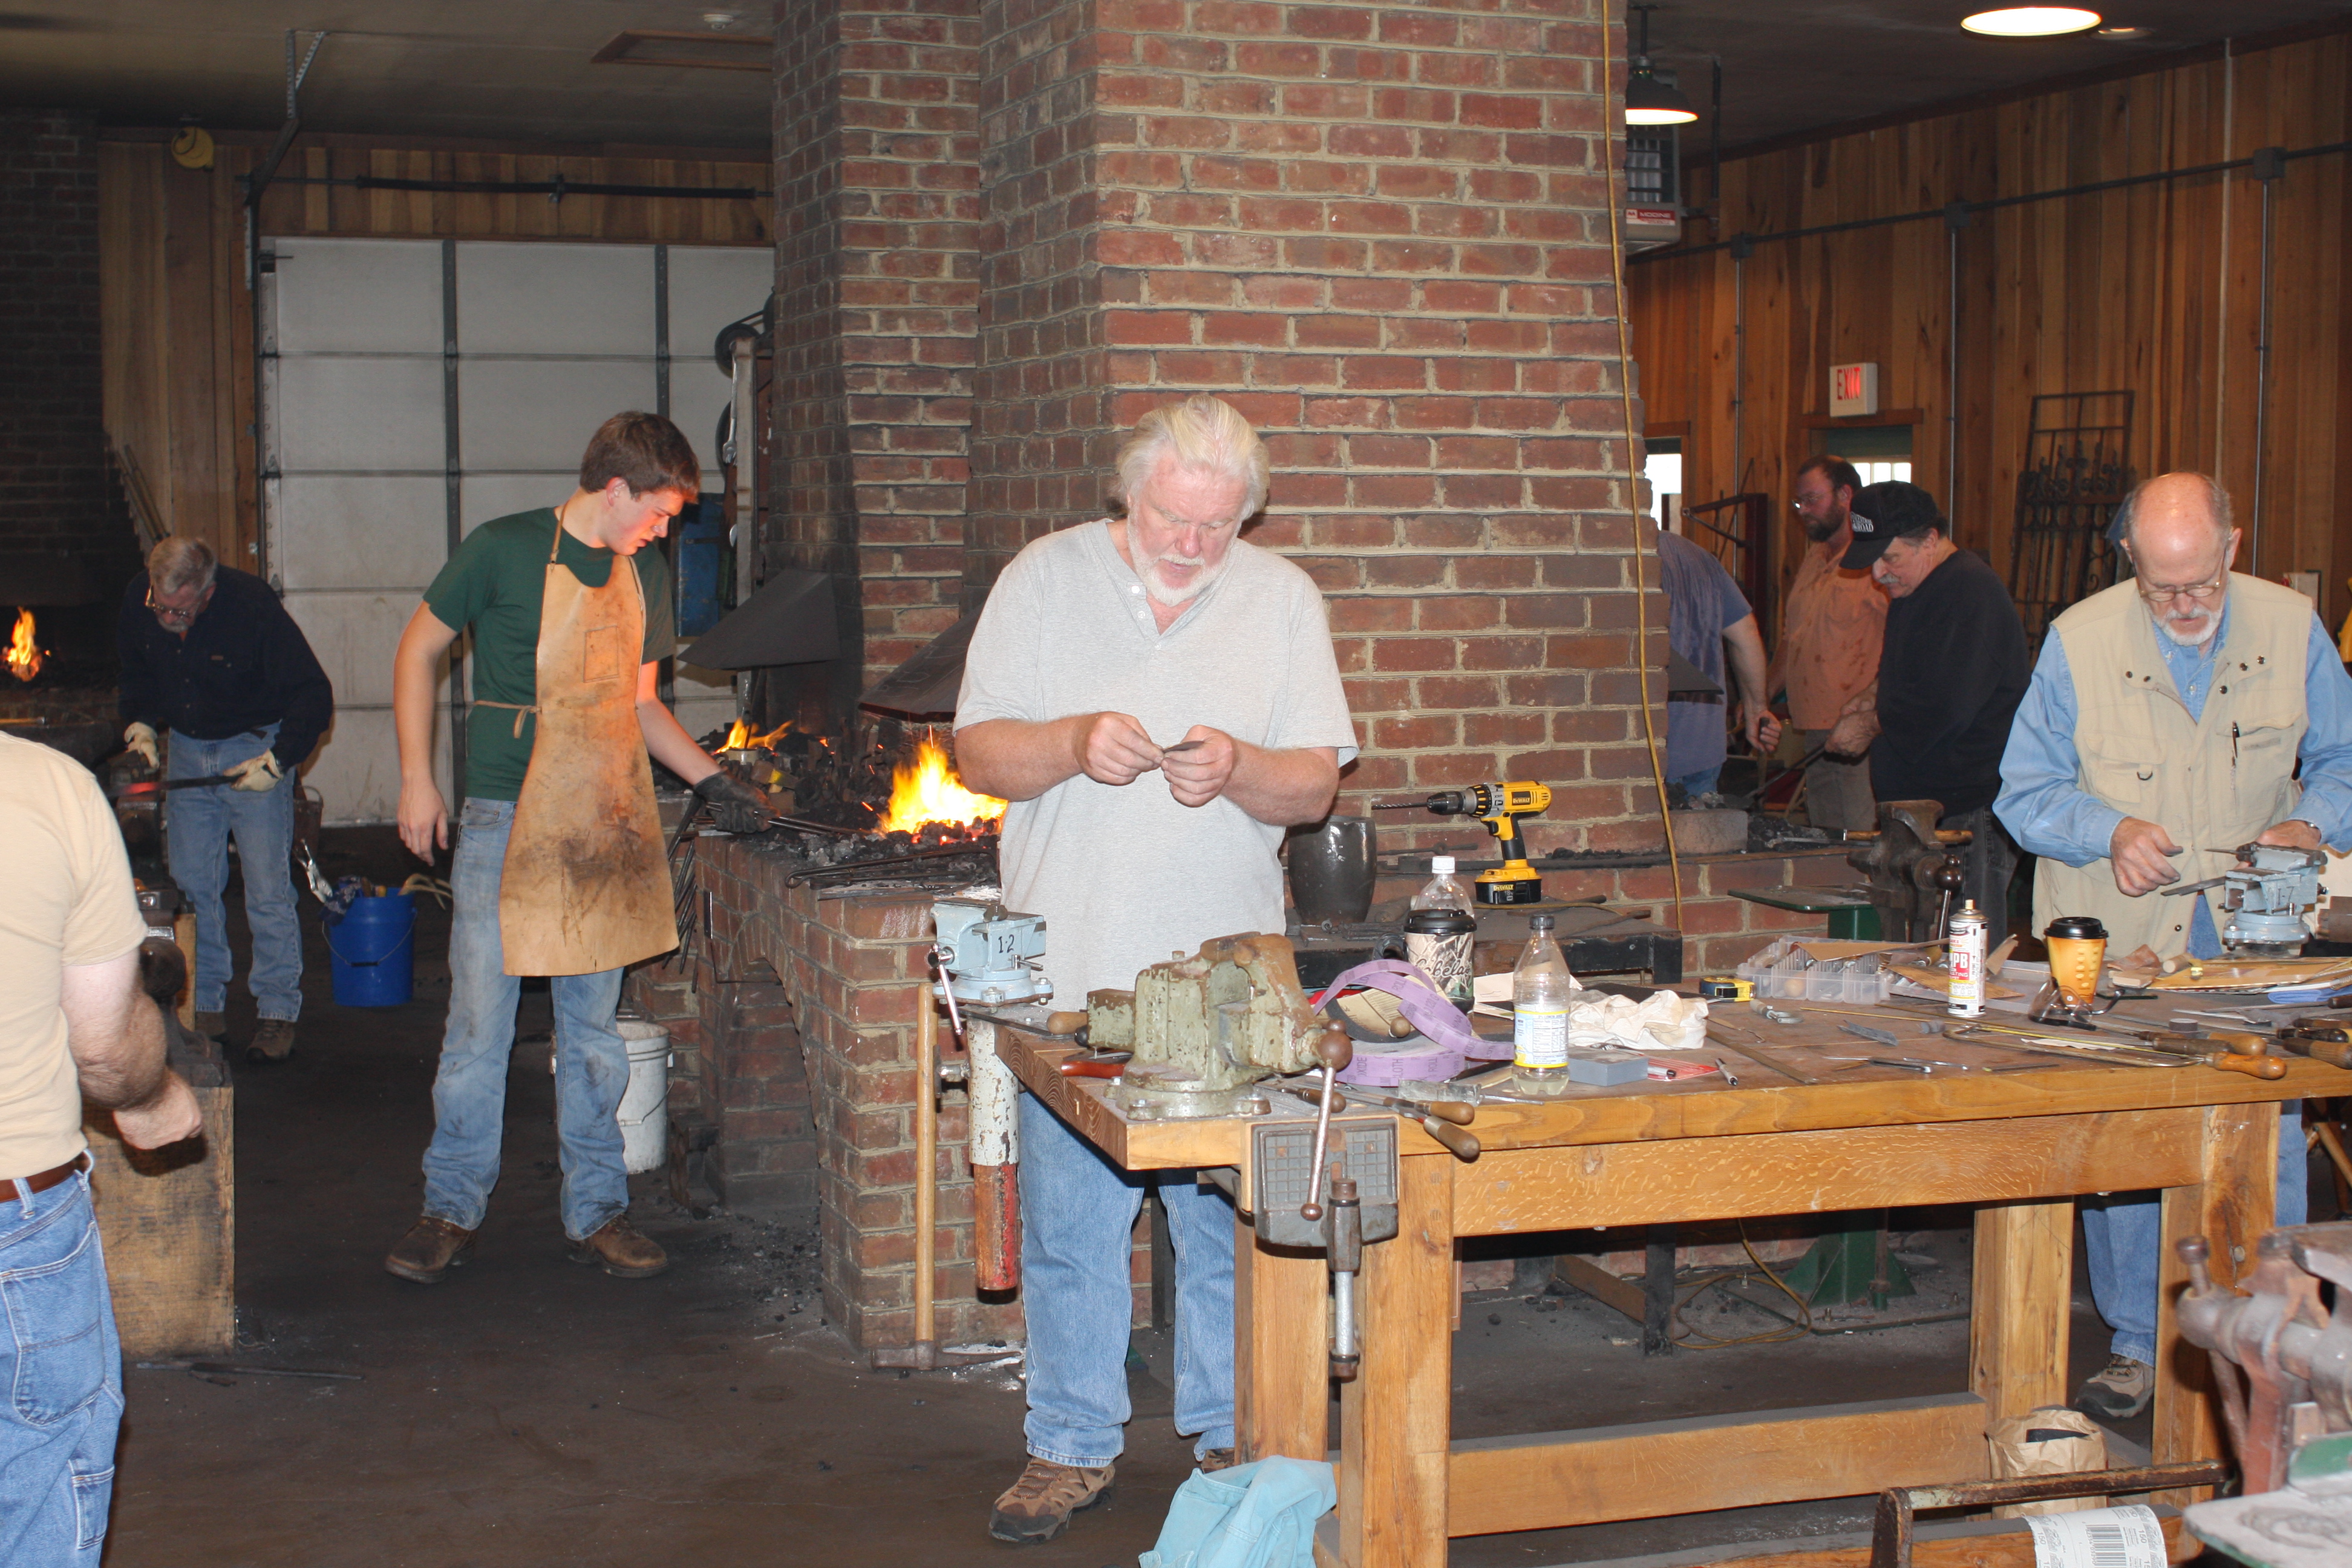
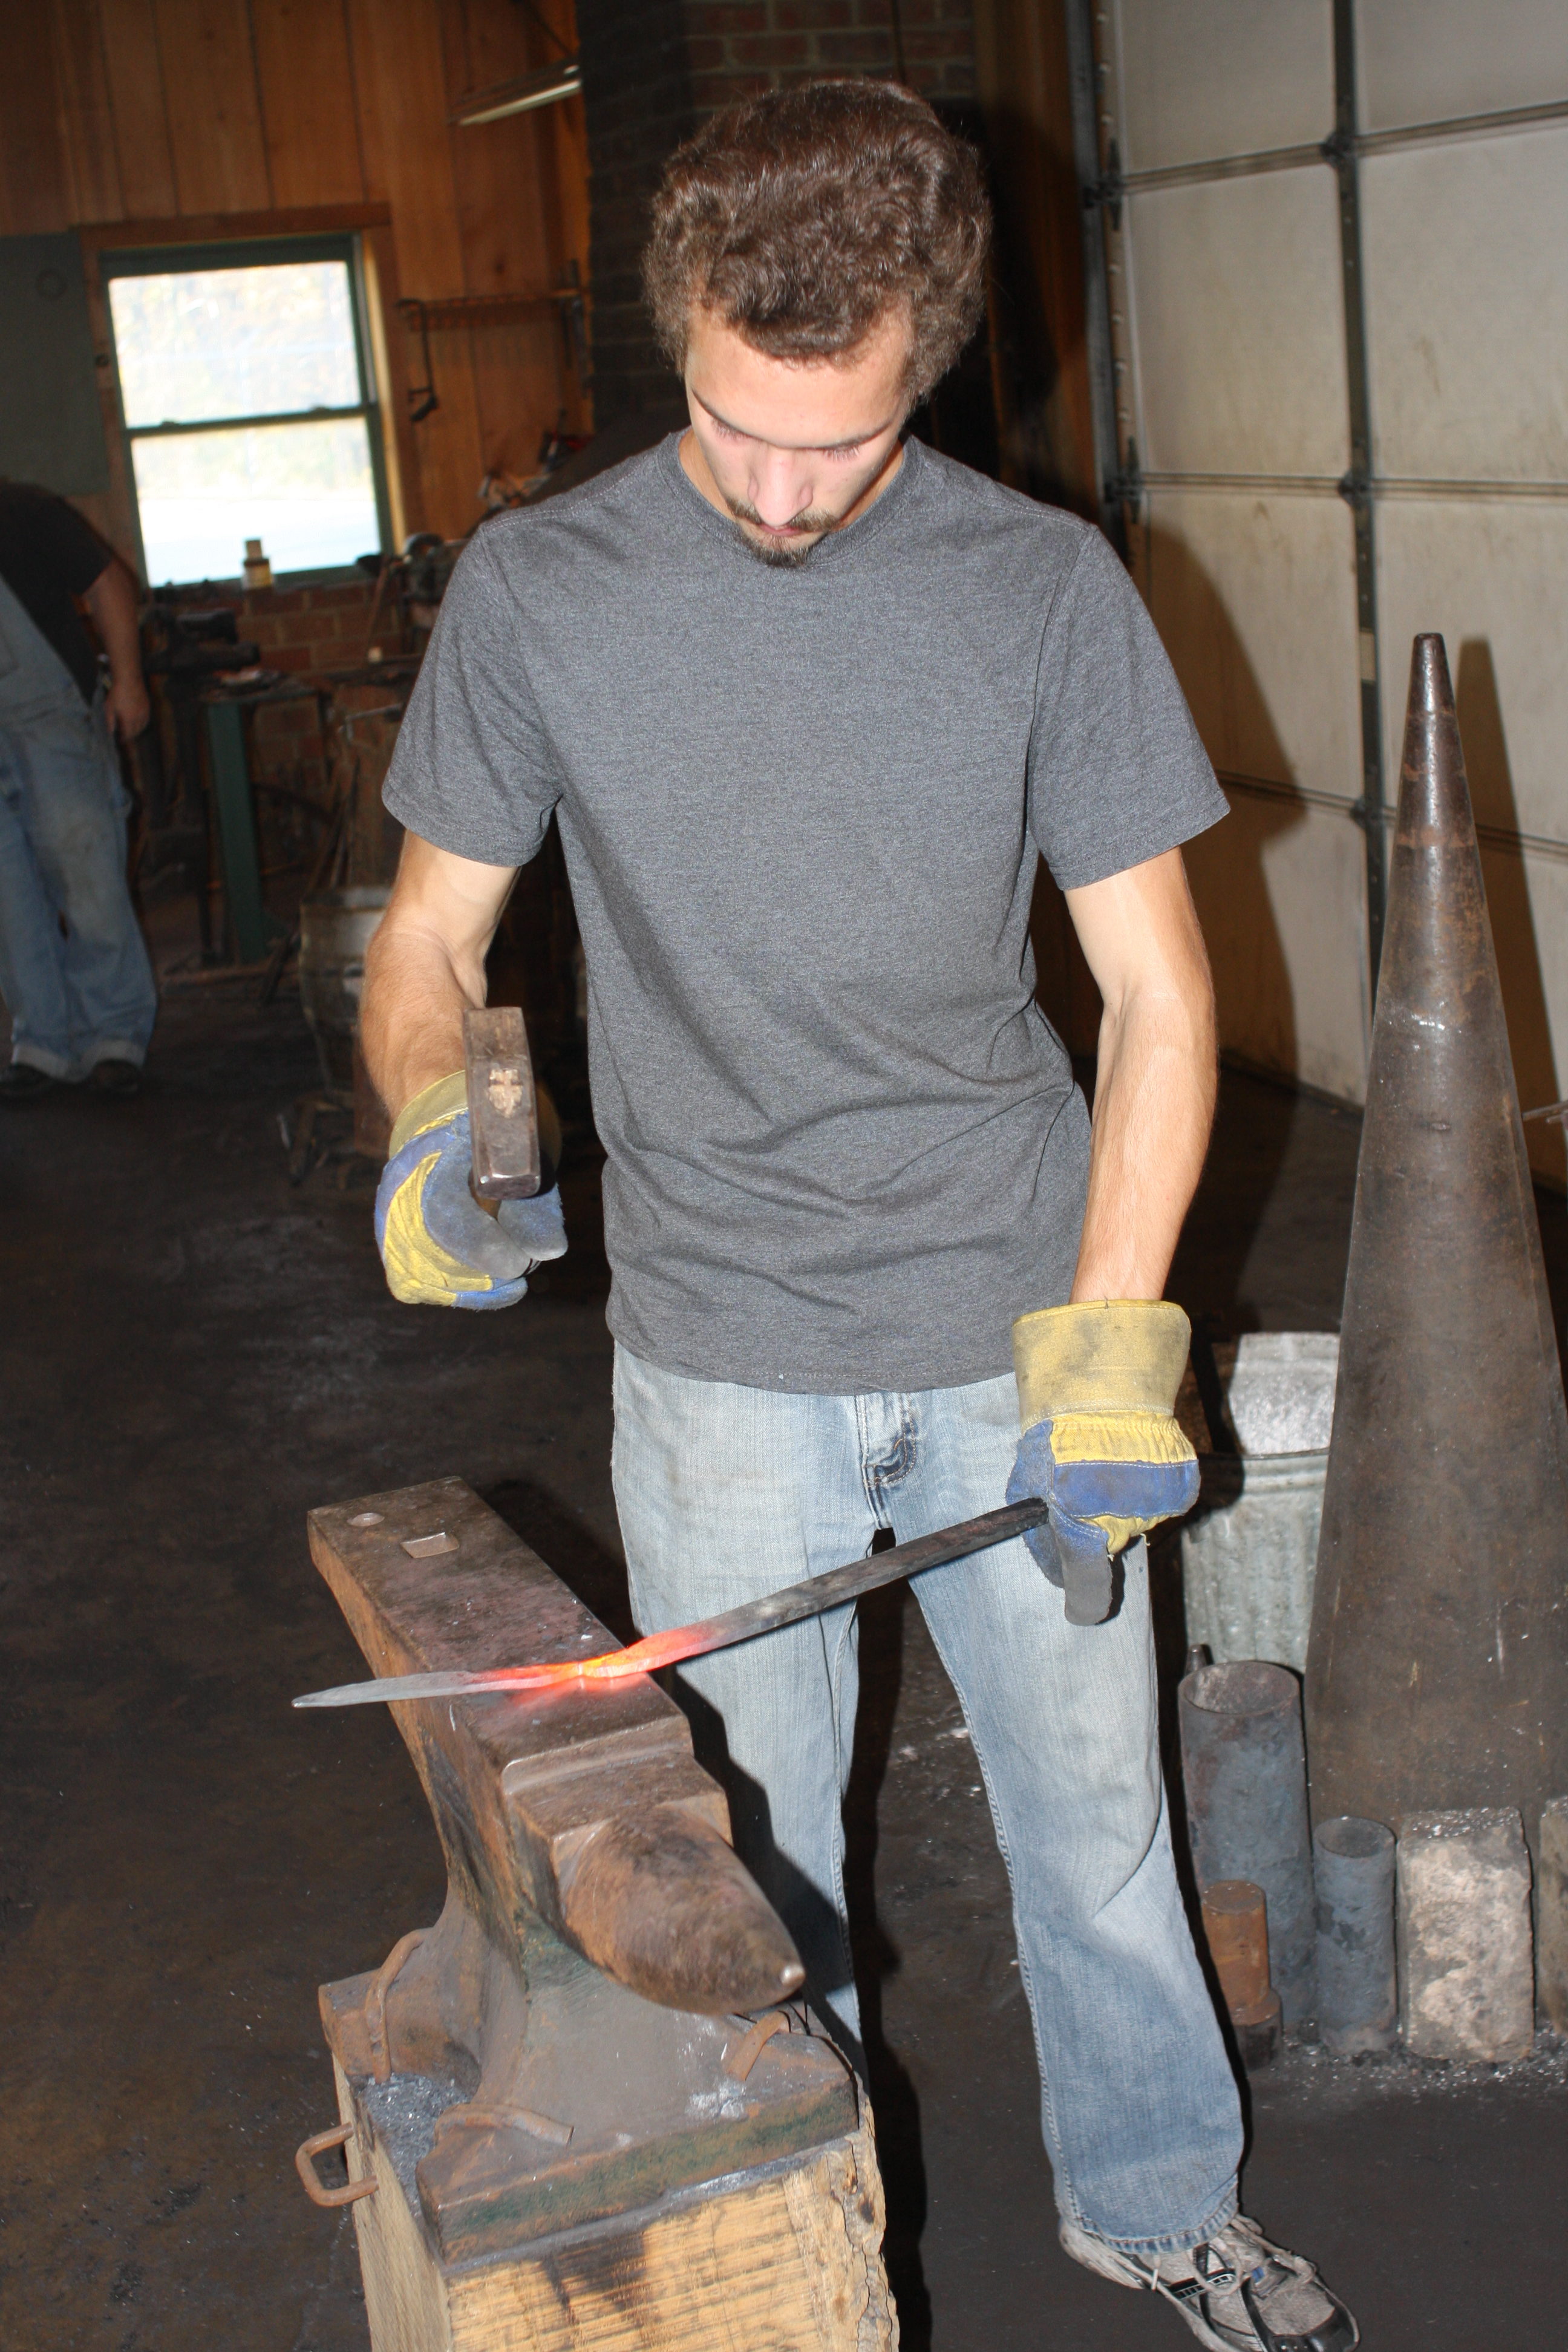
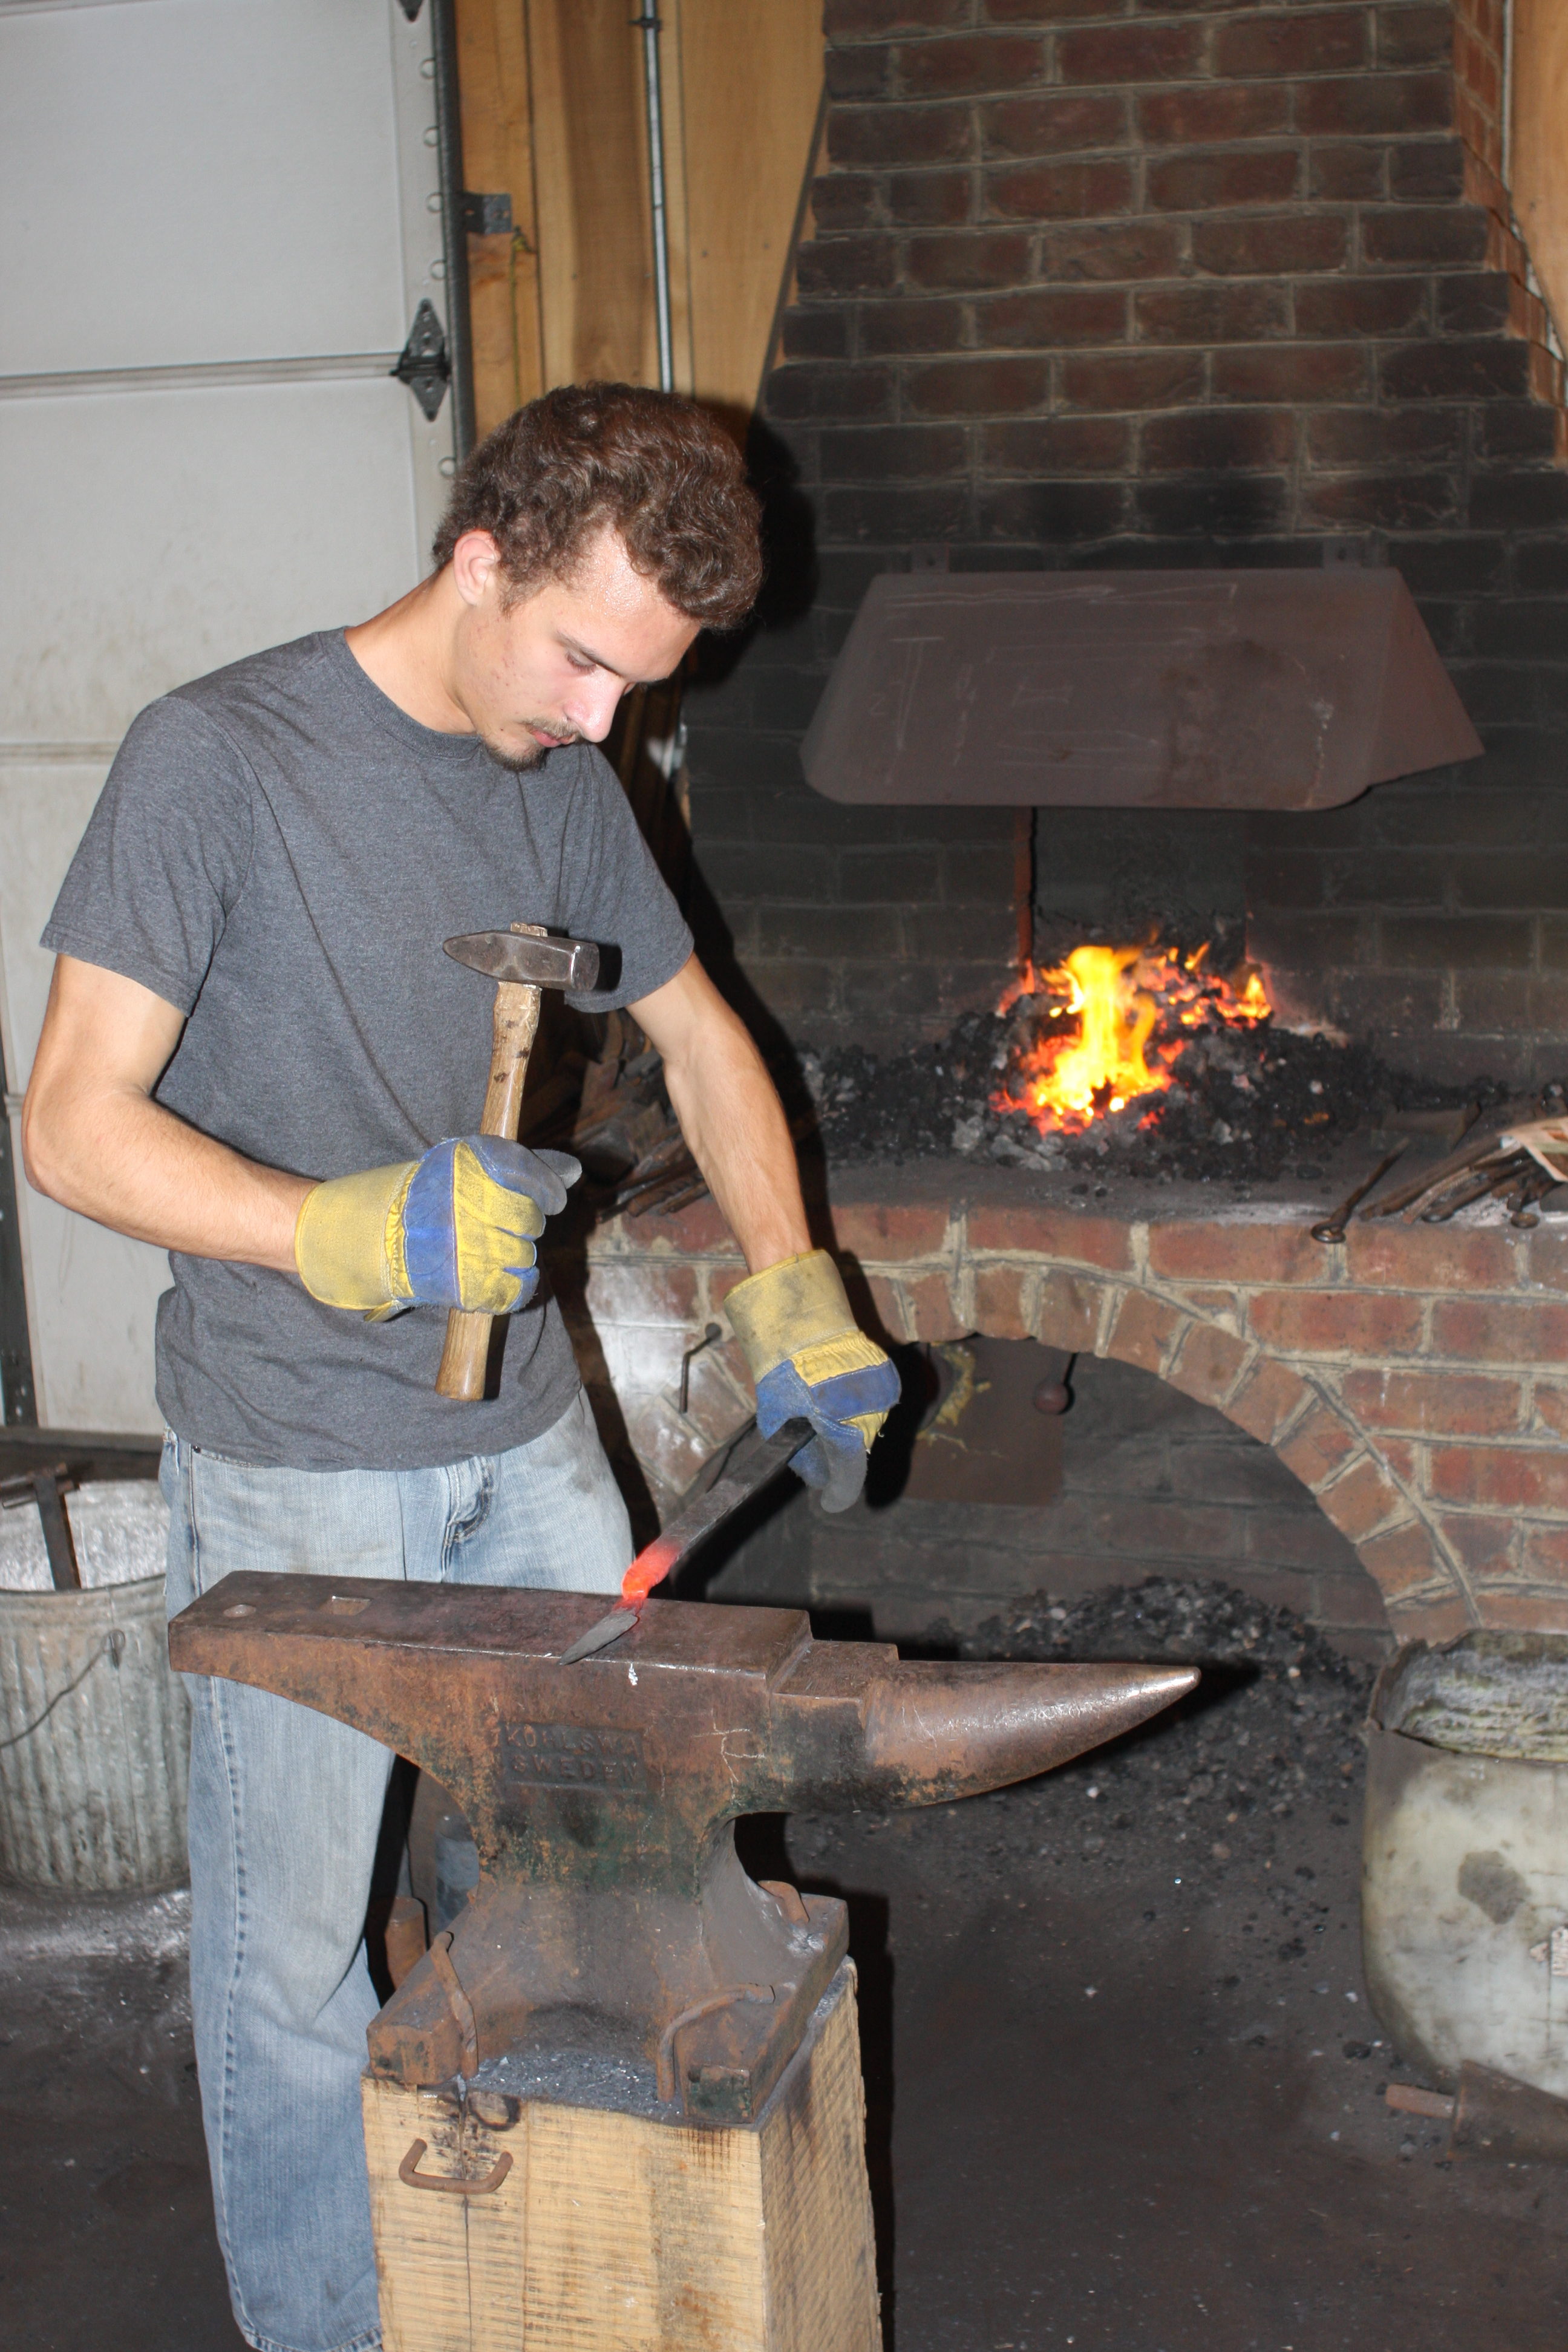
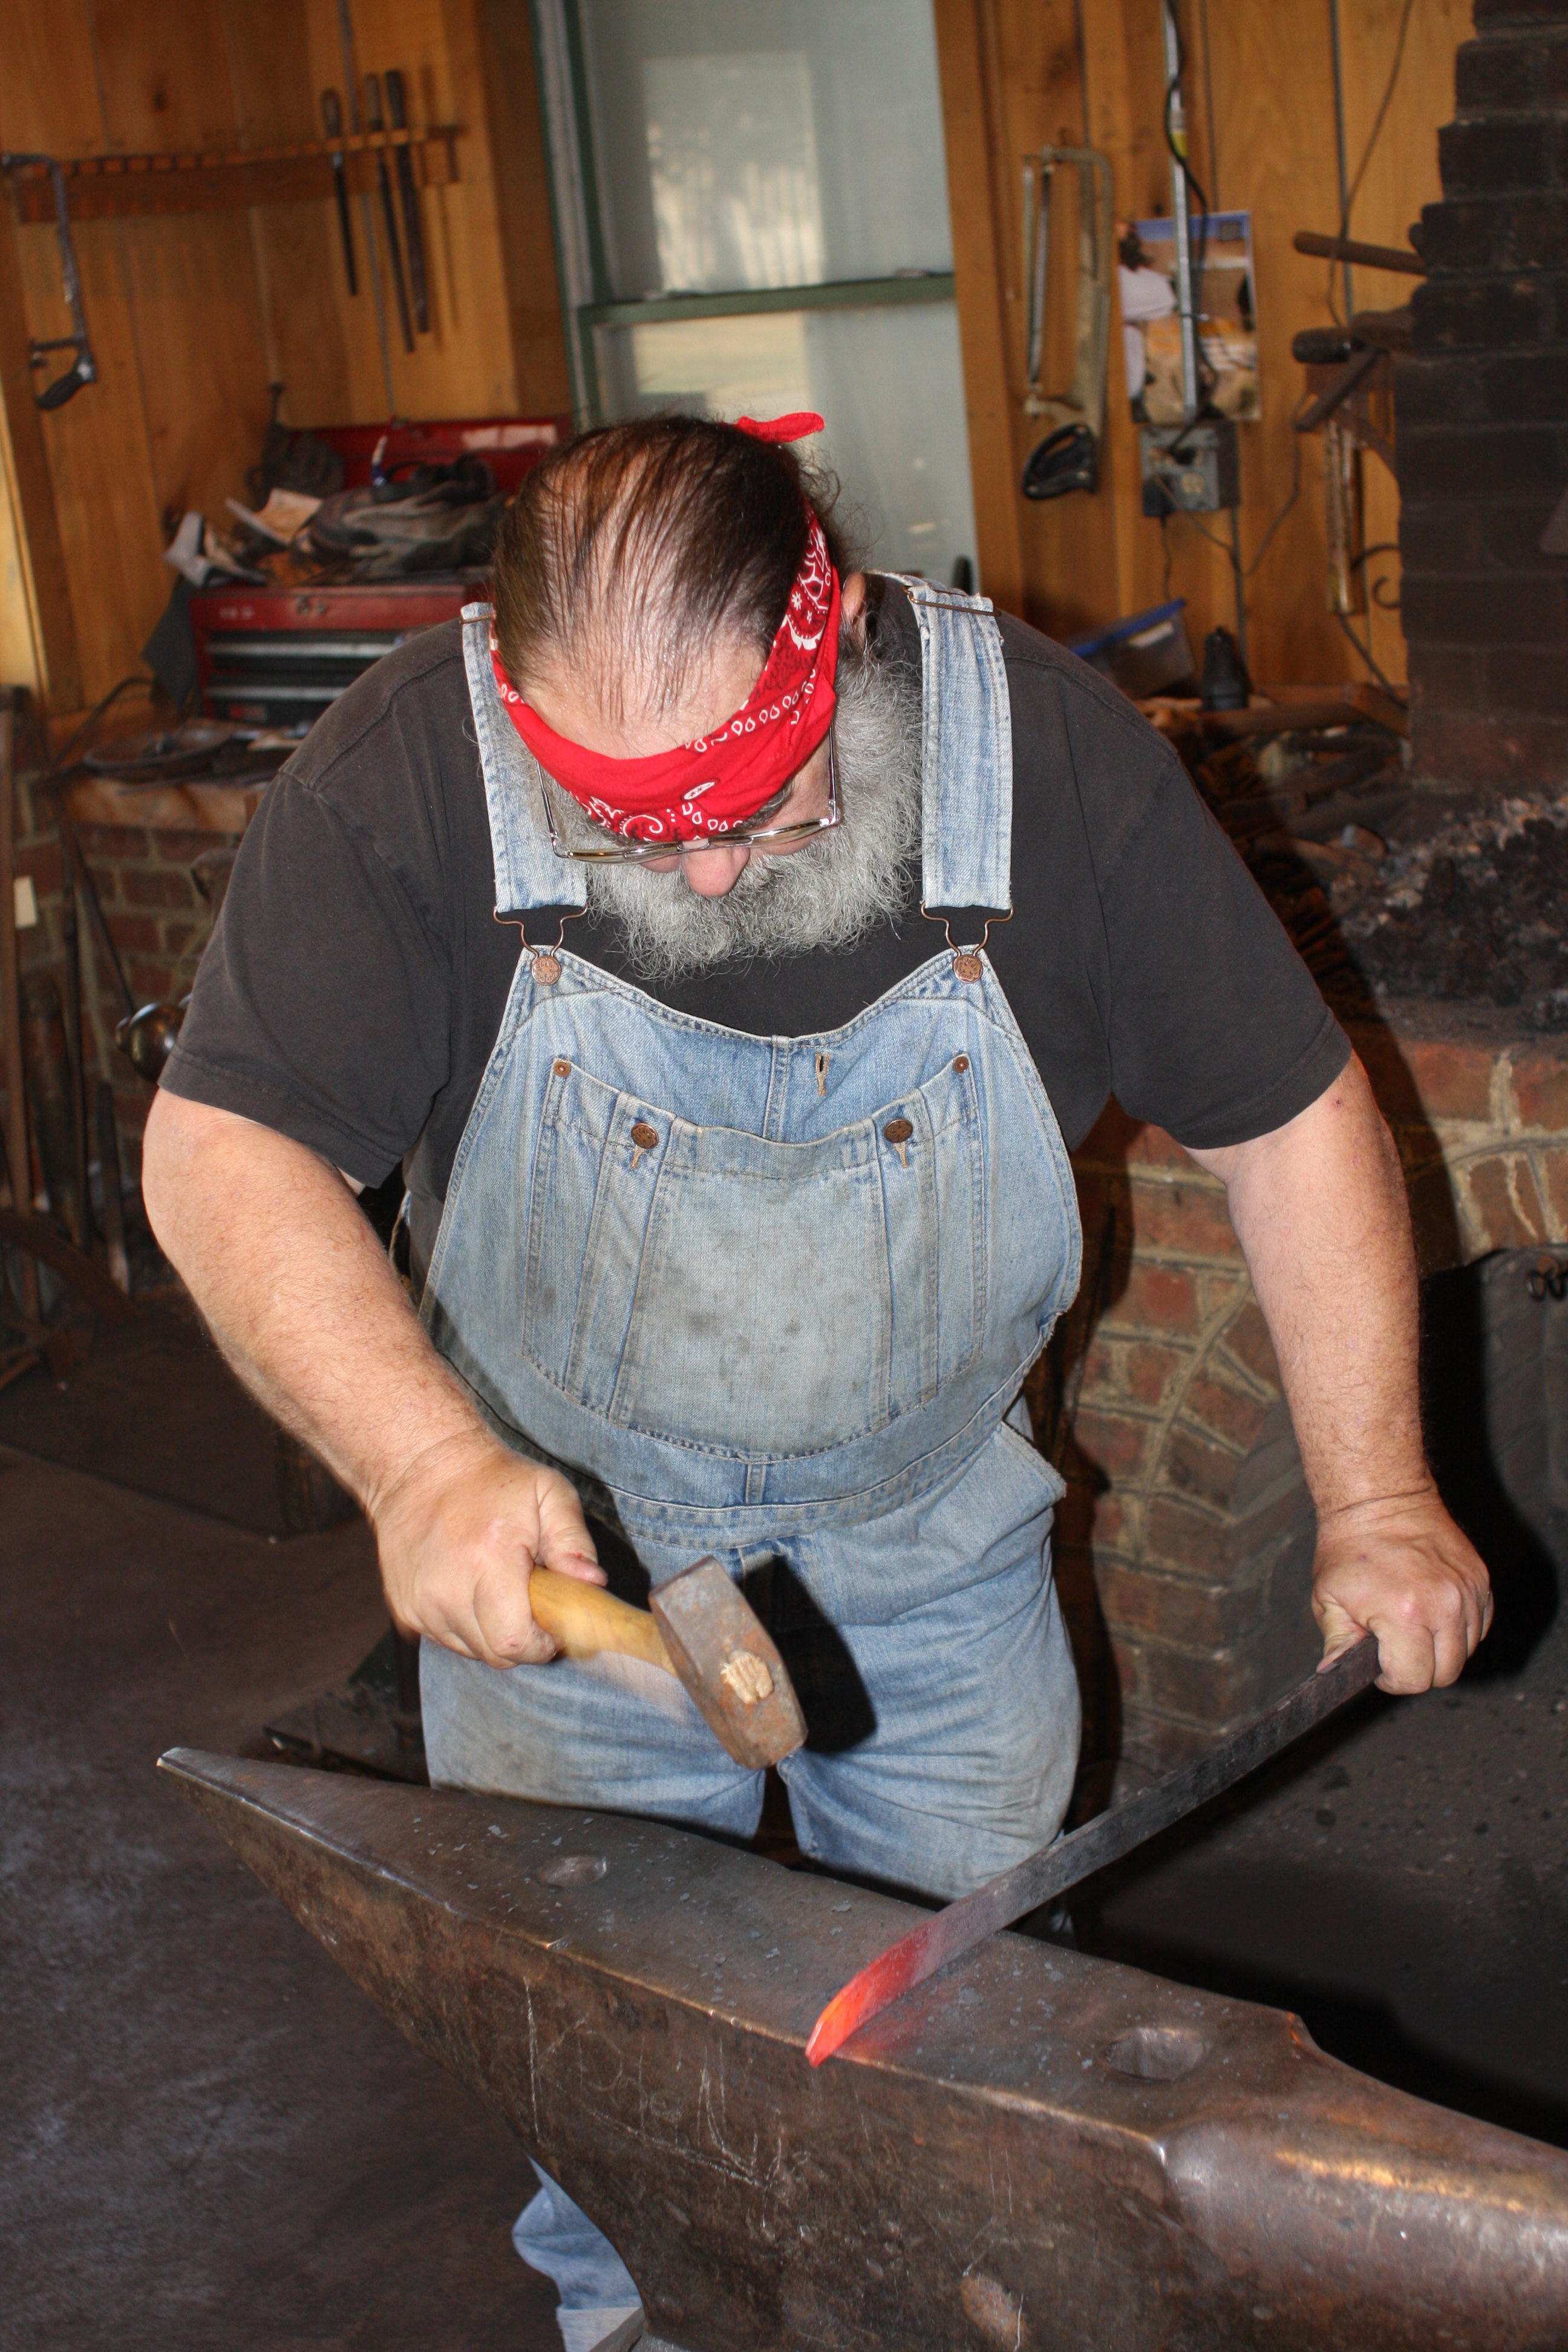
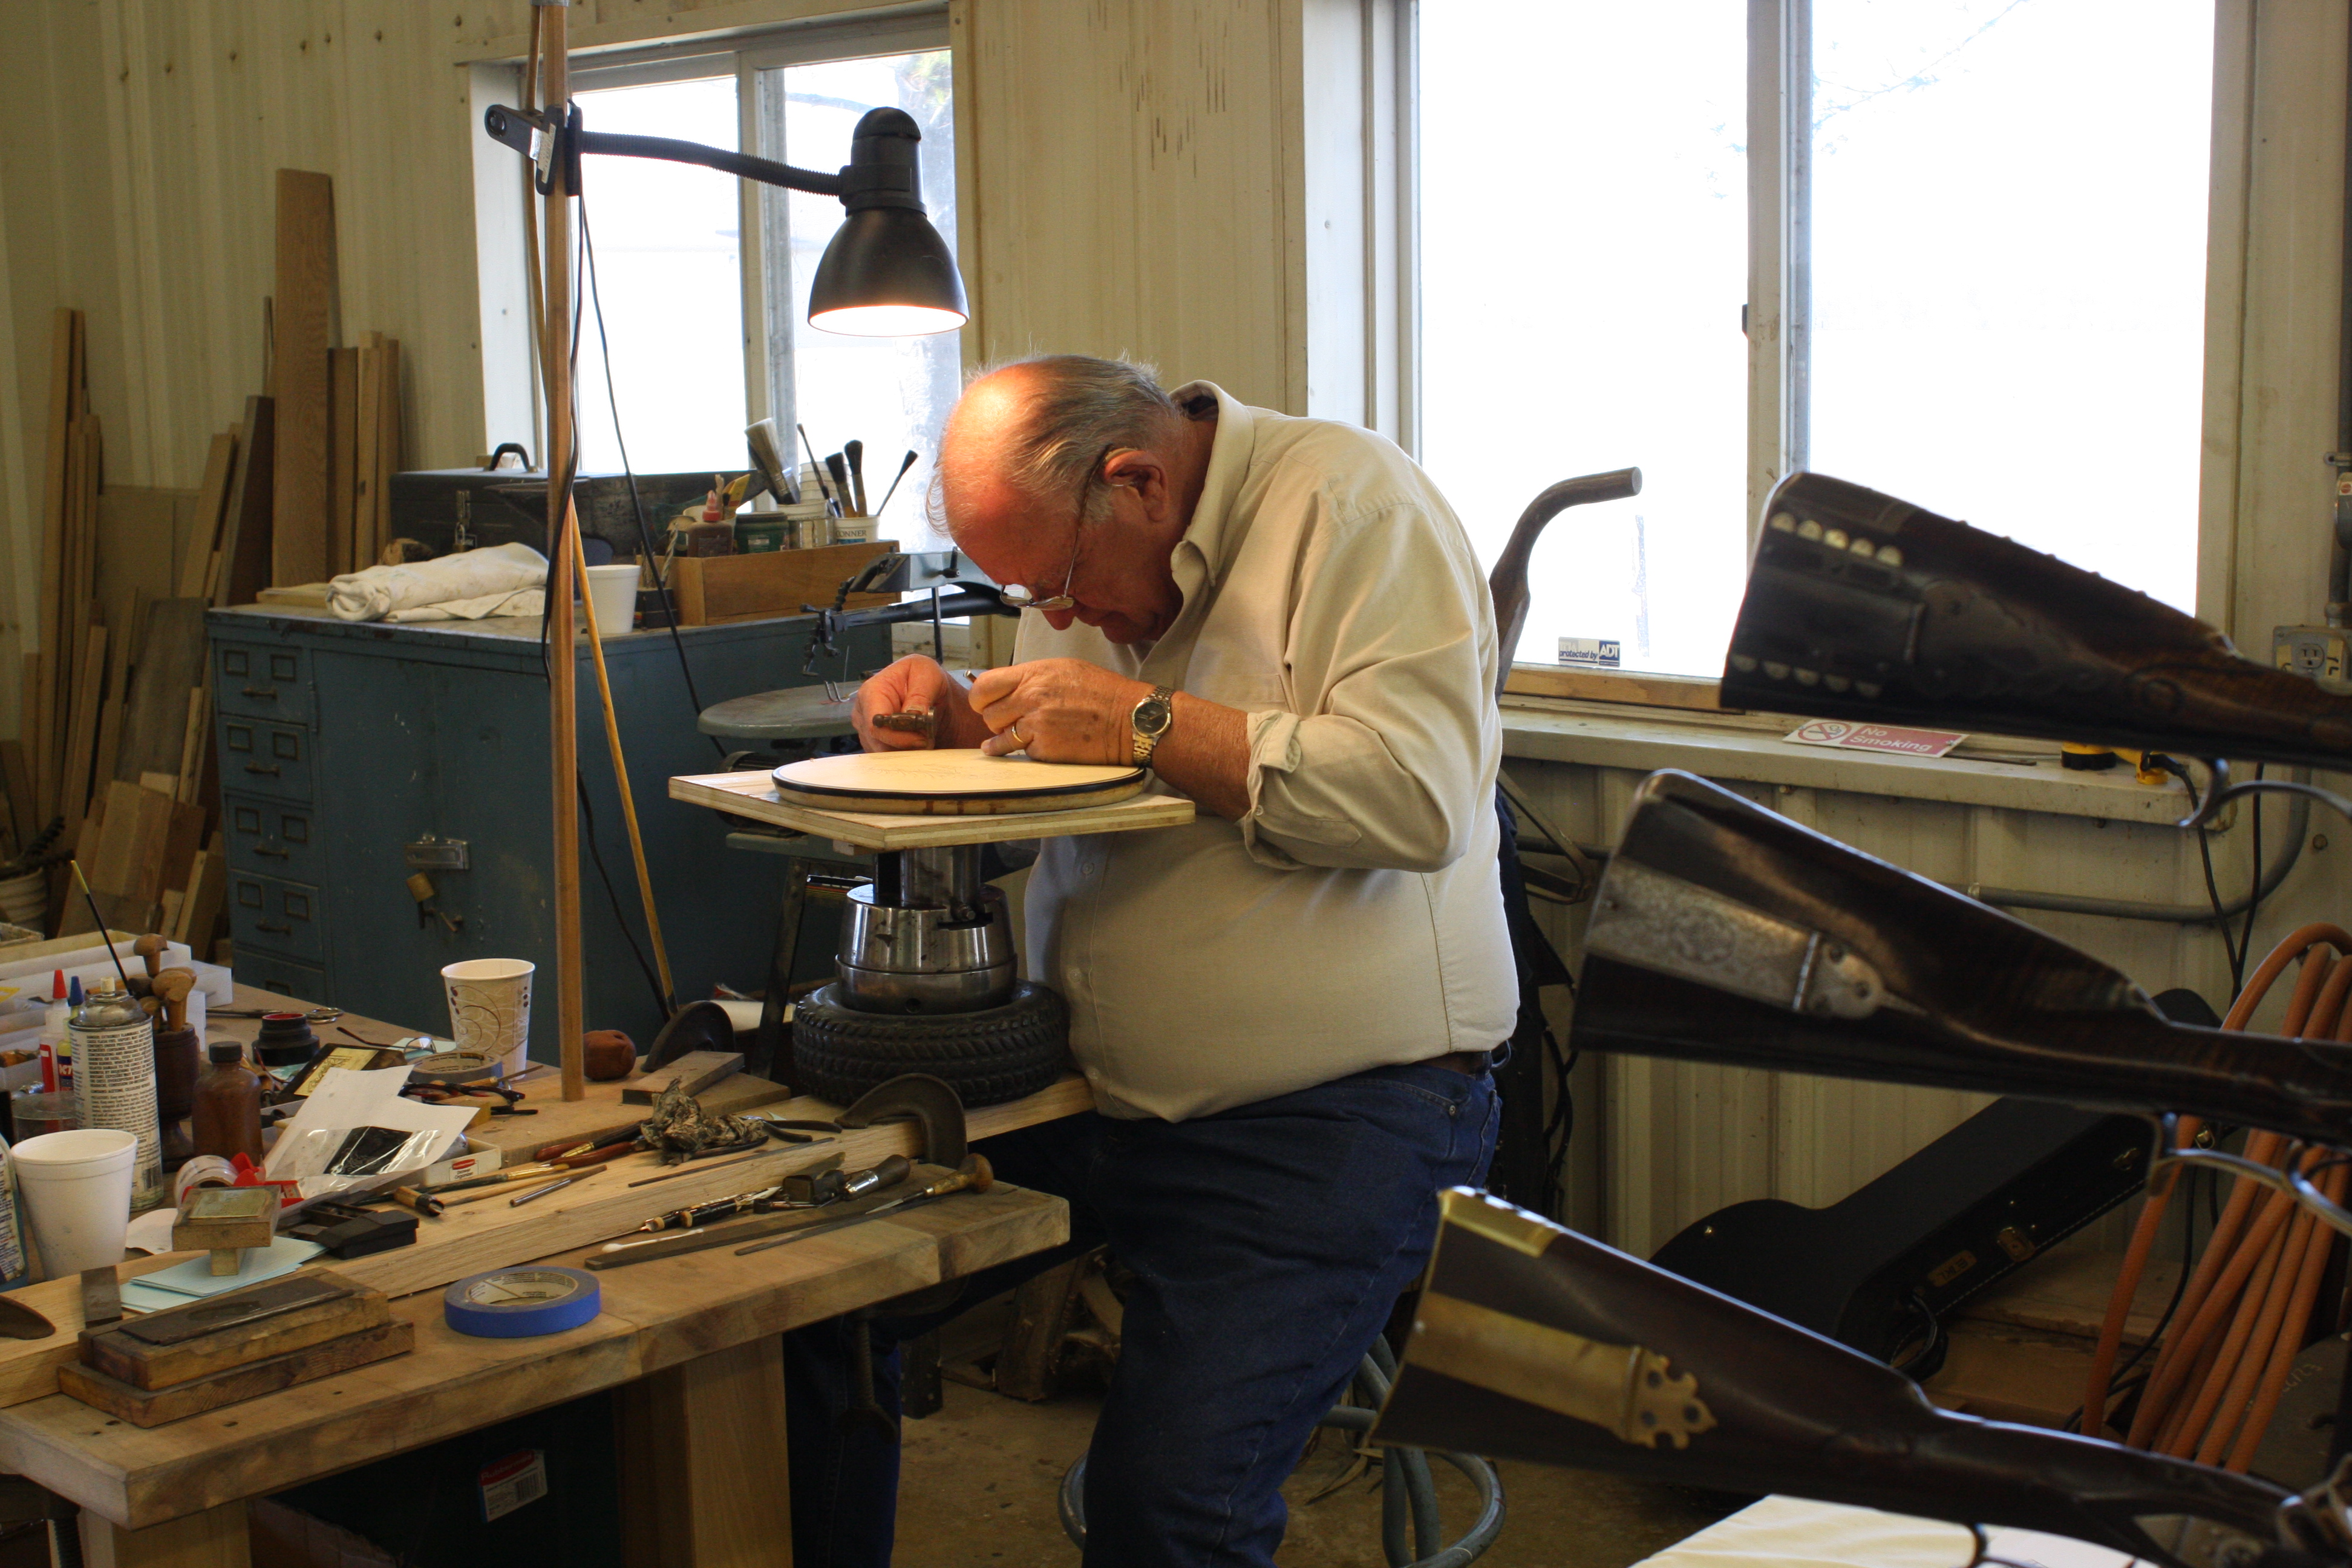
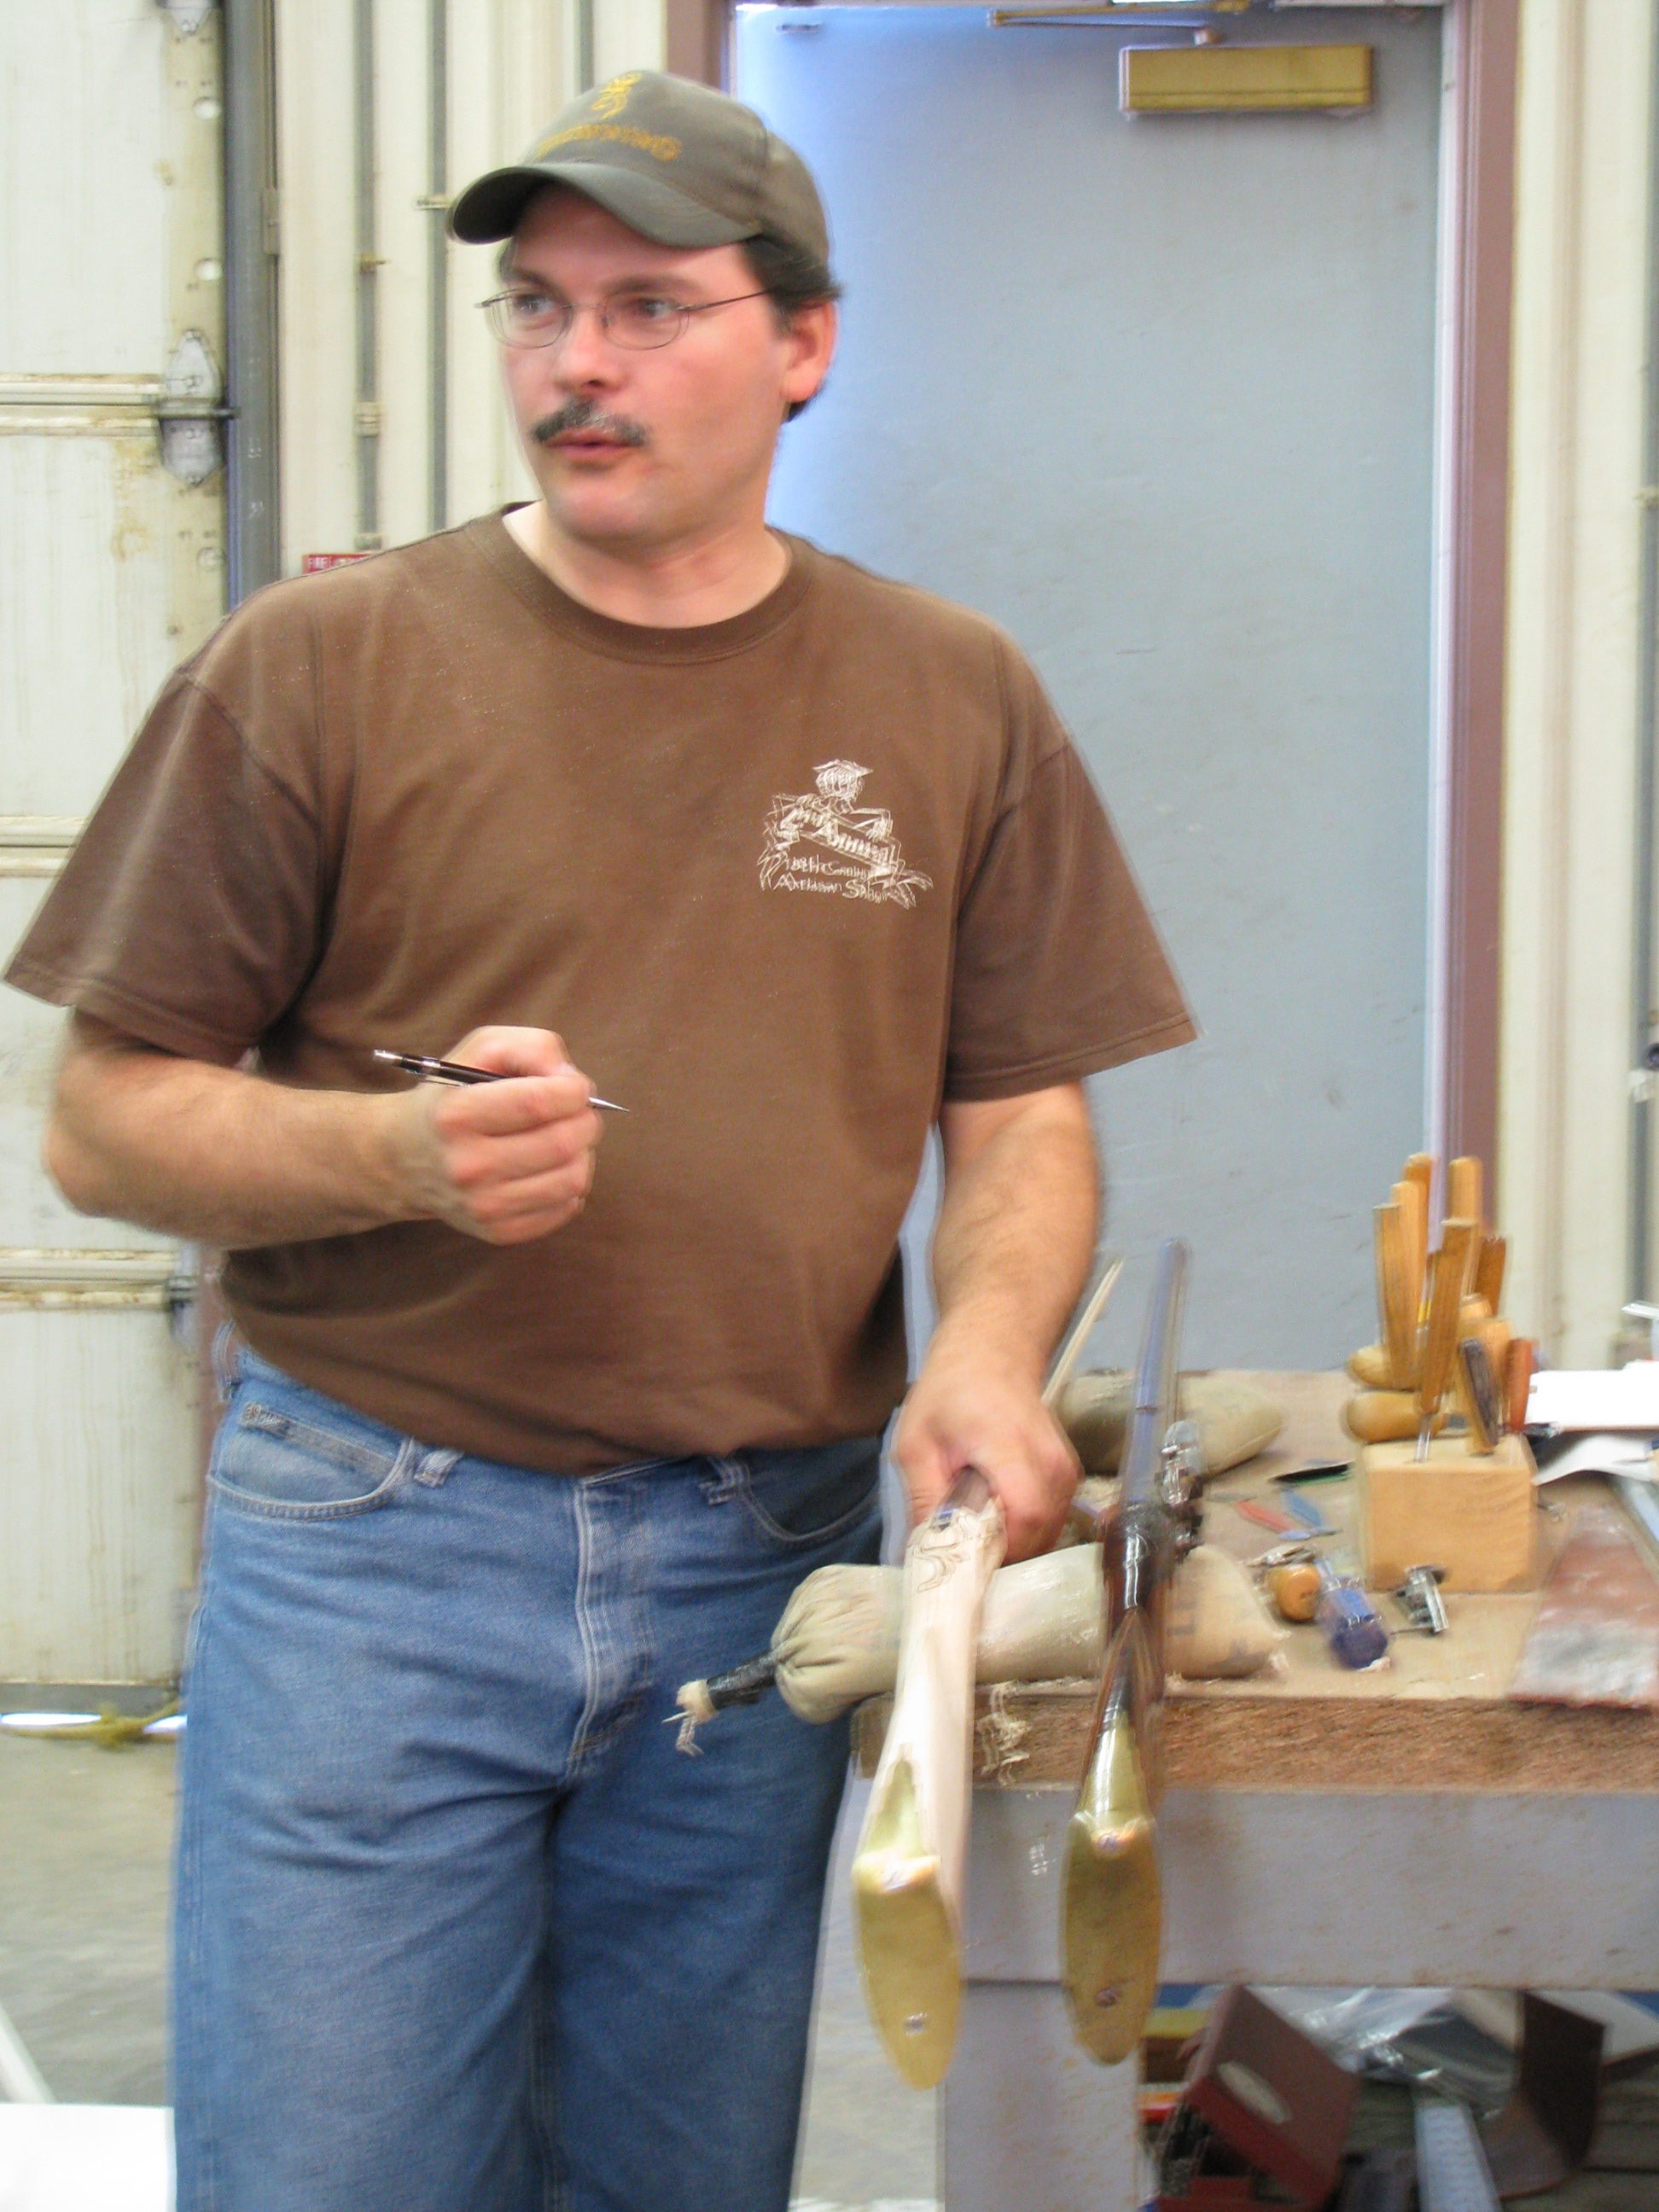
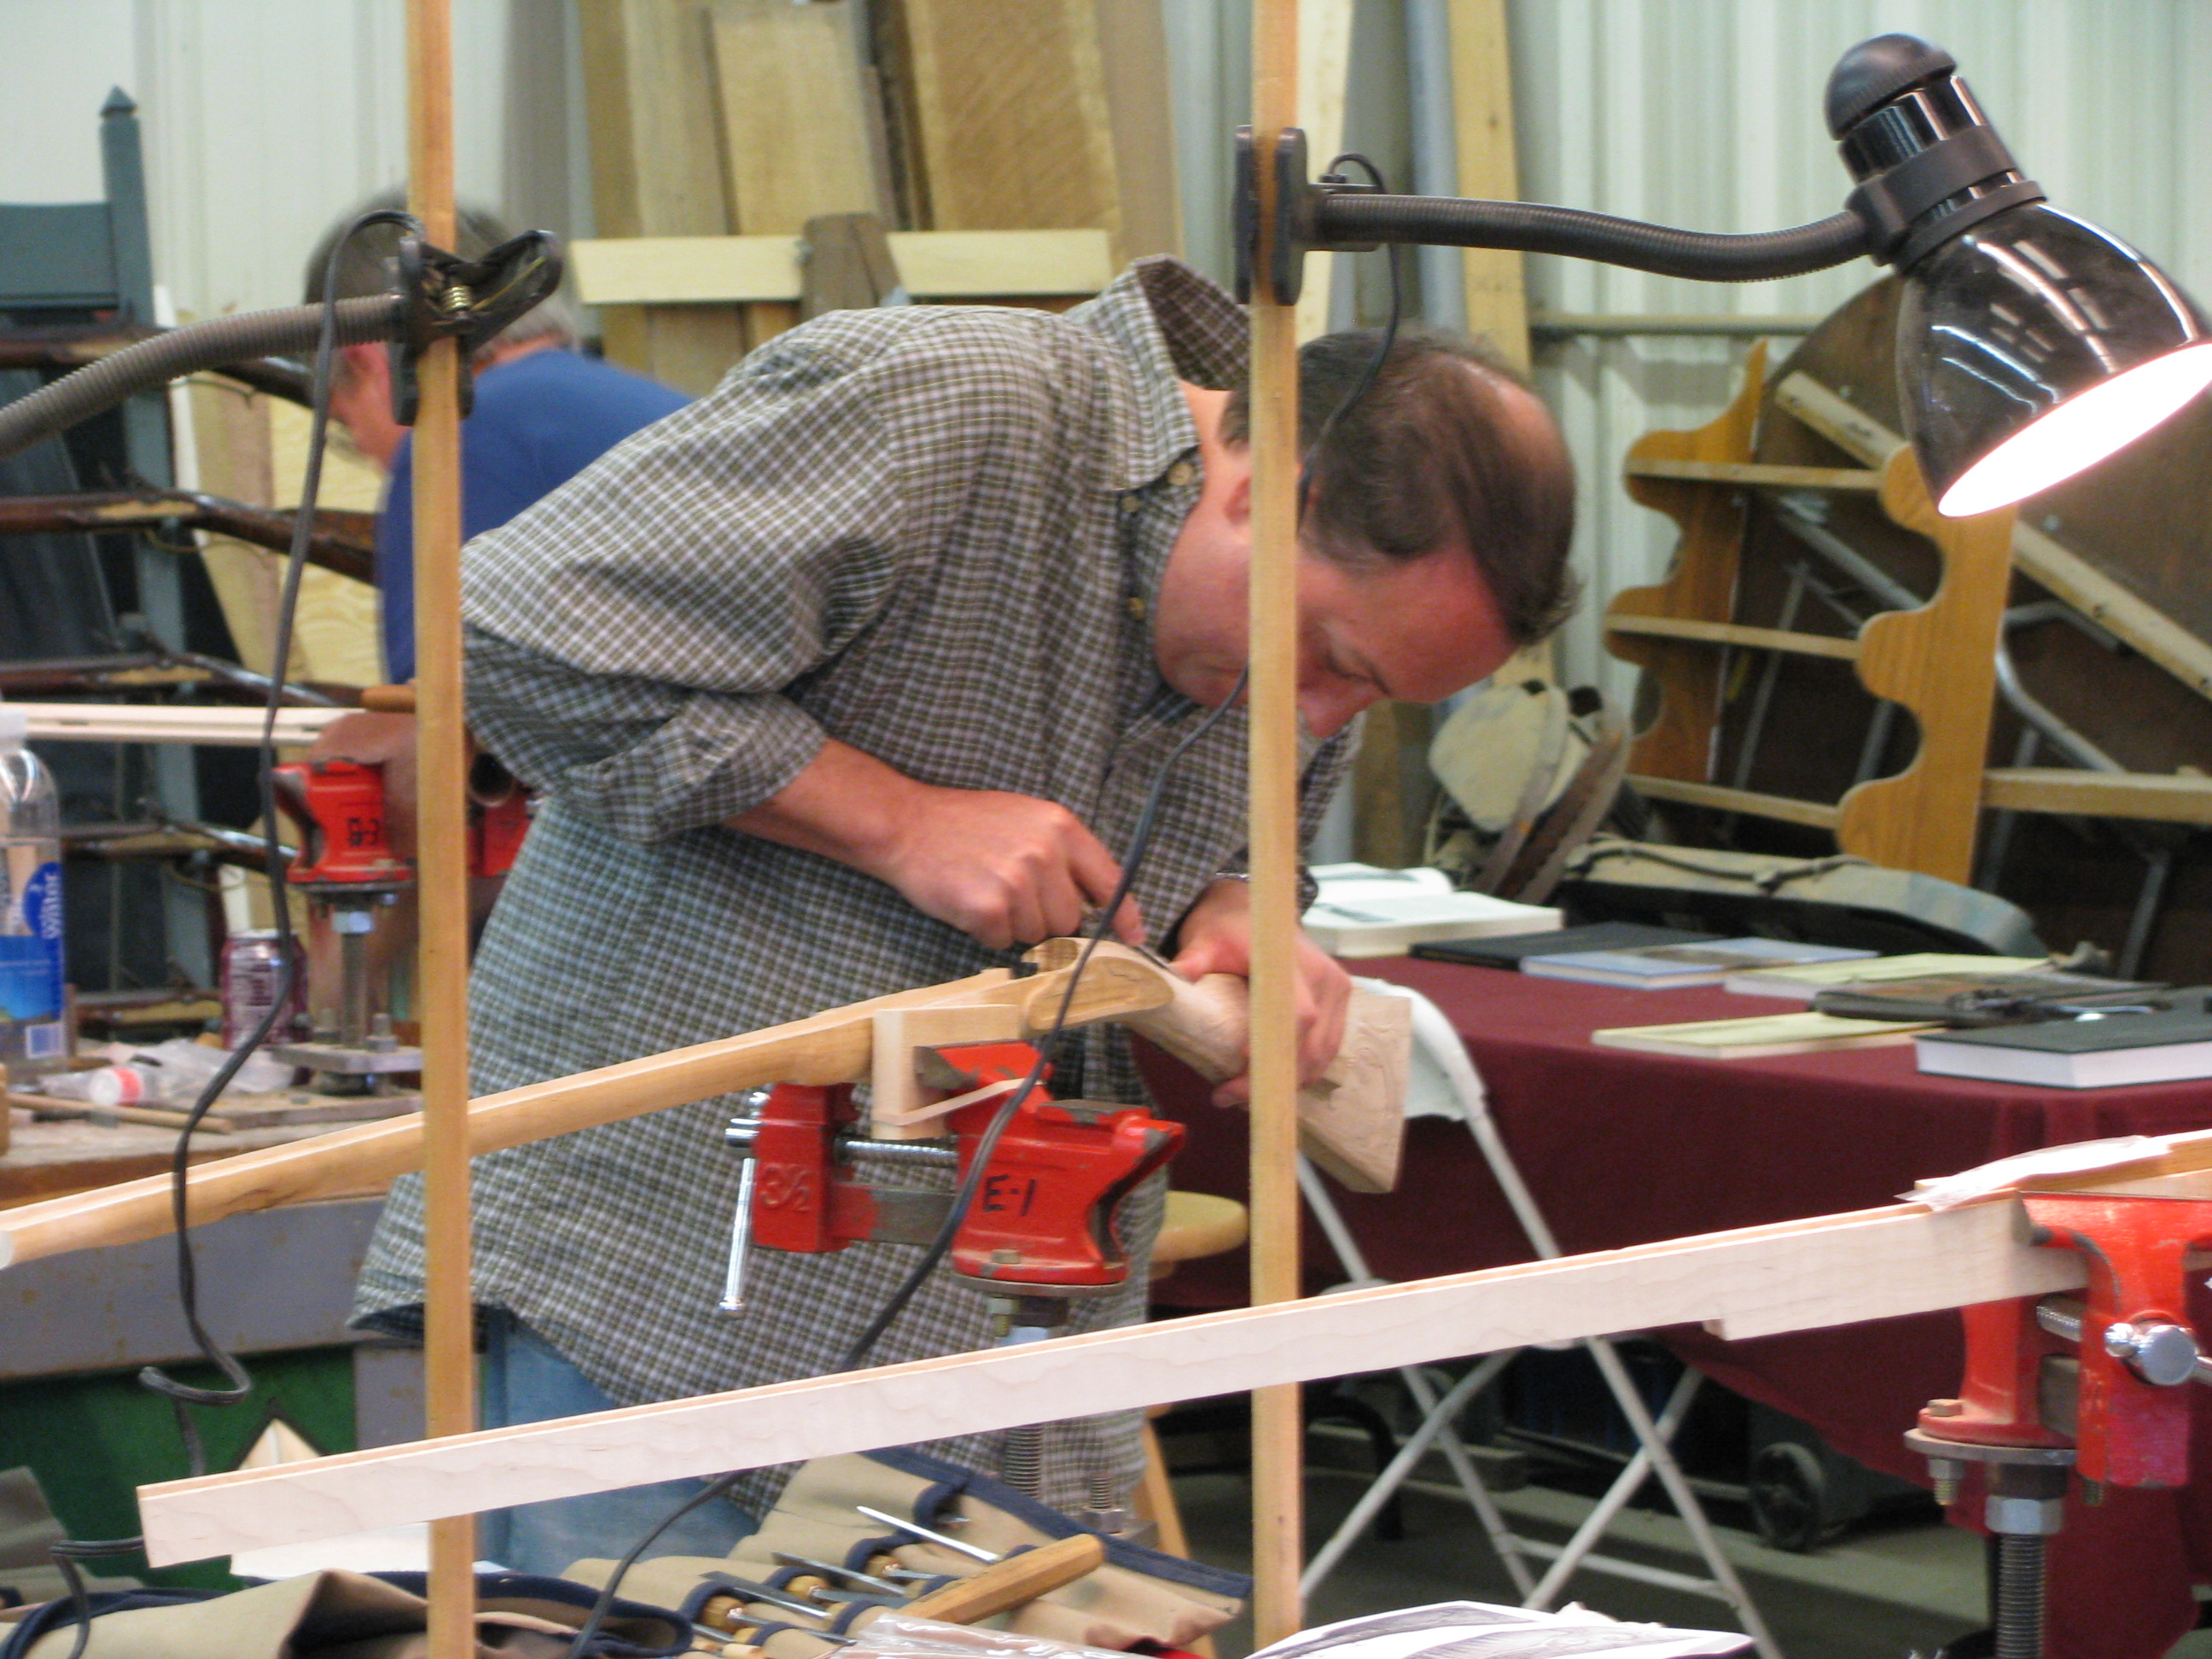
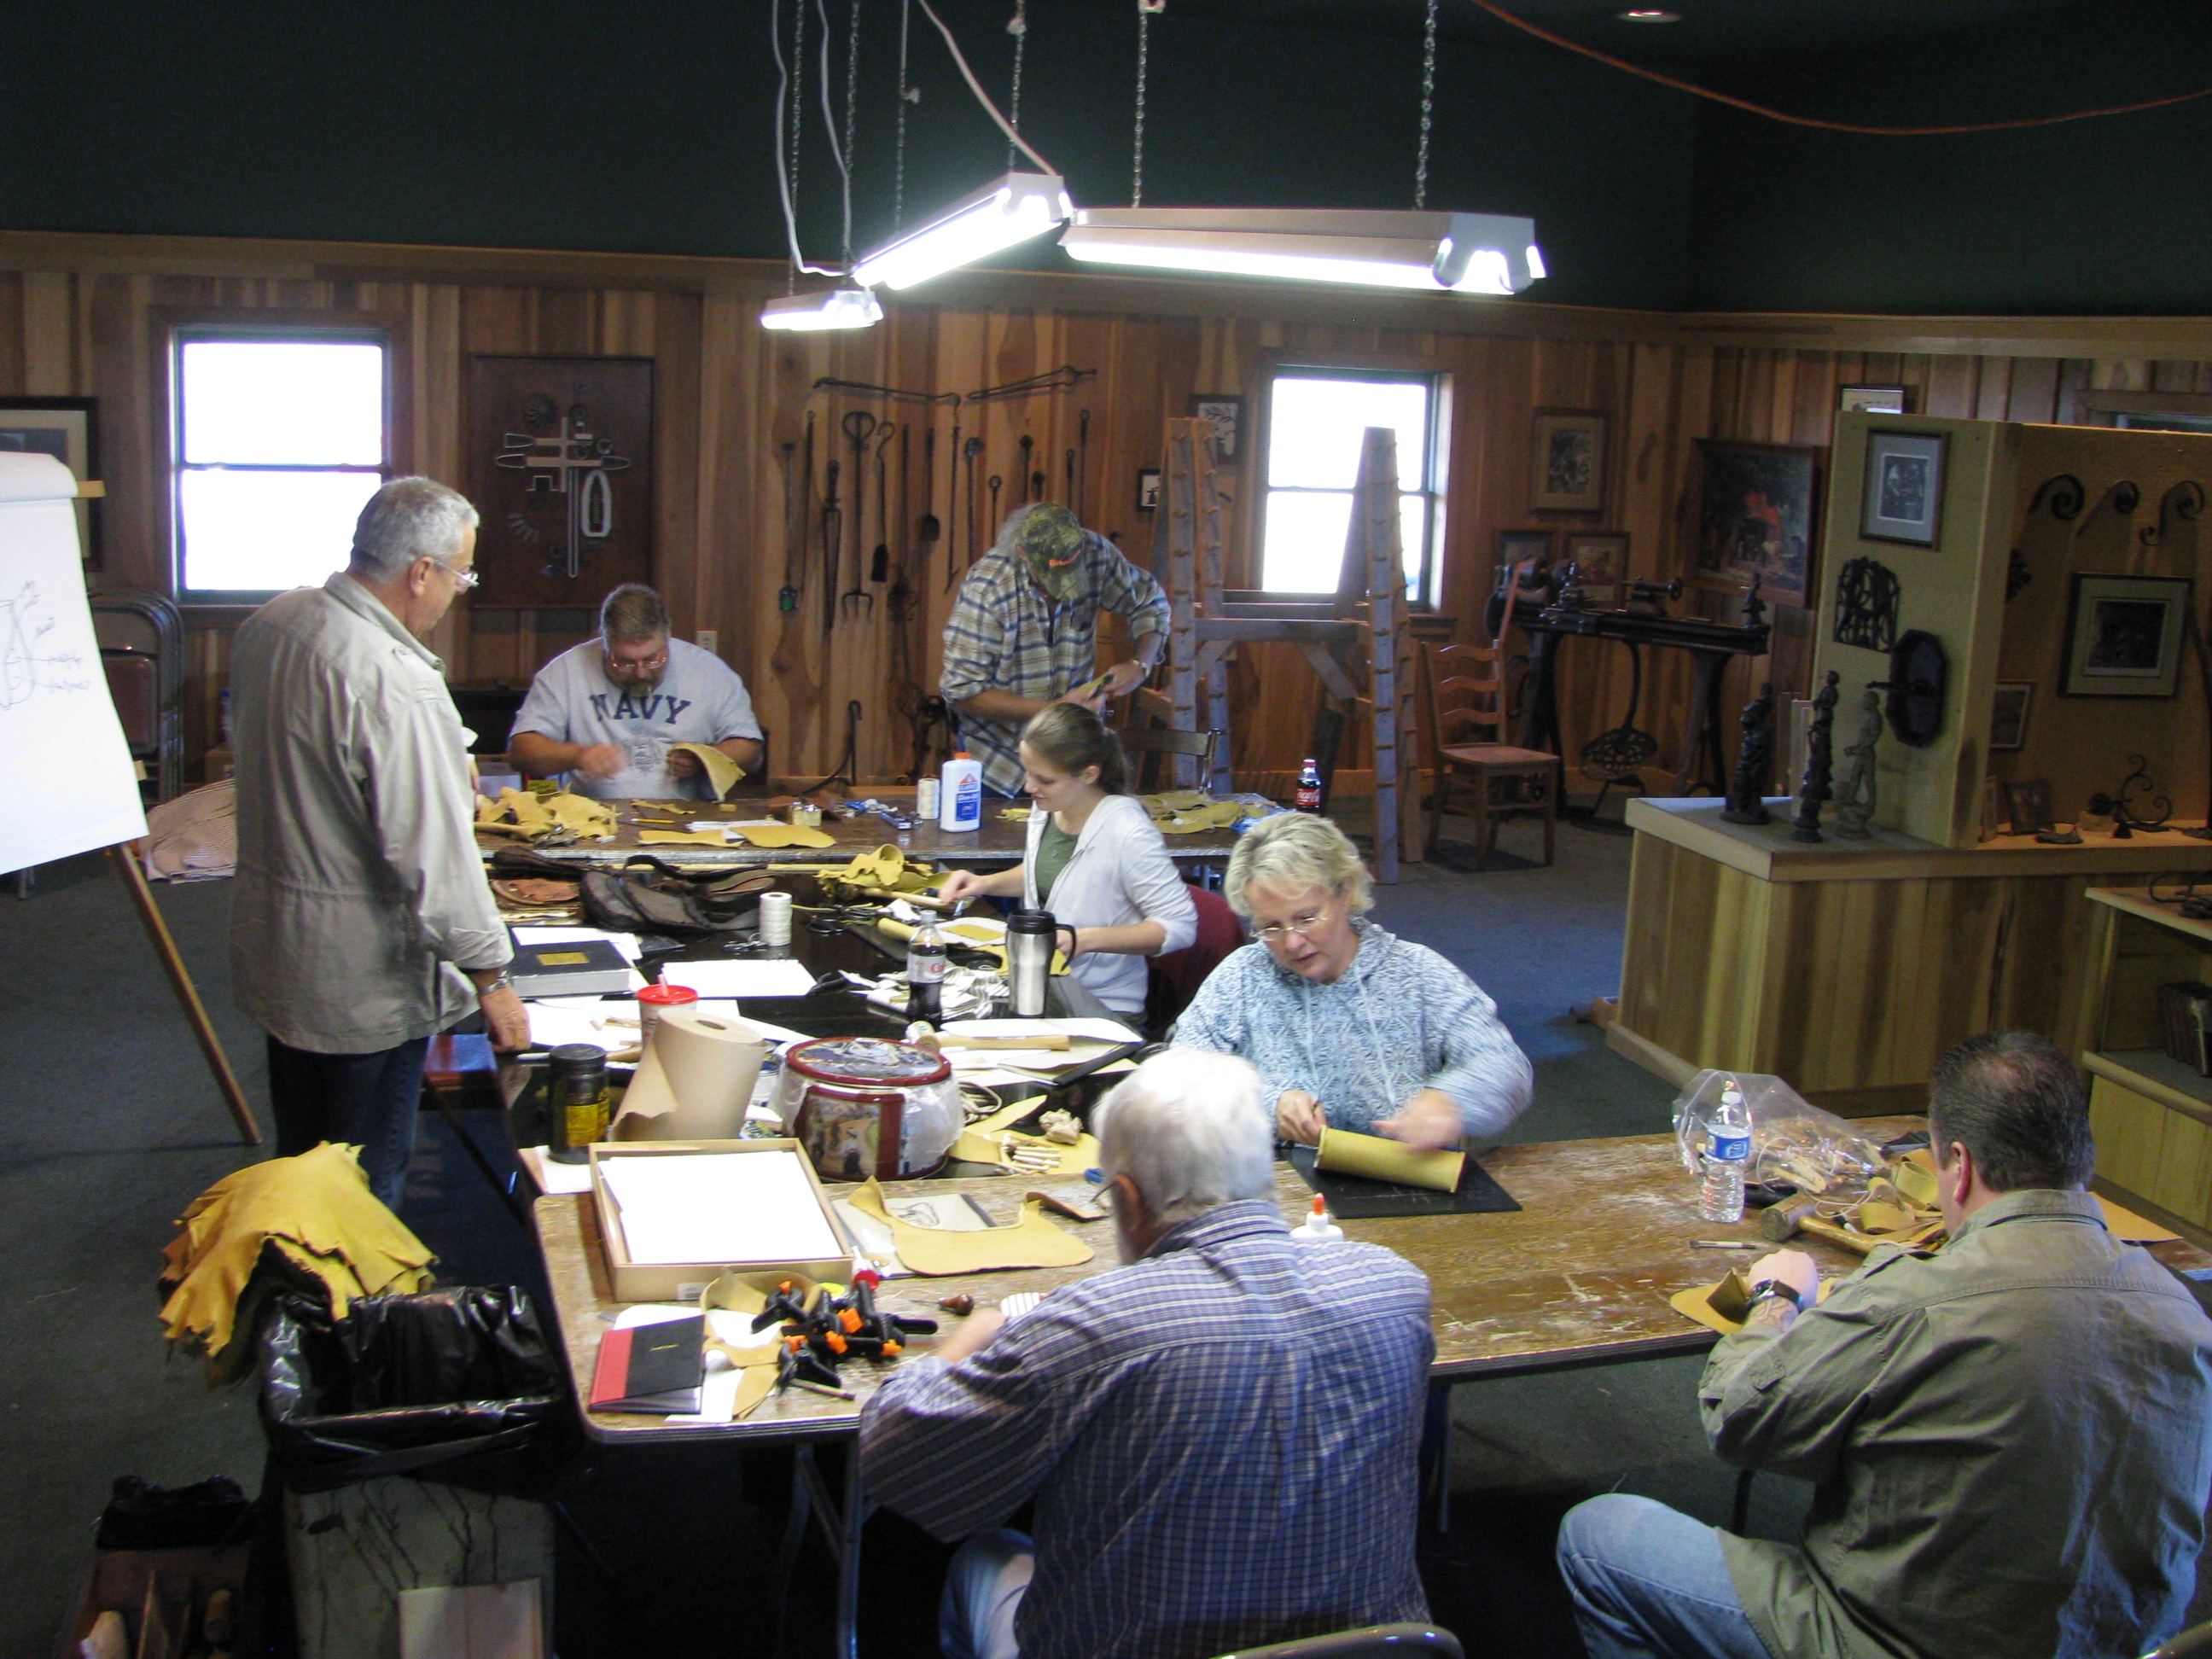
    Steve Chapman is a close friend with rifle-making and machinist skills.  We have worked on many projects and experiments together.  Whenever a project needs more hands, Steve is the person who helps.  He usually pulls the trigger in any test that measures accuracy.  While we both fired this gun for accuracy, Steve’s shooting skills have been necessary in many of our experiments.  Steve’s many skills have been a benefit in many of these experimental articles.


    Future tests, thoughts,etc

    Thought: We might learn more from a different water test. We’re thinking of a row of milk jugs filled with water. A .308 is caught in the fifth jug. We think the .58 will do better.

    Also: Build a water box to hold 1 gallon plastic bags. With this setup we could repeat tests and compare different calibers and loads. Compare the 90gr ffg Goex load and the 90 gr fffg Swiss load.


  • Stones Trace Regulators

    Stones Trace Regulators

    The Stones Trace Tavern is the location of perhaps the best muzzle loading rifle range in northern Indiana.

    The historic Stones Trace Tavern is located at the corner of In 5 and US 33 south of Ligonier.
    The historic Stones Trace Tavern is located at the corner of In 5 and US 33 south of Ligonier.
    Stones Trace Tavern
    Stones Trace Tavern
    Engraved stone at the entrance
    Engraved stone at the entrance
    Stones Trace Regulators target shack
    Stones Trace Regulators target shack
    Covered firing line
    Covered firing line
    Target positions are located at 25, 50, and 100 Yards.
    Target positions are located at 25, 50, and 100 Yards.
    Loading benches
    Loading benches
    Loading benches
    Loading benches
    At the bench rest position
    At the bench rest position
    Recent addition
    Recent addition
    The roof is finished and the cabin is ready for chinking.
    The roof is finished and the cabin is ready for chinking.
  • Scenes from Friendship National Shoot

    Scenes from Friendship National Shoot

    MNLRA Headquarters
    MNLRA Headquarters in Friendship Indiana.
    David Price's swivel breach rifle
    David Price’s swivel breach rifle
    Friendship Primitive Area
    Friendship Primitive Area on a foggy morning.
  • Friendship 2011 Spring Shoot

    Friendship 2011 Spring Shoot

    Ever see a shooting line a quarter mile long? Ever seen a muzzleloading slug gun that weighed over 100 lbs? Ever watched a barrel being rifled by hand? Ever seen a shooter bust doubles with a double flint fowler? You can for 10 days each spring and fall in southern Indiana. Come join us!  Editor: Larry Pletcher

    The Spring Shoot at Friendship is over, and as usual the trip was a treat. It’s hard to explain the many experiences. Whether it’s talking with old friends, looking for parts for another project, or drooling over the wonderful guns on display, the trip is a memorable one. But wait we forgot to mention the shooting competition. There is a match for about every gun and sight combination possible.


    The purpose of this article is to give you a taste of Spring NMLRA shoot. The photos are on multiple pages to make them faster to load. One can’t cover everything, but you’ll get the idea.

    Links below will take you to photo groupings based on general topics.

    Go to Gallery One

    Go to Gallery Two

    Go to Gallery Three

    Go to Gallery Four


  • Friendship 2011 Gallery One

    Friendship 2011 Gallery One

    Gallery One contains photos of the grounds, although many of these will overlap topics.

    Editor: Larry Pletcher

    The physical grounds change from time to time. The entrance to Primitive is recent, but the Education Building had its Grand Opening this spring. This project was completed completely with donations. The building has a kitchen, a large room for meetings or banquets, and a number of small meeting rooms.


    Friendship 2011 Spring Shoot

    Go to Gallery One

    Go to Gallery Two

    Go to Gallery Three

    Go to Gallery Four

  • Friendship 2011 Gallery Two

    Friendship 2011 Gallery Two

    Shooting Positions

    Let’s take a look at shooting competition at Friendship. Included in the main shooting line are Pistol, Offhand, Cross Sticks, Bench rest, Silhouettes, LongRange, Slug Guns, and Chunk Guns. Next to the Pistol Line is the Trap Range. A short walk up the dry creek bed is Skeet and the Quail Walk. Muzzleloaders of every description are shot here based on the type and the sights used.


    Return to Article

    Go to Gallery One

    Go to Gallery Three

    Go to Gallery Four

  • Friendship 2011 Gallery Three

    Friendship 2011 Gallery Three

    Primitive Range

    The Primitive Range is our next stop. While there are many matches for primitive guns on the regular range, the primitive range is for primitive muzzleloaders exclusively. Here you will see shooters in costume firing flintlock rifles and fowling pieces – just to name a few. You might even see a rare breech-loading Ferguson rifle here. Again there are many matches. The Mountain Man Aggregate includes flint/steel fire starting , tomahawk and knife throwing as well.

    A five photo sequence of a Ferguson Rifle firing.

    Return to Article

    Go to Gallery One

    Go to Gallery Two

    Go to Gallery Four

  • Friendship 2011 Gallery Four

    Friendship 2011 Gallery Four

    Commercial Row, Gun Makers Hall

    Next we’ll check out Commercial Row and Gun Makers Hall. If you need a hawk or knife, parts for a new gun, or about any other muzzleloading accessory, you can probably find it shopping these booths. If you need a barrel, Rice barrels are here. Chambers, Davis, and L&R locks are here. Wayne Dunlop has amazing wood.

    Gun Makers Hall is an amazing place. Some of the most beautiful guns hang on display here. Behind the hall you can watch barrels being rifled and fellows working on guns, answering questions as they work. You might see a fellow timing flintlocks with a computer, or a high speed video project going on, capturing flintlocks in slow motion.

    I always have friends I need to see. One stop is always at Jim Chambers booth. For 20 years he has listened to my ideas for experiments and offered great advice. Mike Miller is one of my regular stops. He is finishing a gun for me this summer. Mark Silver, Tom Snyder, Gary Brumfield, Wallace Gusler, and David Price. can be seen here.


    Friendship 2011 Spring Shoot

    Go to Gallery One

    Go to Gallery Two

    Go to Gallery Three


  • Knife Making Part 1

    Knife Making Part 1

    Conner Prairie 21st Annual Art and Arms Making Workshop

    Larry Pletcher, Editor — Photo Credit: Steve Chapman, Larry Pletcher


    (Use your “back” button to return to the article.)


  • Knife Making Part 2

    Knife Making Part 2

    Larry Pletcher, Editor — Photo Credit: Steve Chapman, Larry Pletcher

    (Use your “back” button to return to the article.)


  • Engraving Class Part 1

    Engraving Class Part 1

    Conner Prairie 21st Annual Art and Arms Making Workshop

    Larry Pletcher, Editor — Photo Credit: Steve Chapman, Larry Pletcher


    (Use your “back” button to return to the article.)


  • Engraving Class Part 2

    Engraving Class Part 2

    Conner Prairie 21st Annual Art and Arms Making Workshop

    Larry Pletcher, Editor — Photo Credit: Steve Chapman, Larry Pletcher

    (Use your “back” button to return to the article.)


  • Gun Stock Carving Part 1

    Gun Stock Carving Part 1

    Conner Prairie 21st Annual Art and Arms Making Workshop

    Larry Pletcher, Editor — Photo Credit: Steve Chapman, Larry Pletcher


    (Use your “back” button to return to the article.)


  • Gun Stock Carving Part 2

    Gun Stock Carving Part 2

    Conner Prairie 21st Annual Art and Arms Making Workshop

    Larry Pletcher, Editor — Photo Credit: Steve Chapman, Larry Pletcher


    (Use your “back” button to return to the article.)


  • Screw Tip Horn Class Part 2

    Screw Tip Horn Class Part 2

    Conner Prairie 21st Annual Art and Arms Making Workshop

    Larry Pletcher, Editor — Photo Credit: Steve Chapman, Larry Pletcher


    (Use your “back” button to return to the article.)


  • Shooting Bag Class

    Shooting Bag Class

    Conner Prairie 21st Annual Art and Arms Making Workshop

    Larry Pletcher, Editor — Photo Credit: Steve Chapman, Larry Pletcher

    Ken Scott, Instructor

    (Use your “back” button to return to the article.)


  • Screw Tip Horn Class Part 1

    Screw Tip Horn Class Part 1

    Conner Prairie 21st Annual Art and Arms Making Workshop

    Larry Pletcher, Editor — Photo Credit: Steve Chapman, Larry Pletcher


    Return to Gallery

    Return to Article

    digg this post! Digg it!    del.icio.us Bookmark this on Del.icio.us


  • Blackpowder Slug Guns – Precision Paper Punching Machinery

    Blackpowder Slug Guns – Precision Paper Punching Machinery

    Blackpowdermag editor, Larry Pletcher

    For years I’ve been fascinated with the slug guns during the Muzzleloading Championships at Friendship. This year I decided to do an article on these remarkable guns. This article is the first in a two part series on slug guns. The second will look at the largest slug gun I have ever seen.

    Slug gun shooting has a long tradition in the NMLRA. During my 30+ years of trips to Friendship, visits to the slug gun range have been a part of my plans. This year I decided to write up my experiences


    The slug gun is unique among the various types of blackpowder guns. The typical muzzleloading slug gun is heavy often 30-40 pounds. The largest known slug guns exceed 100 pounds. One of these amazing guns was shot this year. The barrels are large diameter, shorter than round ball bench gun barrels, but do use a false muzzle. The actions are the underhammer variety with sealed ignitions. (Sealed ignitions completely enclose the cap, preventing gases from escaping the barrel at the nipple.)

    Photobucket

    Typical barrels are rifled for a .45 bullet with a 1 turn in 18” twist. Other calibers are seen at Friendship from .40s to the huge .69 caliber that appeared this year. Mounted on the barrel is a target quality telescopic sight. These vary in power; 24x seems to be the optimum for this type of shooting. (Higher powers tend to have greater problems with mirage.) Scope adjustments are in the mounts.

    non-lead


    non-lead

    The typical .45 caliber bullet weighs 550 grains while the .69 caliber bullet weighed more than three times as much. The bullet is normally swaged from two pieces – a harder nose swaged to a softer base. This prevents the nose from deforming but allows the base to bump up into the rifling. Many shooters design their own bullets, casting their own cores, and swaging the complete bullet. A typical bullet design would use three calibers as the length.

    The bullet is wrapped in a paper patch. Most shooters use the cross patch method. Narrow strips of paper are positioned on the false muzzle, the bullet placed on top, and the bullet carefully seated with a mechanical seating tool. The seating device may be a plunger whose nose is machined to fit the nose of the bullet. Another device uses levers to provide mechanical advantage.

    non-leadnon-leadnon-leadnon-leadnon-leadPhotobucket

    Every trick is used to produce the smallest groups. Even though bullets are swaged, they are culled very close tolerances. Powder is pre-weighed. I saw one shooter with an enclosed weighing and charging station, designed to prevent a breeze from changing the delicate scale’s reading.


    Shooting a slug gun involves many skills, among those is the ability to handle the wind. The ability to read wind flags is not unique to slug gun shooting, but shooting paper targets at 500 yards requires a shooter to develop these skills. That being said, George Mitchell, who shoots the 100 pound, .69 caliber gun, said he didn’t worry about wind too much. He probably does, but his huge, 1785 grain, bullet does have wind-bucking abilities.

    I found the slug gun shooters a helpful group when I gathered information for this article. I was careful to wait for relays to end before asking questions. I was allowed access to take pictures and to develop the loading sequences shone in the photos. All were free with details about their guns, scopes, loading equipment, and bullets.

    The guns, equipment, and the shooters make slug gun shooting a truly unique experience at Friendship. Take the time to visit the slug gun range. Part 2 of this Slug Gun series will zero in on the largest gun at Friendship this fall. The photo below, I hope will whet your appetite.


  • Blackpowder Slug Guns – The Mitchell Gun

    Blackpowder Slug Guns – The Mitchell Gun

    Slug Guns Part 2 allows a unique look into the world of slug guns. Blackpowdermag.com is pleased to bring you this look at the “Mother of all Slug Guns.”

    Blackpowdermag editor, Larry Pletcher

    In Part 1 the topic was slug guns in general; Part 2 zeroes in on one of the largest slug guns ever to be fired at Friendship. This gun, built by George Mitchell, is one of four guns in existence made in .69 caliber. All four of these guns are very heavy. The Mitchell gun is over 100 pounds, and it may be the heaviest of the four. It is the only one of the four currently in use.

    The gun uses a Morse underhammer action and a sealed ignition. The barrel has a 1 turn in 28 inch twist and uses .004″ deep rifling. The telescopic sight is also built by Mr. Mitchell (Mitchell optics). In fact Mitchell scopes were seen on many of the slug guns shooters on the line.

    In most cases these scopes are 24X because larger powers tend to increase the effect of mirage. The adjustment of these scopes is in the mounts like the Unertl target scopes.

    Caption: The bullet on the left is 550 gr. .45 caliber ; on the right is the 1785 gr bullet for the Mitchell gun.

    The Mitchell gun uses the same basic accoutrements used by most slug guns. Mr. Mitchell uses a chase patch for his 1785 grain two piece bullet. The precut paper is wrapped around form and inserted in a specially made die. The bullet is inserted into the die and the die fit into the false muzzle. A plunger type seating device is used to give the bullet a perfect start into the bore. A bench rod seats the bullet on 300 grains of fg Goex powder.

    Caption: The paper patch is wrapped around a form.

    Caption: The patch is inserted into a die up to a shoulder using the tool at right.

    Caption: Here the bullet has been inserted up to the same shoulder.

    Caption: The patch is folded over the bullet’s base. It is now ready for the false muzzle.

    Caption: This plunger type seating tool is used to seat the bullet.

    One subject that needs to be mentioned deals with the handling of the extra weight when going through loading, cleaning, and benching the gun prior to shooting. Mr Mitchell uses a swivel mounted on the top of his shooting bench. With the gun on the swivel the gun rests on the muzzle and on the swivel; the stock is a few inches off the bench. To ready the gun for firing, a pin is removed from the swivel and the gun is lowered so that the stock rests on the bench.

    After firing, the stock of the gun is raised and the gun placed on the swivel. The gun is then rotated on the swivel until the stock can be lowered to the ground. After cleaning and loading, the gun is swung back unto the bench where the swivel can be disconnected and the stock again lowered unto the bench. It seemed that this process was well thought out, and the only time the full weight of the gun was lifted was when it was taken to the bench at the beginning of the shooting session. Moving to and from the range was done with a two-wheeled cart adapted for that purpose.

    Caption: Please note the swivel in the center of the bench. This holds the weight until the pin is pulled and the stock lowered to the bench. The gun can be rotated and the stock lowered to the ground. (You may have noticed the false muzzle remaining on the gun while on the bench. Mr. Mitchell had just placed the gun on the bench for taking photos. The false muzzle is left in place when the gun travels and moved to the bench to protect the muzzle.)

    Caption: George is making adjustments to his scope.

    Caption: You saw this photo at the beginning, but it’s worthy of a second look!

    I’d like to thank George Mitchell, his wife, and all those slug gun shooters on the line for their cooperation. Their willingness to help with information and helping to set up photography shots was invaluable.

  • Conner Prairie 21th Annual Traditional Arts and Arms Making Workshop

    Conner Prairie 21th Annual Traditional Arts and Arms Making Workshop

    The Conner Prairie 21st Annual Traditional Arts and Arms Making Workshop has just concluded. As you enter Conner Prairie to attend class you see CP’s new addition: a tethered balloon in memory of the aeronauts and the beginning of balloon flight in the 1800’s. There is more to Conner Prairie than the classes for black powder folks.    photo credits: Steve Chapman, Larry Pletcher   editor: Larry Pletcher

    The classes at Conner Prairie are becoming a habit for me. I came to the fall classes in 2006 to take pictures for my web site. In 2008 and 2009 I took Art DeCamp’s horn making classes. This fall I came back for more photos for a web article. The classes offered are never a disappointment. I generally take pictures of a class thinking that I need to come back next year and attend the class. This year was no exception.

    For each visit, the many chimmneys on top of the forge building are the first clue to the type of instruction found inside. The room houses 10 forges, and most were being used. If there is a better place to teach forging, I’m not aware of it.

    Nathan Allen’s knife making class lasted the whole week. This year both folding and fixed blade knives were being made. Students forged the basic blade shape and used files to finish fitting the parts. By walking around you could see students in various stages of knife making. Folding knives used patterns to help in getting the fit just right. Fixed blade knife makers had more freedom to forge the style of their choice.

    The forge room is large enough to run multiple classes. A class that built double set triggers had just finished the day before we arrived. For more photos from the forge room click on Forge Room #1 or Forge room #2.  (Use your “back” button to return to the article.)

    Ken Scott’s bag-making class was next door. Ken’s class includes instruction about bag styles, including region, purpose, and time period. When we arrived the students had their bags cut out and were busy sewing.

    Below is one of Ken’s bags that I saw at the CLA show in Lexington. This is one of my favorites.  Click on Shooting Bags for more photos.  (Use your “back” button to return to the article.)

    Mark Wheland taught the gun stock carving class this year. Mark is a Pennsylvannia native and lives in an area rich in gun-making talent. He is a full time gun maker and won “best of show” at Dixons in 2005. Click on Gun Stock Carving #1 or Gun Stock Carving #2 for more photos.  (Use your “back” button to return to the article.)

    A number of Mark’s students brought guns they had started at home. There is nothing like having the master look over your progress and advise you on methods and techniques. Styles chosen by the students varied, but all benefited from Mark’s expertise.

    John Schipper has taught the engraving class at Conner Prairie for many years. I first met John and saw his work at the Conner Prairie Gun Show also many years ago. His considable skills are evidenced in the many examples of his work. The tables are full of guns that John has engraved and originals John brought to show engraving styles. His engraving book is finished and ready to be published.

    Since I have no talent nor instruction in engraving, I can only marvel at the work done by John and his students. This would be an excellent class for a rifle maker wanting to shorten the learning curve with his engraving.  Click on Engraving Class #1 or Engraving Class #2 for more photos.  (Use your “back” button to return to the article.)

    Art DeCamp taught the horn classes for a number of years. From the Tansel horn class in 2008, screw tips in 2009, and basic and screw tips in 2010, Art is the consummate teacher. This year the first half of the week was a basic horn class. The last half of the week was devoted to screw tips.

    the class was working on screw tips while we were there. Some turned base plugs; others worked on the horn-turning and threading. If we were there another day, we would have seen the final shaping and dying of the horns and attachment of the base plugs. In this phase Art explains his secret ingredient and the extreme care he uses to measure it into the dye.

    This was an impressive week of classes. The instructors were superb and must have had fun working with such motivated students. The equipment and environment provided by Conner Prairie was second to none. As I moved from class to class, I often felt that I need to come next year and take classes. Many of the students voiced this opinion. A high percentage of the students are returning former students. If there could be a better endorsement I don’t know what it would be. For more photos click on Screw Tip Horn Class #1 or Screw Tip Horn Class #2.  (Use your “back” button to return to the article.)

    (Selected photos appear here with the article. The 2010 Conner Prairie Photo Gallery contains links to many more. The class photos are divided into 2 parts to make loading faster. There are no captions for these photos; I realized I knew almost none of the students’ names. If students wish to leave a comment or email me I will be glad to add their name to the photos.)


  • 2008 CLA Show — ALR noon meeting

    2008 CLA Show — ALR noon meeting

    The biggest CLA show ever is now over. While the number of CLA exhibitors grew from years past, the original displays done by the Kentucky Rifle Association made an immense contribution. Following is a collection of photos from a number of sources. We hope you enjoy them.

    I decided to use a series of slide shows because of the number of photos to be included. I wish to thank those who gave permission for their photos to be used. In no particular order they are Steve ChapmanTim CrosbyChris LandisTim BooneEric FleisherPaul Kinder, and Ron Winfield aka “kyflinter”.

    It has become a tradition for members of the  American Longrifles forum to meet in the Food Court to talk and do a little “Show and Tell”.  This gallery contains photos from the ALR noon meeting.  Other galleries from the 2008 show will follow

    CLA_2008_-_ALR_06 CLA_2008_-_ALR_05 Boone_3 DSC03090 DSC03089 DSC03088 CLA_2008_-_ALR_04 CLA_2008_-_ALR_03 CLA_2008_-_ALR_02 CLA_2008_-_ALR_01 Lew_902 Lew_900 Lew_0903


  • 2008 CLA Show — general group #1

    2008 CLA Show — general group #1

    This group includes, in no particular order, photos taken by a number of ALR members.  I thank them all for their permission and support.

    DSC03091 903a IMG_0242 IMG_0241 IMG_0240 IMG_0239 IMG_0238 IMG_0237 IMG_0236 IMG_0235 IMG_0233 IMG_0231 IMG_0230 IMG_0219 IMG_0218 IMG_0217 IMG_0216 IMG_0215 IMG_0214 IMG_0213 IMG_0212 (1) IMG_0212


    IMG_0211 IMG_0210


  • 2008 CLA Show — general group #2

    2008 CLA Show — general group #2

    This group of photos are mostly from the main room.

    IMG_0198 IMG_0197 IMG_0196 IMG_0195 IMG_0194 IMG_0191 IMG_0189 IMG_0187 IMG_0186 IMG_0184 IMG_0183 IMG_0182 IMG_0181 IMG_0180 IMG_0179 IMG_0178 IMG_0177 IMG_0175 Crosby_9 Crosby_6 Crosby_5 Crosby_4 Crosby_3


  • 2008 CLA Show — general group #3

    2008 CLA Show — general group #3

    This last group has  number of ALR members and their work.

    Crosby_2 Crosby_11 Crosby_10 Crosby_1 CLA_2008_02 CLA_2008_-_Allen_2 CLA_2008_-_Allen_1 CLA_2008_-_House_5 CLA_2008_-_House_4 CLA_2008_-_House_3 CLA_2008_-_Auction_1 CLA_2008_-_Art_DeCamp_1 CLA_2008_-_Mark_12 CLA_2008_-_Mark_04 CLA_2008_-_Mark_02 CLA_2008_-_Mark_01 IMG_0234-1 Lew_912 Lew_910 Lew_908 Lew_907 KYF_9 KYF_7 KYF_6 KYF_5 KYF_4 KYF_13 KYF_12 Kinder_3 Kinder_2 Kinder_1 Kinder_4 Boone_2 Boone_1


  • 2008 CLA SHOW Horn Displays

    2008 CLA SHOW Horn Displays

    Most regional styles are represented here.


    810a 810 809 IMG_0209 IMG_0208 IMG_0206 IMG_0205 IMG_0204 IMG_0203 IMG_0202 IMG_0201 IMG_0200 IMG_0199

  • 2008 CLA Show  KRA and Originals

    2008 CLA Show KRA and Originals

    The KRA had many original horns and firearms.


    IMG_0232 IMG_0229 IMG_0228 IMG_0227 IMG_0226 Crosby_12 CLA_2008_-_House_2 CLA_2008_-_House_1 CLA_2008_-_Auction_3 CLA_2008_-_Auction_2 Lew_911 Lew_906 Lew_904 KYF_3

  • Dixon’s 2007 Gunmakers’ Fair

    Dixon’s 2007 Gunmakers’ Fair

    Dixon’s is the Mecca for all things relating to black powder and muzzleloading. Some of the most beautiful flintlocks in the world find their way here to be judged and displayed.

    This was my first trip to Dixon’s Gunmakers’ Fair. While I could only spend one day, I certainly was not disappointed. It was all I had heard and more.

    It was drizzling on the short drive heading from Allentown to Dixon’s, but it stopped as we parked the car. Not knowing where to start, we went to the first tent and found Don Getz, Wayne Dunlap, and Jim Chambers just inside. From there on everywhere we went there were old friends. Some I met before, and some were friends I learned to know through ALR.

    I intended to take many photos but as usual I got too involved in conversations to do that. The few posted here are among the better ones. For instance, one can’t look at Kieth Casteel’s wheellock without reaching for a camera. It is an amazing piece.

    David Price’s table deserves a close look. David built the swivel breech for the raffle at the Fall Championships at Friendship. The raffle gun was the subject of his carving tutorial on the ALR site. He also helped me do the slow motion videos of locks during the Spring Shoot.

    I remembered that Rich Pierce and Tom Curran mentioned being up the hill. As we headed to higher ground, the rain started. I heard a voice welcoming us out of the rain. The camp belonged to Gene Baldwin, one of the Susquehanna Rangers. This group does the F&I War reinactments. They made some of the cannon noise heard through out the day. The rain grew stronger and lasted perhaps 40 minutes. It gave us a chance to chew the fat with Gene. His group has a web site:www.susquehannarangers.com if you would like to become involved.

    When the rain stopped we found the Pierce/Curran booth, but Rich and Tom were out and about. We happened by the horn tent. I didn’t know there were so many horn makers. Everywhere you looked there was outstanding examples of horn work.

    We continued on, retracing our steps. I hate to drop more names but we saw Allen Martin, Peter Alexander, Mark Wheland, and Larry Gardner. I found Bill Shipman’s table but missed Bill. Here are a couple of photos of one of Bill’s rifles.

    Across the isle from Bill’s was Allen Martin. Allen had a couple of rifles that begged to be photographed. The top one was much discussed on ALR.

    There were many people to speak with, if I try to name them all I surely will miss someone. It did seem like old home week. I regret not getting photos of more makers with their guns. I should have slowed Taylor, Cody, and Brian down long enough for a photo. If they come back from BC next year, I won’t make the same mistake.

    Traveling to Dixon’s is worth the trip. For us it’s 660 miles one way. I’ll be back.