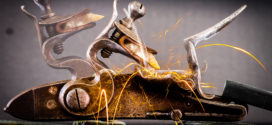
Slug Guns Part 2 allows a unique look into the world of slug guns. Blackpowdermag.com is pleased to bring you this look at the “Mother of all Slug Guns.”
Blackpowdermag editor, Larry Pletcher
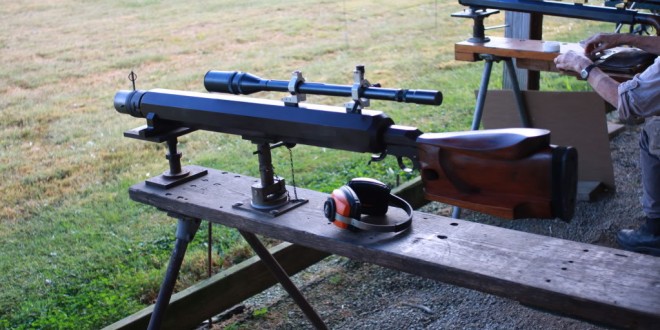
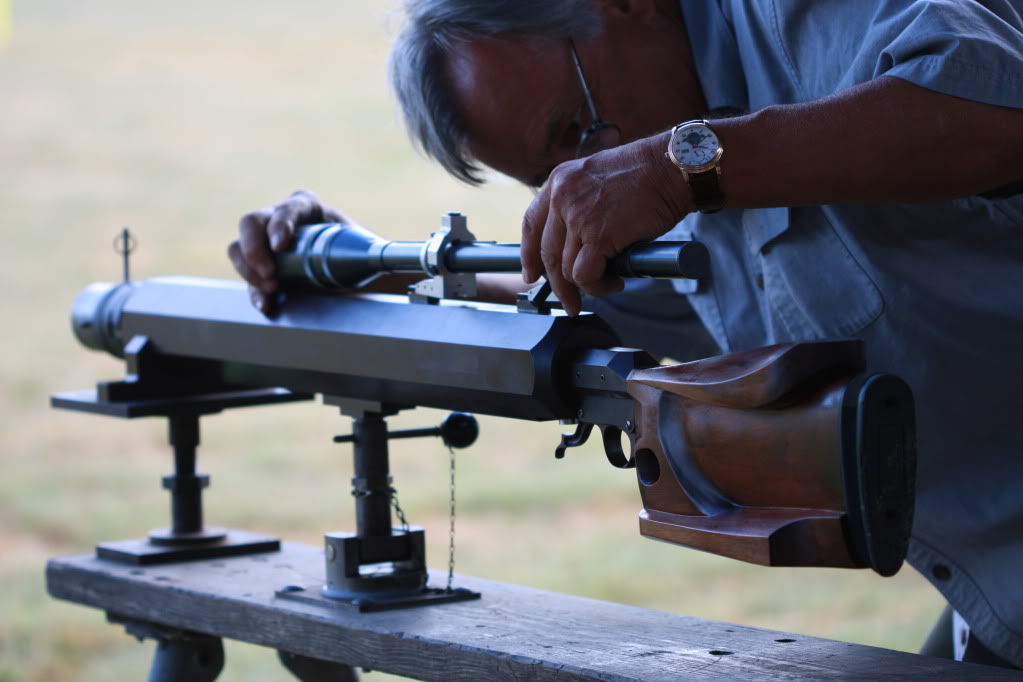
In Part 1 the topic was slug guns in general; Part 2 zeroes in on one of the largest slug guns ever to be fired at Friendship. This gun, built by George Mitchell, is one of four guns in existence made in .69 caliber. All four of these guns are very heavy. The Mitchell gun is over 100 pounds, and it may be the heaviest of the four. It is the only one of the four currently in use.
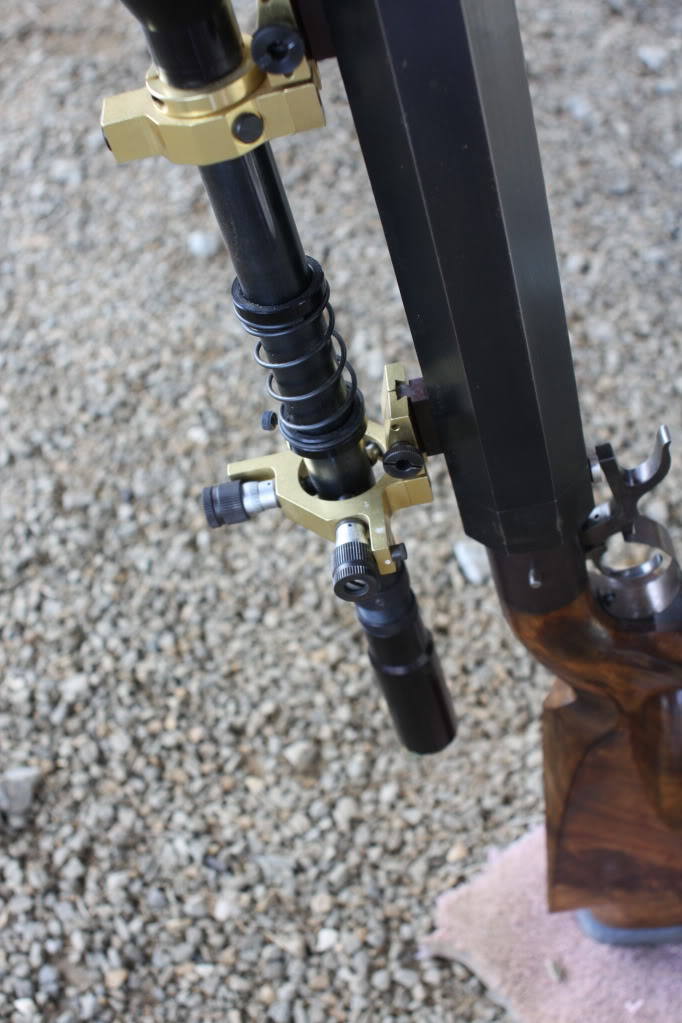
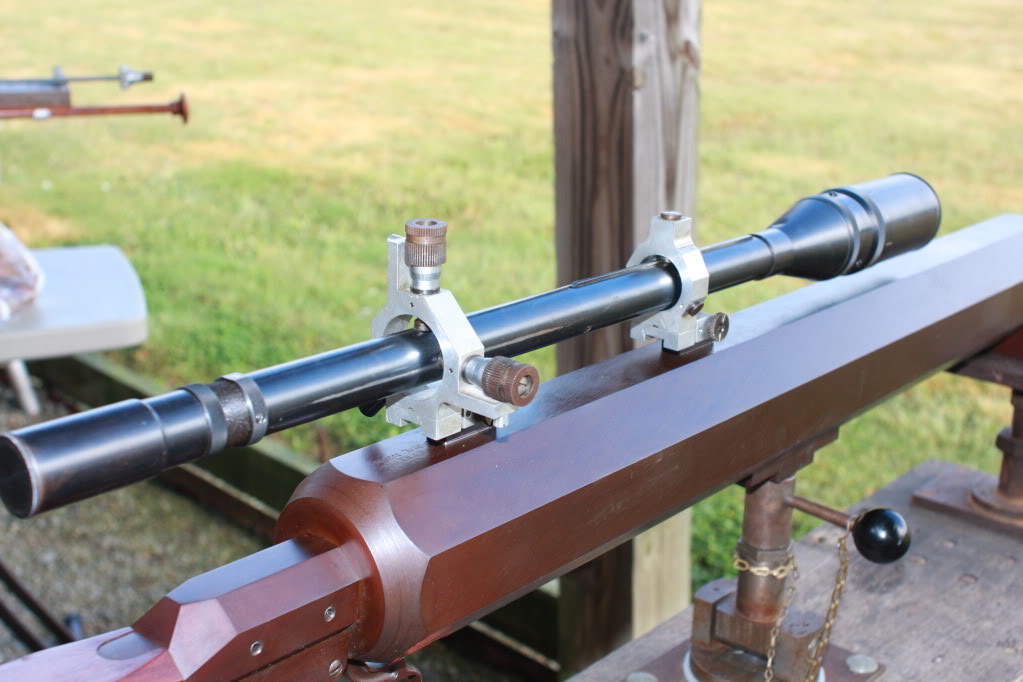
The gun uses a Morse underhammer action and a sealed ignition. The barrel has a 1 turn in 28 inch twist and uses .004″ deep rifling. The telescopic sight is also built by Mr. Mitchell (Mitchell optics). In fact Mitchell scopes were seen on many of the slug guns shooters on the line.
In most cases these scopes are 24X because larger powers tend to increase the effect of mirage. The adjustment of these scopes is in the mounts like the Unertl target scopes.
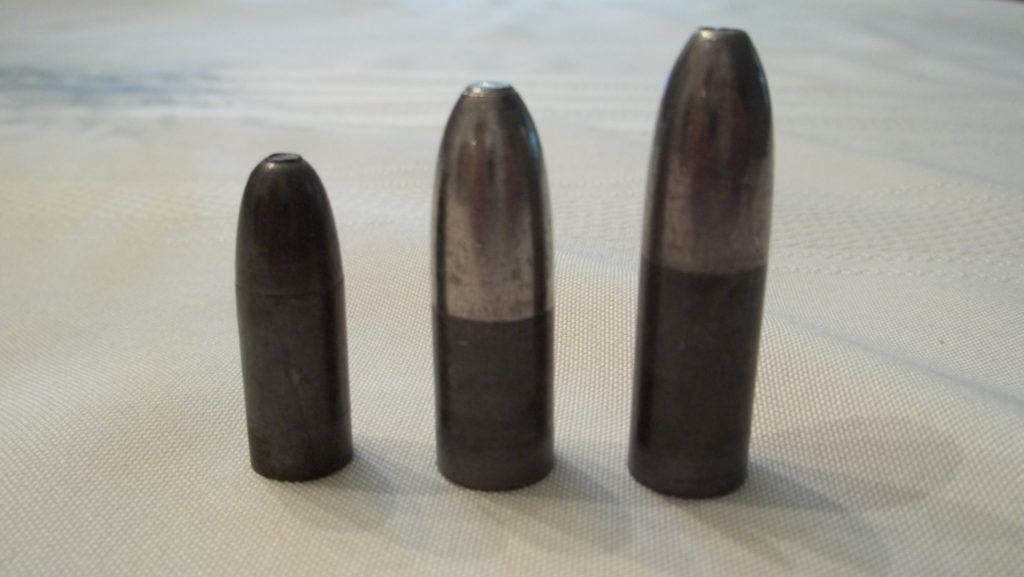
Caption: The bullet on the left is 550 gr. .45 caliber ; on the right is the 1785 gr bullet for the Mitchell gun.
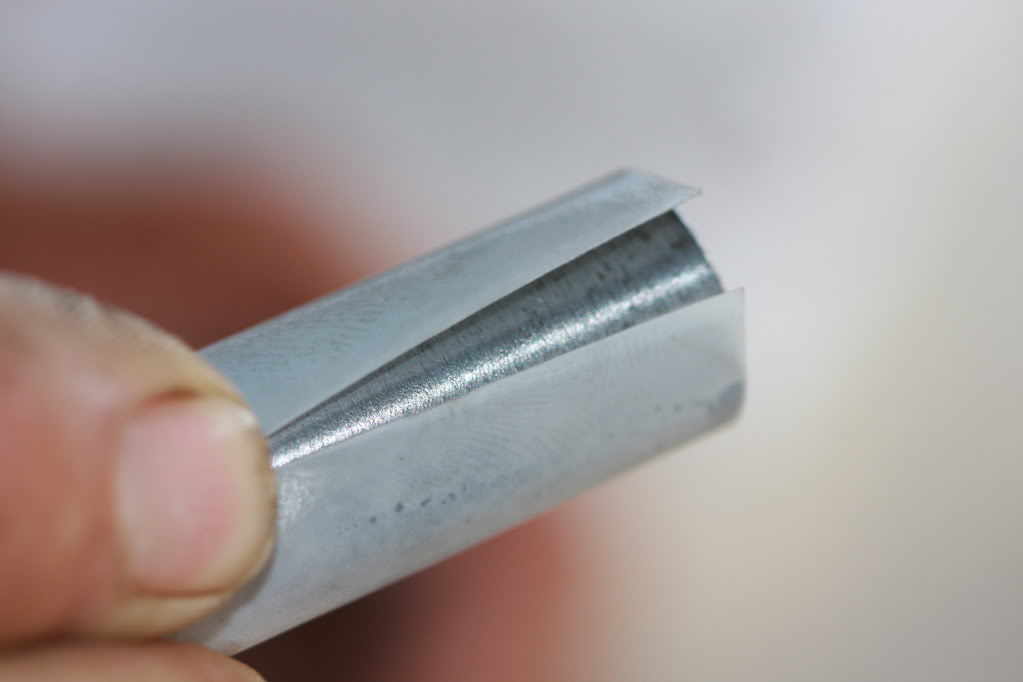
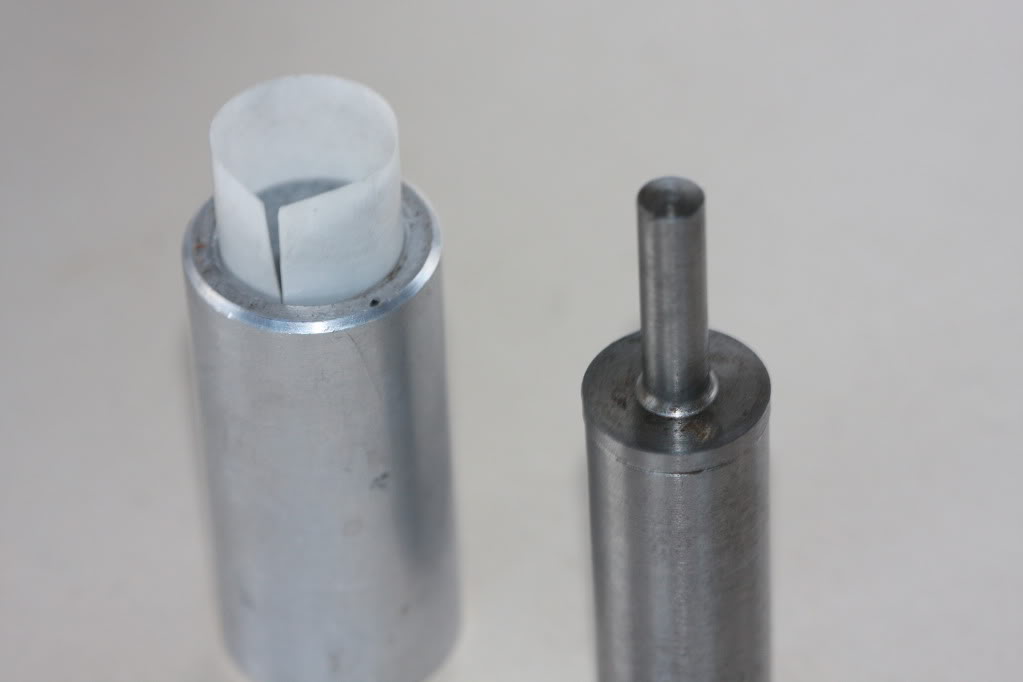
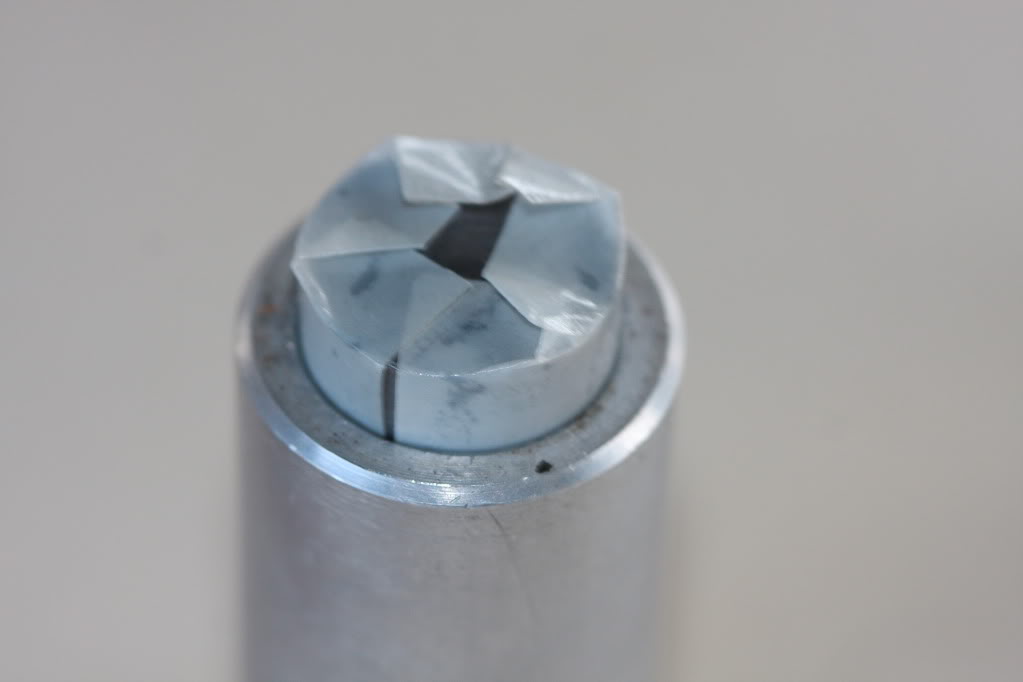
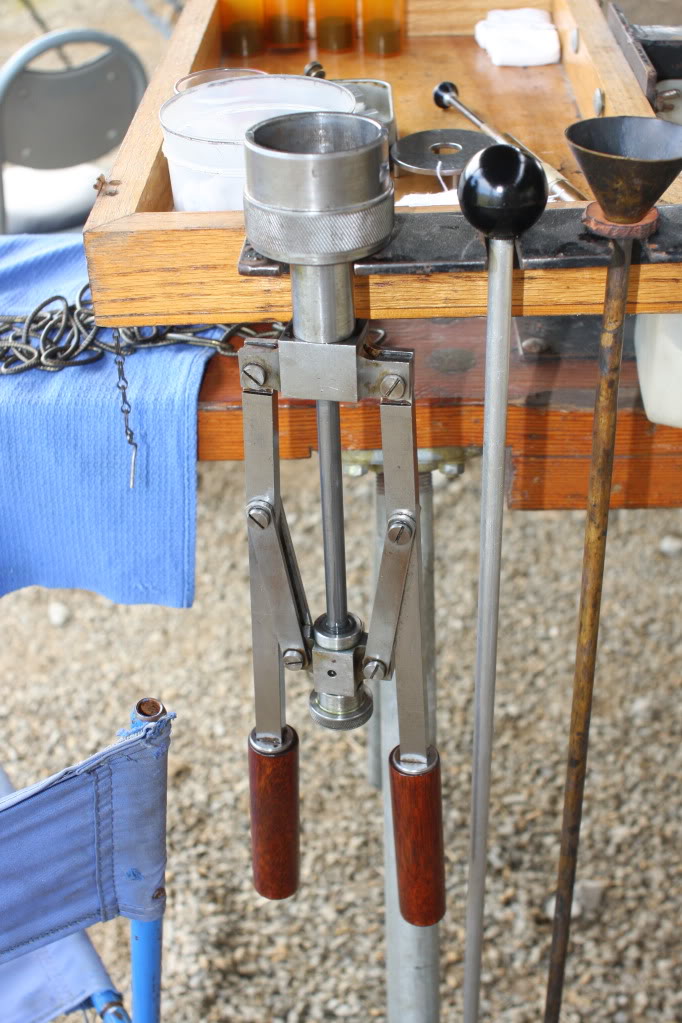
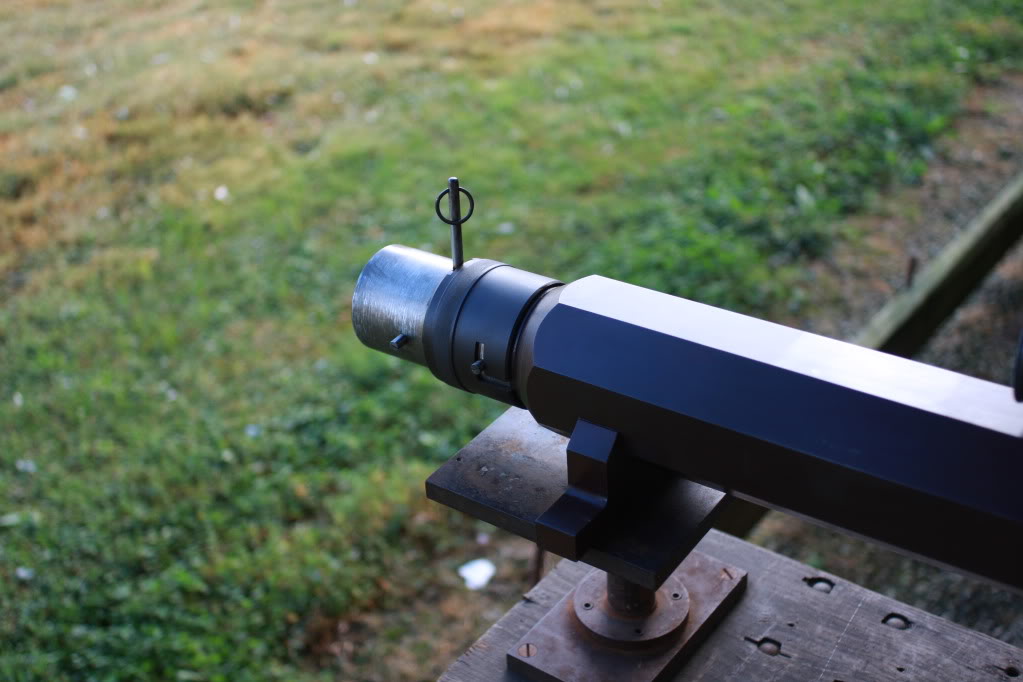
The Mitchell gun uses the same basic accoutrements used by most slug guns. Mr. Mitchell uses a chase patch for his 1785 grain two piece bullet. The precut paper is wrapped around form and inserted in a specially made die. The bullet is inserted into the die and the die fit into the false muzzle. A plunger type seating device is used to give the bullet a perfect start into the bore. A bench rod seats the bullet on 300 grains of fg Goex powder.
Caption: The paper patch is wrapped around a form.
Caption: The patch is inserted into a die up to a shoulder using the tool at right.
Caption: Here the bullet has been inserted up to the same shoulder.
Caption: The patch is folded over the bullet’s base. It is now ready for the false muzzle.
Caption: This plunger type seating tool is used to seat the bullet.
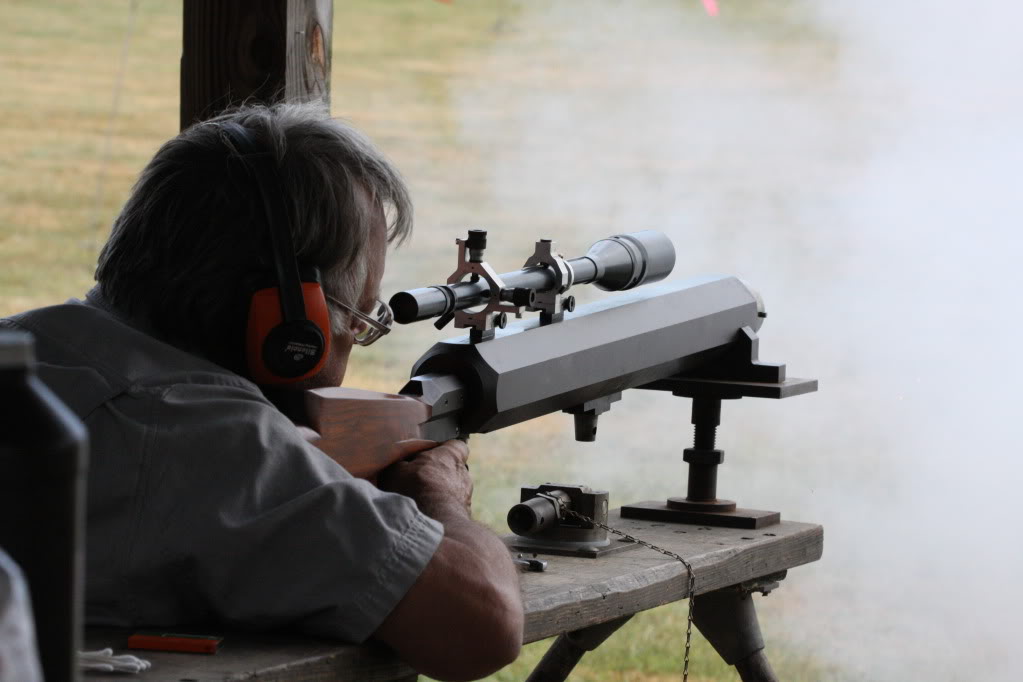
One subject that needs to be mentioned deals with the handling of the extra weight when going through loading, cleaning, and benching the gun prior to shooting. Mr Mitchell uses a swivel mounted on the top of his shooting bench. With the gun on the swivel the gun rests on the muzzle and on the swivel; the stock is a few inches off the bench. To ready the gun for firing, a pin is removed from the swivel and the gun is lowered so that the stock rests on the bench.
After firing, the stock of the gun is raised and the gun placed on the swivel. The gun is then rotated on the swivel until the stock can be lowered to the ground. After cleaning and loading, the gun is swung back unto the bench where the swivel can be disconnected and the stock again lowered unto the bench. It seemed that this process was well thought out, and the only time the full weight of the gun was lifted was when it was taken to the bench at the beginning of the shooting session. Moving to and from the range was done with a two-wheeled cart adapted for that purpose.
Caption: Please note the swivel in the center of the bench. This holds the weight until the pin is pulled and the stock lowered to the bench. The gun can be rotated and the stock lowered to the ground. (You may have noticed the false muzzle remaining on the gun while on the bench. Mr. Mitchell had just placed the gun on the bench for taking photos. The false muzzle is left in place when the gun travels and moved to the bench to protect the muzzle.)
Caption: George is making adjustments to his scope.
Caption: You saw this photo at the beginning, but it’s worthy of a second look!
I’d like to thank George Mitchell, his wife, and all those slug gun shooters on the line for their cooperation. Their willingness to help with information and helping to set up photography shots was invaluable.
 BlackPowderMag.com Flintlock Rifles and Black Powder Guns
